
Coffin cookies
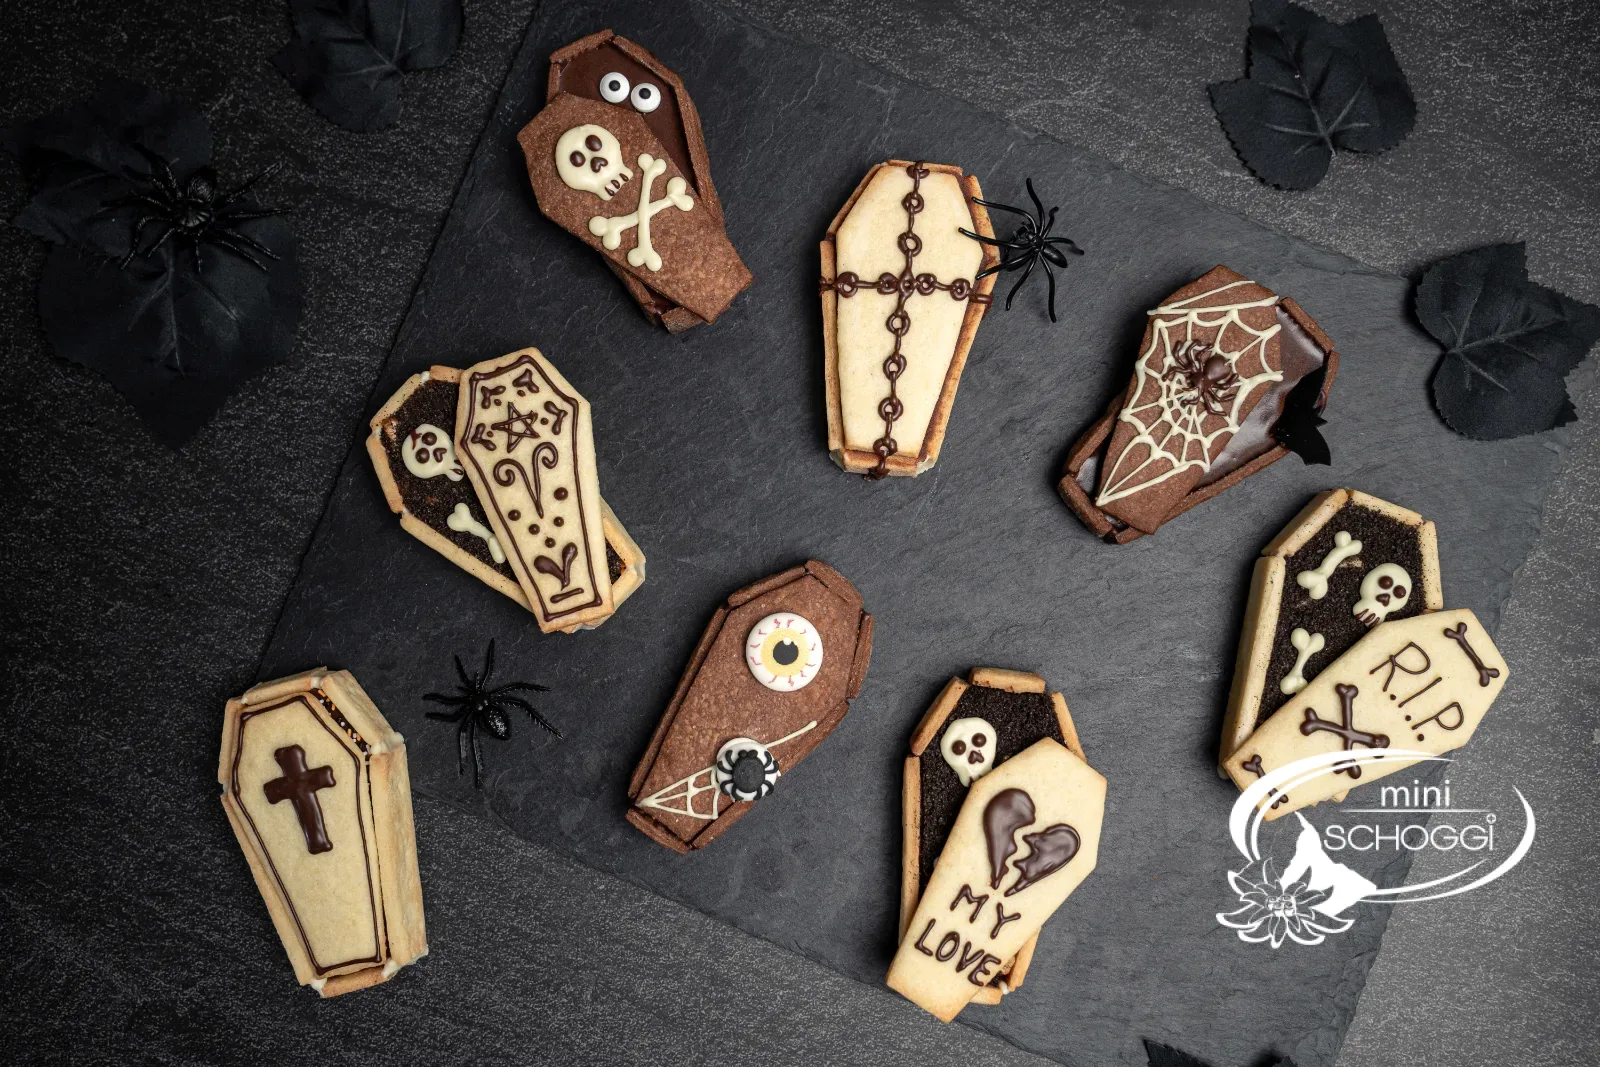
3D cookies made from shortcrust pastry, filled and decorated: the Halloween treat with a lid
Quantity8 coffins (4 light, 4 dark)
Active timeapprox. 1 hr 30 min
Total timeapprox. 3 hr 30 min (incl. chilling)
with glutenwith eggwith milkwith tree nuts (walnuts)with soy
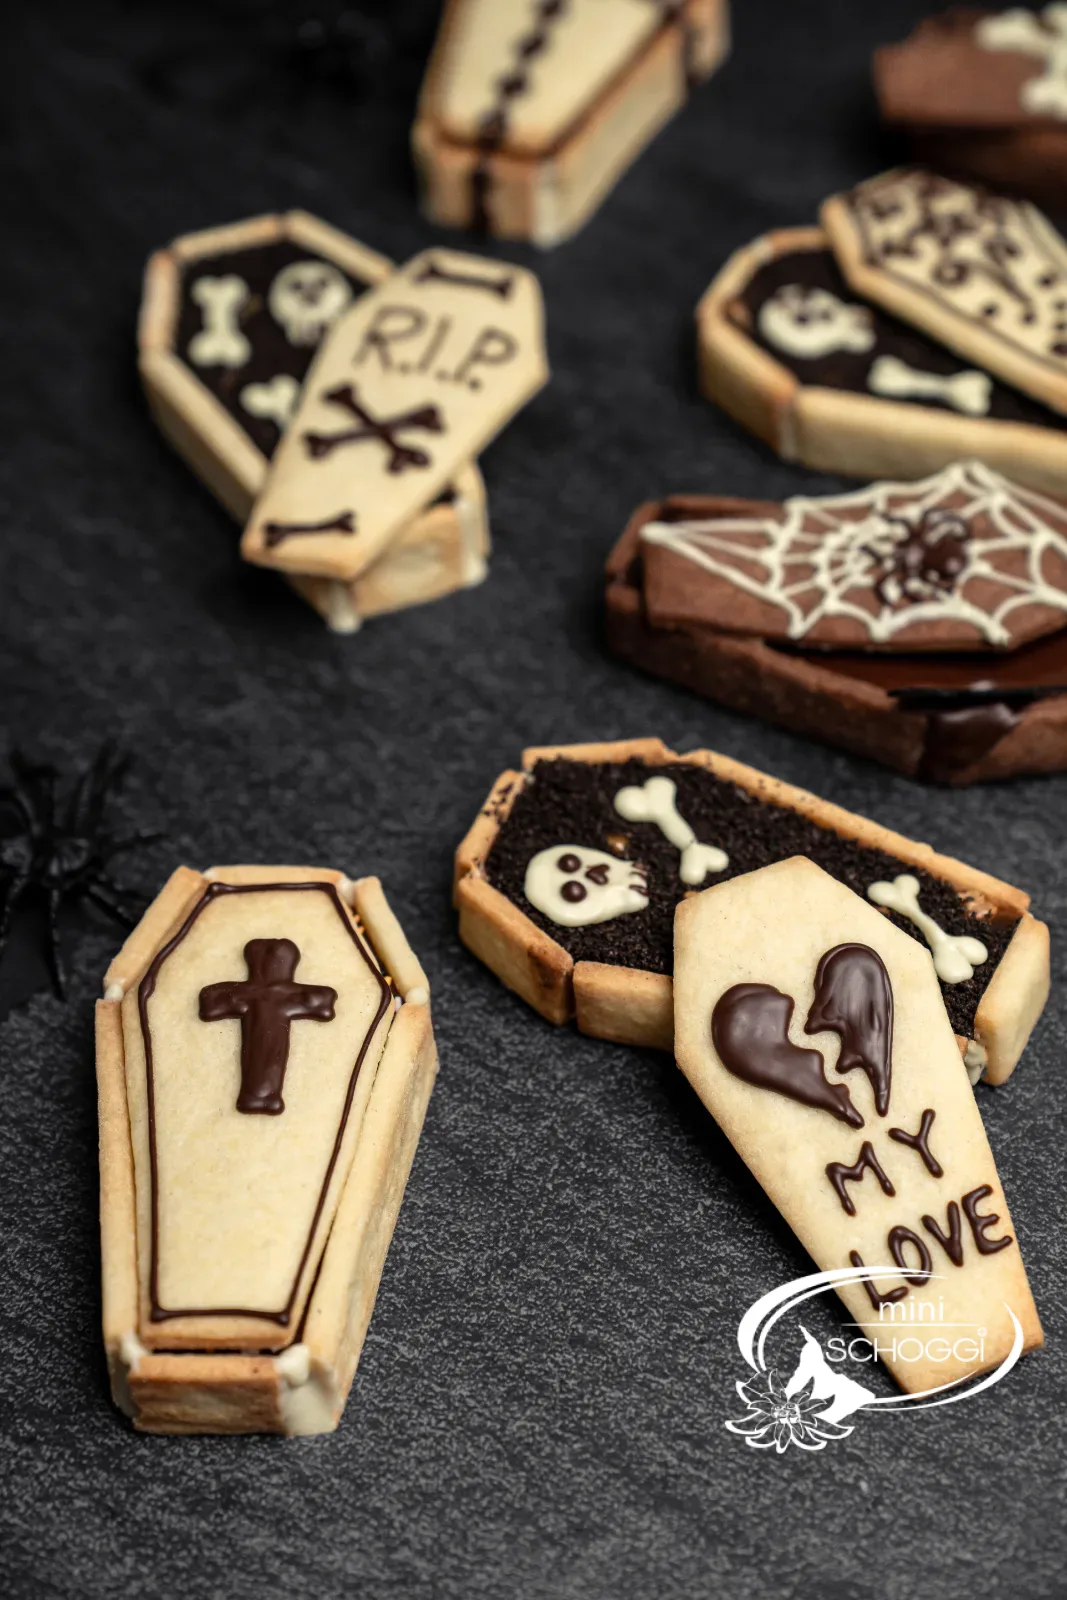
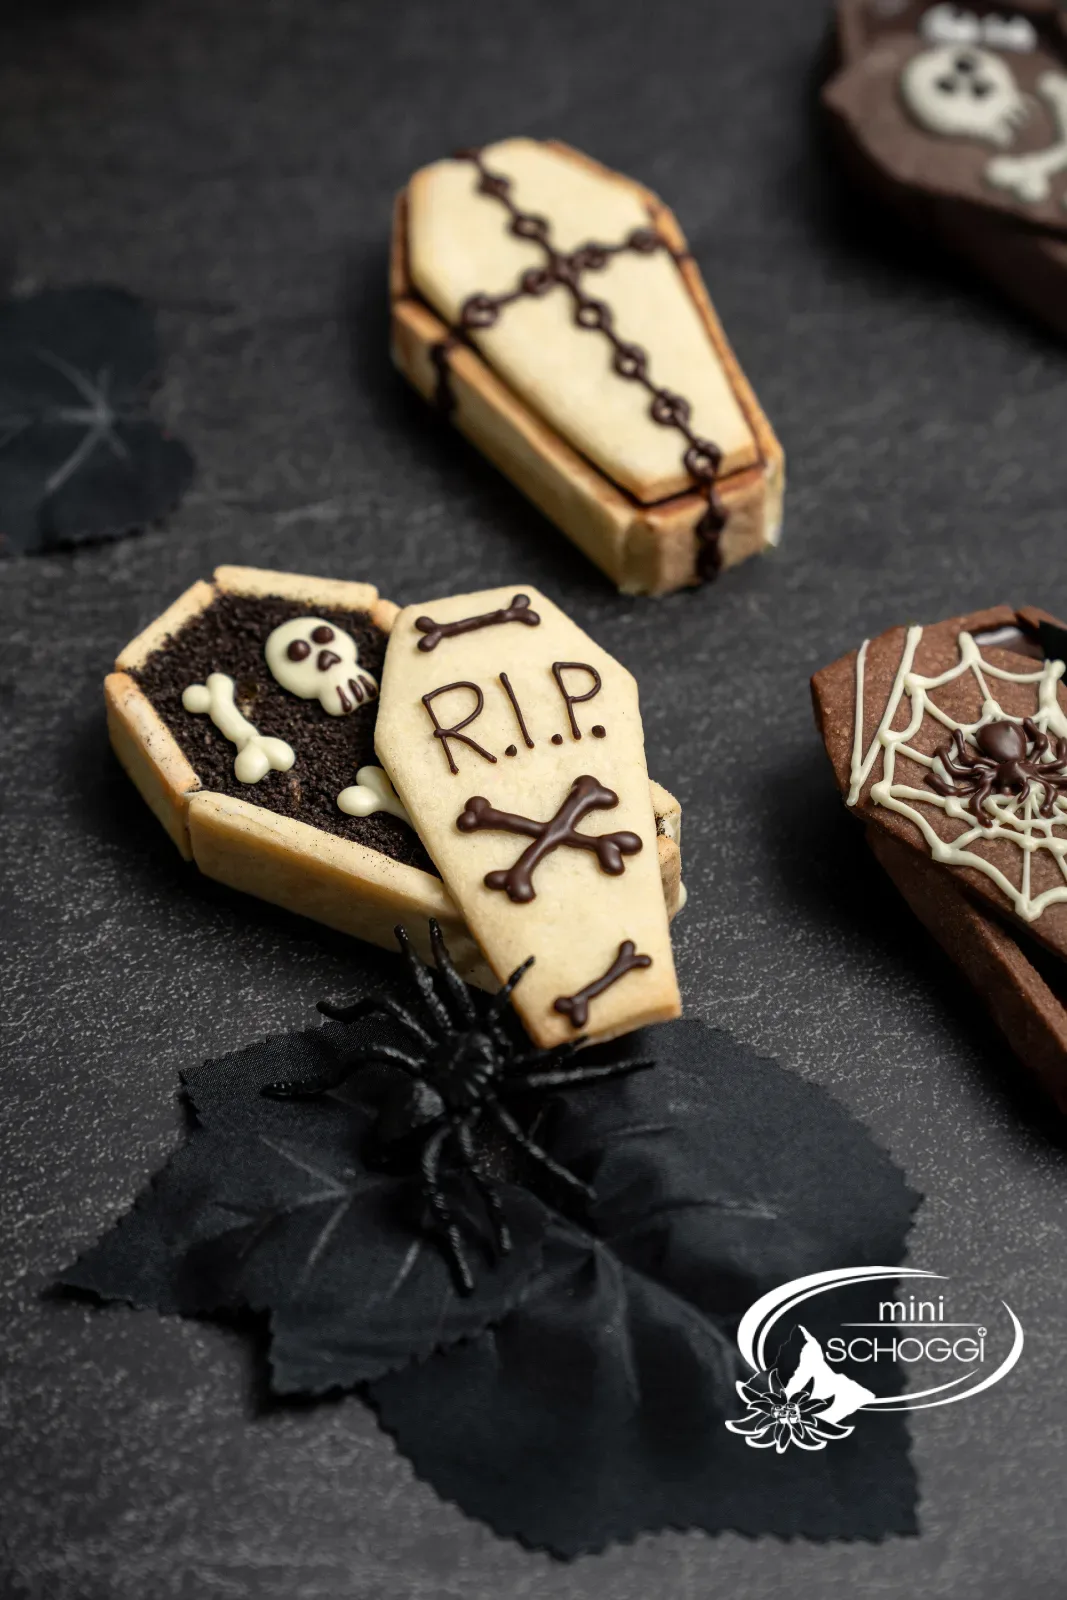
There is Halloween baking that you eat, and baking that you first have to open. These coffin cookies belong to the second kind: under the decorated lid waits a filling of caramel and Ganache, or of caramel, walnuts and a layer of Oreo crumbs that looks like freshly turned earth.
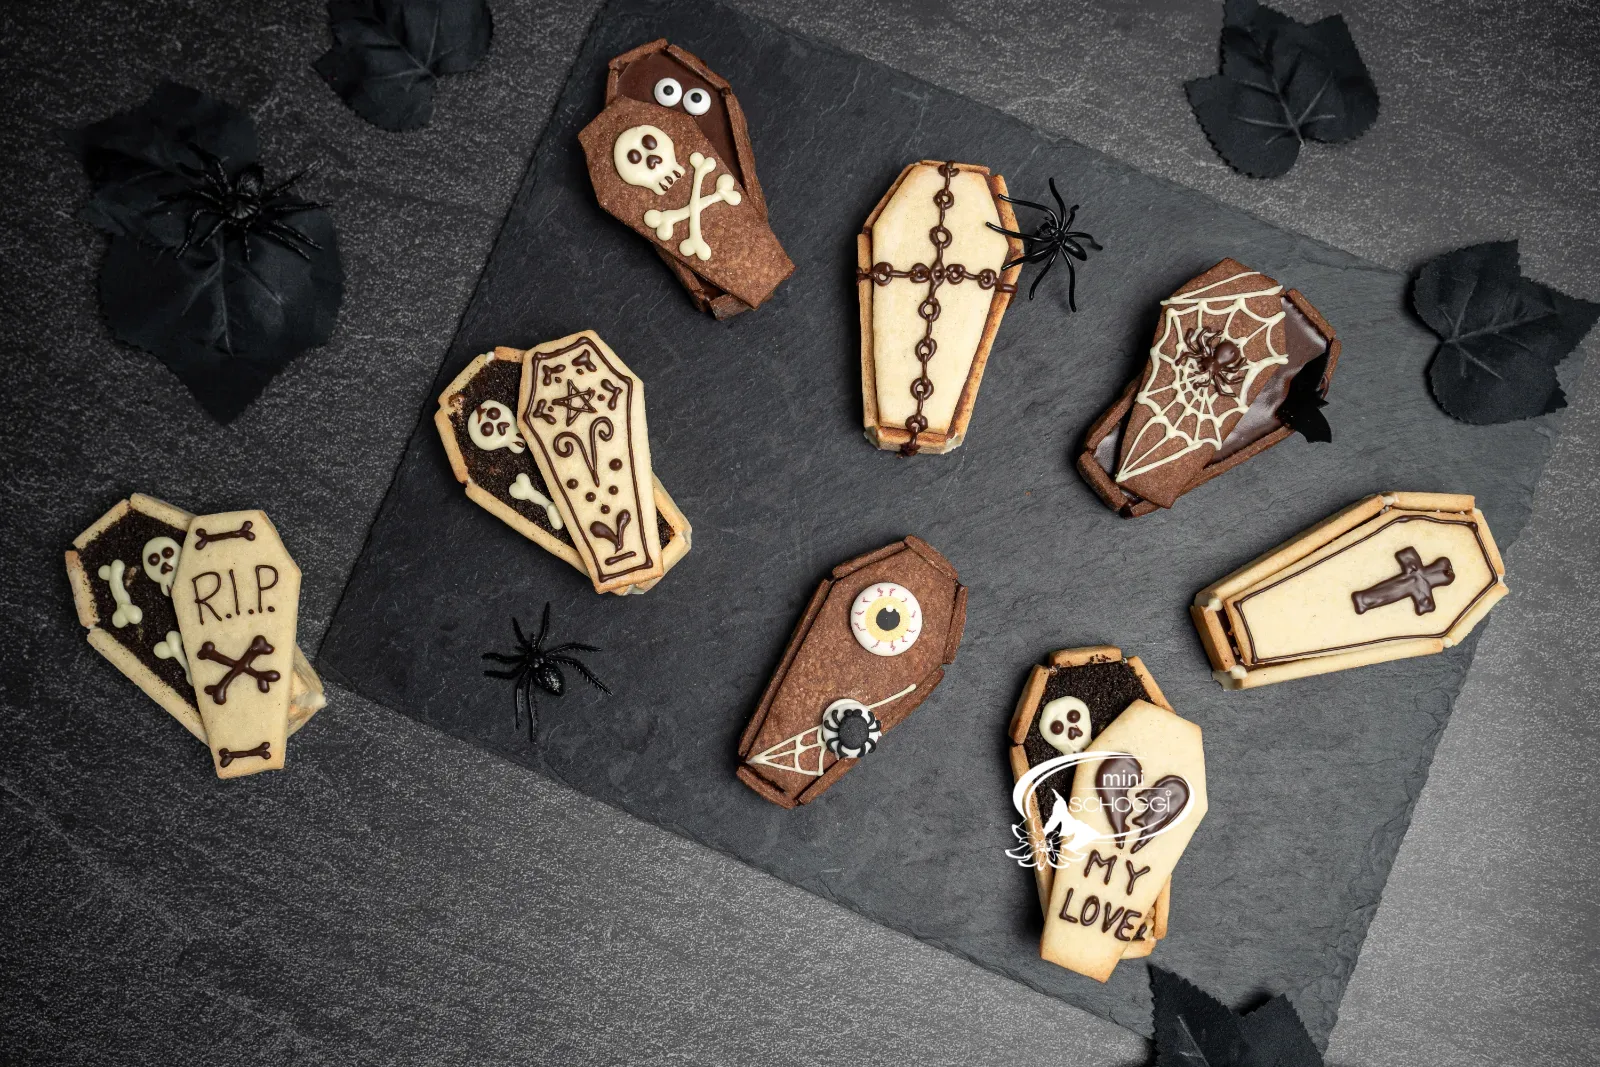
Each coffin is made from eight pieces of shortcrust pastry, cut out in one go with the 3D coffin cutter: base and lid, plus the walls for the sides, head and foot. After baking you stick the pieces together with chocolate, fill the coffins and decorate the lids, freehand with chocolate if you dare, or very simply with ready-made Sugar decoration.
We make four light and four dark coffins. For the dark dough, simply add a little cocoa to one portion of the basic dough.
Ingredients
Quantity:
Shortcrust pastry (basic dough for light and dark)
130 gButter, at room temperature
65 gGranulated sugar
1 pinchSalt
1 pinchVanilla, ground
35 gWhole egg (beaten)
190 gWhite flour
For the dark dough
20 gCocoa powder
Filling for the dark coffins
25 gFull cream
5 gButter
Filling for the light coffins
35 gWalnuts, chopped
20 gOreo biscuits, crumbled
Assembling and decorating
Step by step
If you are in a hurry: the compact recipe card further down sums everything up.
Shortcrust pastry
1
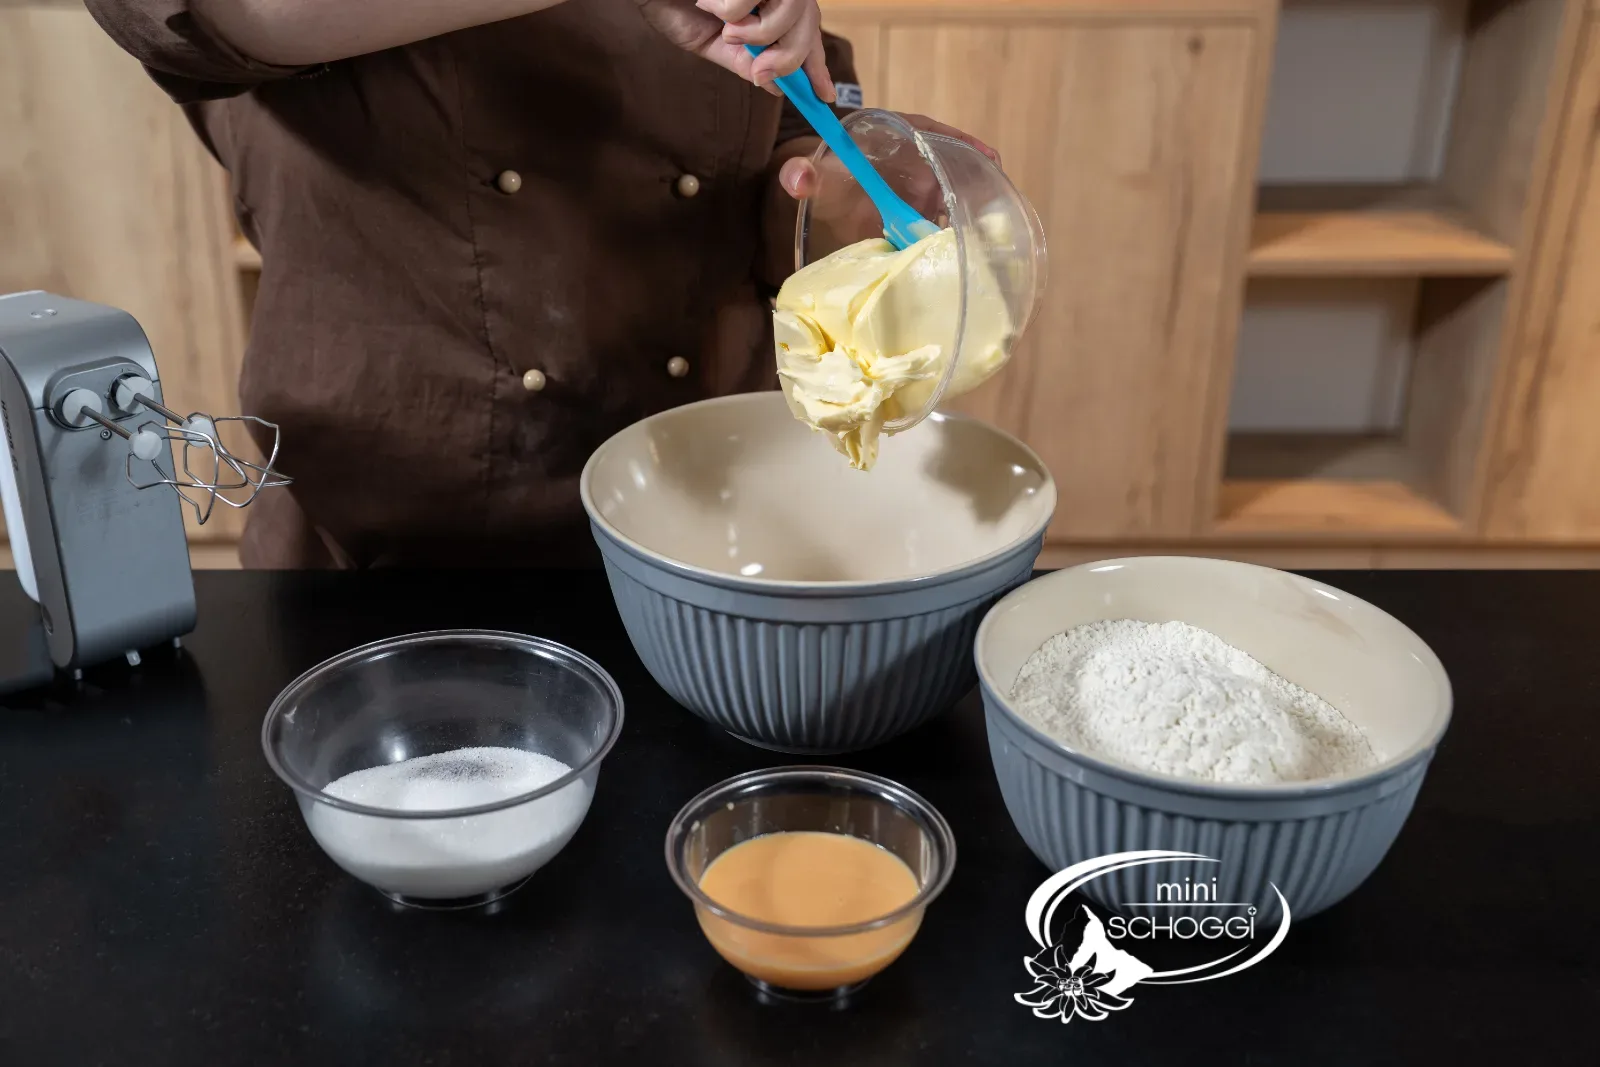
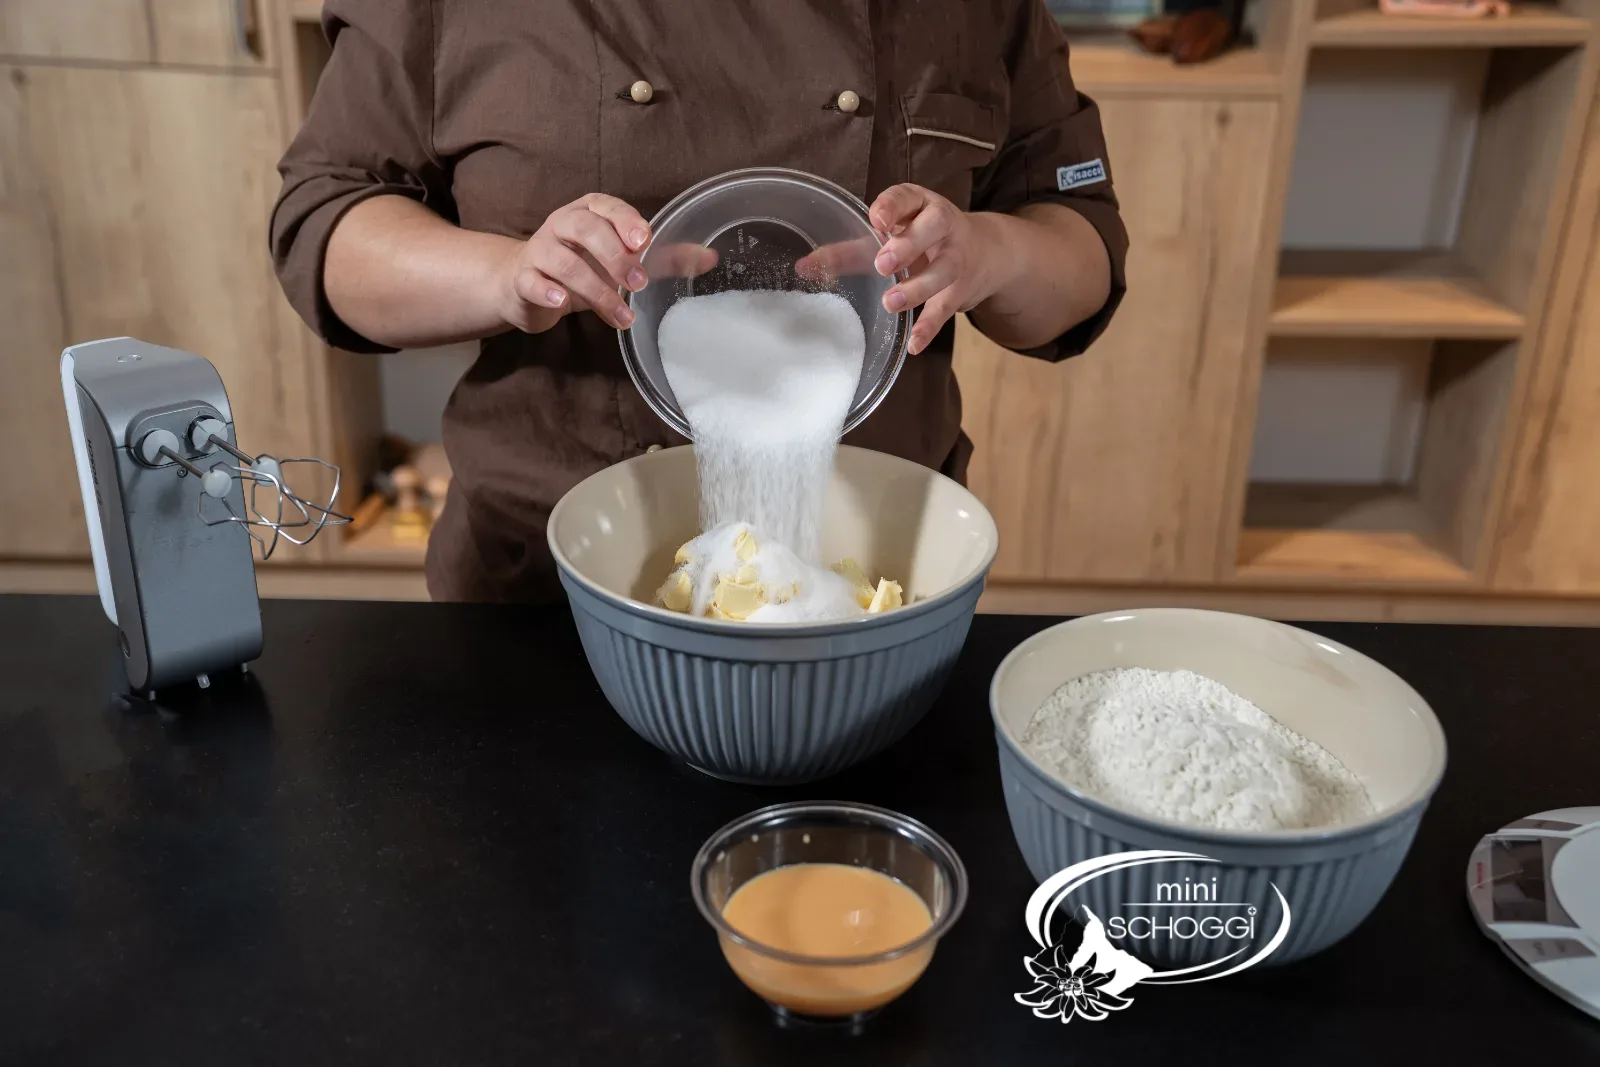
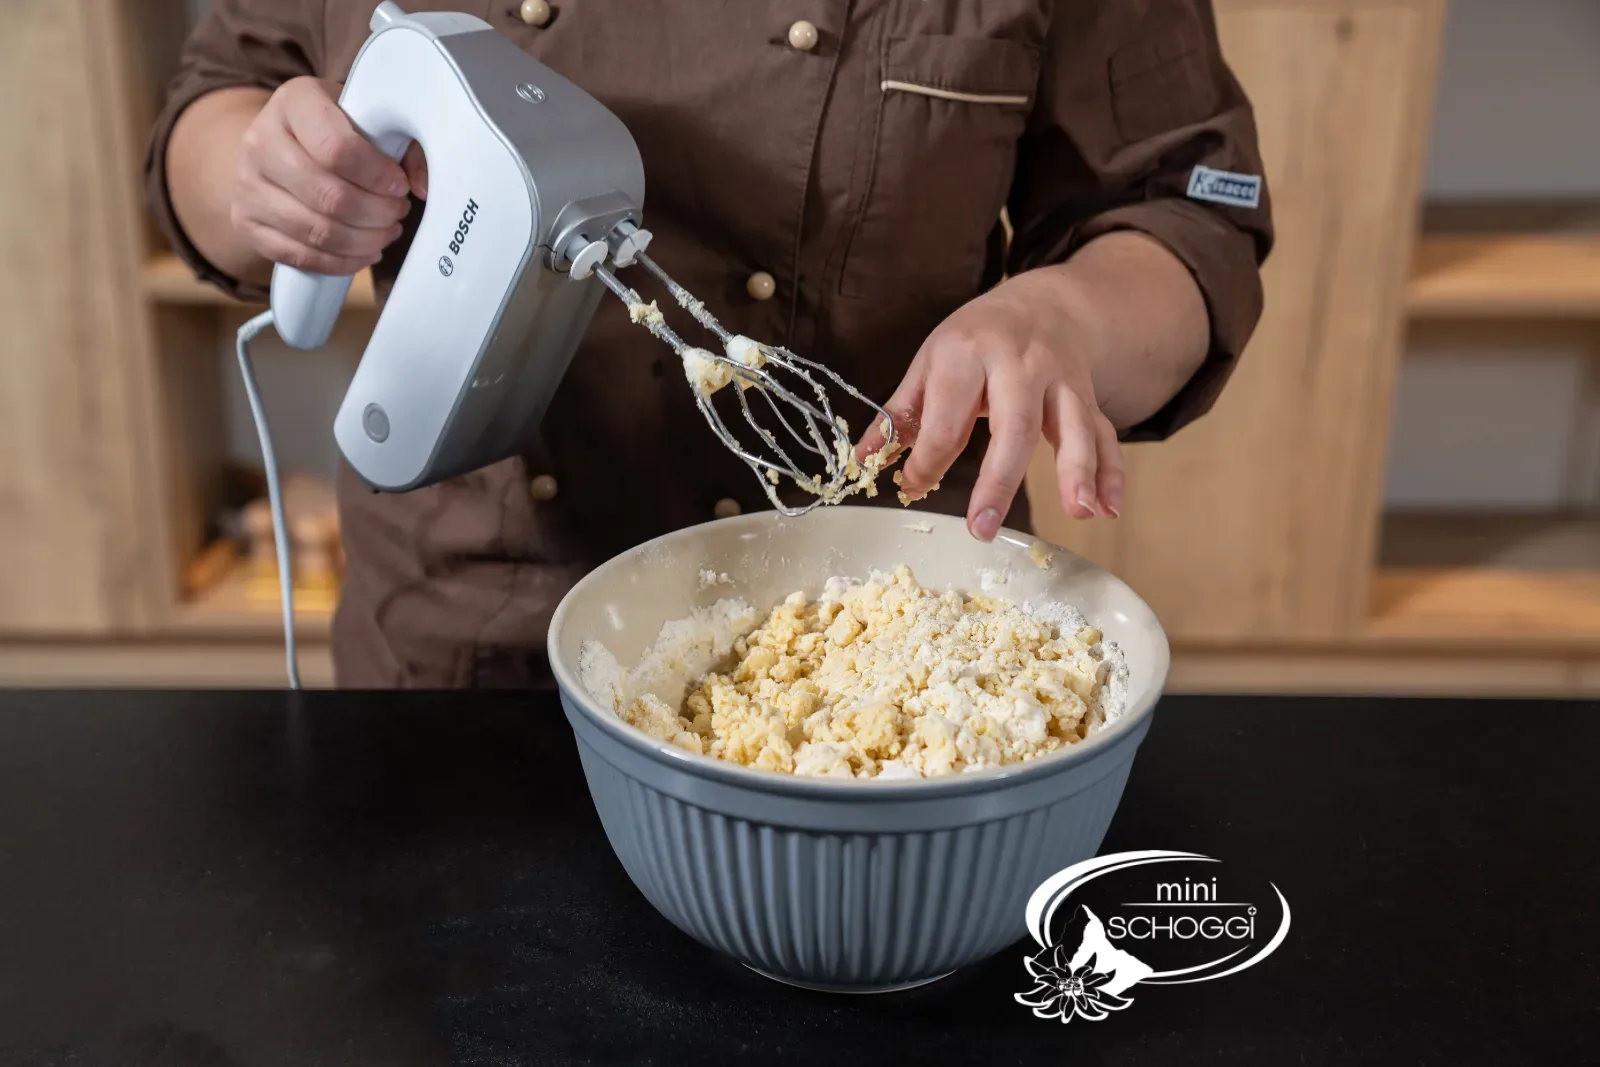
Beat butter, sugar and salt until fluffy
Cut the room-temperature butter into cubes. It should be so soft that your finger can press a hollow into it without resistance. Cold butter takes up no air, and without air the dough turns crumbly instead of short.
Add the granulated sugar, salt and vanilla and beat everything with the hand mixer for two to three minutes, until the mixture has become noticeably lighter.
2
Add egg and flour
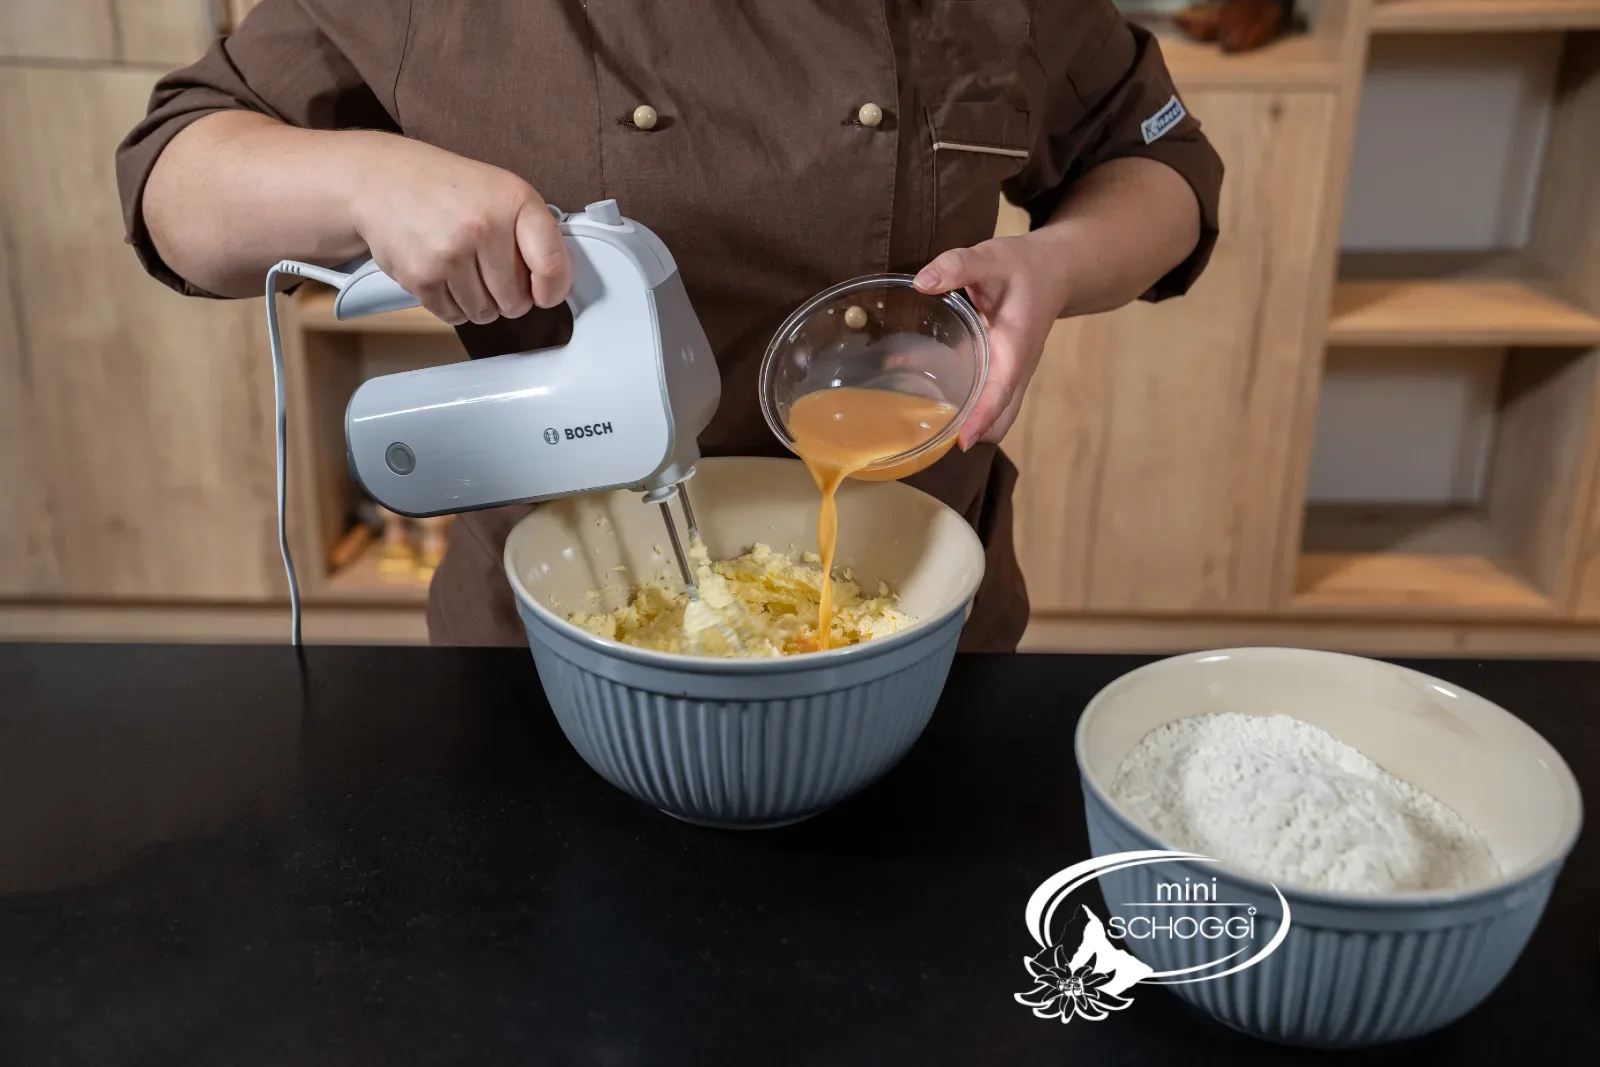
Pour the whisked whole egg in a thin stream while the mixer is running. Tipping it all in at once is the most common mistake: the egg and butter separate, and the mixture no longer turns smooth.
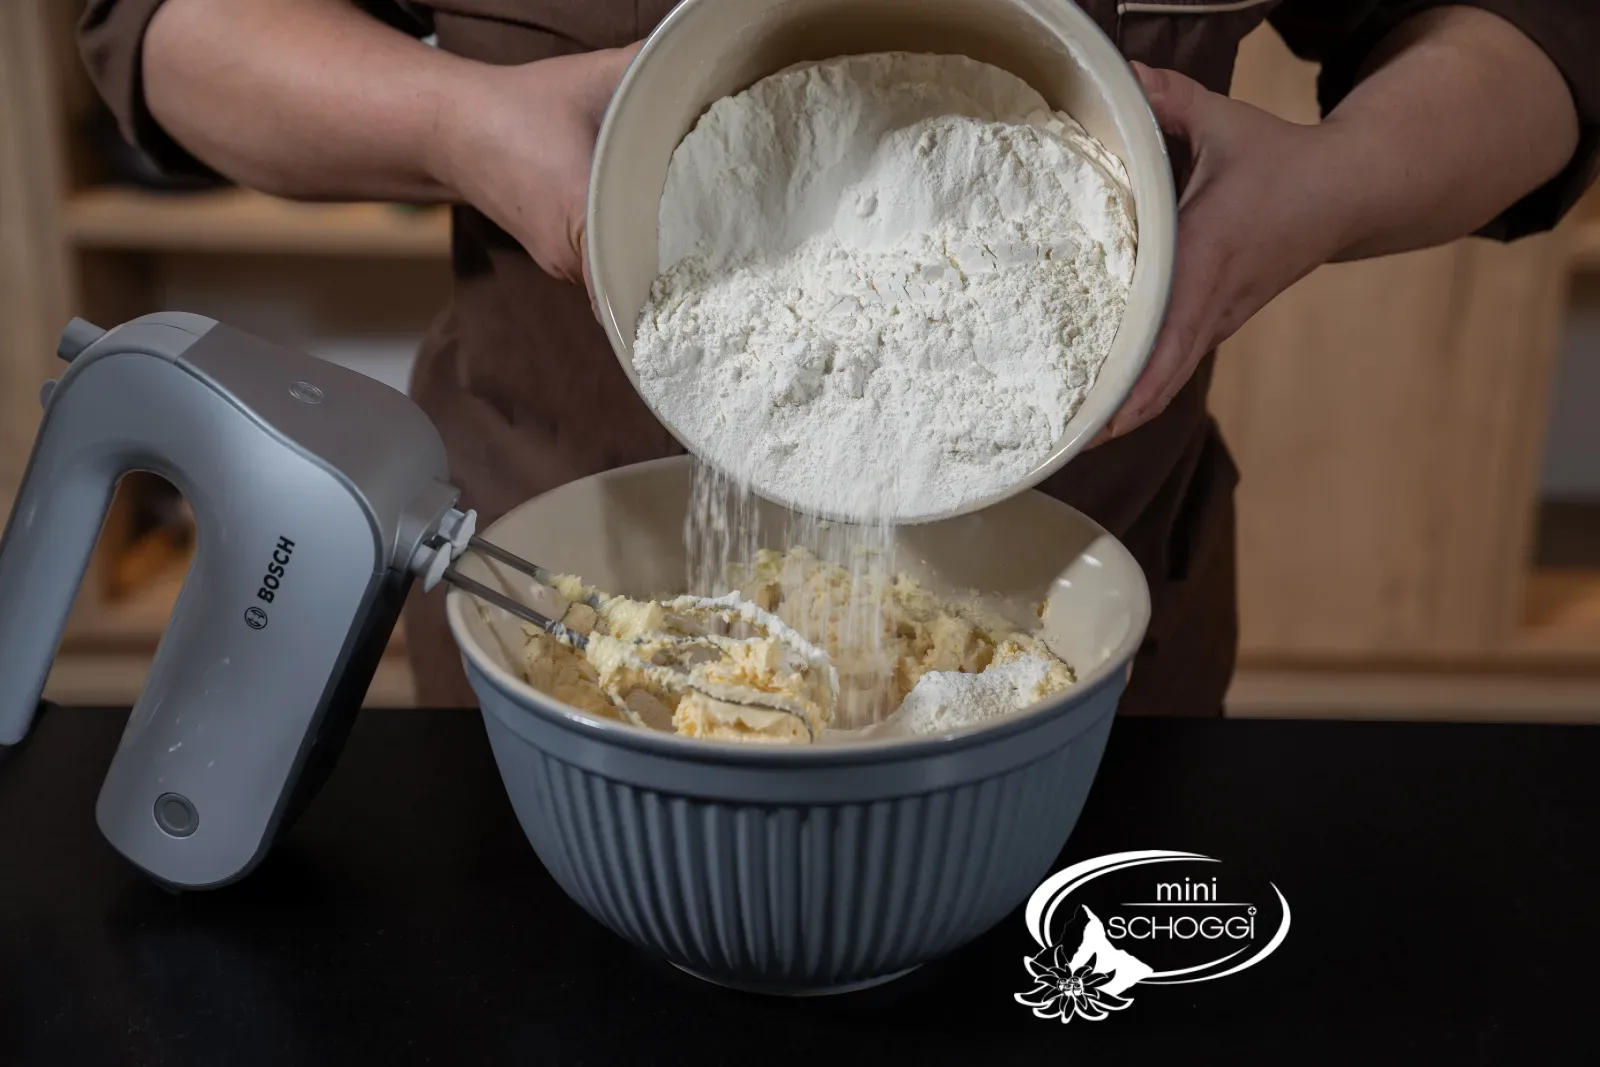
Add the White flour and mix only until no dry flour is visible. The less you work it, the shorter the dough becomes.
3
Divide the dough, work in the cocoa and chill
Bring the crumbly mixture together briefly with your hands, pressing rather than kneading. Weigh out 215 g for the light dough. Into the rest (around 205 g) you work in the cocoa until the colour is even.
Press both doughs into flat slabs, wrap them in cling film and put them in the fridge for about an hour. A flat slab chills all the way through and can then be rolled out without any effort.
Cutting out and baking
1
Rolling out
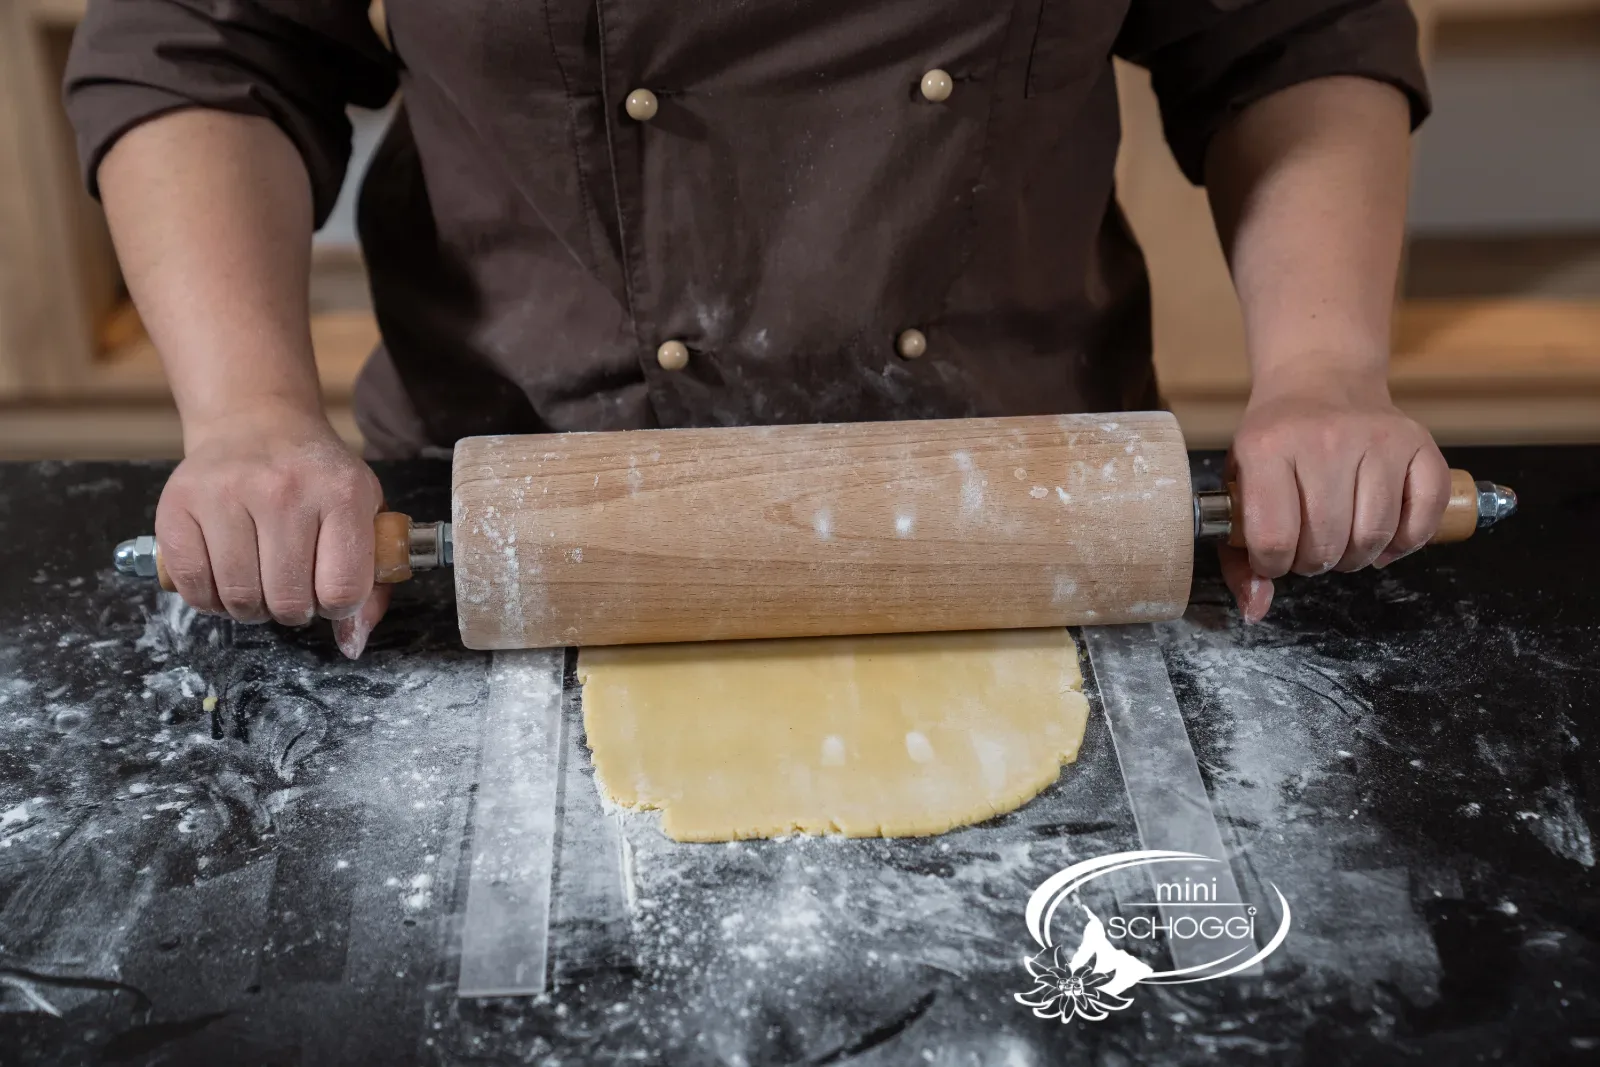
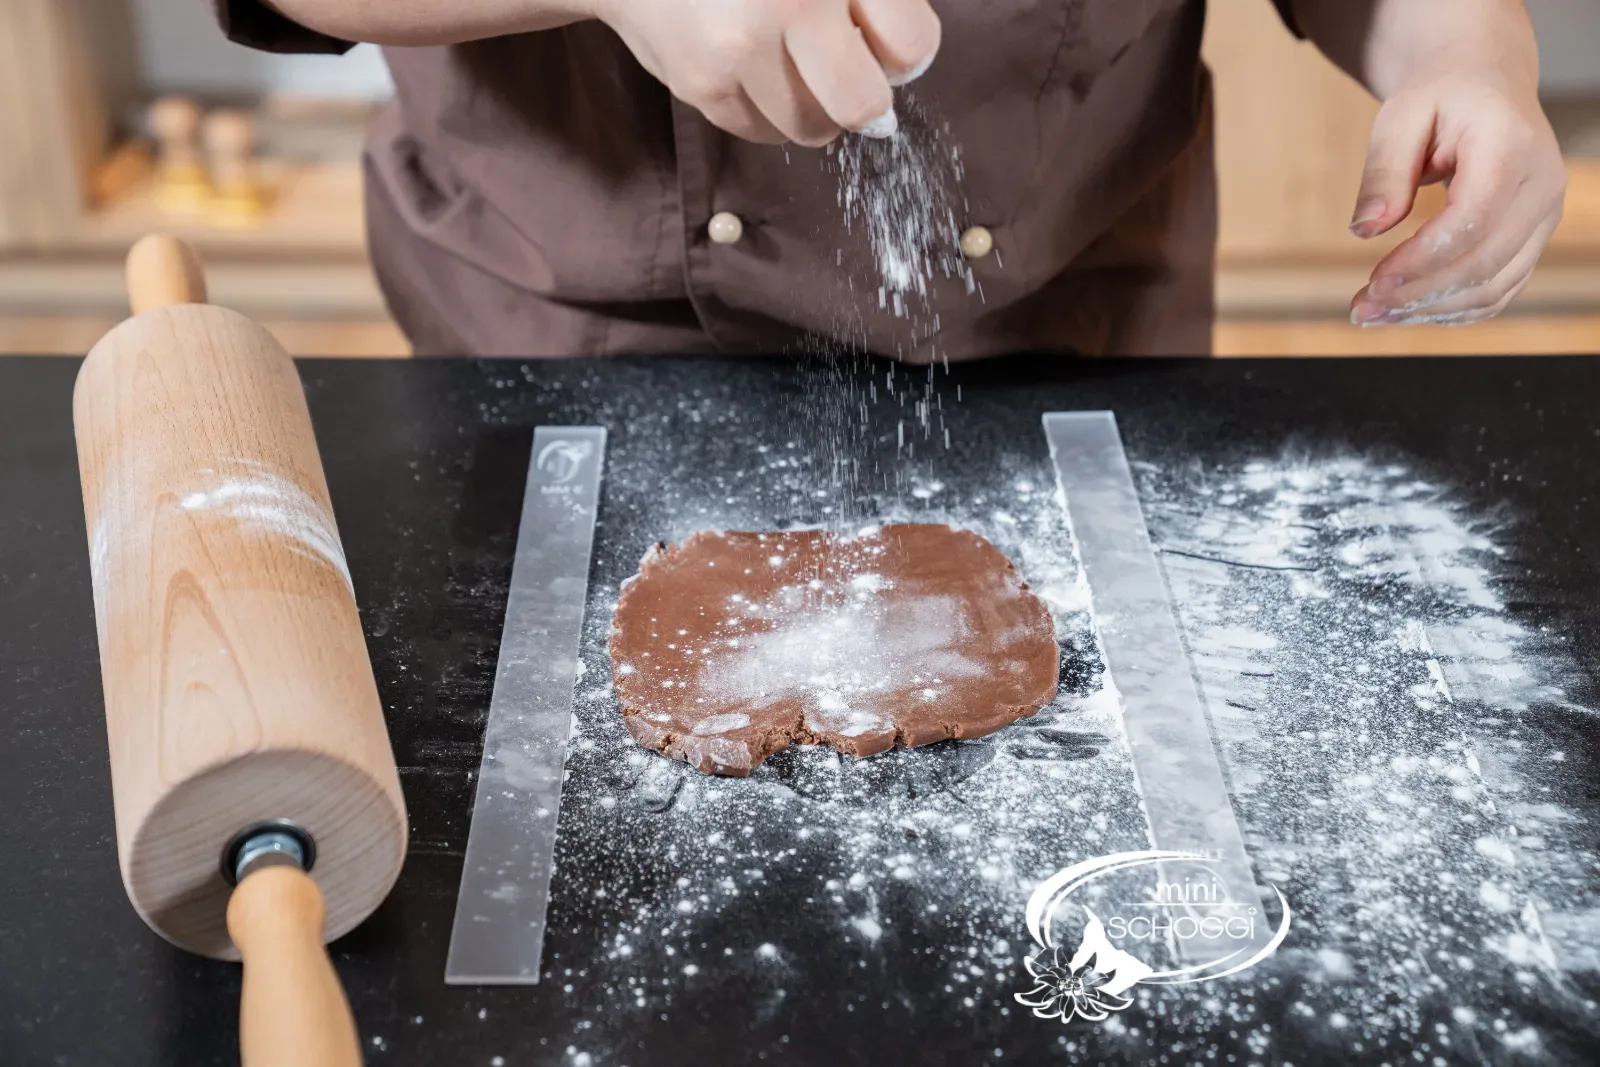
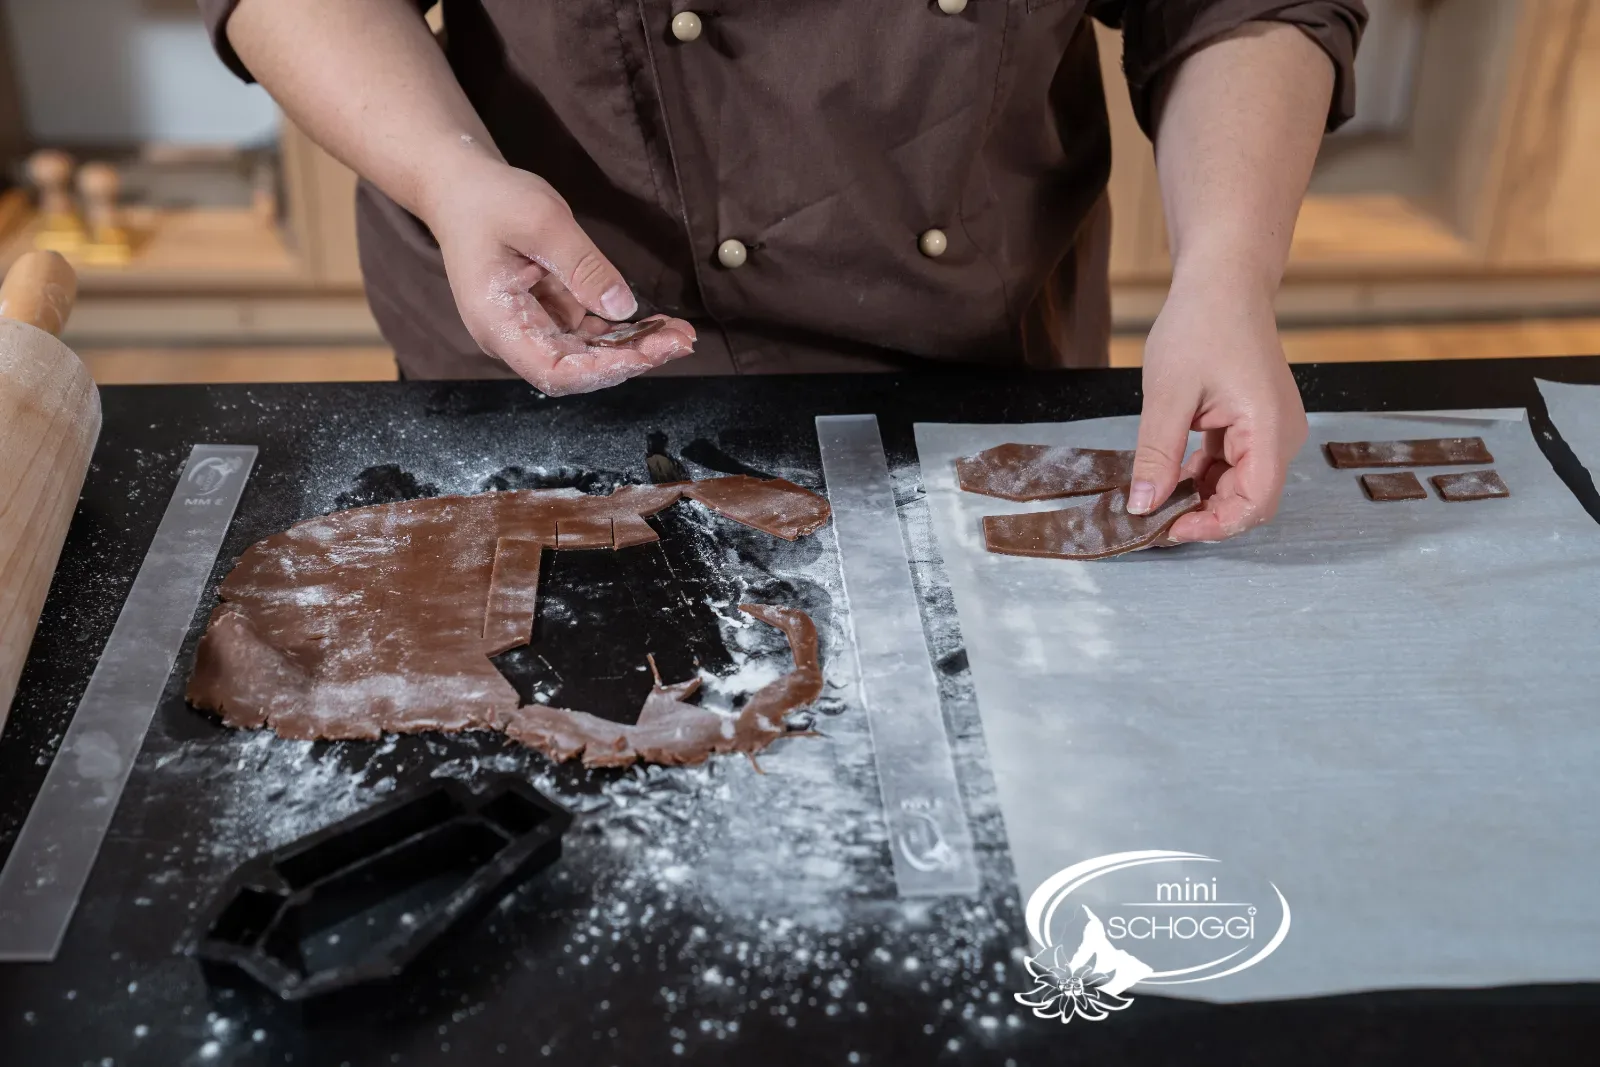
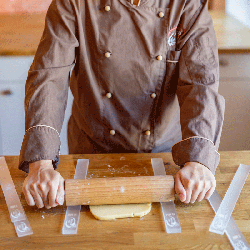
Preheat the oven to 190 °C fan. Roll out the dough on a little flour to a thickness of 3 mm. With rolling guides it comes out the same thickness everywhere, and the walls later fit neatly against each other.
2
Cut out the coffin parts
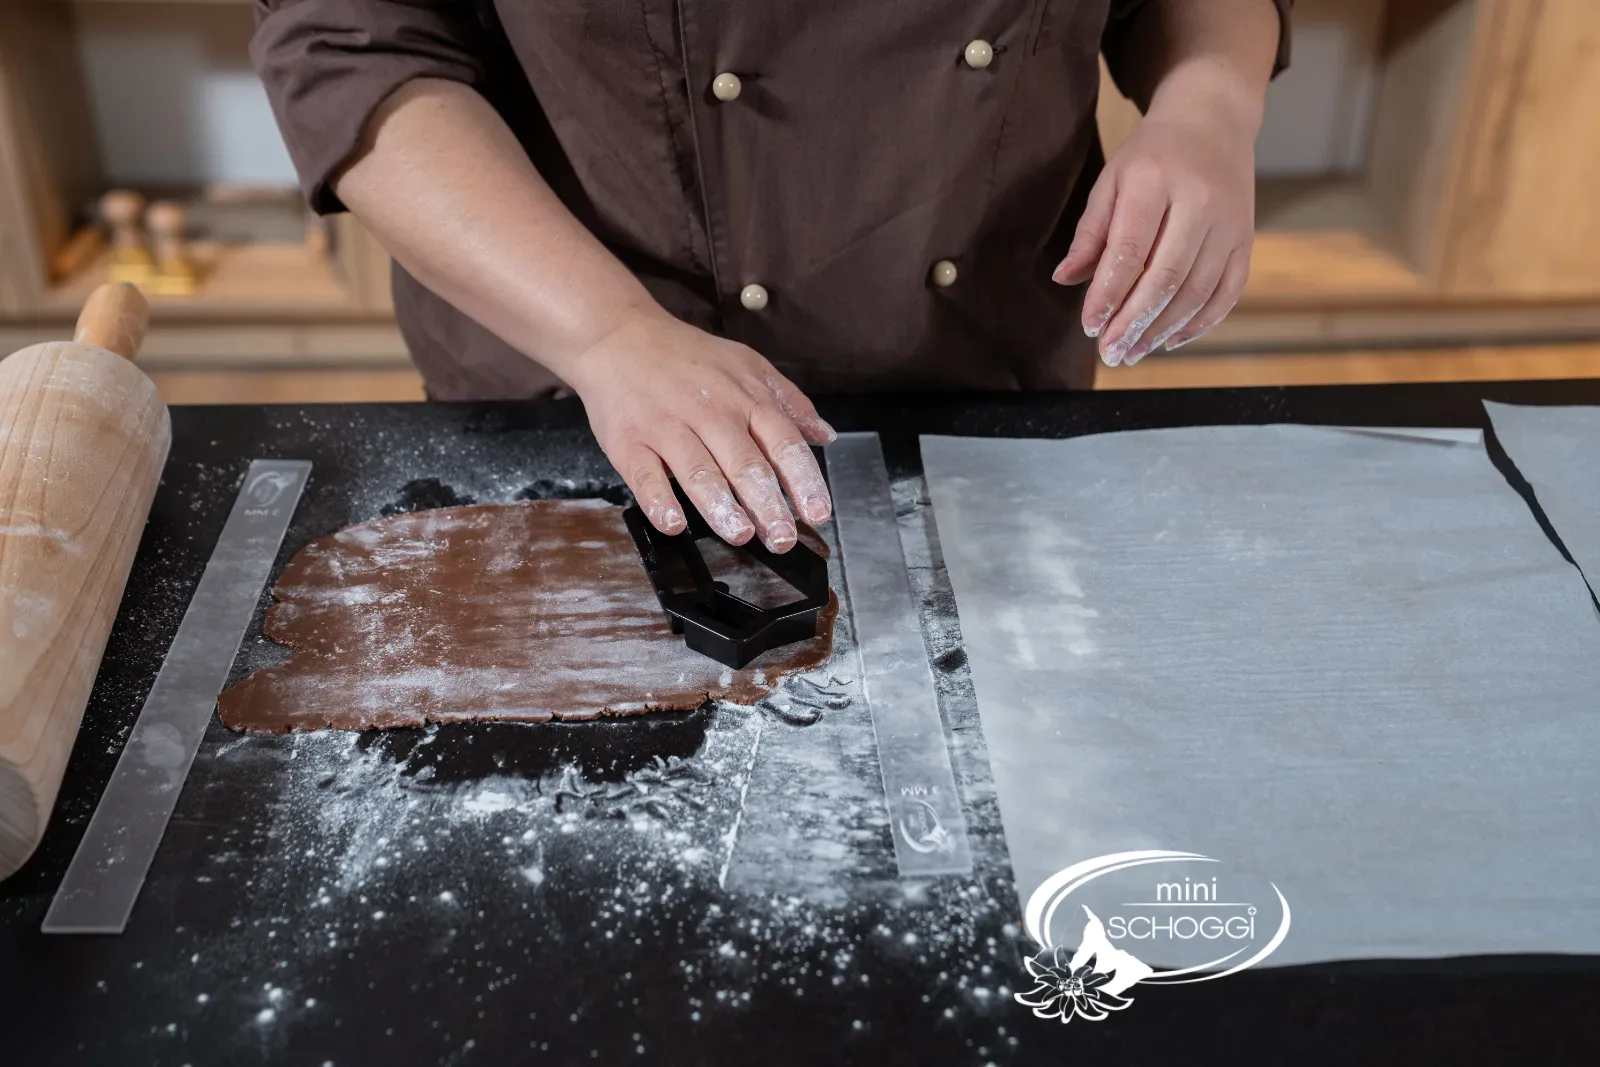
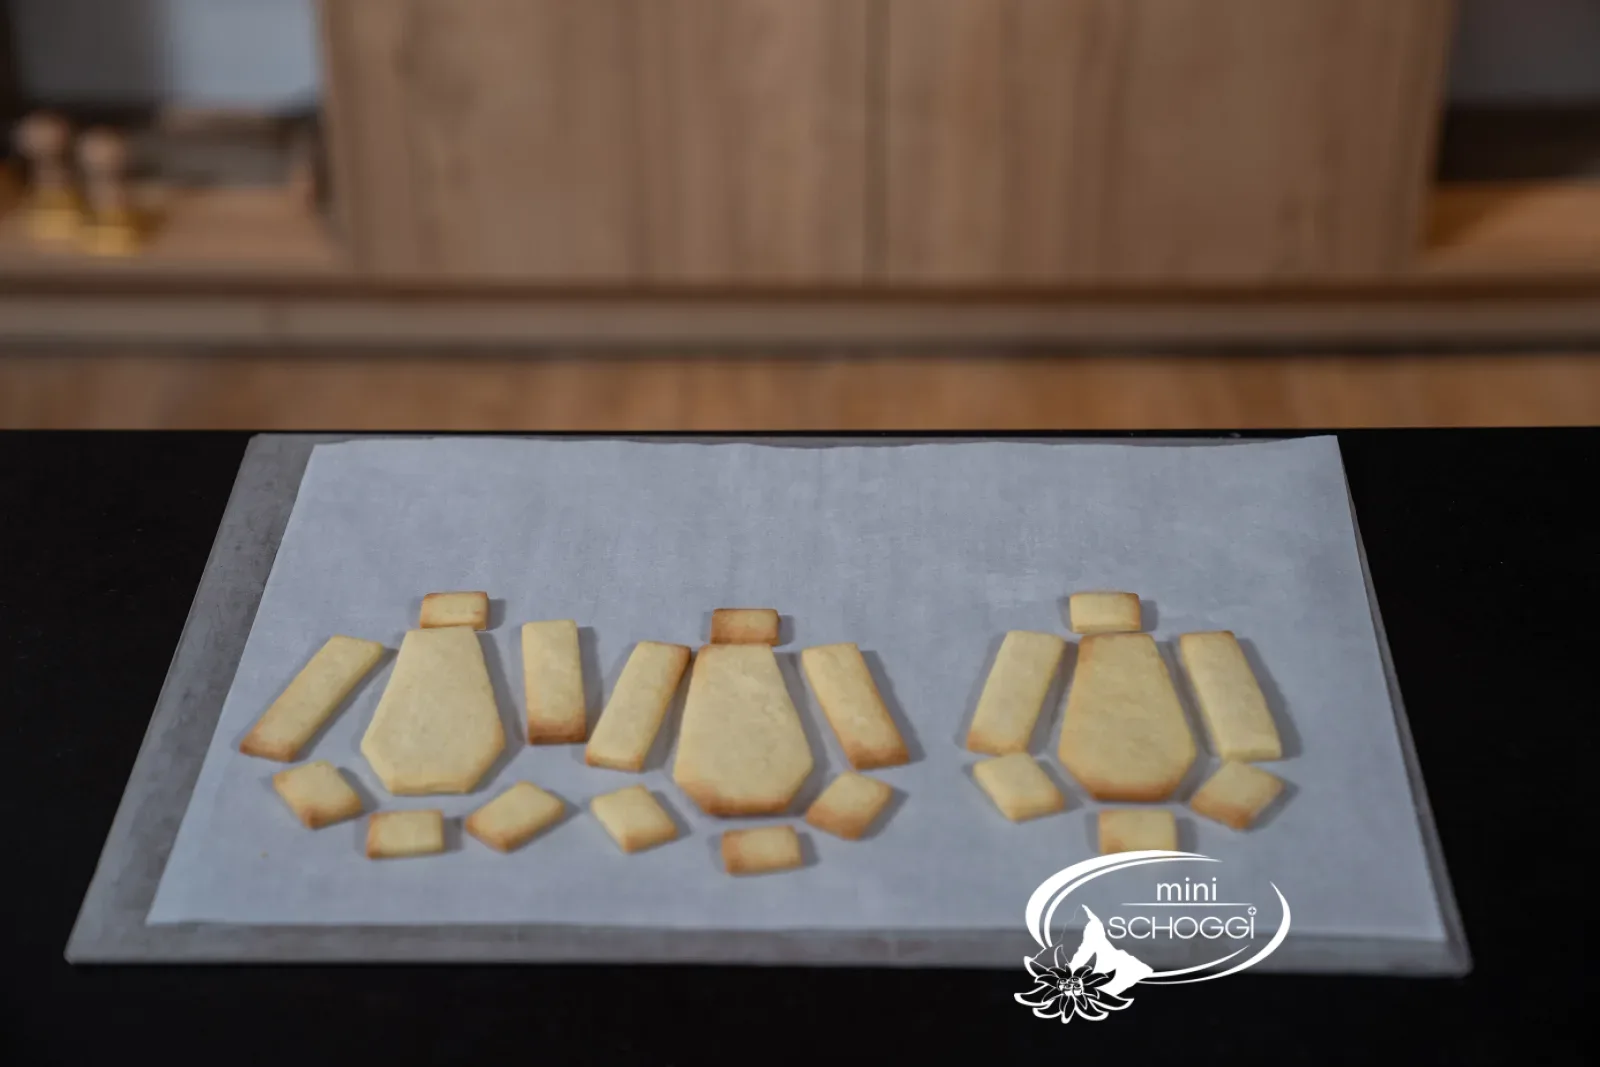
Cut out the parts with the Cookie cutter 3D coffin. The cutter has four shapes, and you need each one twice per coffin: twice the coffin shape for the base and lid, plus two long walls, two angled walls and the head and foot ends. That makes eight parts per coffin.
Lay the parts with a little space between them on a tray with baking paper.
3
Bake and cool
Bake the parts for 9 minutes at 190 °C fan, until the edges take on just a very slight colour. Let them cool completely on the tray. While warm they are still soft and break when being assembled.
Assembling
1
Prepare the chocolate
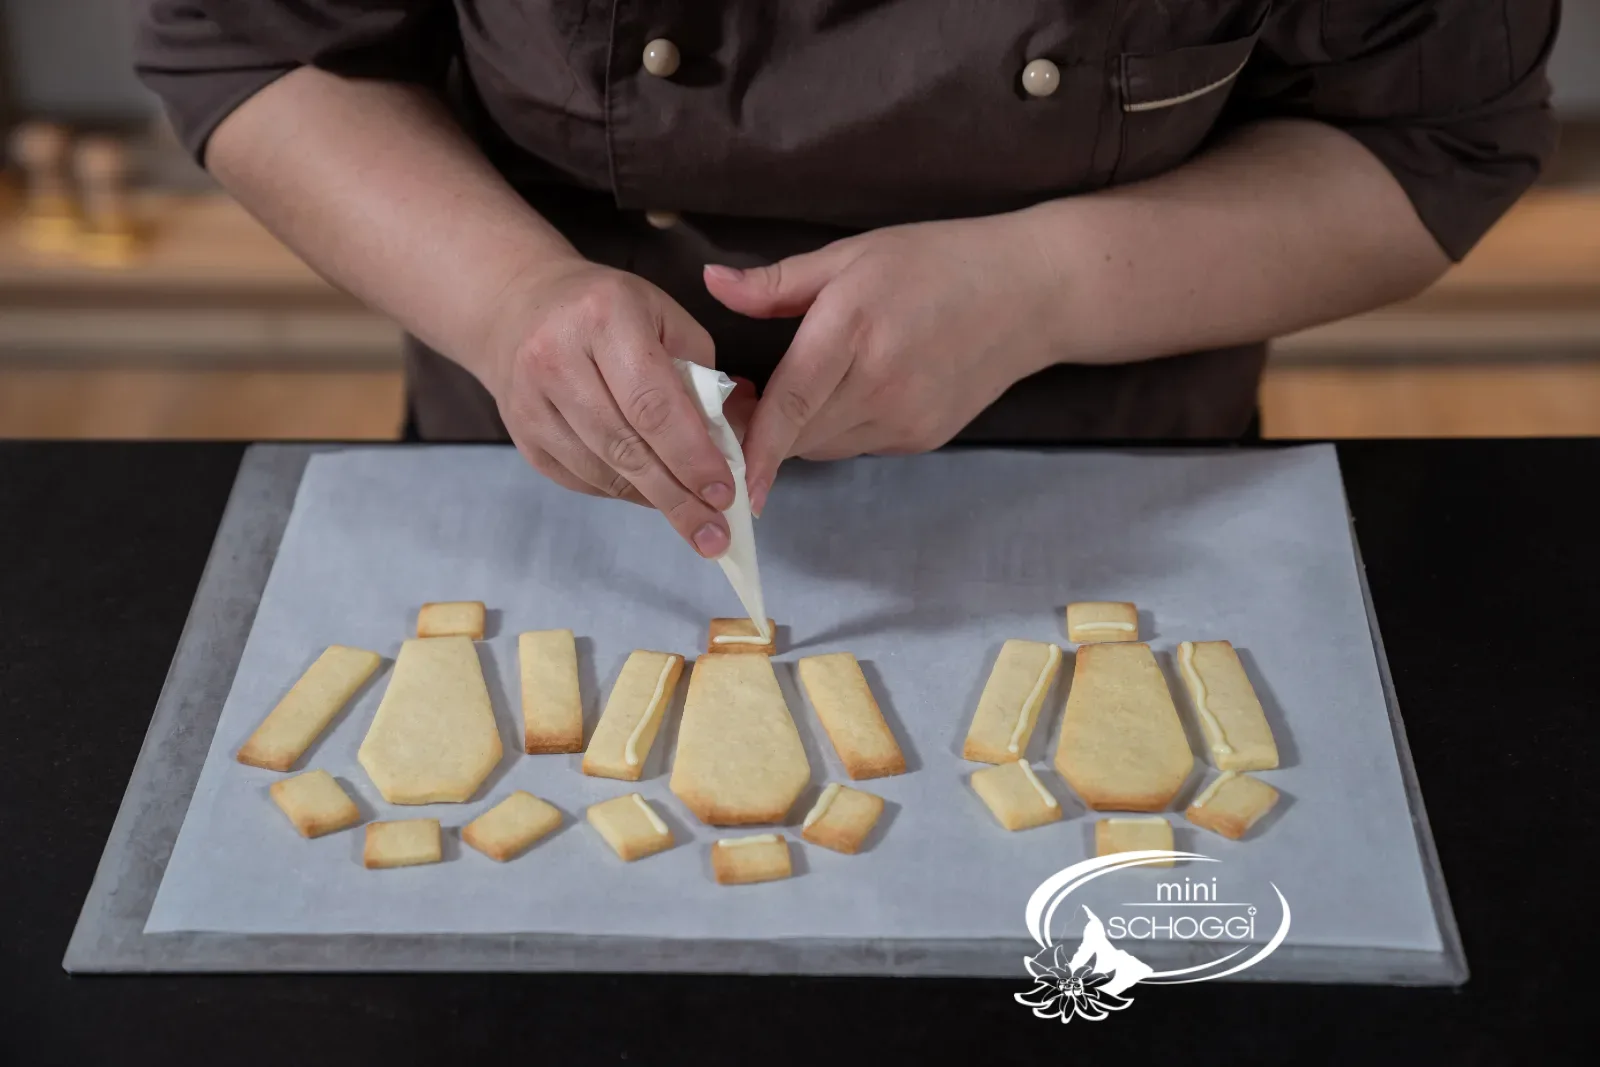
For sticking the parts together you use tempered couverture, white for the light coffins, dark for the dark ones. If you prefer not to temper, use chocolate that is simply melted in the microwave, or Deco melts or Cake icing. Fill the chocolate into a small Piping bag.
2
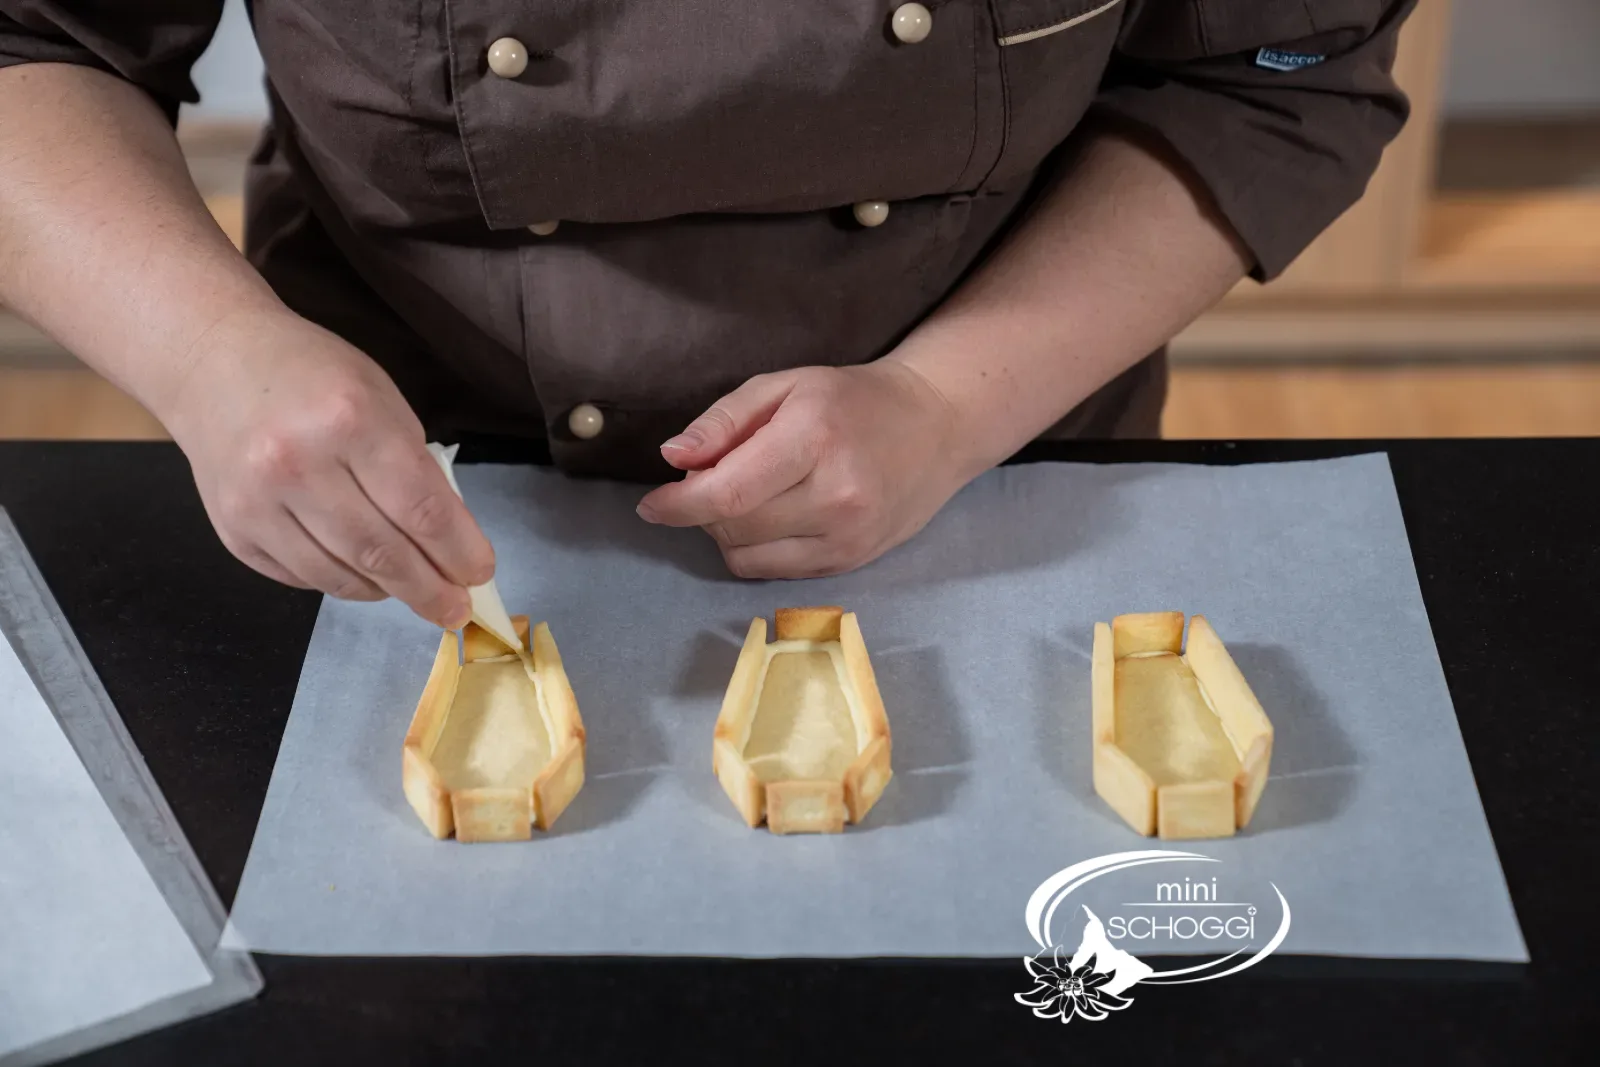
Attach the walls
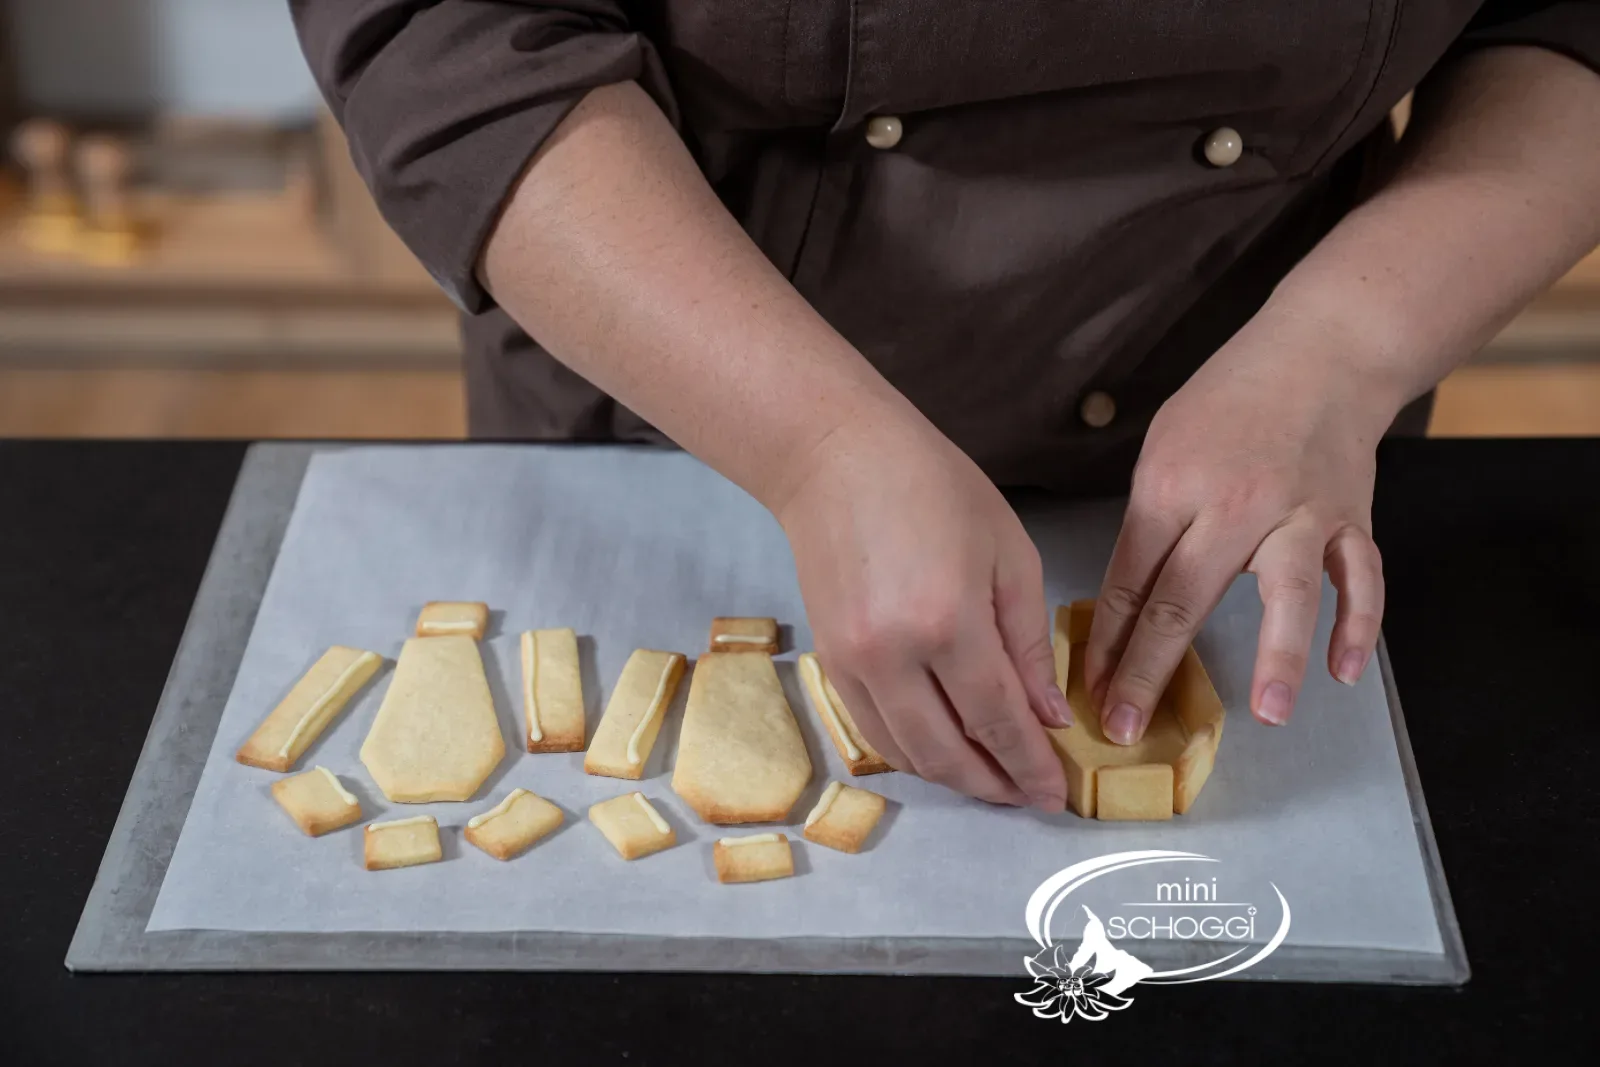
Pipe a fine line of chocolate onto the edges of the walls. Important: the chocolate always goes on the upper side of the biscuit, that is the side that faced up during baking. This side later faces inwards, the smooth underside stays visible on the outside.
Stand the walls one after another on the edge of the base and press them in place briefly.
3
Reinforce the joints from the inside
Finally, pipe a line of chocolate into all the joints on the inside. This makes the coffin stable and tight for the filling. Let the chocolate set before you carry on.
Filling
1
Prepare the Ganache
For the dark coffins, bring the full cream and butter to the boil, pour both over the Dark couverture, let it stand briefly and then stir to a smooth, glossy mass. You will find the detailed instructions in the recipe for Carac. Let the Ganache firm up a little so that it can be piped.
2
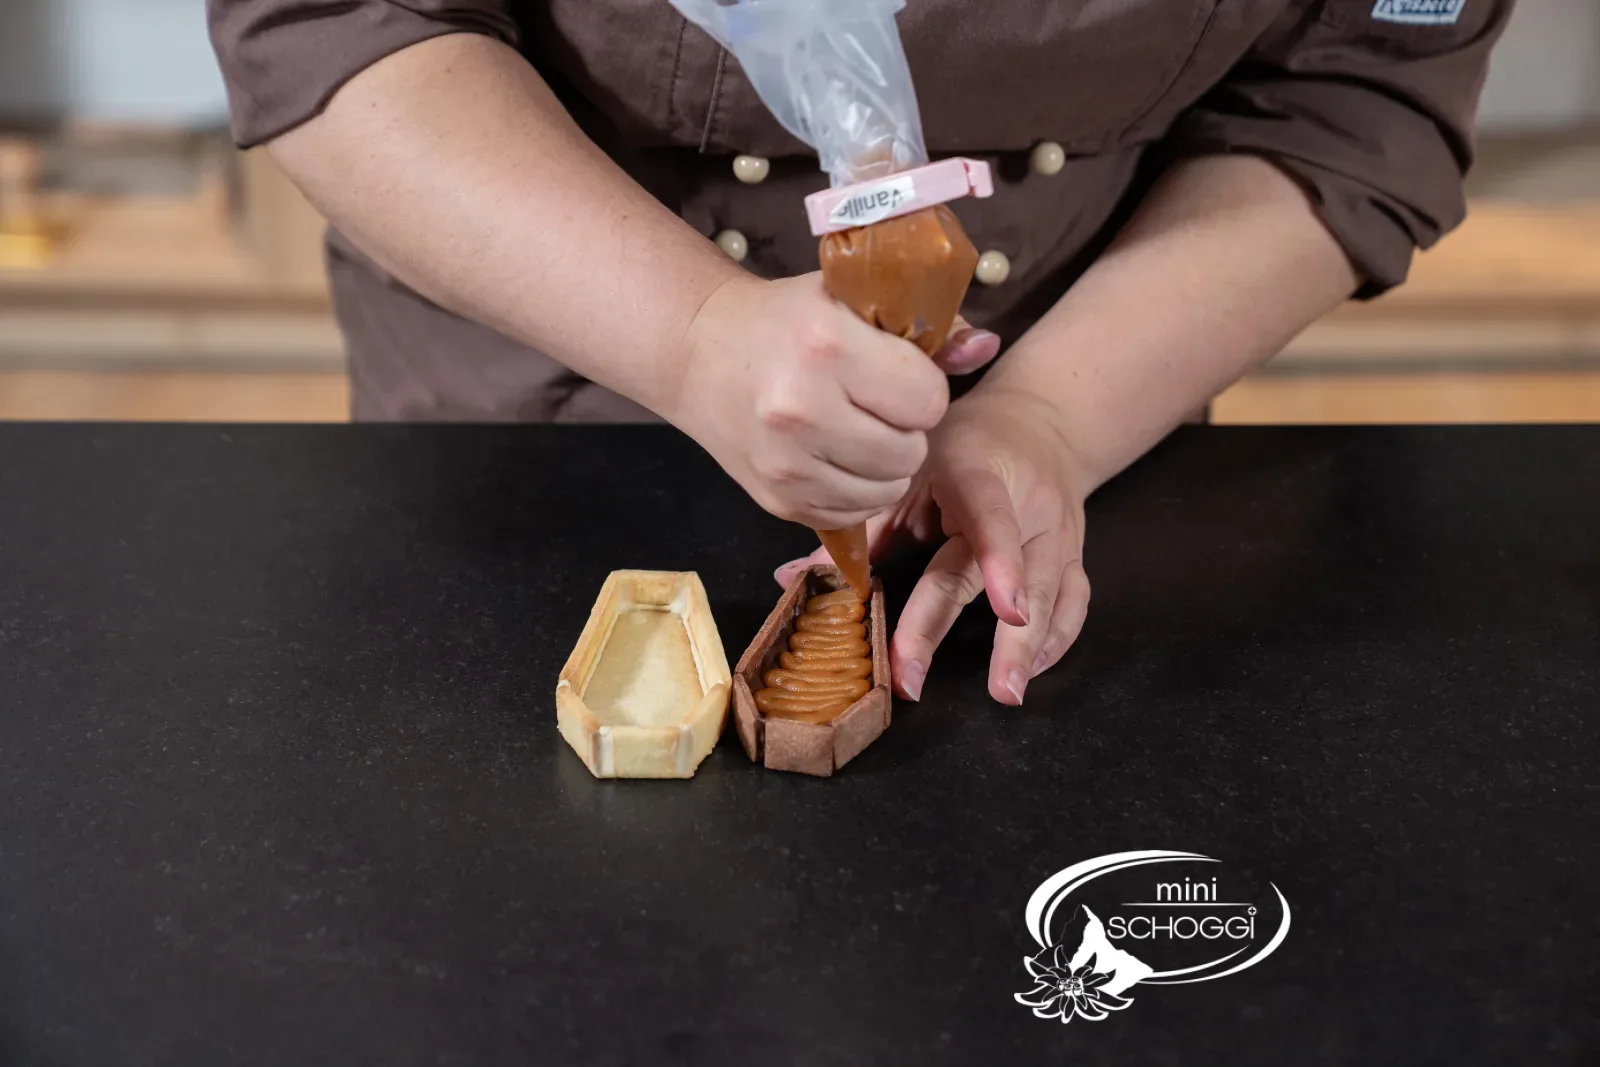
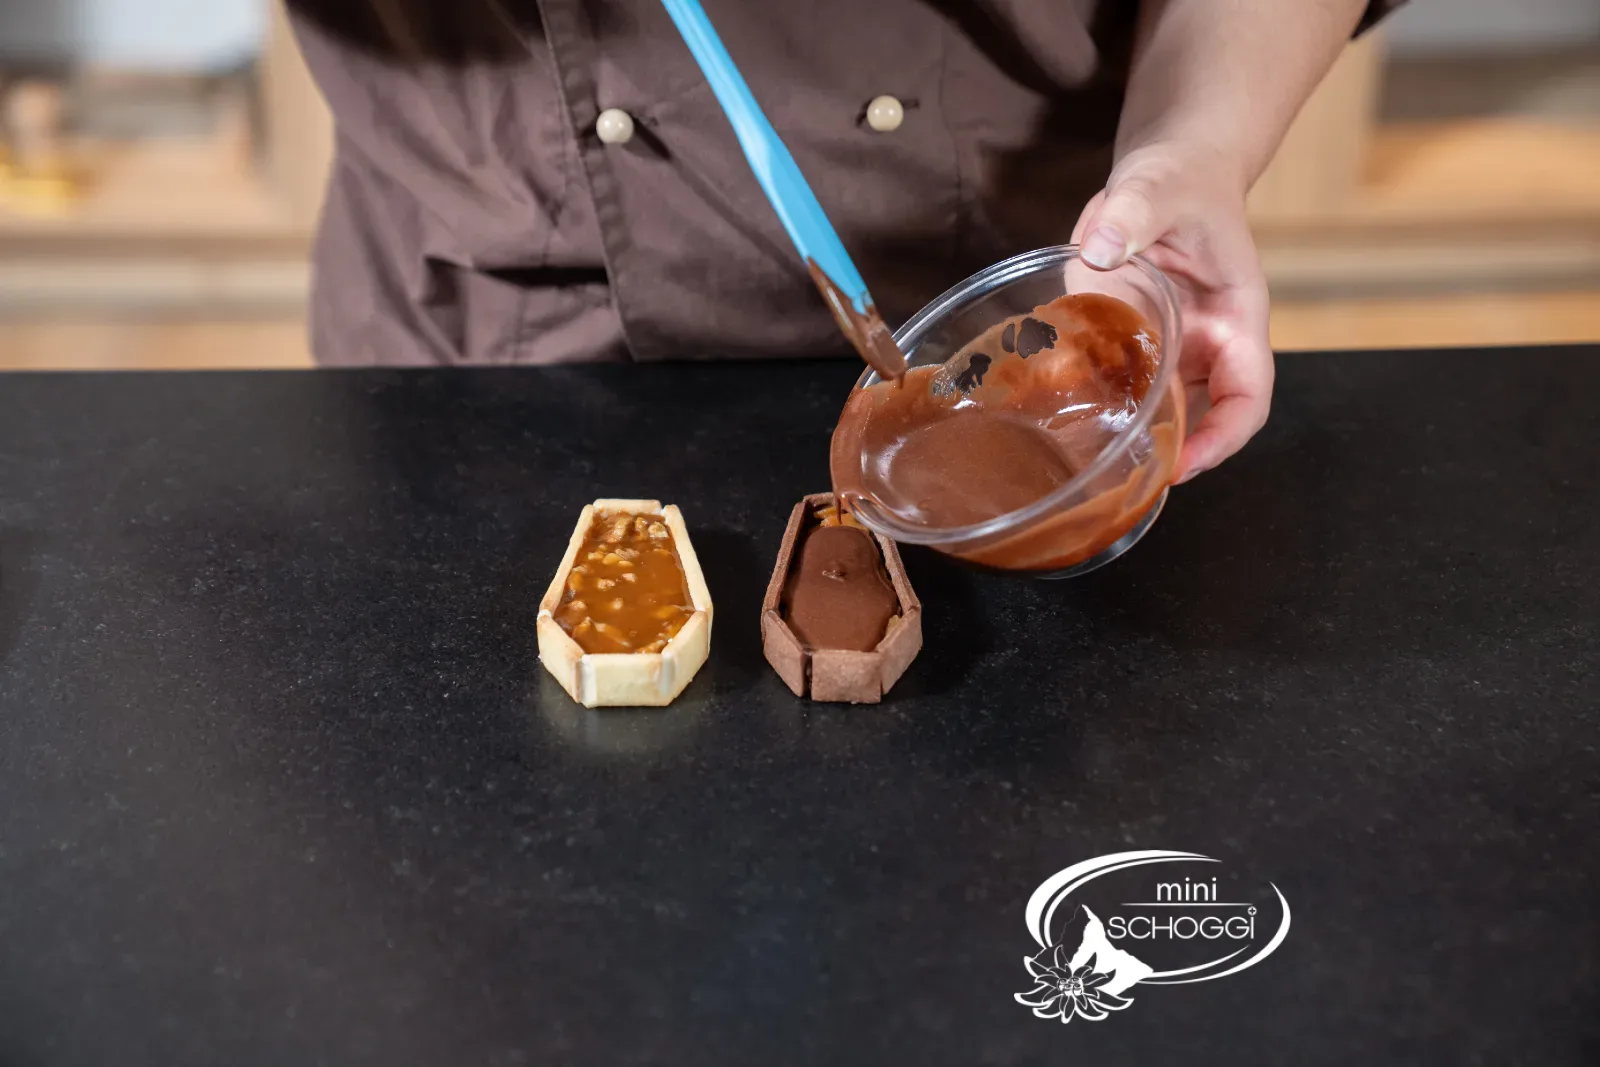
Fill the dark coffins
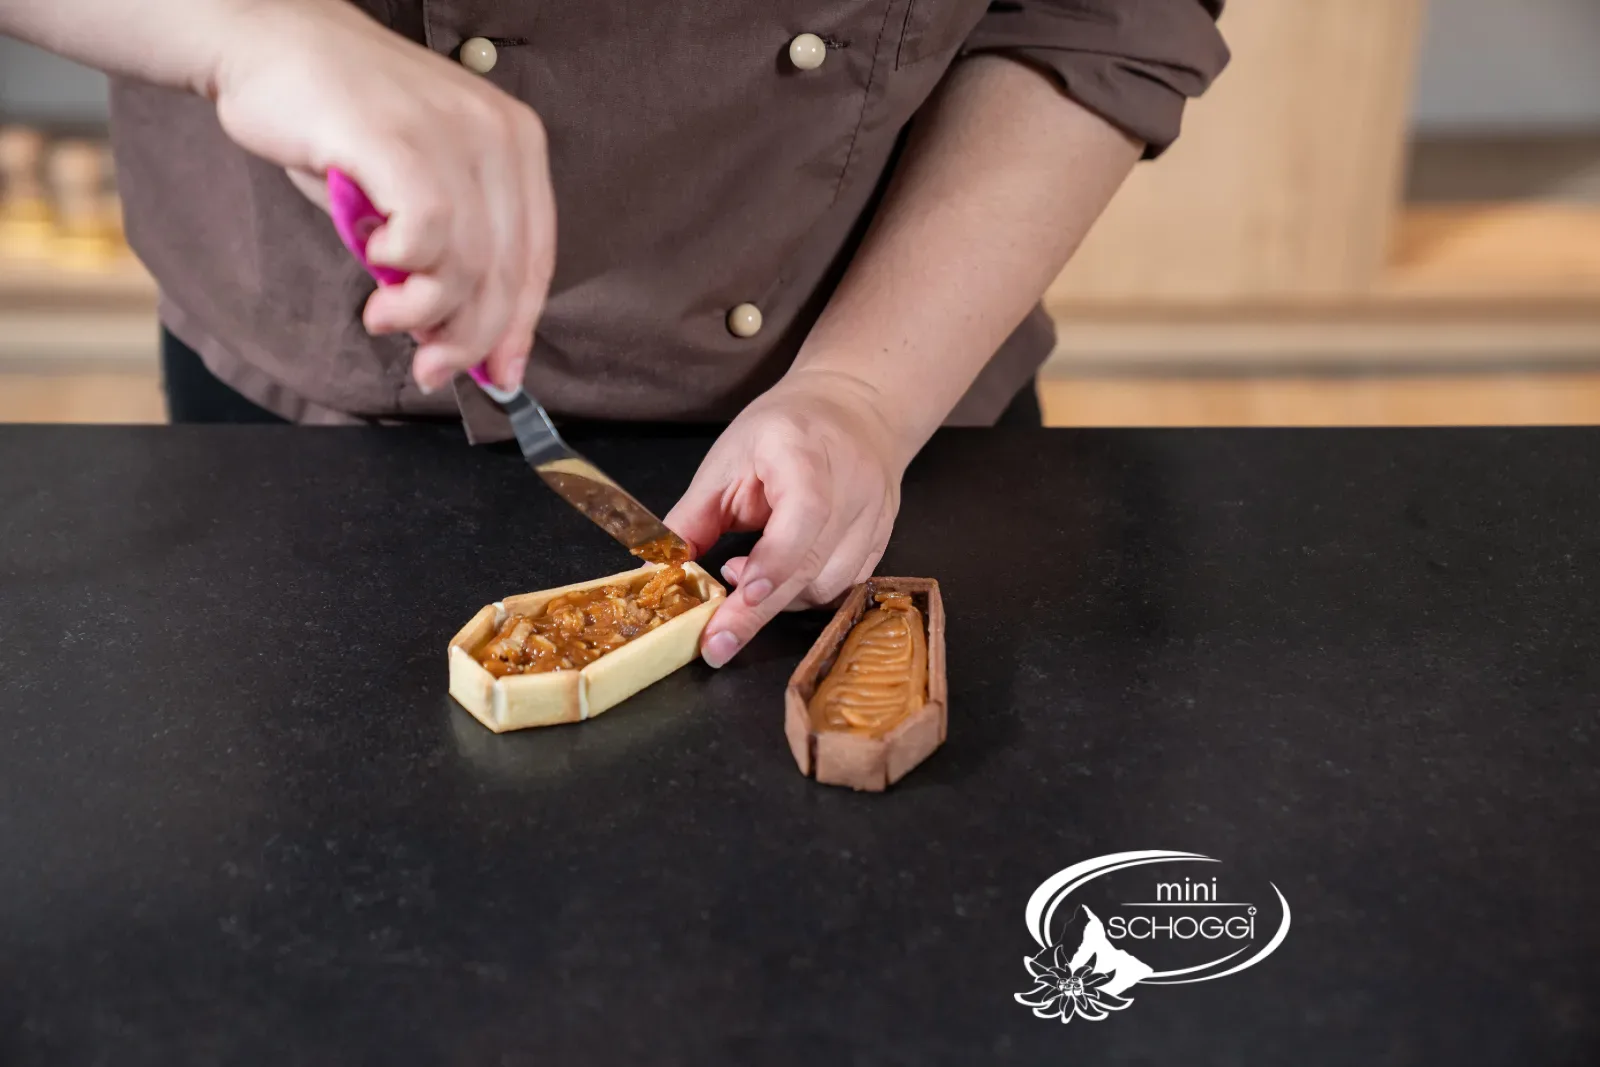
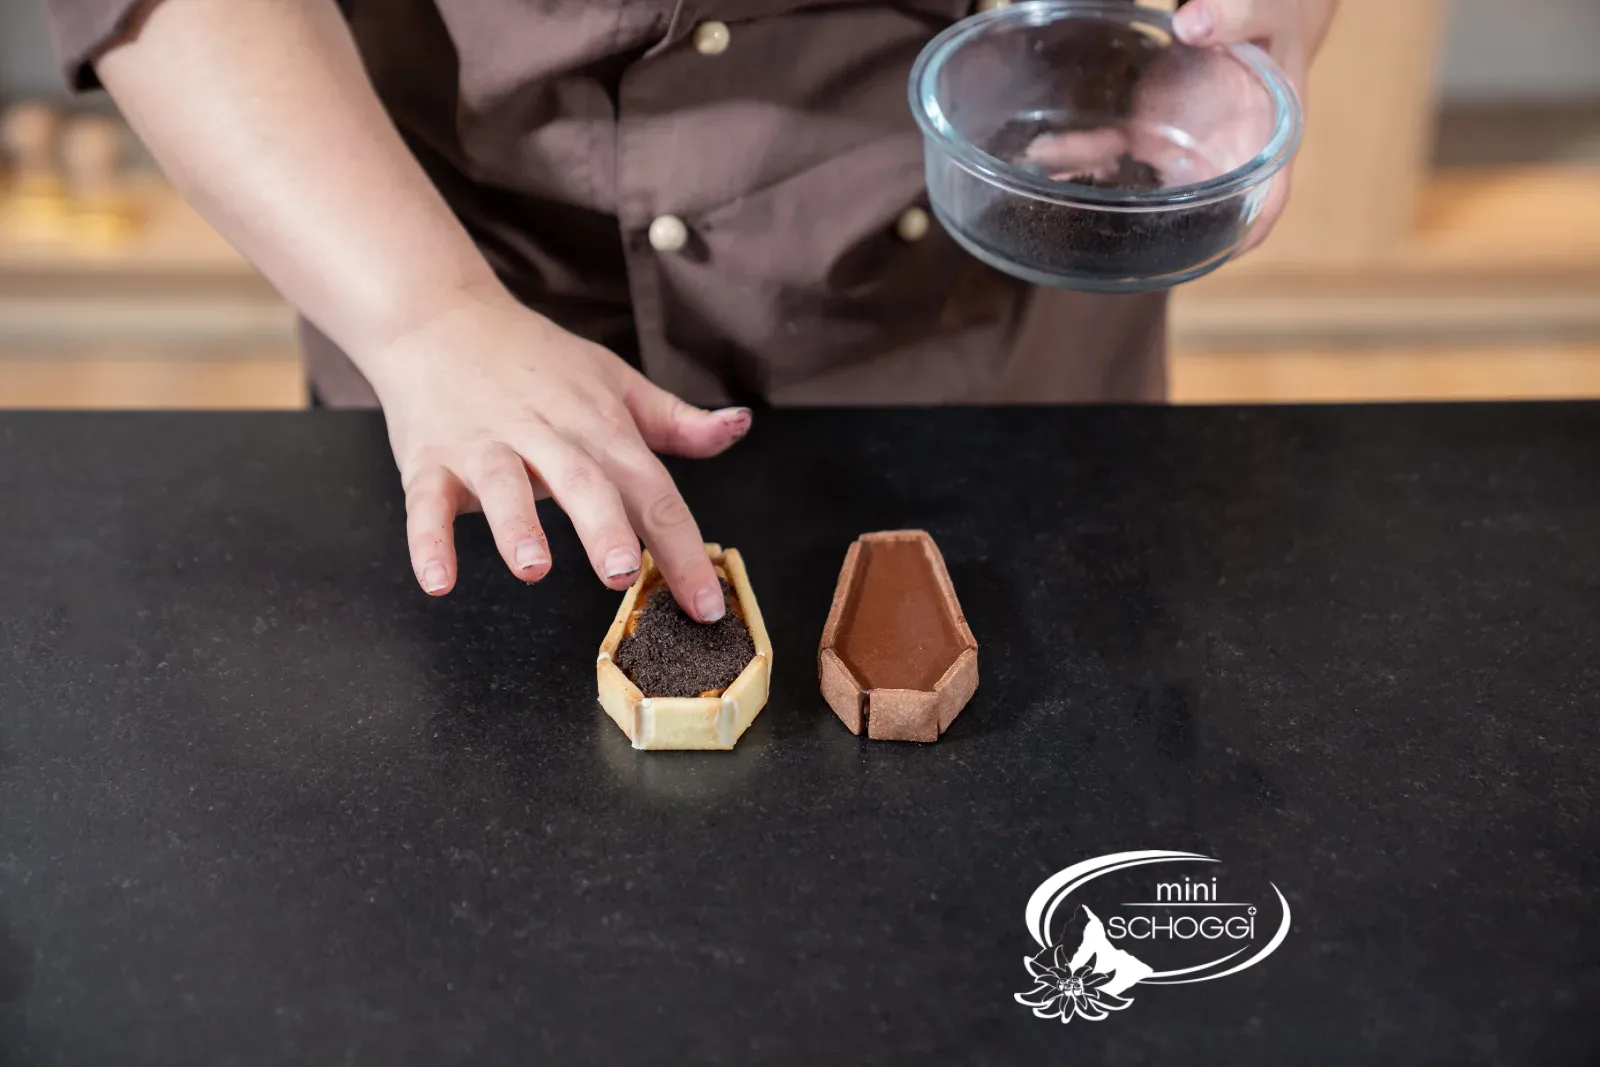
First pipe the Caramel cream into the dark coffins and smooth it out. The Ganache goes on top, up to just below the rim.
3
Fill the light coffins
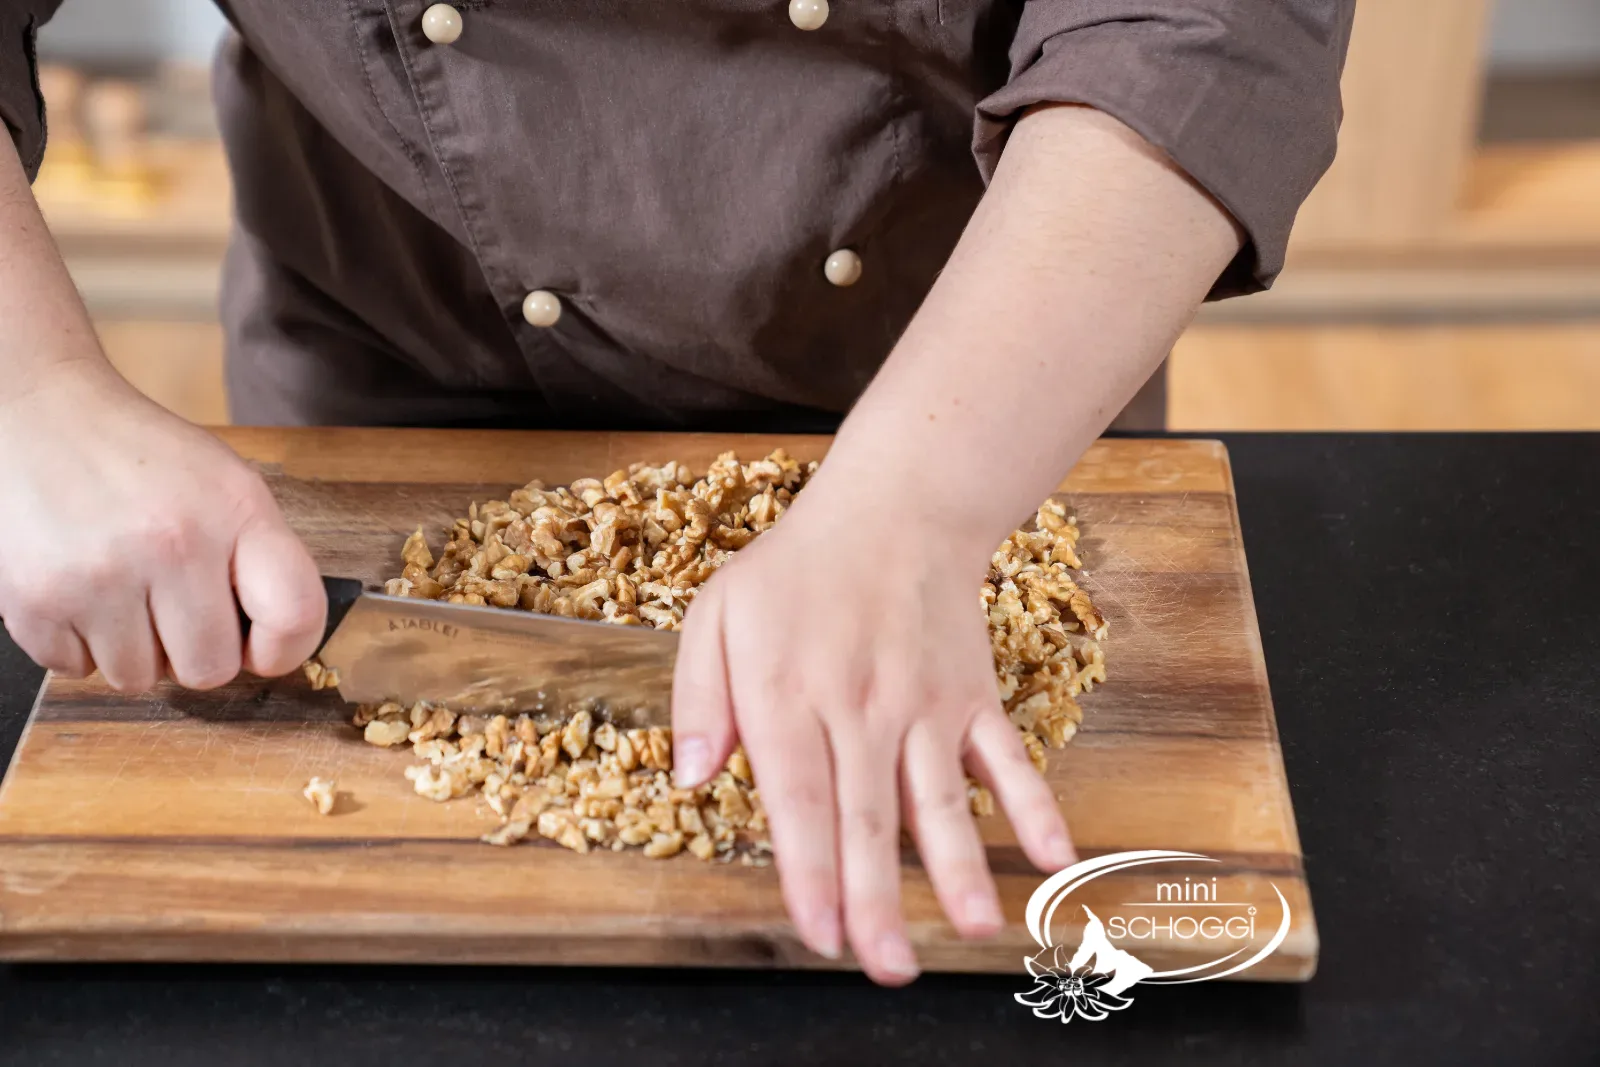
Mix the chopped walnuts into the Caramel cream, fill the light coffins with it and smooth the surface. Finally, sprinkle the Oreo crumbs over the top, it looks like fresh soil.
Decorating
1
Decorate the lids
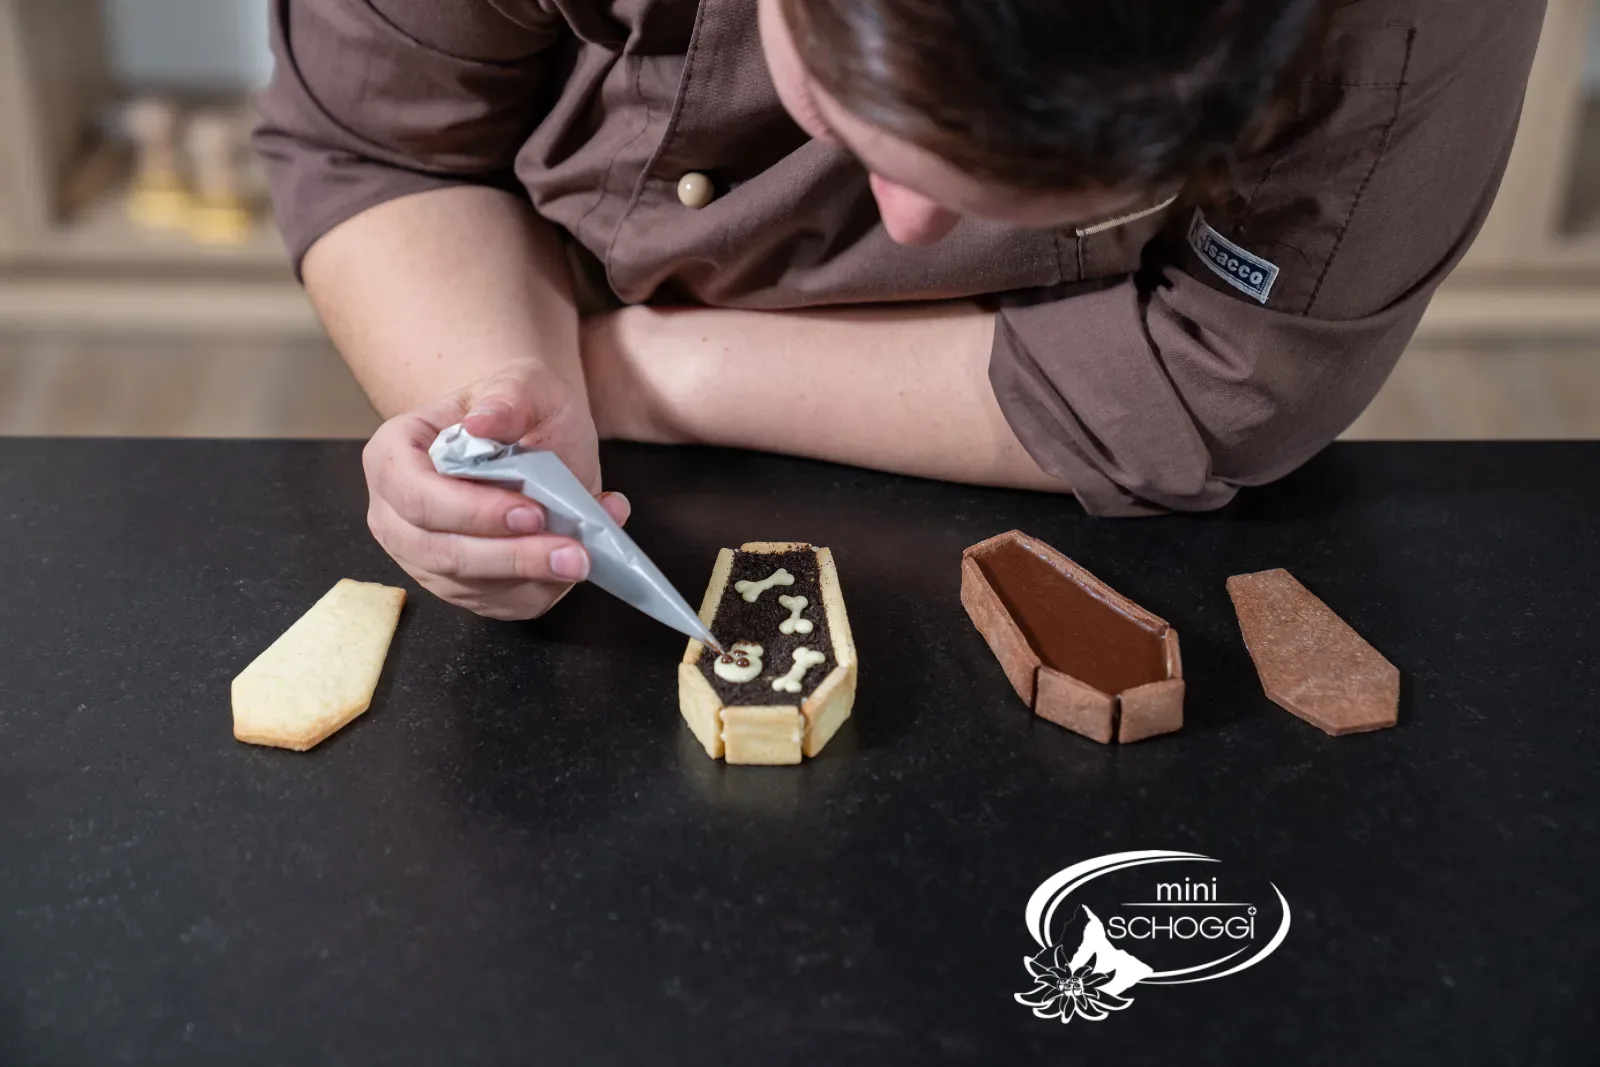
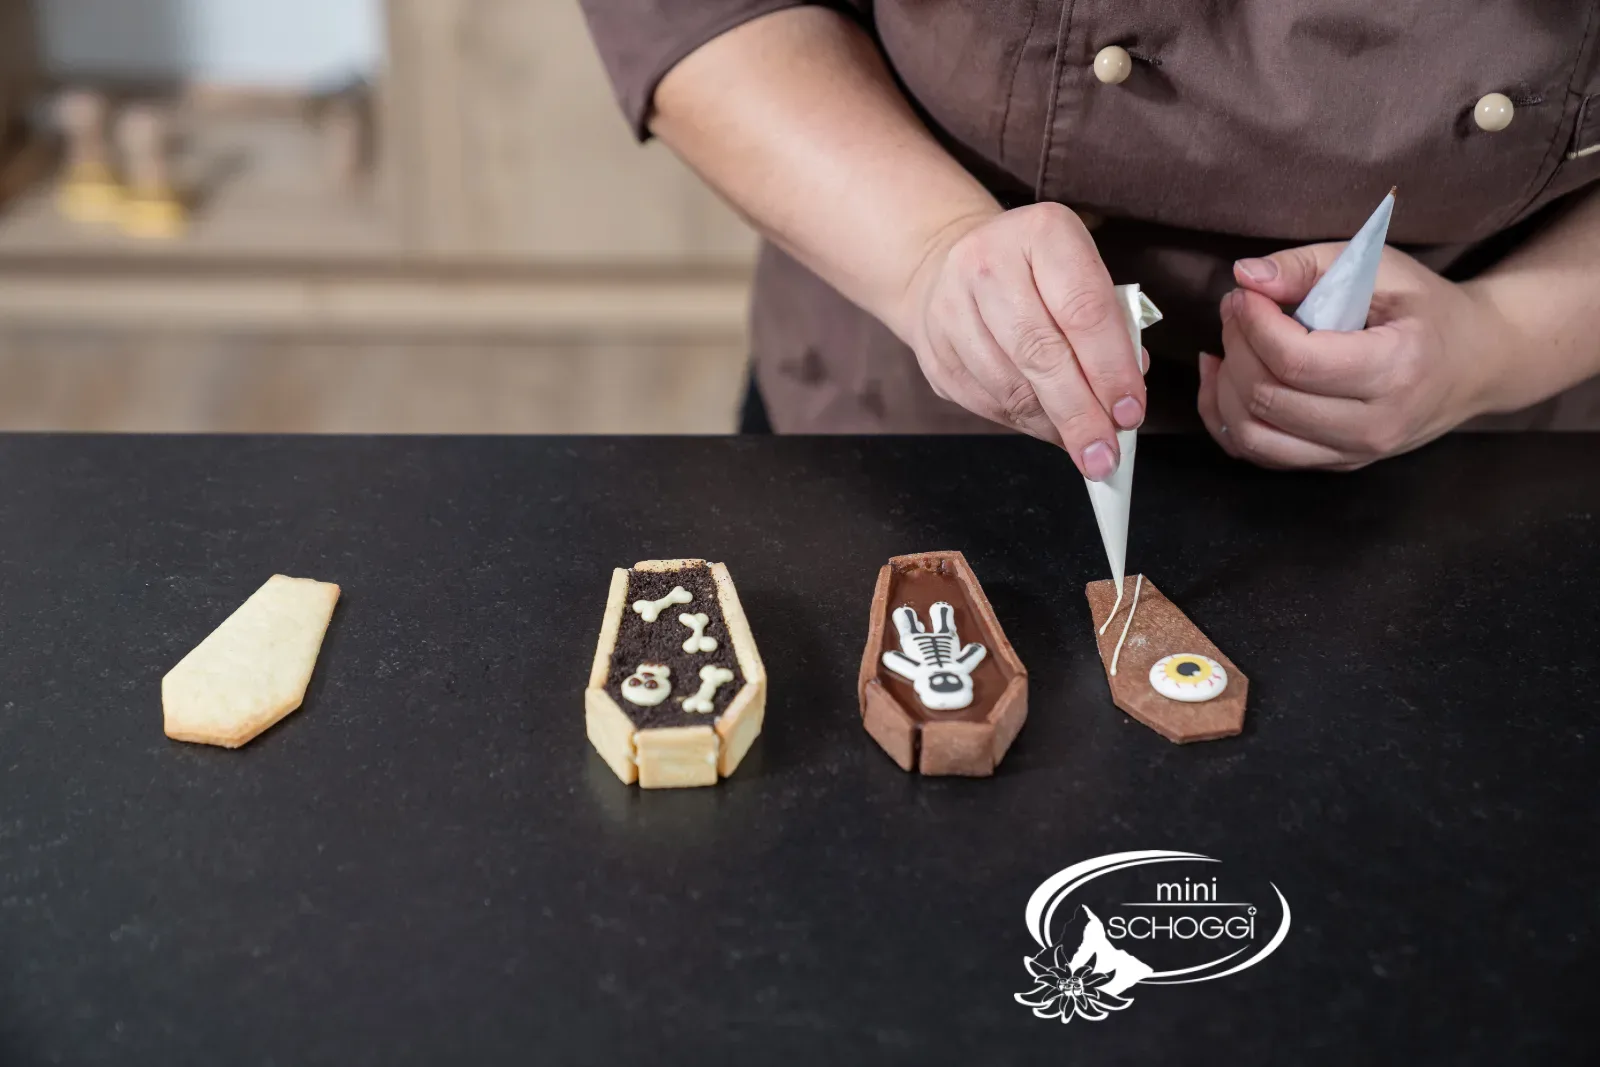
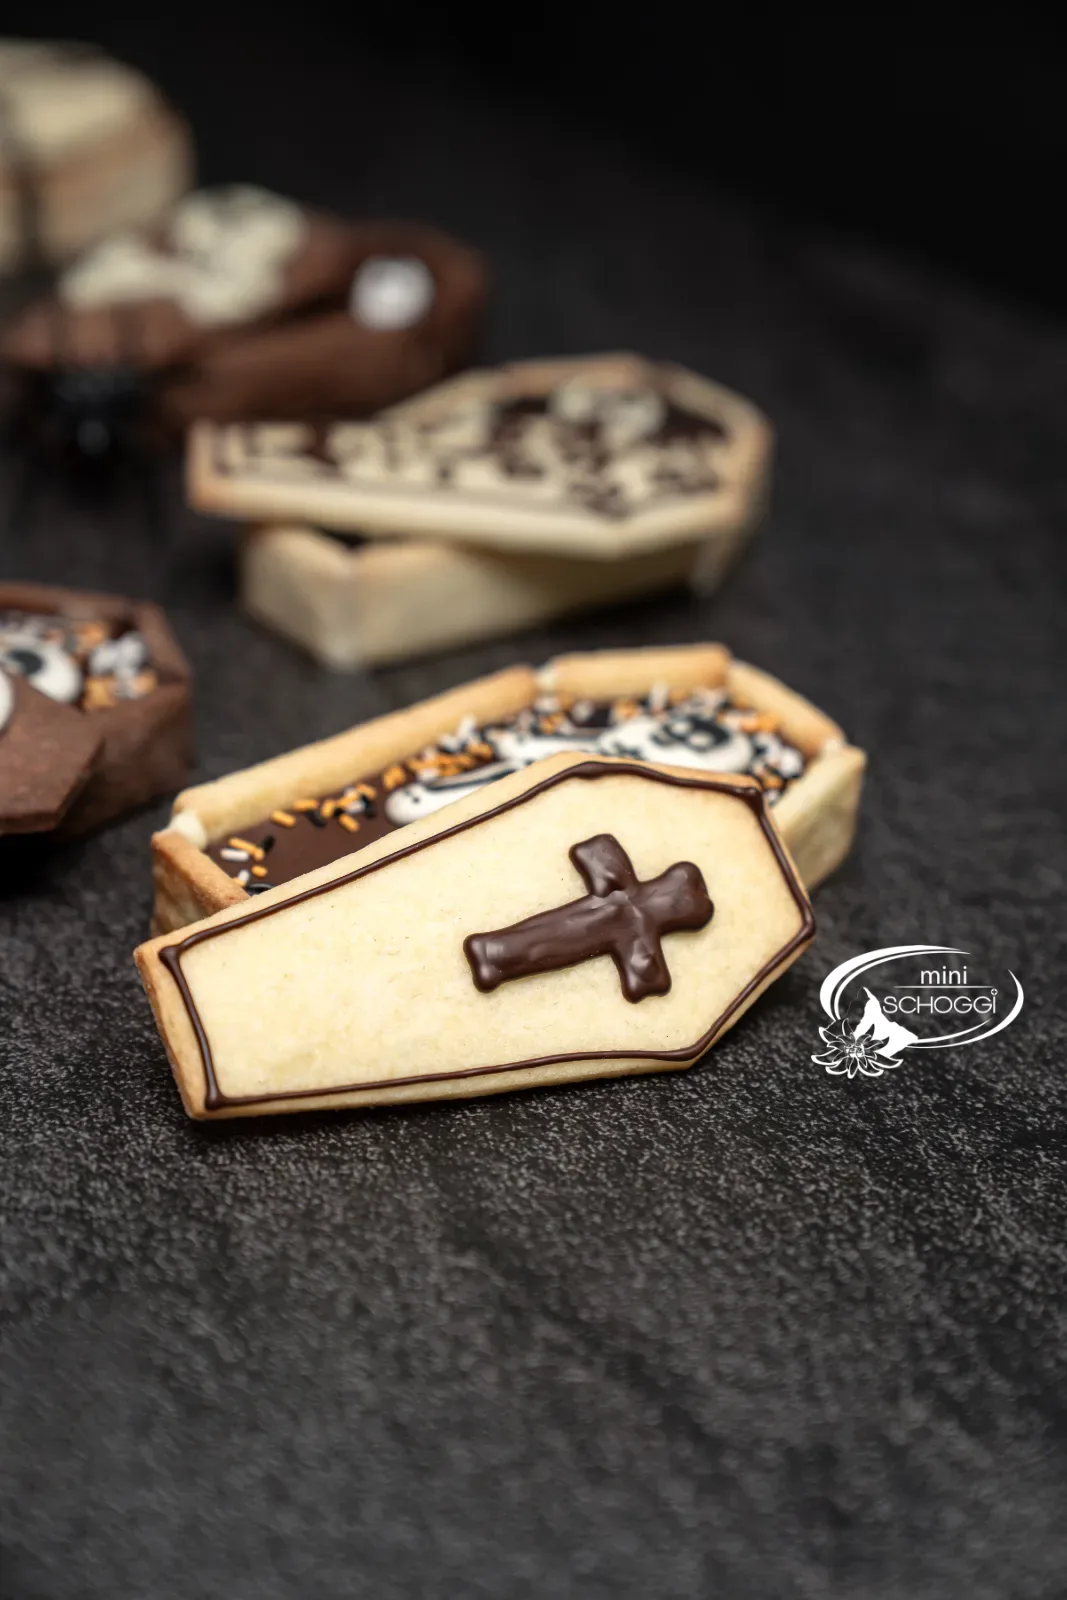
Now it gets spooky. With white and dark chocolate or Deco melts in a Piping bag, you paint crosses, chains, spider webs, skulls or an R.I.P. freehand onto the lids, for the brave. It is quicker with ready-made Sugar decoration, which you stick on with a dab of chocolate, or with Sprinkles. Let your imagination run wild!
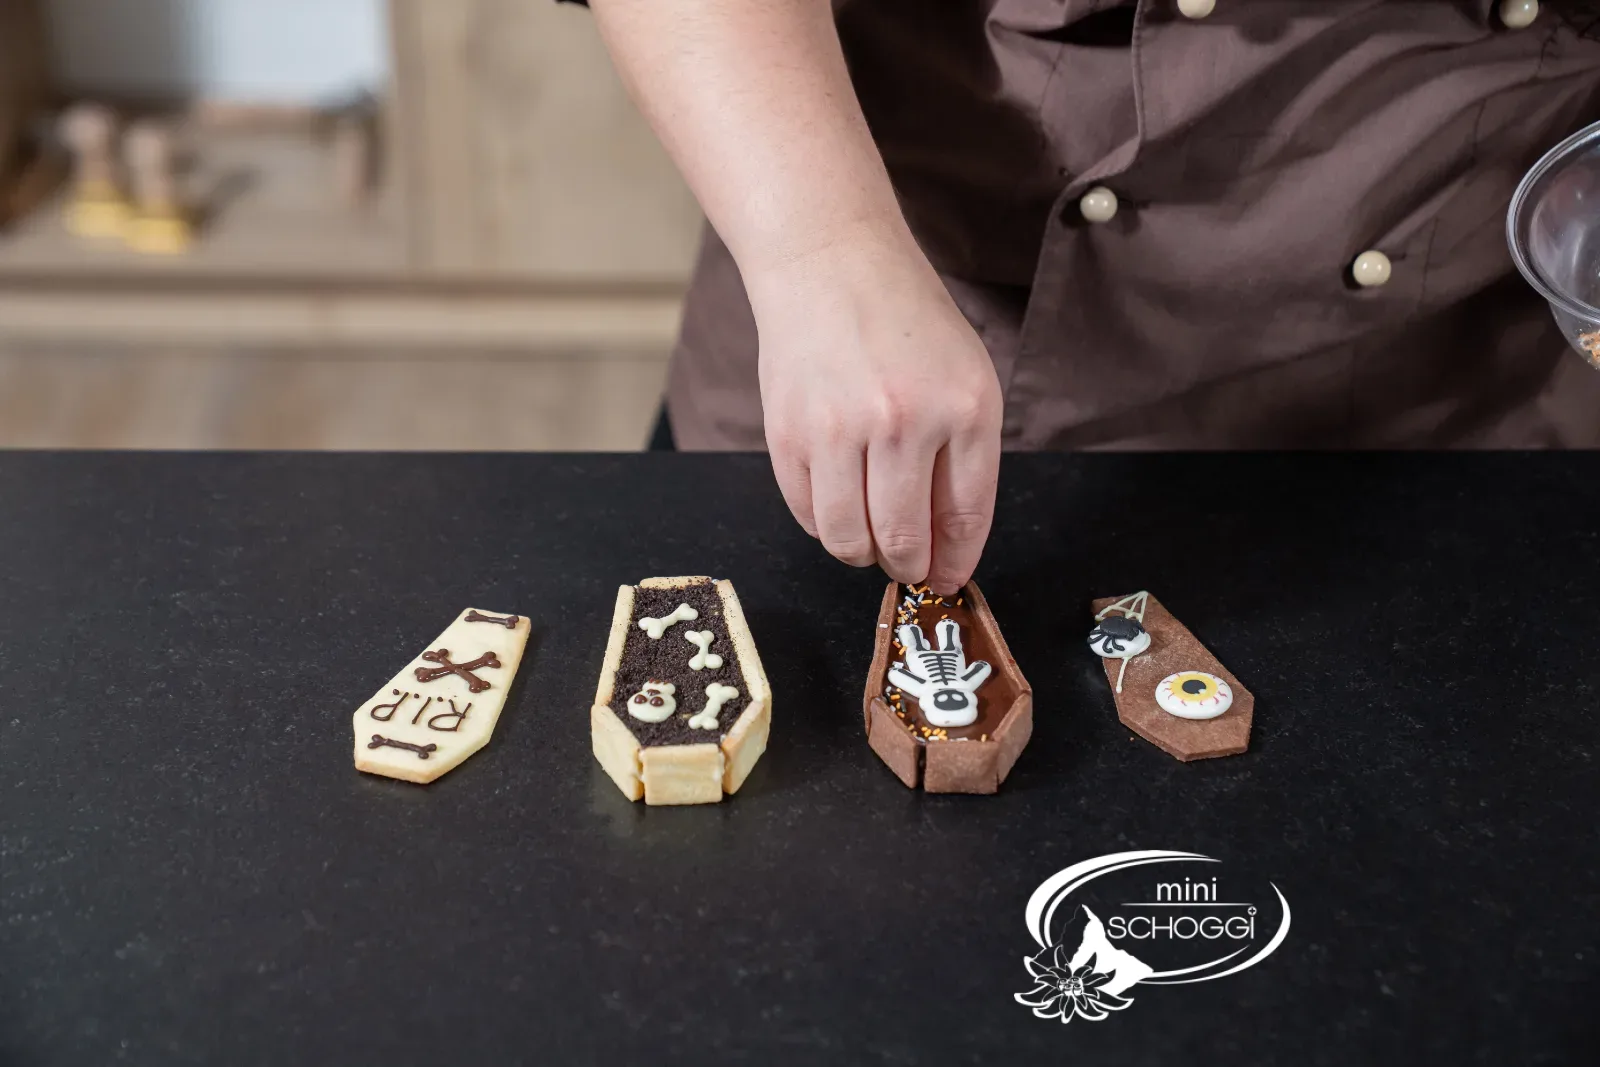
2
Place the lids
Place the lids onto the coffins with a dab of chocolate, either fully closed or slightly offset so that the filling peeks out.
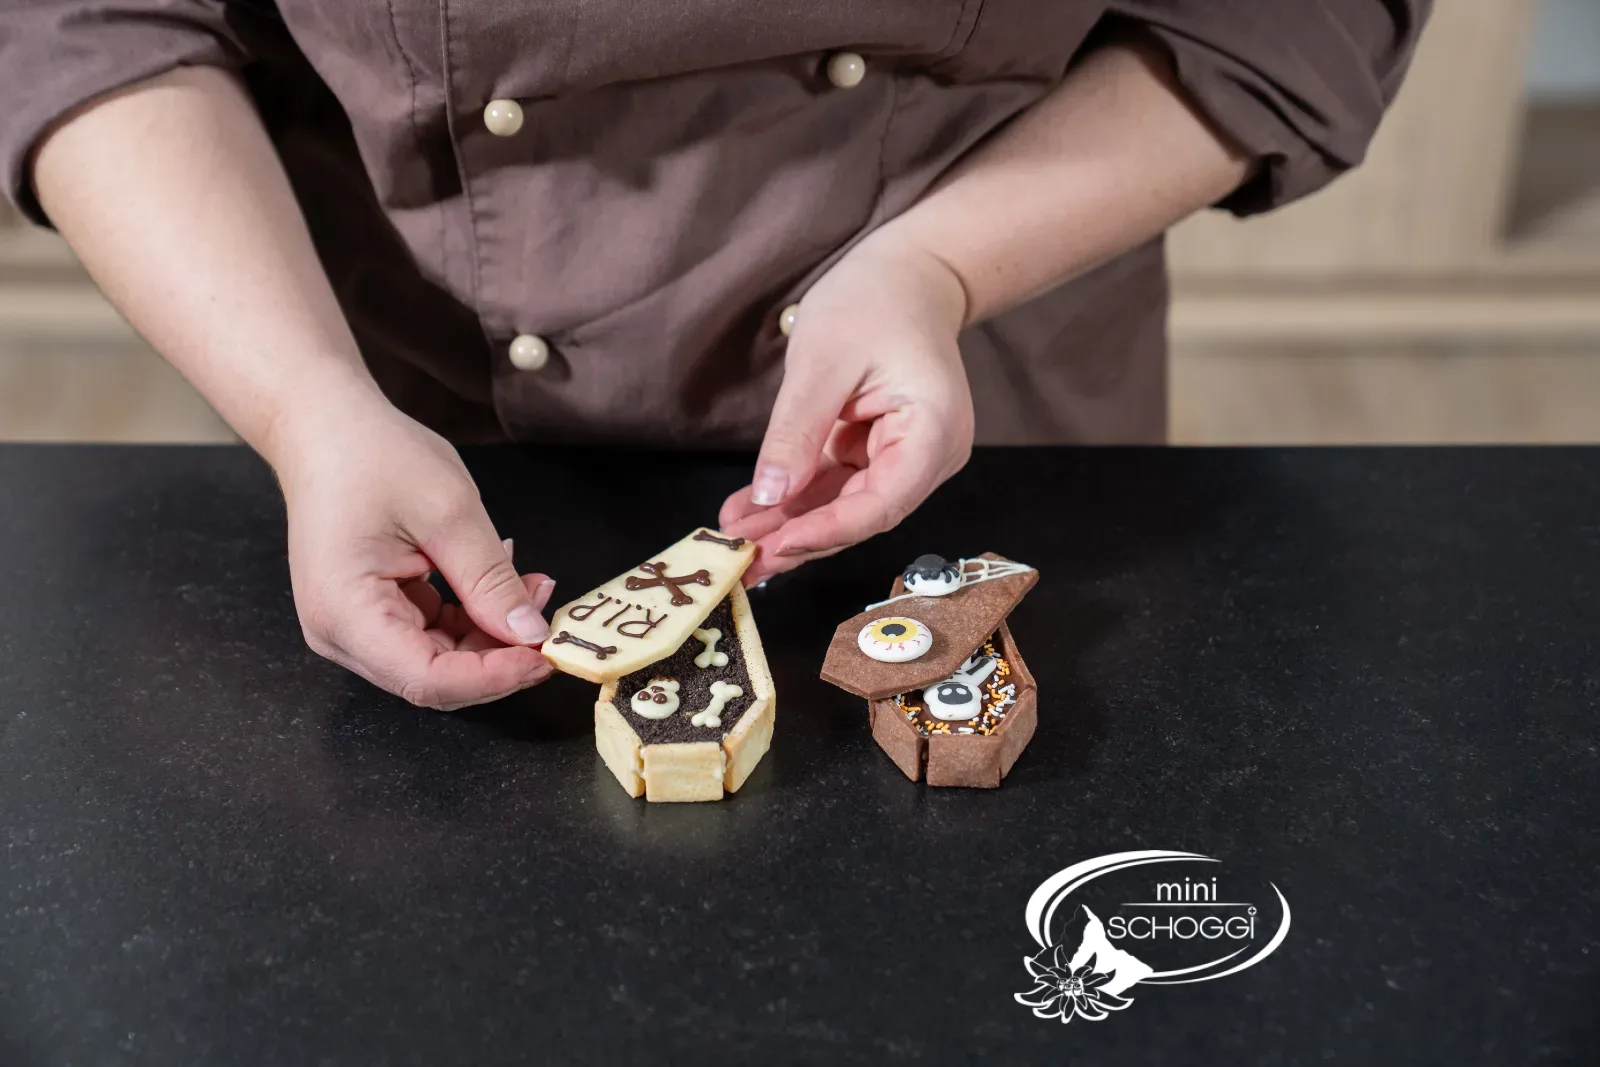

Compact · to print
Coffin cookies
Ingredients
Quantity:
Shortcrust pastry (base dough for light and dark)
For the dark dough
Filling for dark coffins
Filling for light coffins
Assembling and decorating
Preparation
- Dough: Beat butter, sugar, salt and vanilla until fluffy, drizzle in the egg, briefly work in the flour.
- Cocoa: Keep 215 g of dough light, work 20 g cocoa into the rest, chill both doughs for 1 hr.
- Cutting out: Roll out 3 mm thick, cut out all four shapes twice each per coffin.
- Baking: Bake for 9 min at 190 °C fan, let cool on the tray.
- Assembly: Glue the walls to the base with chocolate, top side facing inwards, reinforce the seams on the inside.
- Filling: Dark: caramel, then Ganache. Light: caramel with walnuts, Oreo crumbs on top.
- Decoration: Decorate the lid with chocolate or Sugar decoration and place it on top.
Nutritional values per 100 g
455kcal
27.2 gFat
48.4 gCarbohydrates
6.2 gProtein
Storage & shelf life
Once filled, the coffins keep for two to three days in a well sealed tin in a cool place. You can bake the baked, still unfilled parts a good week in advance and store them in a Cookie tin.
Everything for this recipe
Recommended from our bakery: exactly the sizes the recipe has been tested with.
Ingredients
FunCakes Caramel cream, 300g
Bourbon vanilla seeds, 5 g
Cocoa powder black, 1 kg
Lindt Couverture Dunkel 0.5 kg
Lindt Couverture Weiss 0.5 kg
Cake icing dark chocolate, 250 g
Cake icing white chocolate, 250 g
Chocolate flavour pen dark chocolate, 25 g
Chocolate flavour pen white chocolate, 25 g
Sugar decoration skulls, 8 pieces
Funcakes Candy eyes, 64 Stück
Funcakes Candy eyes, 32 Stück
Candy eyes with blood
Chocolate decorations spider web, 6 Stück
Sprinkle decor Halloween mix 4 in 1, 100 g
Sprinkle decor Spooky Halloween mix 4 in 1, 100 g
Sprinkle decor Halloween Party, 65 g
Sprinkle decor Fantastic Halloween, 70 g
Chocolate decorations half eyeball, 25 Stück
Sugar decoration Witching hour, 6 Stück
Sugar decoration Halloween Fantasies, 6 pieces
Chocolate decorations Skeleton Hands, 6 pieces
White flour, 1 kg
Accessories
Cookie cutter 3D coffin
Professional rolling pin set, 3 sizes
Disposable piping bag 30 cm, 10 pieces
Piping bag with piping nozzles for writing, 10 pcs.
Baking paper 42 x 33 cm, 25 pieces
Digital thermometer, waterproof and foldable
Transparent bag spider web
Cookie tin yellow "Happiness is home made"
Cookie tin pumpkin, 130 x 115 x 70 mm
Delivery in 1 to 2 working days · Free shipping from CHF 100*
A lovely addition
Not needed for the recipe, but it goes well.
Funcakes Cake icing White, 250 g
Cake icing White, 1kg
Scrivosa White - Writing chocolate, 1,25 Kg
Rolling pin set, 6-piece
So they are sure to succeed
The smooth side goes outward
After baking, the underside of the cookies is smooth and even, the top side is not. If you always glue on the top side, it faces inward and disappears under the filling, leaving clean, smooth walls on the outside.
Without tempering
If you prefer not to temper, use Deco melts, Cake icing or chocolate that melts in the microwave without tempering for gluing and decorating. It sets reliably and still shines.
Roll out evenly thick
The walls only fit together neatly if all the pieces are the same thickness. With 3 mm rolling guides on the left and right of the dough, you get it right without guesswork.
Frequently asked questions
Yes, the pieces have to fit together exactly. The 3D Coffin Cookie cutter cuts out all the shapes in the right size; the finished coffin measures about 10 × 5 × 3 cm.
Yes. The baked pieces keep well for about a week in a Cookie tin. It is best to assemble and fill them one to two days before the party.
For eight coffins you only need about two thirds of an egg. Whisk a whole egg and weigh out 35 g, so the amount is also right when you double or triple the recipe with the quantity selector.
Print recipe
Choose what should appear on the printout.
Related products
Lindt Couverture White 0.5 kg
Price: CHF19.90
Rated out of 5 stars based on
review(s)
Vous devez être connecté à votre compte client
Finest ingredients, transparency and sustainability. This is what the...
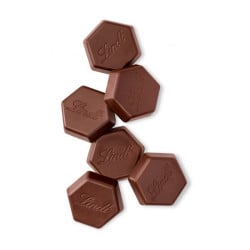
Lindt Couverture Dark 0.5 kg
Price: CHF17.50
Rated out of 5 stars based on
review(s)
Vous devez être connecté à votre compte client
The finest ingredients, transparency and sustainability. This is what the...
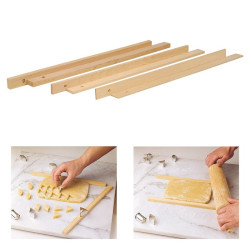
Rolling pin set 6 pieces
Price: CHF12.90
Rated out of 5 stars based on
review(s)
Vous devez être connecté à votre compte client
If you want your dough to always have the same height or thickness, this...
Cake icing white chocolate, 250 g
Price: CHF8.90
Rated out of 5 stars based on
review(s)
Vous devez être connecté à votre compte client
Cake icing gives cakes, cookies, cake pops and cupcakes a noble shine,...
Cake glaze dark chocolate, 250 g
Price: CHF7.90
Rated out of 5 stars based on
review(s)
Vous devez être connecté à votre compte client
Cake icing gives cakes, cookies, cake pops and cupcakes a noble shine,...
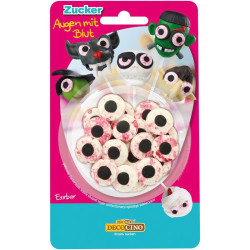
Sugar eyes with blood
Price: CHF4.50
Rated out of 5 stars based on
review(s)
Vous devez être connecté à votre compte client
You can do all sorts of things with sugar eyes. Build little cake pop...
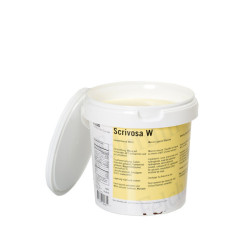
Scrivosa White - Writing Chocolate, 1,25 Kg
Price: CHF38.90
Rated out of 5 stars based on
review(s)
Vous devez être connecté à votre compte client
With the Scrivosa White - Writing Chocolate you decorate simply and easily...
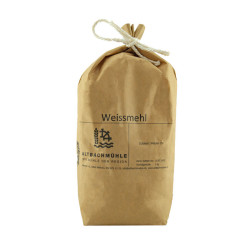
White flour, 1 kg
Price: CHF4.50
Rated out of 5 stars based on
review(s)
Vous devez être connecté à votre compte client
White flour is suitable for pastries of all kinds, from bread to cakes to...
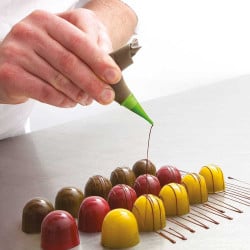
Piping bag with nozzles for labeling, 10 pcs.
Price: CHF5.90
Rated out of 5 stars based on
review(s)
Vous devez être connecté à votre compte client
The piping bags with nozzles for labeling, 10 pcs. are versatile and...
Baking paper 42 x 33 cm, 25 pieces
Price: CHF4.95
Rated out of 5 stars based on
review(s)
Vous devez être connecté à votre compte client
With these baking paper sheets your pastries rise evenly and are baked...
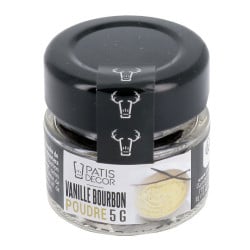
Bourbon vanilla seeds, 5 g
Price: CHF12.50
Rated out of 5 stars based on
review(s)
Vous devez être connecté à votre compte client
Vanilla seeds are very popular because of their natural and intense flavor....
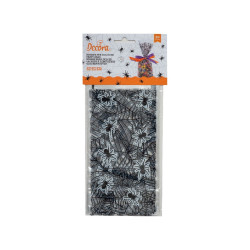
Clear bag spider web
Price: CHF4.50
Rated out of 5 stars based on
review(s)
Vous devez être connecté à votre compte client
It's going to be spooky sweet...or sour? Give your loved ones homemade treats...

Digital thermometer, waterproof as well as foldable
Price: CHF29.50
Rated out of 5 stars based on
review(s)
Vous devez être connecté à votre compte client
For many treats, maintaining a certain temperature is essential. In a...
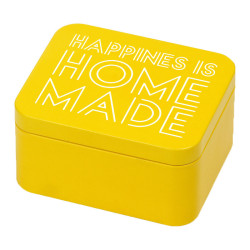
Biscuit tin yellow «Happiness is home made»
Price: CHF7.10
Rated out of 5 stars based on
review(s)
Vous devez être connecté à votre compte client
Give away or store your homemade cookies, Guetzli, macarons, chocolates and...
Professional rolling pin set, 3 sizes
Price: CHF14.90
Rated out of 5 stars based on
review(s)
Vous devez être connecté à votre compte client
If you want your dough to always have the same height or thickness, this...
Black cocoa powder, 1 kg
Price: CHF36.60
Rated out of 5 stars based on
review(s)
Vous devez être connecté à votre compte client
No kitchen or bakery should be without cocoa powder, whether as an...
Cake icing white, 1kg
Price: CHF22.50
Rated out of 5 stars based on
review(s)
Vous devez être connecté à votre compte client
Cake icing gives cakes, cookies, cake pops and cupcakes a noble shine,...
Dark chocolate stick, 25 g
Price: CHF4.30
Rated out of 5 stars based on
review(s)
Vous devez être connecté à votre compte client
It has never been so easy to decorate your works of art, such as cakes,...
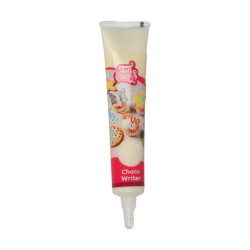
Chocolate stick white chocolate, 25 g
Price: CHF4.30
Rated out of 5 stars based on
review(s)
Vous devez être connecté à votre compte client
It has never been so easy to decorate your works of art, such as cakes,...
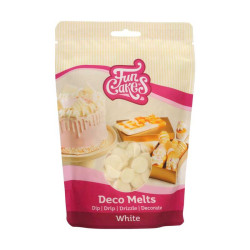
Funcakes cake icing white, 250 g
Price: CHF6.20
Rated out of 5 stars based on
review(s)
Vous devez être connecté à votre compte client
Cake icing gives cakes, cookies, cake pops and cupcakes a noble shine,...
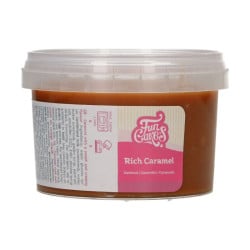
FunCakes caramel cream, 300g
Price: CHF9.50
Rated out of 5 stars based on
review(s)
Vous devez être connecté à votre compte client
With this caramel cream, you can conjure up delicious pralines, fillings and...
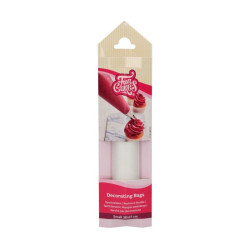
Disposable piping bag 30 cm, 10 pieces
Price: CHF4.30
Rated out of 5 stars based on
review(s)
Vous devez être connecté à votre compte client
Disposable piping bags made from high-quality, food-safe plastic are the...
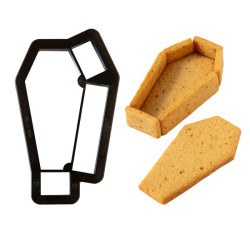
3D coffin cookie cutter
Price: CHF3.90
Rated out of 5 stars based on
review(s)
Vous devez être connecté à votre compte client
Create spooky highlights with the 3D coffin cutter made of sturdy plastic!...
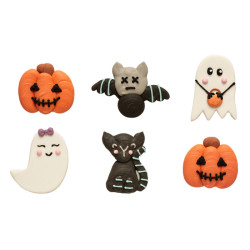
Sugar decoration witching hour, 6 pieces
Price: CHF5.80
Rated out of 5 stars based on
review(s)
Vous devez être connecté à votre compte client
Turn your Halloween treats into real eye-catchers! The Halloween mix from...
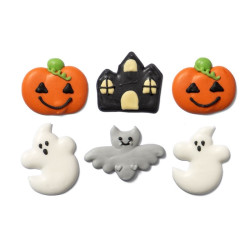
Sugar decoration Halloween fantasies, 6 pieces
Price: CHF5.80
Rated out of 5 stars based on
review(s)
Vous devez être connecté à votre compte client
With the Halloween fantasy sugar decorations from Decora, you get six...
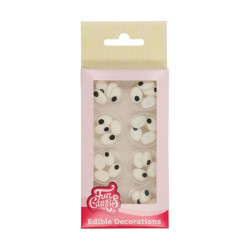
Funcakes sugar eyes, 32 pieces
Price: CHF4.90
Rated out of 5 stars based on
review(s)
Vous devez être connecté à votre compte client
Eyes wide open for the most fun baking creations: with FunCakes Candy eyes...
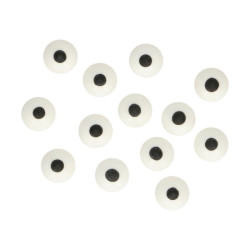
Funcakes Sugar Eyes, 64 pieces
Price: CHF4.90
Rated out of 5 stars based on
review(s)
Vous devez être connecté à votre compte client
Eyes open for the most fun baking creations: with the FunCakes Candy eyes,...
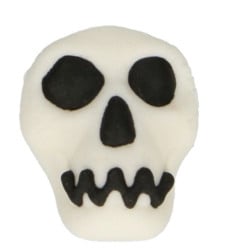
Sugar decoration skulls, 8 pieces
Price: CHF5.00
Rated out of 5 stars based on
review(s)
Vous devez être connecté à votre compte client
With these unique skull-shaped sugar decorations, you can conjure up the...
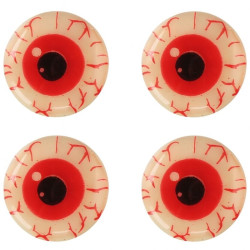
Chocolate decoration Half an eyeball, 25 pieces
Price: CHF9.90
Rated out of 5 stars based on
review(s)
Vous devez être connecté à votre compte client
With these gruesome, bloodshot eyes, you can turn any of your baked creations...
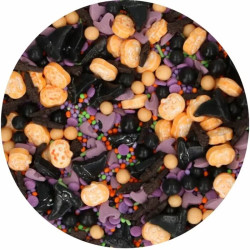
Scatter decorations Fantastic Halloween, 70 g
Price: CHF7.50
Rated out of 5 stars based on
review(s)
Vous devez être connecté à votre compte client
With this edible sprinkle mix, you can conjure up a spooky-sweet look on your...
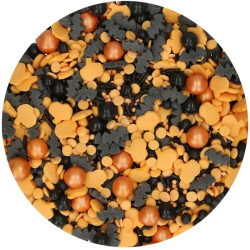
Halloween party sprinkles, 65 g
Price: CHF4.80
Rated out of 5 stars based on
review(s)
Vous devez être connecté à votre compte client
With this edible sprinkle mix, you can conjure up a scary-sweet look on your...
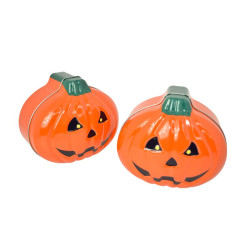
Biscuit tin Pumpkin, 130 x 115 x 70 mm
Price: CHF5.25
Rated out of 5 stars based on
review(s)
Vous devez être connecté à votre compte client
In the world of baking, storing baked goods properly plays a decisive role....
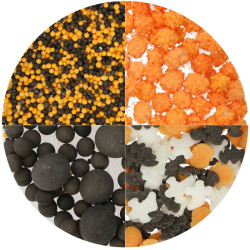
Sprinkles Halloween mix 4 in 1, 100 g
Price: CHF6.90
Rated out of 5 stars based on
review(s)
Vous devez être connecté à votre compte client
With the Sprinkle decor Halloween mix 4 in 1, every Halloween cake, every...
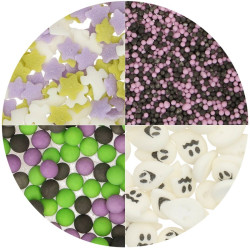
Sprinkles Spooky Halloween mix 4 in 1, 100 g
Price: CHF7.90
Rated out of 5 stars based on
review(s)
Vous devez être connecté à votre compte client
With the Sprinkle decor Spooky Halloweenmix 4 in 1, every Halloween cake,...
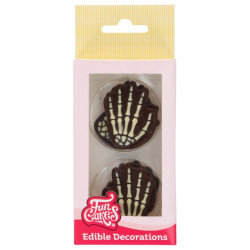
Chocolate decorations Skeleton hands, 6 pieces
Price: CHF7.90
Rated out of 5 stars based on
review(s)
Vous devez être connecté à votre compte client
With these 6 skeleton hands made from real chocolate, any Halloween cake is...
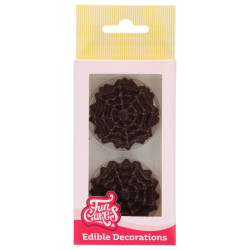
Chocolate decorations Spider web, 6 pieces
Price: CHF7.50
Rated out of 5 stars based on
review(s)
Vous devez être connecté à votre compte client
With these 6 spider webs made of real chocolate, any Halloween cake...
Bewertungen
Leave a comment
Related posts
 Make your own chocolate Easter bunnies
You can easily make your own Easter bunnies at home! You can find out how to do it and what you need here. A sweet...
Read more
Make your own decorative Swiss roll
Make your own decor roulade - we'll explain exactly how in this blog, with lots of tips and tricks from our...
Read more
Cinnamon Star Biscuits Recipe
Make your own cinnamon stars with the help of our professionals, with lots of tips & tricks to bake the best...
Read more
Make your own chocolate pumpkin pralines
Make your own 3D chocolate pumpkin pralines - here you get detailed instructions with lots of tips and tricks...
Read more
How can I convert a cake recipe?
Converting a cake recipe, whether a sponge or a cake filling, is easy with our conversion table.
Read more