Ready-to-ship quantity: more than 20 pieces20+ in stock
Price:CHF17.50

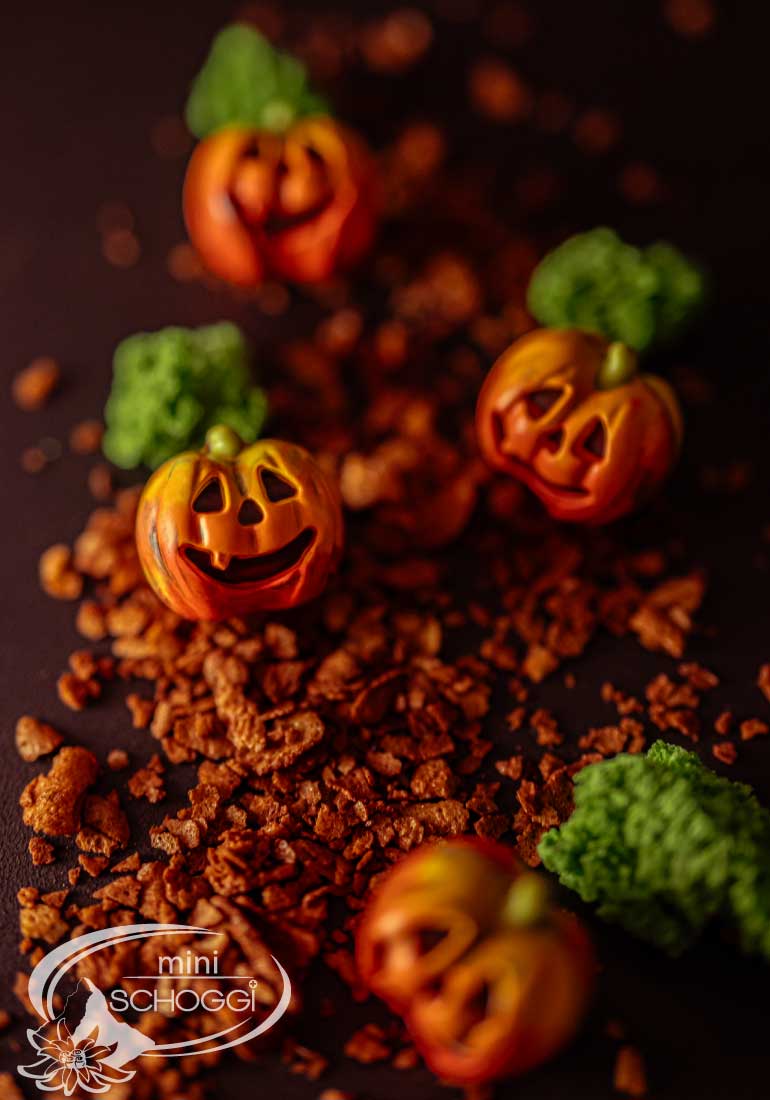
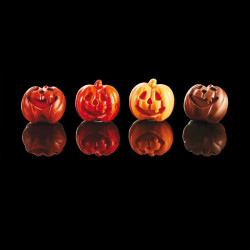
Halloween is just round the corner and it’s time to get ready for the spookiest festival of the year! What could be better than creating a delicious treat that not only tastes spookily good but also fits the theme perfectly? We’re talking about homemade Halloween pumpkin chocolates!
The pumpkin is the hallmark of Halloween and becomes an integral part of the decorations every year. But why limit ourselves to just carving pumpkin faces? Let’s take it a step further this year and treat our taste buds to some pumpkin too.
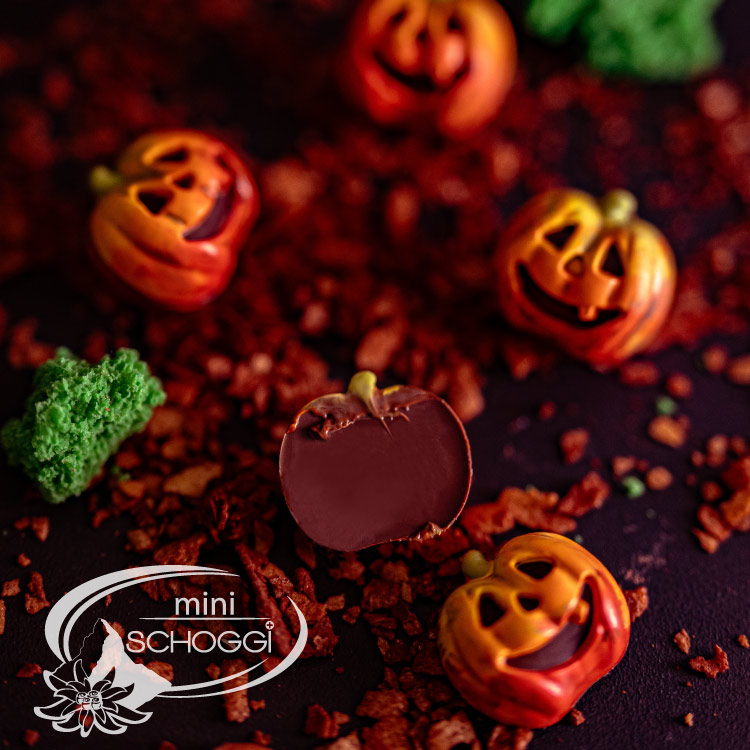
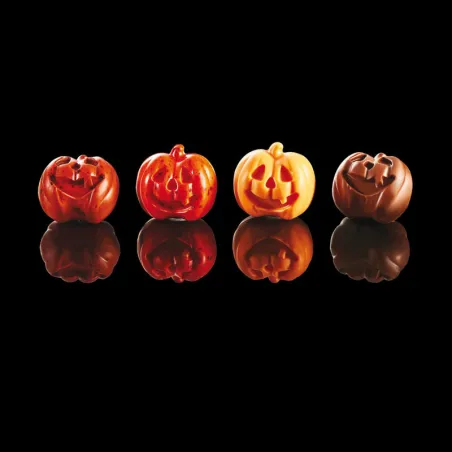
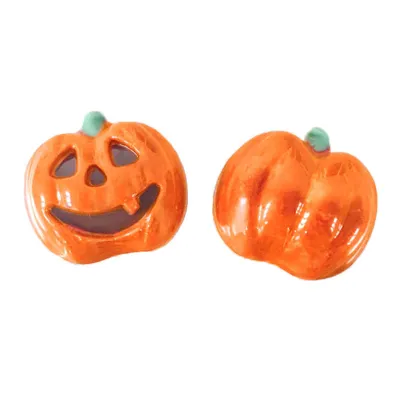
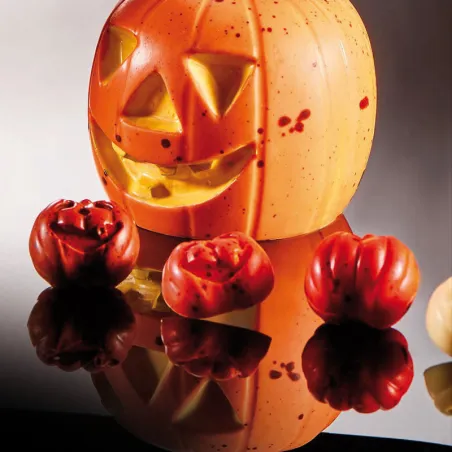
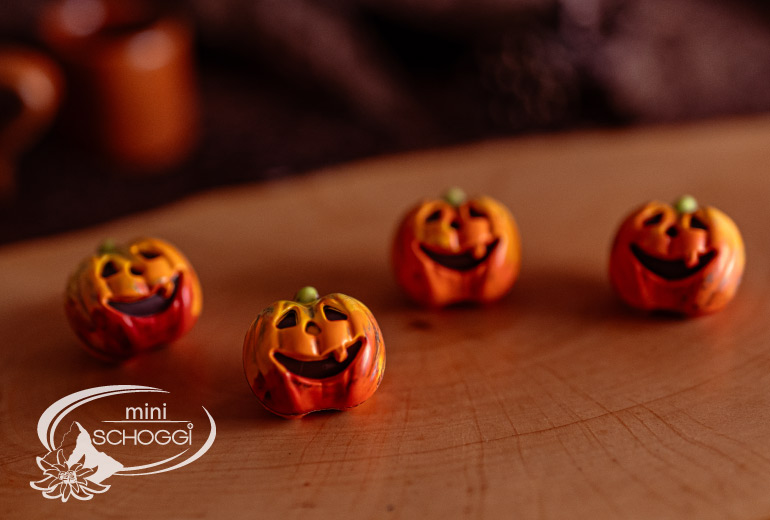
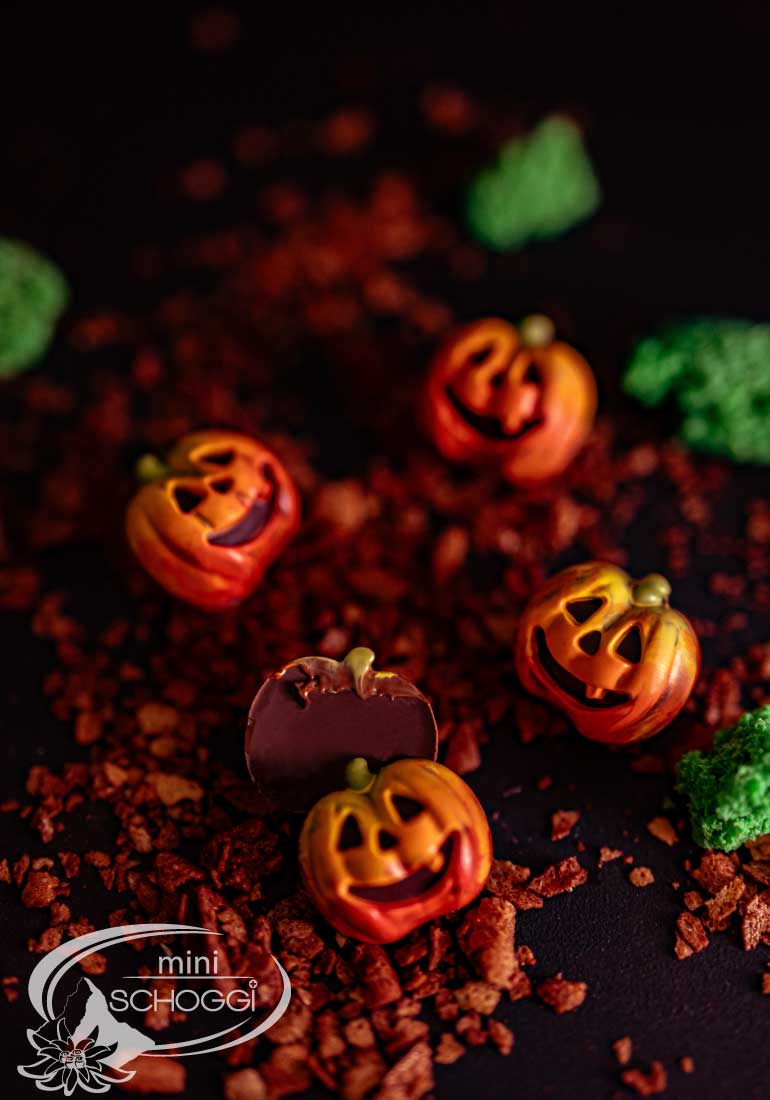
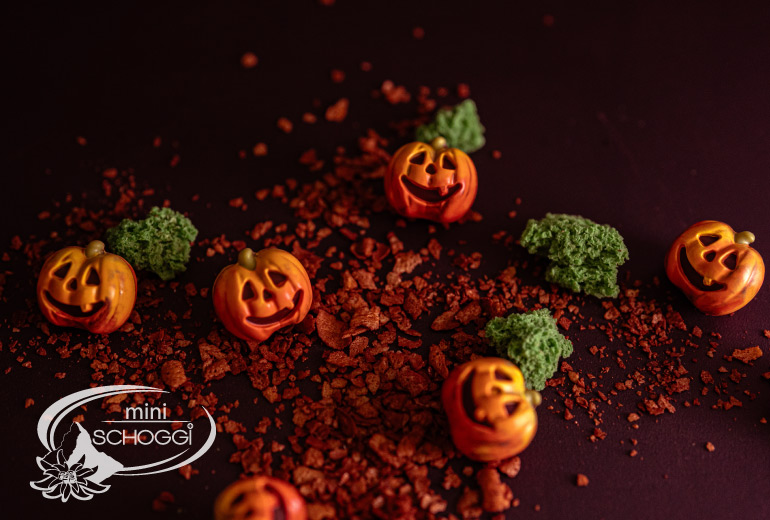
The Halloween pumpkin praline is the perfect combination of sweet orange and tangy dark ganache. Best of all, it’s dead easy to make!
In our video, we’ll show you exactly how to make these pralines at home.
So get ready to mould your Halloween pumpkins and take your Halloween party to the next level. With their stunning appearance and distinctive flavour, you’re guaranteed to impress everyone. So let’s get started – grab your praline mould, paint it with colours and start moulding your pralines!
Quantity: 10 pieces
Difficulty: Medium
Shelflife:1 month
| Double cream | 70 g | |
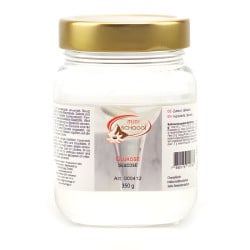
| Glucose | 10 g | |
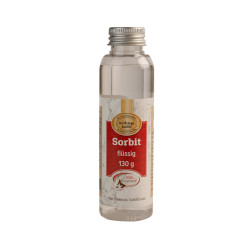
| Sorbitol | 5 g | |
| Butter | 5 g | |
| Orange paste | 10 g | |
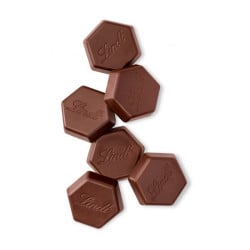
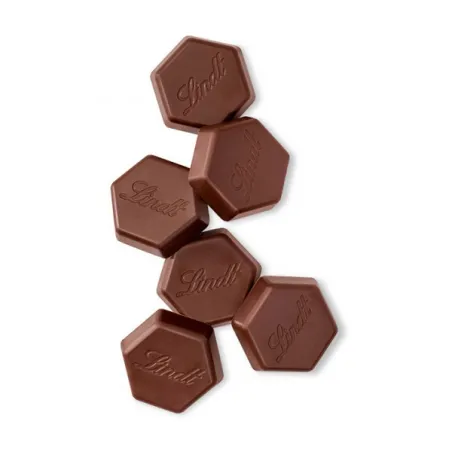
| Dark couverture chocolate | 120 g | |
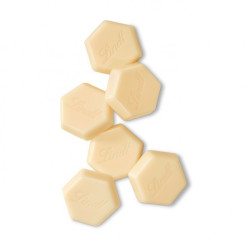
| Chocolat de couverture | tempered | 600 g | |
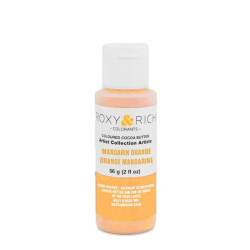
| Cocoa butter colours | A little | |


Place the couverture drops and the orange paste in a bowl. Bring the remaining ingredients to the boil in a pan, then pour this mixture over the chocolate. Leave the mixture to stand briefly, then whisk everything together with a whisk until smooth. Transfer the finished ganache to a piping bag and leave it to cool at room temperature for about 20 minutes.
In the meantime, you can make the praline shells.

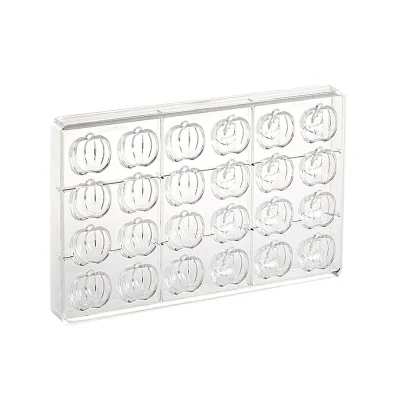
When moulding pralines and chocolate products in general, always make sure you use high-quality polycarbonate moulds. Silicone moulds are not suitable for chocolate products.
Place the desired cocoa butter colours in a bain-marie (max. 40 ºC).
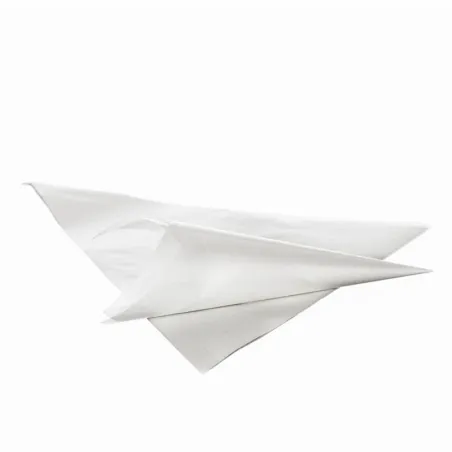
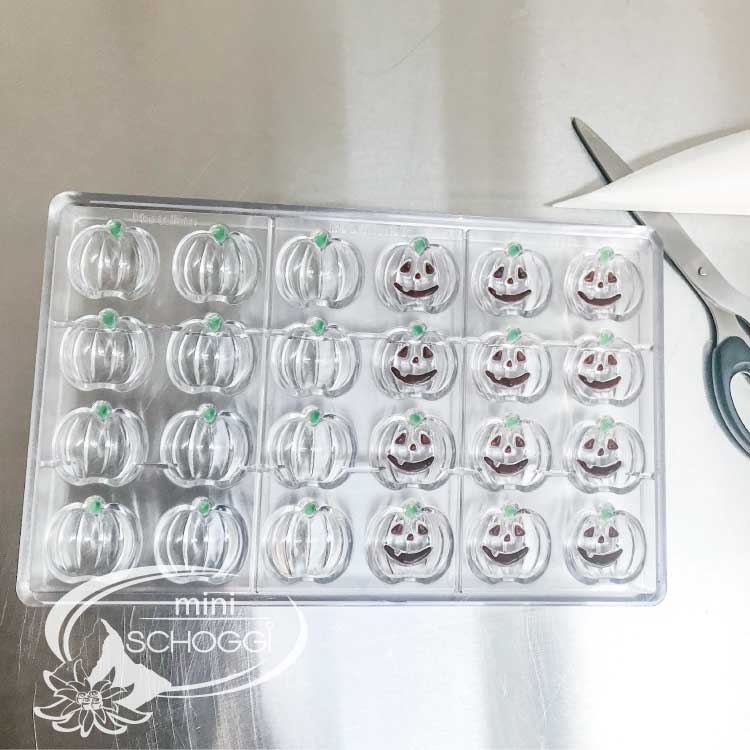
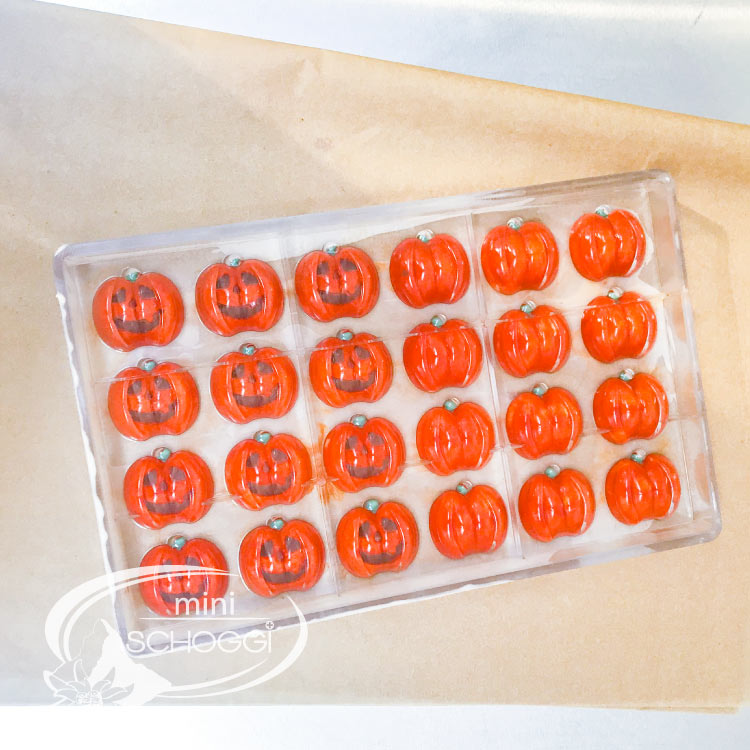
Start by thoroughly polishing your praline mould with kitchen paper, then fill a cornet with dark, tempered couverture. Cut off a small tip of the piping bag and use it to colour the pumpkin’s face. Keep turning the mould over to ensure you’ve coloured everything thoroughly and that no air bubbles form.
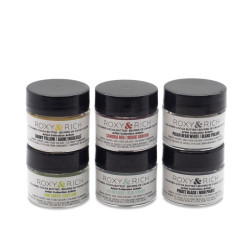
Then mix white tempered couverture with green fat-soluble powdered colouring, put this into a piping bag as well, and use it to colour the pumpkin’s stalk. Make sure you colour in both halves of the stalk (you can also use green cocoa butter colouring for this – but you should apply this with a brush instead).
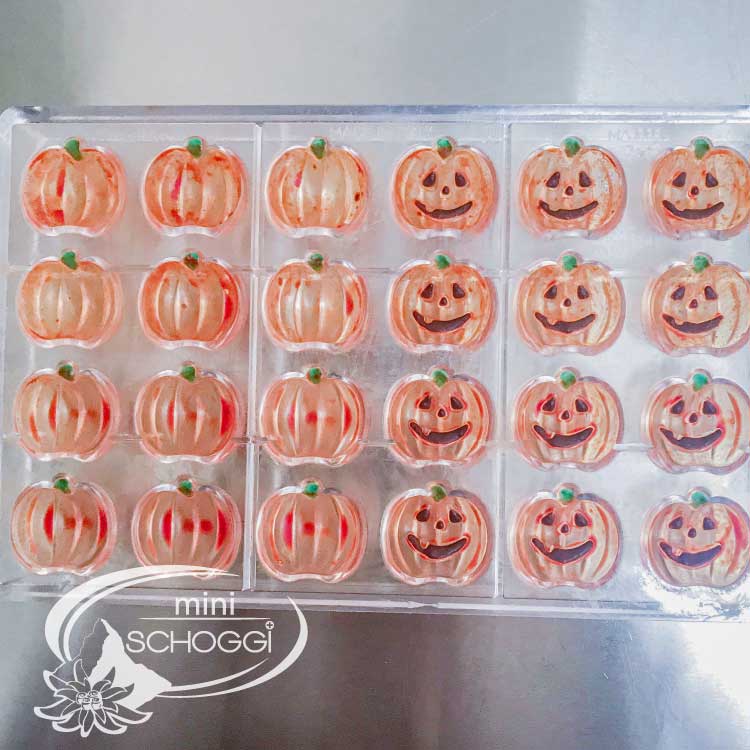
Now colour the praline mould using a brush and the liquid cocoa butter colours. The more varied the shades you use and the more you allow the colours to blend into one another, the more natural the result will be. Depending on how intense you want the colour to be, you can apply a second coat of cocoa butter colouring.
Clean the mould by wiping it on a kitchen towel. Leave the colours to set for about 5 minutes.


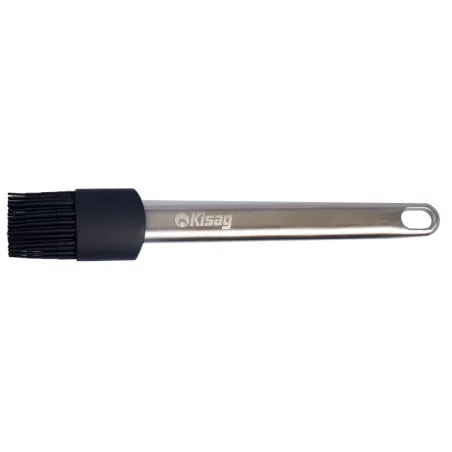
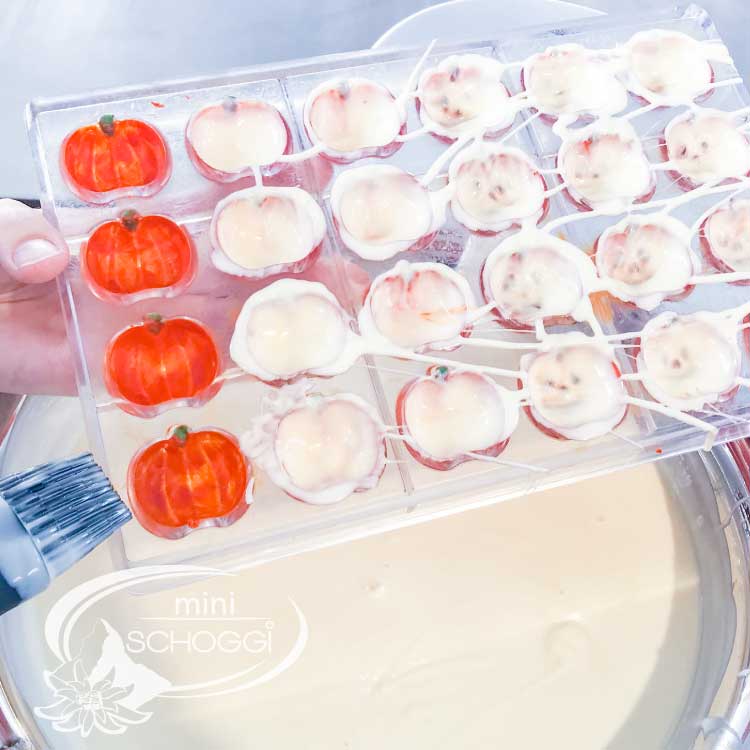
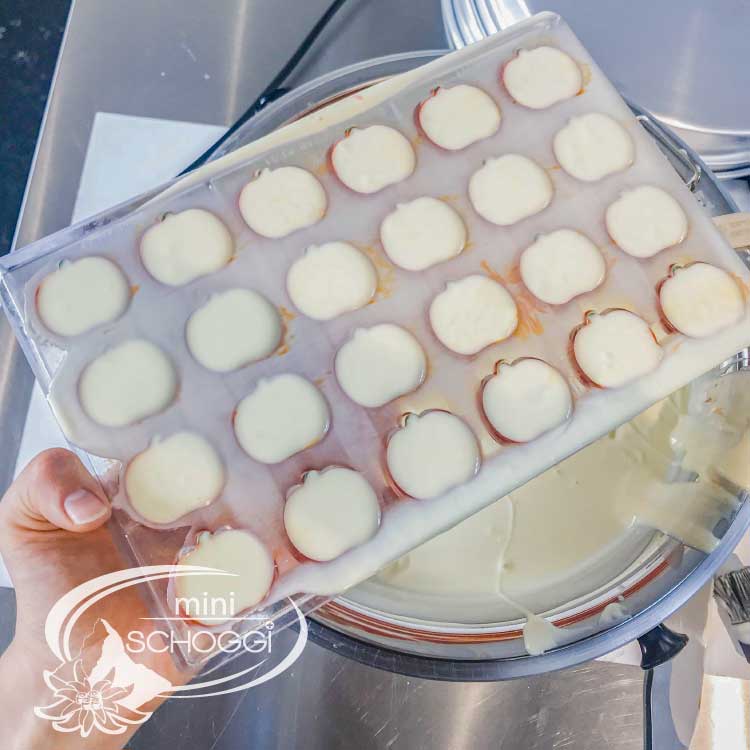
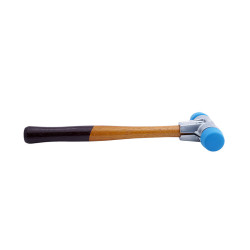
Now coat the mould using a silicone brush and tempered couverture. Then fill it completely with the tempered couverture. Next, tap the edge of the mould with a chocolate hammer to remove any air bubbles.


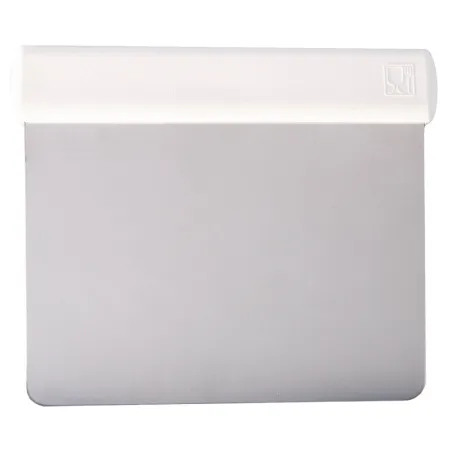
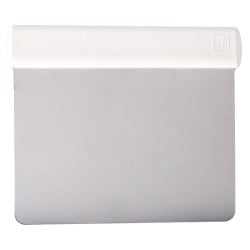
Pour the couverture back into a container and, once again, tap the mould with a chocolate hammer whilst making circular movements. This allows the chocolate to flow out evenly, ensuring the praline shell is as uniform in thickness as possible. Use a metal scraper to remove any excess chocolate from the mould. Now place the mould upside down on a sheet of baking paper and put it in the fridge for about 10 minutes to allow the couverture to set slightly.


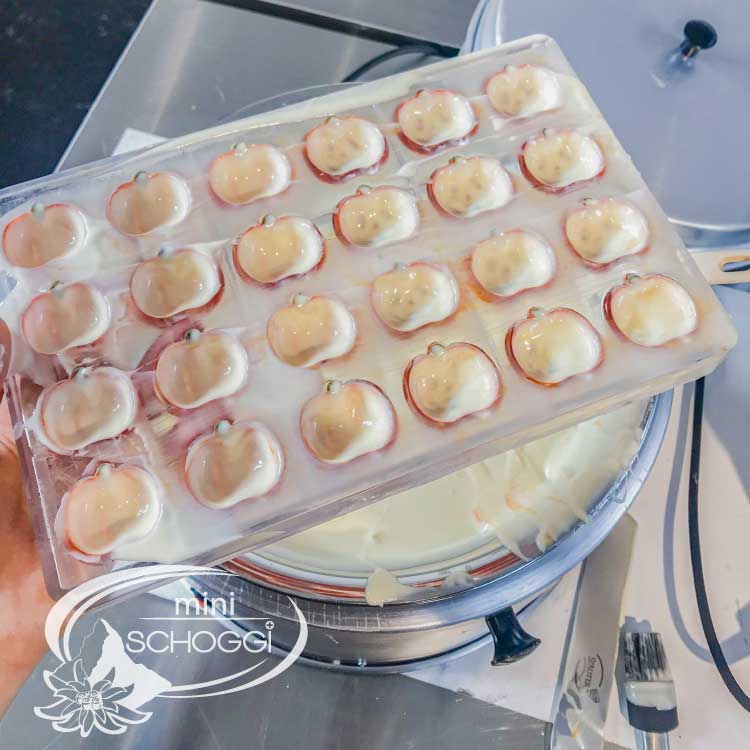
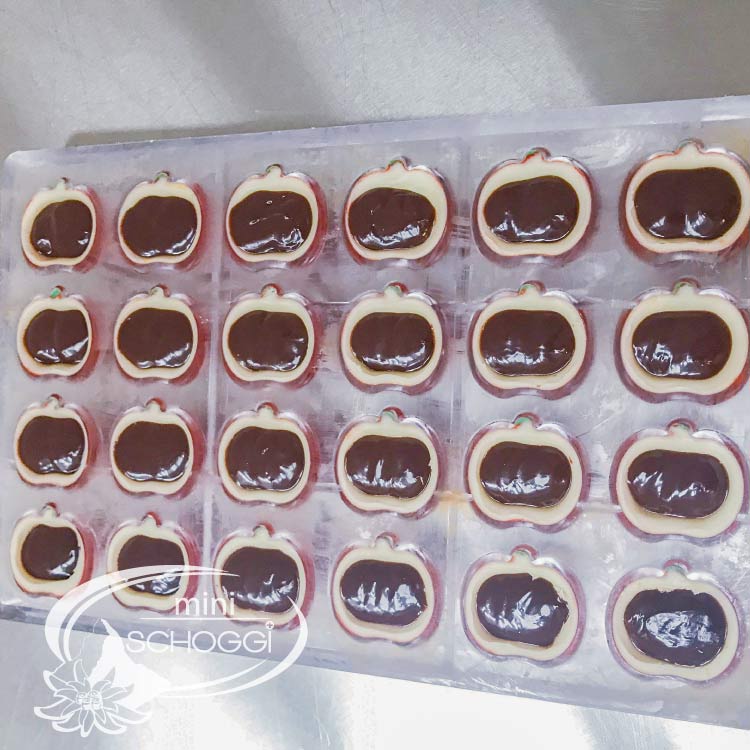
Now fill the pumpkins with the cooled ganache. However, you should only fill them to 2–3 mm below the rim so that you can still seal the pralines.
Leave the ganache to set at room temperature for at least 2 hours, or place the whole mould in the fridge for 30 minutes. This allows the ganache to form a ‘skin’, making it easier to seal the pralines.
Finally, pour tempered couverture chocolate over the mould and spread it so that the filling is no longer visible. Clean the mould with a metal scraper and then place it in the fridge for 30 minutes. You can then remove the finished pralines by turning the mould out onto the work surface with a swift motion.
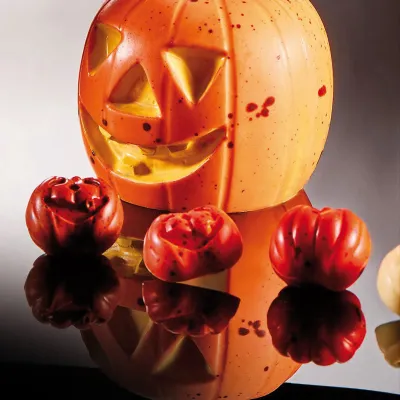
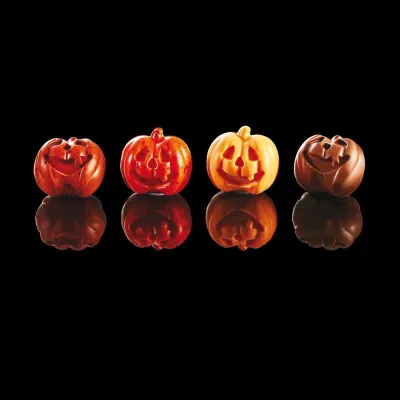
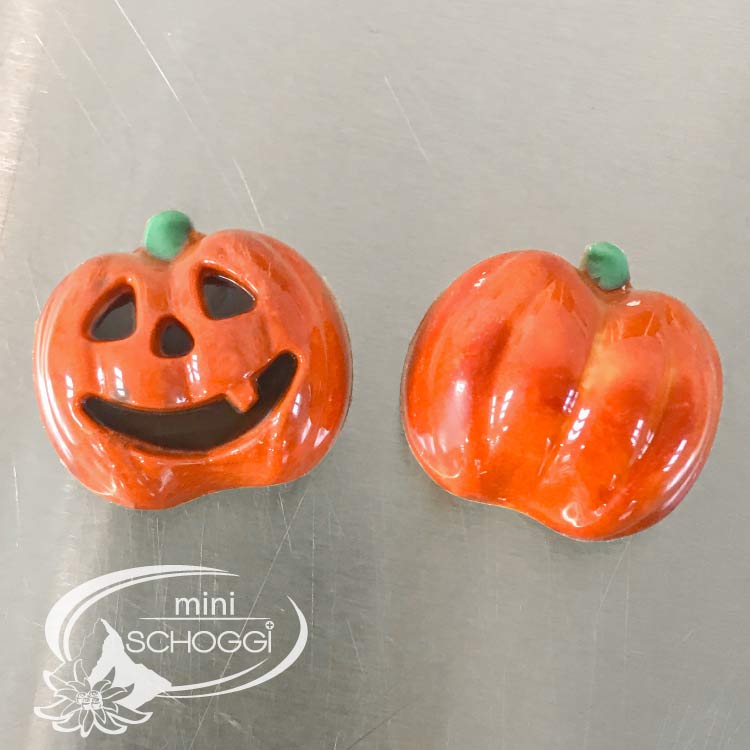
If you like, you can enjoy the pralines as they are or stick them together using a little tempered couverture to create a 3D pumpkin.


The finished chocolates will keep for up to a month at room temperature. It’s best to store them in a chocolate box.


Make your own chocolate Easter bunnies
Cinnamon Star Biscuits Recipe
Tempering couverture and chocolate correctly
Chocolates with mulled wine jelly
Carac Recipe – the Swiss Classic Step by Step