
...


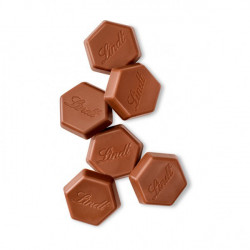
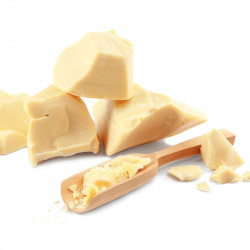
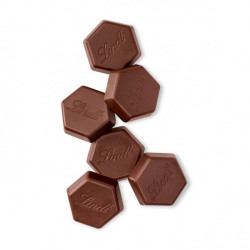
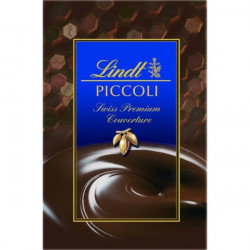
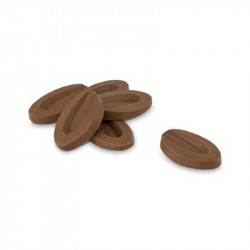
Lindt couverture milk 0.5 kg
CHF14.50


 Make your own decor roulade
Cinnamon star recipe
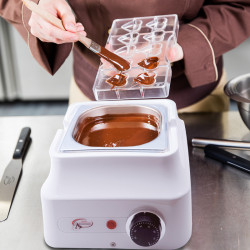
Correctly temper couverture and chocolate
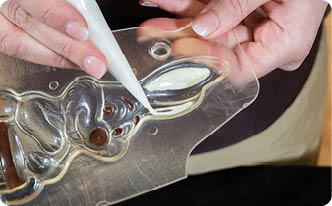
Making Halloween chocolates
Cake Recipes Convert
Make your own decor roulade
Cinnamon star recipe
Correctly temper couverture and chocolate
Making Halloween chocolates
Cake Recipes Convert

Leave a comment