
Caramel Walnut Ice Cream (Mövenpick Maple Walnut Style)
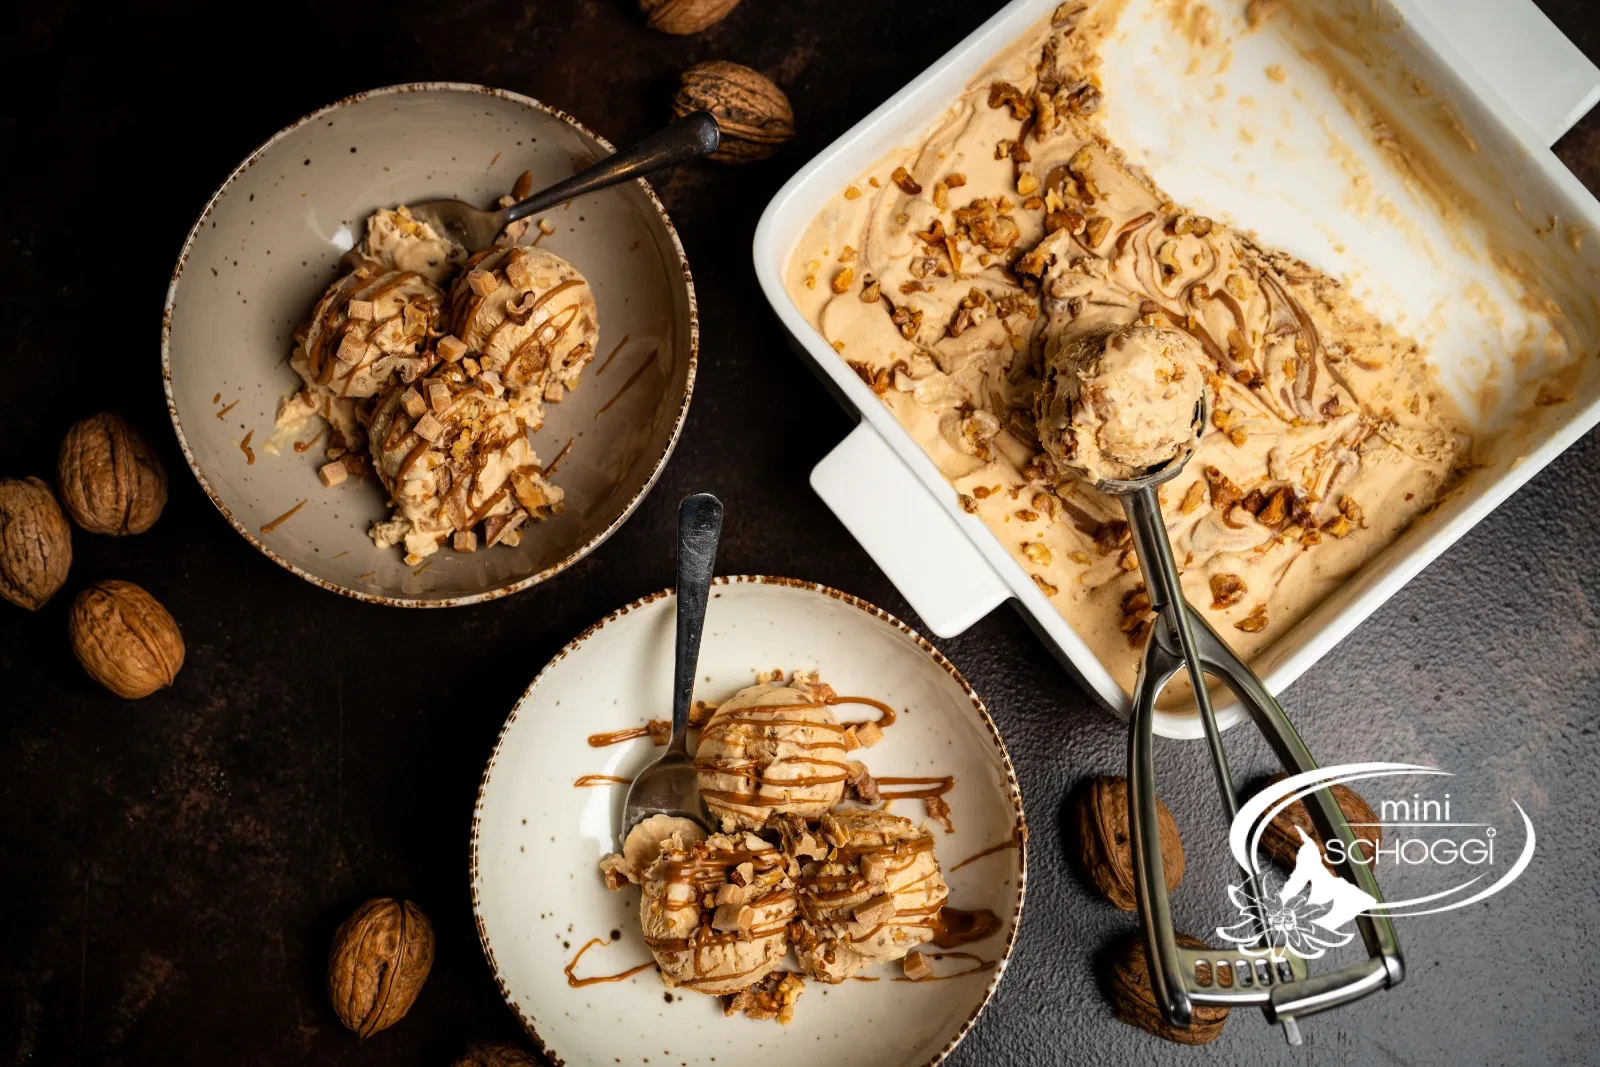
Creamy, caramelly – and completely without an ice cream machine
Amount1 large casserole dish (approx. 8–10 portions)
Active timeApprox. 20 min.
Total timeApprox. 4 hrs. 20 min. (incl. freezing time)
contains milkcontains walnuts (tree nuts)
Some desserts don't need a stage, they win you over with the first spoonful. This movenpick maple walnut ice cream is one of them: velvety whipped cream, sweetened condensed milk and a generous portion of salted Caramel cream come together into a mixture that makes roasted walnuts crunch. And the best part: you don't need an ice cream machine.
The reason lies in the condensed milk. Its sugar lowers the freezing point, and the whipped cream folds air into the mixture – together they achieve exactly what an ice cream machine otherwise laboriously churns in. That's why this ice cream turns out creamy instead of an ice block, even though it simply sits in the freezer.
If you'd like to understand the principle in even more detail: in our post "Make ice cream yourself – completely without an ice cream machine" we show the basics with a different variety. Here it's all about the caramel version, and by far it's the one people ask about most often.
Ingredients
Quantity:
ICE CREAM
400 gCondensed milk, sweetened
500 gFull cream, whipped
100 g Walnuts, roasted
Step by step
If you're in a hurry: the compact recipe card further down sums it all up.
Preparation
1
Toast and roughly chop the walnuts
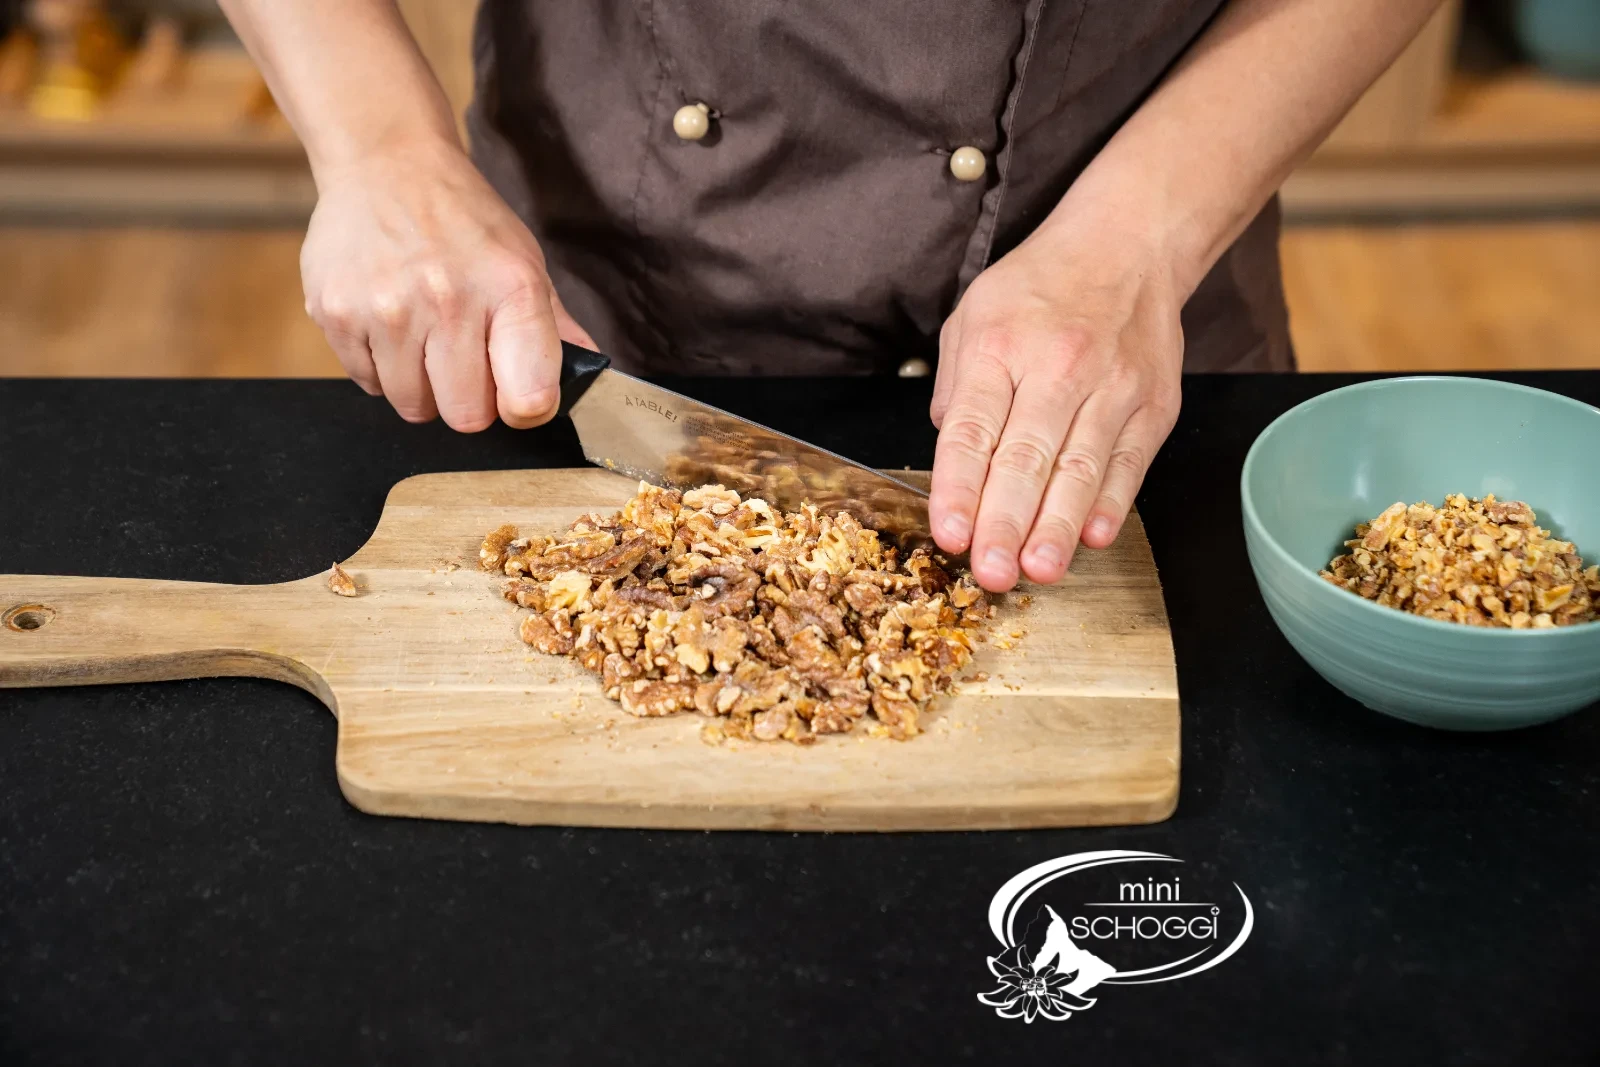
Spread the walnuts on a tray lined with baking paper and toast them in the preheated oven at 170 °C fan for about 8 minutes. Then let them cool completely before you chop them roughly – nuts chopped while warm release oil and turn soft in the ice cream. The pieces can happily be different sizes, which makes the texture more interesting later on.
Here's what you need for it

Baking paper 42 x 33 cm, 25 pieces
2
Stir the caramel base until smooth
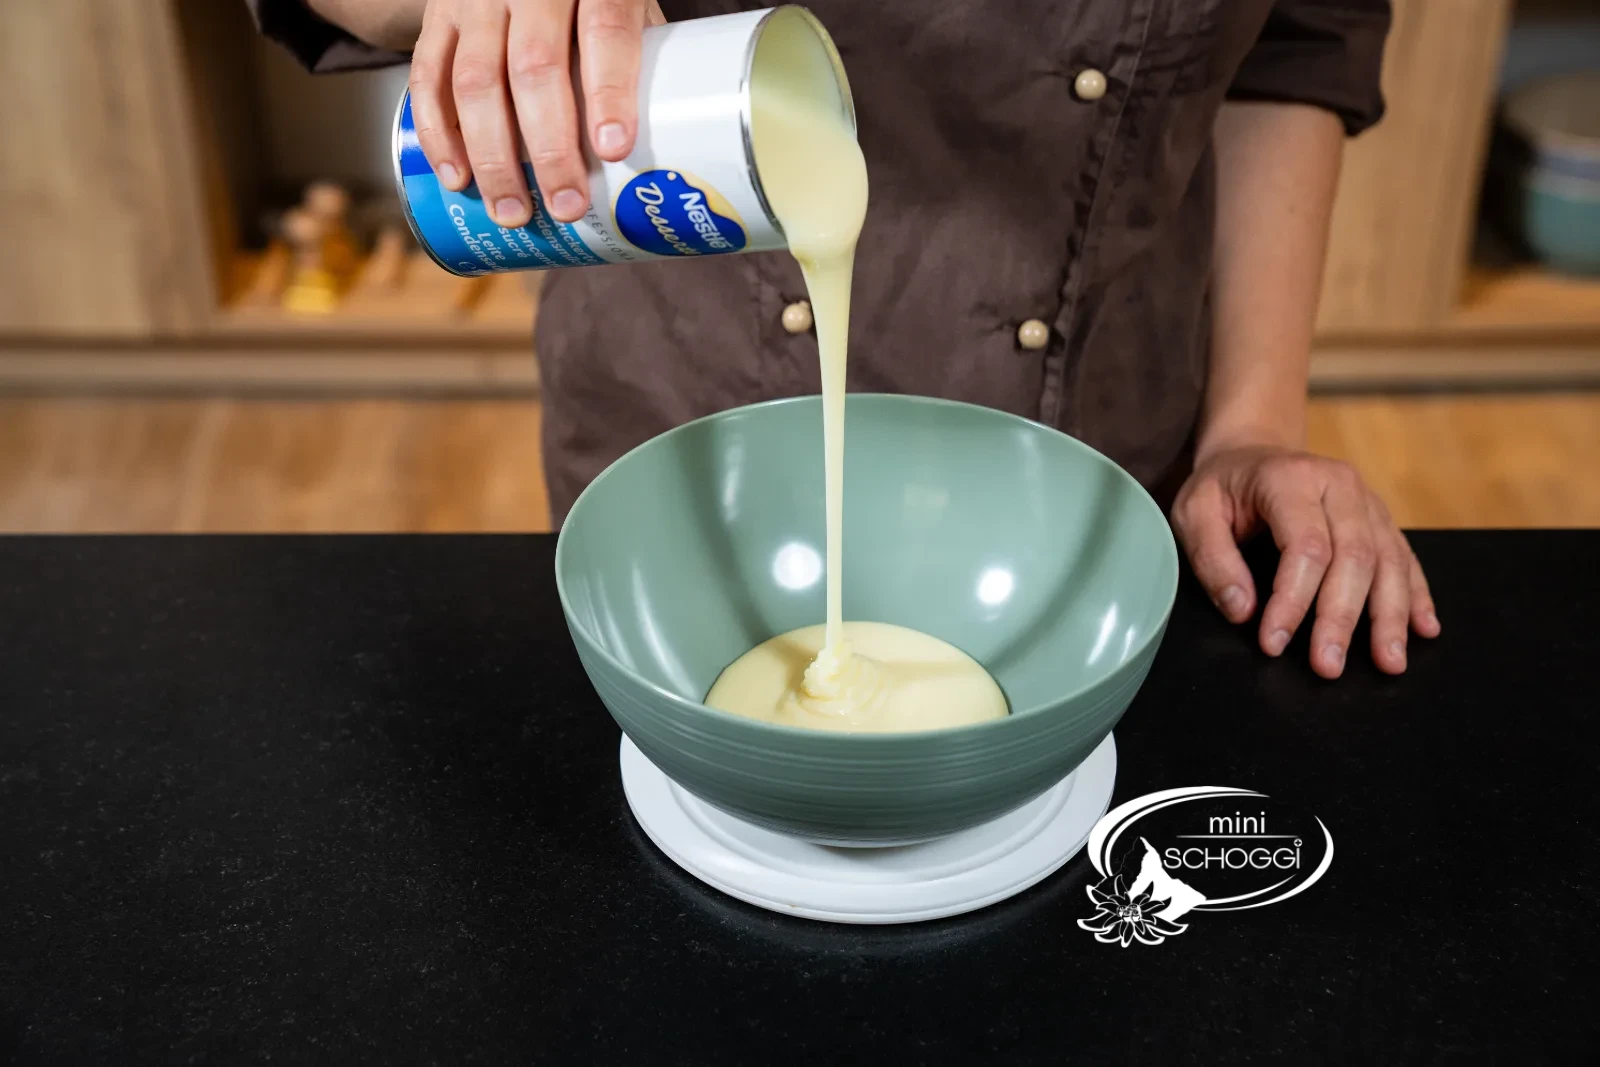
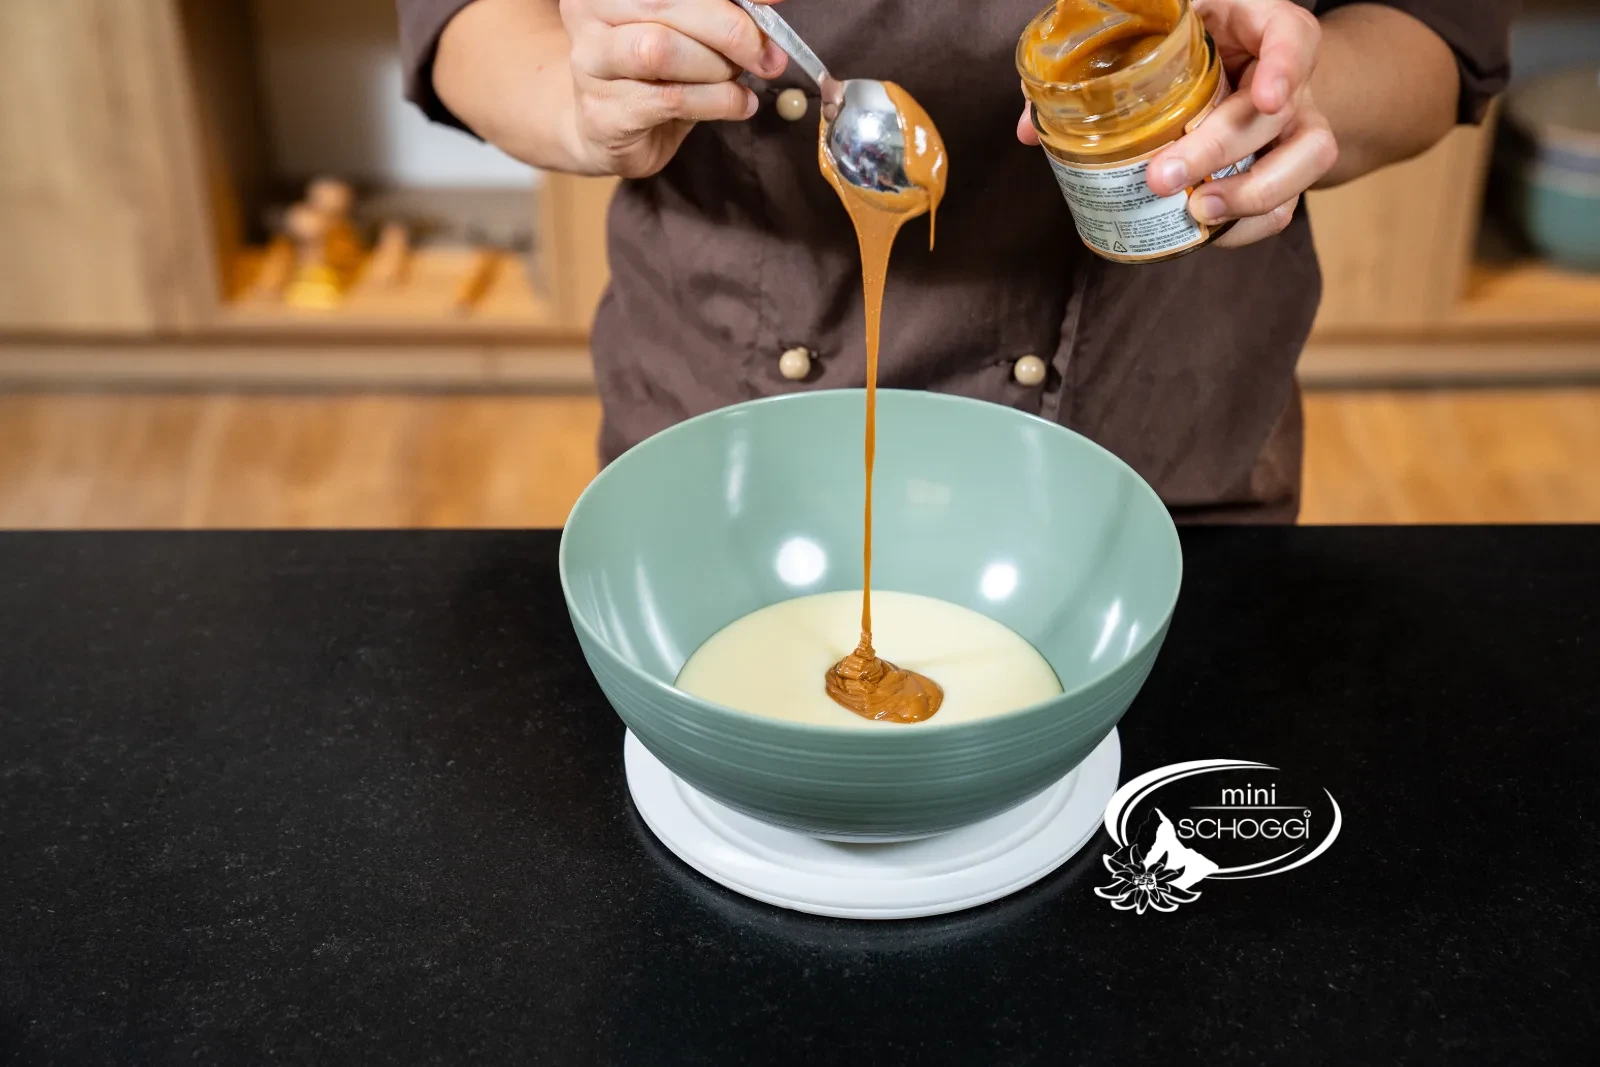
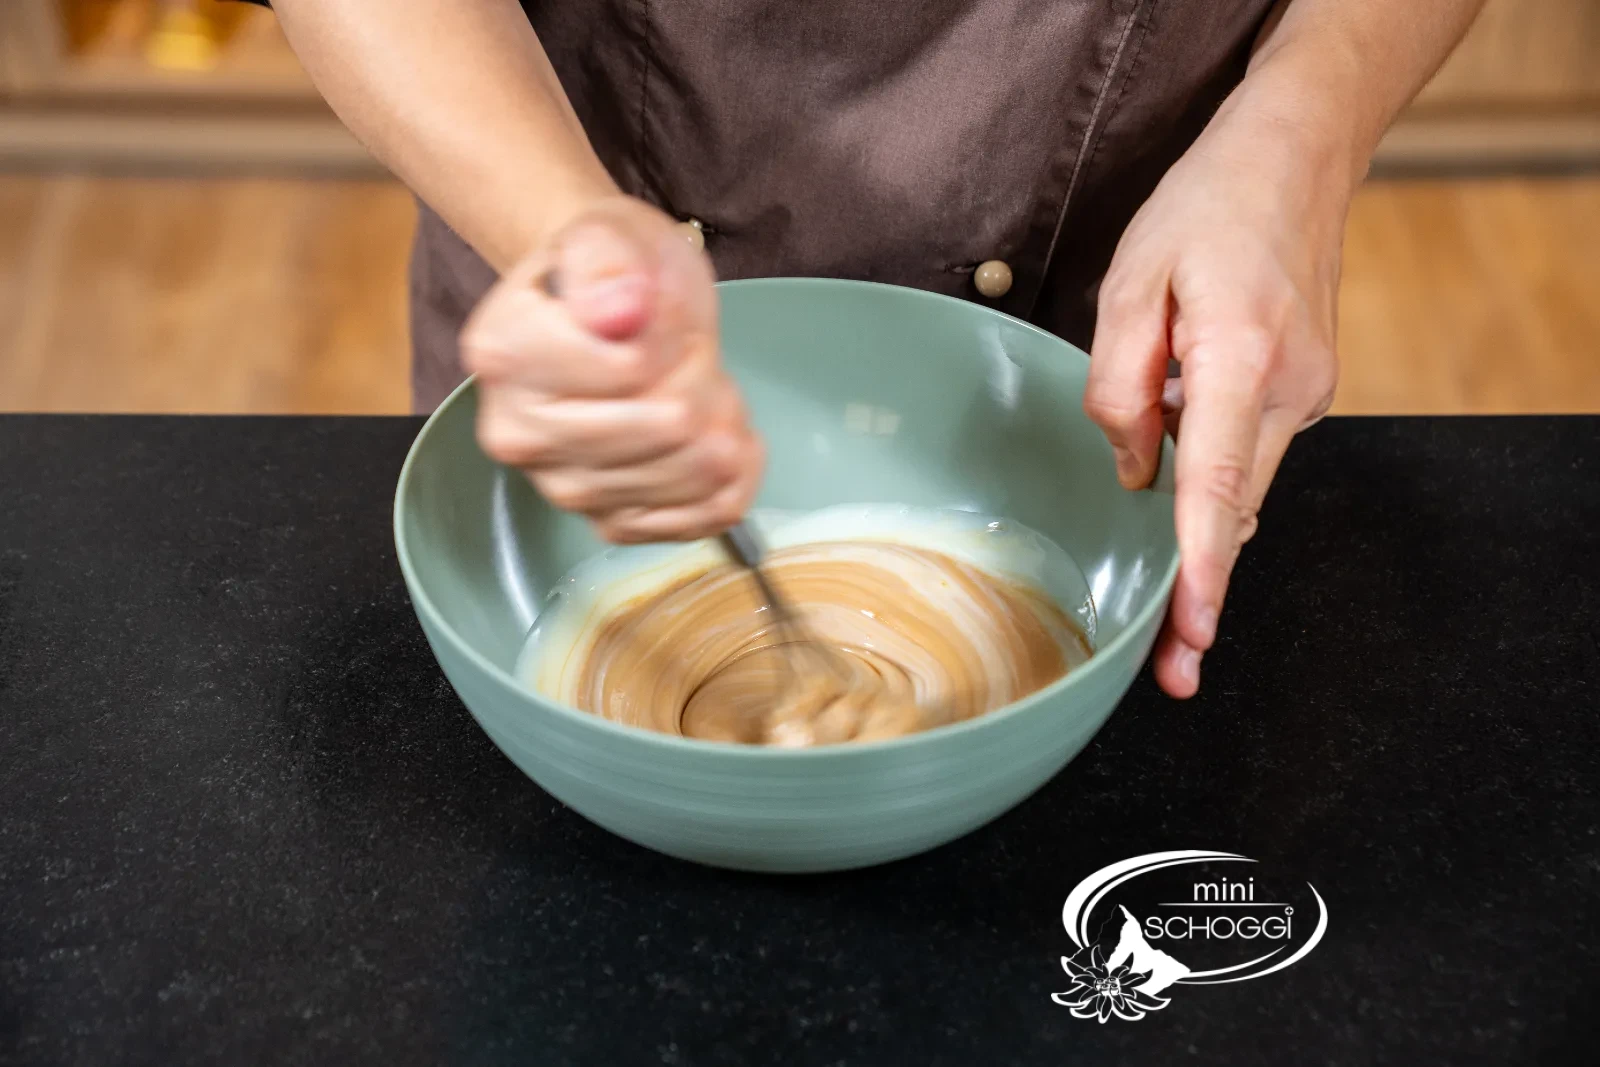
Put the sweetened condensed milk into a large Bowl and add the salted Caramel cream. Stir both together thoroughly with the Whisk until you have a smooth, even cream. Use a Bowl that's big enough – 500 g of whipped cream is coming next, and it needs room to be folded in.
Here's what you need for it


Caramel cream with salt, 250 g
Whisk 25 cm
Plastic Bowl 4 l
Combine and freeze
1
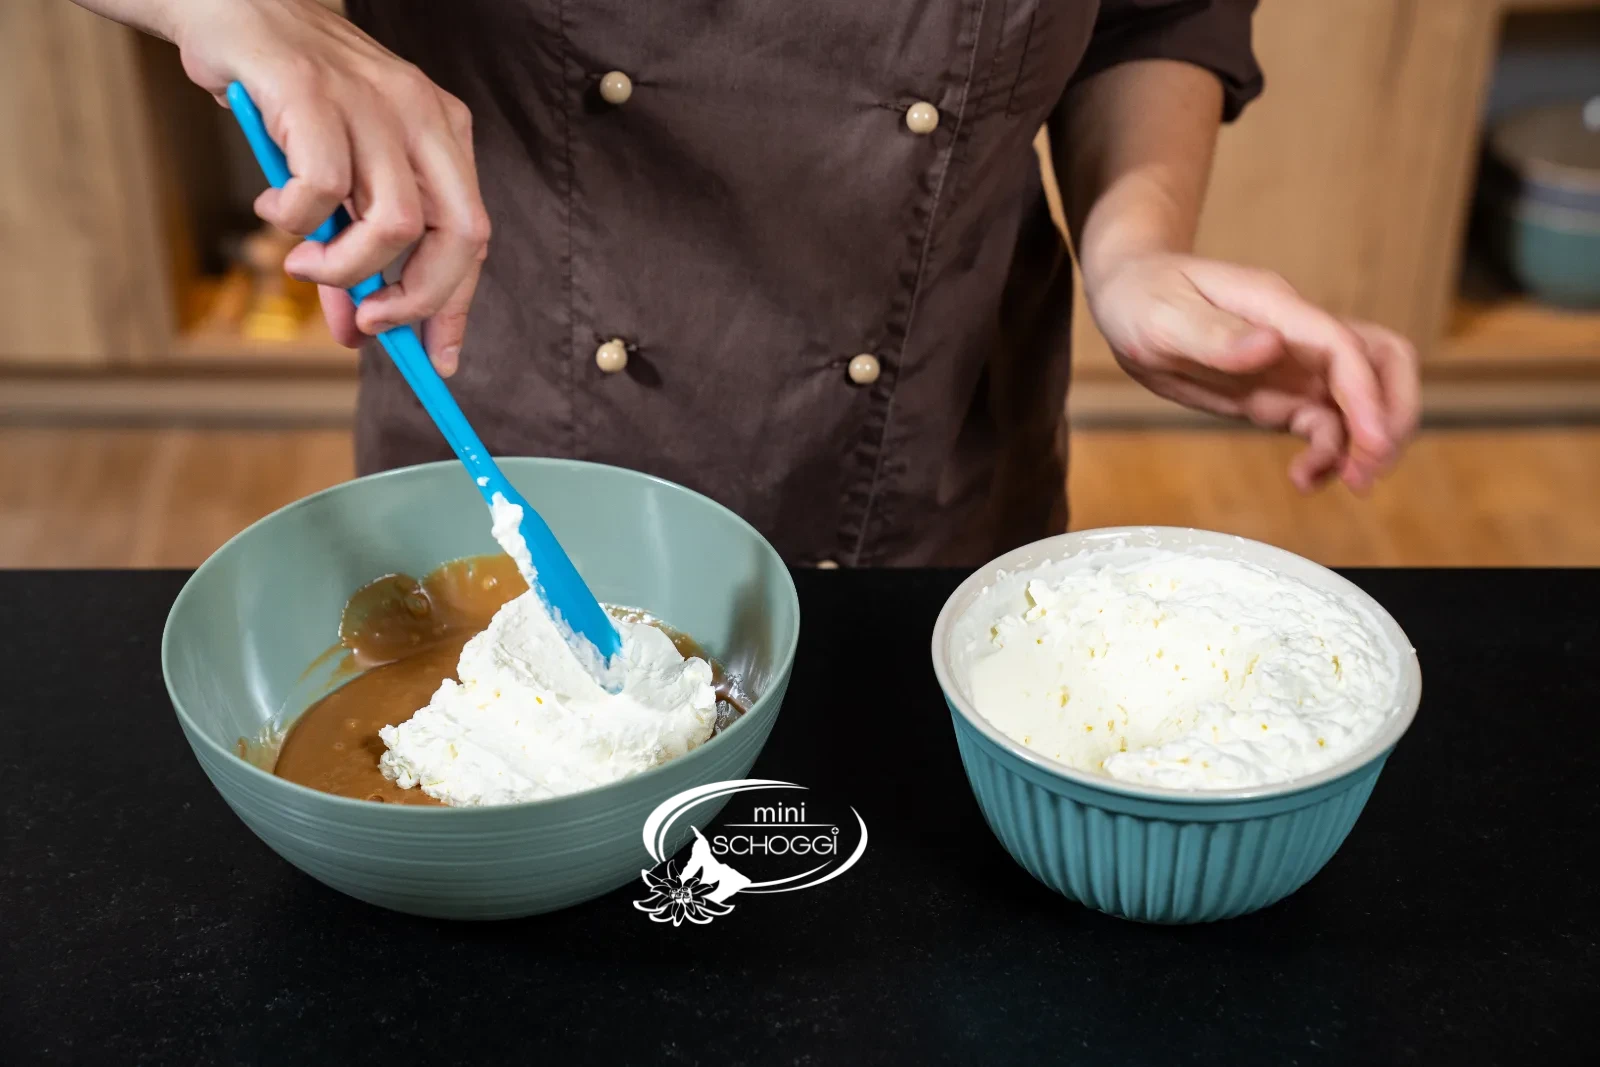
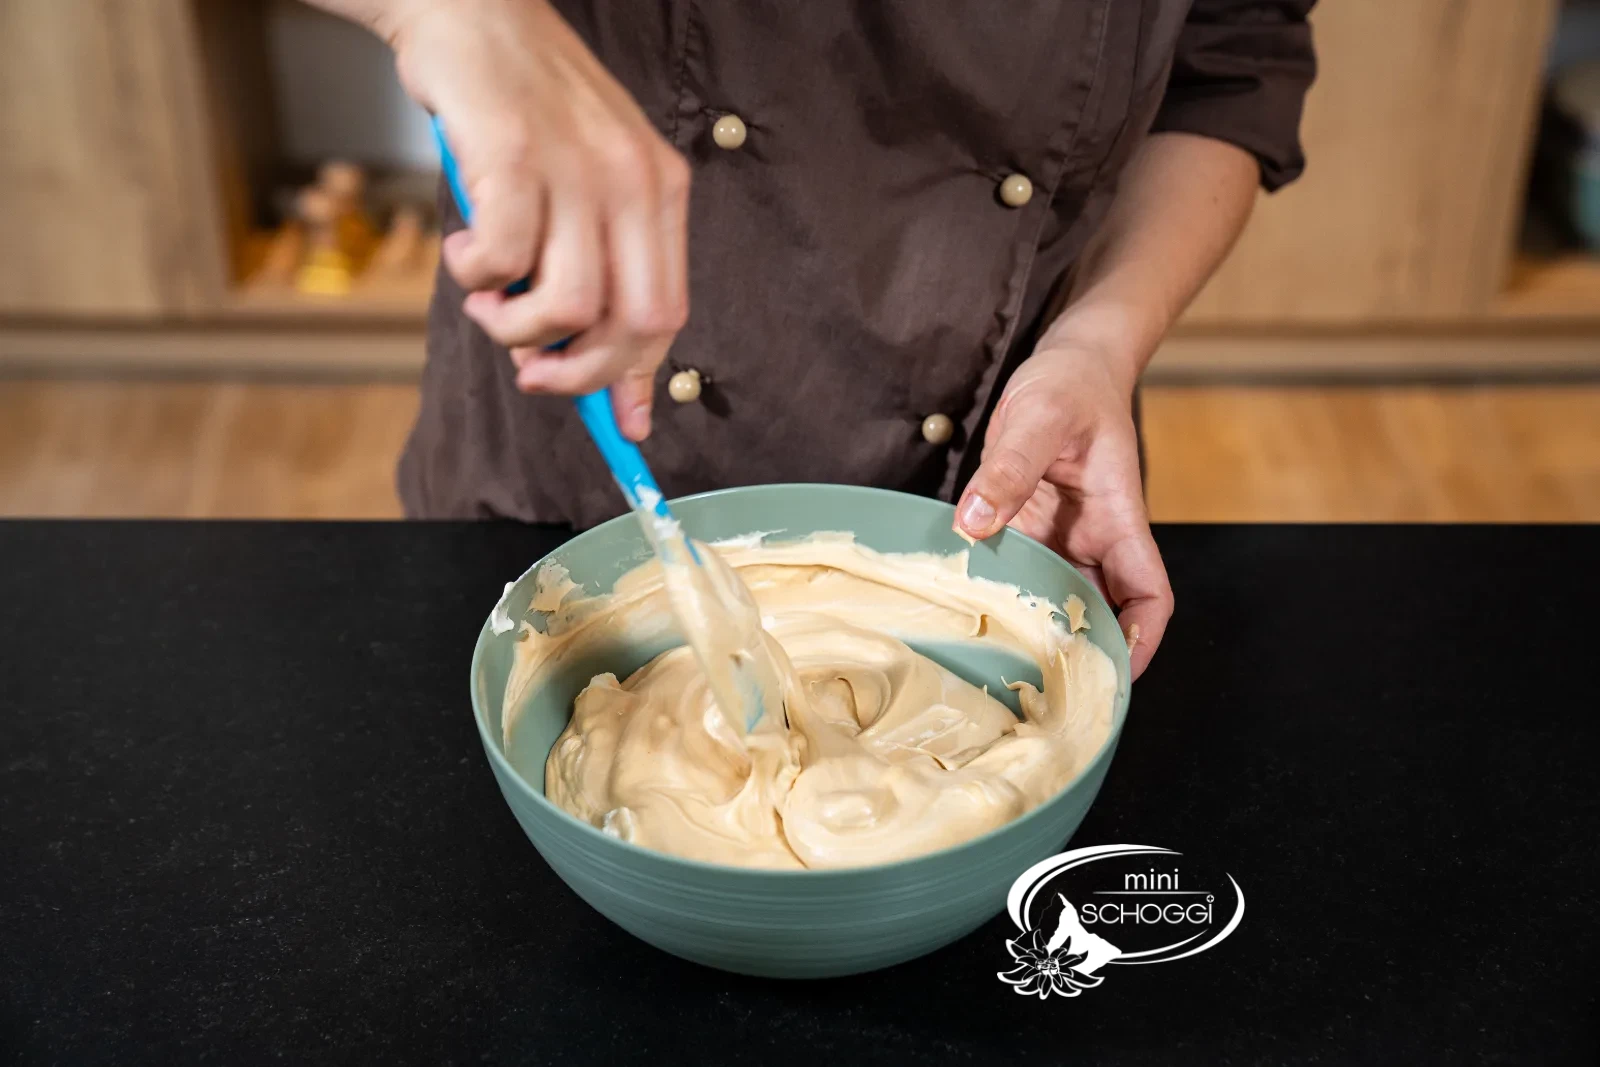
Whip the cream stiff and fold in in three portions
Whip the full cream until stiff. Then fold it into the Caramel cream in three portions using the Rubber scraper – don't stir, but lift from the bottom up. The first portion can be worked in vigorously so that the mixture becomes softer; with the other two, proceed gently. The air that now stays in the mixture is exactly what makes the ice cream creamy later.
2
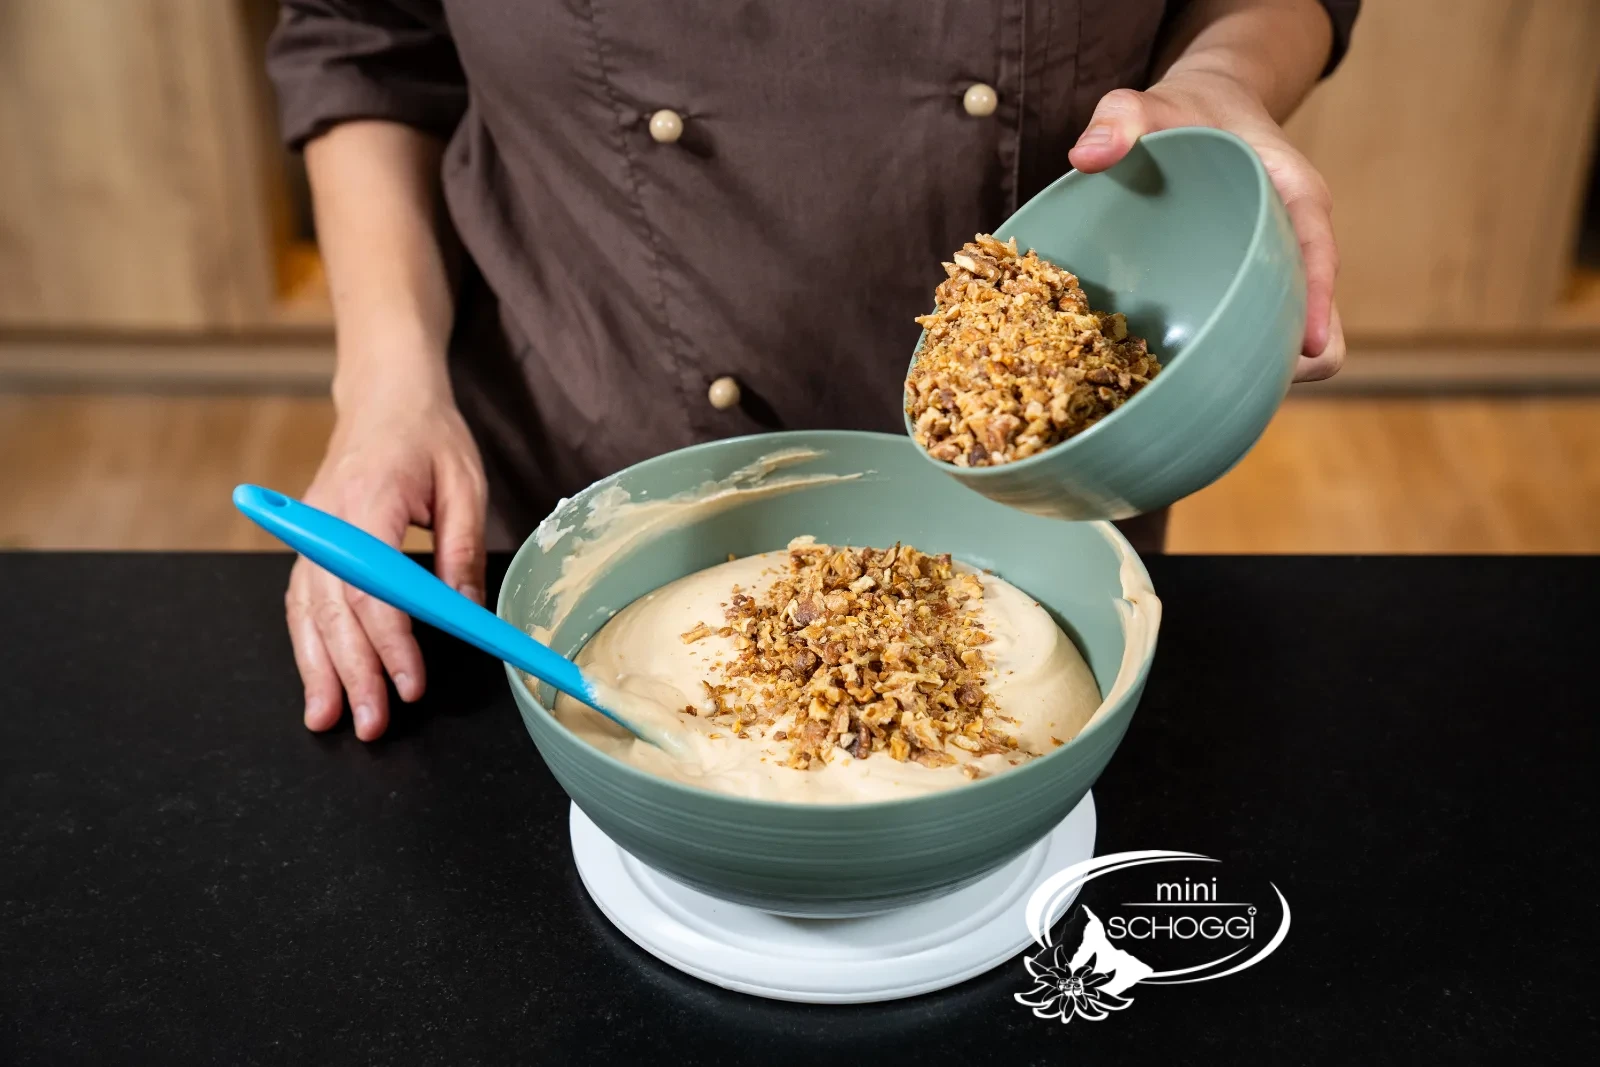
Fold in the walnuts
Add the roasted, chopped walnuts to the mixture and gently fold them in as well until they are evenly distributed. Hold back about half of the 50 g of decorating nuts – those go on top only at the end, where they can be seen.
3
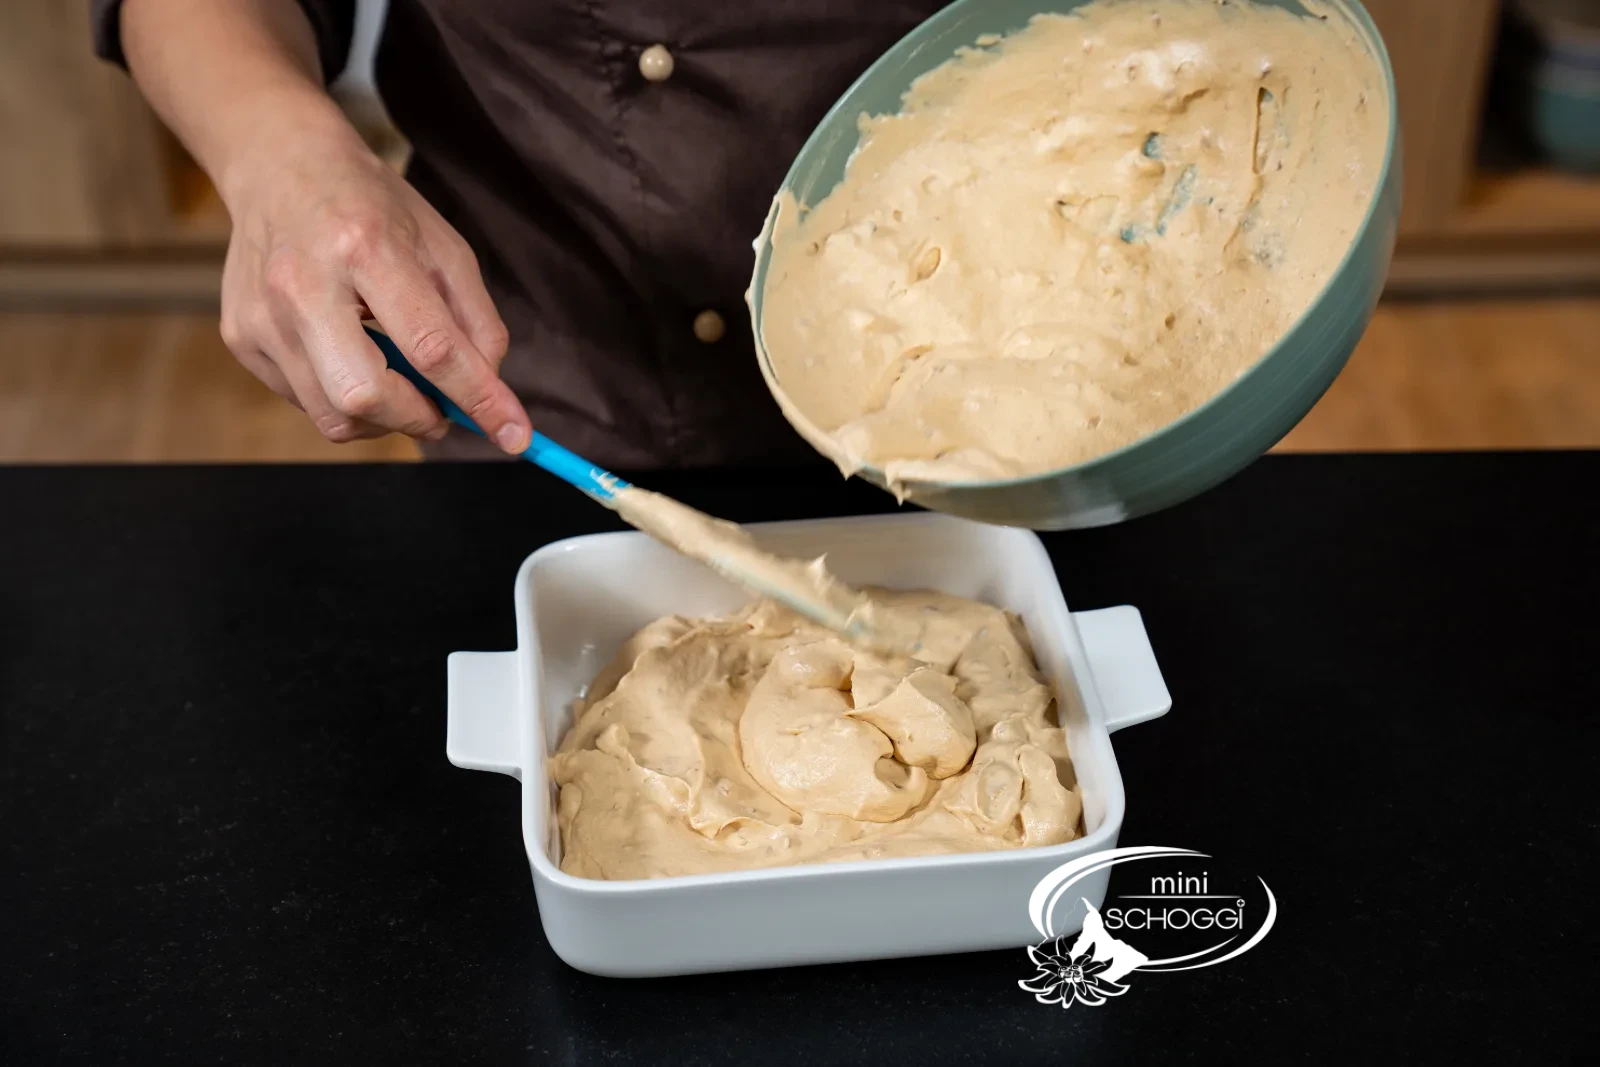
Fill in, marble and decorate
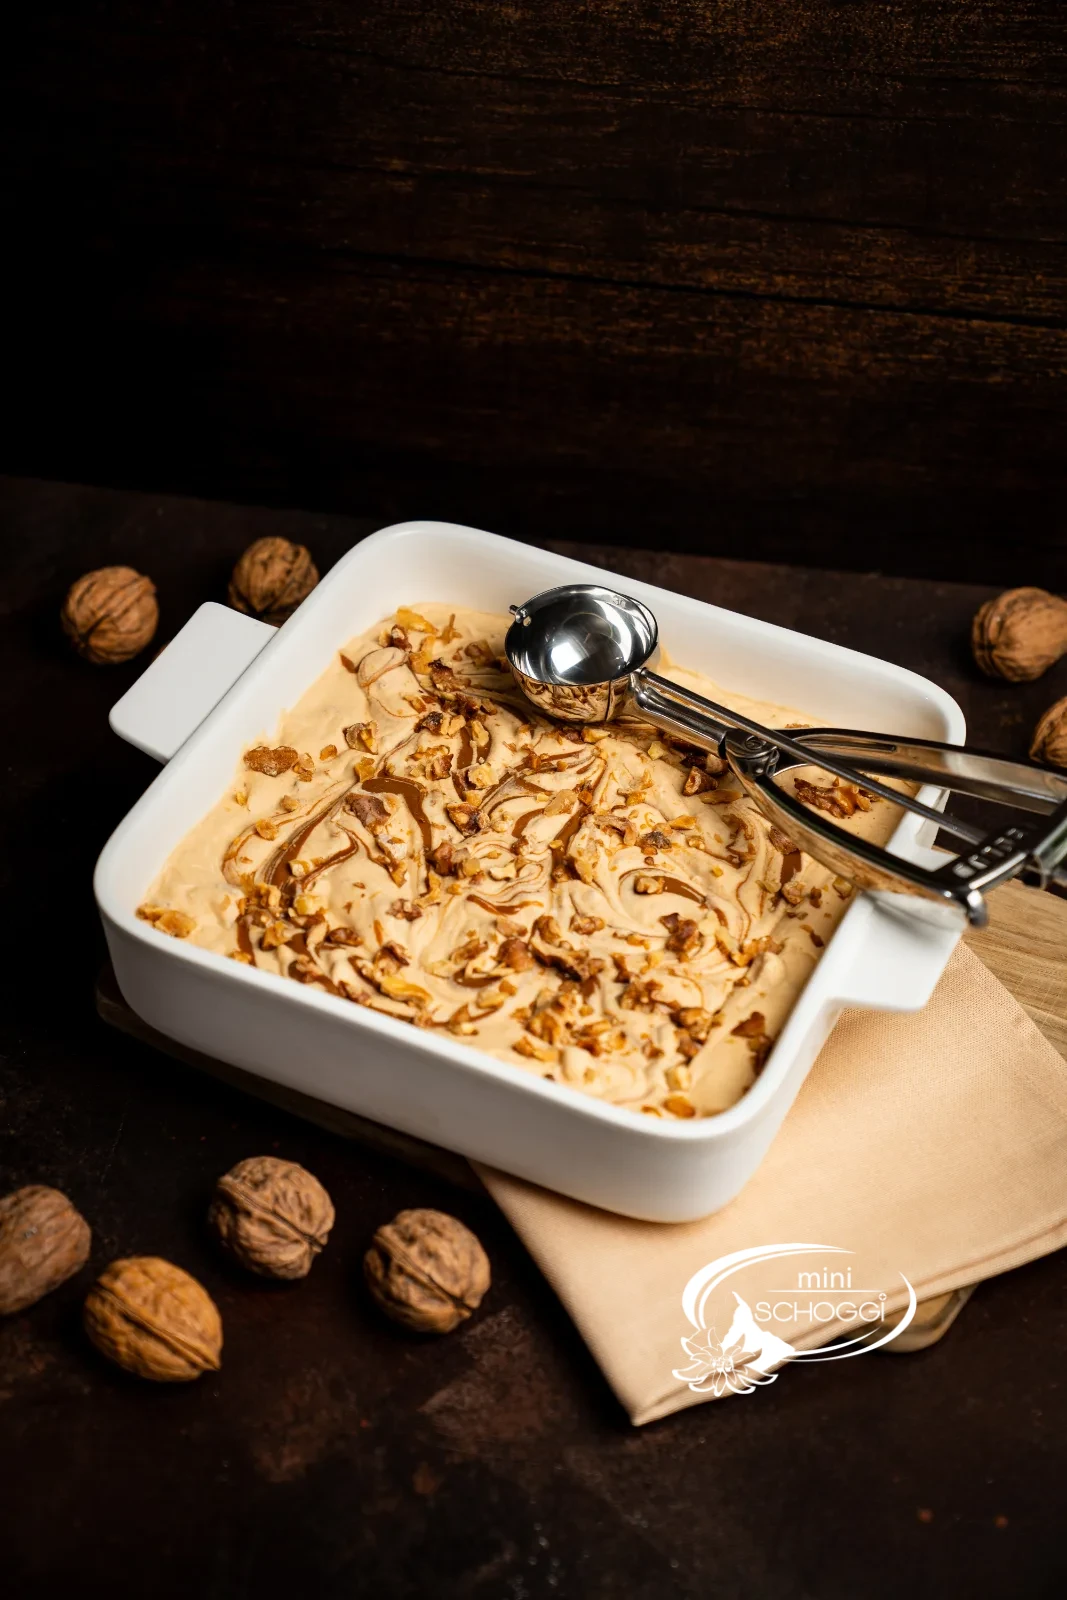
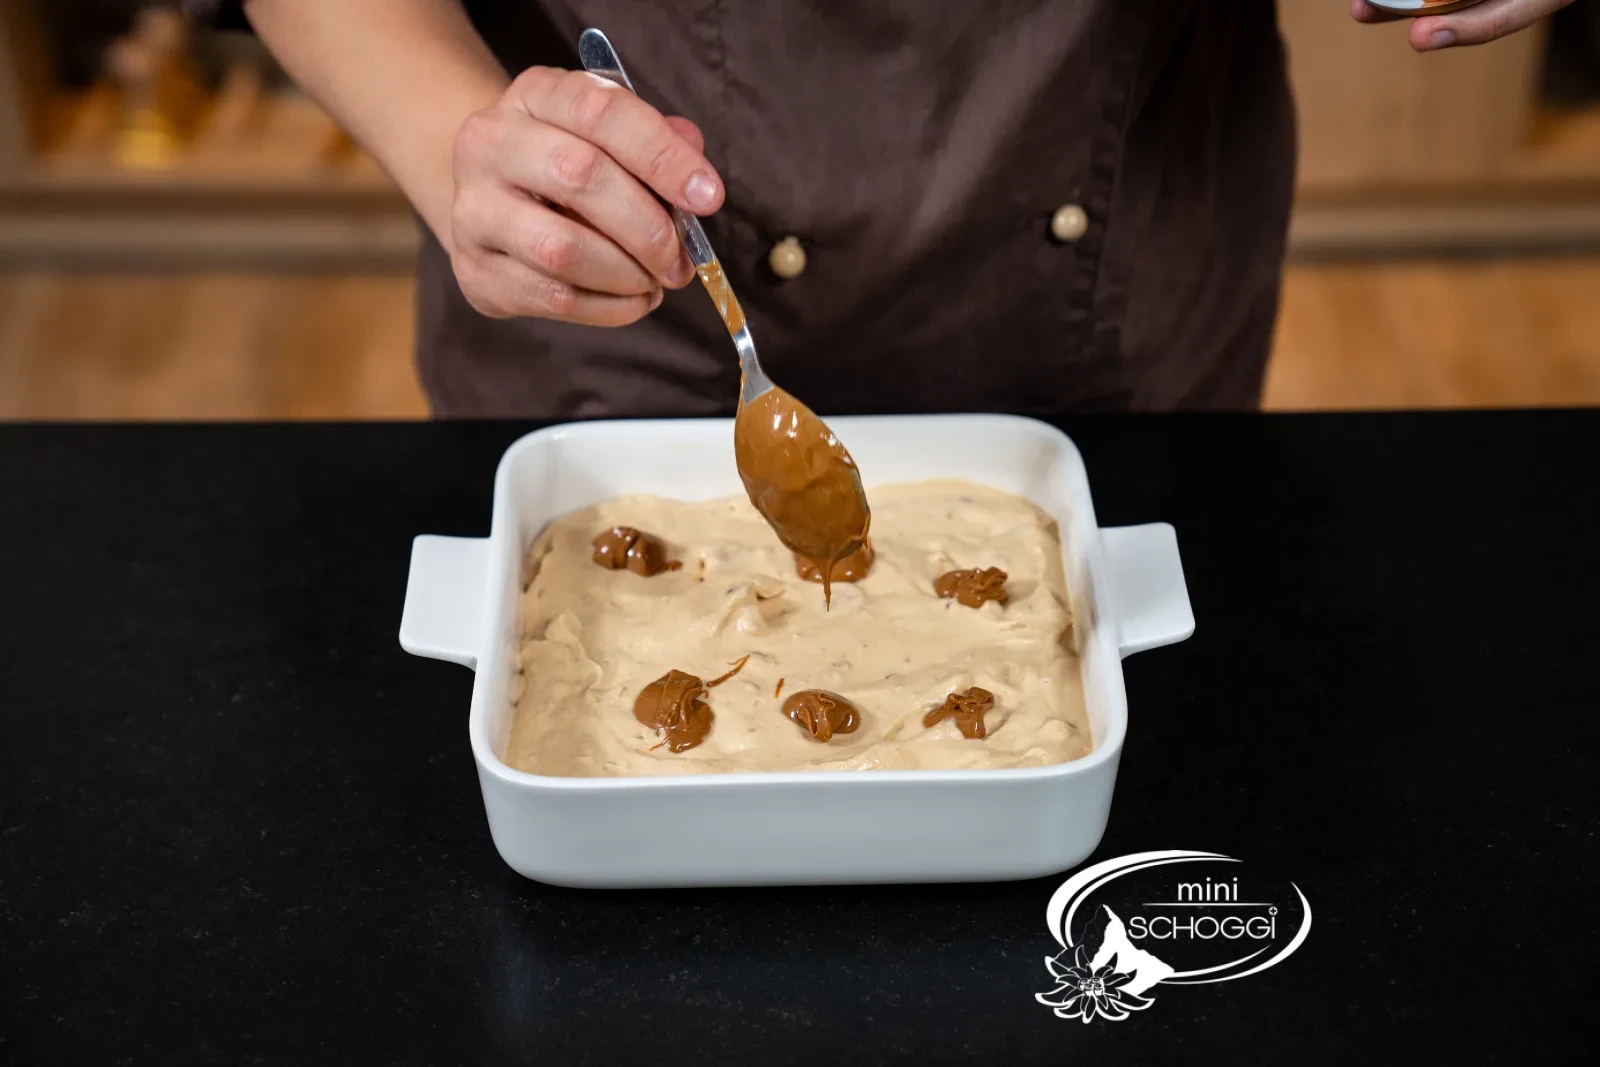
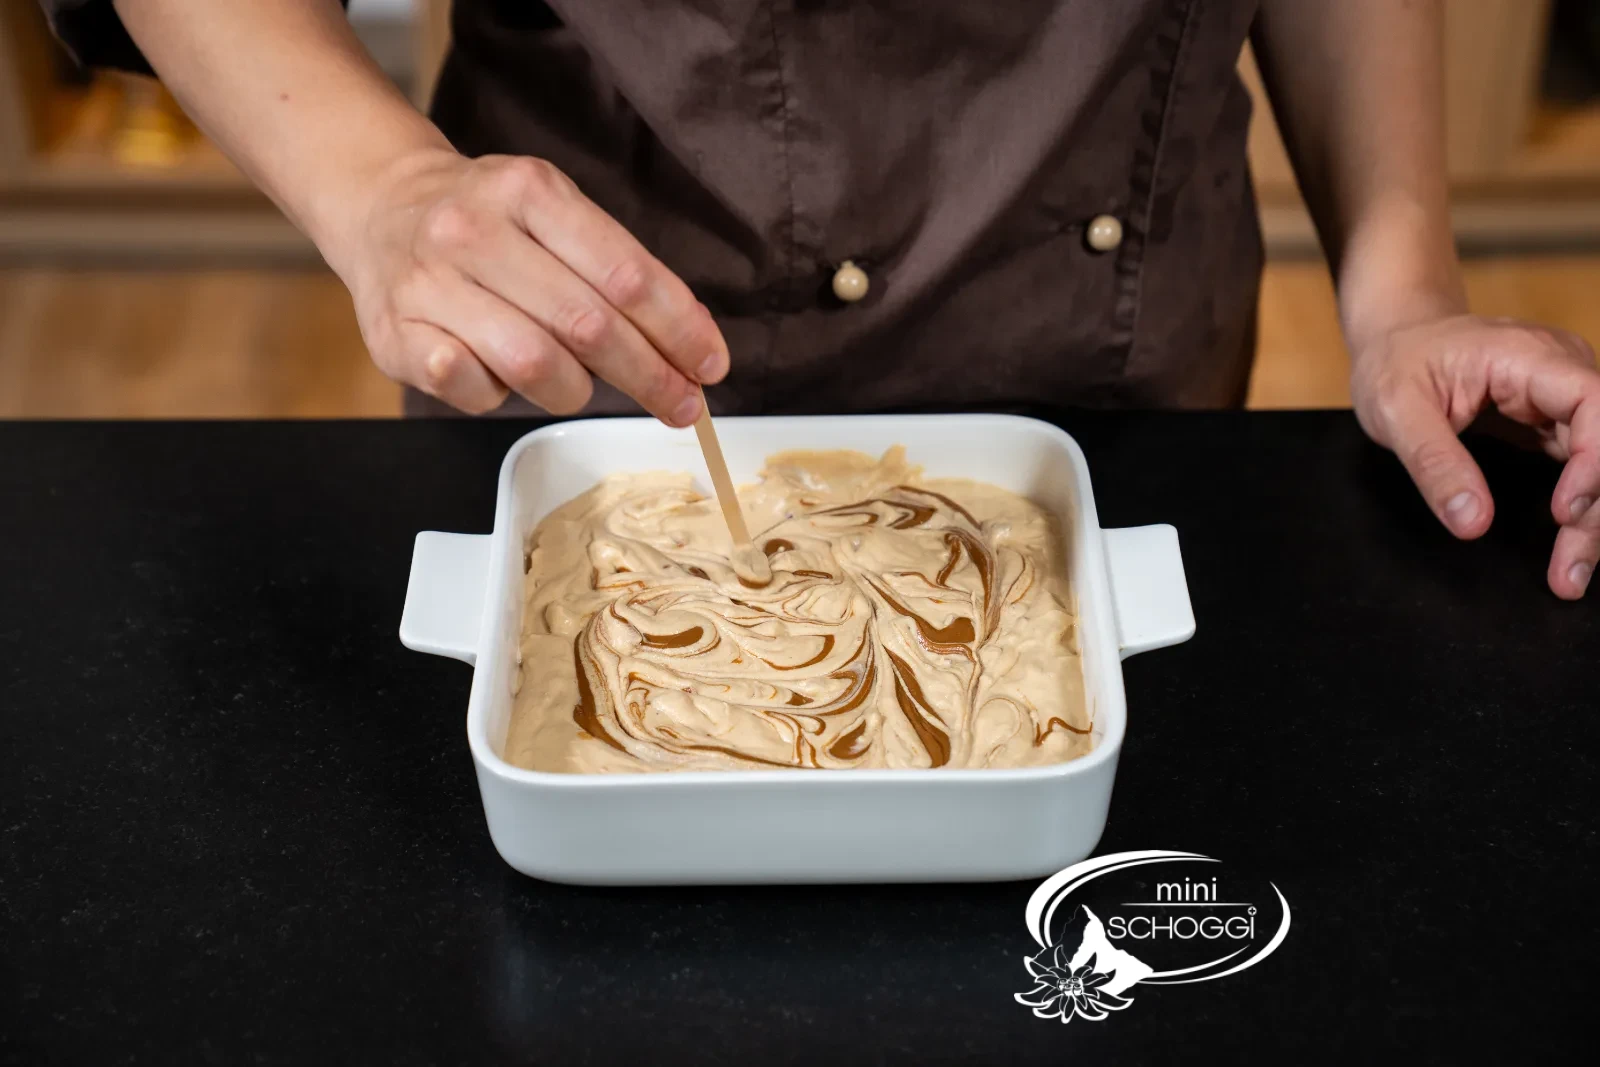
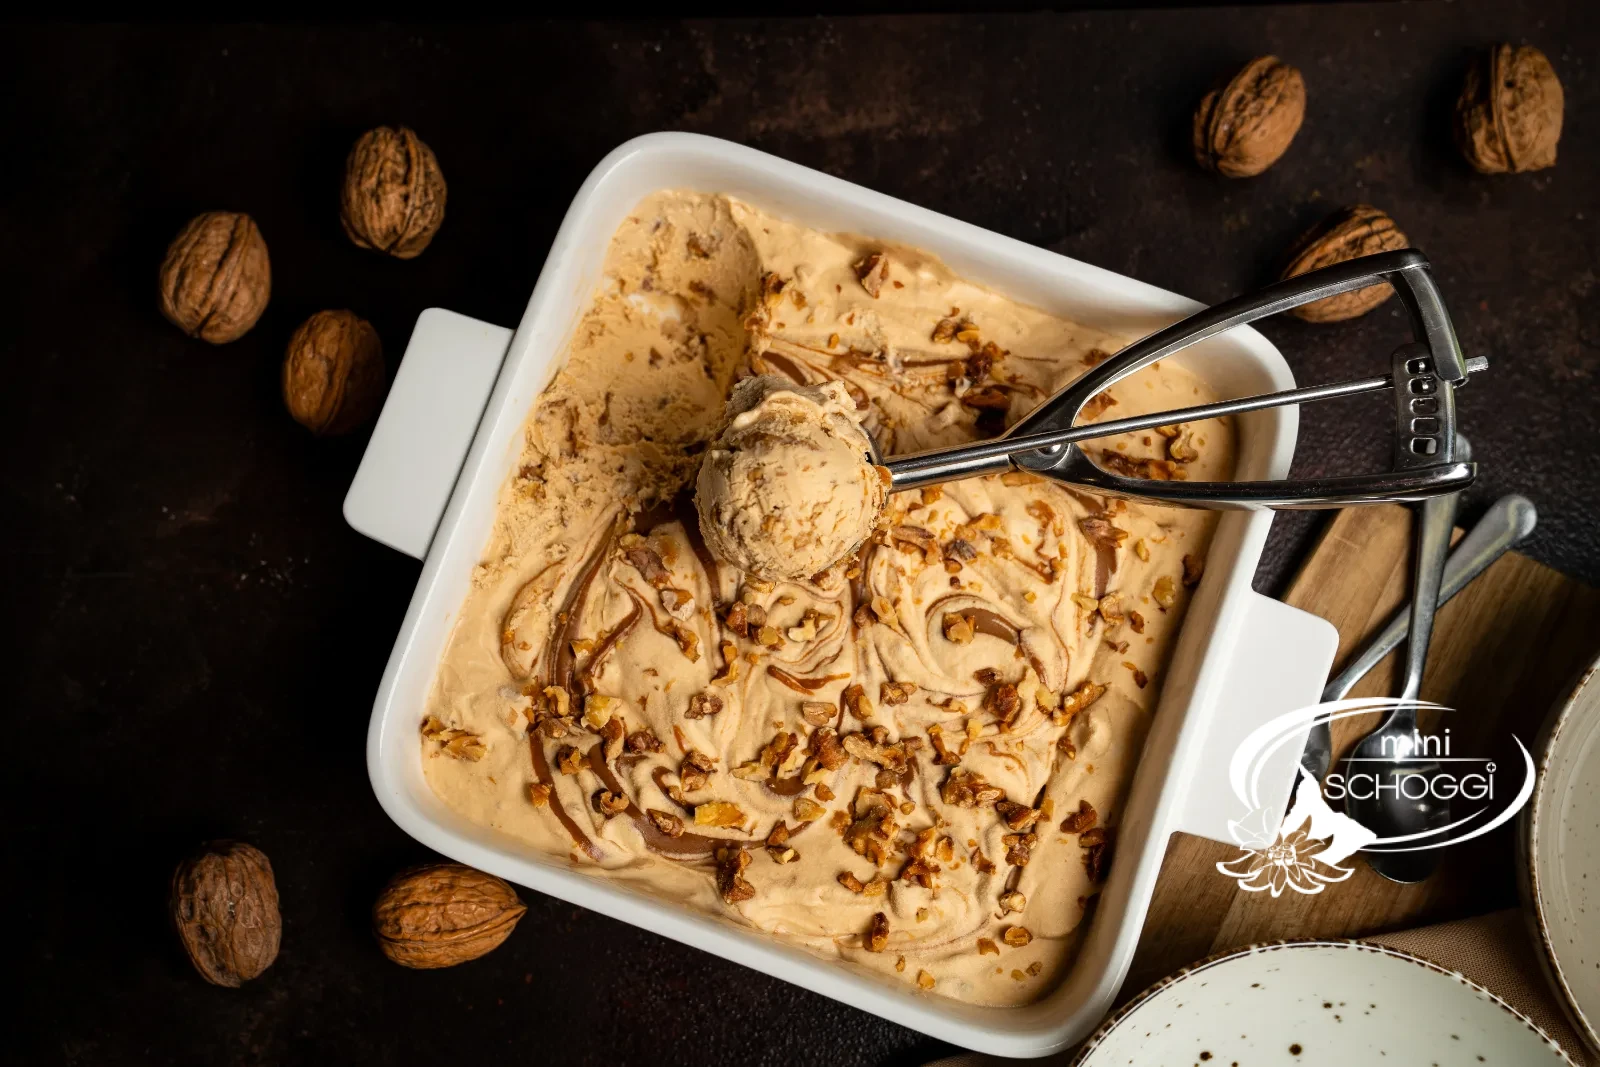
Pour the mixture into a dish – a ceramic casserole dish or a plastic container with a lid both work – and smooth the surface. Place dots of the remaining Caramel cream on top and draw a pattern through it with a wooden stick or the back of a spoon. Finally, garnish with the reserved walnuts and a few Caramel chips.
This is what you need for it

Caramel cream with salt, 250 g
Caramel chips 65 g
4
Freeze for at least 4 hours
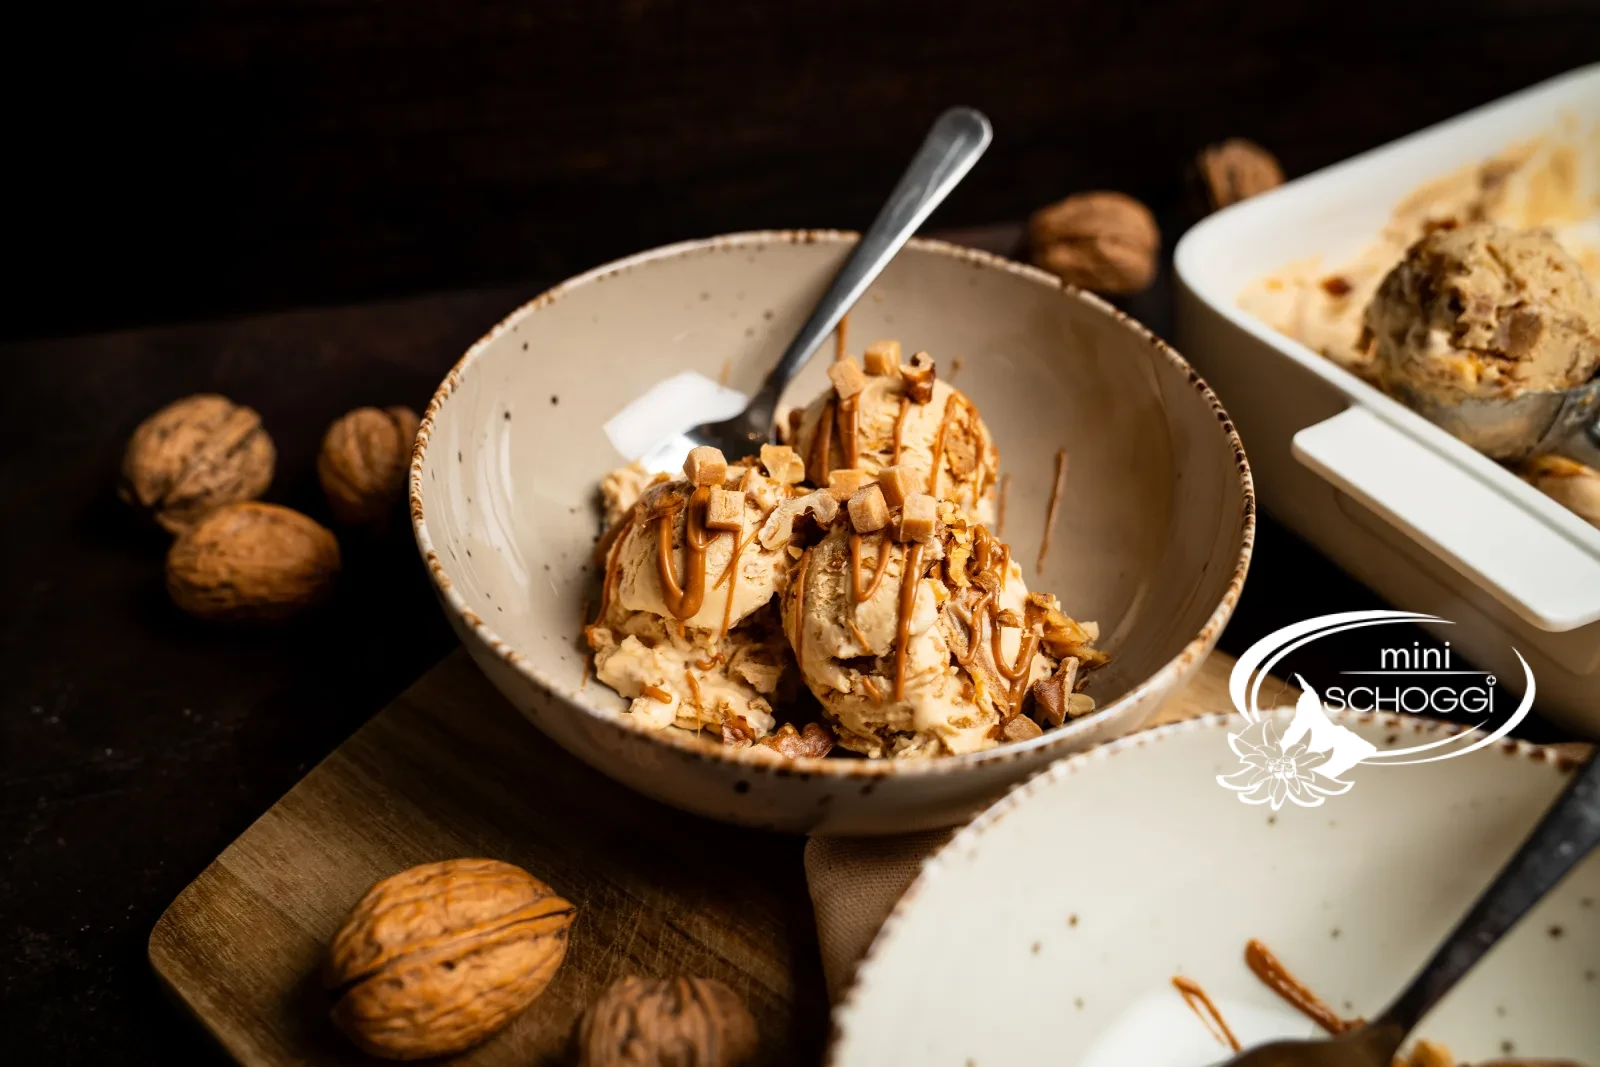
Put the ice cream in the freezer for at least 4 hours, ideally overnight. Take it out 5 to 10 minutes before serving – then you can scoop it without bending your spoon.
Compact · printable
Caramel Walnut Ice Cream
Ingredients
Quantity:
ICE CREAM
DECORATION
Preparation
- Walnuts: Roast for 8 min. at 170 °C fan, let cool, chop coarsely.
- Caramel base: Stir condensed milk and Caramel cream until smooth.
- Cream: Whip the full cream until stiff, fold in in three portions.
- Nuts: Fold in the chopped walnuts, holding back half of the decoration nuts.
- Fill: Pour into the dish, smooth out, marble with Caramel cream.
- Freeze: Decorate with nuts and Caramel chips, freeze for at least 4 hrs.
Nutritional values per 100 g
367kcal
20 gFat
46.1 gCarbohydrates
1.1 gProtein
Storage & shelf life
Well sealed, the ice cream keeps for up to 2 weeks in the freezer. It is creamiest in the first week – after that, fine ice crystals form over time.
A container with a lid is clearly preferable to an open tray: ice cream takes on odours in the freezer, and an open dish also attracts frost.
Everything for this recipe
Recommended from our bakery — exactly the sizes the recipe was tested with.
Ingredients
Caramel cream with salt, 250 g
Caramel chips 65 g
Caramelised hazelnuts, 200 g
Accessories
Ice cream cup 125 ml, 50 pieces
Ice cream container double-walled with lid, 1300 ml
Whisk 25 cm
Rubber scraper red, large
Plastic bowl 4 l
Baking paper 42 x 33 cm, 25 pieces
Delivery in 1–2 working days · Free shipping from CHF 100*
So it's guaranteed to succeed
Let it soften before serving
Take the ice cream out of the freezer about 5 to 10 minutes before serving. Then you can scoop it without the ball breaking – and the caramel flavour comes through much better at a slightly higher temperature.
Draw the pattern only just before freezing
If you draw the caramel pattern too early, it will run. So set the dots only once the mould is filled and the surface is smooth, draw the pattern in one go – and then straight into the freezer.
Extra crunch on the plate
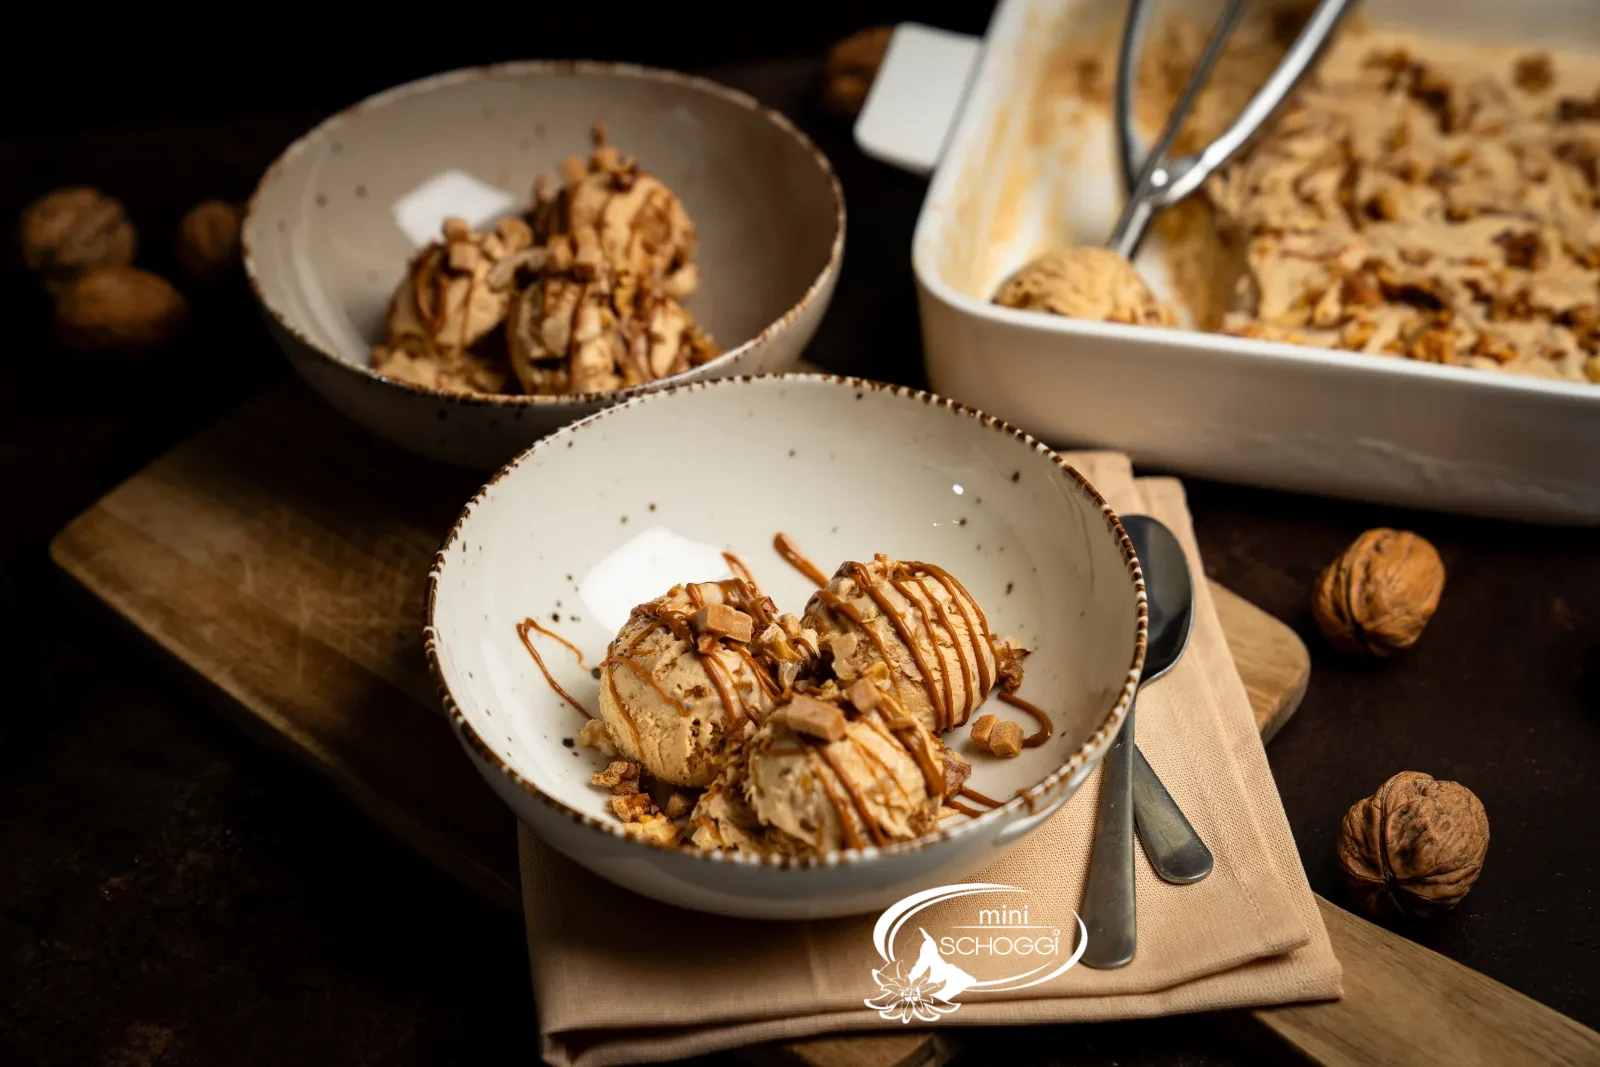
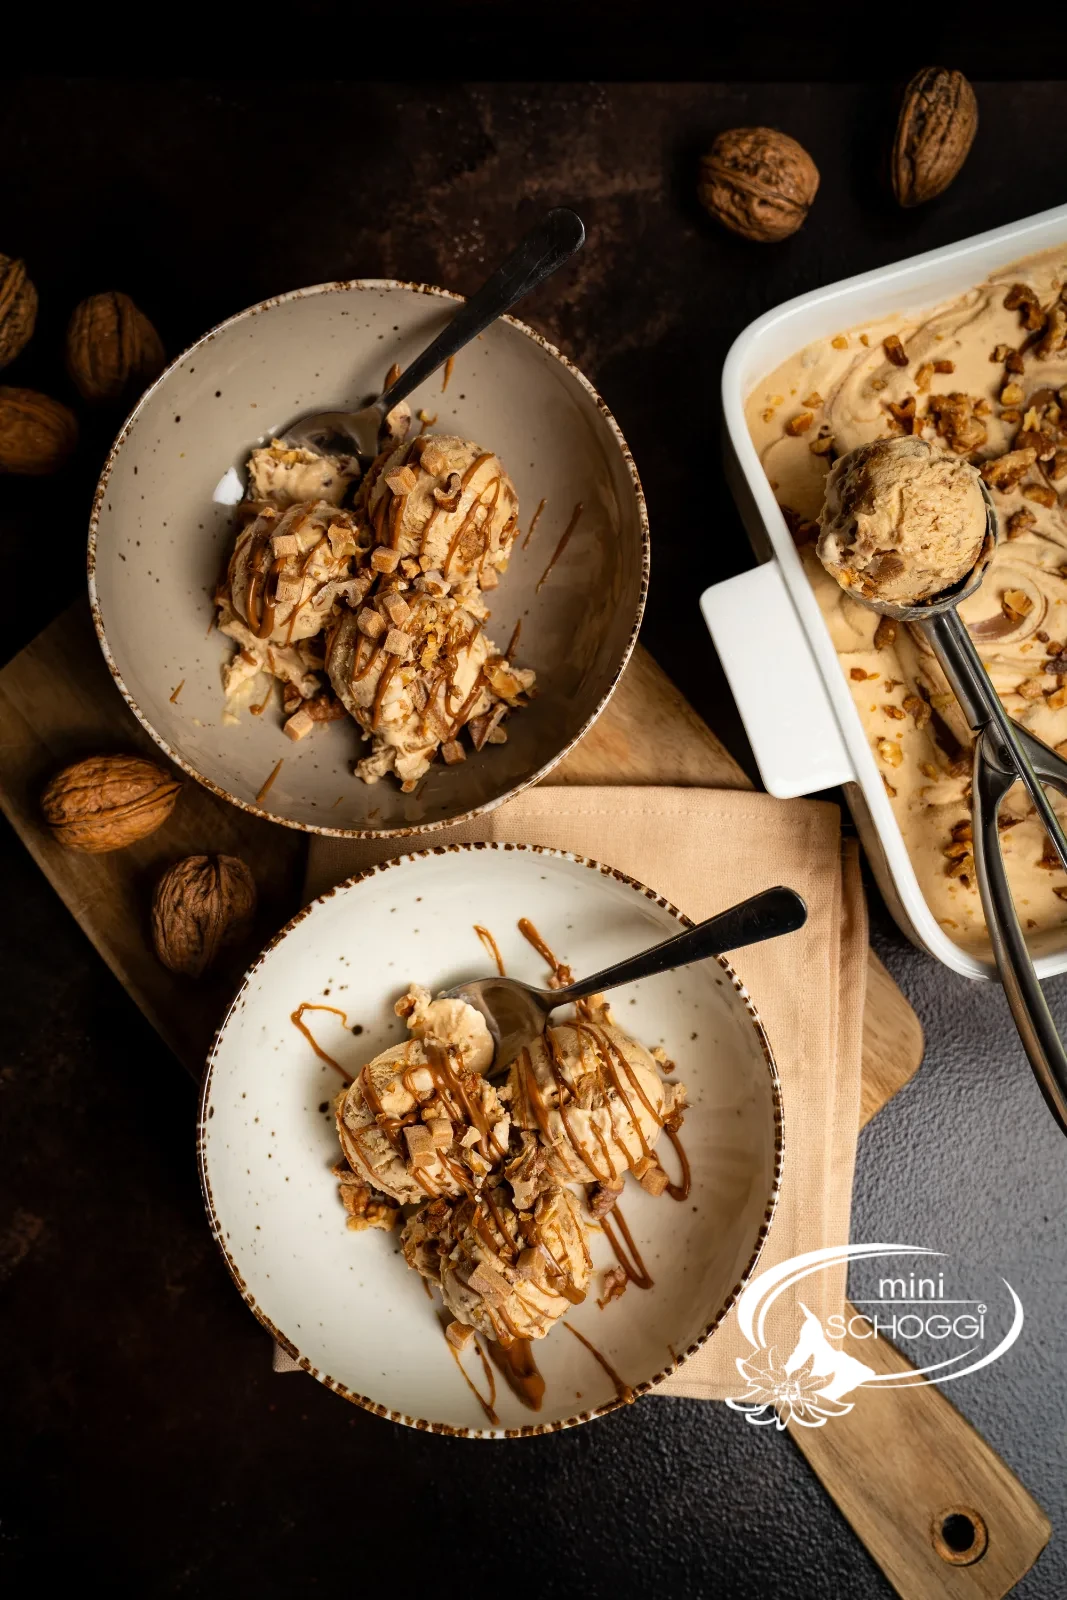
Sprinkle a few Caramel chips over each portion. They stay crunchy because they don't sit in the mixture – and they turn a scoop of ice cream into a dessert that looks like it's from a restaurant.
Frequently asked questions
Absolutely. Roasted hazelnuts or almonds go just as well with the caramel note. Caramelised hazelnuts are especially convenient – they're already roasted and sweetened, so you can skip step 1.
Somewhat, but not indefinitely. The Caramel cream can be reduced from 150 g to 100 g, and you'll clearly notice it. The sweetened condensed milk, on the other hand, is not a matter of taste but of technique: without its sugar the mixture freezes rock-hard. If you want it less sweet, use darker nuts and an extra pinch of salt – that tempers the sweetness without ruining the consistency.
With a spoon warmed in hot water that you briefly dip again between scoops. And with patience: let it soften for 5 to 10 minutes. If you're serving in portions anyway, it's easier to fill the mixture straight into ice cream cups – then you don't need to scoop at all.
Print recipe
Choose what should appear on the printout.
Related products
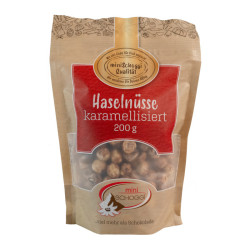
Hazelnuts caramelized, 200 g
Price: CHF 16.90
Valutato su 5 stelle in base a
recensione/i
Devi essere autenticato
Caramelized hazelnuts are perfect as an ingredient and decoration for...
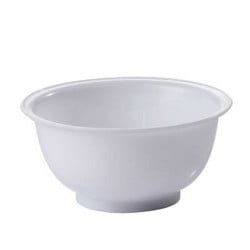
Plastic bowl 4 l
Price: CHF 8.90
Valutato su 5 stelle in base a
recensione/i
Devi essere autenticato
A plastic bowl is one of the simplest but also absolutely most important...

Whisk 25 cm
Price: CHF 8.90
Valutato su 5 stelle in base a
recensione/i
Devi essere autenticato
Every kitchen needs some basic equipment, and this includes a sturdy whisk....
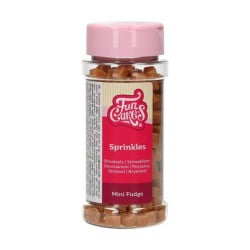
Caramel cubes 65 g
Price: CHF 5.10
Valutato su 5 stelle in base a
recensione/i
Devi essere autenticato
Use sweet caramel cubes to decorate your cakes, cupcakes or cake pops and...
Baking paper 42 x 33 cm, 25 pieces
Price: CHF 4.95
Valutato su 5 stelle in base a
recensione/i
Devi essere autenticato
With these baking paper sheets your pastries rise evenly and are baked...
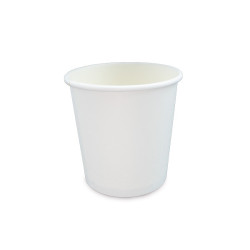
Ice cream cup 125 ml, 50 pieces
Price: CHF 16.50
Valutato su 5 stelle in base a
recensione/i
Devi essere autenticato
If you long for a refreshment in the heat of summer or want to really enjoy...
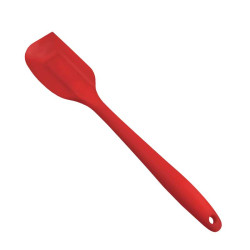
Rubber scraper Red, large
Price: CHF 9.90
Valutato su 5 stelle in base a
recensione/i
Devi essere autenticato
The rubber scraper red is made of silicone, which protects pots and bowls...
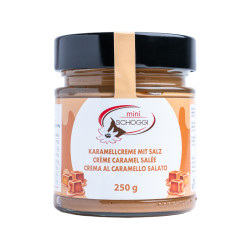
Caramel cream with salt, 250 g
Price: CHF 13.90
Valutato su 5 stelle in base a
recensione/i
Devi essere autenticato
With this irresistible salted caramel cream made from the best Italian...
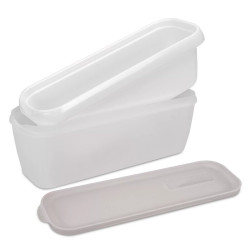
Double-walled ice cream container with lid, 1300 ml
Price: CHF 17.20
Valutato su 5 stelle in base a
recensione/i
Devi essere autenticato
This double-walled ice cream container with lid is the ideal accessory for...
Bewertungen
Leave a comment
Related posts
 Make your own chocolate Easter bunnies
You can easily make your own Easter bunnies at home! You can find out how to do it and what you need here. A sweet...
Read more
Make your own decorative Swiss roll
Make your own decor roulade - we'll explain exactly how in this blog, with lots of tips and tricks from our...
Read more
Cinnamon Star Biscuits Recipe
Make your own cinnamon stars with the help of our professionals, with lots of tips & tricks to bake the best...
Read more
Make your own chocolate pumpkin pralines
Make your own 3D chocolate pumpkin pralines - here you get detailed instructions with lots of tips and tricks...
Read more
How can I convert a cake recipe?
Converting a cake recipe, whether a sponge or a cake filling, is easy with our conversion table.
Read more