
Halloween cookies made from shortcrust pastry scraps
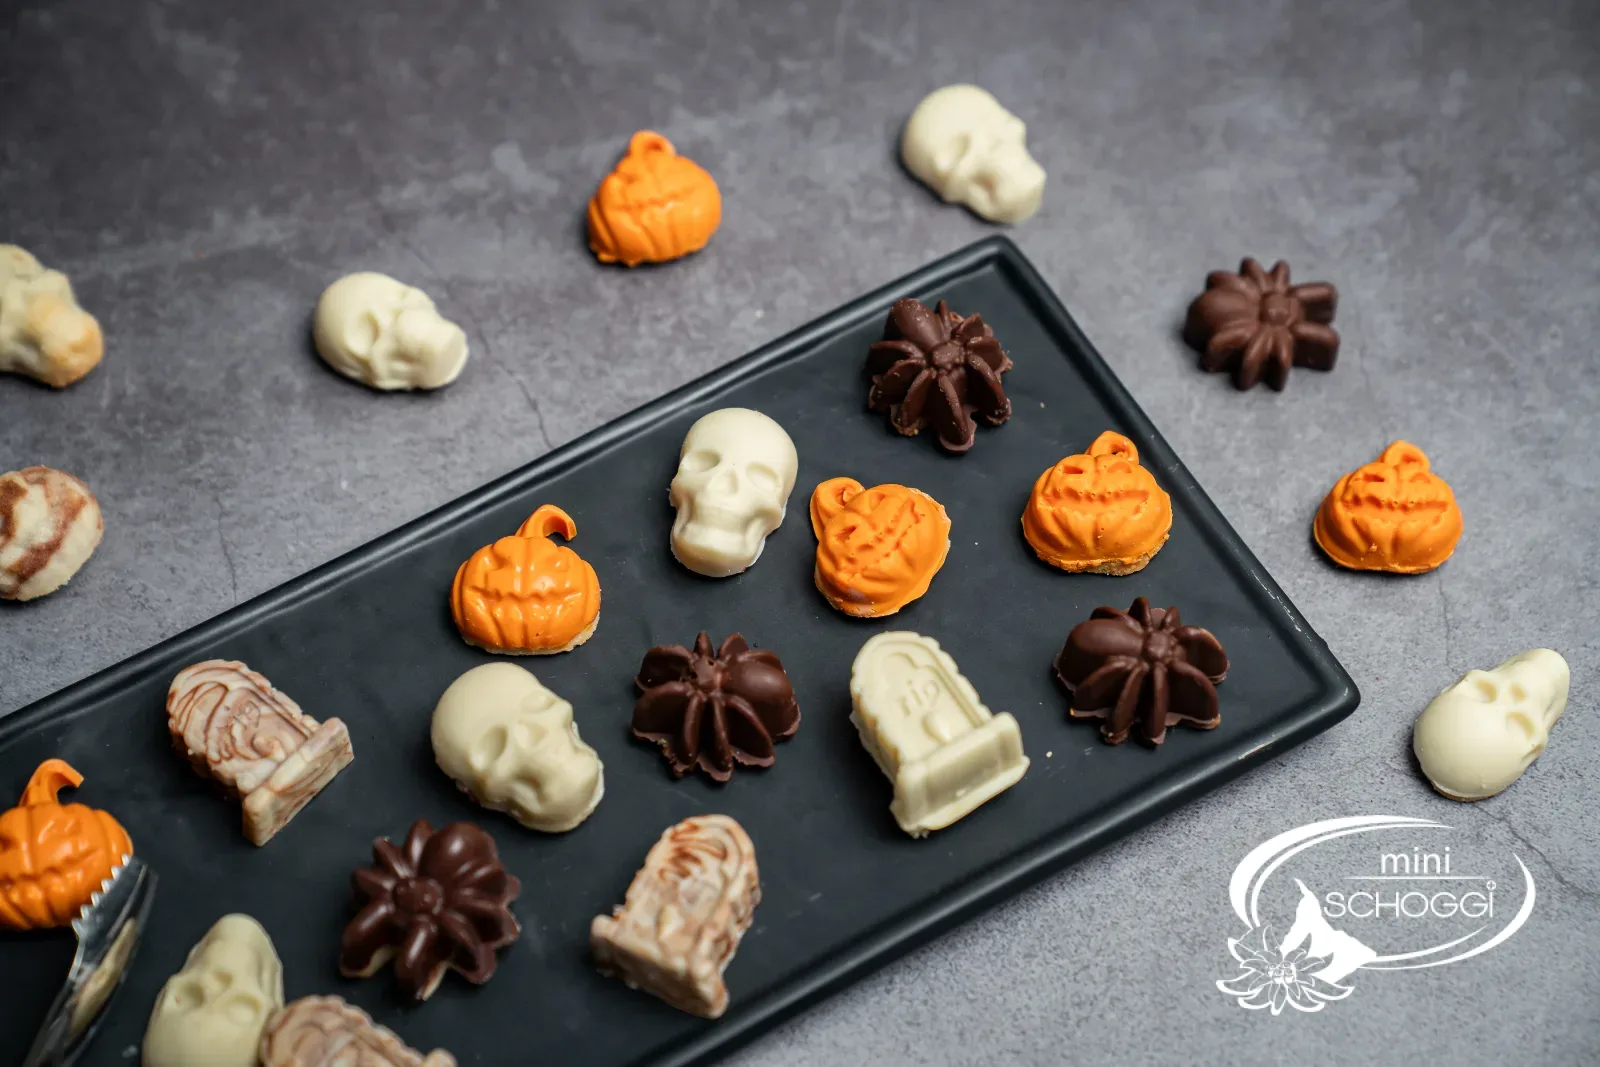
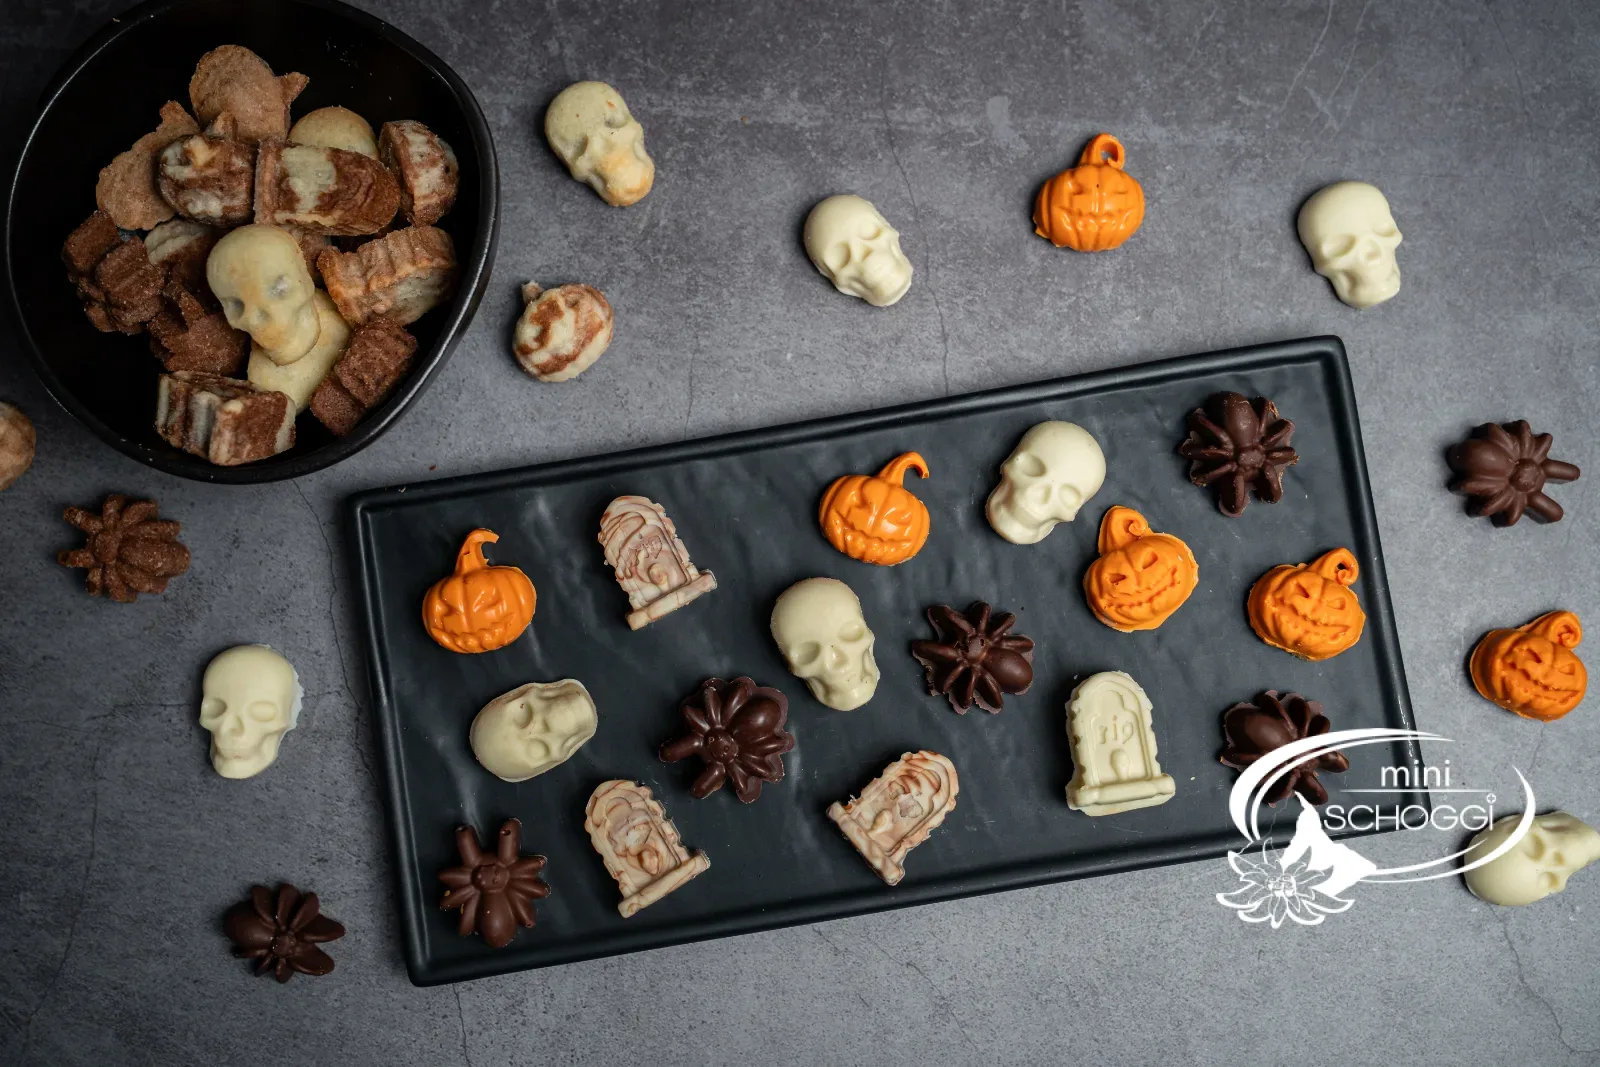
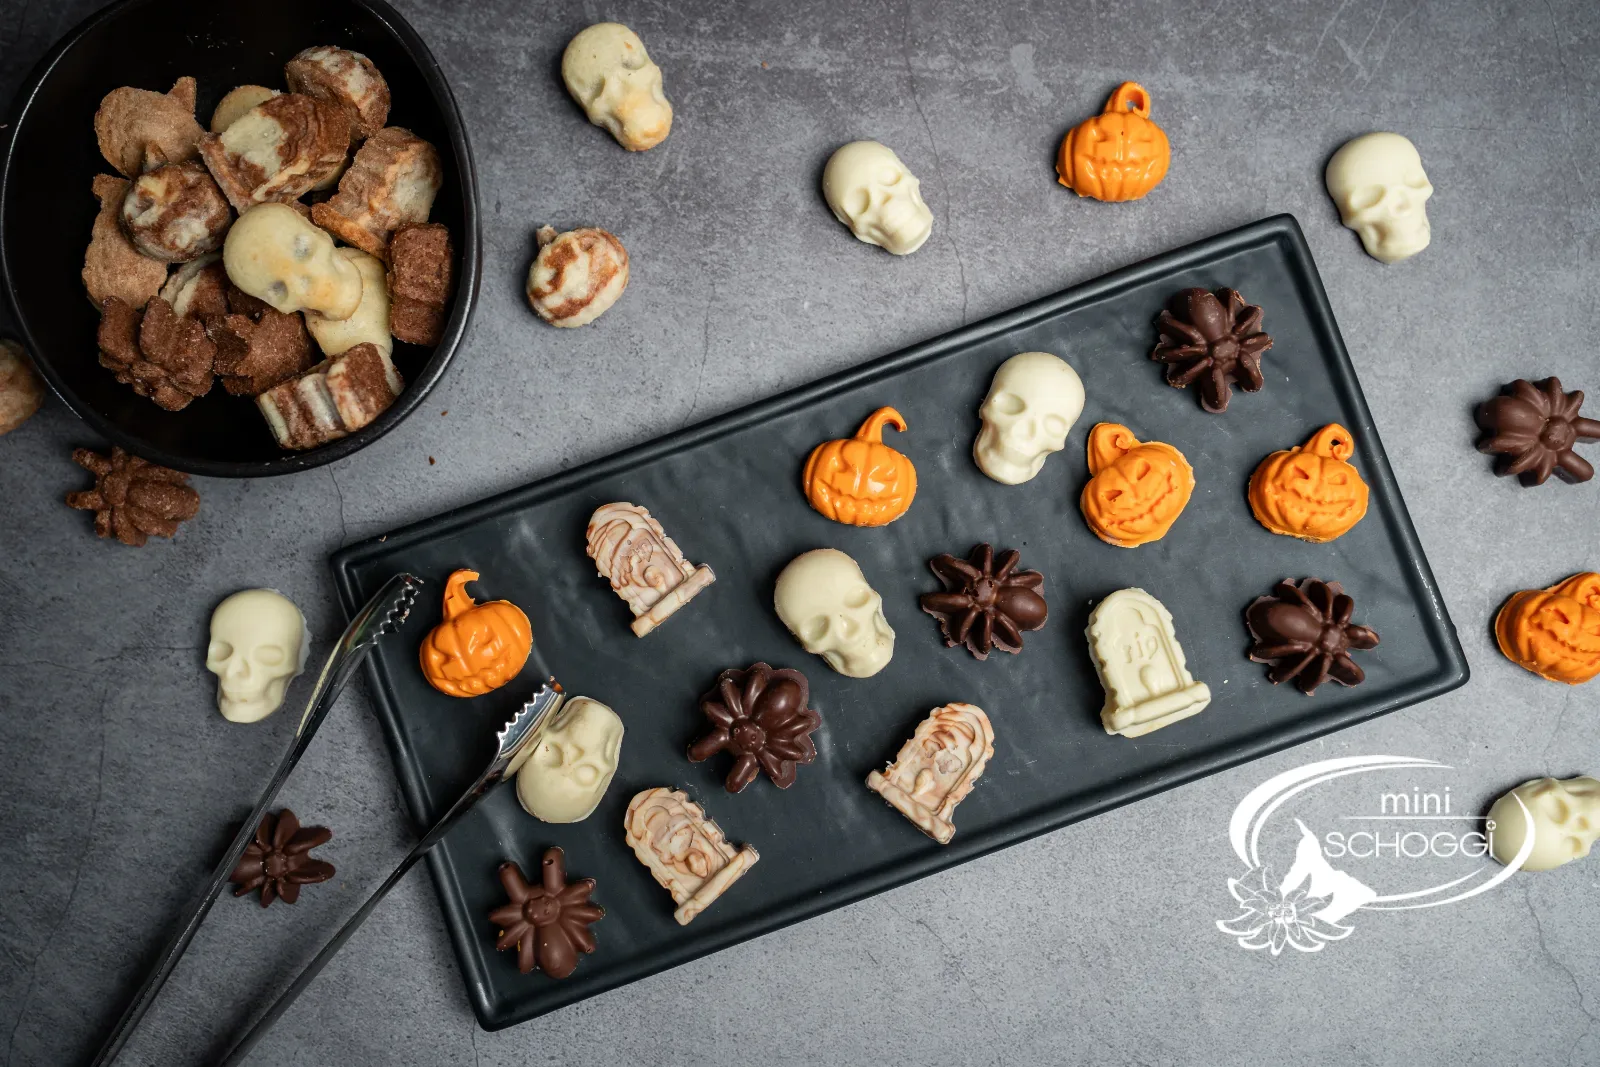
Shortcrust pastry scraps pressed into the silicone mold, with a glossy chocolate coating
Yield24 cookies
Active timeapprox. 40 min.
Total timeapprox. 2 hrs (with fresh dough, incl. chilling)
contains glutencontains eggcontains milkcontains soy
The silicone mold in which our filled Halloween cookies are made can do even more. This time the shortcrust pastry is pressed into the cavities without filling and baked. Afterwards the mold is used a second time: a thin layer of chocolate, the cookie pressed onto it, and once set, each motif wears a glossy coating.
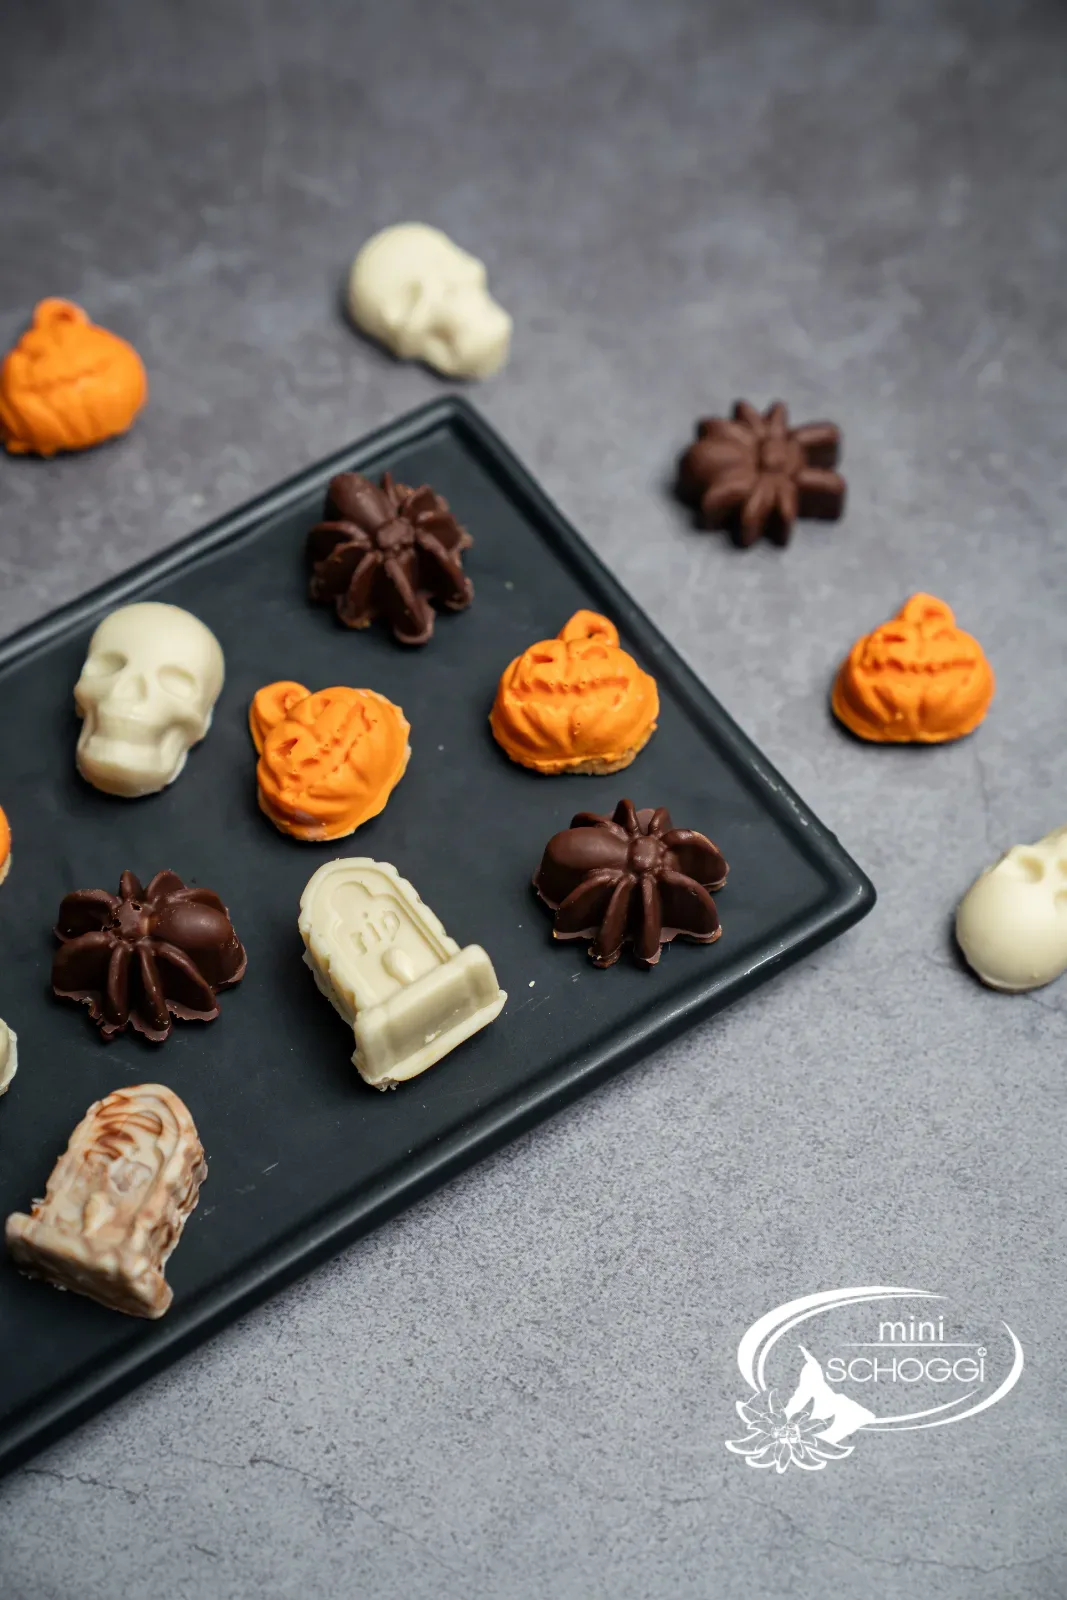
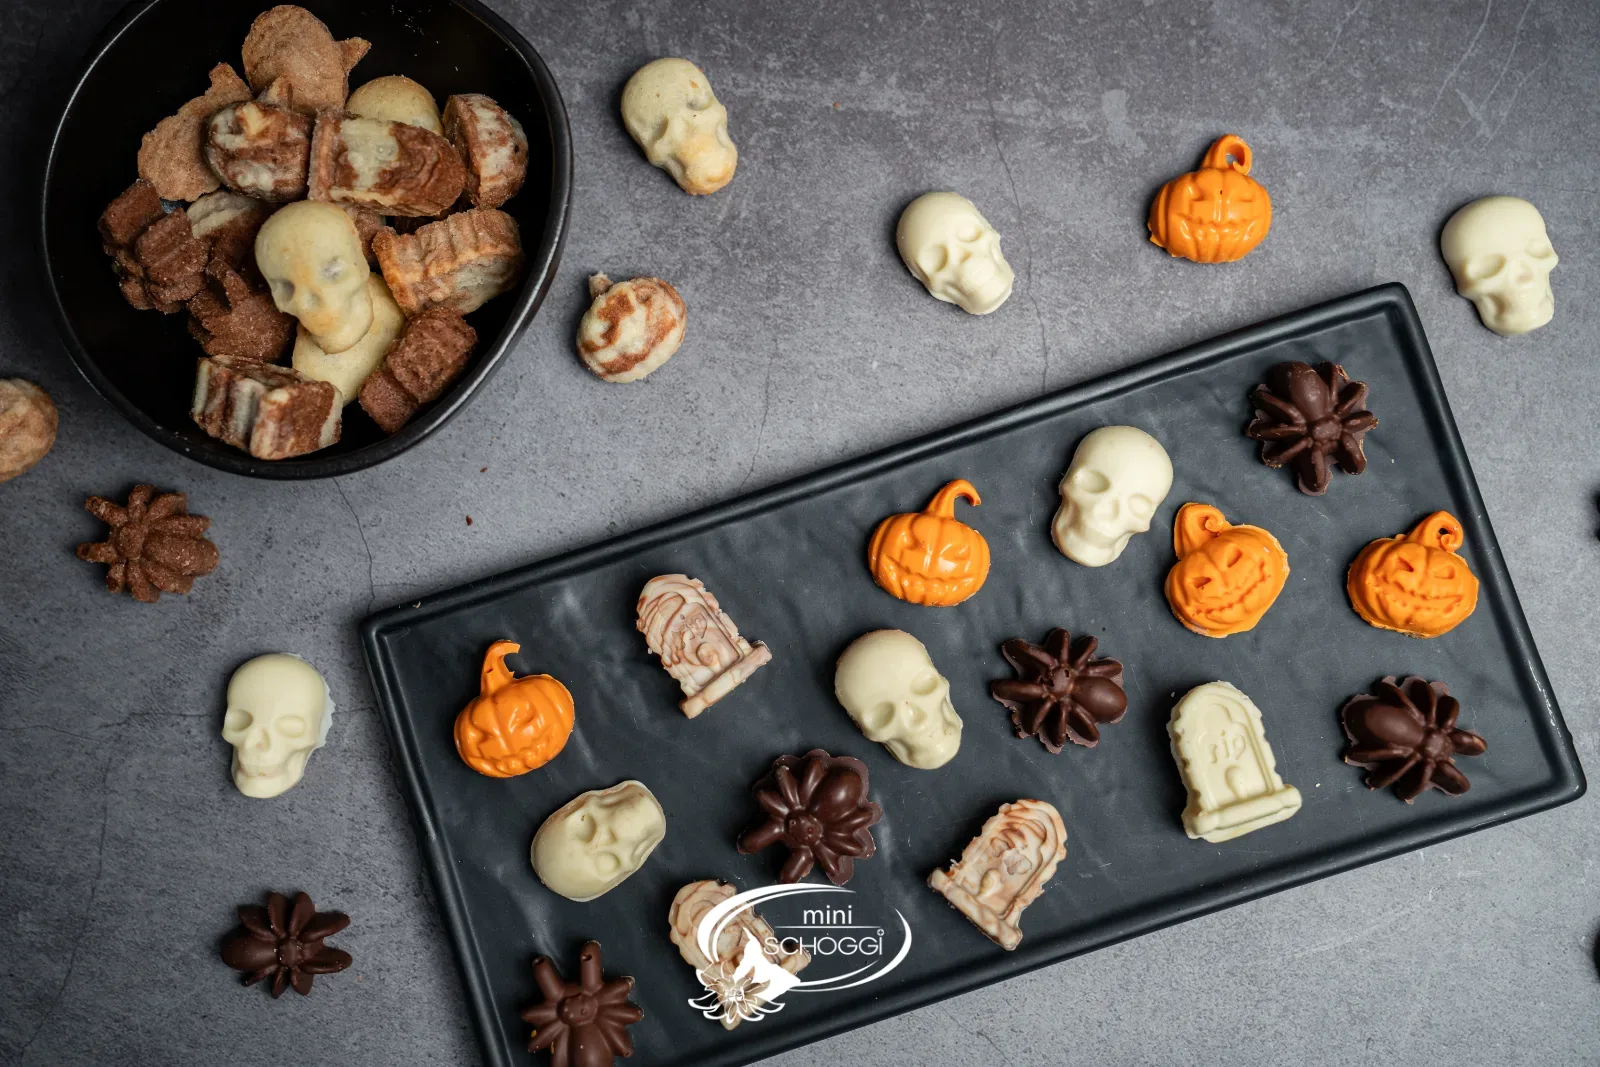
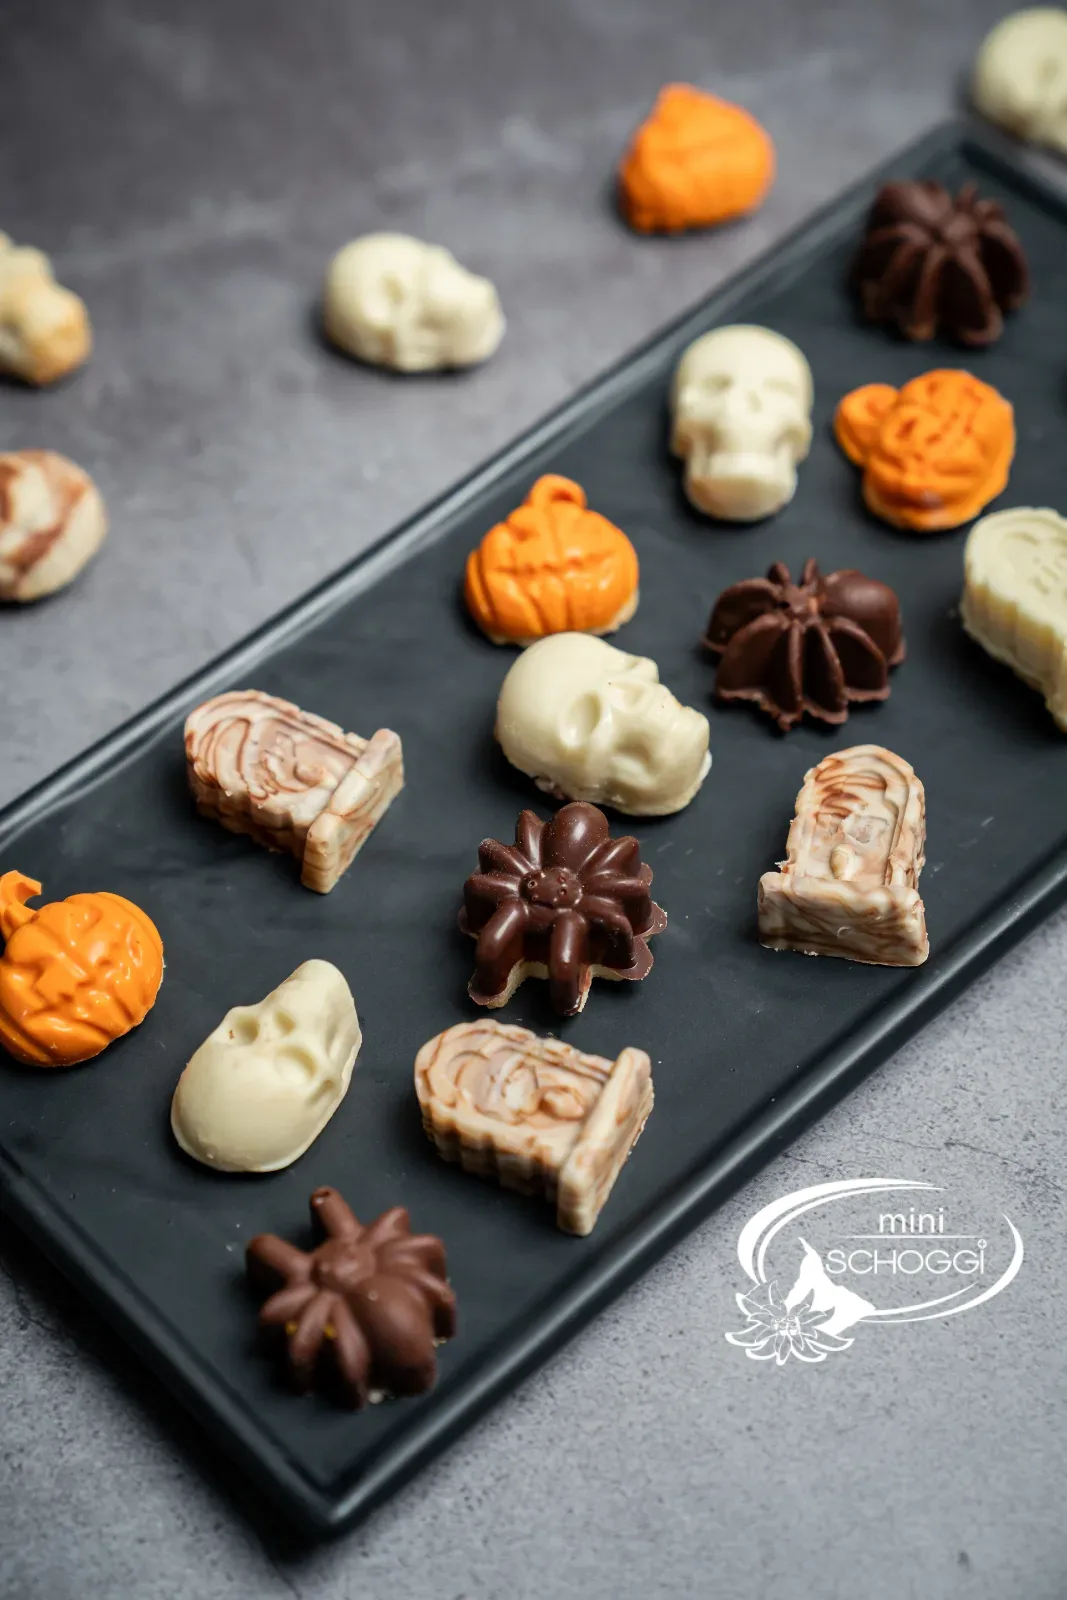
The chocolate determines the colour. White couverture for skulls, orange cake icing for pumpkins, dark or milk couverture for spiders, and for the tombstones both combined, marbled.
For twelve cookies you need 95 g of shortcrust pastry, which is exactly the scraps left over after cutting out. If you have none, you'll find our shortcrust pastry for 24 cookies here. And the principle works with any silicone mold, not just at Halloween.
Ingredients
Quantity:
Shortcrust pastry (approx. 190 g, or dough scraps)
55 gButter, room temperature
30 gGranulated sugar
1 pinchSalt
1 pinchVanilla, ground
15 gWhole egg (beaten)
85 gWhite flour
For the dark dough
6 gCocoa powder
Chocolate coating (approx. 48 g, 2 g per cookie)
Step by step
If you're in a hurry: the compact recipe card further down sums up everything.
Shortcrust pastry (if no leftovers)
1
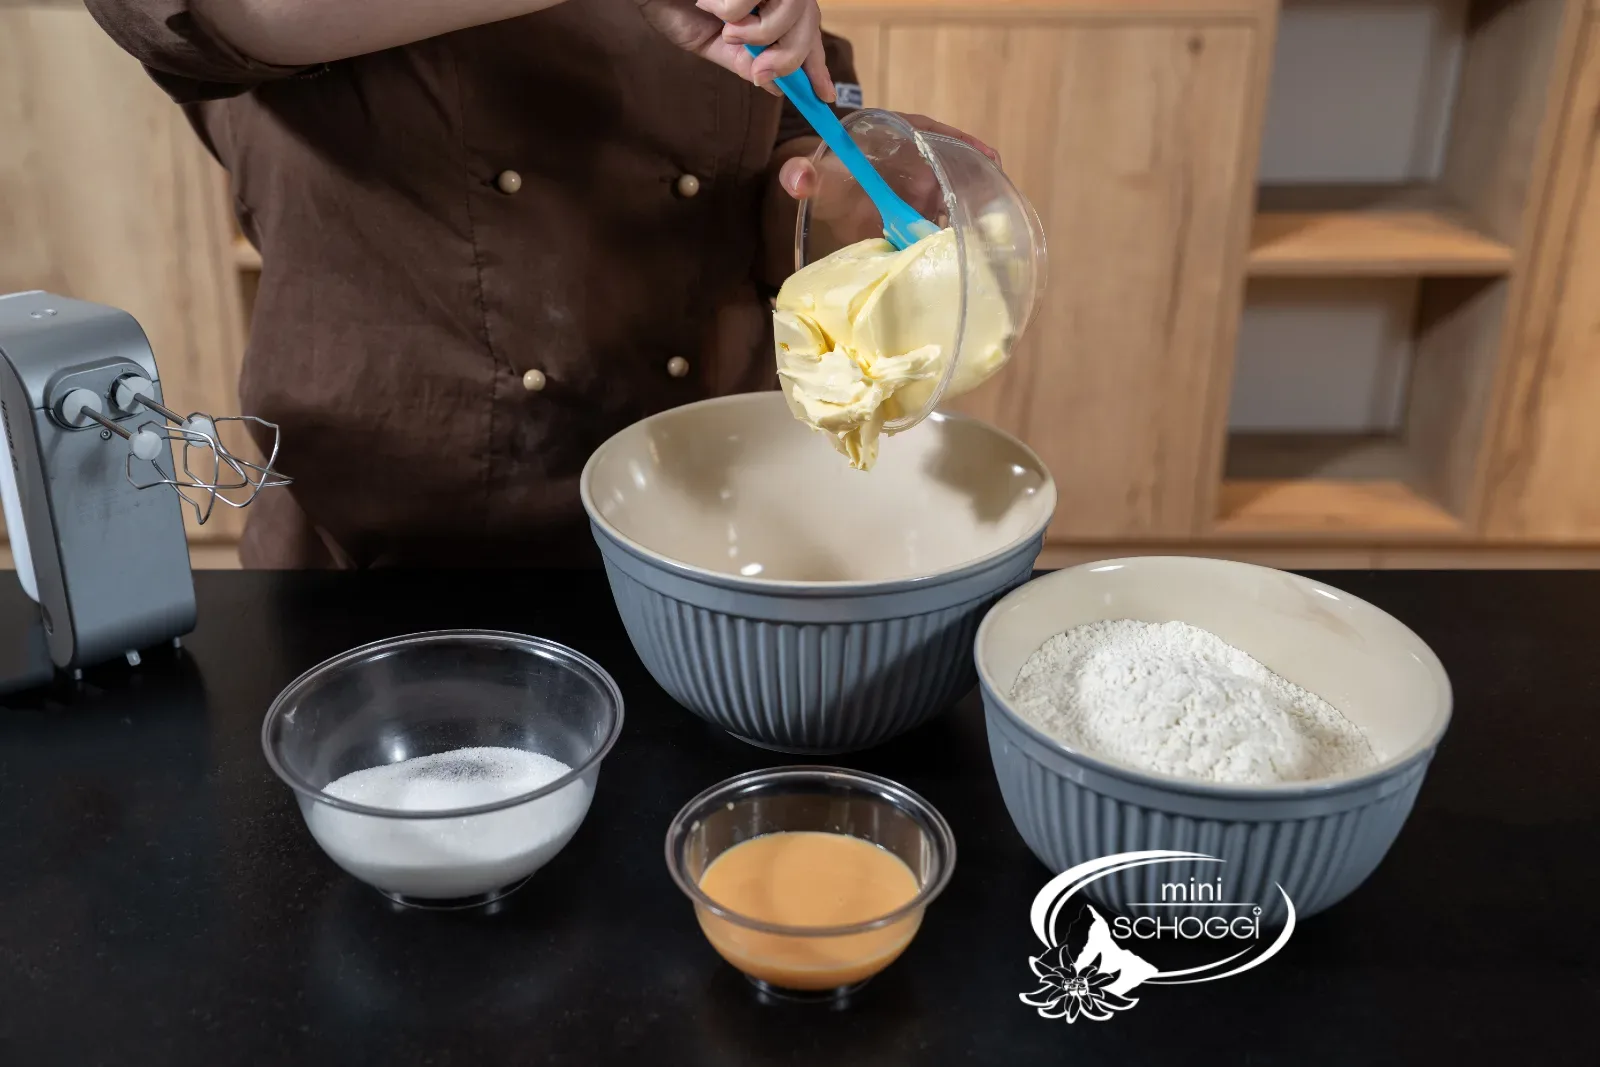
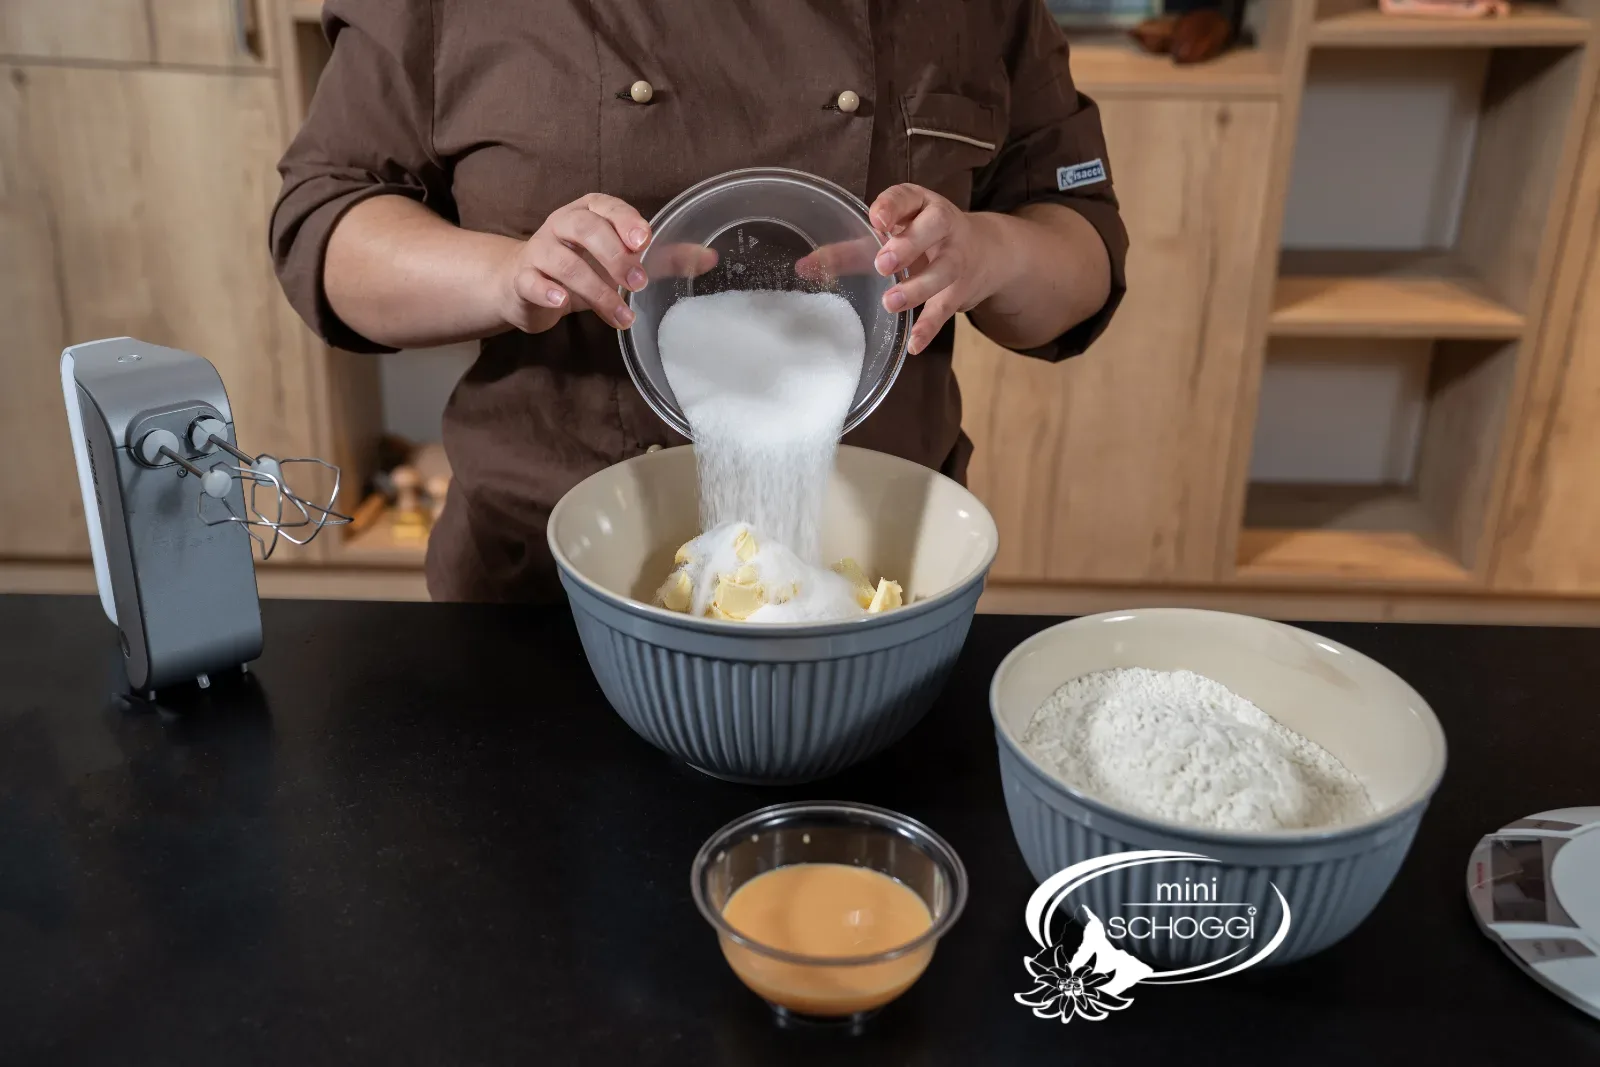
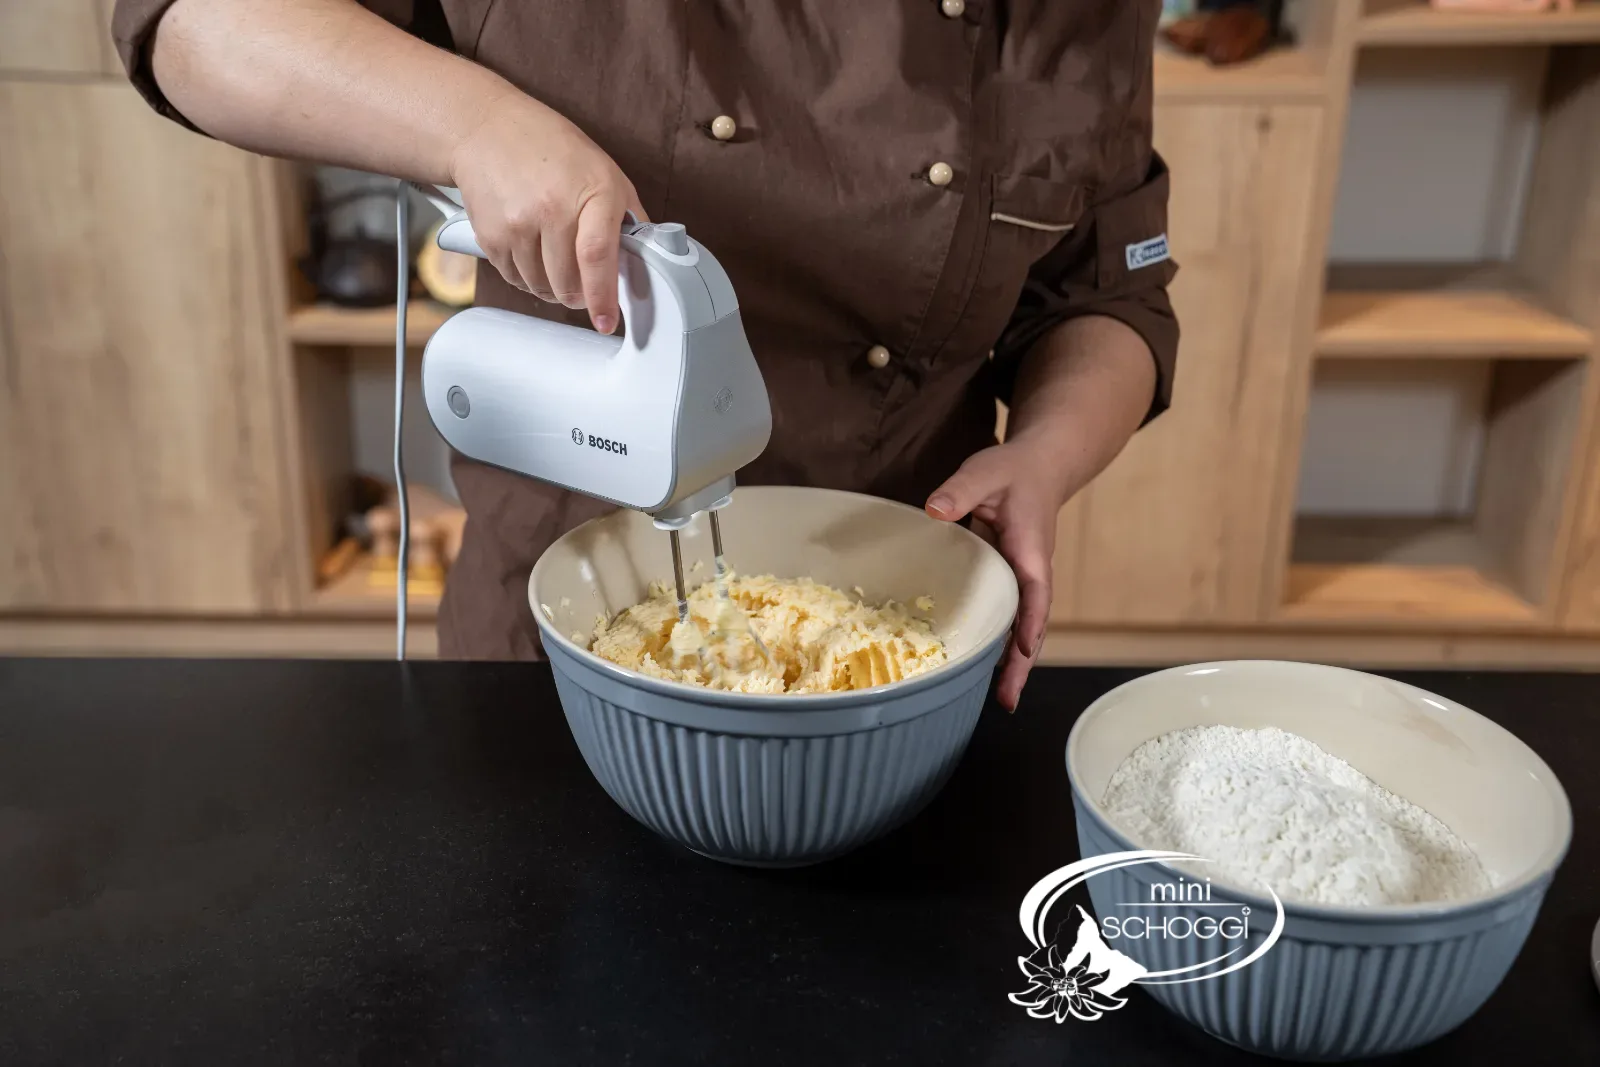
Whisk butter, sugar and salt until fluffy
Cut the room-temperature butter into cubes. It is ready when your finger presses a dent into it without resistance: only soft butter takes in air, and without air the dough turns crumbly instead of short. Beat it with sugar, salt and vanilla for two to three minutes, until the mixture is noticeably lighter.
2
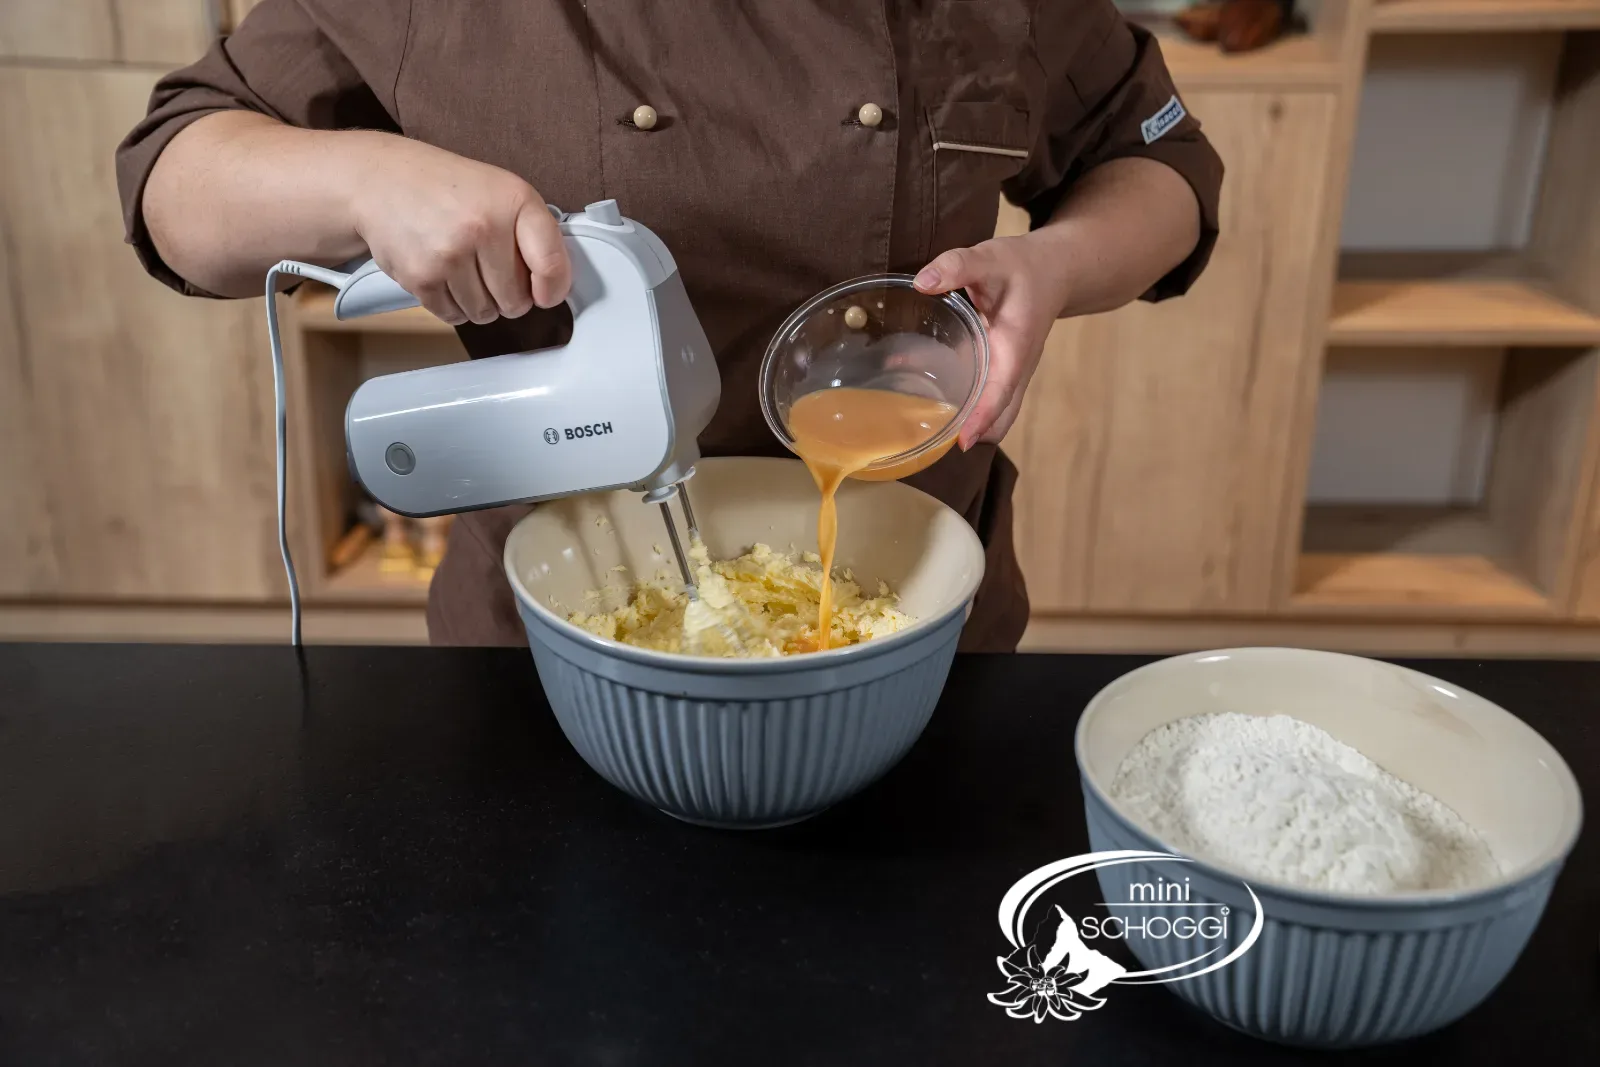
Add egg and flour
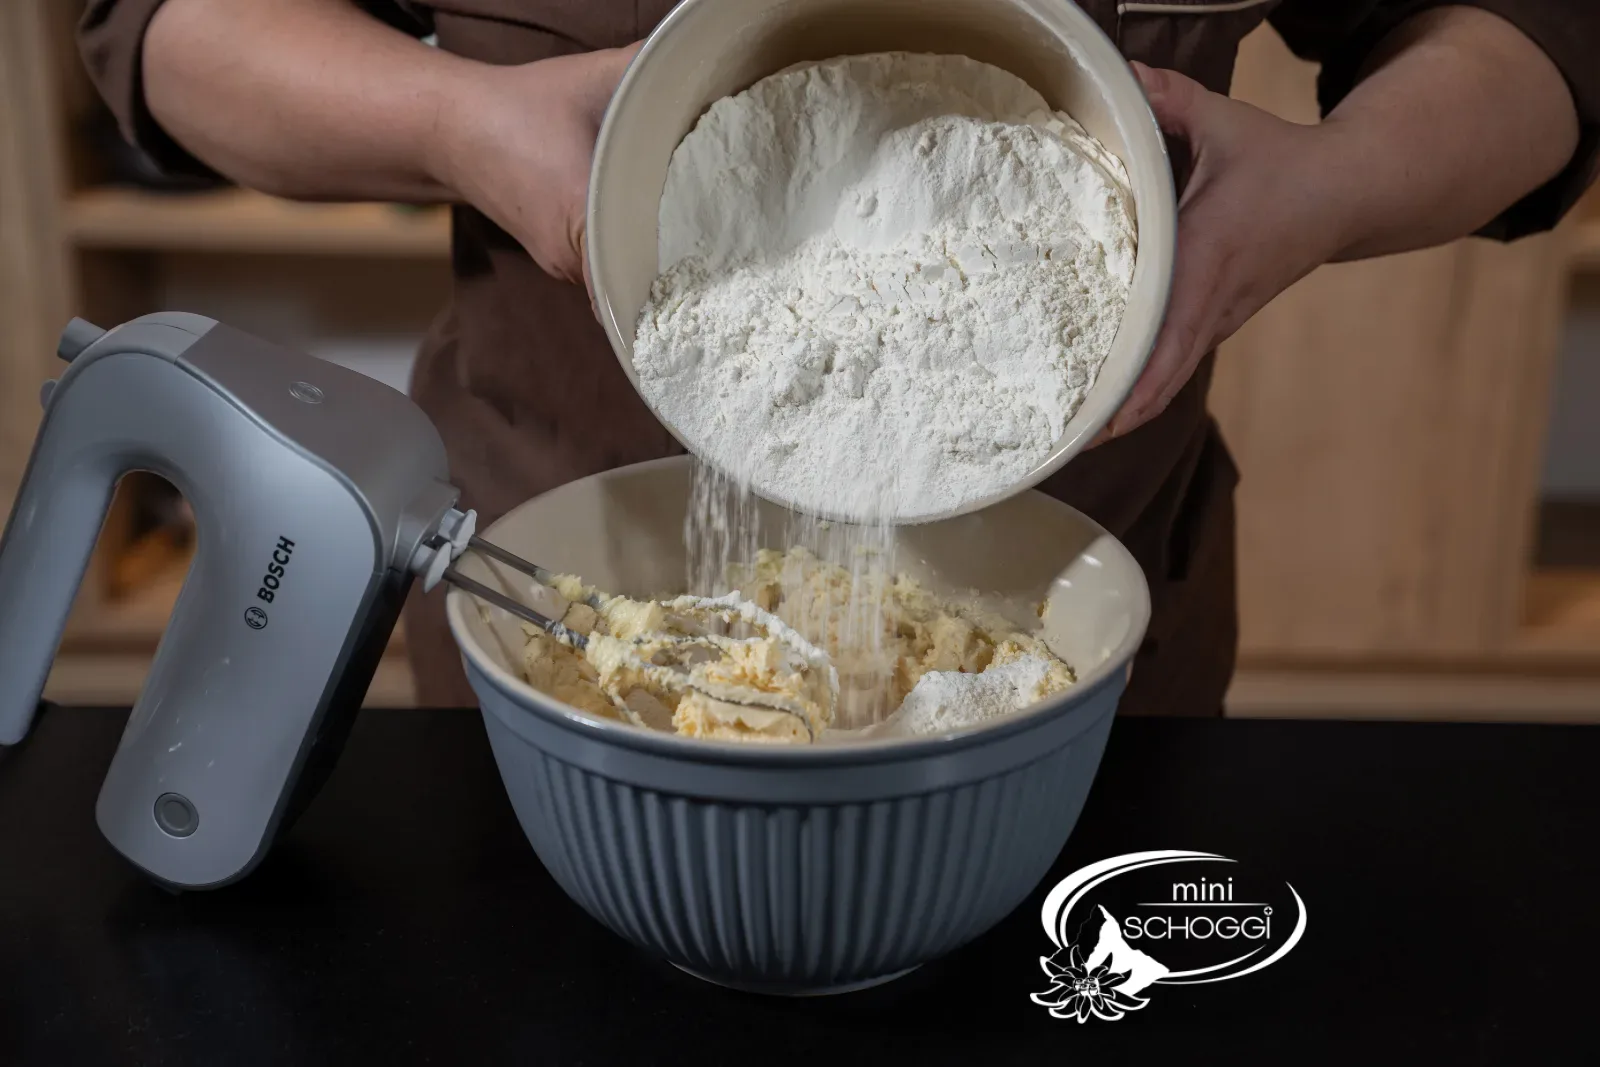
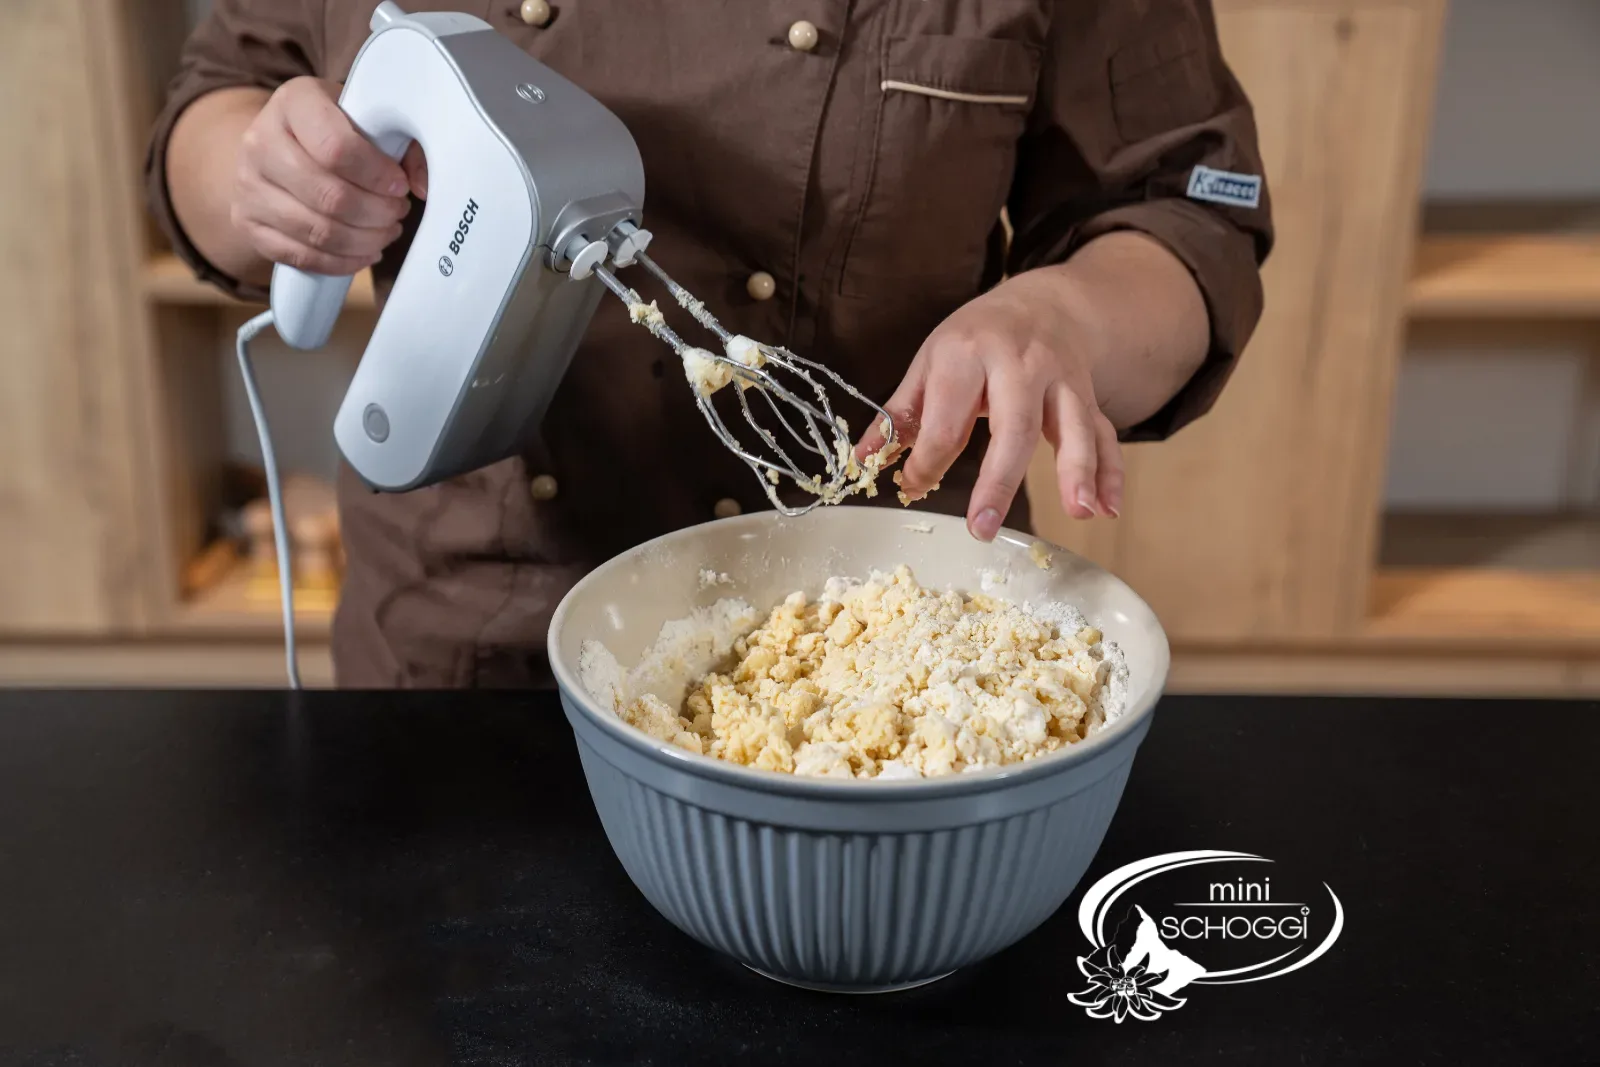
Pour the beaten egg in a thin stream while the mixer is running, otherwise egg and butter will separate. Add the flour and mix only until no dry flour is visible.
What you need for this


Silicone mold for Halloween sweets, 18 pieces
White flour, 1 kg
Cocoa powder, 1 kg
Bourbon vanilla seeds, 5 g
3
Divide the dough, work in the cocoa and chill
Press the dough together briefly and divide it into two halves. Work the cocoa powder into one of them. Flatten both, wrap them in cling film and chill for one hour: cold dough can be pressed cleanly into the moulds.
Bake the cookies
1
Spread the dough into the mold
Preheat the oven to 190 °C convection heat. Press the dough into the cavities of the silicone mold until they are completely filled, and smooth it level with the angled spatula. For twelve cookies you need about 95 g of dough. Greasing is not necessary, the butter in the dough is enough.
You will need

Silicone mold for Halloween sweets, 18 pieces
Angled spatula medium with plastic handle
2
Bake and remove from the mold
Place the mold on a baking tray and bake the cookies for 12 minutes at 190 °C convection heat. Let them cool down completely in the mold, while still warm the shortcrust pastry is soft and breaks easily. Then push them out of the mold from below.
Chocolate coating
1
Wash and dry the mould
Wash the mould thoroughly and dry it carefully, including the grooves. A single drop of water will leave the chocolate spotty and dull at that spot.
2
Pipe in the chocolate
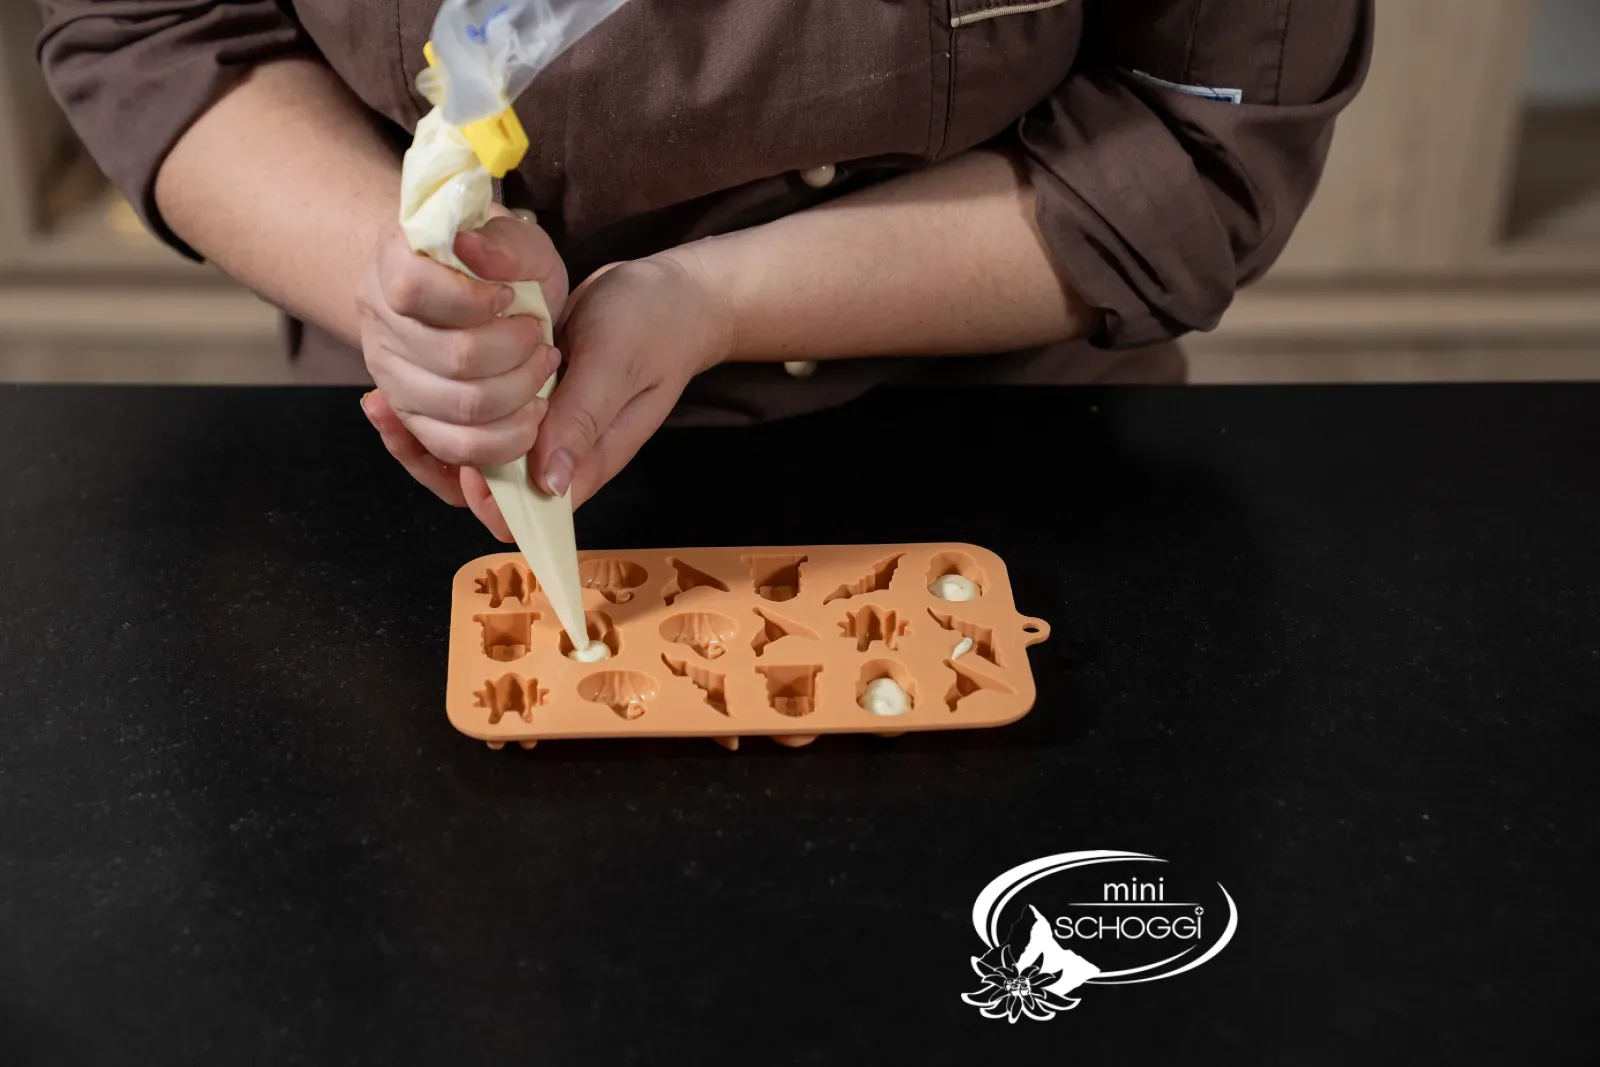
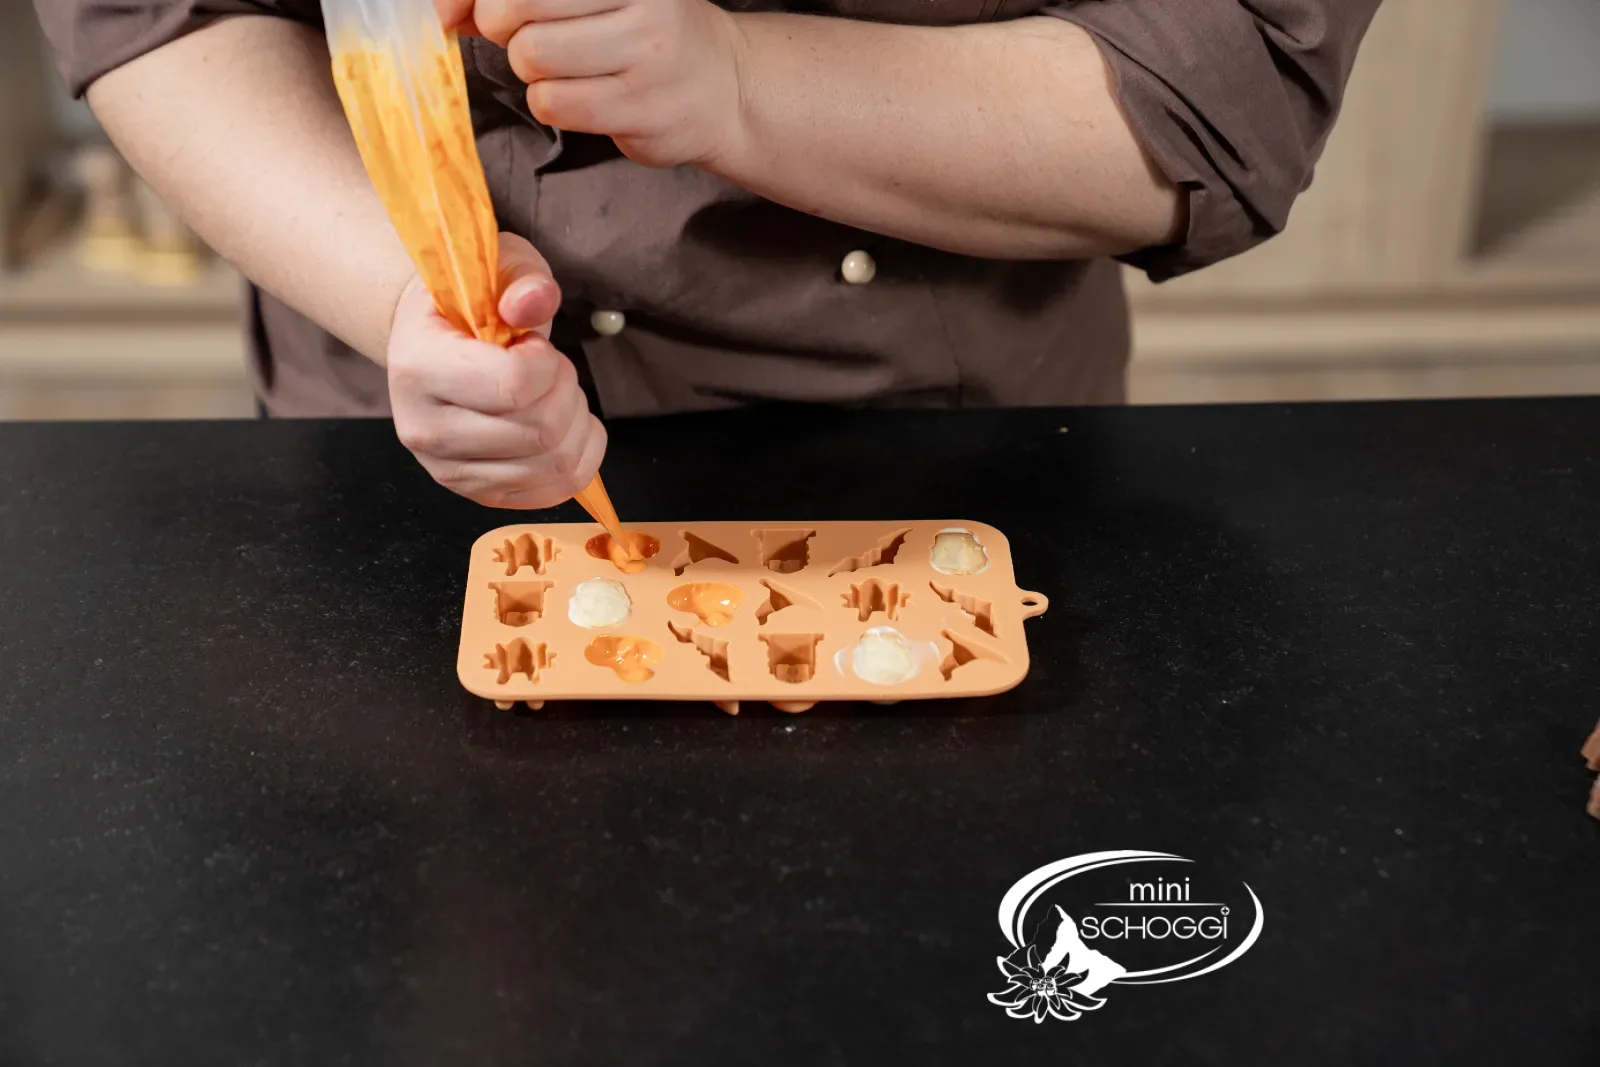
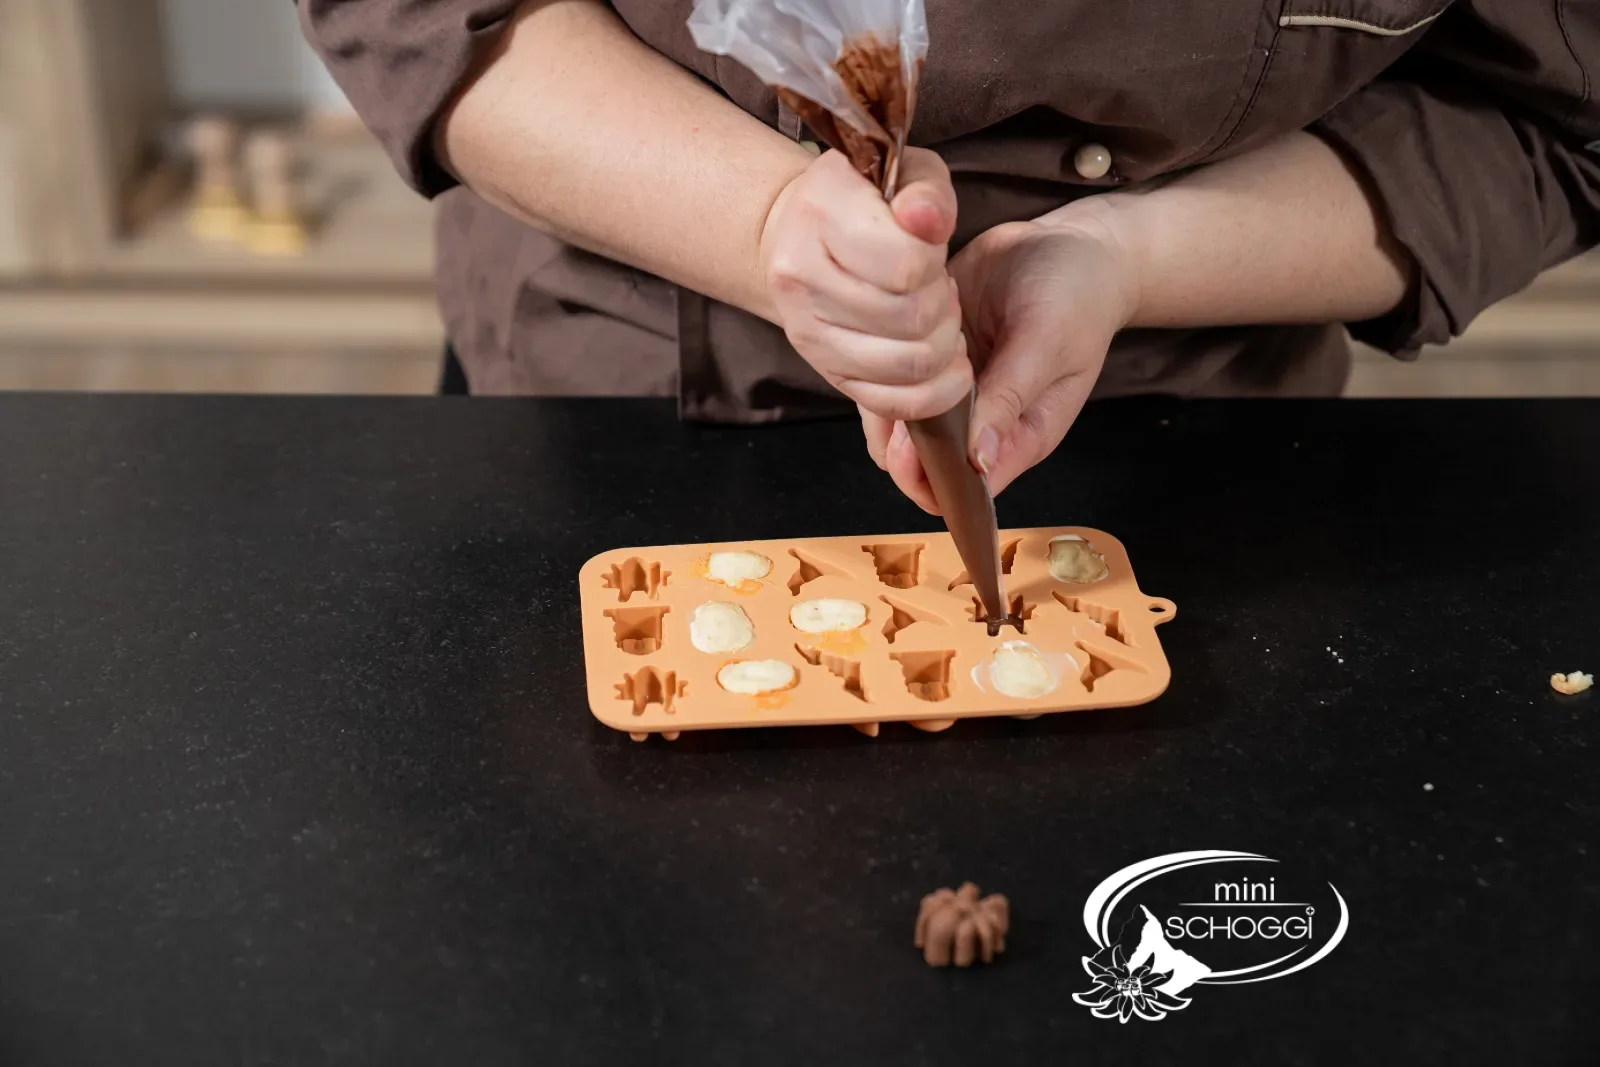
Fill the tempered couverture and the melted cake icing into piping bags and pipe about 2 g into each cavity, just enough for a thin layer. Any more will overflow the edge when you press the cookies in.
Our colour split: white for skulls, orange for pumpkins, dark for spiders. For marbled gravestones, pipe white and dark or milk couverture together into the same cavity.
You will need


Cake icing Orange, 250 g
Disposable piping bags 30 cm, 10 pieces
Lindt White couverture 0.5 kg
Lindt Dark couverture 0.5 kg
3
Press in the cookies
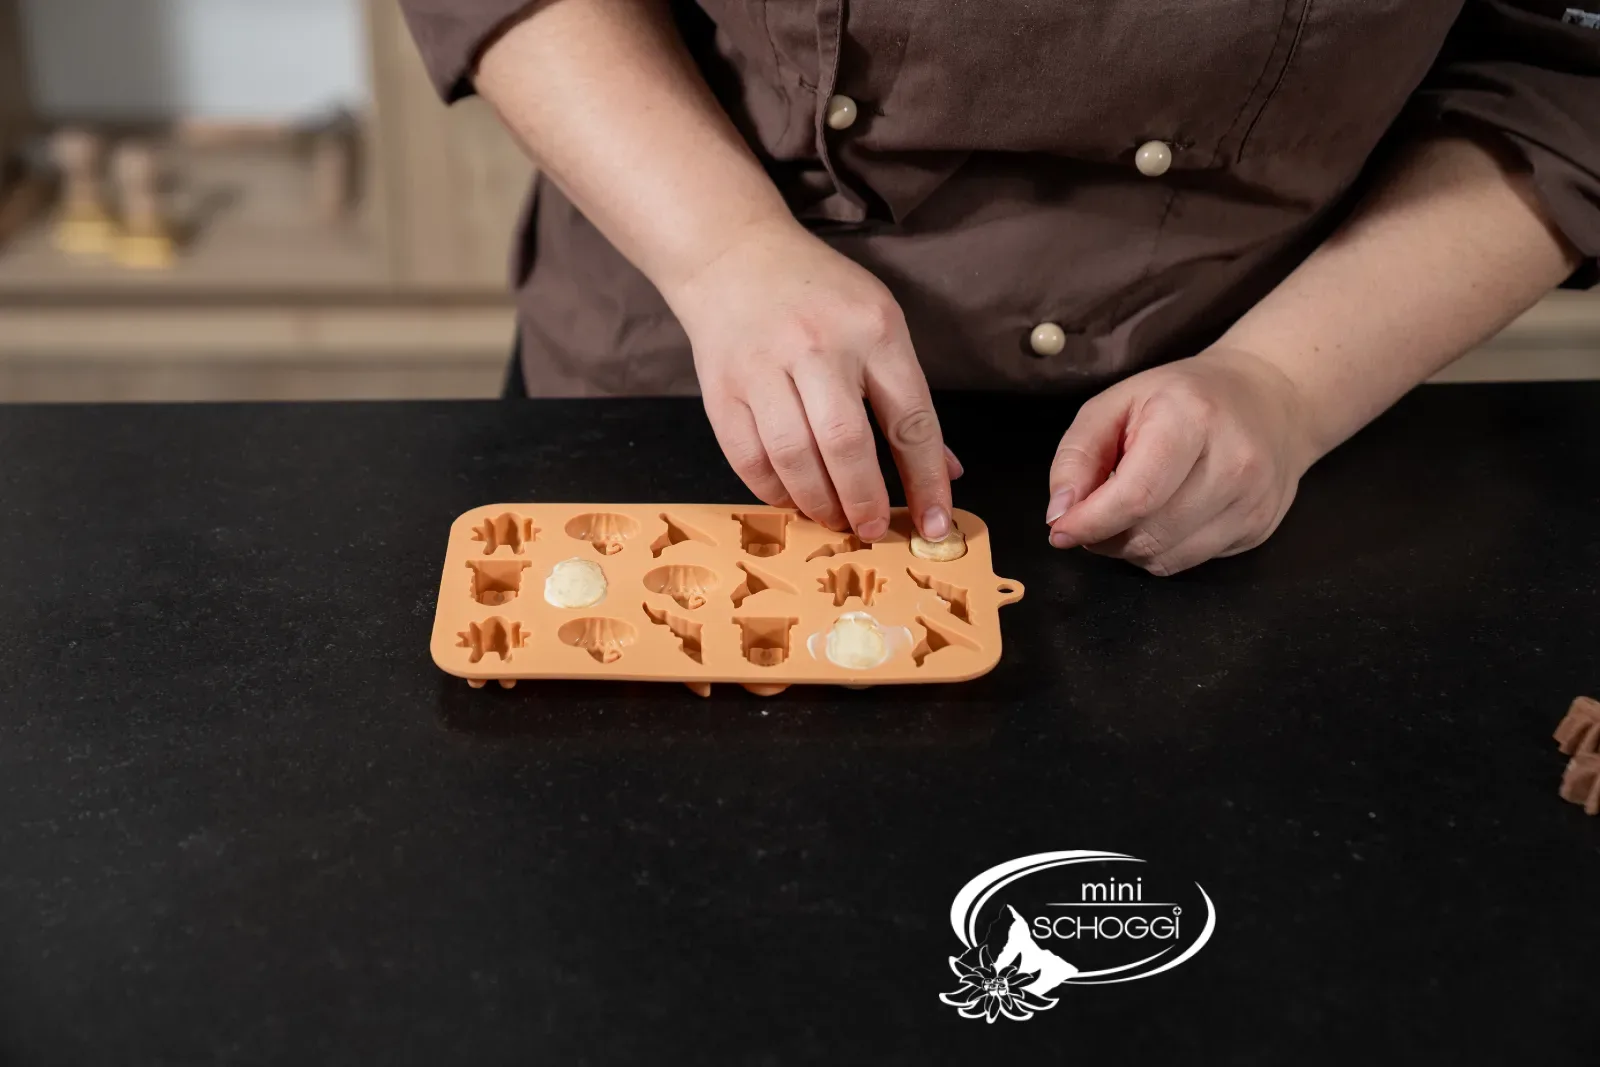
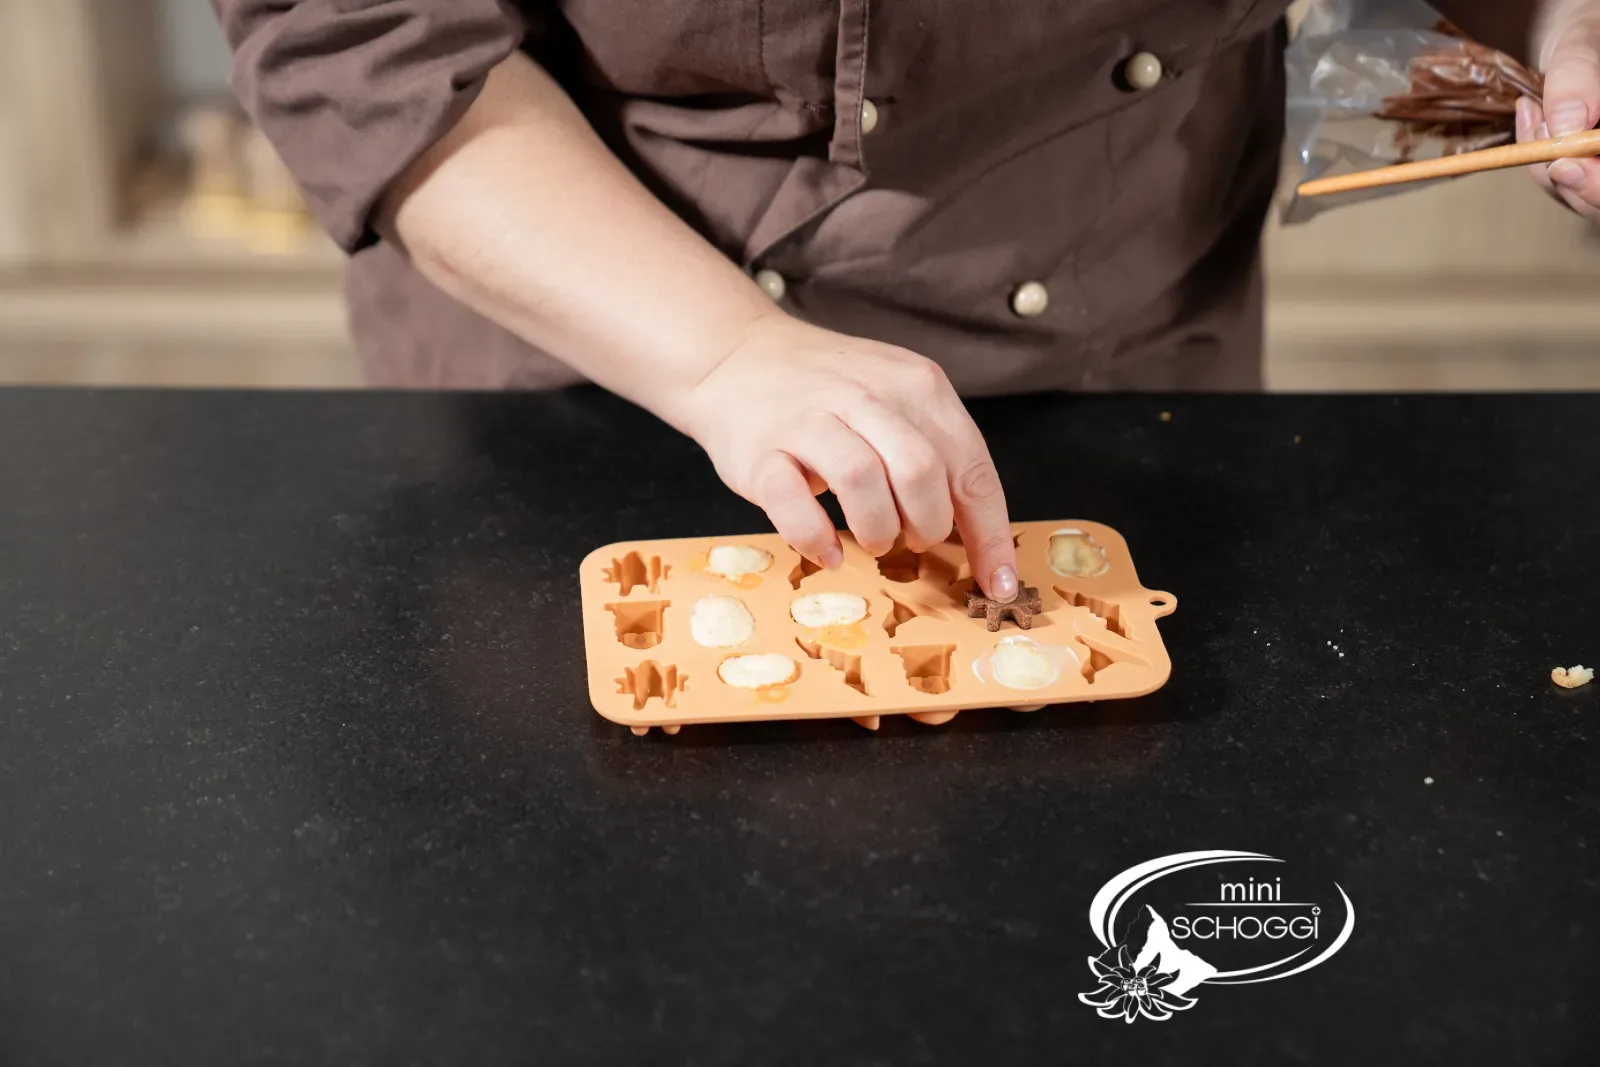
Place the baked cookies back into their cavities and press them gently into the chocolate. The chocolate will rise up at the edges and form a thin coat around the motif.
4
Let set and unmold
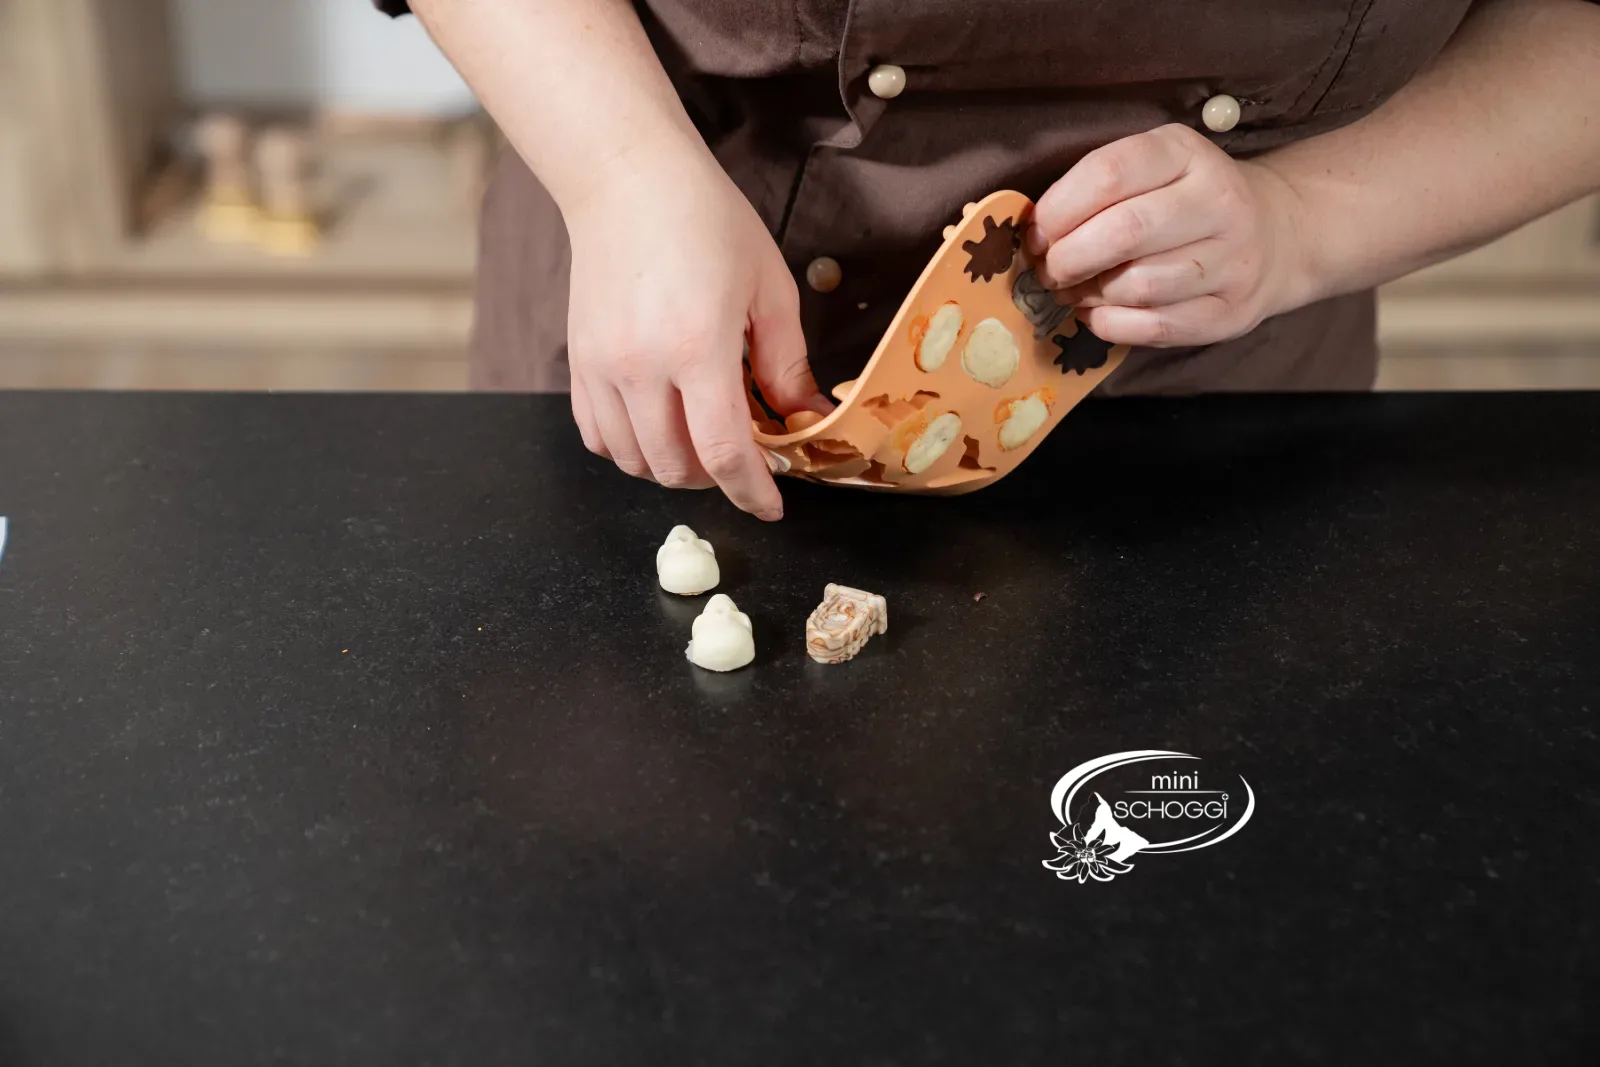
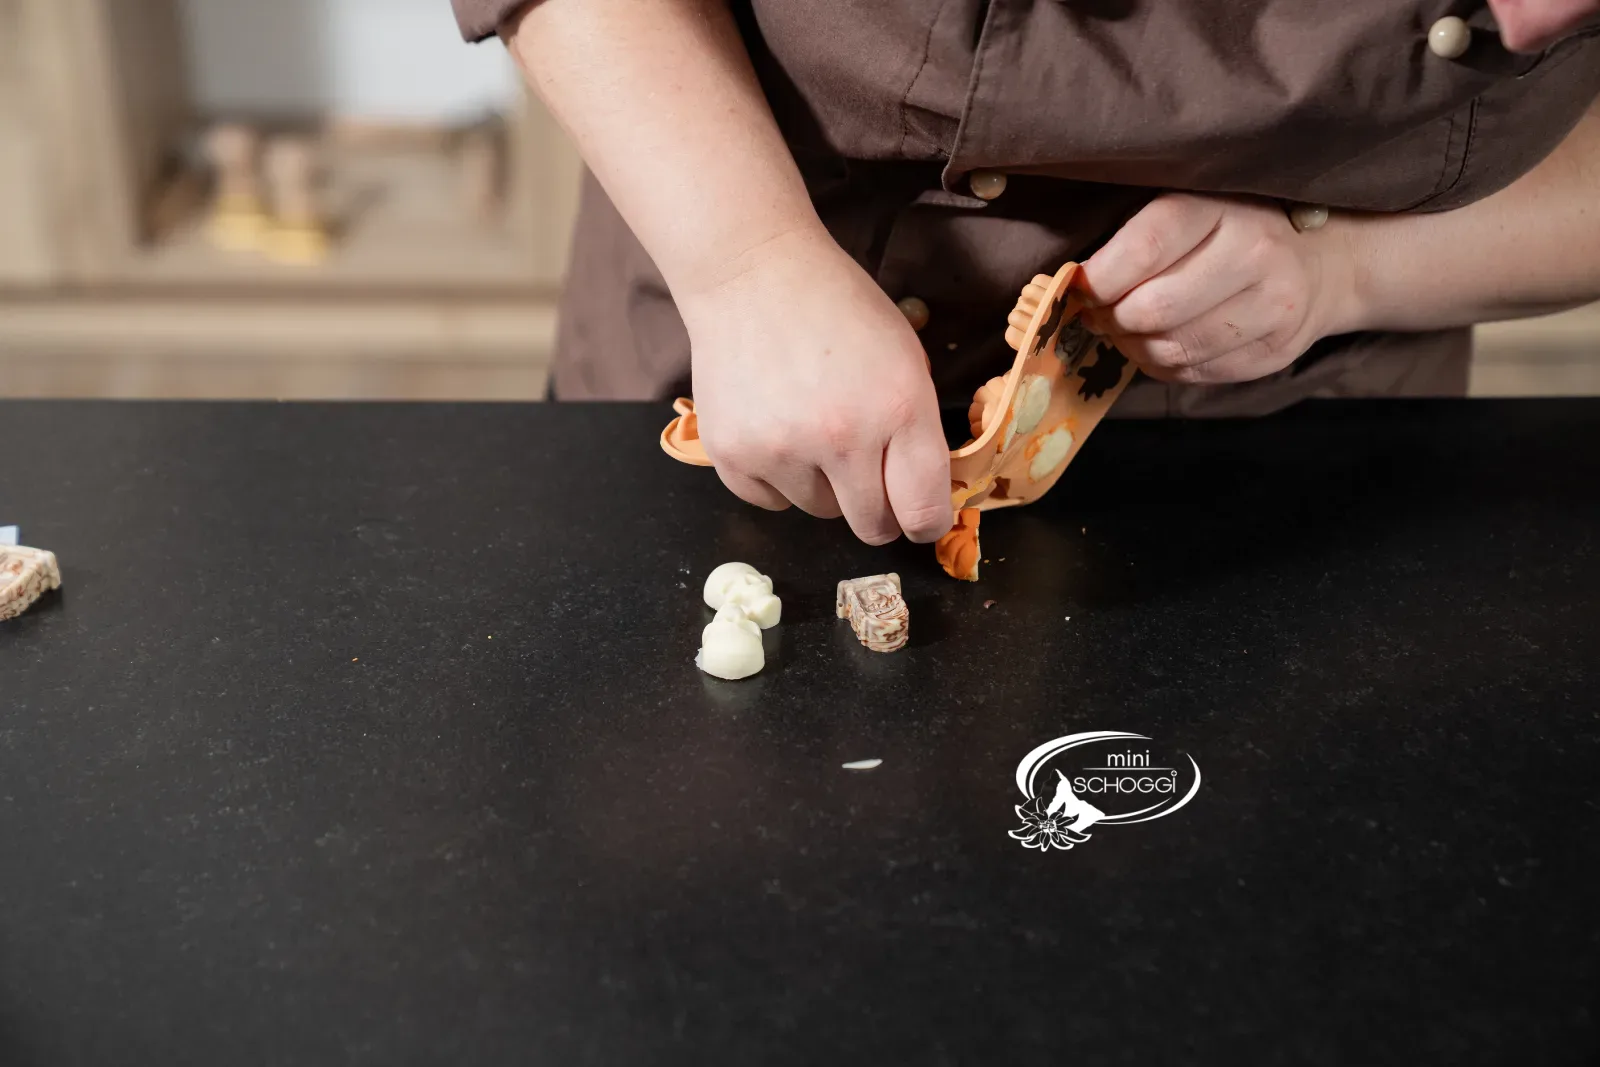
Let the chocolate set in the fridge for a few minutes. As soon as it pulls away from the edge, bend the mold apart and take out the cookies.
Compact · for printing
Halloween chocolate cookies
Ingredients
Quantity:
Shortcrust pastry (approx. 190 g, or dough scraps)
For the dark dough
Chocolate coating (approx. 48 g, 2 g per cookie)
Preparation
- Dough: Prepare the shortcrust pastry, halve it, add cocoa to one half, chill for 1 hr (or use 95 g of dough scraps for 12 cookies).
- Shaping: Press the dough into the moulds, level it flush with the angled spatula.
- Baking: 12 min. at 190 °C fan-assisted, let cool in the mould, then remove.
- Coating: Wash and dry the mould, approx. 2 g of chocolate per cavity, press the cookies in.
- Setting: Let set in the refrigerator, then remove from the mould.
Nutrition per 100 g
463kcal
25.8 gFat
52.5 gCarbohydrates
6.3 gProtein
Storage & shelf life
Stored in a well-sealed tin in a cool, dry place, the cookies keep for about a week. Do not store them somewhere warm, as the chocolate coating will soften and lose its shine.
Everything for this recipe
Recommended by our bakery, in exactly the sizes this recipe has been tested with.
Ingredients
White flour, 1 kg
Cocoa powder, 1 kg
Bourbon vanilla seeds, 5 g
Cake icing orange, 250 g
Lindt couverture white 0.5 kg
Lindt couverture milk 0.5 kg
Lindt couverture dark 0.5 kg
Cake icing Violet, 250 g
Cake icing Snow White, 250 g
Cake icing Black, 250 g
Accessories
Silicone mold for Halloween sweets, 18 pieces
Angled spatula medium with plastic handle
Disposable piping bag 30 cm, 10 pieces
Delivery in 1 to 2 working days · Free shipping from CHF 100*
So gelingt es garantiert
Collect leftovers
Dough scraps keep for several weeks in the freezer when packed. If you have more than one mold's worth, it becomes our Halloween brittle chocolate.
2 g is enough
The chocolate should only coat the biscuit. With more than about 2 g per cavity, a thick collar forms when pressed in, and the outline of the motif disappears.
For every occasion
Hearts for Valentine's Day, bunnies for Easter, stars for Christmas: any silicone mold works as long as the cavities are not too fine. You can adjust the colour of the chocolate to suit the occasion.
Frequently asked questions
Yes, for shine and a clean snap. Untempered couverture stays soft and turns grey. If you don't want to temper, use cake icing: it sets firm even without it.
Water and chocolate don't mix. Even a single drop leaves spots and makes the chocolate stick to the mold.
Pour white and dark or milk couverture together into the same cavity. When the biscuit is pressed in, the two flow into each other, and every piece turns out differently.
Print recipe
Choose what should appear on the printout.
Related products
Lindt Couverture White 0.5 kg
Price: CHF 19.90
Rated out of 5 stars based on
review(s)
bitte einloggen
Finest ingredients, transparency and sustainability. This is what the...
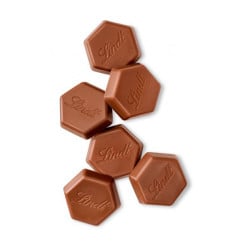
Lindt couverture milk 0.5 kg
Price: CHF 17.90
Rated out of 5 stars based on
review(s)
bitte einloggen
Finest ingredients, transparency and sustainability. This is what the...
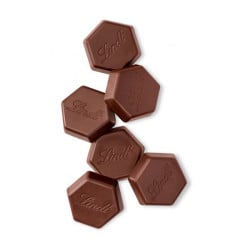
Lindt Couverture Dark 0.5 kg
Price: CHF 17.50
Rated out of 5 stars based on
review(s)
bitte einloggen
The finest ingredients, transparency and sustainability. This is what the...
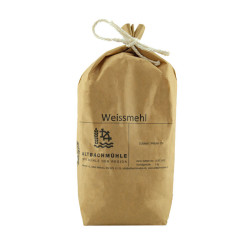
White flour, 1 kg
Price: CHF 4.50
Rated out of 5 stars based on
review(s)
bitte einloggen
White flour is suitable for pastries of all kinds, from bread to cakes to...
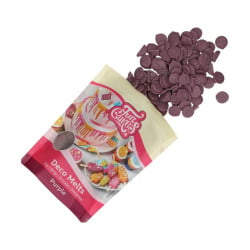
Cake glaze violet, 250 g
Price: CHF 5.75
Rated out of 5 stars based on
review(s)
bitte einloggen
Cake icing gives cakes, cookies, cake pops and cupcakes a noble shine,...
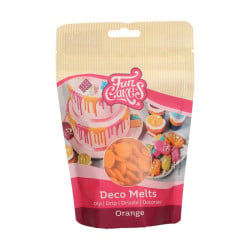
Cake glaze orange, 250 g
Price: CHF 5.75
Rated out of 5 stars based on
review(s)
bitte einloggen
Cake icing gives cakes, cookies, cake pops and cupcakes a noble shine,...
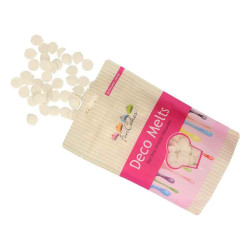
Cake icing snow white, 250 g
Price: CHF 5.75
Rated out of 5 stars based on
review(s)
bitte einloggen
Cake icing gives cakes, cookies, cake pops and cupcakes a noble shine,...
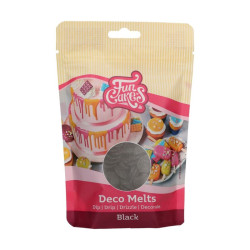
Cake glaze black, 250 g
Price: CHF 5.75
Rated out of 5 stars based on
review(s)
bitte einloggen
Cake icing gives cakes, cookies, cake pops and cupcakes a noble shine,...
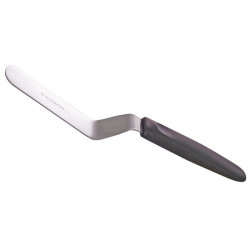
Angle spatula medium with plastic handle
Price: CHF 19.90
Rated out of 5 stars based on
review(s)
bitte einloggen
In our courses, a very special tool is indispensable! Angle palette,...
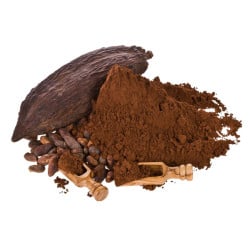
Cocoa powder, 1 kg
Price: CHF 42.50
Rated out of 5 stars based on
review(s)
bitte einloggen
Cocoa powder should not be missing in any kitchen or bakery, whether as an...
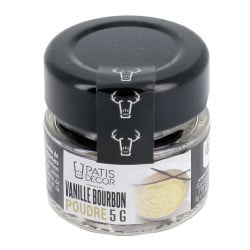
Bourbon vanilla seeds, 5 g
Price: CHF 12.50
Rated out of 5 stars based on
review(s)
bitte einloggen
Vanilla seeds are very popular because of their natural and intense flavor....
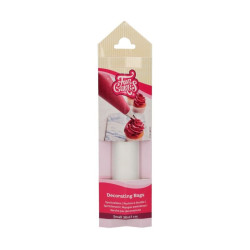
Disposable piping bag 30 cm, 10 pieces
Price: CHF 4.30
Rated out of 5 stars based on
review(s)
bitte einloggen
Disposable piping bags made from high-quality, food-safe plastic are the...
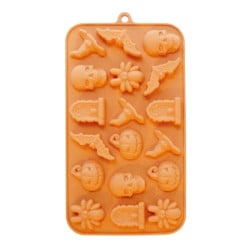
Silicone mould for Halloween sweets, 18-piece
Price: CHF 15.70
Rated out of 5 stars based on
review(s)
bitte einloggen
Spookily good and irresistibly delicious: with the ScrapCooking Halloween...
Bewertungen
Leave a comment
Related posts
 Make your own chocolate Easter bunnies
You can easily make your own Easter bunnies at home! You can find out how to do it and what you need here. A sweet...
Read more
Make your own decorative Swiss roll
Make your own decor roulade - we'll explain exactly how in this blog, with lots of tips and tricks from our...
Read more
Cinnamon Star Biscuits Recipe
Make your own cinnamon stars with the help of our professionals, with lots of tips & tricks to bake the best...
Read more
Make your own chocolate pumpkin pralines
Make your own 3D chocolate pumpkin pralines - here you get detailed instructions with lots of tips and tricks...
Read more
How can I convert a cake recipe?
Converting a cake recipe, whether a sponge or a cake filling, is easy with our conversion table.
Read more