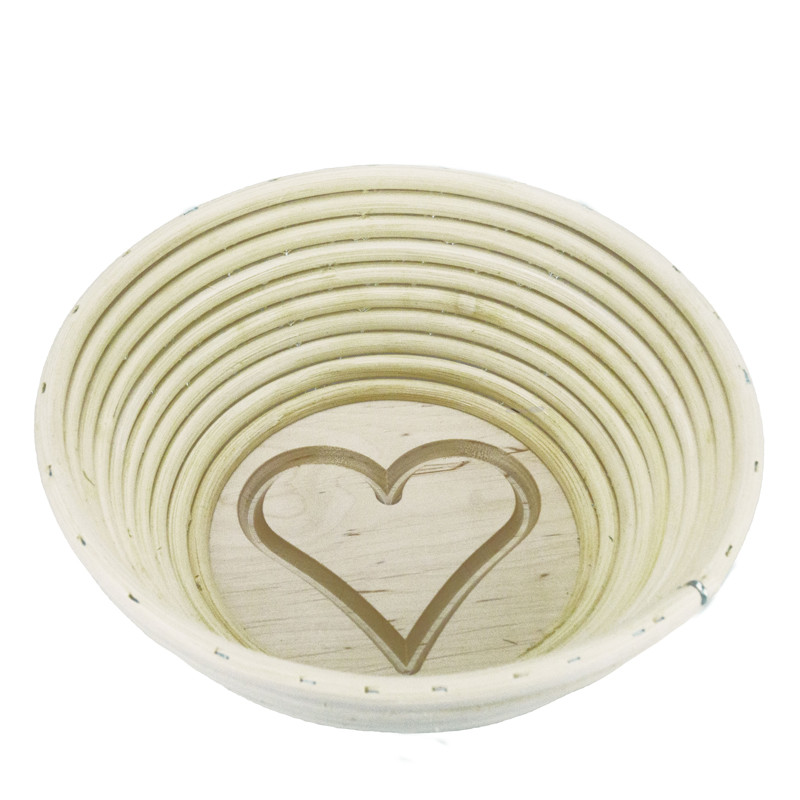

If you like to bake your own bread or would like to start baking in your own oven, a proofing basket is a great helper. It allows the dough to proof evenly and gives it a sweet surface texture with grooves and a heart, which also gives it a good appearance after baking. Perfect for up to 500 g of bread dough.
Data sheet
By using a proofing basket, the piece proofing of the bread is beautifully even. In addition to the great pattern on the surface, this also results in a more attractive shape and an even and finely crumbled crust. The basket gives the dough its great shape during proofing, but it is removed before baking.
First, of course, you need to prepare your dough. Make your favorite bread dough with yeast or sourdough and let it rise according to the recipe. Once the proofing is complete, you can prepare the proofing basket.
Remove any dirt residue from the basket, for example with a brush or simply by turning it over and tapping it on the mold. To prevent the bread dough from sticking to the basket, sprinkle it well with flour or baking starch. Baker's starch also has the advantage that the bread shines beautifully if you brush it with a little water before baking.
Depending on the quantity, portion out your dough and then form individual dough pieces. Once you are happy with the consistency and shape, place the bread in the proofing basket. Cover with a dough plastic and leave the dough to stand at room temperature for as long as specified in the recipe.
Now turn the bread out of the proofing basket. The dough can either be placed directly on baking paper or, if available, on a previously heated bread baking stone or in a cast iron pan that is also hot. The proofing basket must never be baked with the bread. Bake the bread according to the recipe. Once the bread is out of the oven, it can also be used to dry the proofing basket. To do this, it must first cool down to a maximum of 140 °C. The proofing basket can then be placed in the still warm oven to dry out.
Once the basket is completely dry, simply tap out any excess flour. If there are still small pieces of dough, remove them with a slightly harder brush. The basket must never be cleaned in the dishwasher and running water is also not suitable for cleaning it. Depending on the frequency of use, the proofing basket should be sterilized every four to eight weeks at 120 to 140 °C for 30 to 40 minutes.
This means the proofing basket lasts a very long time and can be used again and again. The cane from which it is made is a breathable, natural raw material from the trunks of rattan palms. It is therefore naturally biodegradable.
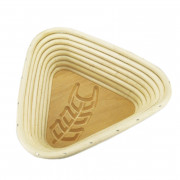
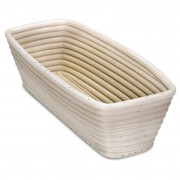
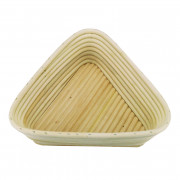
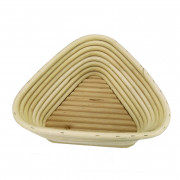
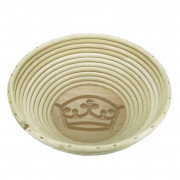


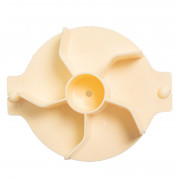
If you like to bake your own bread or would like to start baking in your own oven, a proofing basket is a great helper. It allows the dough to proof evenly and gives it a sweet surface texture with grooves and a heart, which also gives it a good appearance after baking. Perfect for up to 500 g of bread dough.