
Cherries with Mirror Glaze – Sour Cherry Mousse That Looks Real
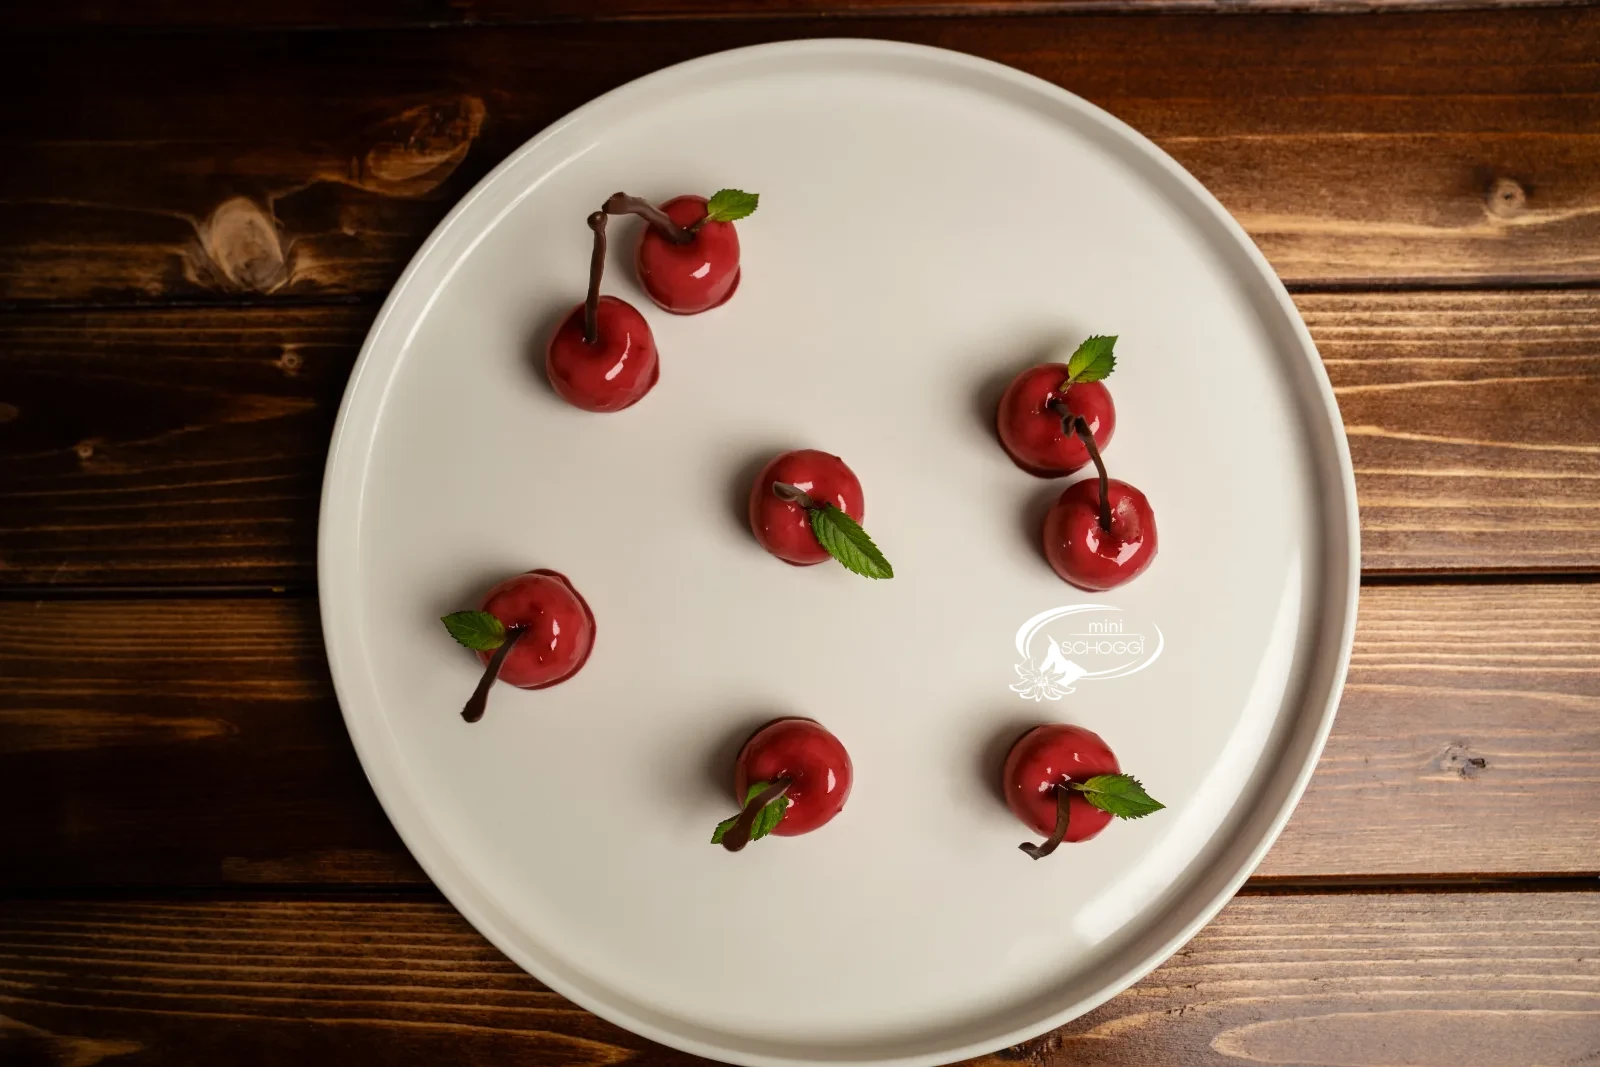
Small, glossy and deceptively real – patisserie to fall in love with, entirely without an oven.
YieldMakes 35 pieces (Silicone mold cherries)
Active time45 minutes
Total timeOvernight (approx. 12 hrs)
contains eggcontains lactose
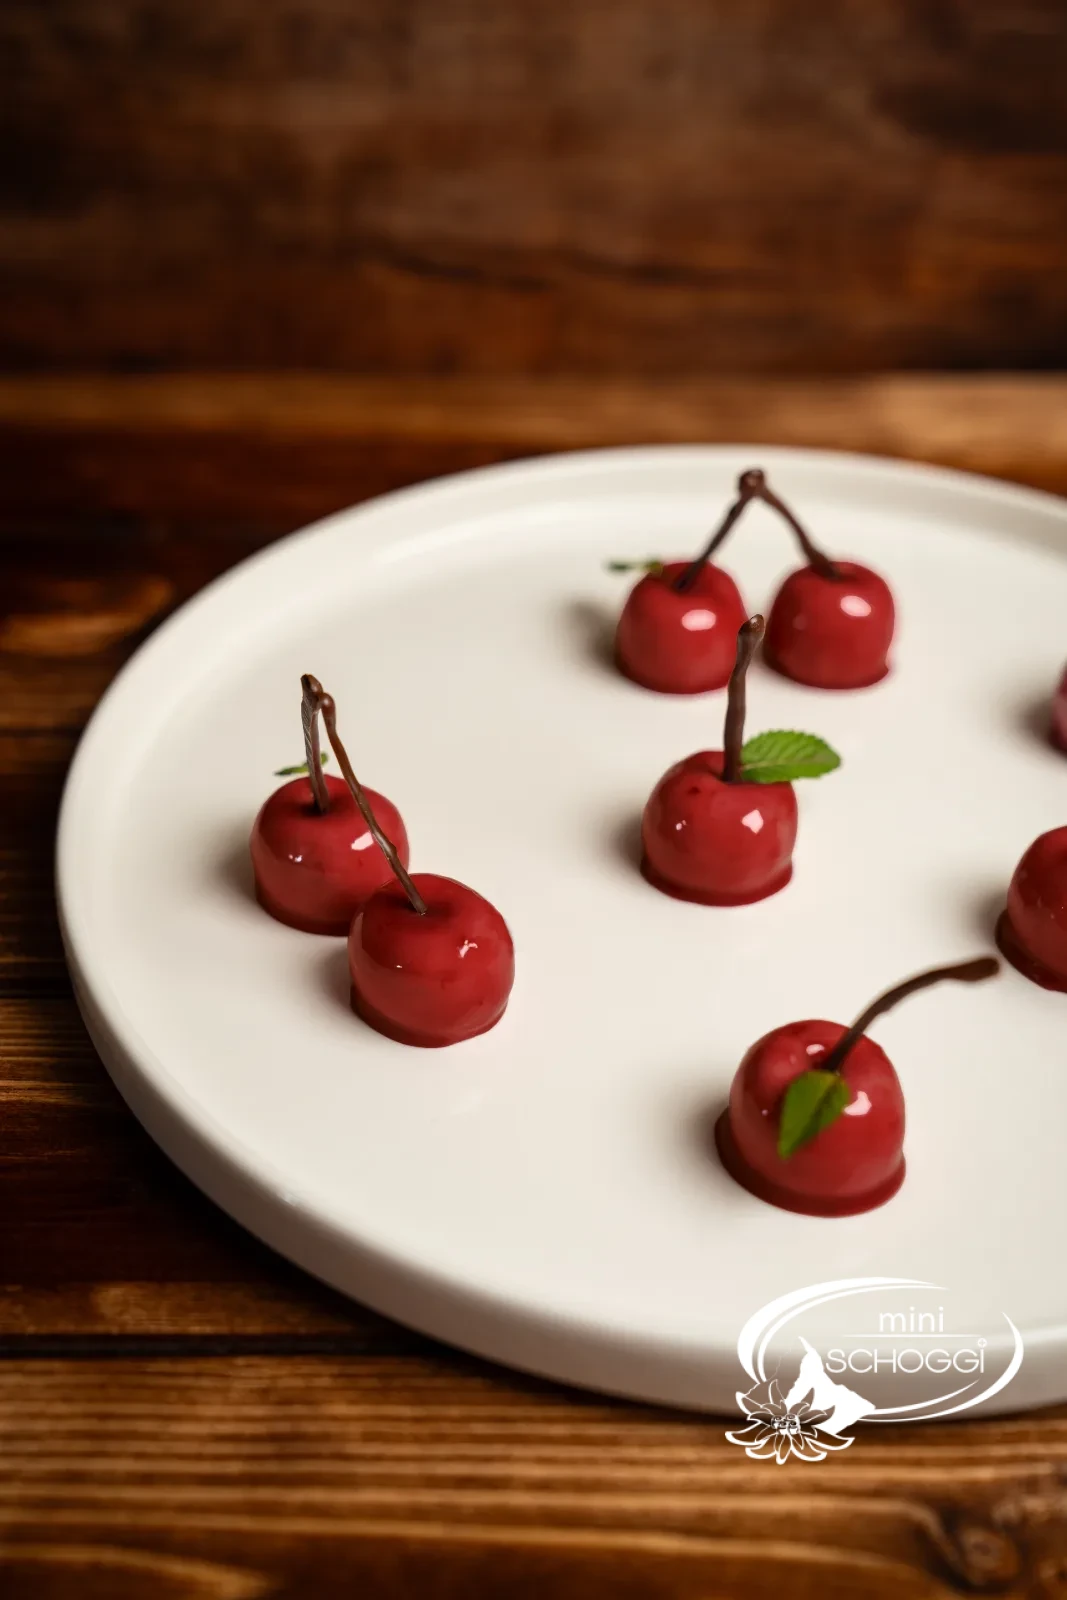
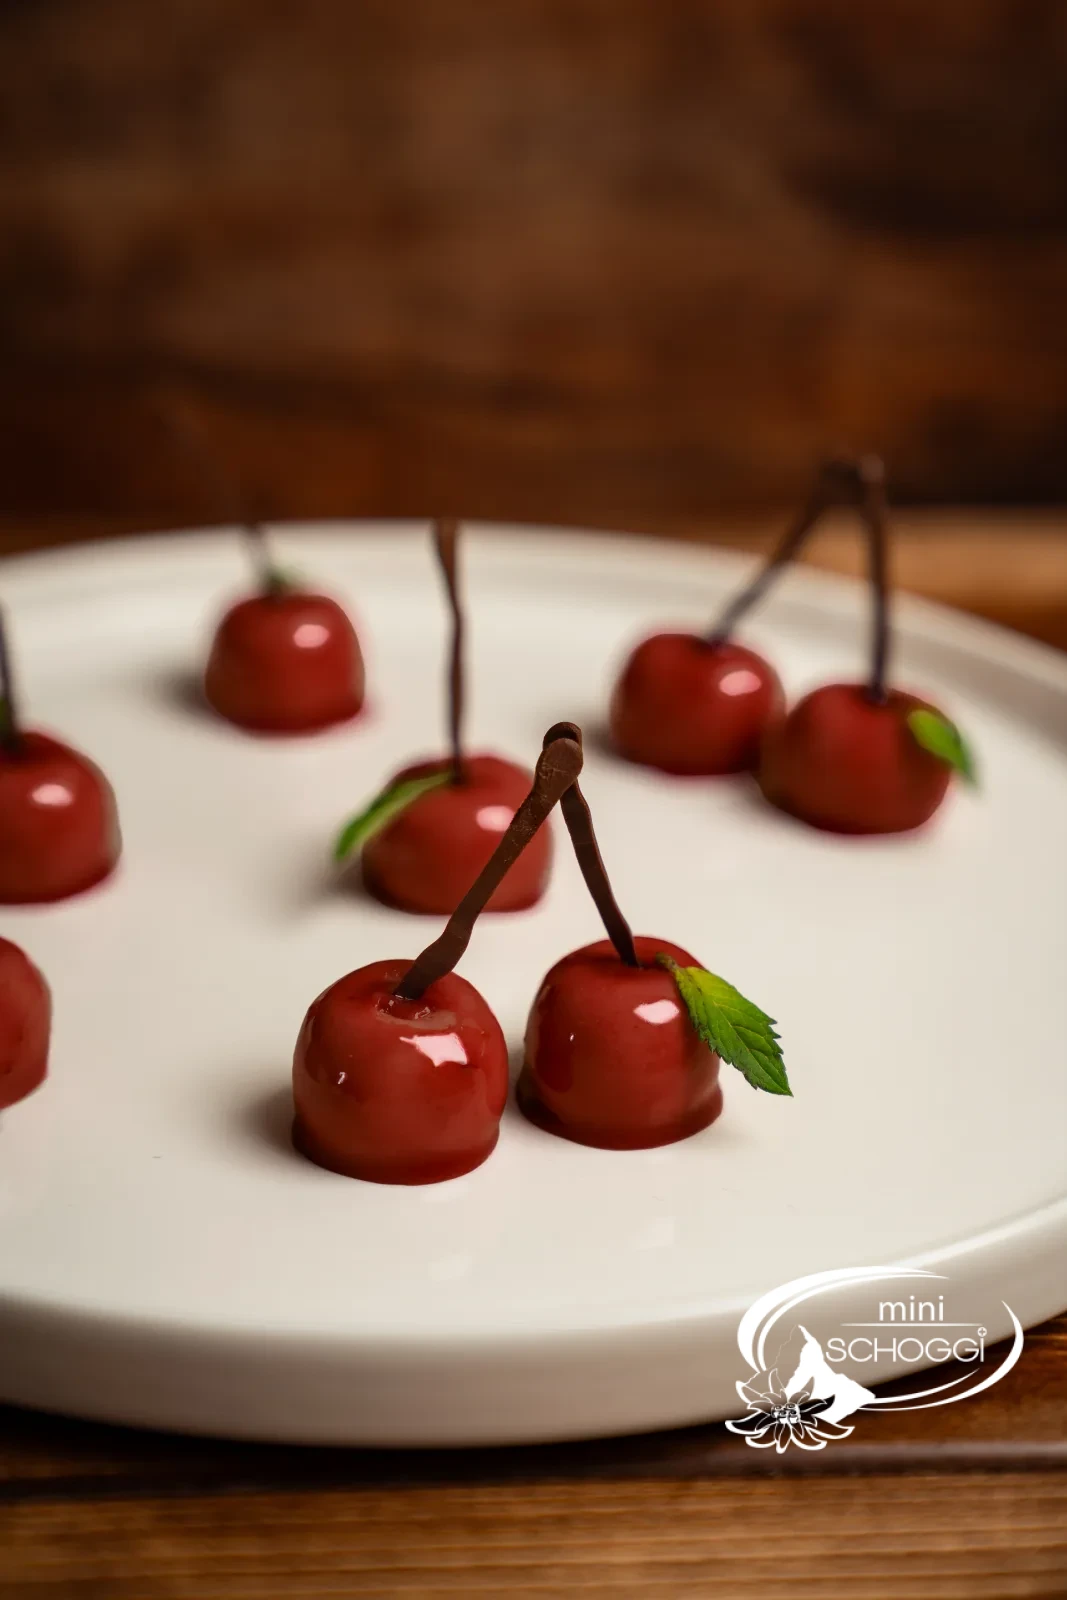
Sometimes a show-stopping dessert doesn't need an oven – just a good idea and a glossy mirror glaze. These little cherries are made of airy sour cherry mousse, come out of a Silicone mold and get their deep-red shine at the very end. Add a fine stem of Dark chocolate and a mint leaf – and no one at the table will believe you made them yourself. Don't be put off by the word "advanced": we'll go through every step together, and the cherries wait patiently for you in the freezer.
Ingredients
Quantity:
Sour cherry mousse
1.25 sheetsGelatine
25 gGranulated sugar
25 gEgg white, liquid
85 gWhite couverture, tempered to 40 °C
85 gFull cream, whipped
Mirror glaze
1.25 gGelatine
40 gFull cream
67 gGranulated sugar
17 gGlucose syrup
Food coloring Mulberry, Red and Black, as needed
Step by step
If you're in a hurry: the compact recipe card further down sums it all up.
Prepare the sour cherry mousse
1
Warm gelatine, sugar and egg white
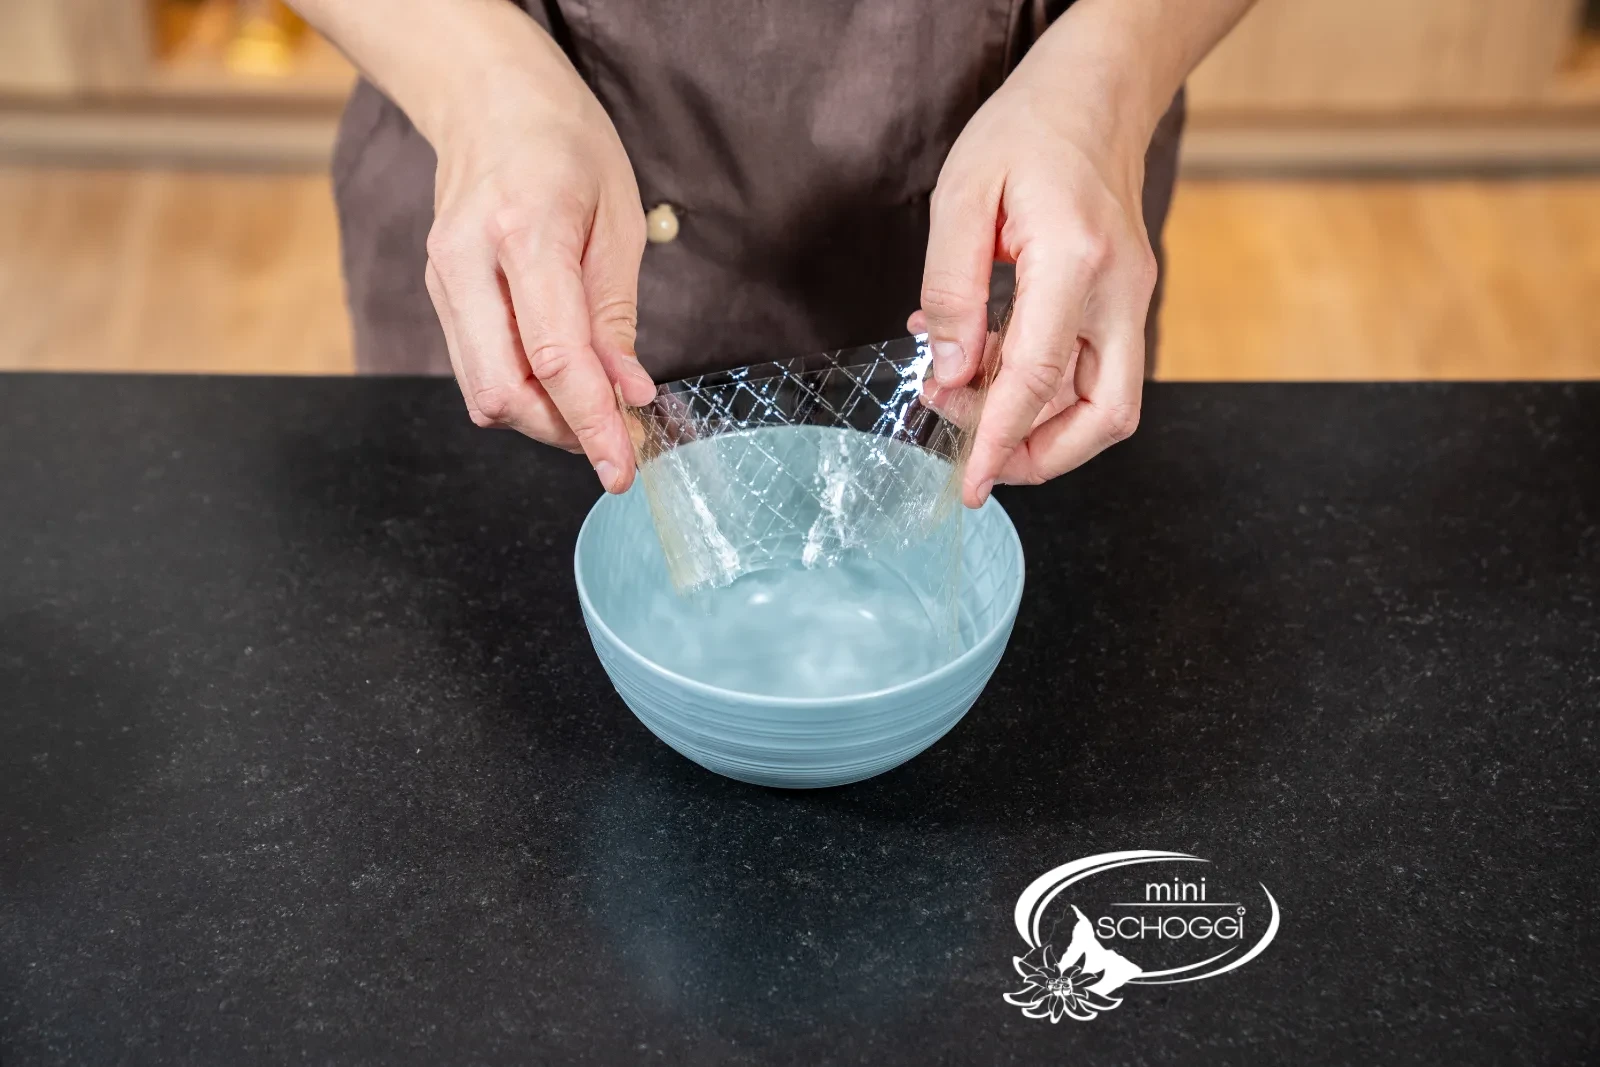
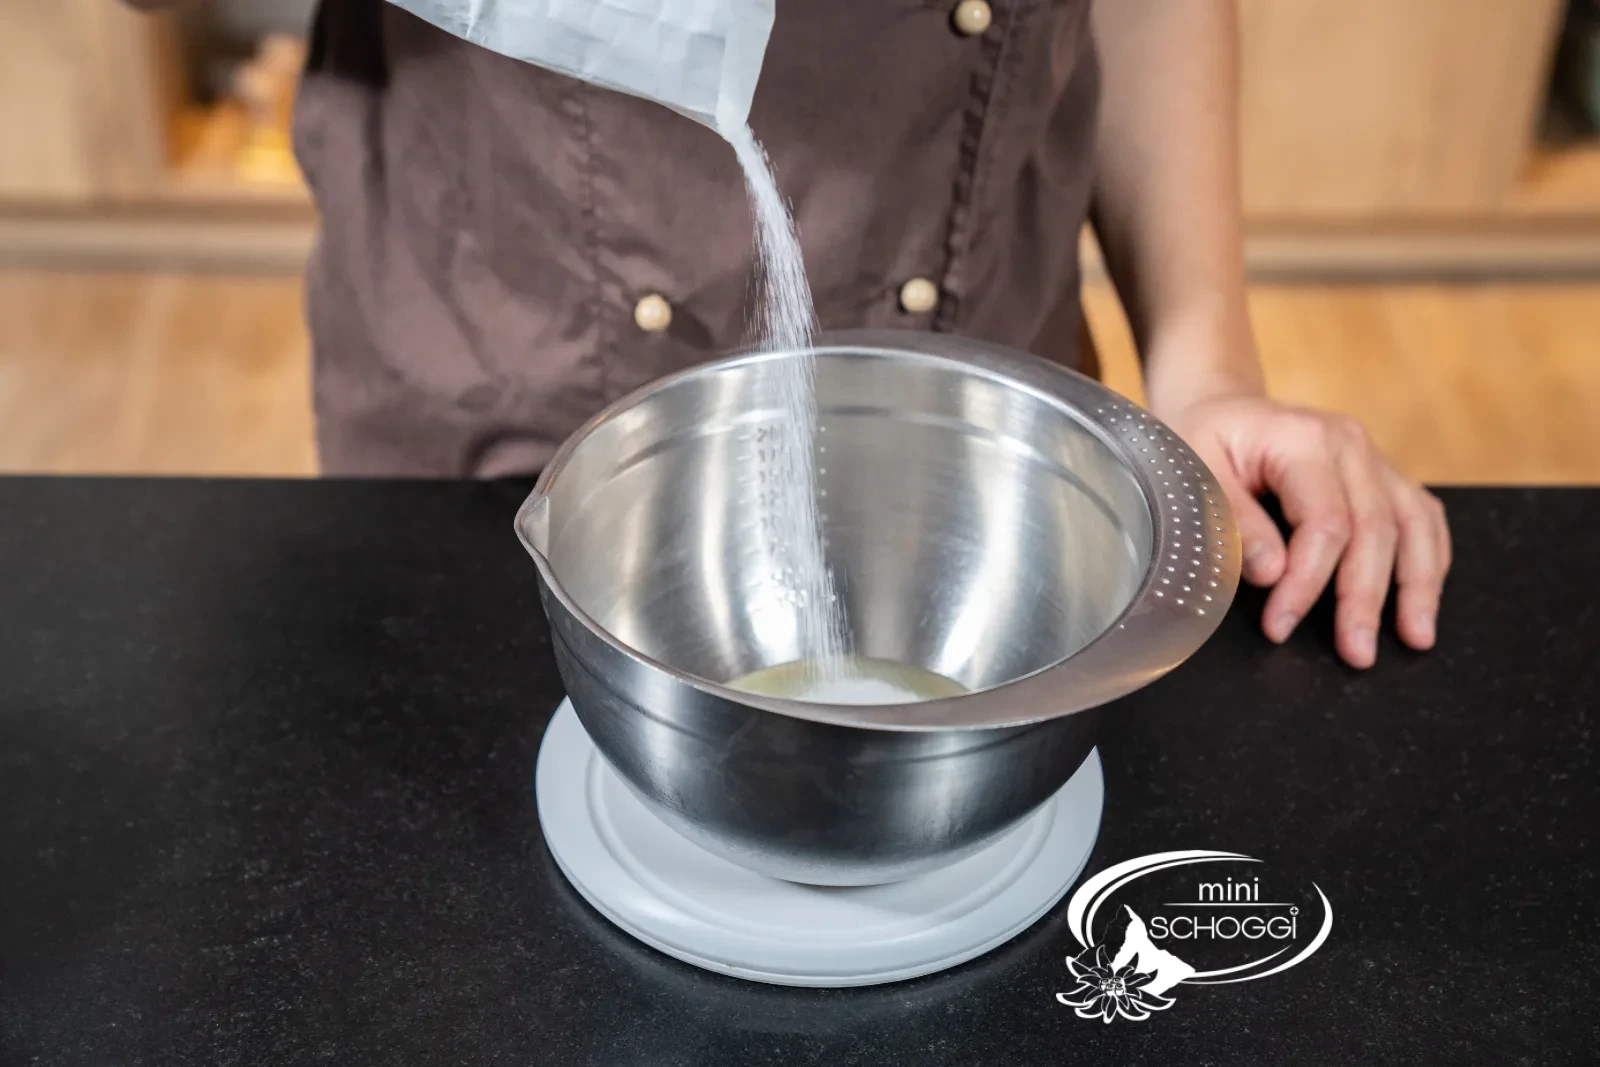
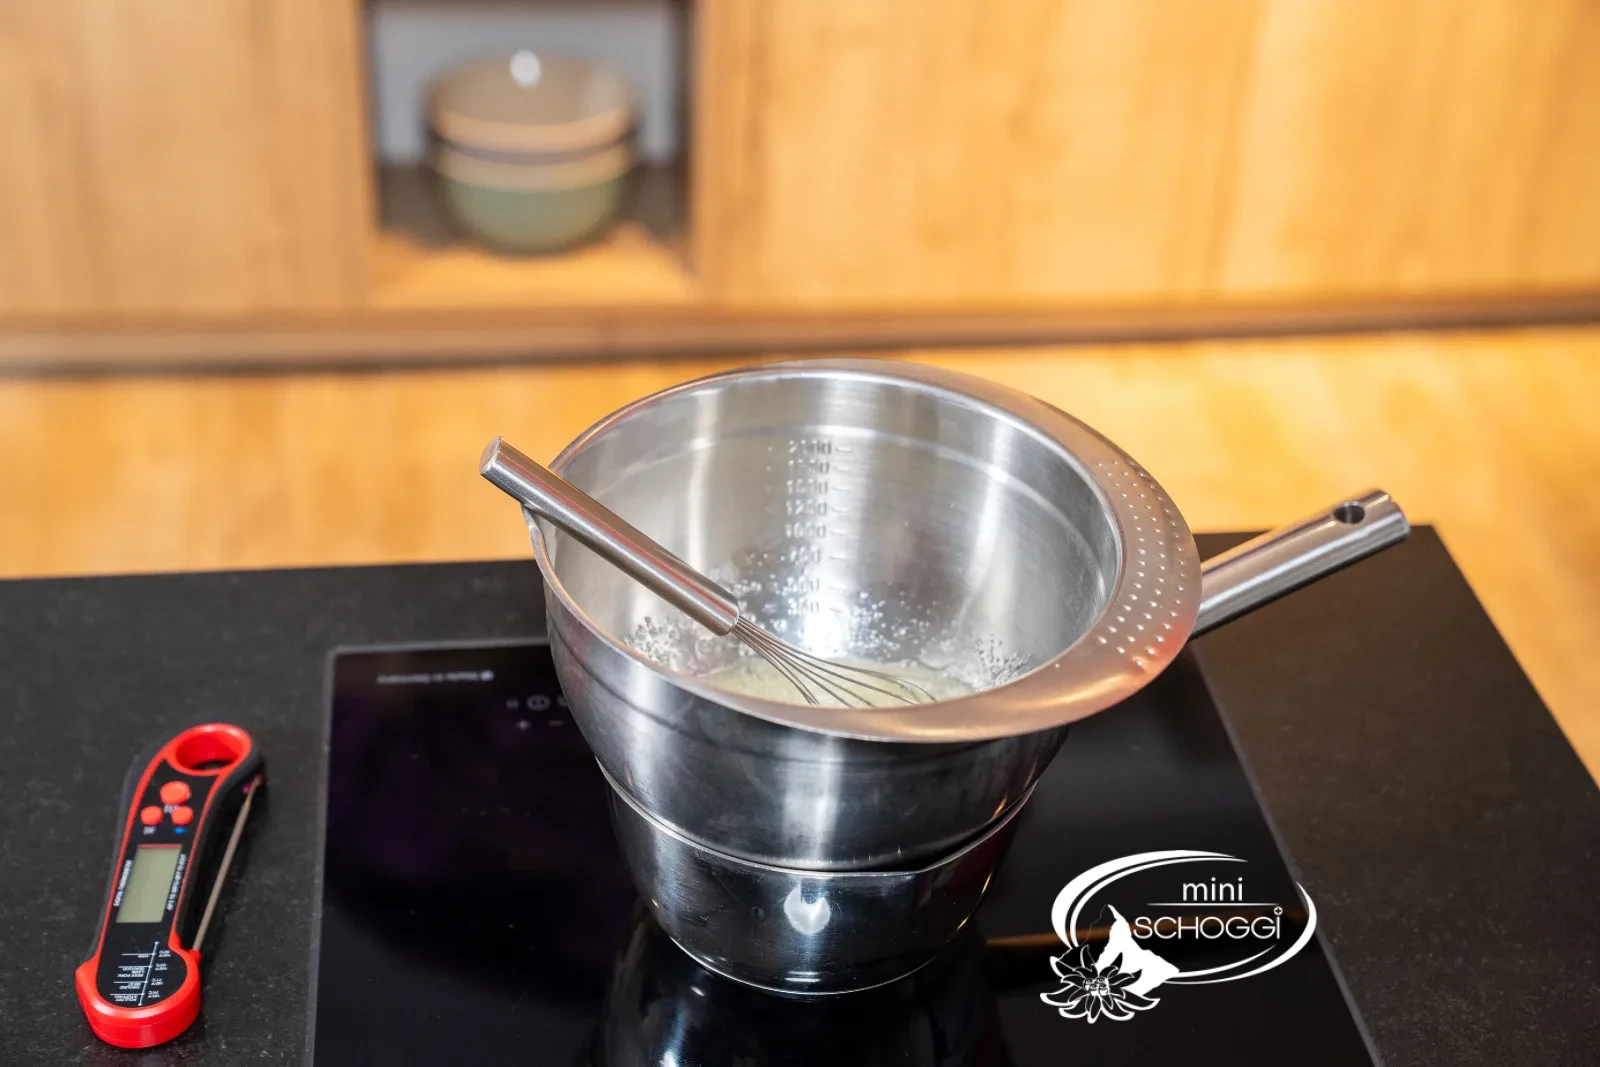
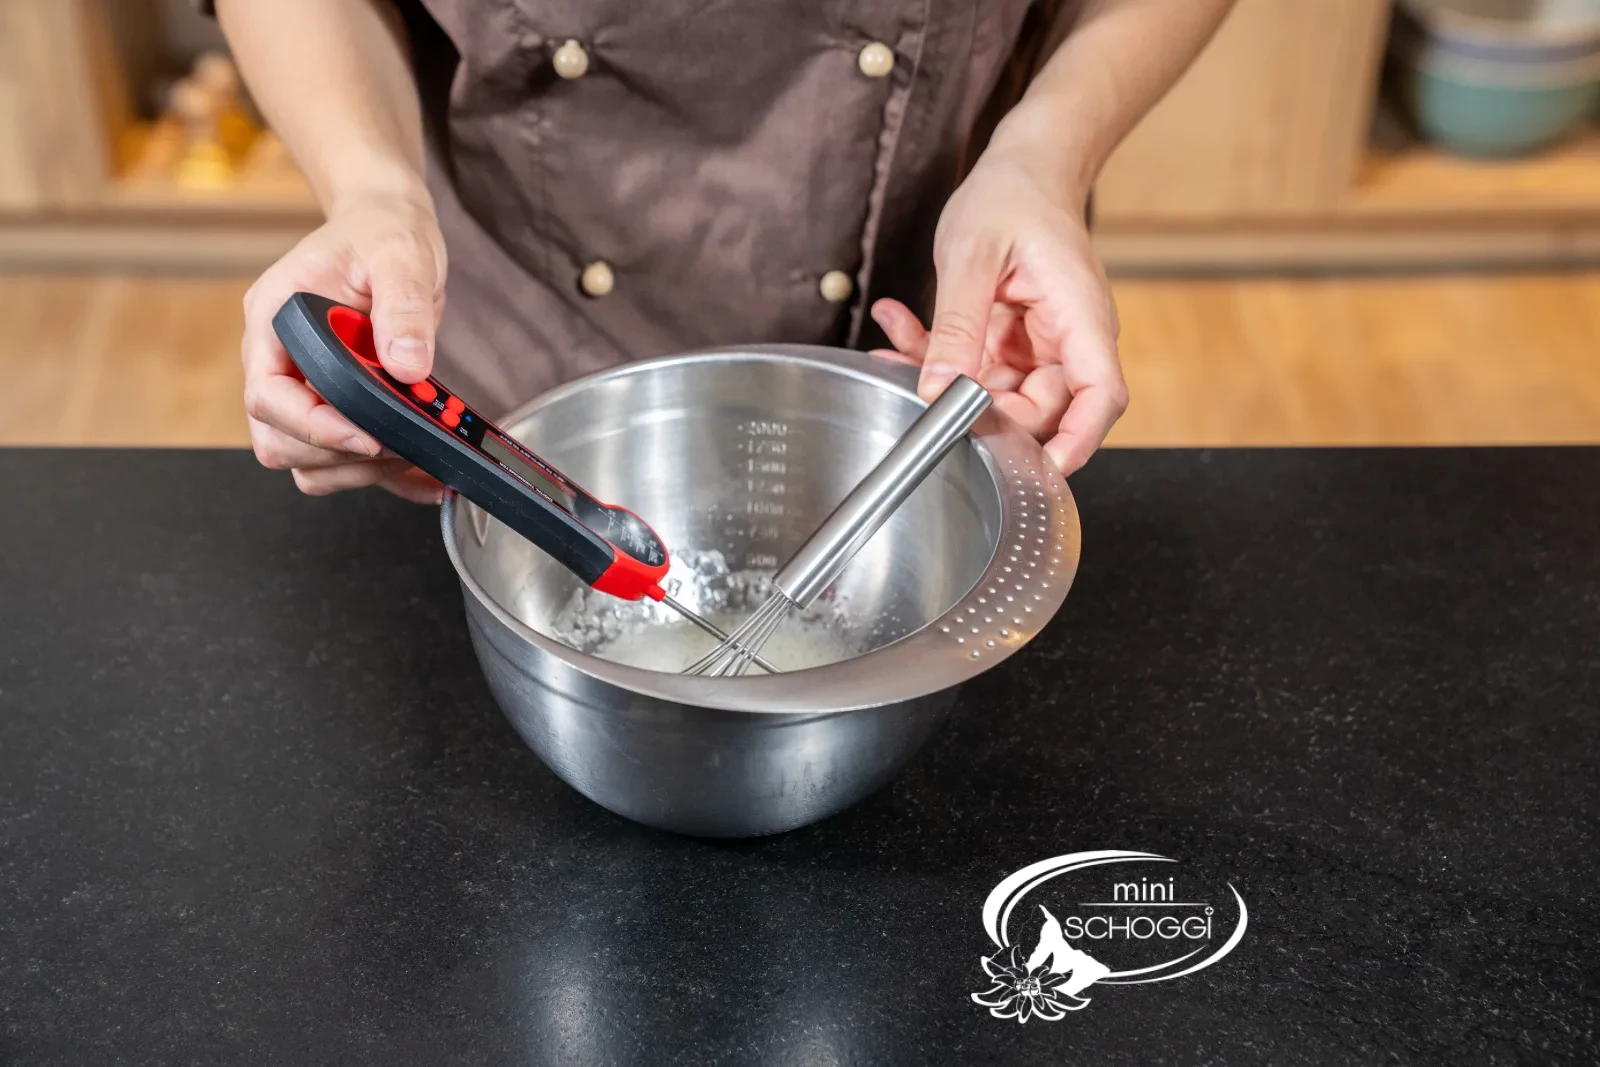
Soak the Gelatine in cold water and squeeze it out well. Put it in a Bowl with 25 g granulated sugar and 25 g liquid egg white and warm everything over a water bath to approx. 35 °C. Keep stirring until the gelatine has fully dissolved. Best to check the temperature with the Thermometer – that way the gelatine sets cleanly later on.
What you need for this

RUF gelatine sheets, 12 pieces
2
Whip to a firm foam
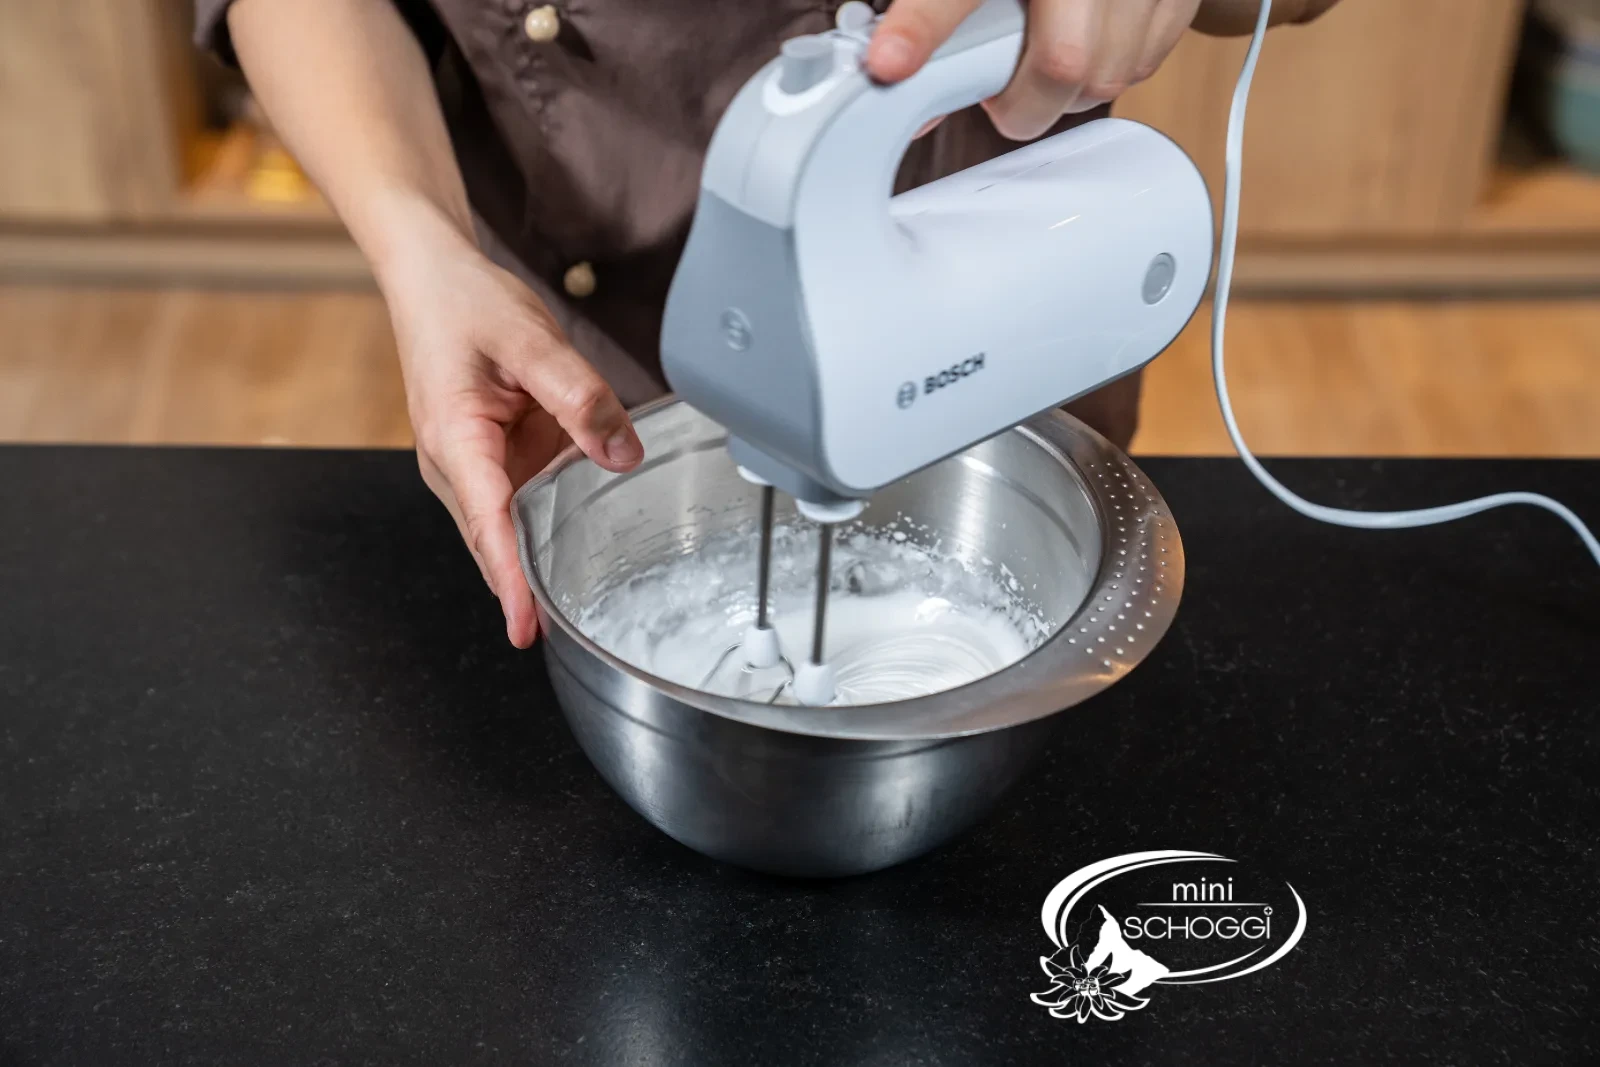
Take the Bowl off the water bath and whip the mixture with the Hand mixer until you get a dense, glossy foam that slowly cools down. It should hold its shape but stay supple – that's the air that makes your mousse so light later on.
3
Combine couverture and sour cherry puree
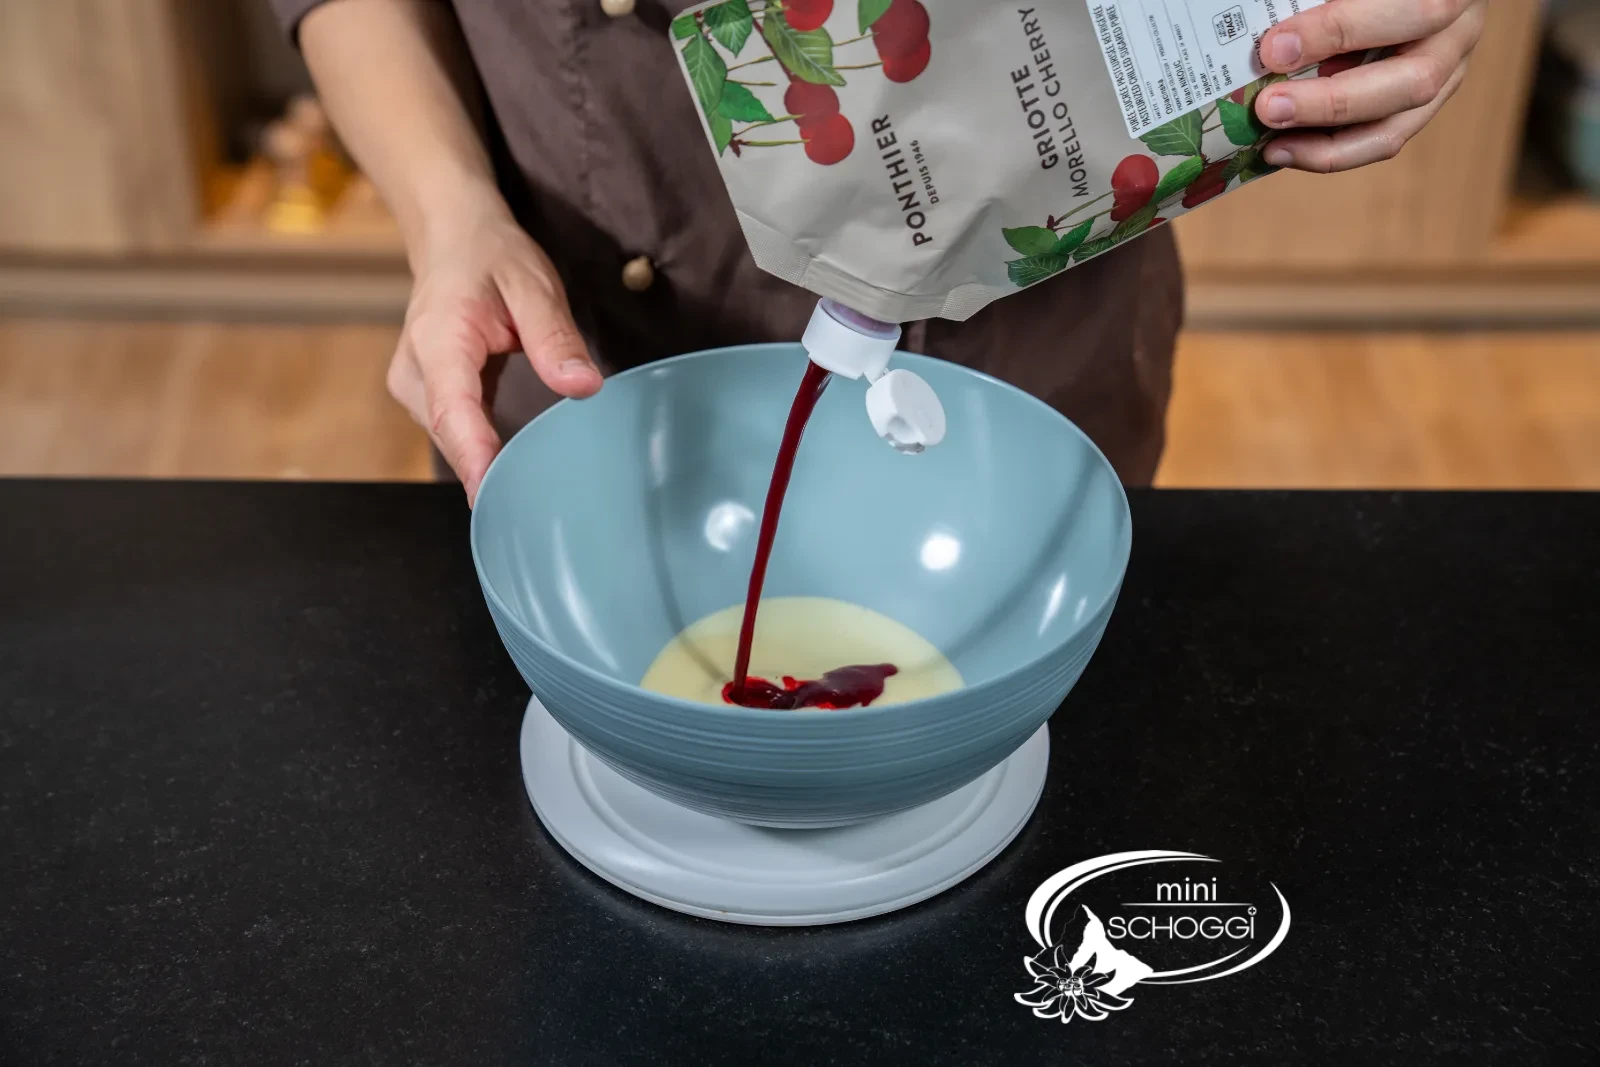
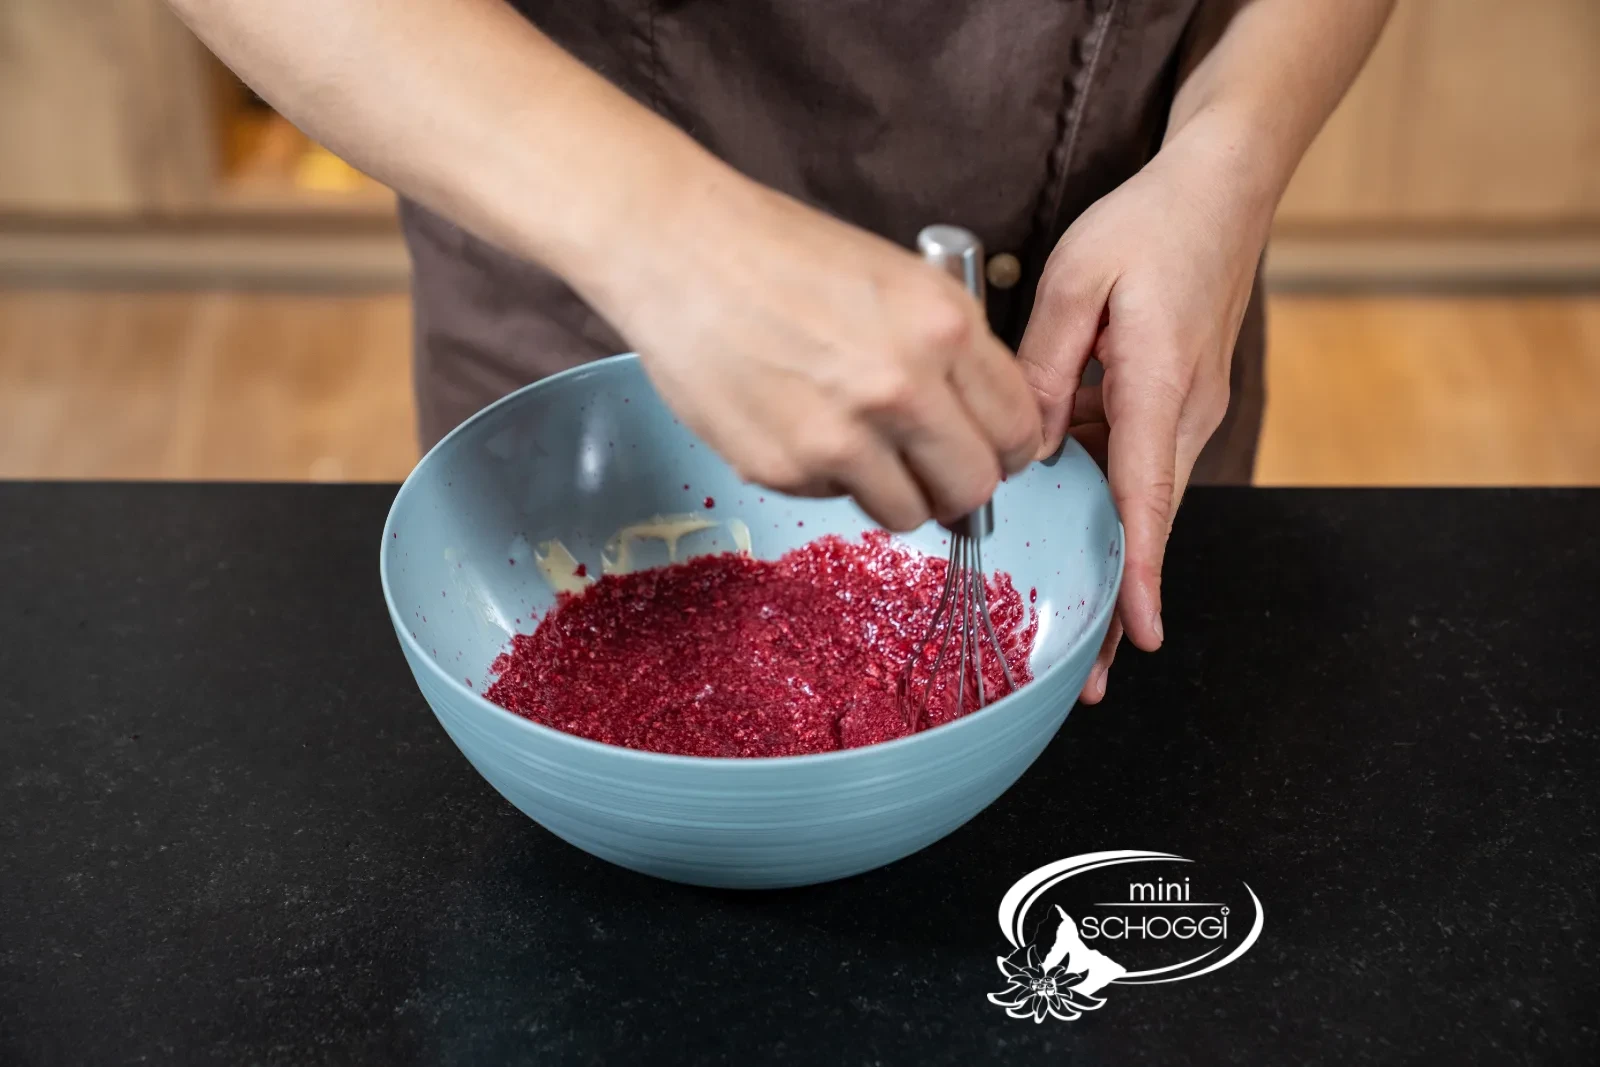
Stir 85 g White couverture (tempered to 40 °C) smooth with 85 g sour cherry puree until there are no lumps left and the mixture is evenly creamy. Important: both should be at a similar temperature so the chocolate doesn't clump.
What you need for this


Valrhona white couverture, Ivoire 35%, 1 kg
Sour cherry fruit puree 1 kg
4
Fold in foam and cream
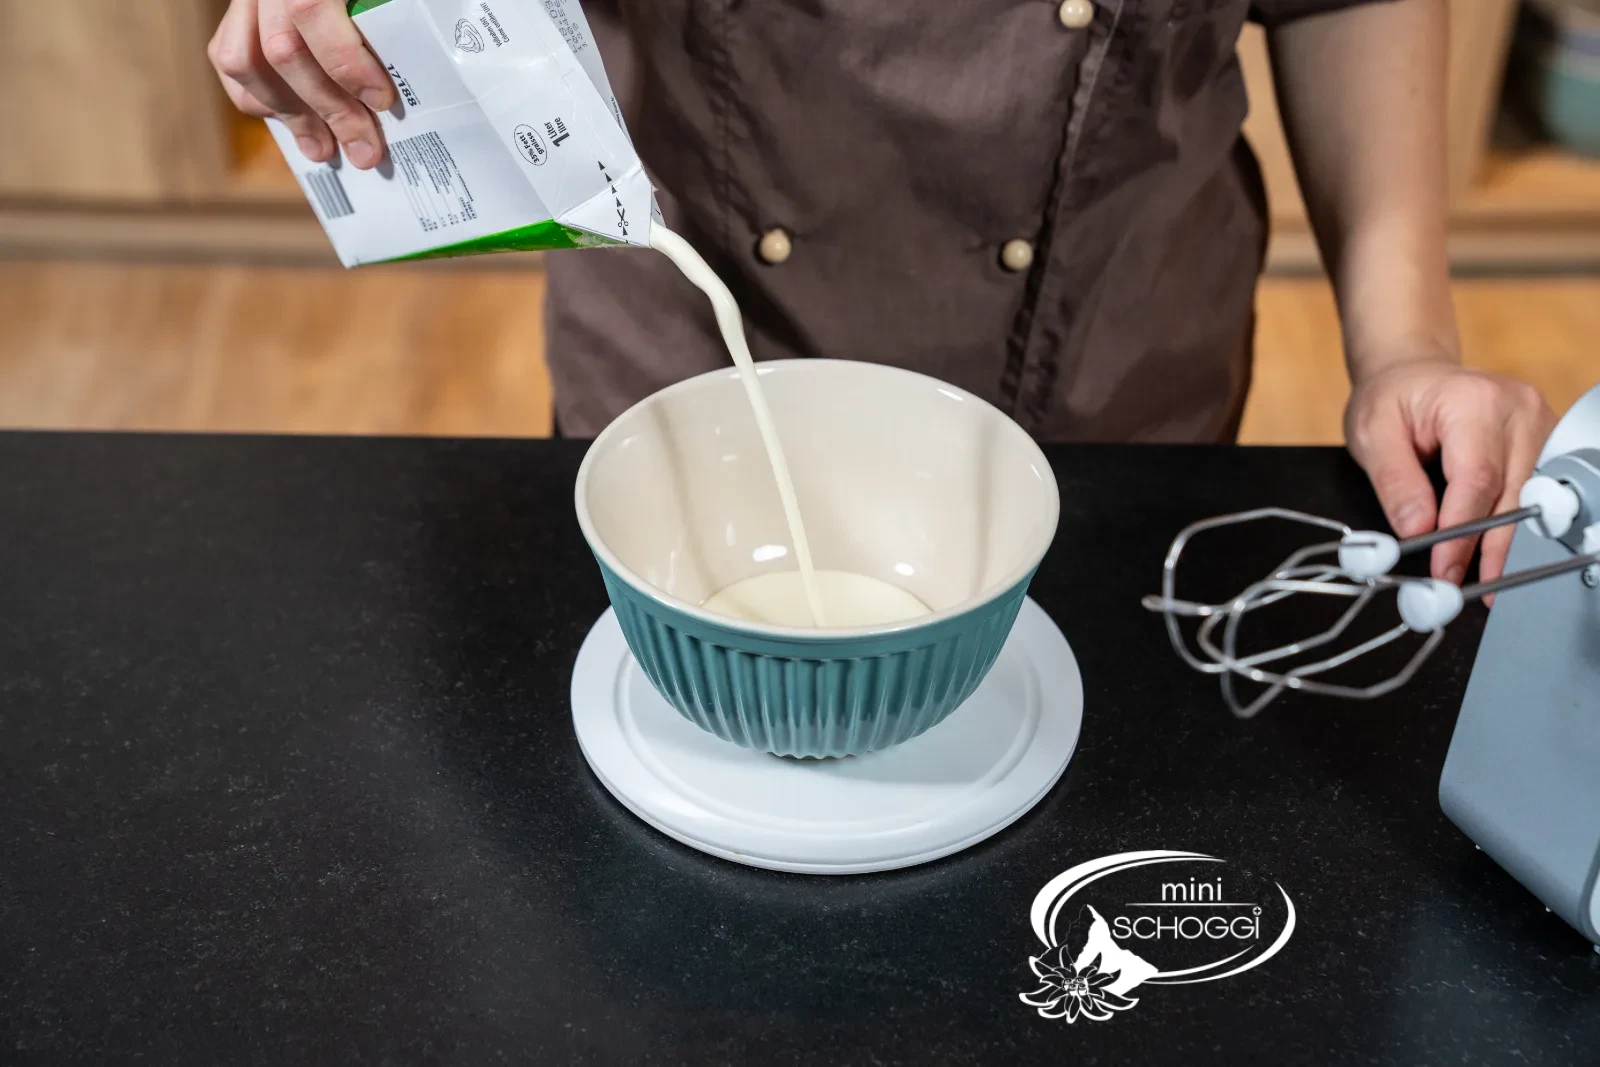
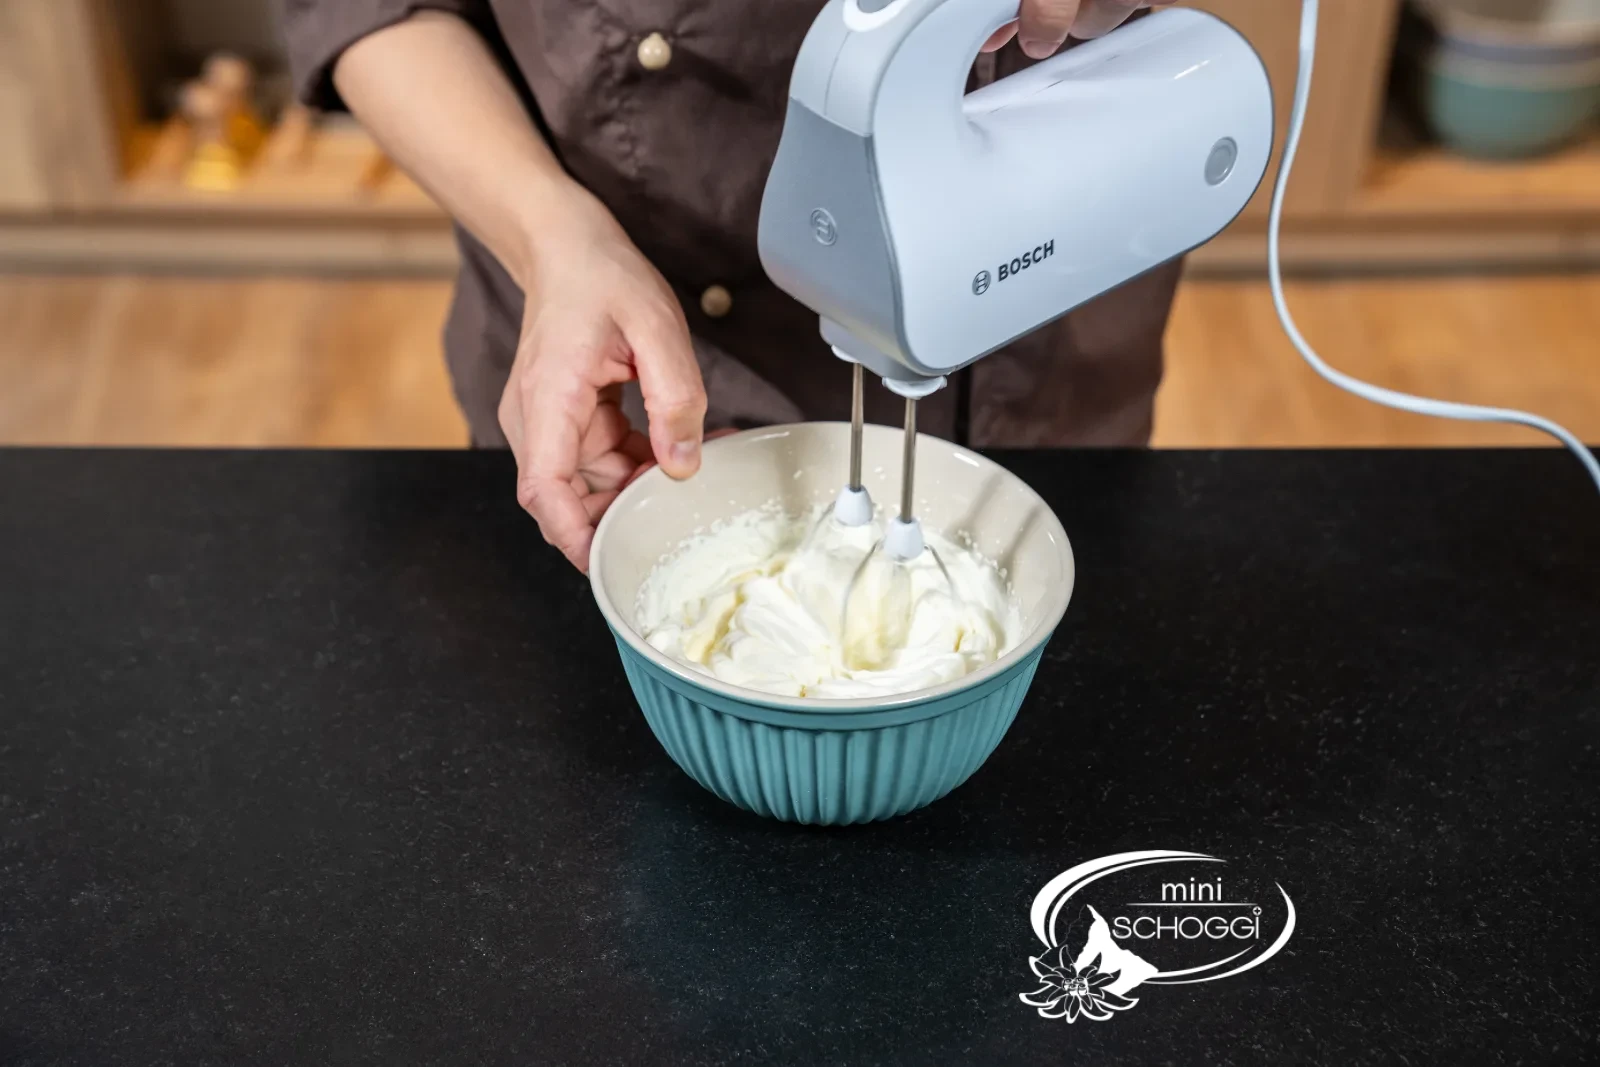
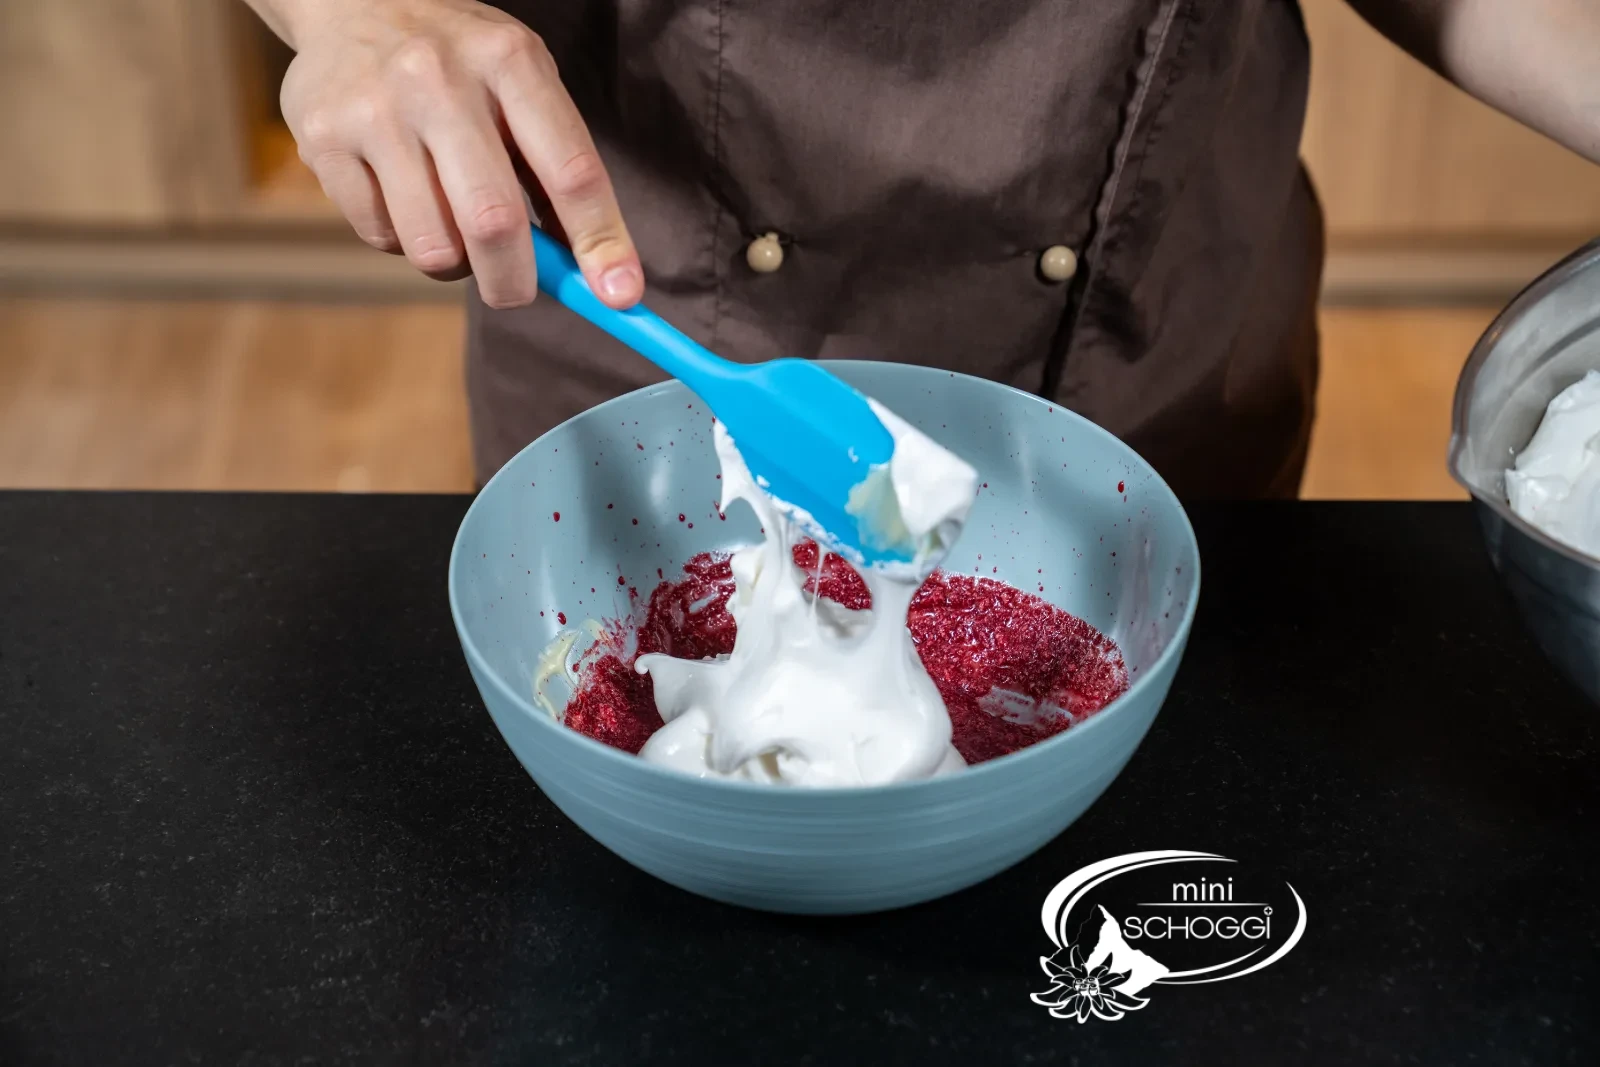
First gently fold the foam into the cherry mixture – with the Dough scraper in calm, circular motions from the bottom up (folding). Then add 85 g whipped full cream in the same way.
5
Fill the mold
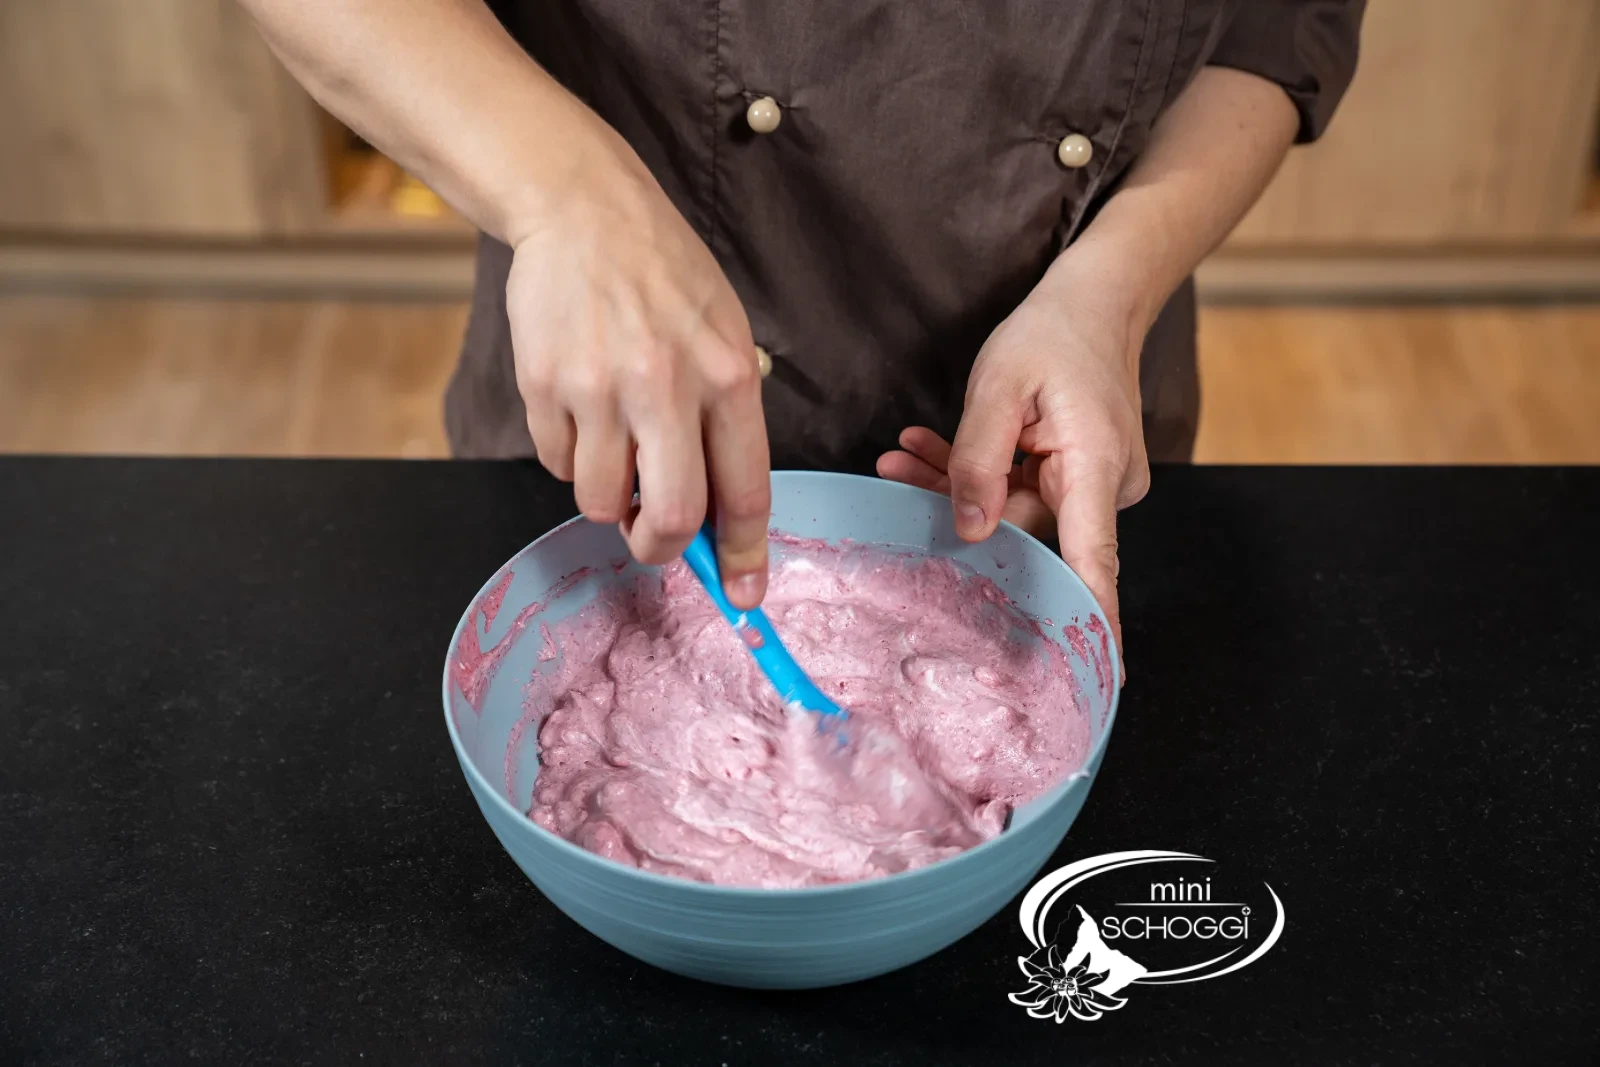
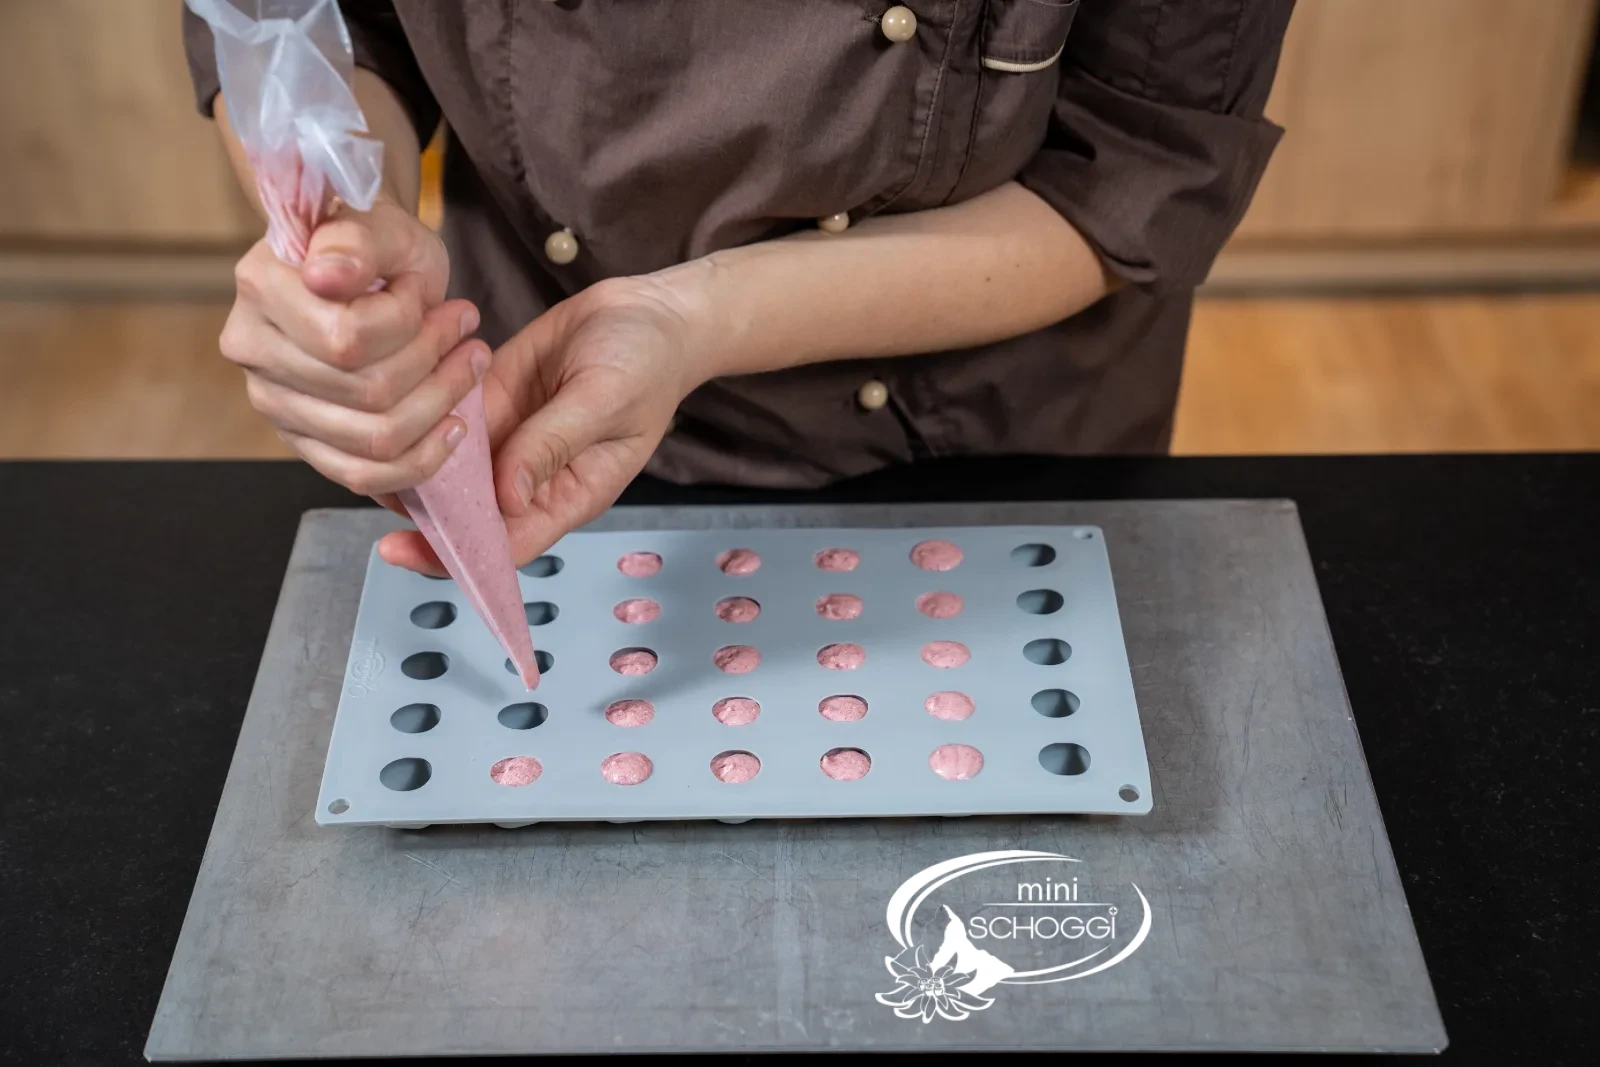
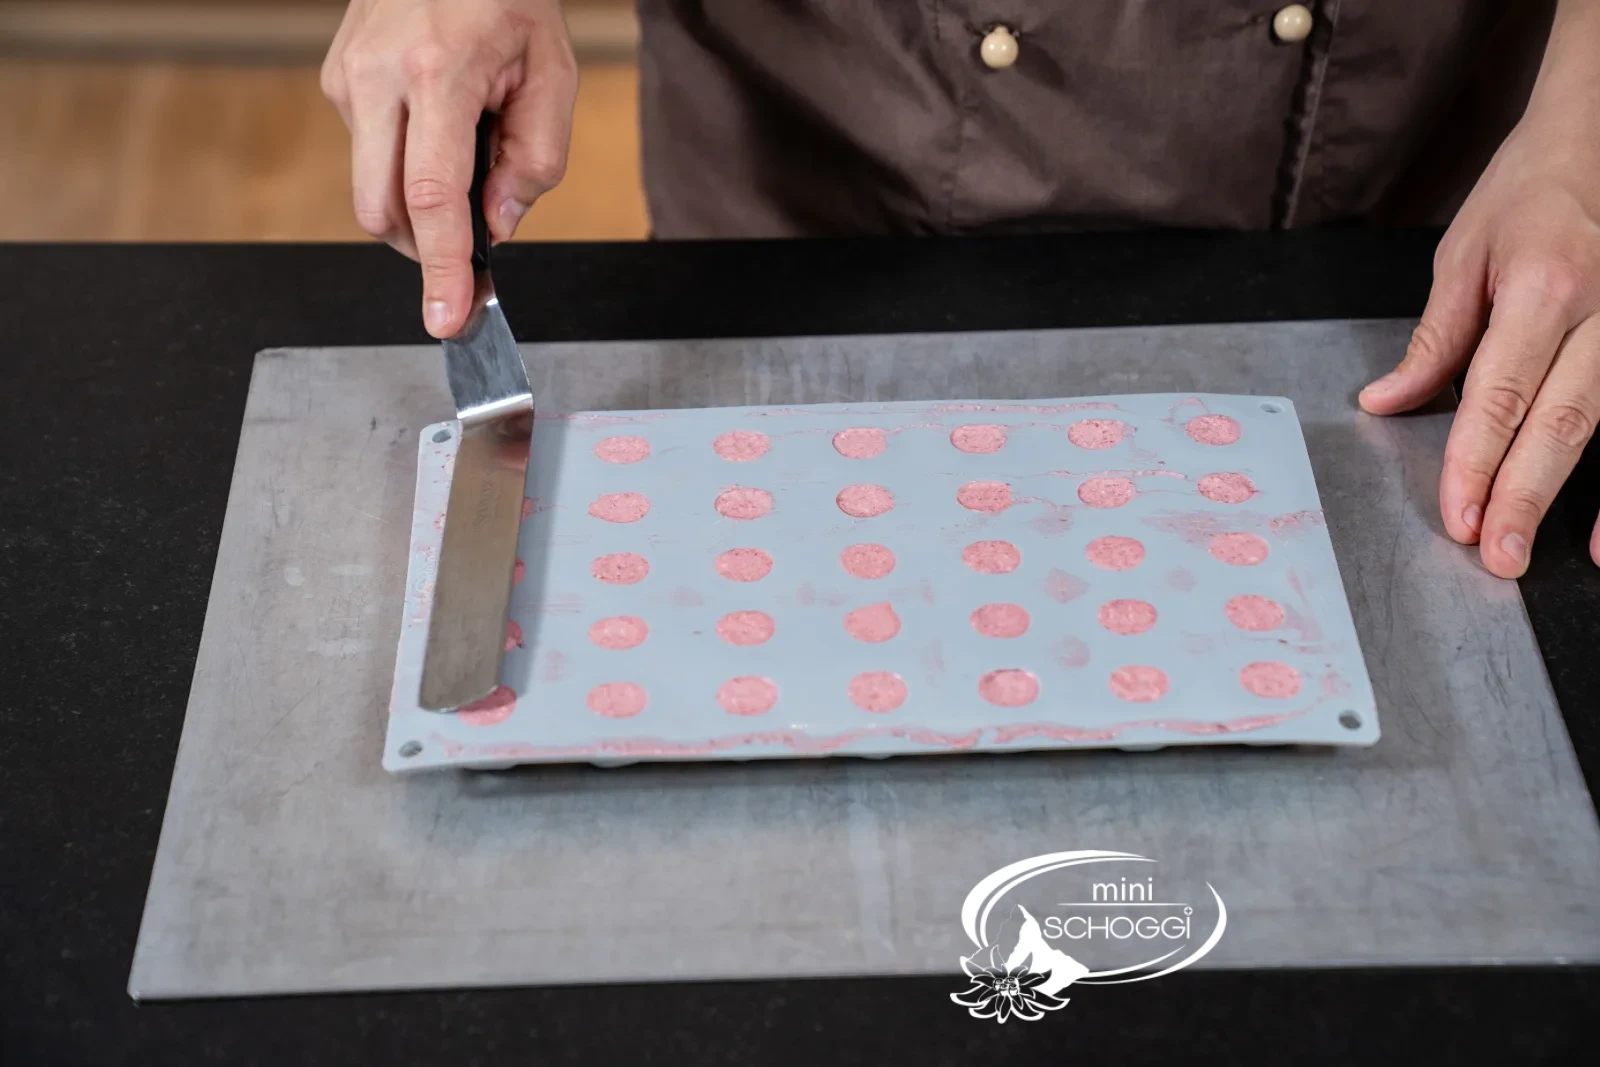
The mousse is ready when it's light and airy and pale pink, with no streaks. Pipe it with the piping bag into the Silicone mold cherries, approx. 7 g per cavity, and smooth the surface with the Spreading palette.
What you need for this

Silicone mold cherries, 35 pieces / mold
6
Freeze overnight
Put the mold in the freezer overnight. The cherries need to be completely frozen through – when you tap them they feel hard and can no longer be pressed in. Only then will they keep their lovely shape when glazed. So plan the recipe over two days: the mousse in the evening, the glazing the next day.
Cook and color the mirror glaze
1
Bring the mirror glaze to a boil
Soak the Gelatine for the icing in cold water. Put 40 g full cream, 50 g sour cherry puree, 67 g granulated sugar and 17 g Glucose syrup in a saucepan and bring everything to a boil, stirring occasionally. Take the pan off the heat, add the squeezed-out gelatine and stir briefly until it has dissolved.
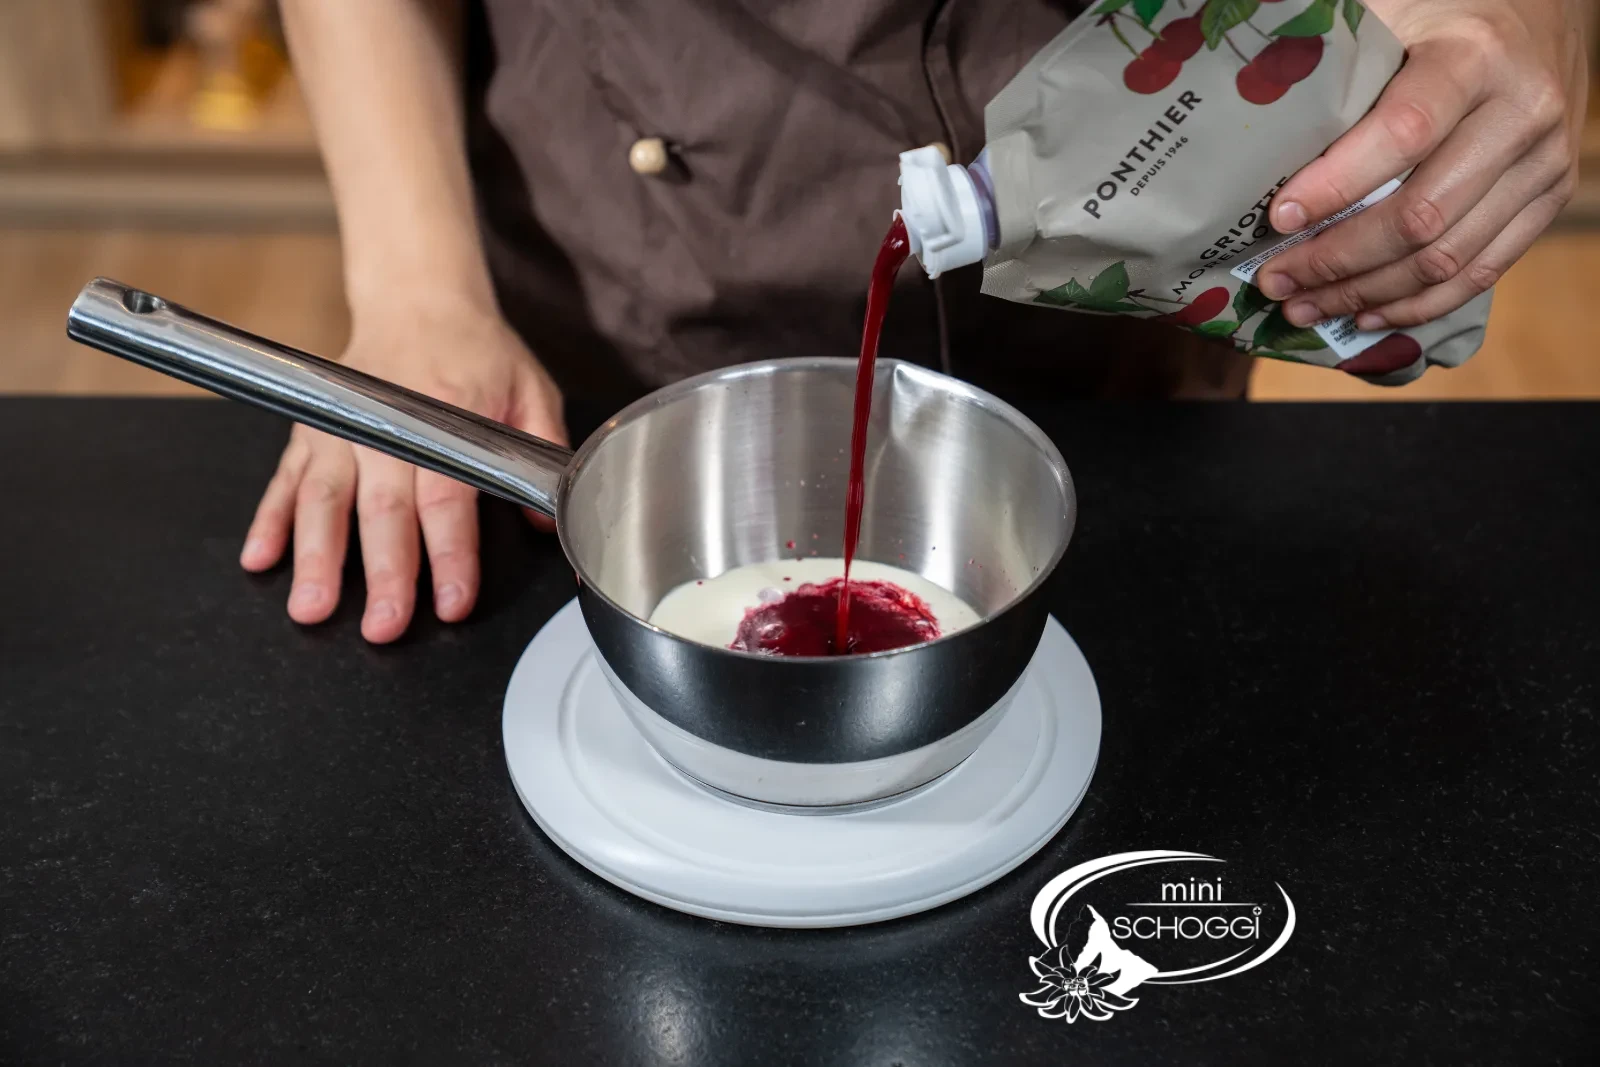
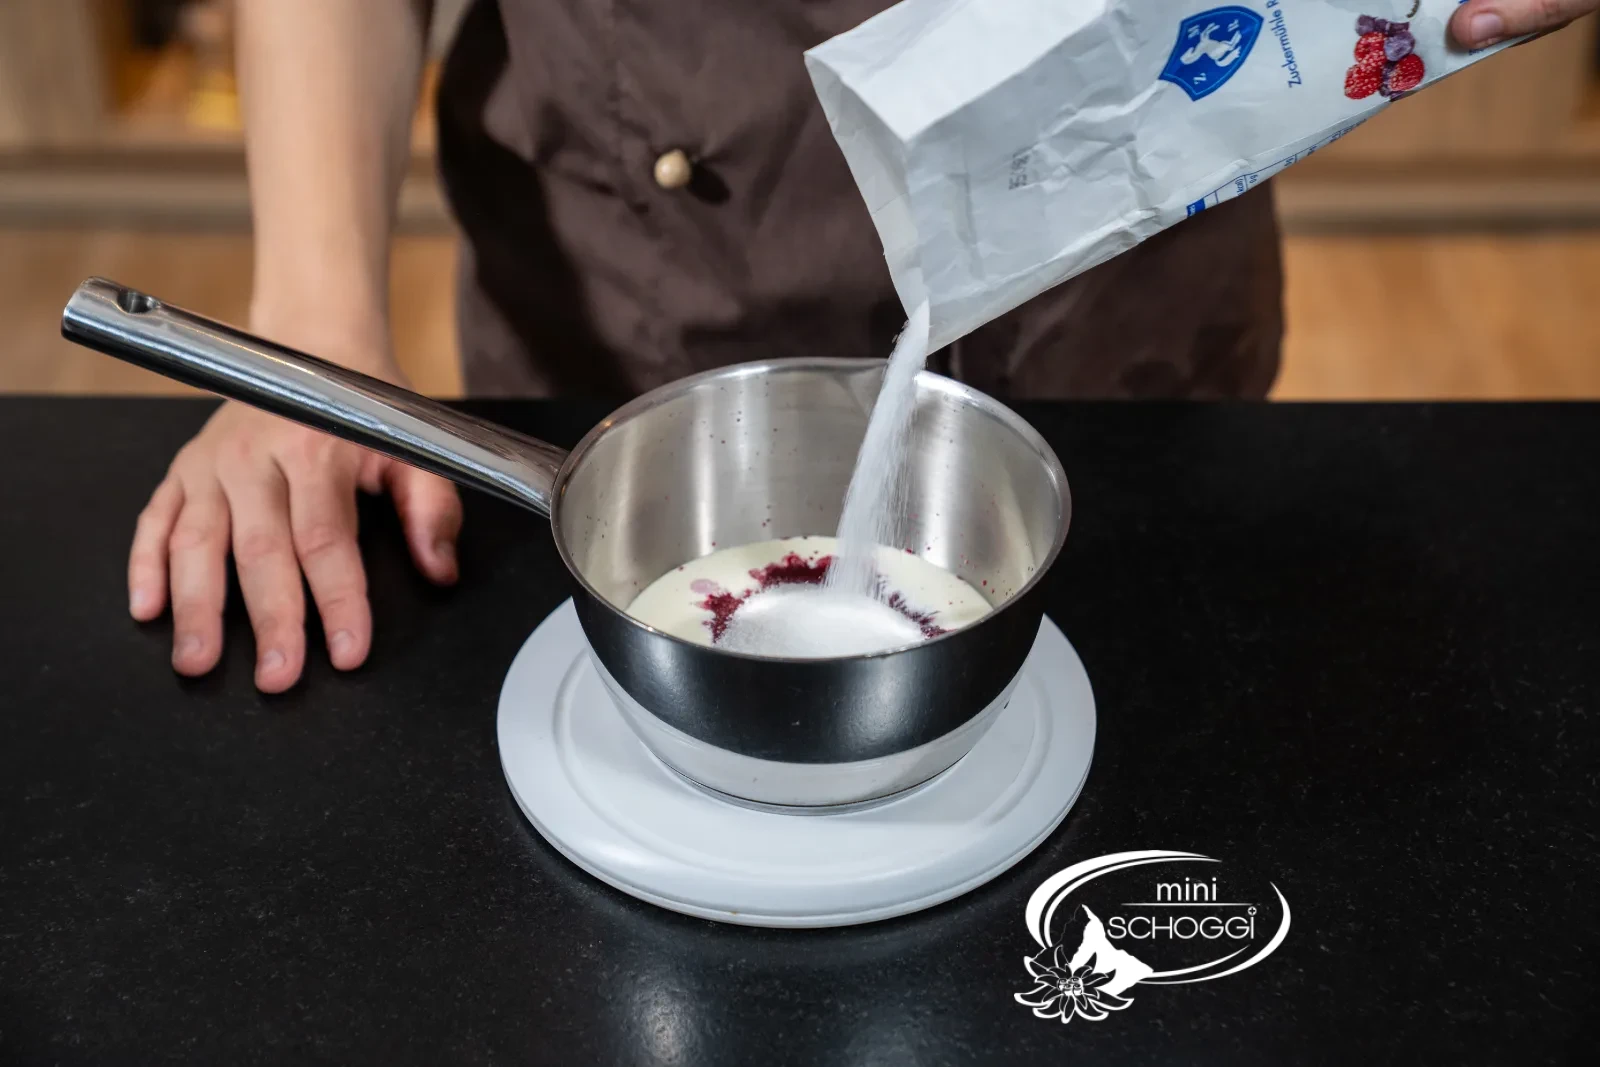
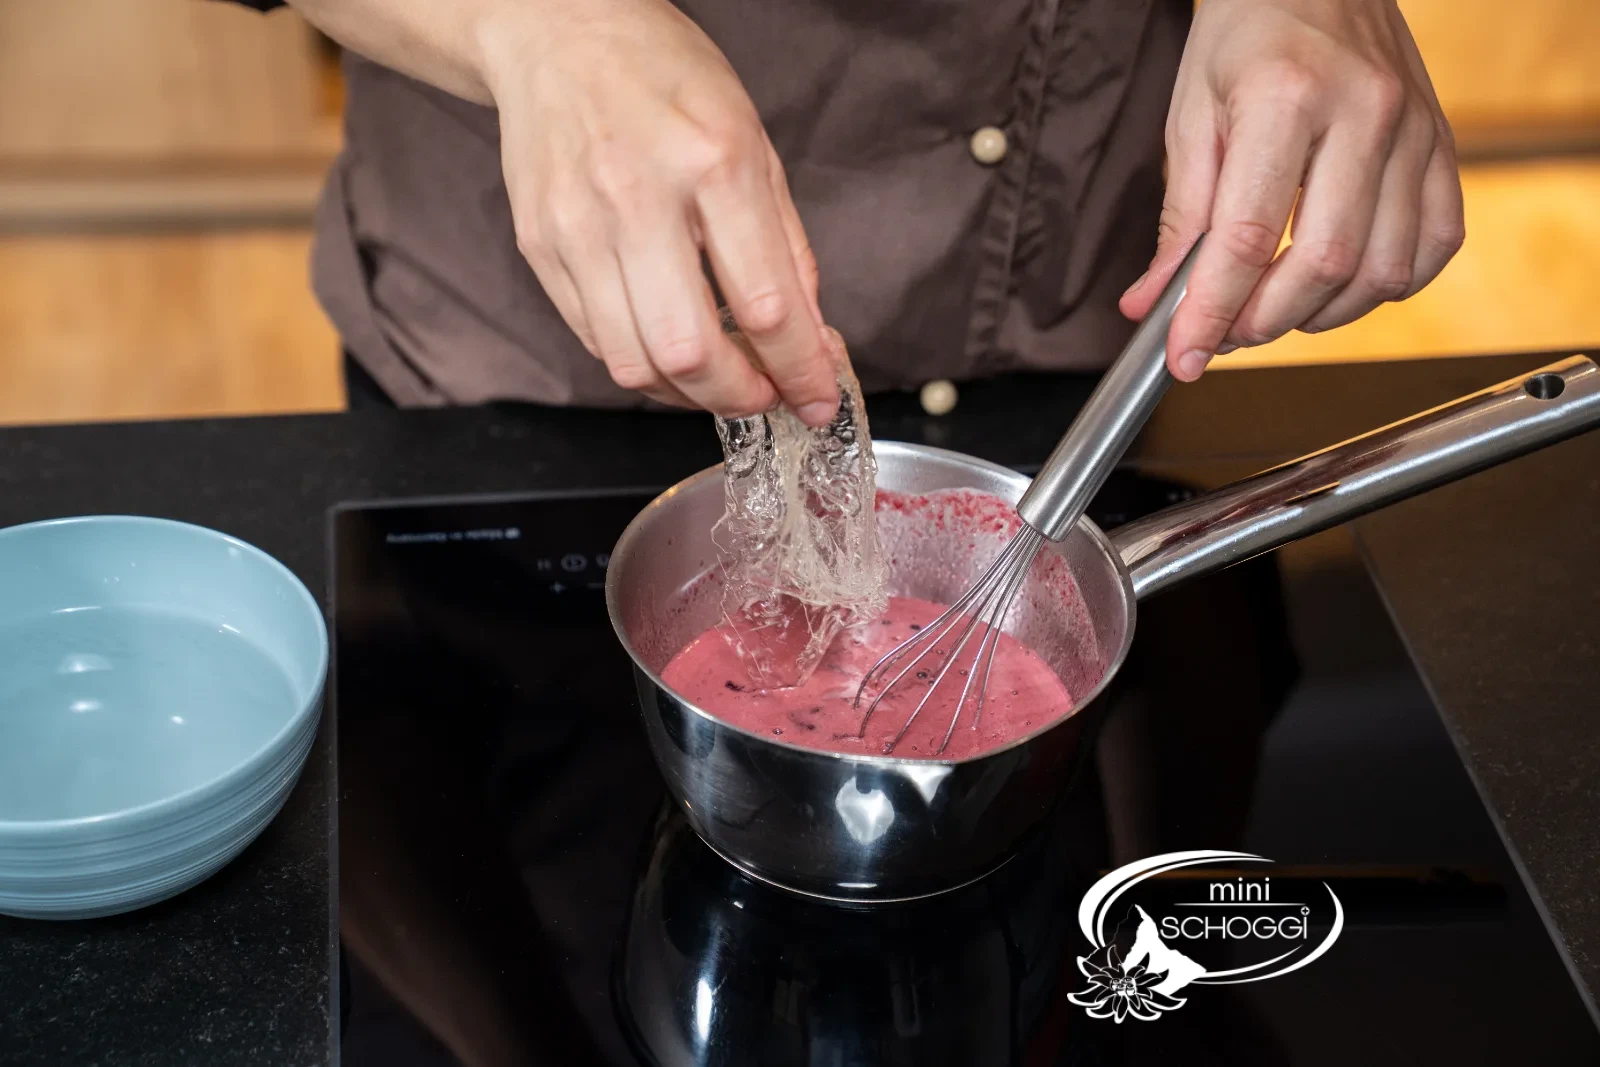
What you need for this

Glucose syrup, 350 g
RUF gelatine sheets, 12 pieces
Sour cherry fruit puree 1 kg
2
Blend smooth
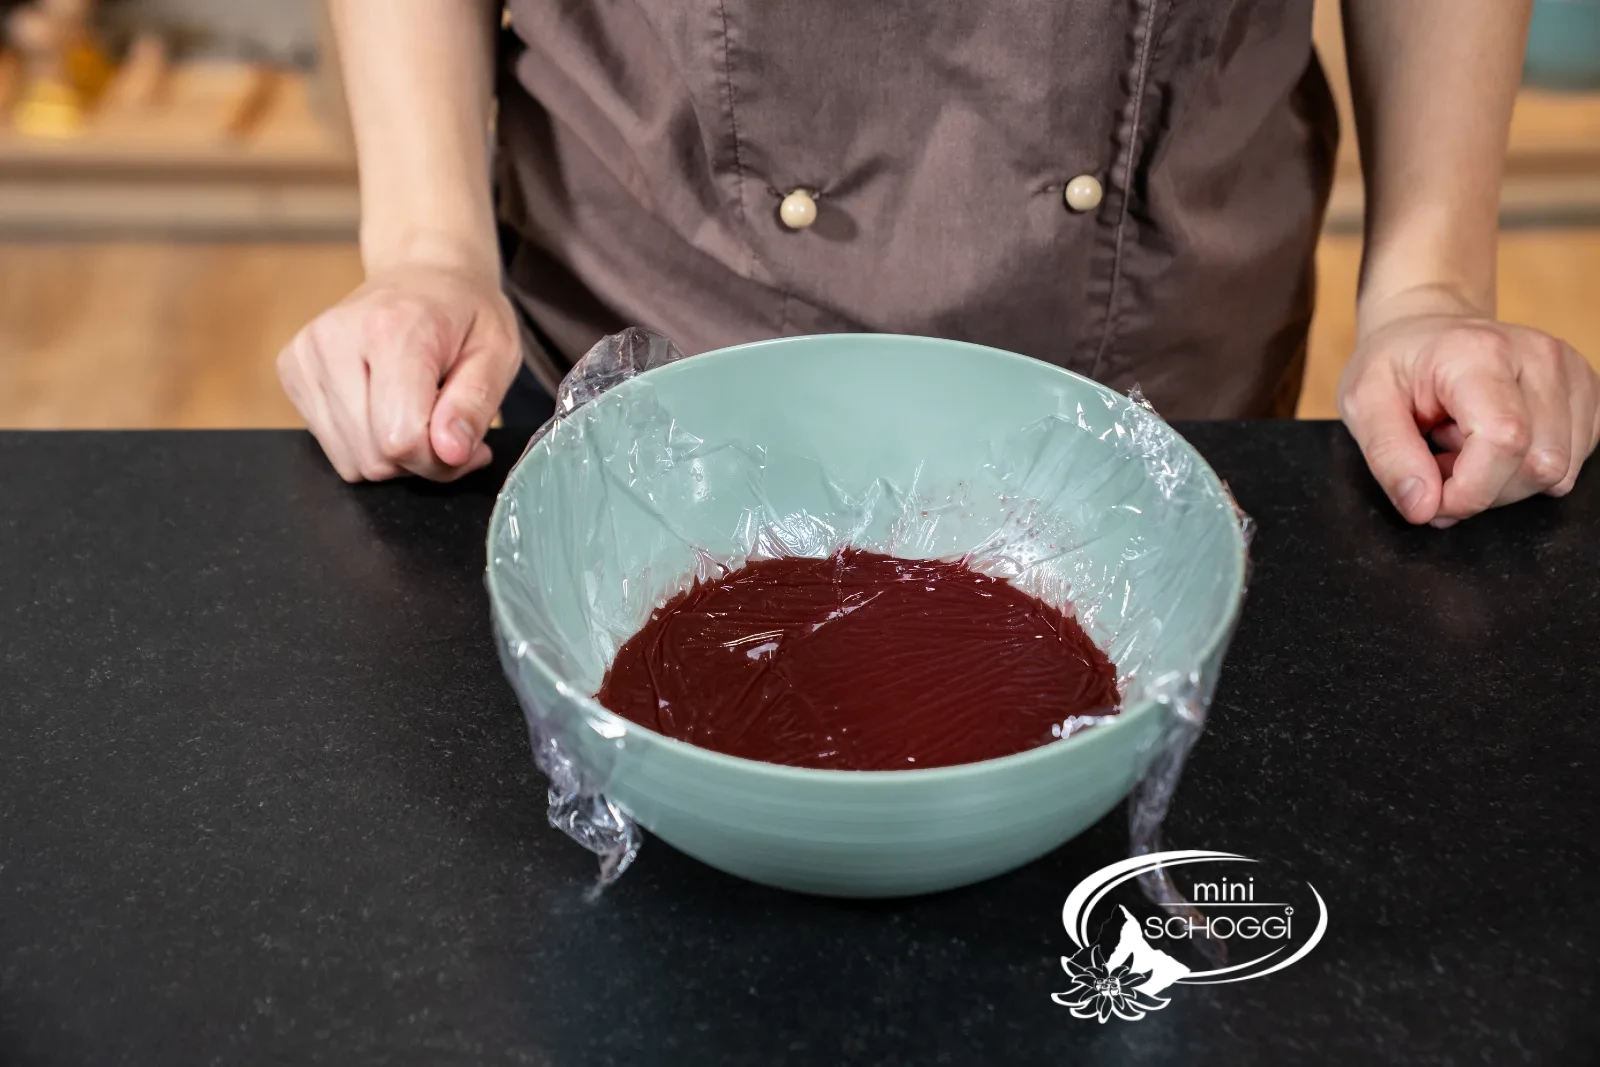
Pour the hot mixture over 67 g white couverture drops and let it sit for a minute so the chocolate melts. Blend everything smooth with a stick blender – hold it at an angle and just below the surface, so as few air bubbles as possible form.
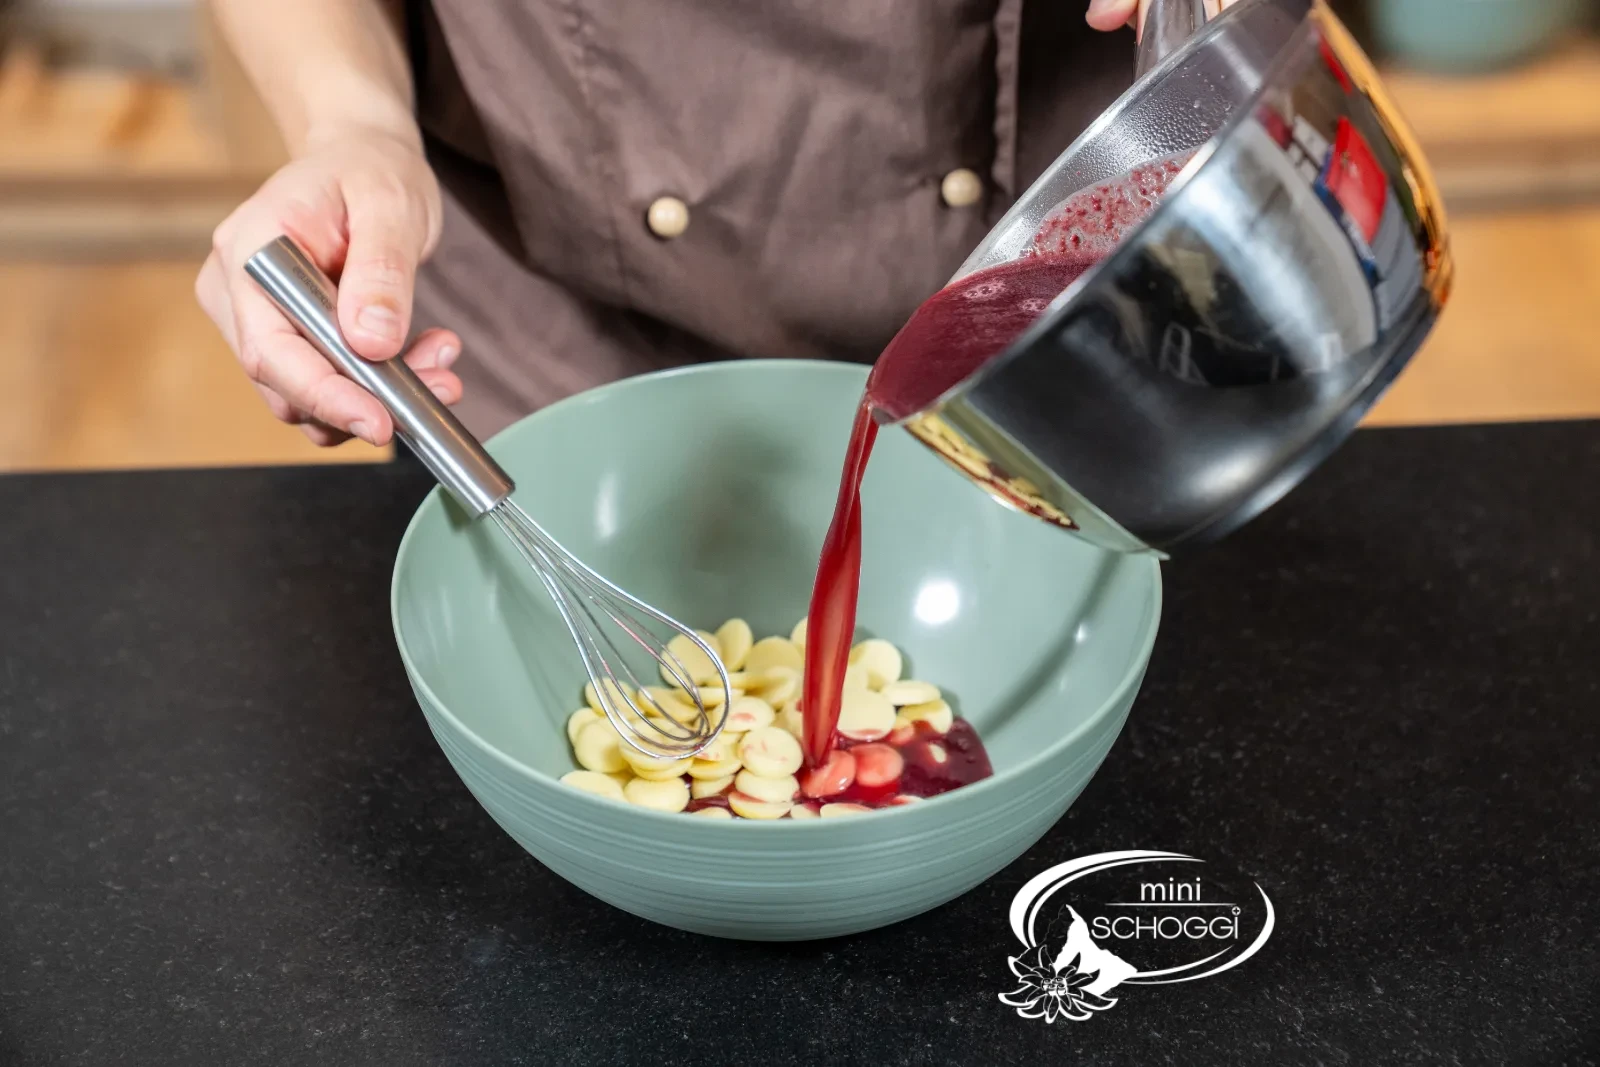
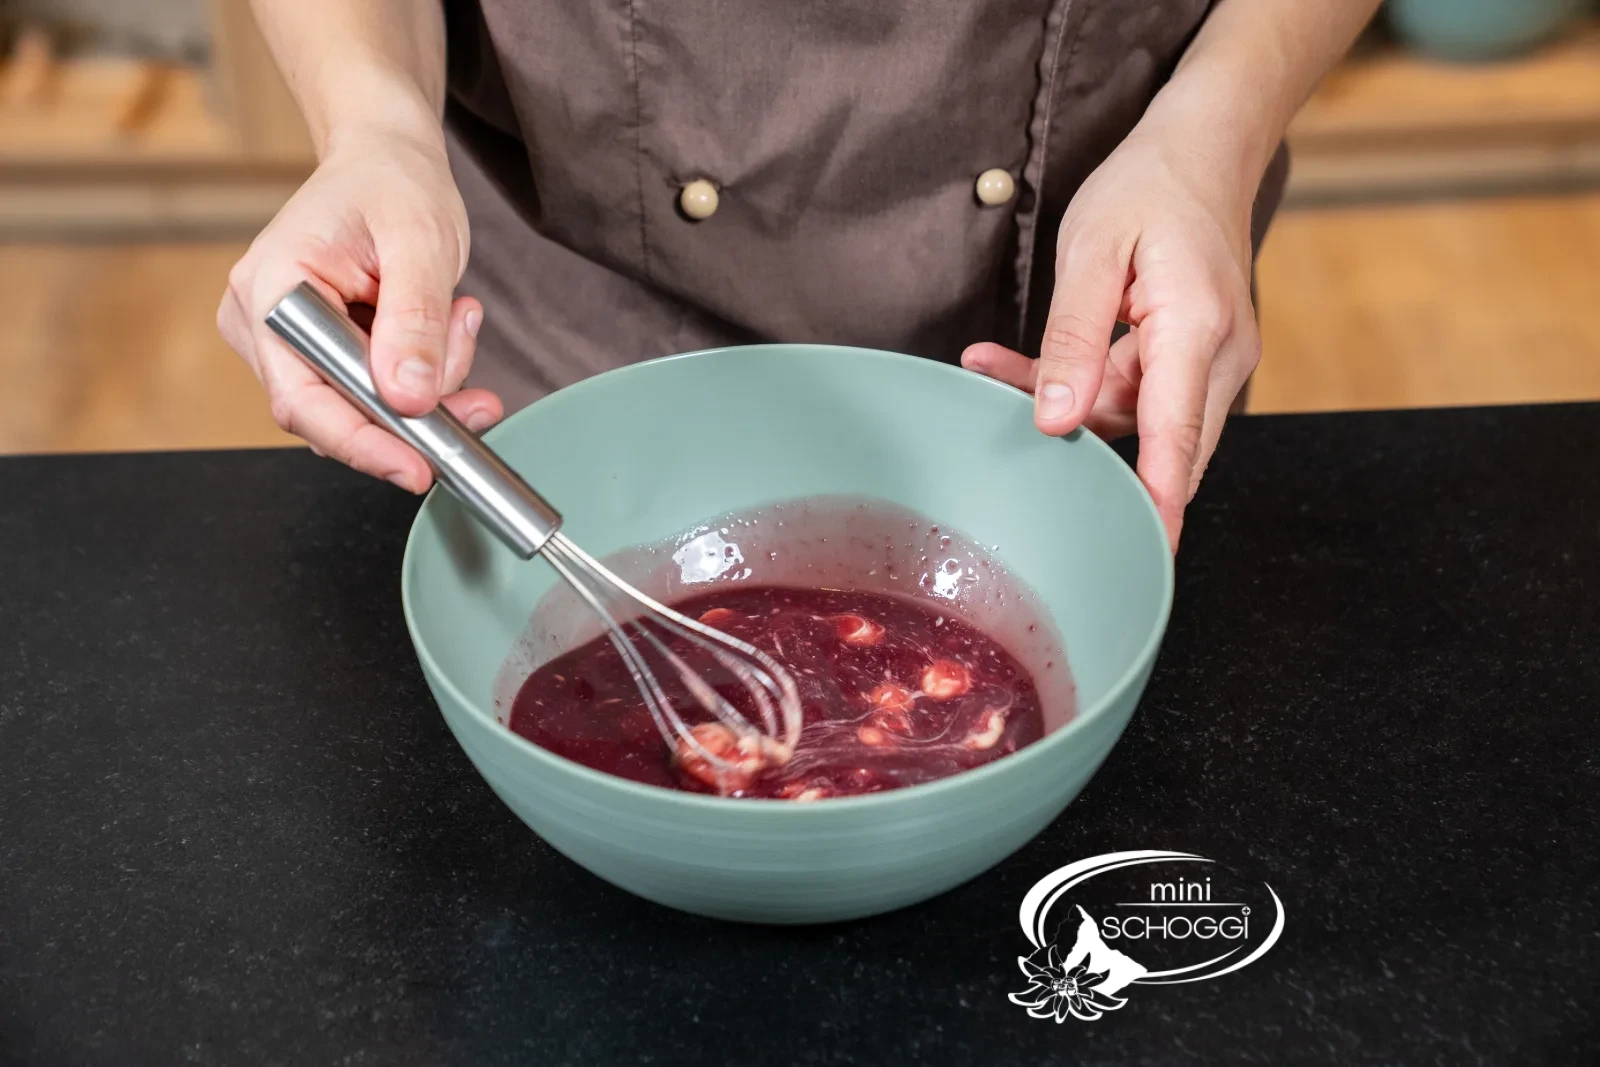
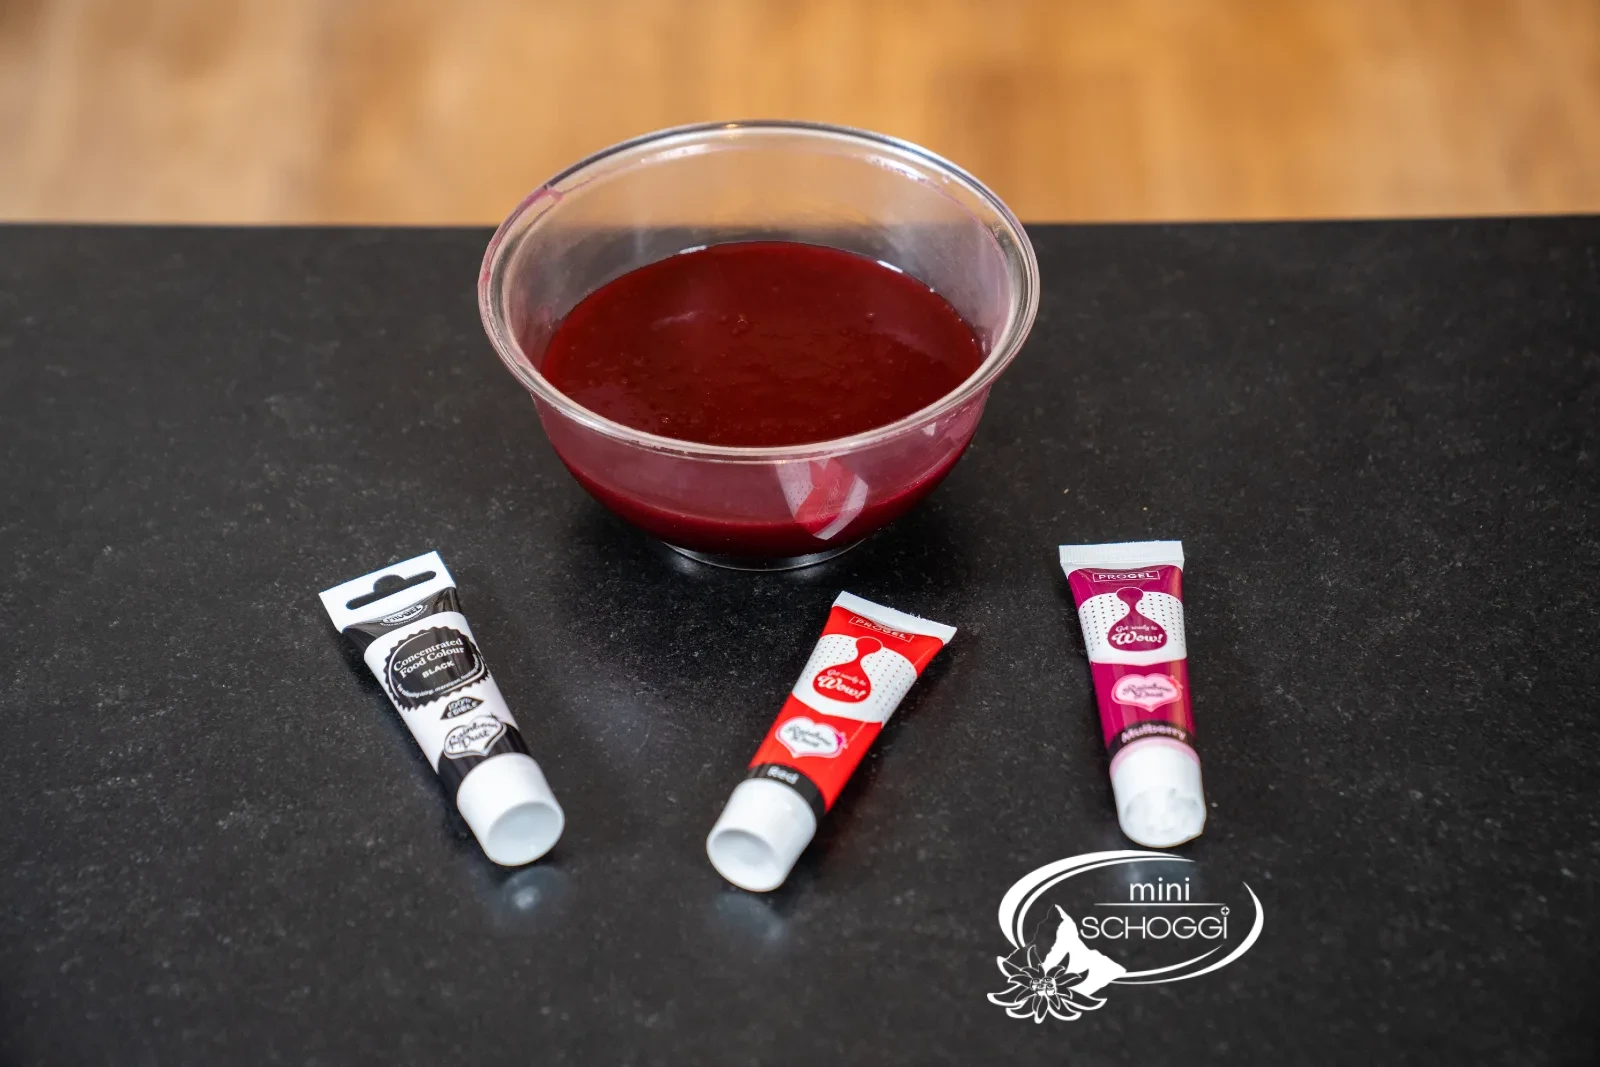
What you need for this


Progel Gel color Mulberry, 25 g
Progel Gel color Red, 25 g
Progel Gel color Black, 25 g
Silicone mold cherries, 35 pieces / mold
3
Color and cool to 26–28 °C
Color the icing bit by bit with Mulberry, Red and Black until you have a rich, deep cherry tone.
Let the icing cool to 26–28 °C and check the temperature with the Thermometer. Too hot and it's too thin and runs off; too cold and it turns thick and pulls threads. Right in this window it settles as a wafer-thin, glossy film around the cherries.
Glaze and decorate
1
Glaze the cherries and let them drip
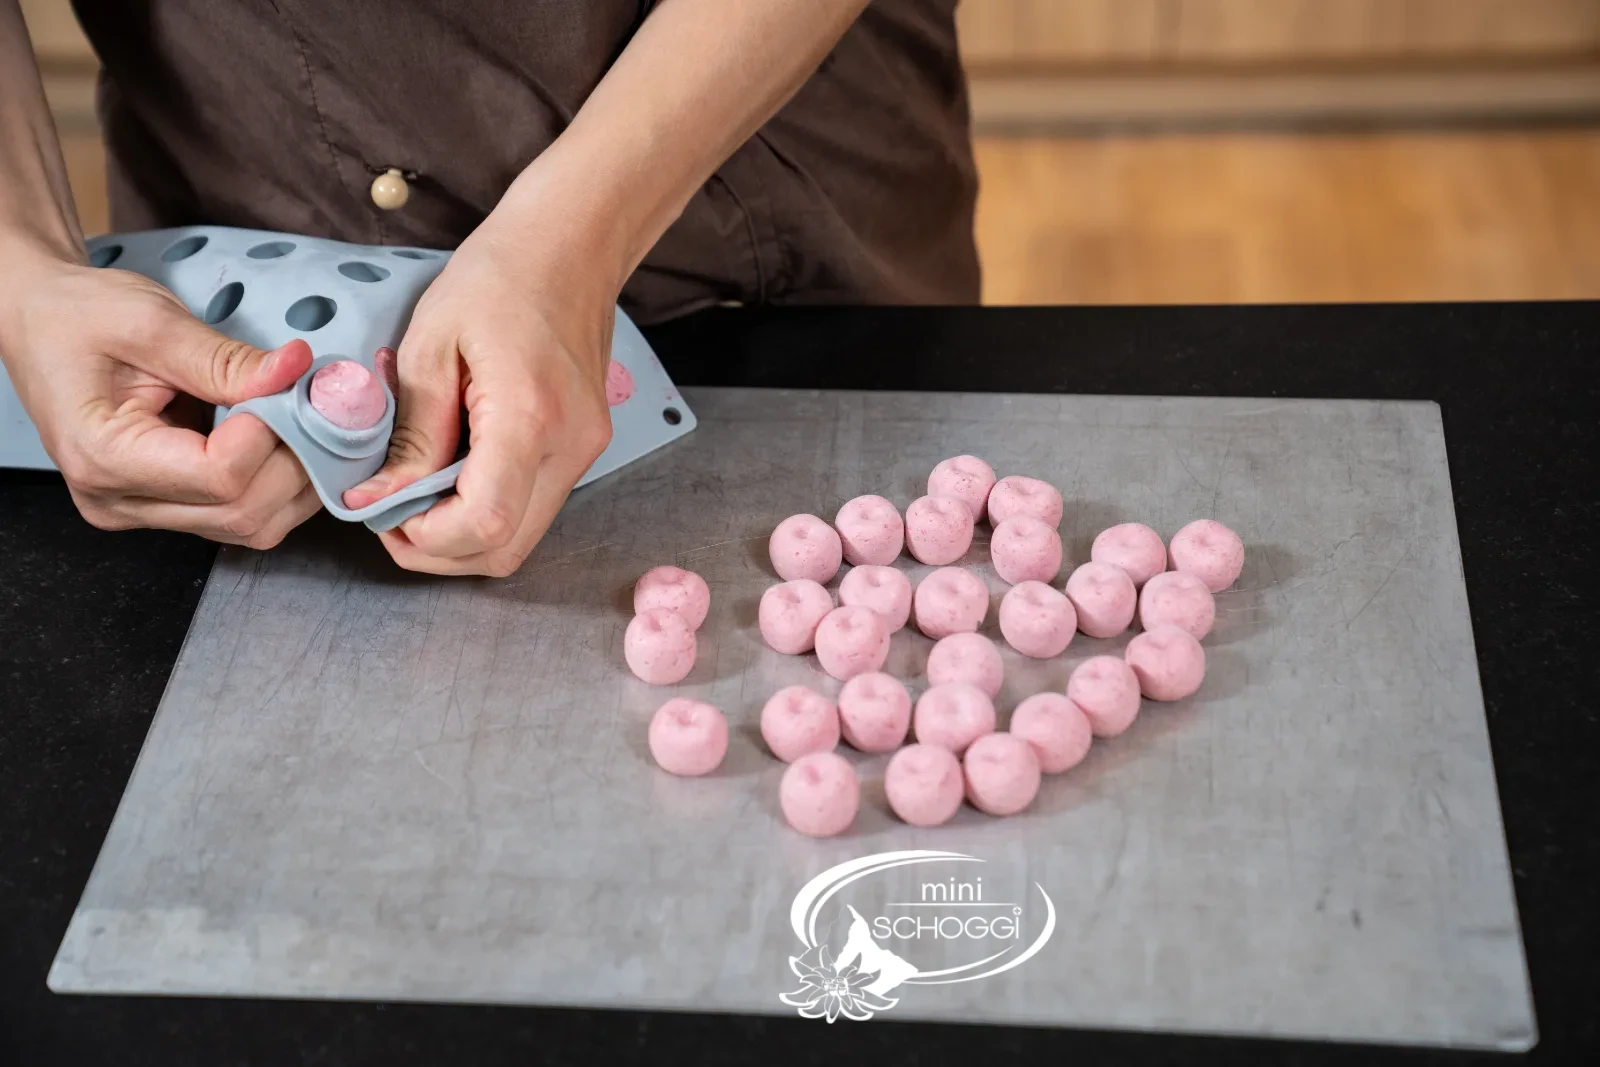
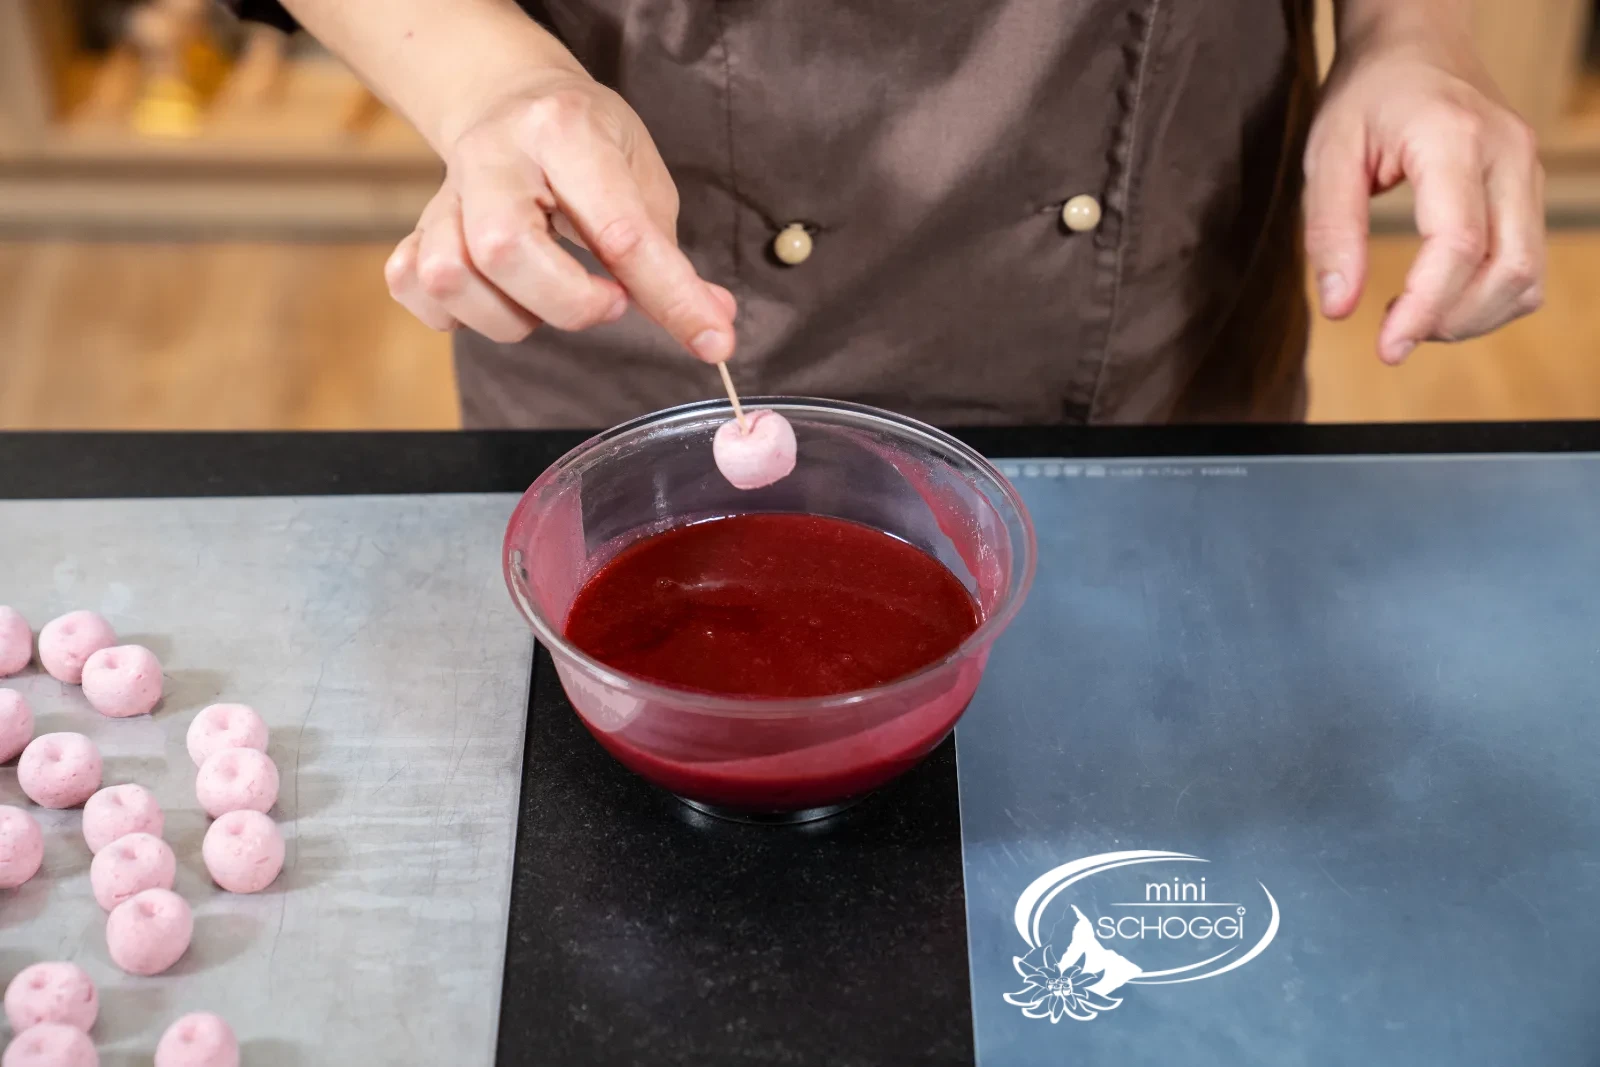
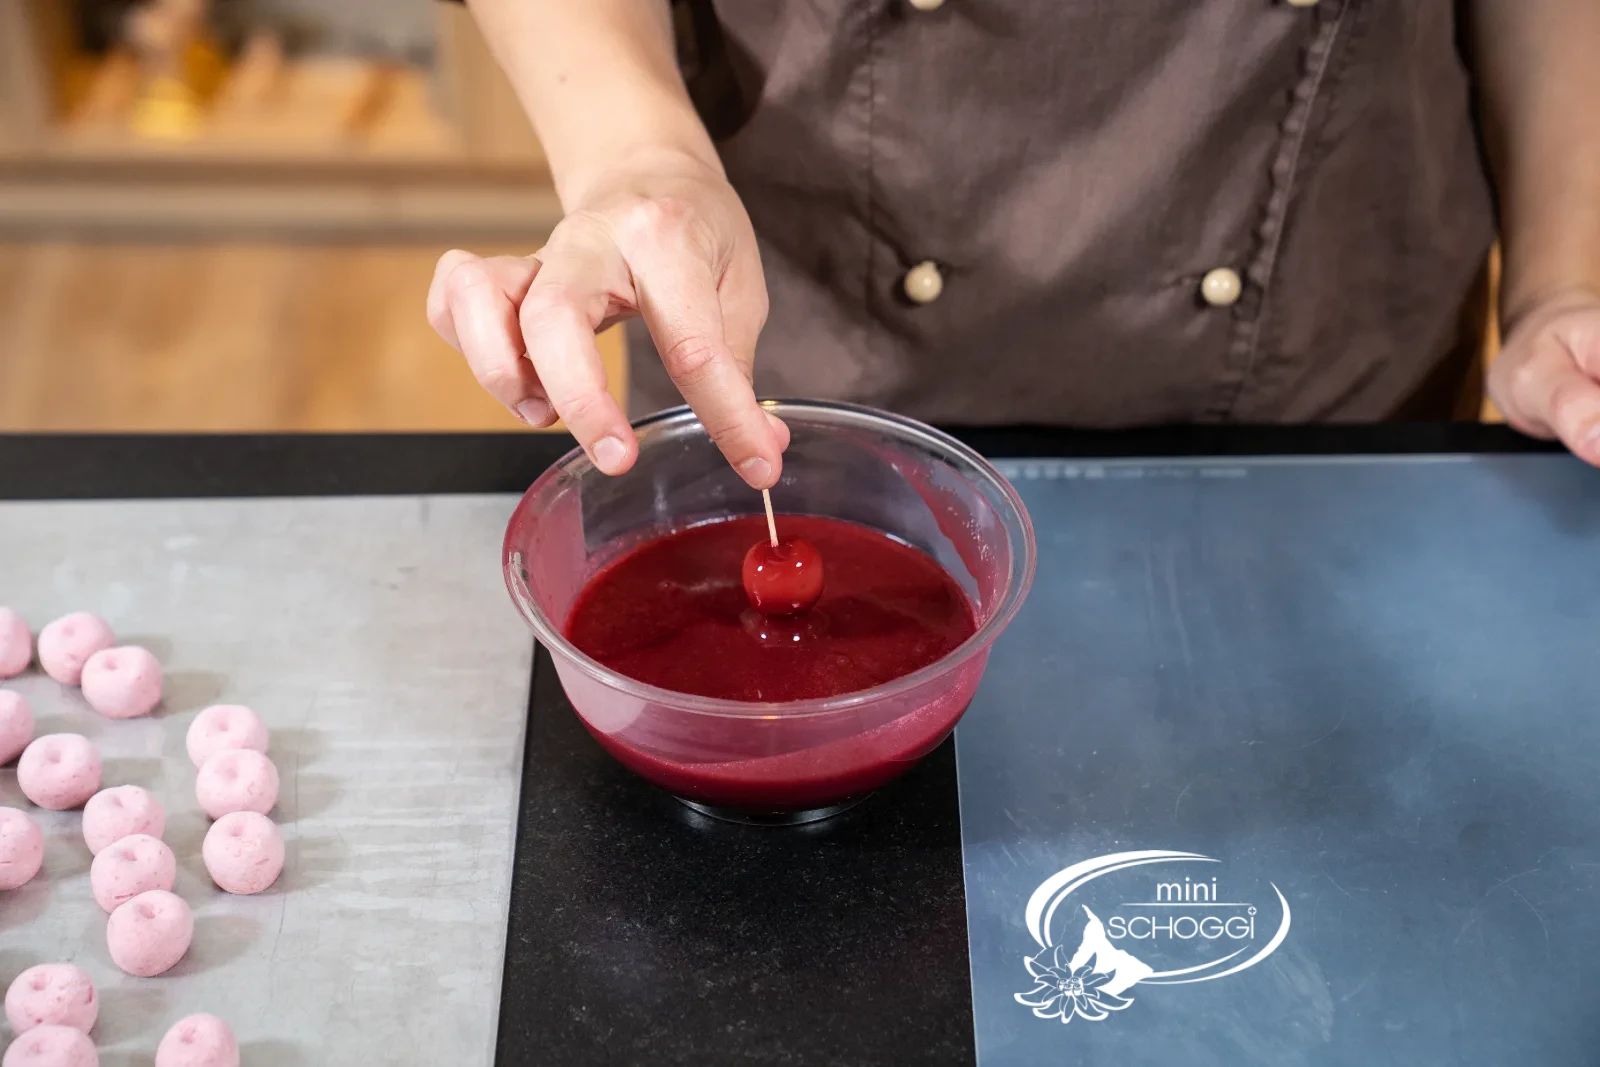
Carefully unmold the frozen mousse cherries straight from the freezer out of the Silicone mold and dip each one fully into the glaze. Lift them out with a fork or a dessert skewer.
2
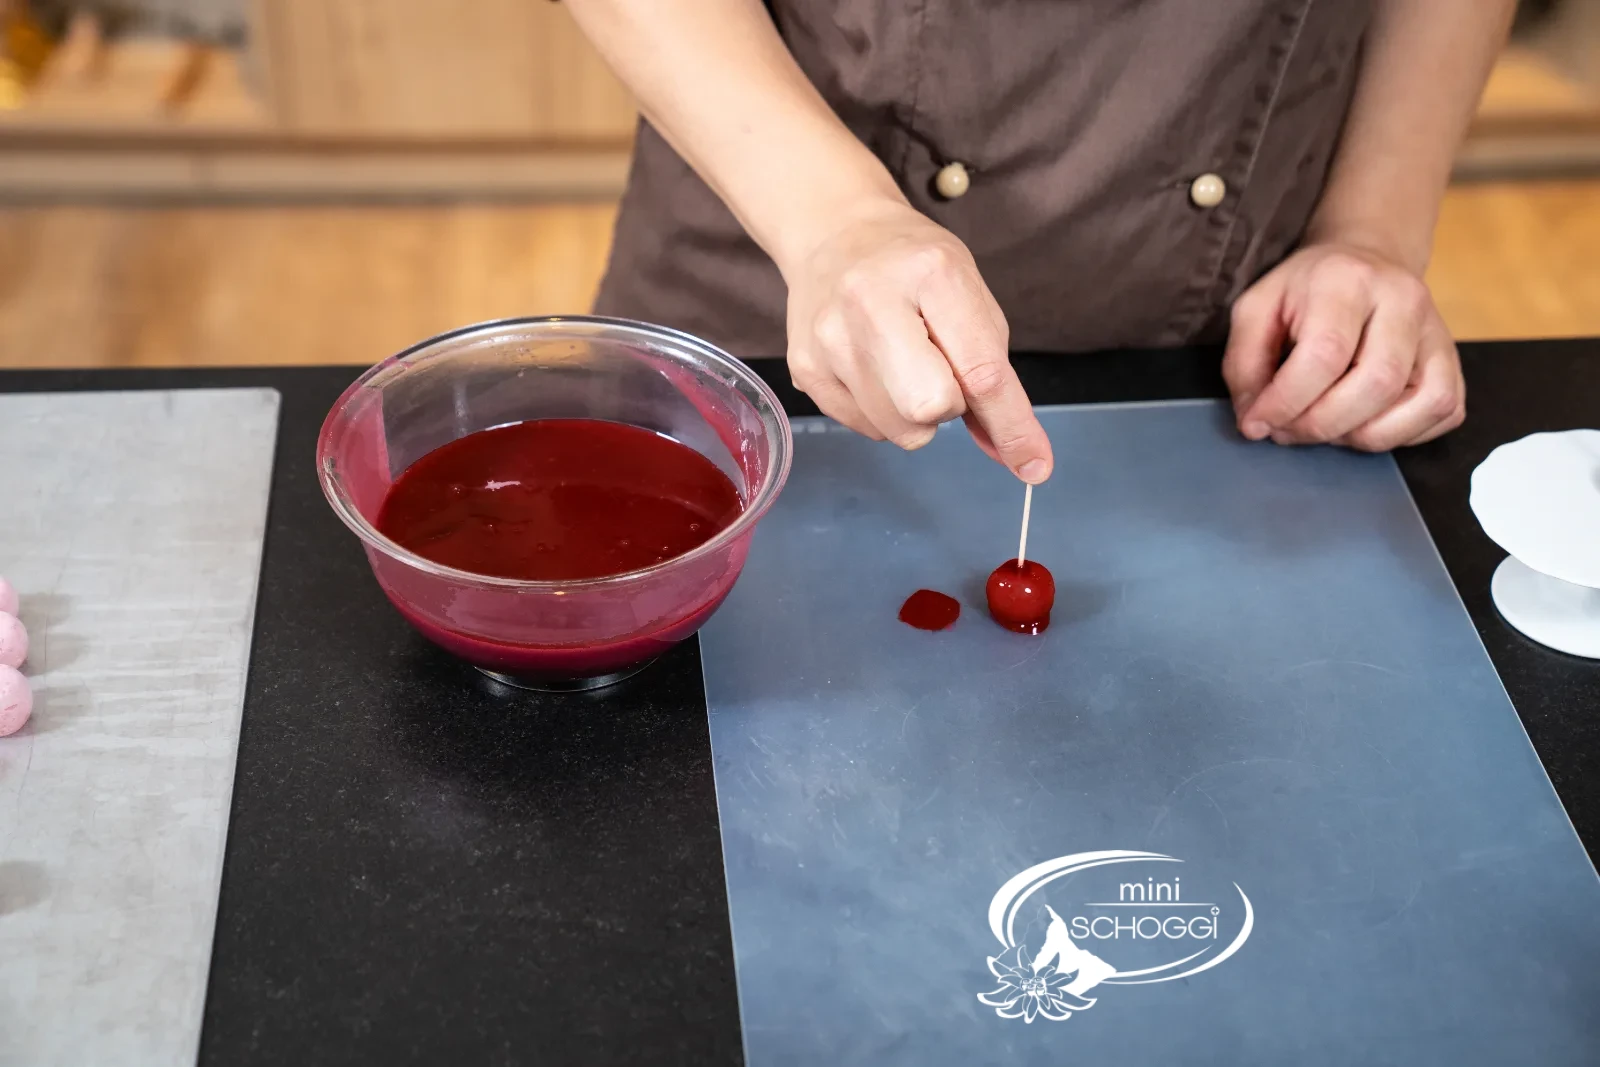
Let them drip briefly over the Bowl and set them on a Cake rack or a plate. Work quickly – the glaze sets immediately on the cold surface.
3
Pipe the stems and decorate
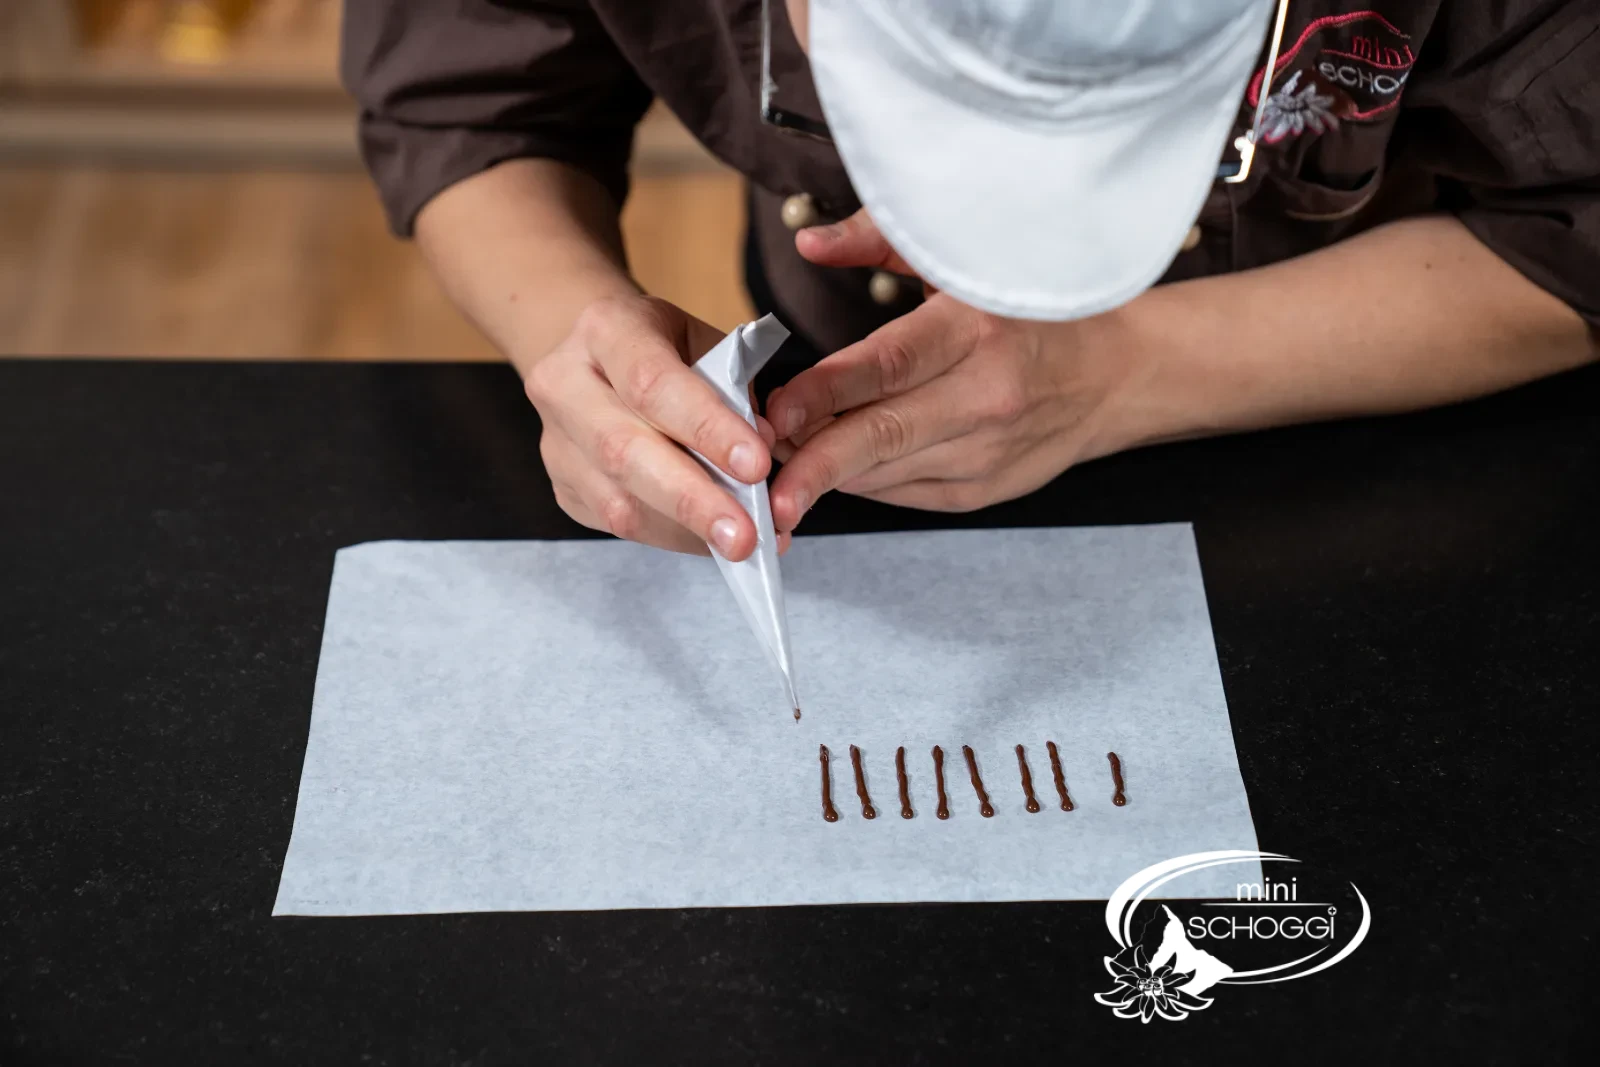
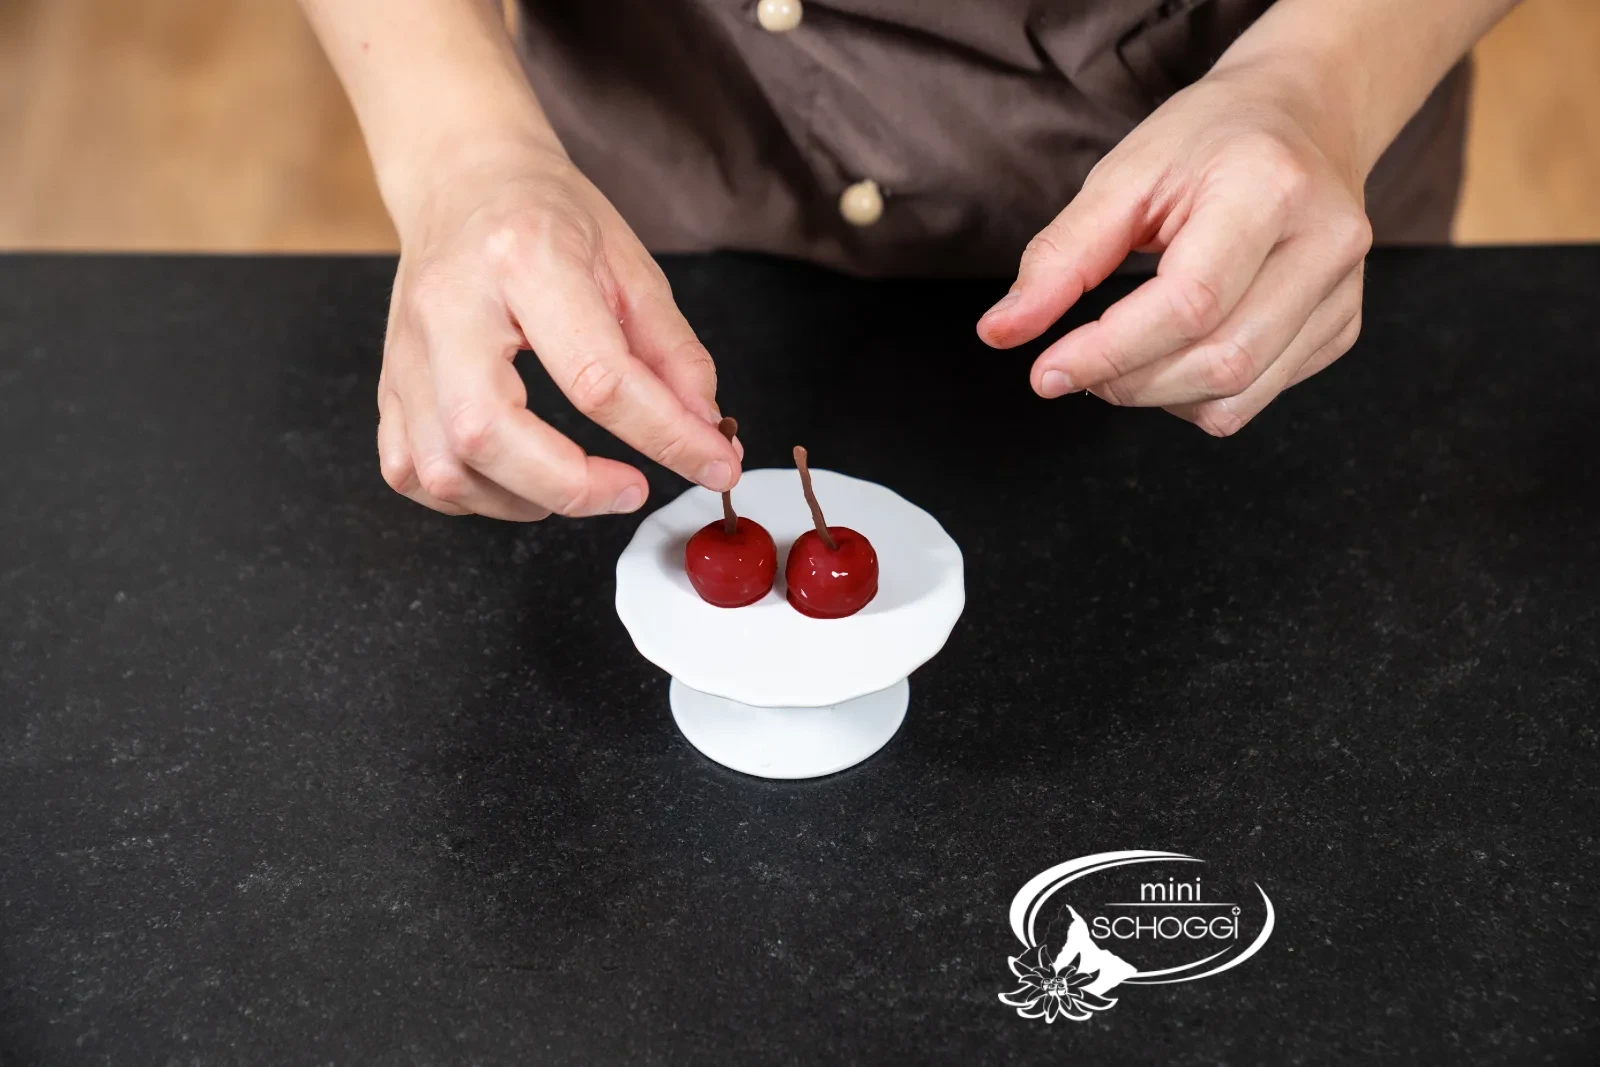
Temper the Dark couverture (or simply melt dark Cake icing) and fill it into a small paper cornet. Snip the tip only minimally so you get fine strips of about 3 mm. On baking paper, pipe 35 strips of about 3 cm each and put the sheet in the freezer for a few minutes. Peel off the hard stems and set them into the little dip at the top of each cherry – singly or two slightly crossed for the classic double cherry. Finally, add a small mint leaf, and the effect is perfect.
What you need for this


Domori dark couverture, Tanzania 68%, 0.5 kg
Cake icing dark chocolate, 250 g
Compact · printable
Cherries with mirror glaze
Ingredients
Quantity:
Sour cherry mousse
Mirror glaze
Decoration
Preparation
- Warm: Bring sugar, egg white and gelatine to 35 °C over a water bath.
- Whip: Whip the mixture to a dense, glossy foam.
- Combine: Stir white couverture smooth with sour cherry puree.
- Fold in: Gently fold in the foam and 85 g whipped cream.
- Fill: Approx. 7 g per cavity into the silicone mold, freeze overnight.
- Glaze: Boil cream, puree, sugar and glucose syrup, blend smooth with gelatine and 67 g couverture, then color.
- Glaze the cherries: Glaze at 26–28 °C, dip in the frozen cherries, let drip.
- Decorate: Set on the chocolate stems, add a mint leaf.
Nutrition per 100 g
413kcal
23.3 gFat
46.6 gCarbohydrates
3.9 gProtein
Storage & shelf life
The finished cherries keep for 2–3 days in the fridge. Unglazed, frozen mousse cherries can be kept in the freezer for up to 1 month and glazed only just before serving.
Everything for this recipe
Recommended from our bakery — exactly the sizes the recipe was tested with.
Ingredients
Progel Gel color Mulberry, 25 g
Progel Gel color Red, 25 g
Progel Gel color Black, 25 g
Glucose syrup, 350 g
RUF gelatine sheets, 12 pieces
Domori dark couverture, Tanzania 68%, 0.5 kg
Valrhona white couverture, Ivoire 35%, 1 kg
Cake icing dark chocolate, 250 g
Sour cherry fruit puree 1 kg
Equipment
Silicone mold cherries, 35 pieces / mold
Digital thermometer, waterproof and foldable
Delivery in 1–2 working days · Free shipping from CHF 100*
To make sure it succeeds every time
A perfect glaze without air bubbles
Always hold the stick blender at an angle and just below the surface, never up and down through the middle. If you still see bubbles: pour the glaze through a fine sieve and let it stand for a few minutes, and they'll disappear on their own. That's how your mirror glaze gets its flawless mirror effect.
Prepare mousse cherries in advance
The frozen mousse cherries keep in the freezer for up to 1 month before glazing. Perfect when a celebration is coming up: make the mousse in advance at your leisure and glaze only on the day you serve – so the surface stays flawlessly glossy.
Always sour cherry puree, never fresh cherries
Fresh cherries bring too much water and fruit pieces, which makes the mousse unstable and the color pale. With sour cherry puree the ratio of gelatine, cream and fruit is right – and your cherries stay nicely firm.
Frequently asked questions
No, a normal freezer is enough – just give the cherries a bit more time. Let the cherries freeze through overnight. All that matters is that they're properly hard when you glaze them, otherwise they lose their shape.
Usually the temperature is to blame: above 28 °C the layer gets too thin, below 26 °C too thick and uneven. The second classic culprit is air bubbles from blending – hold the stick blender at an angle and just below the surface, and let the glaze rest briefly before glazing.
Yes, raspberry, strawberry or blackcurrant work just as well, as long as you stick to fruit puree and don't use fresh fruit. But for the classic cherry look, sour cherry fruit puree is unbeatable, because the color and acidity are just right.
Print recipe
Choose what should appear on the printout.
Related products
Glucose, 350g
Price: CHF 8.90
Valutato su 5 stelle in base a
recensione/i
Devi essere autenticato
Glucose is a sticky, viscous sugar mixture used in a wide variety of...
Cake glaze dark chocolate, 250 g
Price: CHF 7.90
Valutato su 5 stelle in base a
recensione/i
Devi essere autenticato
Cake icing gives cakes, cookies, cake pops and cupcakes a noble shine,...
Progel gel color black, 25 g
Price: CHF 6.40
Valutato su 5 stelle in base a
recensione/i
Devi essere autenticato
Gel colors are suitable for almost all masses, fillings and decorations. As...
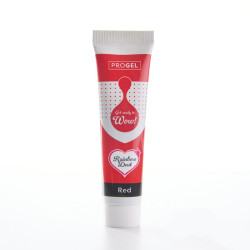
Progel gel color red, 25 g
Price: CHF 6.40
Valutato su 5 stelle in base a
recensione/i
Devi essere autenticato
Gel colors are suitable for almost all masses, fillings and decorations. As...
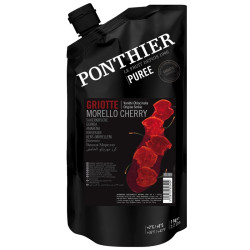
Sour cherry fruit puree 1 Kg
Price: CHF 22.50
Valutato su 5 stelle in base a
recensione/i
Devi essere autenticato
Fruit puree is easy to freeze in portions, so you always have the right...
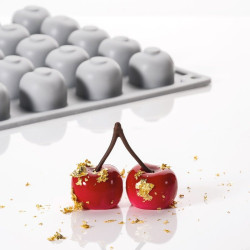
Silicone mold cherries, 35 pieces / mold
Price: CHF 29.50
Valutato su 5 stelle in base a
recensione/i
Devi essere autenticato
With silicone baking molds, problems with adhesion and sticking are a thing...

Valrhona white couverture, Ivoire 35%, 1 kg
Price: CHF 52.90
Valutato su 5 stelle in base a
recensione/i
Devi essere autenticato
This white couverture of the world's most famous chocolate manufacturer...

Digital thermometer, waterproof as well as foldable
Price: CHF 29.50
Valutato su 5 stelle in base a
recensione/i
Devi essere autenticato
For many treats, maintaining a certain temperature is essential. In a...
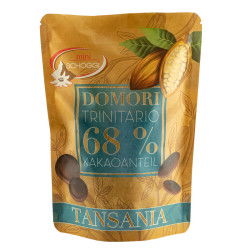
Domori dark couverture, Tanzania 68%, 0.5 kg
Price: CHF 29.90
Valutato su 5 stelle in base a
recensione/i
Devi essere autenticato
This dark couverture from Tanzania is made from Trinitario cocoa beans. These...
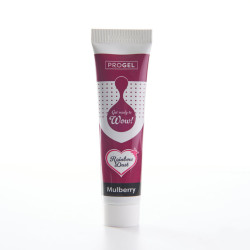
Progel gel color Mulberry, 25 g
Price: CHF 6.40
Valutato su 5 stelle in base a
recensione/i
Devi essere autenticato
Gel colors are suitable for almost all masses, fillings and decorations. As...
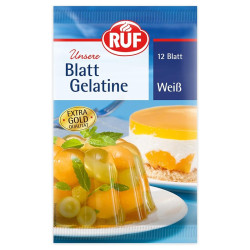
RUF Gelatine leaves, 12 pieces
Price: CHF 2.75
Valutato su 5 stelle in base a
recensione/i
Devi essere autenticato
A stable cake cream, a velvety-smooth panna cotta or a clear fruit jelly –...
Bewertungen
Leave a comment
Related posts
 Make your own chocolate Easter bunnies
You can easily make your own Easter bunnies at home! You can find out how to do it and what you need here. A sweet...
Read more
Make your own decorative Swiss roll
Make your own decor roulade - we'll explain exactly how in this blog, with lots of tips and tricks from our...
Read more
Cinnamon Star Biscuits Recipe
Make your own cinnamon stars with the help of our professionals, with lots of tips & tricks to bake the best...
Read more
How can I convert a cake recipe?
Converting a cake recipe, whether a sponge or a cake filling, is easy with our conversion table.
Read more
Chocolates with mulled wine jelly
A wonderfully wintry Christmas jelly, which is ideal as a praline or macaron filling.
Read more