- New
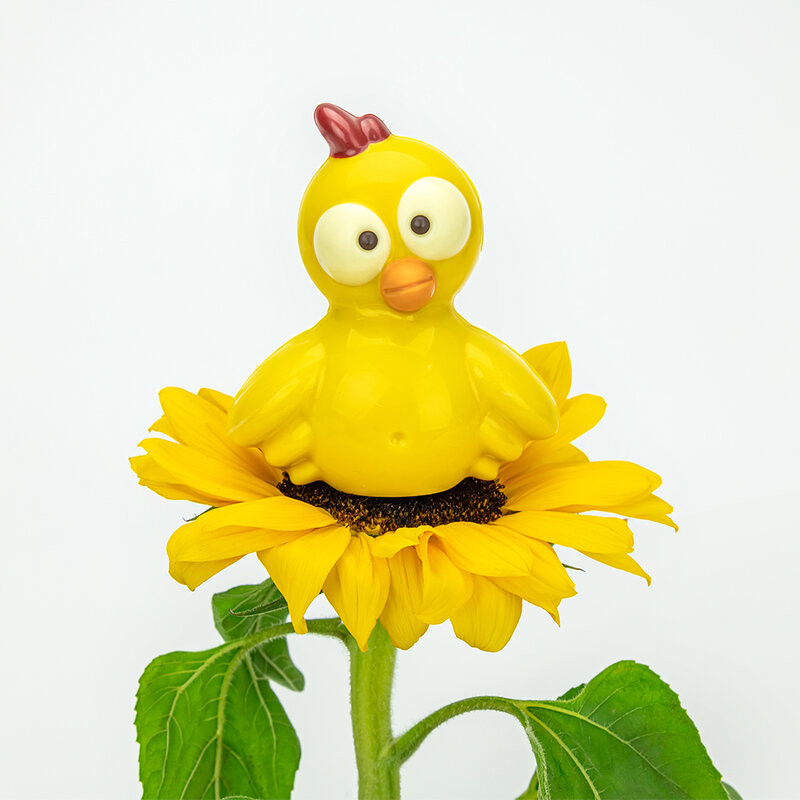


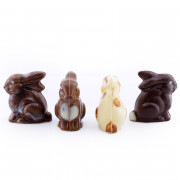
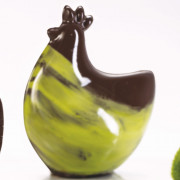
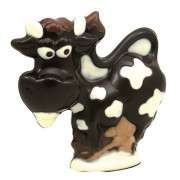
Anyone who prefers stylish, modern chocolate Easter motifs is guaranteed to love this 3D chocolate mold. With this 3D chocolate mold, you can make four chicks in one go. It is a motif that offers an extremely wide range of make-up options and is guaranteed to be a hit. It's also the perfect addition to the Easter hens and the rooster, making it perfect for the whole family.
Data sheet
Anyone who prefers stylish, modern chocolate Easter motifs is guaranteed to love this 3D chocolate mold. With this 3D chocolate mold, you can make four chicks in one go. It is a motif that offers an extremely wide range of make-up options and is guaranteed to be a hit. It is also a perfect addition to the Easter hens and the gable. A homemade chocolate figurine is perfect for young and old alike. Make sweet gifts for grandma, grandpa, godfather and godmother together with your children or create a special figurine for your loved ones. Polycarbonate is a very stable material, so you can cast new figures every year. With the right treatment, these molds will survive hundreds of uses.
Preparation is extremely important for all molds used for casting chocolate molds. Rinse the mold with lukewarm water and a gentle detergent. This must not contain any lye or rinse aid, as this would attack the molds. Then wash off all residues with lukewarm water and dry the mold thoroughly. From now on, you should no longer touch the mold directly, otherwise you will see fingerprints on the chocolate later. Hold the mold by the edge where no chocolate will be poured later. Polish the mold with non-fraying absorbent cotton or a very fine handkerchief.
You should only use high-quality, tempered couverture to make chocolate figures. Chocolate from the supermarket will not be liquid enough and will not produce the desired quality. For tempering, it is best to use a Temperature control unit, You can also make a water bath. Make sure that no water gets into the chocolate. This would make it crumbly and lumpy.
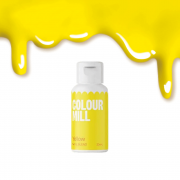
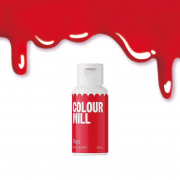
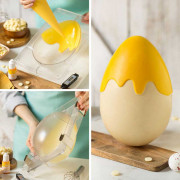
Now you can start applying the make-up. To do this you can Colored cocoa butter or use tempered couverture. You can also use white couverture with fat-soluble powder colors for coloring chocolate. For a beige coloring, mix 1/3 milk couverture with 2/3 white couverture. To do this, both couvertures must be tempered and not mixed for too long, otherwise they will cool down considerably.
Take the tempered couverture or some melted cocoa butter and start with the outermost layer. Chocolate molds must be painted from the outside in, which means that what is painted first will later be visible from the outside. The best way to apply the paste is with a fine brush, a sponge or by hand. It is important that all materials are clean, dry and free of grease. If you want to draw a pattern with your fingers, you must wear plastic gloves. Otherwise your fingerprints will be visible later. Once the couverture or cocoa butter has dried slightly, apply the next layer. In this way, you work your way further and further inwards. During the make-up process, you can occasionally turn your shape over. This way you can see what your end product will look like.
Once you are happy with all the colored details, let the whole thing dry again briefly. Then take a larger brush. Use this to brush the entire shape with couverture. Use the couverture that you want your product to have in the end. Turn the mold over again and again. There should be no more air bubbles, otherwise these would be visible as holes in the finished mold. Use a metal horn to remove any chocolate from the surface of the mold. Then fill one half completely with chocolate. Then fold the mold halves together and simply secure them with the fixed metal handles. To spread the couverture evenly, slowly rotate the mold in all directions for about 2 to 3 minutes so that the chocolate walls are evenly thick.
Then place the mold in the fridge for about 20 minutes so that it can cool down nicely. Then take the mold out of the fridge and shape the figure. To do this, carefully insert a spatula into the gap between the mold halves and move it slightly. Be careful, the molds release quickly and the figure should not fall off straight away or be damaged by the spatula. The chocolate figure can now be decorated with fondant, sugar decorations or similar and then elegantly packaged.


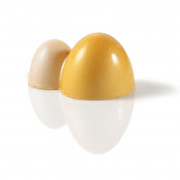
Anyone who prefers stylish, modern chocolate Easter motifs is guaranteed to love this 3D chocolate mold. With this 3D chocolate mold, you can make four chicks in one go. It is a motif that offers an extremely wide range of make-up options and is guaranteed to be a hit. It's also the perfect addition to the Easter hens and the rooster, making it perfect for the whole family.