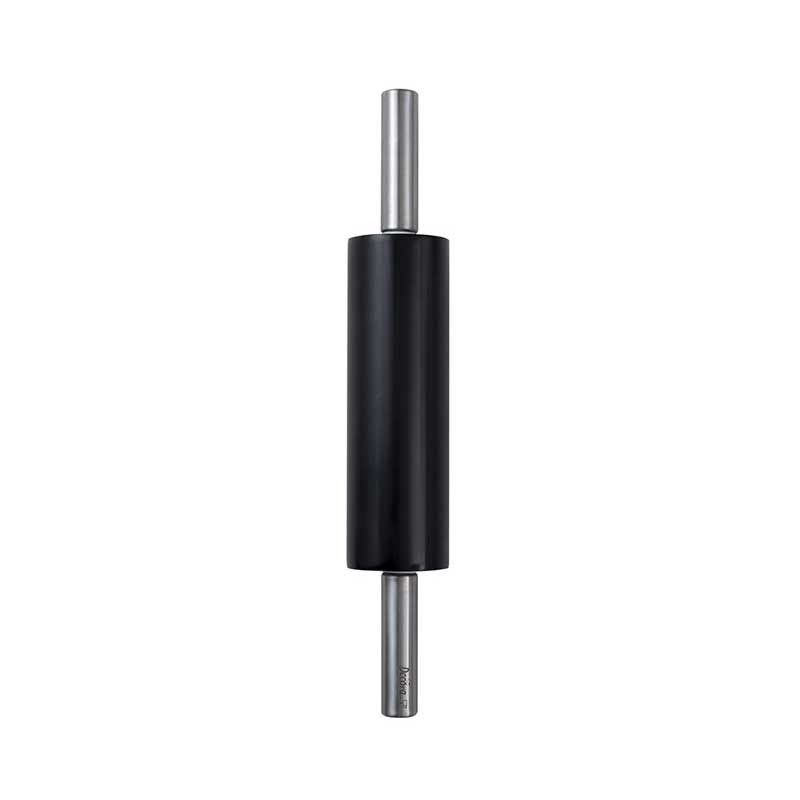

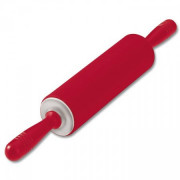
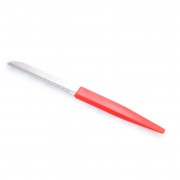
A rolling pin is always a good helper in the kitchen, whether it's for Christmas cookies, a tart base, a honey dough or the thin base of a pizza. The metal rolling pin prevents the strong sticking of these masses and thus ensures, with a little additional flour or baker's starch on doughs as well as decorative masses for a smooth surface. The total length is 47 cm, of which 25 cm are rolling surface.
Data sheet
A rolling pin is always a good helper in the kitchen, whether it's for Christmas cookies, a tart base, a honey dough or the thin base of a pizza. The metal rolling pin prevents the strong sticking of these masses and thus ensures, with a little additional flour or baker's starch on doughs as well as decorative masses for a smooth surface. The total length is 47 cm, of which 25 cm are rolling surface.
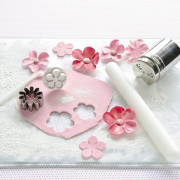
First, of course, you need to prepare your dough. For example, make your favorite pastry dough or a shortcrust pastry for a tart. Pizza or tarte flambée dough are also no problem and can be easily made in your own kitchen. These should first be left to rise according to the recipe, cookie dough and tart bases are easiest to work with after a night in the refrigerator. Fondant or other decorating masses are well pre-kneaded, then you work with enough baker's starch.
Then sprinkle some flour on your clean work surface. For a brunslite dough, use sugar for this, but for many doughs you can also dust some baker's starch. Gently flatten the prepared dough and place it in the center of your work surface. Also put some flour on the surface and rub the rolling pin a little with it. This will give you the best results afterwards.
Now you can roll again and again with the rolling pin made of metal from the center to the outside. For a round shape, you can turn the dough a little in between and thus roll in all directions, for a rectangle you only roll in two directions. Depending on the stickiness of the dough, you should always add a little dusting and use the dough roller to lift everything up from time to time. In this way, you will notice early on if the dough sticks to the surface and can also sprinkle flour underneath. Some doughs always pull together a little. Stay patient, let the dough rest very briefly and roll out again a little more. If you pull on the dough, it could tear.
This also applies to lifting up the finished rolled out form. Do not simply grab it by the edge and lift it up, otherwise it will warp or even crack. Instead, place the metal rolling pin on one side of the dough and fold the other half over it. This will allow you to easily lift the dough and place it on a sheet pan or in a tart pan, but be careful not to just hold on to the handles or the center part will twist and the dough will fall.
Rolled out nice and thin, the dough can now be topped, cut out, or carefully pressed into the tart, quiche, or waffle pan. Thanks to the smooth surface of the rolling pin, the dough remains nice and smooth and does not stick. The metal dough roller itself can be easily cleaned in the dishwasher.


A rolling pin is always a good helper in the kitchen, whether it's for Christmas cookies, a tart base, a honey dough or the thin base of a pizza. The metal rolling pin prevents the strong sticking of these masses and thus ensures, with a little additional flour or baker's starch on doughs as well as decorative masses for a smooth surface. The total length is 47 cm, of which 25 cm are rolling surface.
