


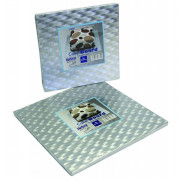
Set your cake perfectly in scene. A cake plate is not only important for stabilizing, but also visually the cake base must fit the cake. Therefore, it is important to find the right cake plate for your cake. This cake plate is very classy because of the golden color, which is why it fits every occasion. The cake plate stabilizes your cakes and cupcakes, but is also a pretty presentation surface for muffins, cupcakes, brownies or other pastries. The cardboard plate measures 25 x 25 cm and is 1.2 cm thick. Due to the extra thick base, especially eye-catching and heavy cakes can be transported and presented.
Data sheet
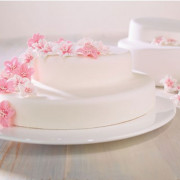
Cakes are always a highlight, whether for a birthday, anniversary or the supreme discipline: the wedding. Creativity is unrestrained and you certainly have a certain image in your head of what your dream cake should look like. Unfortunately, you often realize only after you have finished making the cake that you have forgotten an important aspect: The cake plate! In retrospect, it is unfortunately also very difficult to put the cake on a stable base. Therefore, you should definitely buy a stable cake plate in the right size early and use it right away.
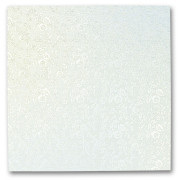
With this cake plate can be transported light, but also heavy, multi-level cakes. The right size is important for your cake, so that you can carry and transport your cake properly. There is an easy trick to determine the size. We recommend that you leave a 2 cm margin on each side. For example, for a cake with a diameter of 26 cm, you need a cake plate with a diameter of 30 cm. This edge can then be decorated with flowers, buttercream or fondant figures to match the cake.The cake plate is embossed with a pretty, light pattern, which makes it ideal for any cake. If you create a fondant cake, you can of course also cover the cake plate with the same fondant as the cake itself. To do this, roll out the fondant very thinly, about 2-3 mm, with the help of baker's starch and place the fondant over the cake plate. Now you can smooth out the fondant with a fondant smoother. At the edge, cut the fondant as straight as possible and press the fondant lightly. Due to the noble look of the cake plate, your cake looks very classy and can of course be used immediately.
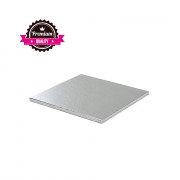
After baking the bases and making the fillings, you can start layering. Do not use the final cake plate for this. Instead, use thin cake layers. We recommend that you use a small cardboard base that is 1-2 cm smaller than your cake. To do this, you should place a slightly larger cake base under the small base. This will help you lift the cake and place it on the final cake plate. Put your cake in the fridge for an hour so that it is already firm. You can use a revolving cake plate for the spreading and covering of the cake. Place your cake on the rotating cake plate and only now remove the cake ring. Have you finished layering the cake and covering it with fondant or spreading it with buttercream or ganache? Then you are ready for the last step. Each tier of the cake should now stand in front of you layered in this order: The slightly larger cake layer that is about 1-2 inches larger than the cake, the small cake layer that is out of sight, and then the cake with beautiful sponge and buttercream layers. Note that the large cake layers are only for you to help. They will not be placed on the cake. Before you put the layers on top of each other, you can put a little buttercream, ganache or jam in the middle of the cake plate, so that your cake layer is glued to the aluminum surface and your cake doesn't slide off the plate. Now place the bottom cake layer in the center of the final cake plate. Now carefully pull the large, visible cake base out from under the cake.
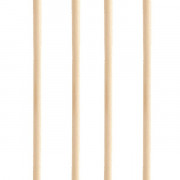
To prevent your tier cake from sinking from the weight of the different tiers, you will need additional cake sticks. 3-4 sticks per tier are enough to hold your cake. More information on how to use the sticks can be found under Cake pins.
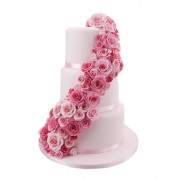
The most beautiful part comes now: decorating. You can also use the edge of the cake plate for decorating. This can hide unsightly cuts in the fondant on the bottom tier of the cake. The possibilities are huge. You can both model figures with fondant, apply pretty buttercream flowers directly at the transition from cake to plate with buttercream, or simply tie a cake ribbon around the cake on the cake base. Try out what you like!
The cake base is made of food-safe cardboard and is covered with a tear-resistant, noble aluminum foil. The surface does not soak thanks to the foil and also makes the cake look fresh for a long time. Despite the reliable surface, you should not reuse the underlay, because the cake base can not be cleaned.
If you have always dreamed of the perfect cake, you will find it in our Cake courses in good hands. Together with our trained confectioners, you can make delicious cakes in all kinds of flavors. A wintry chai tea roulade, a classic Swedish cake, an exotic passion fruit and coconut cake or a fluffy hazelnut and caramel cake, whatever your heart desires. The delicious treats are decorated in each case noble and can then be presented at home to loved ones. When can we welcome you to these courses? We are already looking forward to it!

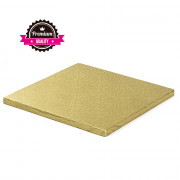
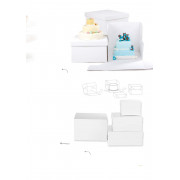
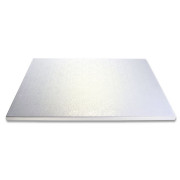
Set your cake perfectly in scene. A cake plate is not only important for stabilizing, but also visually the cake base must fit the cake. Therefore, it is important to find the right cake plate for your cake. This cake plate is very classy because of the golden color, which is why it fits every occasion. The cake plate stabilizes your cakes and cupcakes, but is also a pretty presentation surface for muffins, cupcakes, brownies or other pastries. The cardboard plate measures 25 x 25 cm and is 1.2 cm thick. Due to the extra thick base, especially eye-catching and heavy cakes can be transported and presented.