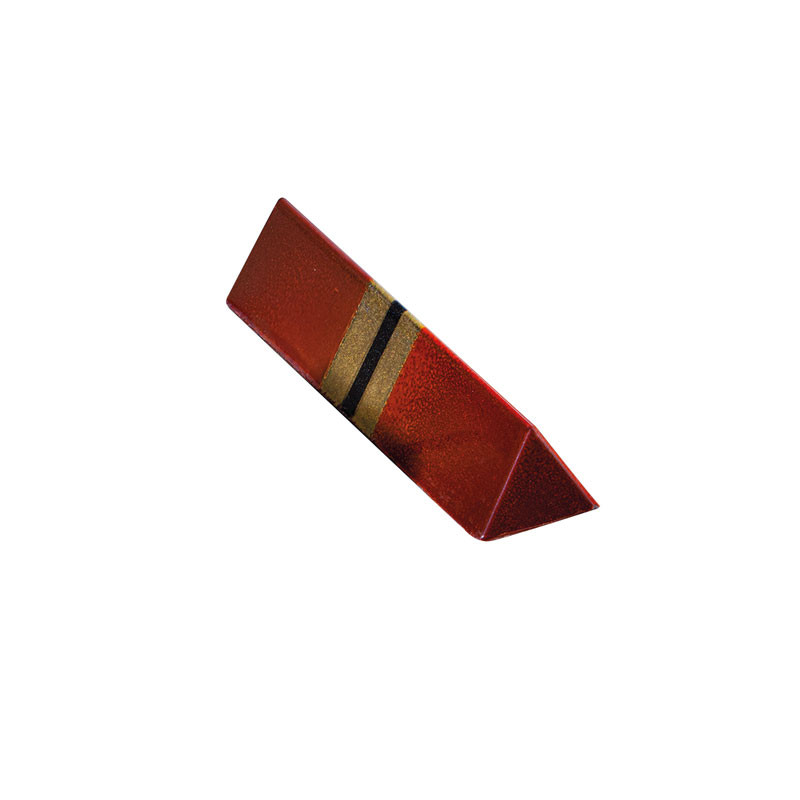

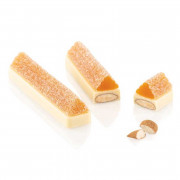
Pour delicious chocolate bars with a great triangle mold. With this high-quality polycarbonate mold and a little couverture can be poured 10 delicious chocolate bars, which can also be refined with a delicate praline filling if desired.
Data sheet
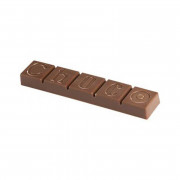
With this polycarbonate mold, you can create delicious chocolate bars with a delicately melting filling. Delicious hazelnut or gianduja fillings, for example, taste particularly good. Add freeze-dried fruit or whole nuts for an even better flavor.
For all molds used to pour chocolate bars, preparation is extremely important. Rinse the mold with lukewarm water and a gentle dishwashing detergent. This must not contain lye or rinse aid, as this would corrode the molds. Then rinse off all residues with lukewarm water and dry the mold very well. From now on, you should not touch the mold recesses, otherwise fingerprints will be visible on the chocolate later. Polish the mold with a non-fibrous absorbent cotton or a very fine handkerchief.
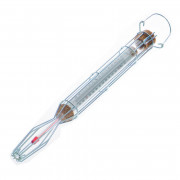
You should only use high-quality, tempered couverture to make chocolate bars. Chocolate from the supermarket does not become liquid enough and does not otherwise produce the desired quality. To Temper it is best to use a Temperature control unitYou can also make a water bath. Be careful that in no case water gets into the chocolate. This would make it crumbly and lumpy.
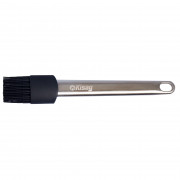
Take a larger brush to hand. Brush the entire mold with couverture. Turn the mold over and over again. No more air bubbles should be visible, otherwise they would be visible as holes in the finished shells. Then fill all the cavities with couverture. You can use a piping bag or a soup ladle for this. You can also pour the couverture directly from the container into the mold. When all the cavities are filled to the brim, you can scrape off the rest of the chocolate with a metal spatula and put it back into the bowl. To get rid of any air pockets, tap the side of the mold with the handle of a spatula.
If the chocolate bars are placed in the refrigerator like this, you get delicious bars made from pure couverture. Before cooling, you can also add other ingredients such as nuts, freeze-dried fruits, dried flowers or crunchy ingredients. For unfilled chocolate bars, you can simply unmold the bars after cooling and package them elegantly.
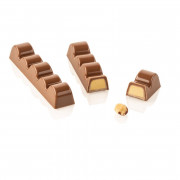
For filled chocolate bars, you must first create a shell. If you have a large tempering device, you can empty the previously filled mold directly over it. Otherwise, you put a clean baking paper ready. Now turn the chocolate mold over. Tap the side of the mold with the spatula until the walls of the shell are the right thickness. Now turn the mold back and clean the surface with the metal horn. While the chocolate is in the refrigerator for 10 minutes to set, you can return the couverture from the baking paper to the bowl or tempering machine.
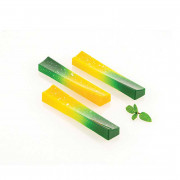
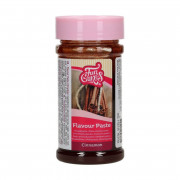
You can now refine the bars with various delicious fillings. A noble orange ganache goes perfectly with a dark praline shell, a nut cream is suitable for milk couverture and light fruit fillings taste particularly good in a white praline.
Fillings should cool before filling to 4 mm below the edge of the chocolate shell. Leave filled for half an hour at room temperature so that a light skin forms. Then the bars can be sealed with the remaining couverture. Again, you can use a ladle, piping bag or the bowl. With the piping bag, simply fill the couverture to the brim and then gently shake the mold or tap it on the work surface so that the chocolate is well distributed and the bars seal securely. For the other methods, clean the mold again with the metal horn. Now you can decorate the bars even further. A few pearls, a few dried petals, nuts or a noble chocolate tattoo complete your chocolate bars. Place the sealed bars in the refrigerator for another 20 minutes.
To unmold, twist the mold a little, then quickly turn onto a clean work surface. Be careful that the bars do not damage each other. If all the bars don't come out right away, you can lightly tap the mold on the table. If they still do not come out, put them in the refrigerator again.
The finished bars can also be decorated on the top. For example, add a chocolate mocha bean with a dab of couverture on top or paint them with a little golden glitter. If you want to create noble colors and patterns earlier, you can put a little liquid, colored cocoa butter into your mold before pouring. Let this dry briefly and then proceed as described above.
Would you like to delve deeper into the world of chocolate? Would you like to make your own chocolate bars or figurines from the finest couverture? We offer various Courses on the subject of chocolate, so there is certainly something for you. With us you will learn the correct tempering, the processing of the couverture into hollow figures and chocolate bars as well as the production of noble decorations, such as edible high heels. We would be very happy to welcome you soon at one of our courses!

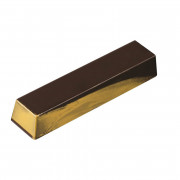
Pour delicious chocolate bars with a great triangle mold. With this high-quality polycarbonate mold and a little couverture can be poured 10 delicious chocolate bars, which can also be refined with a delicate praline filling if desired.
