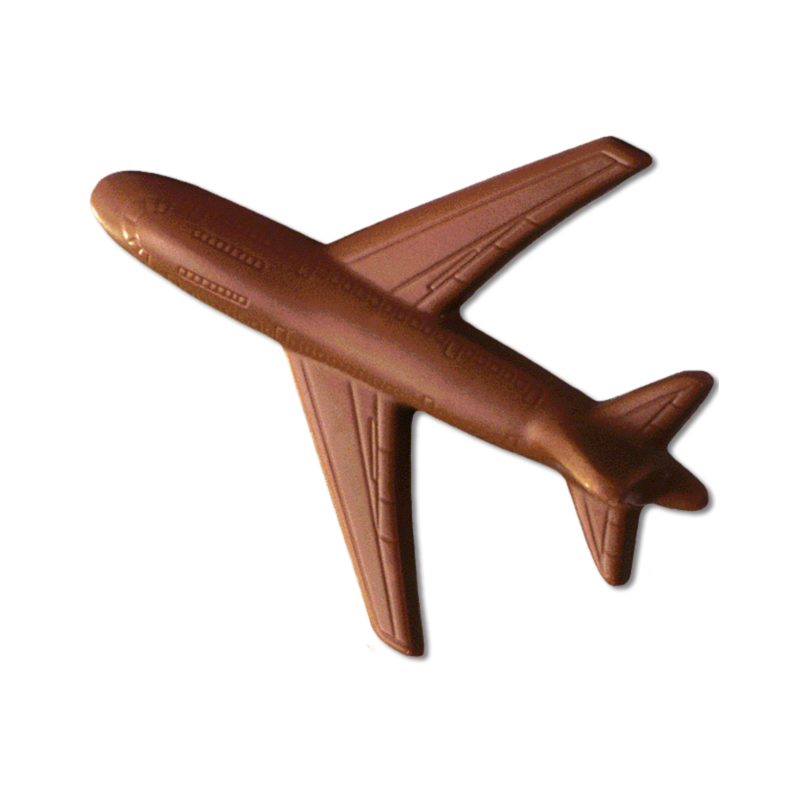


To make a great chocolate flyer yourself is no problem with the high quality polycarbonate mold. With different colors and make-up ideas, your very own individual chocolate figure is created.
Data sheet
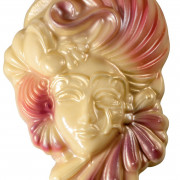
Chocolate figurines are perfect gifts. At Easter, chocolate Easter bunnies line the shelves of major distributors and in the run-up to Christmas, hundreds of chocolate Sami lice are sold. As an alternative to the Samichläuse and bunnies or simply as a special gift for an airplane fan, this chocolate airplane is particularly suitable.
For all molds used to pour chocolate molds, preparation is extremely important. Rinse the mold with lukewarm water and a gentle rinsing agent. This must not contain lye or rinse aid, as this would corrode the molds. Then rinse off all residues with lukewarm water and dry the mold very well. From now on, do not touch the mold directly, otherwise fingerprints will be visible on the chocolate later. Hold the mold at the edge where no chocolate will be poured later. Polish the mold with a non-fibrous absorbent cotton or a very fine handkerchief.
You should use only high quality tempered couverture for making chocolate figures. Chocolate from the supermarket does not become liquid enough and does not otherwise produce the desired quality. For tempering, it is best to use a tempering device, but you can also make a water bath. Be careful not to let any water get into the chocolate. This would cause the chocolate to become crumbly and clump together.
Now you can start with the make-up. You can use colored cocoa butter or tempered couverture for this purpose. You can also color white couverture with fat-soluble powder colors for chocolate. For a beige coloring, mix 1/3 milk couverture with 2/3 white couverture. For this, both couvertures must be tempered and not mixed for too long, otherwise they will cool down considerably.
Take out the tempered couverture or a little melted cocoa butter and start with the outermost layer. Chocolate molds must be painted from the outside in, which means that what is painted first will later be visible from the outside. The best way to apply the compound is with a fine brush, a sponge or by hand. It is important that all materials are clean, dry and free of grease. If you want to draw a pattern with your fingers, be sure to wear plastic gloves. Otherwise, your fingerprints will be visible later. Once the couverture or cocoa butter has dried slightly, apply the next layer. This is how you keep working your way inward. While you are making up, you can turn your mold over from time to time. This way you can see what your final product will look like.
Once you are satisfied with all the colored details, give it another quick tighten. Then take a larger brush. Use it to brush the entire mold with couverture. Use the color of the couverture that you want your product to have in the end. Turn the mold over and over again. No more air bubbles should be visible, otherwise they would be visible as holes in the finished mold. Use a metal horn to remove chocolate from the surface of the mold. Now fill the mold completely with couverture. It is best to use a soup ladle for this. Use the handle of a spatula to tap the edge of the mold so that any air bubbles rise.
Then invert the mold over your couverture bowl, continue tapping the edge with the spatula, and wait for the excess couverture to run out. If you notice now that the resulting wall is a little too thin, simply repeat the filling and emptying process. Then scrape off the excess couverture with the metal horn and place the mold in the refrigerator for 15 to 20 minutes.
Then take the mold out of the refrigerator and gently bend it. Then turn the mold over in one sweep, directly onto a sheet of baking paper or a clean surface. The halves of the airplane should come right off, otherwise place them in the refrigerator again for 10 minutes. The airplane halves can then be attached to each other with a little liquid couverture.

To make a great chocolate flyer yourself is no problem with the high quality polycarbonate mold. With different colors and make-up ideas, your very own individual chocolate figure is created.