
August 1 Cake – the Swiss Cross Cake for the National Day
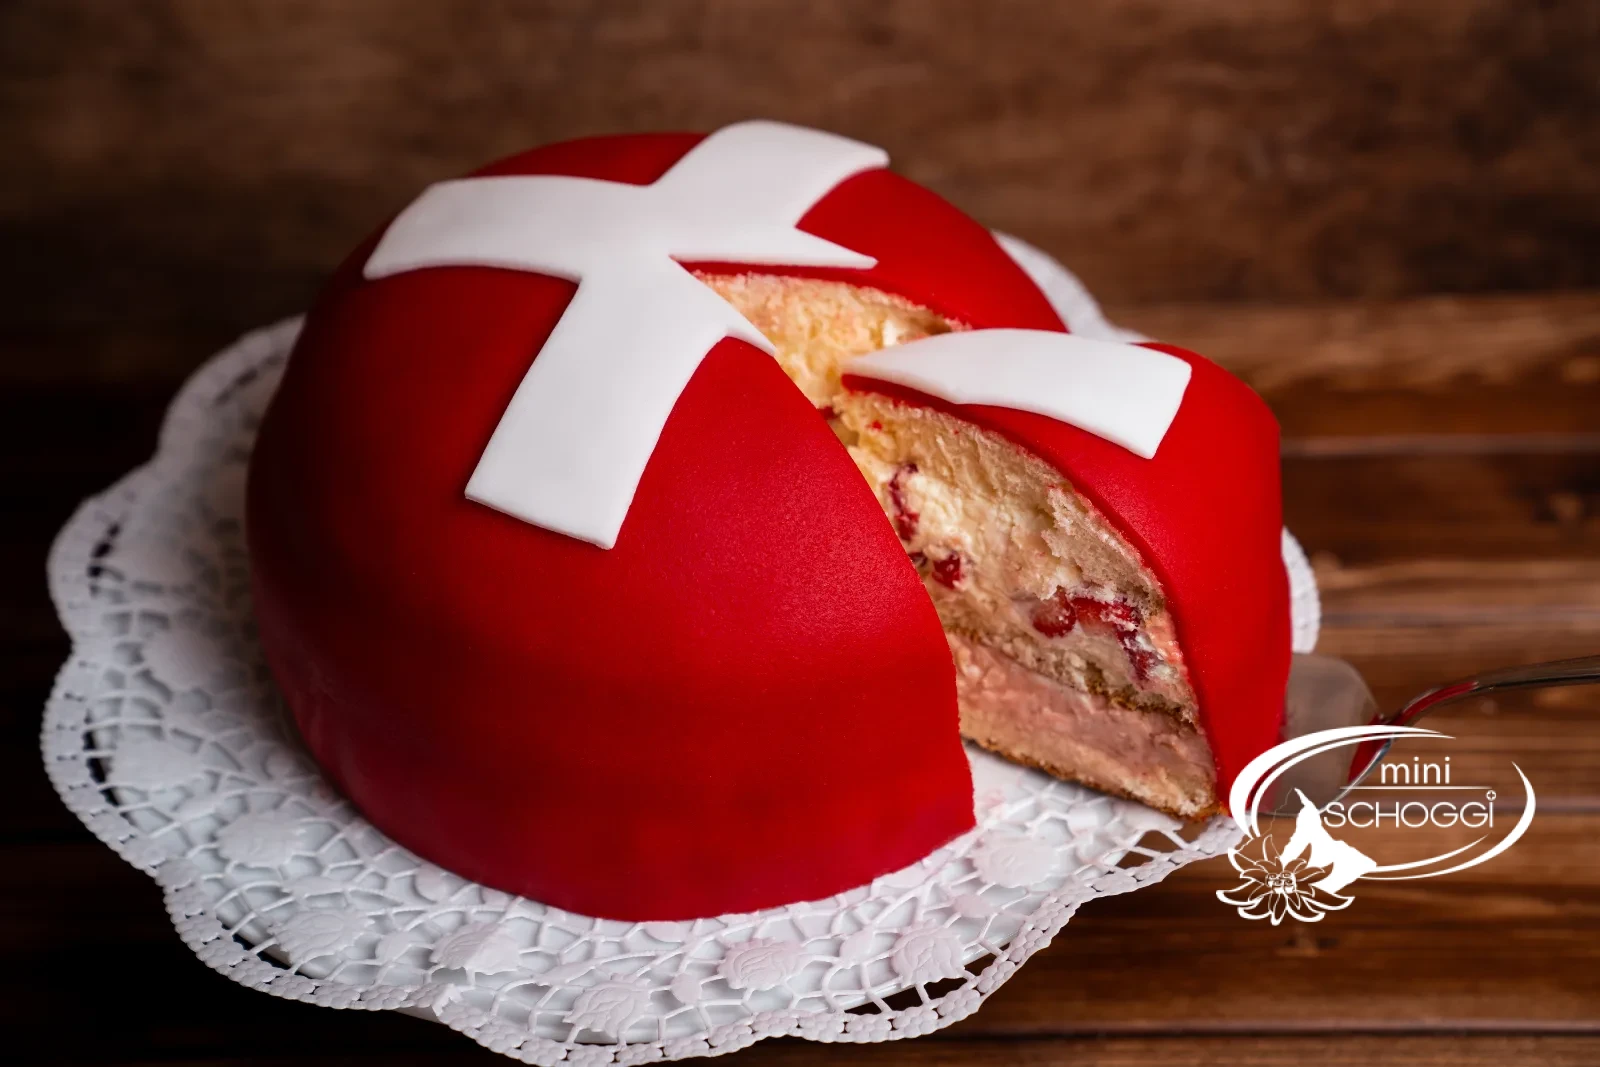
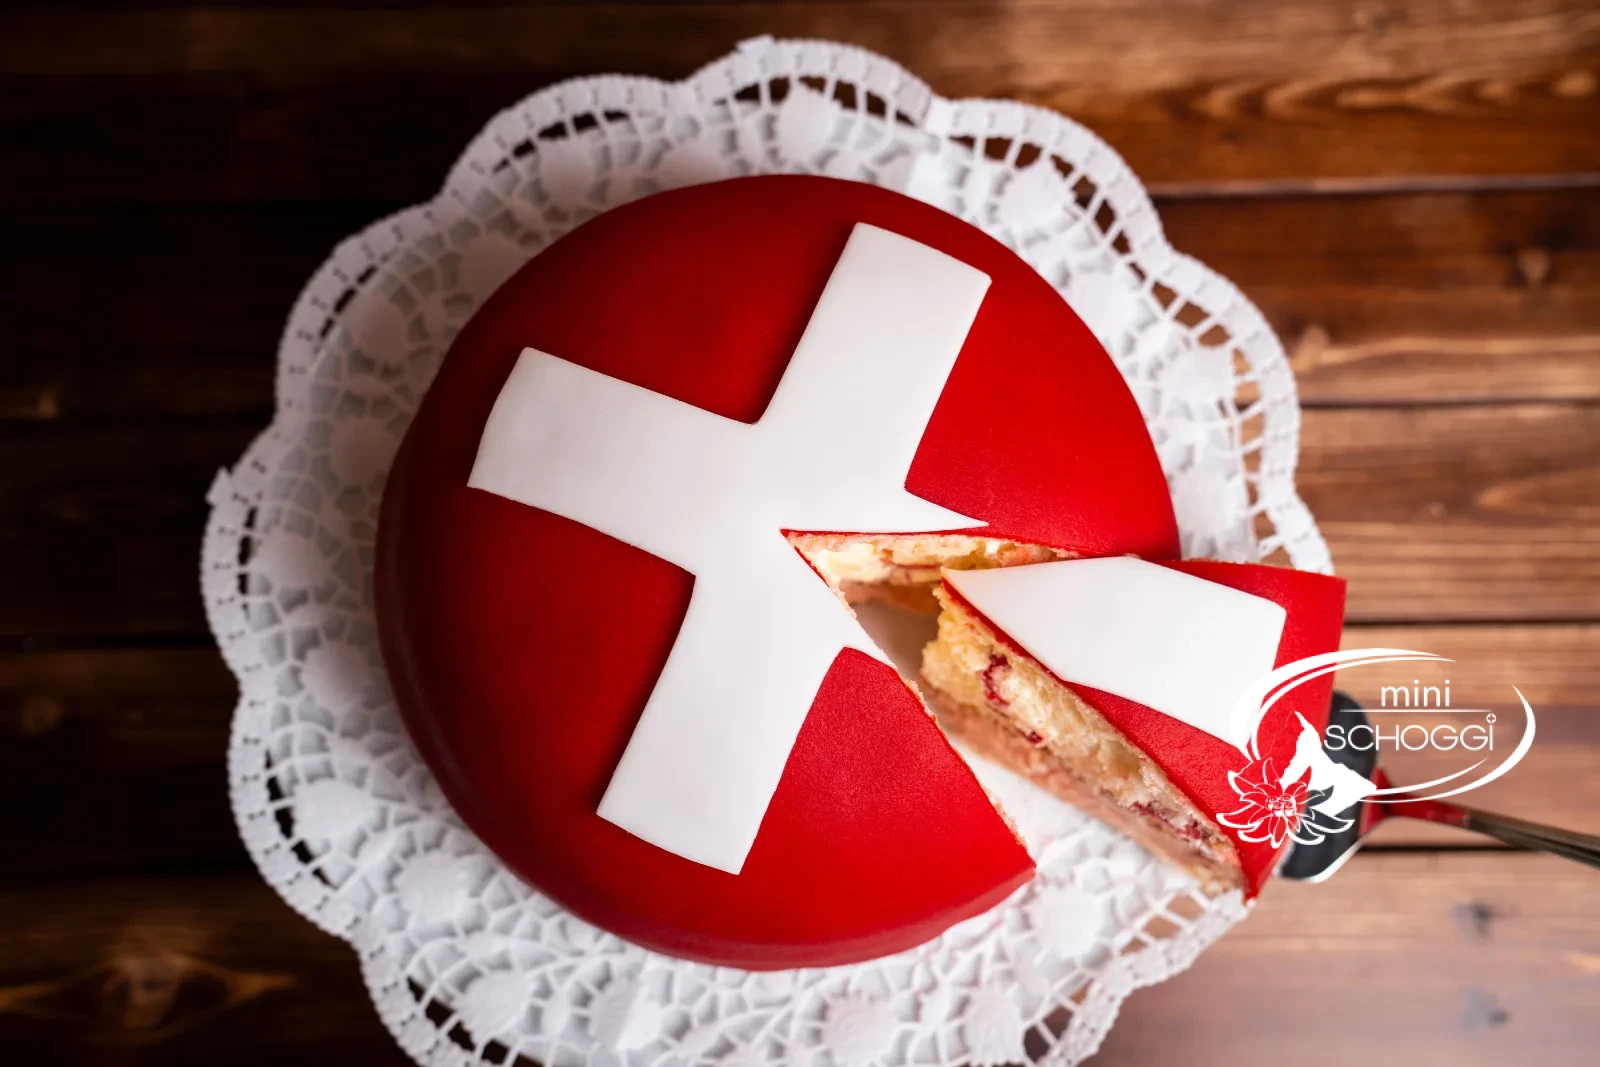
A brilliant red patisserie masterpiece for the national day
Quantity10 - 12 pieces
Active time90 min.
Total timeApprox. 4 hrs. (incl. 3 hrs. chilling time)
contains glutencontains eggcontains lactosecontains nuts
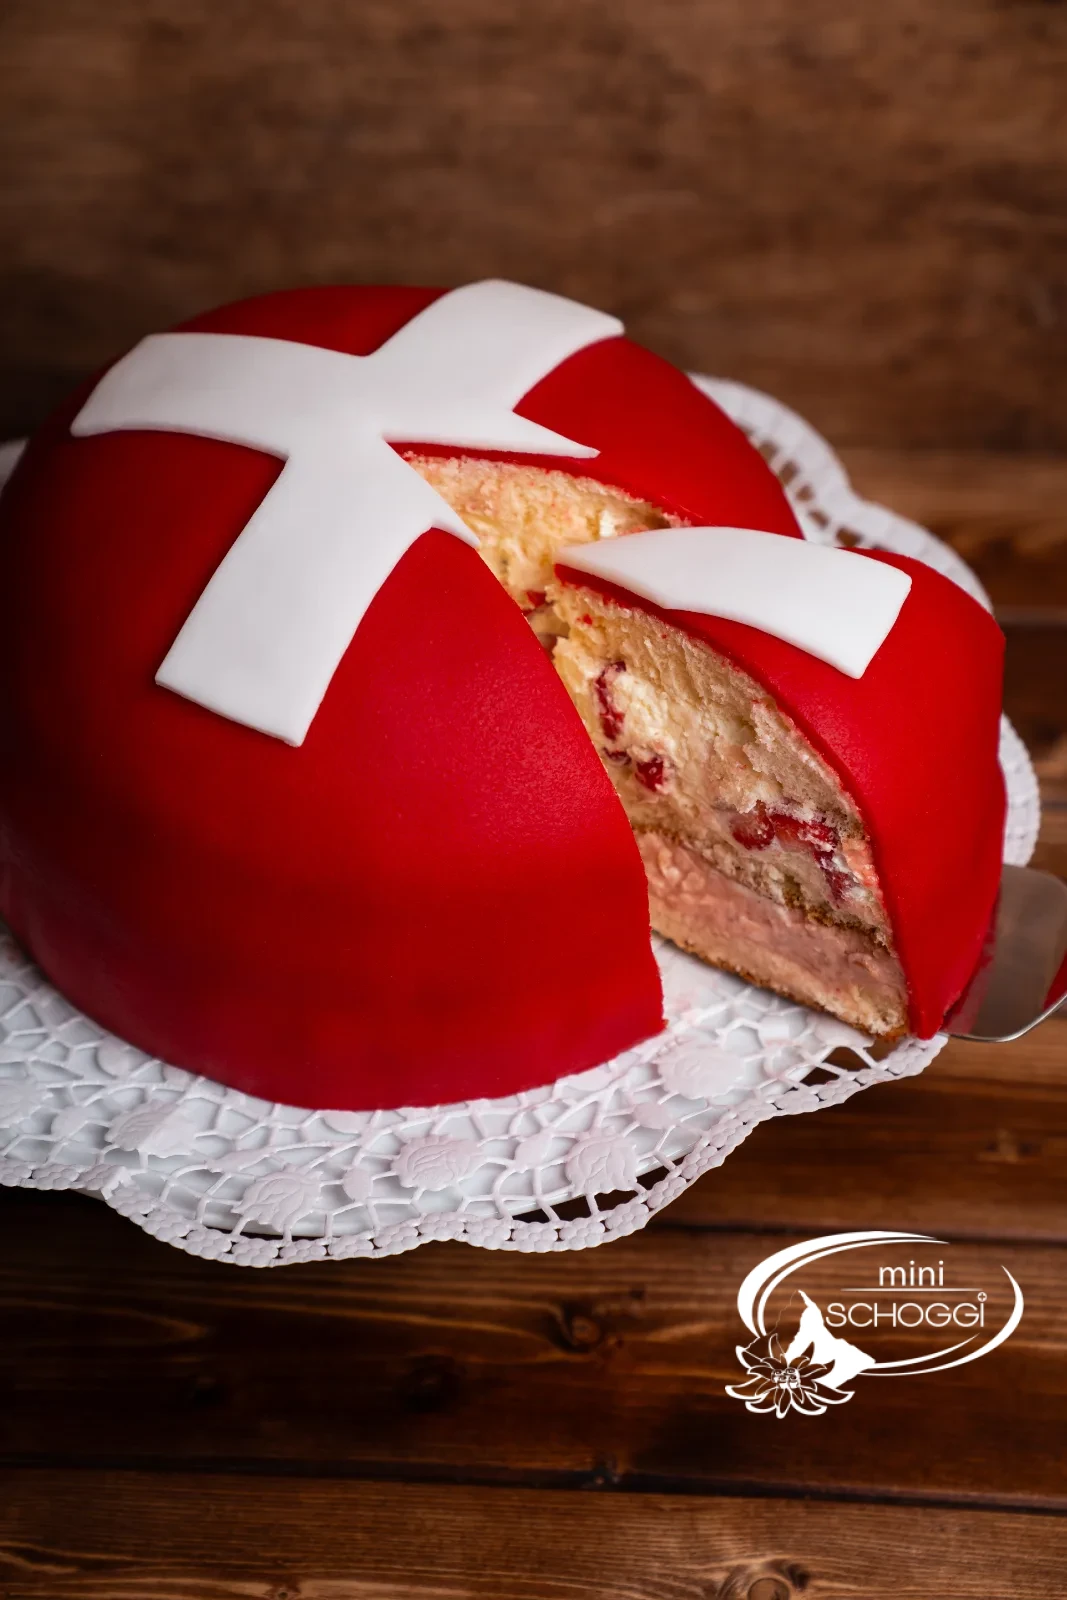
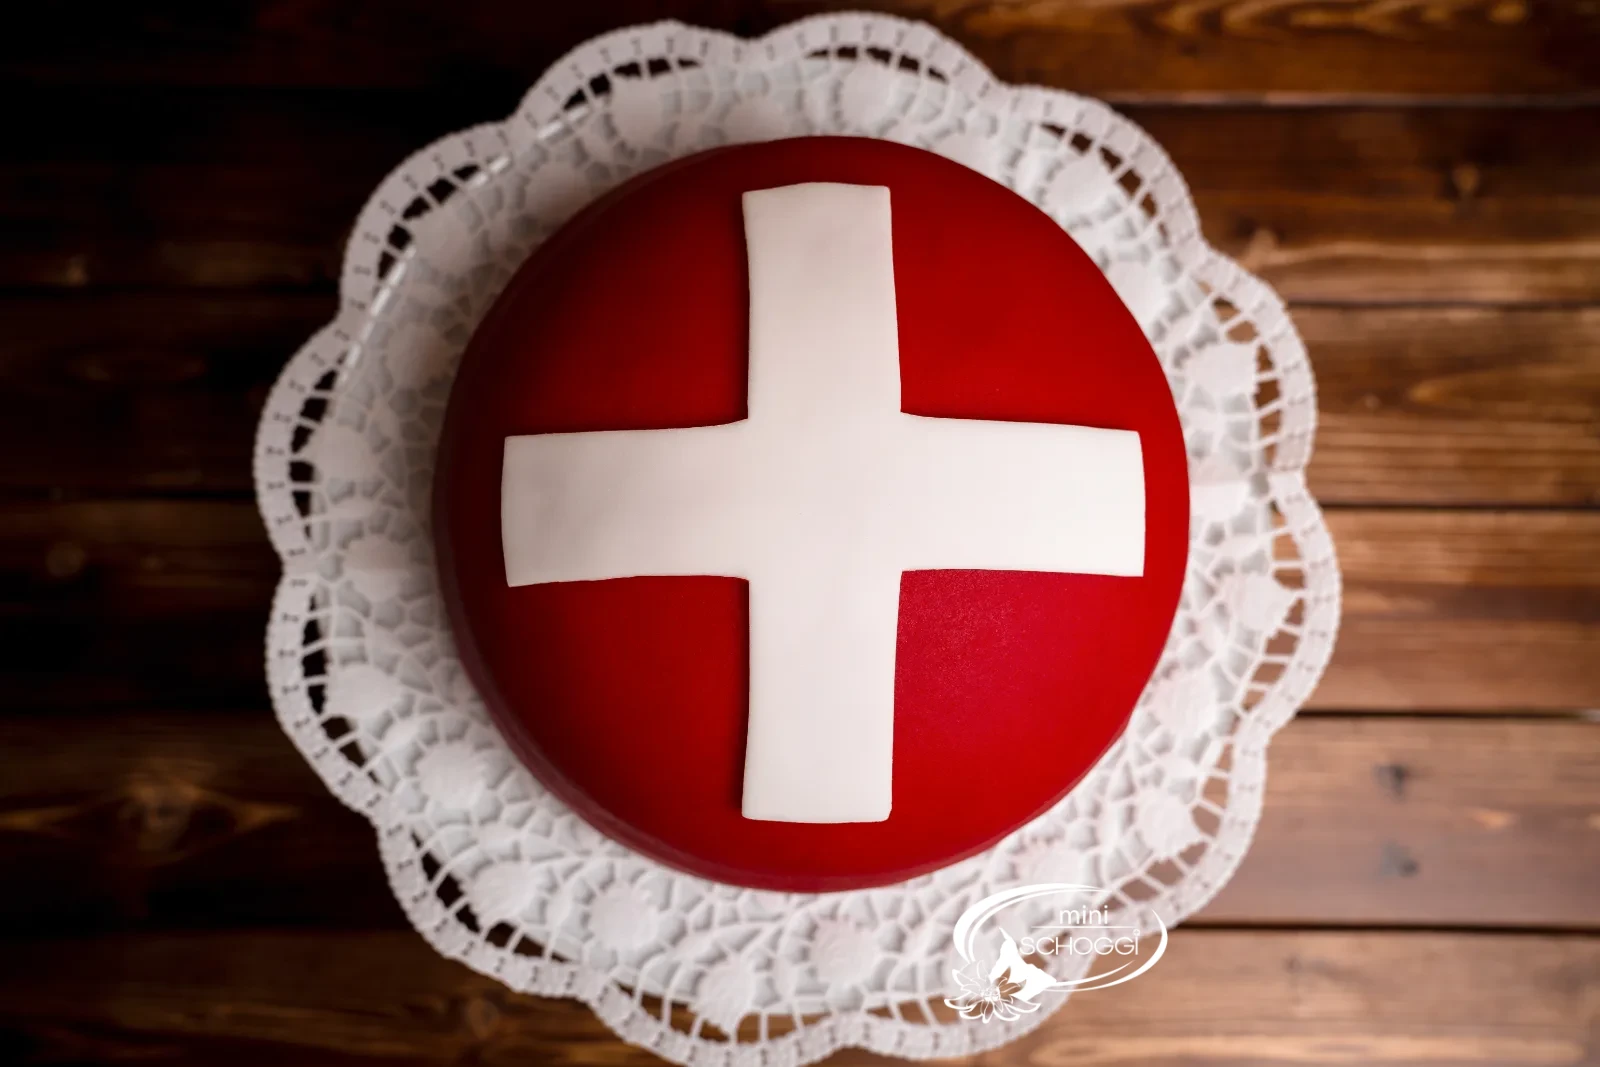
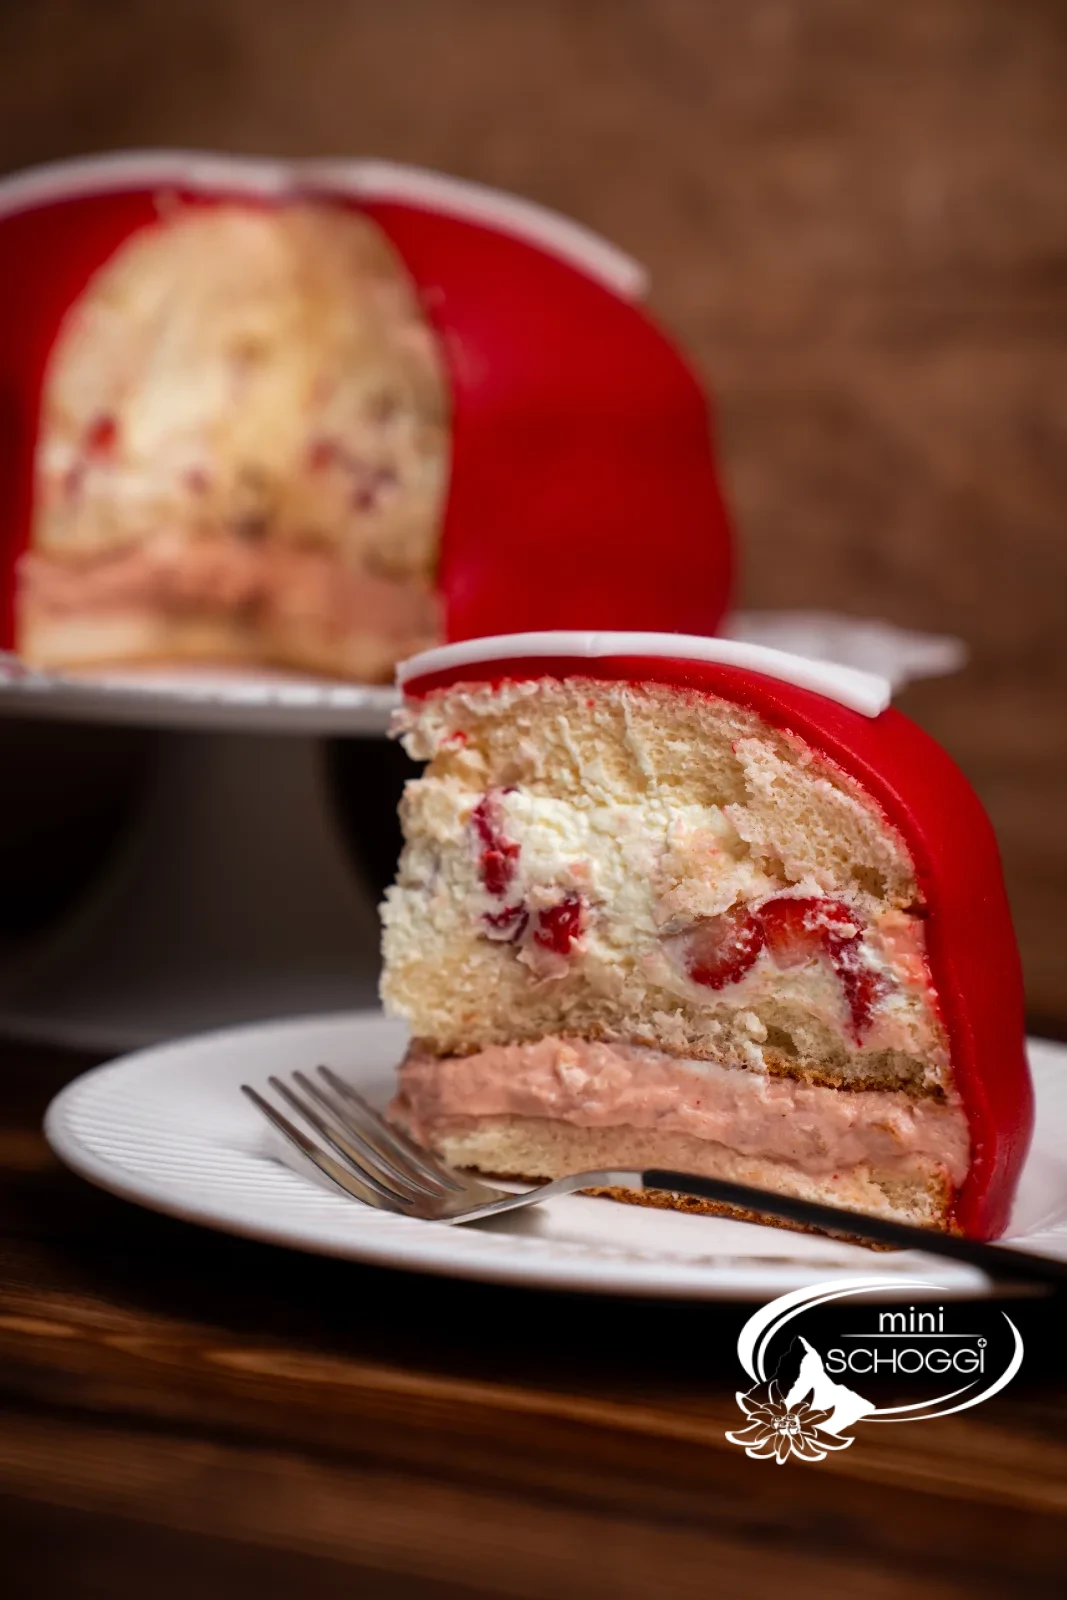
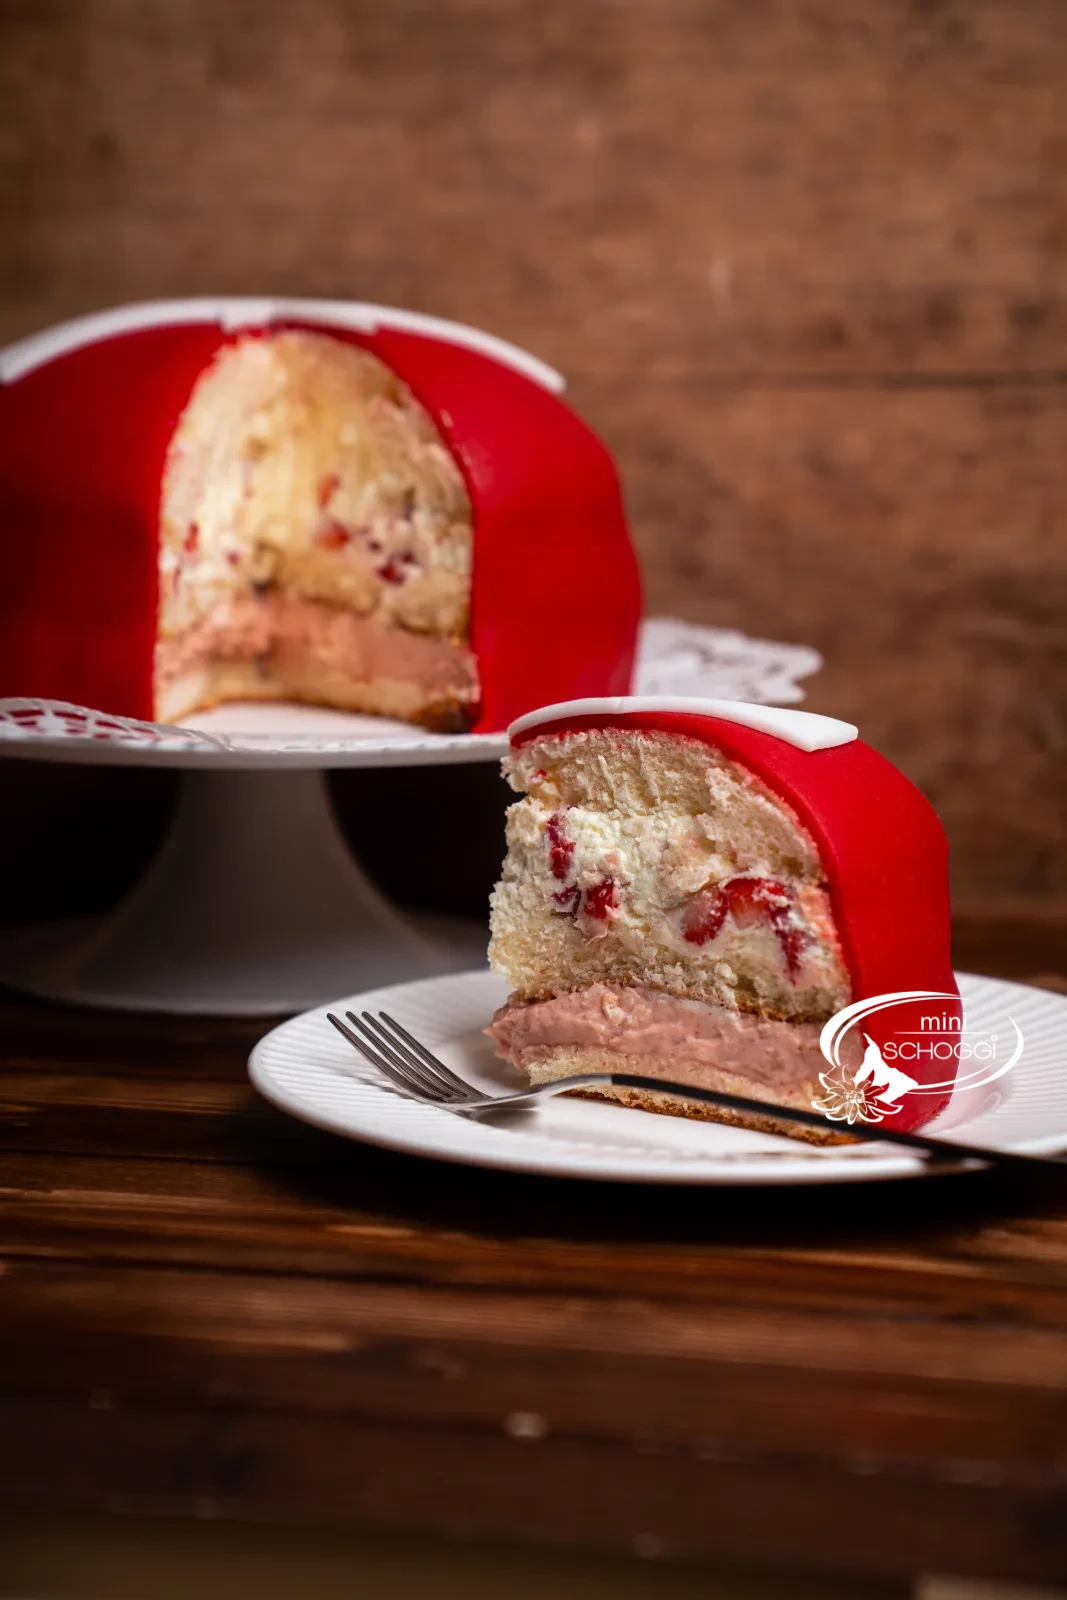
What would the Swiss national day be without a festive cake? This August 1 cake – a Swedish cake in Swiss design – combines the popular classic with an extra portion of summer and is guaranteed to draw astonished looks on August 1st. Three airy layers of fine white sponge meet a fruity strawberry-vanilla cream as well as a wonderfully light cream filling with fresh strawberry pieces. The result is a beautifully balanced cake: creamy, fruity and pleasantly light – perfect for warm summer days. So it also looks the part for the national day, the cake is covered with bright red marzipan and decorated with a white cross of fondant. This creates an impressive Swiss cake that becomes the centrepiece of any dessert buffet – whether at a cosy family gathering, a barbecue with friends or a big August 1 celebration. In our step-by-step recipe we show you exactly how you can make this festive Swiss national day cake yourself – from the perfect sponge and the creamy fillings to a clean marzipan covering and the classic Swiss cross decoration.
Ingredients
Quantity:
White sponge (Ø 20 cm)
120 gGranulated sugar
200 gWhole egg, beaten
100 gWhite flour
30 gStarch (wheat or corn starch)
Vanilla-strawberry cream (1st filling)
25 gSugar
2 pinchesVanilla seeds
2 leavesGelatine
163 gFull cream, whipped
Strawberry cream (2nd filling)
1 packetVanilla sugar
300 gFull cream
10 gCream stiffener
120 gStrawberries, cut into small pieces
Step by step
In a hurry? The compact recipe card further down sums it all up.
White sponge preparation
1
Warm the sponge mixture
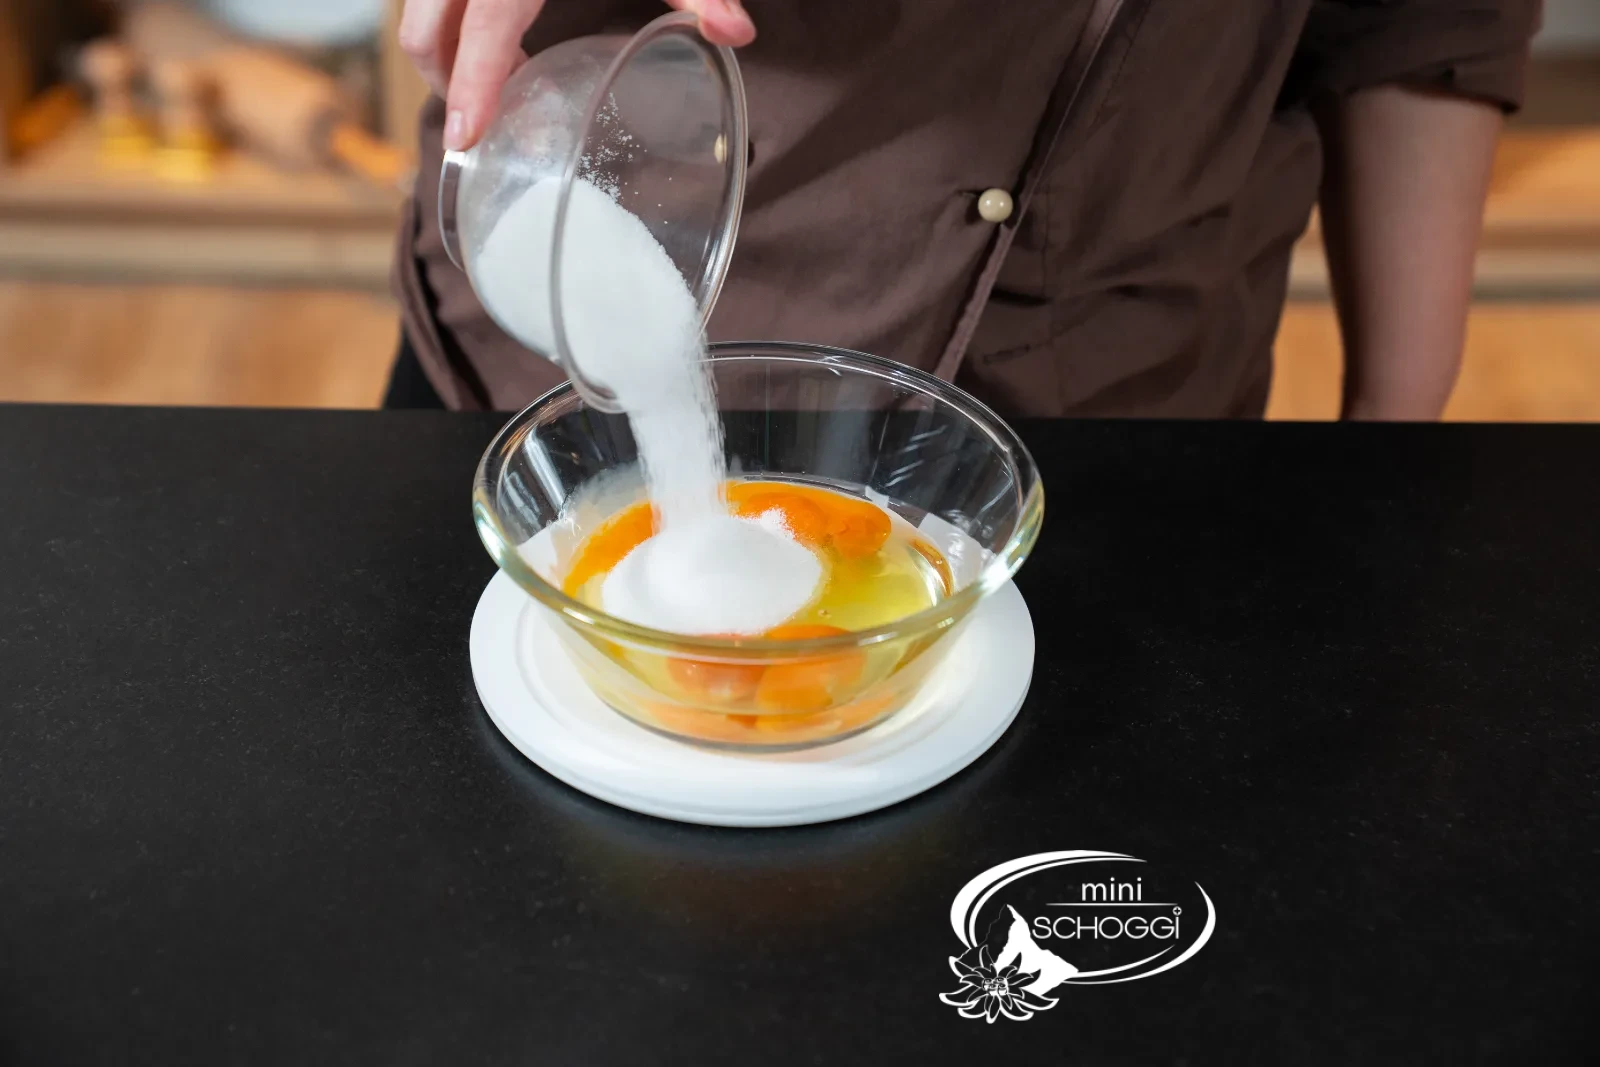
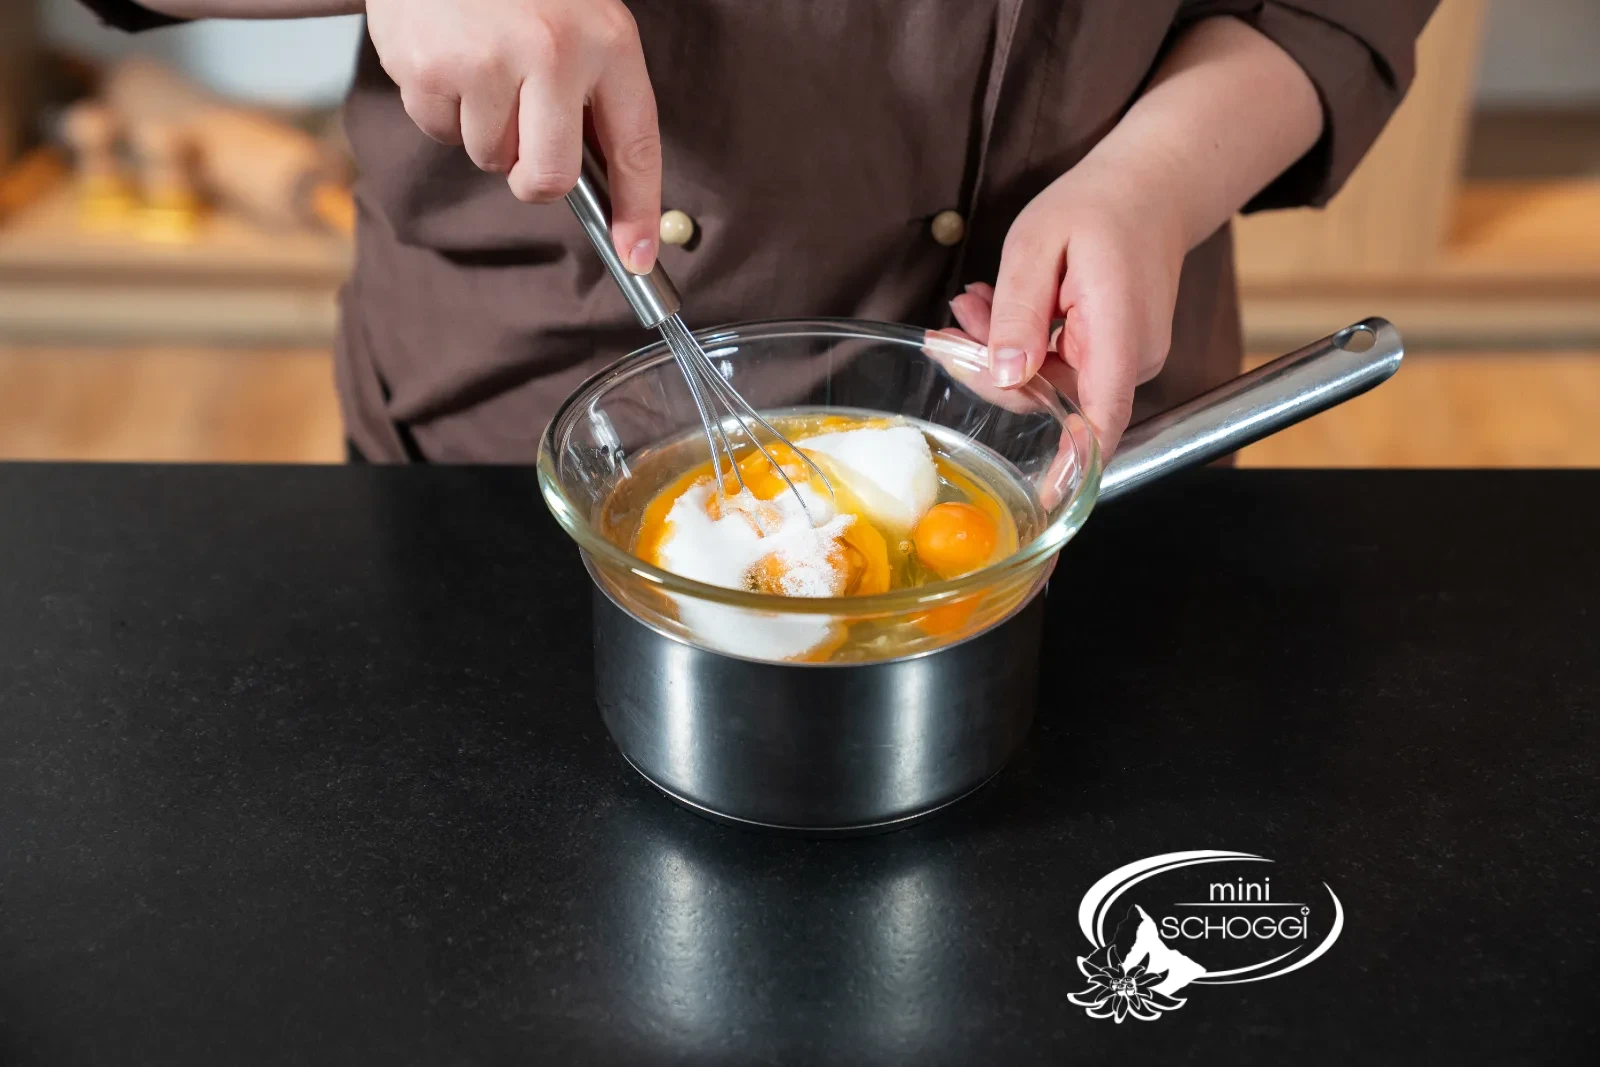
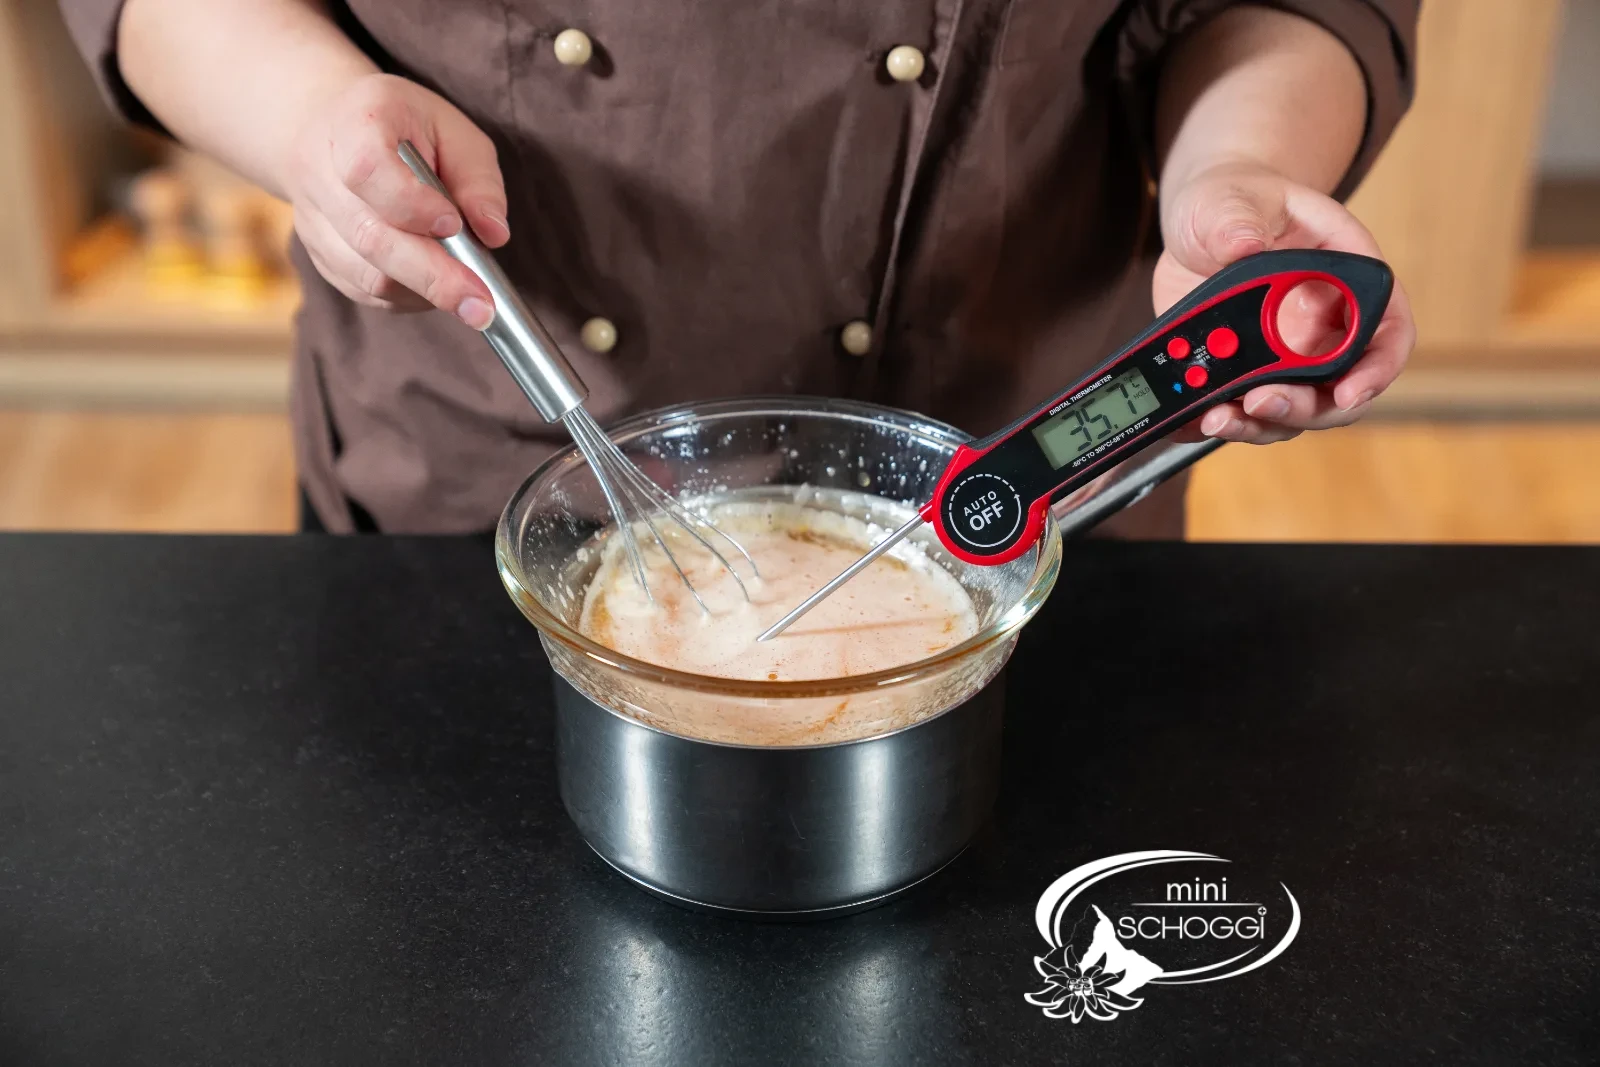
Preheat your oven to 200 °C. Put sugar and whole egg in a bowl and stir the mixture over a warm water bath with the whisk until it lightens and reaches a temperature of 35 °C (finger test: pleasantly warm, no more sugar crystals detectable). Make sure the mixture is always kept moving.
What you need for this


Digital Thermometer, waterproof and foldable
Whisk 25 cm
2
Whipping up
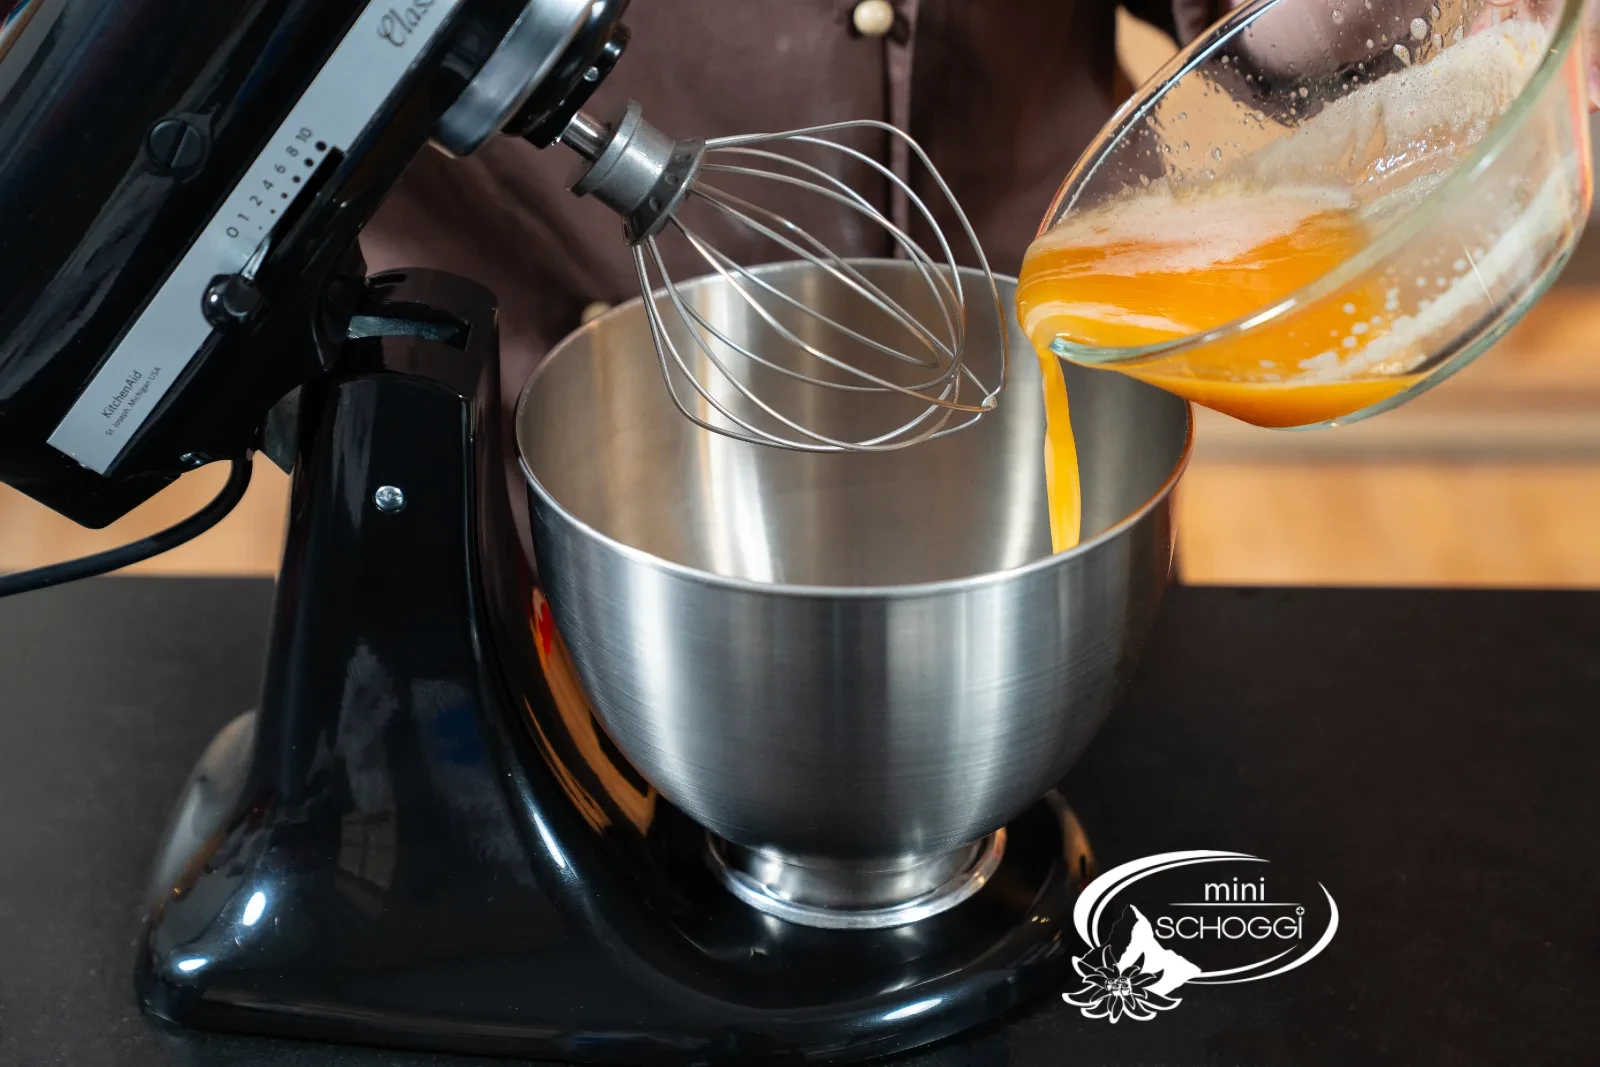
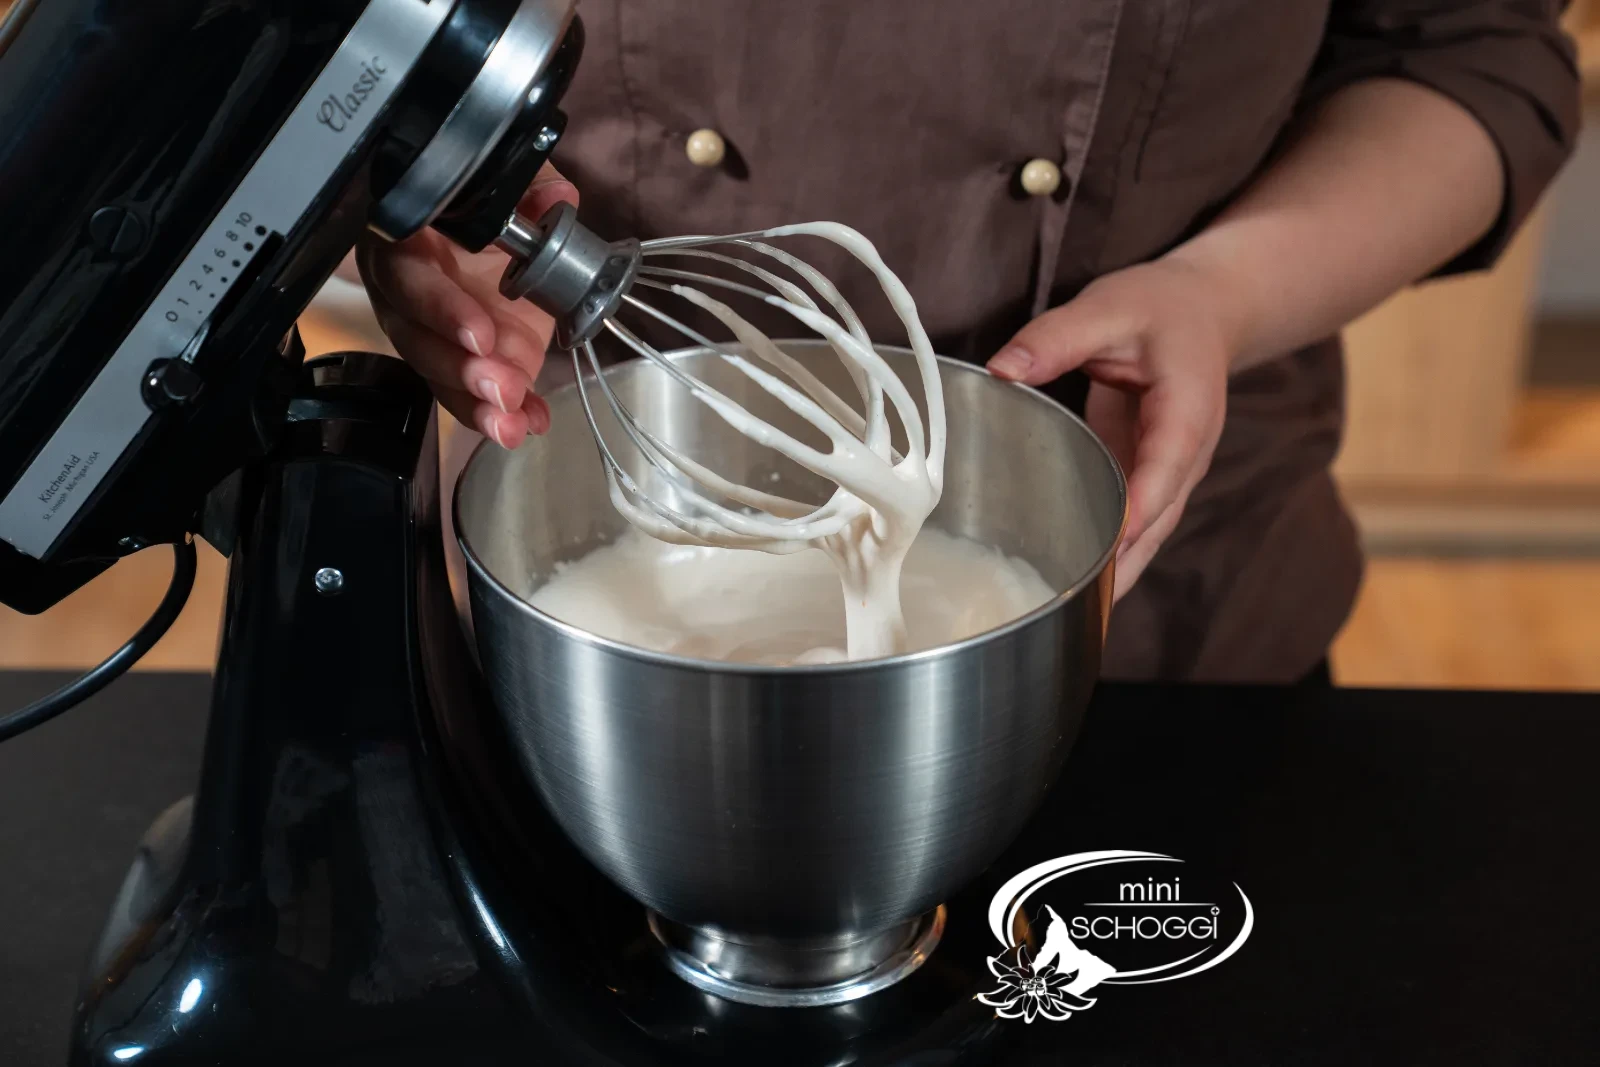
As soon as the mixture reaches 35 °C, take it off the water bath and whip it with a hand mixer or a stand mixer until it becomes airy and lighter. Depending on the quantity this can easily take 10–15 minutes.
The mixture is whipped enough once you can lift out the whisk and the pattern remains on the surface without sinking.
3
Fold in the flour
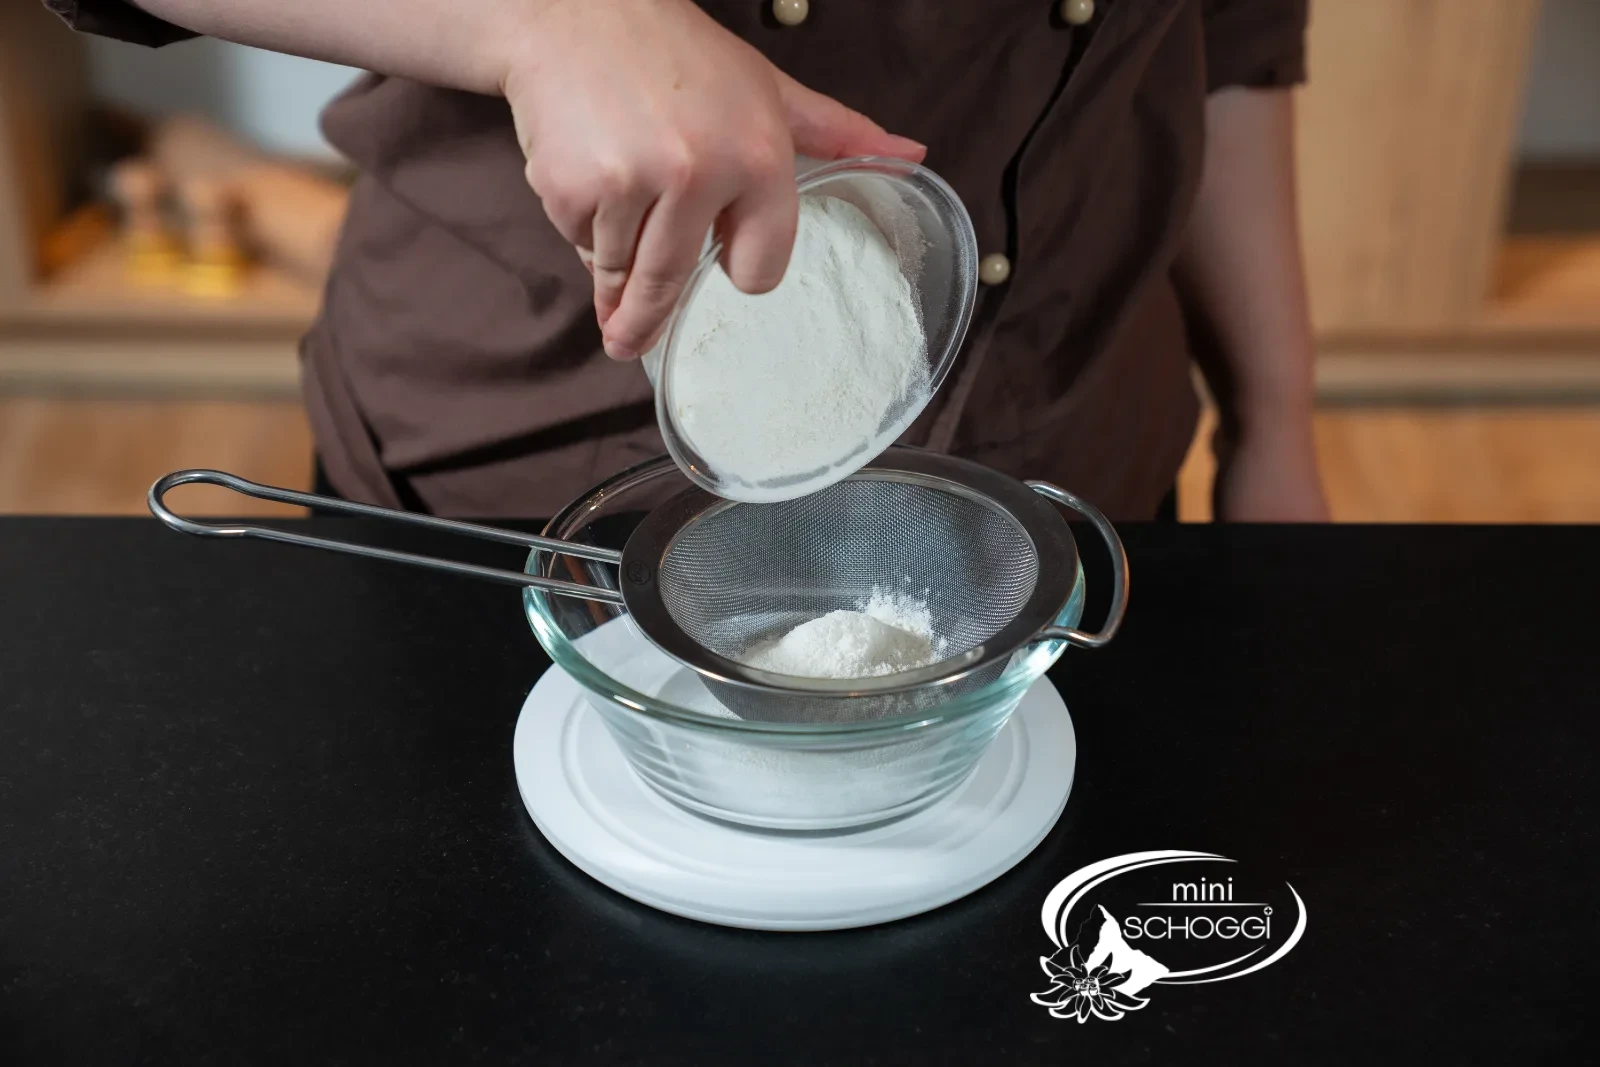
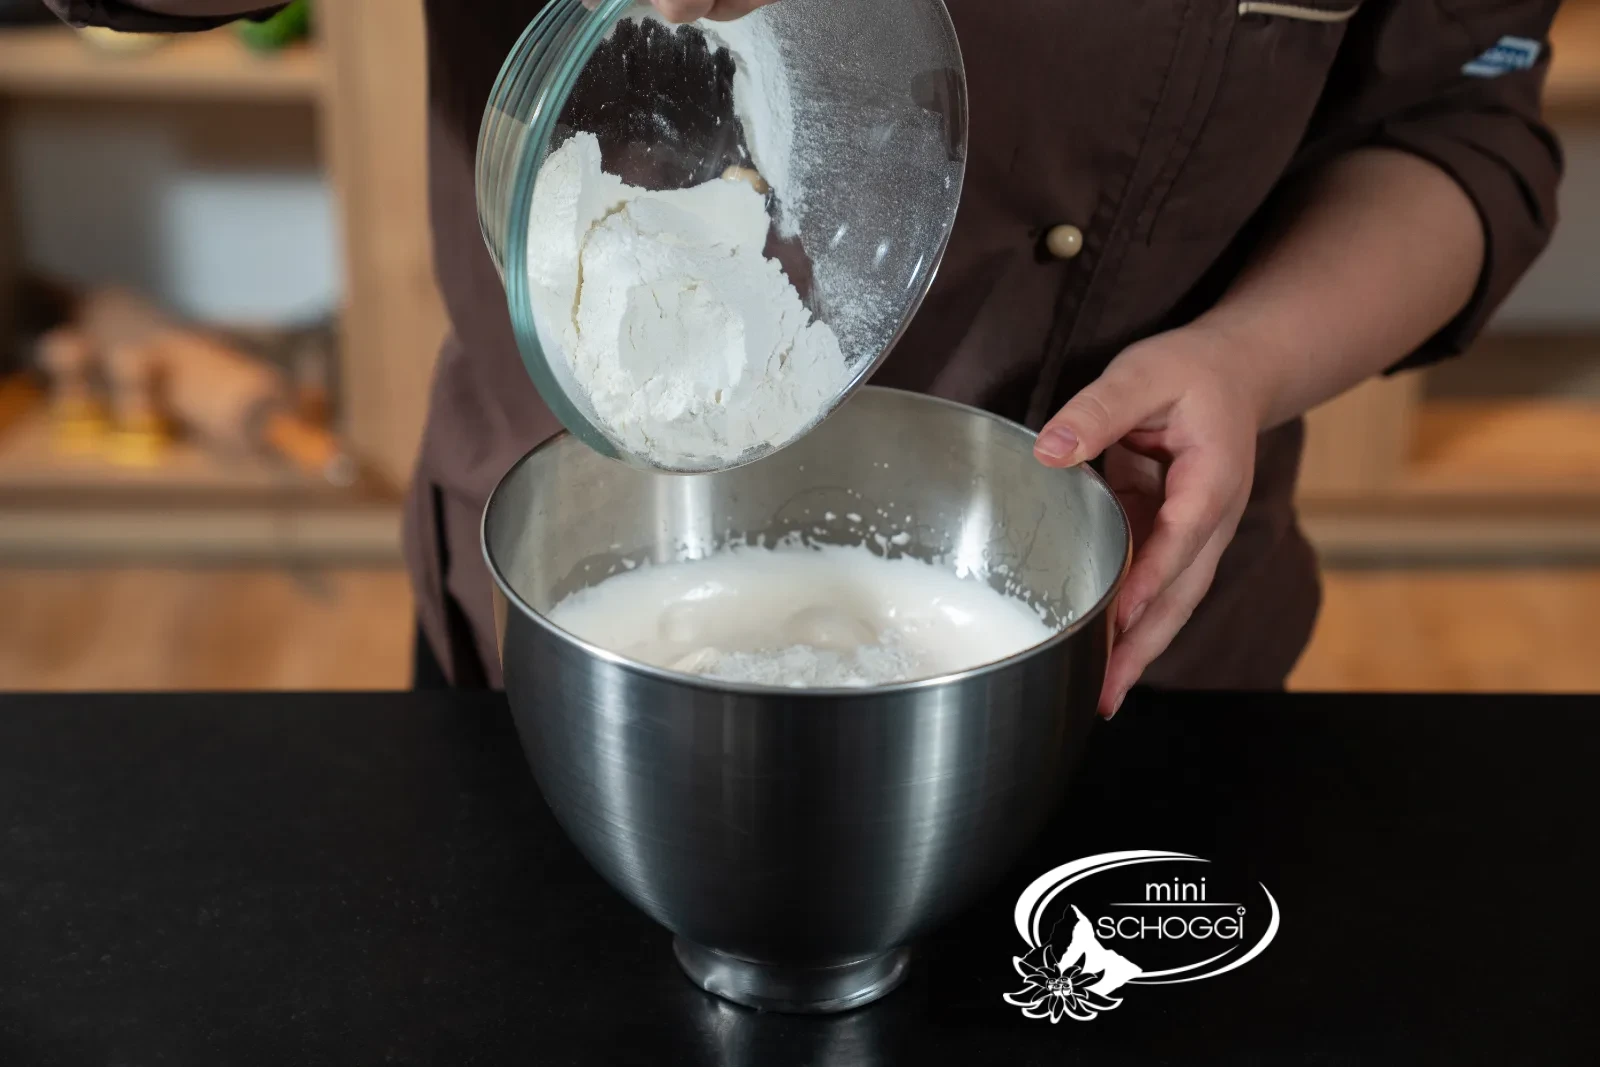
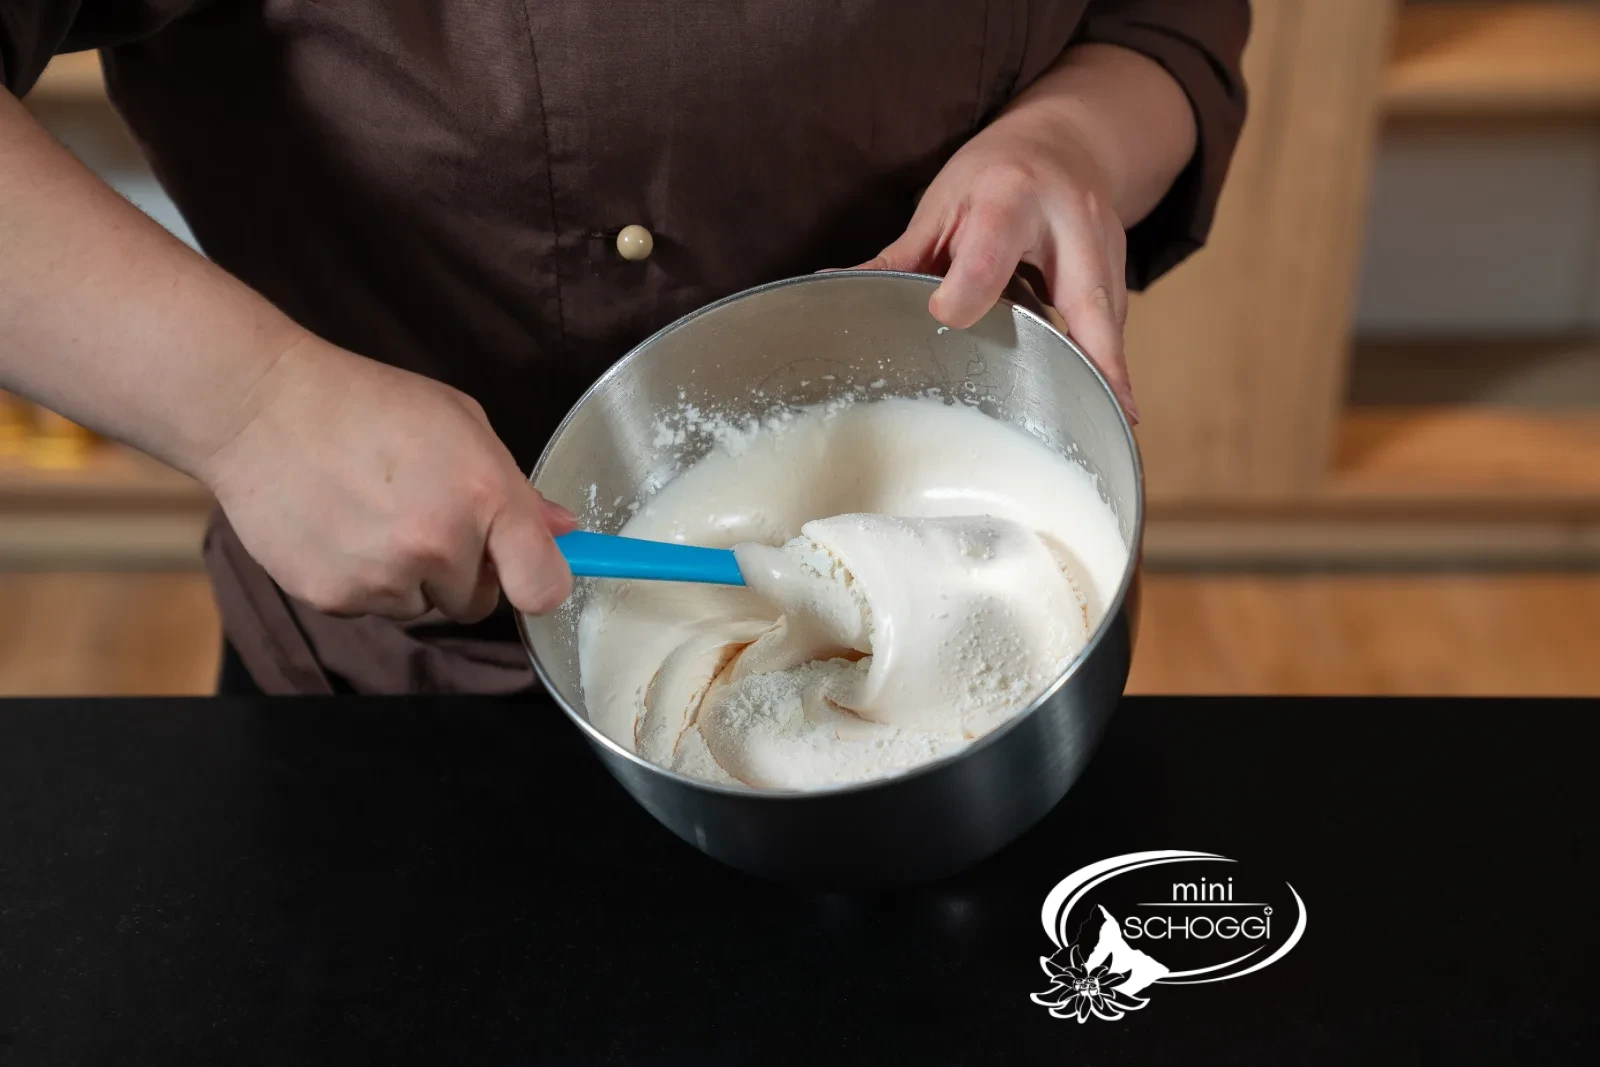
Mix the White flour with the starch and sift into the egg mixture. Carefully fold the sifted flour and starch into the egg mixture by hand using a rubber scraper. The mixture becomes thicker and collapses a little.
What you need for this

White flour, 1 kg
4
Baking
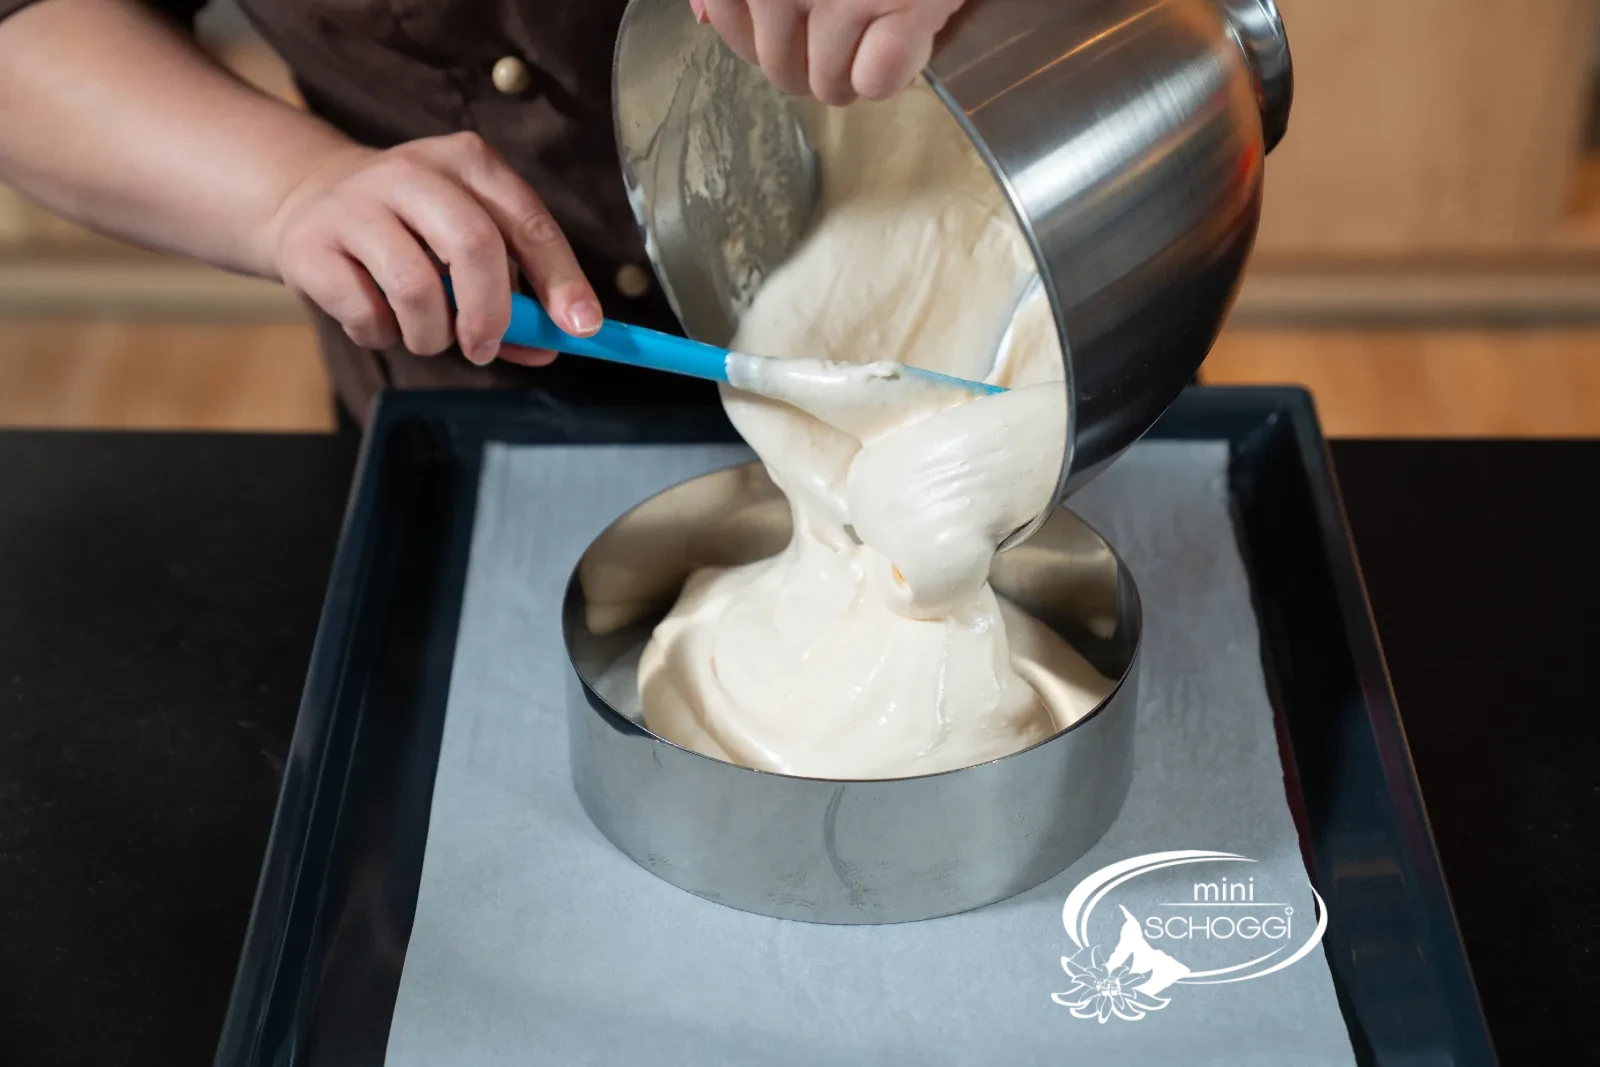
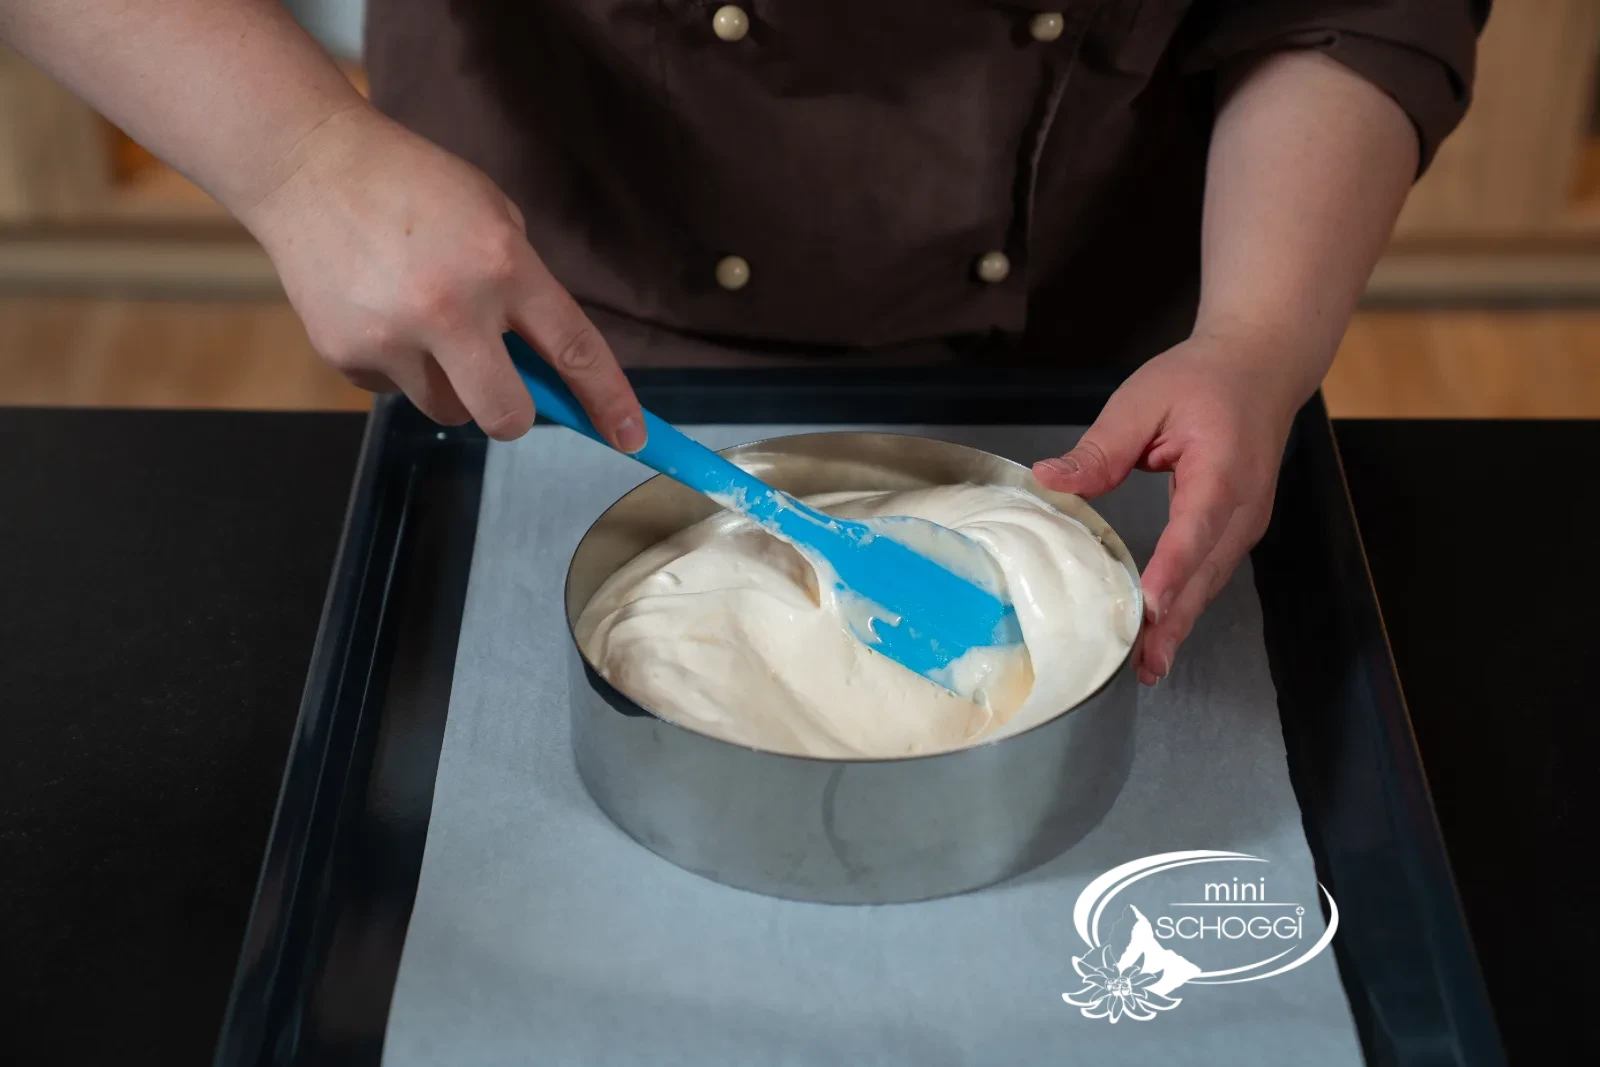
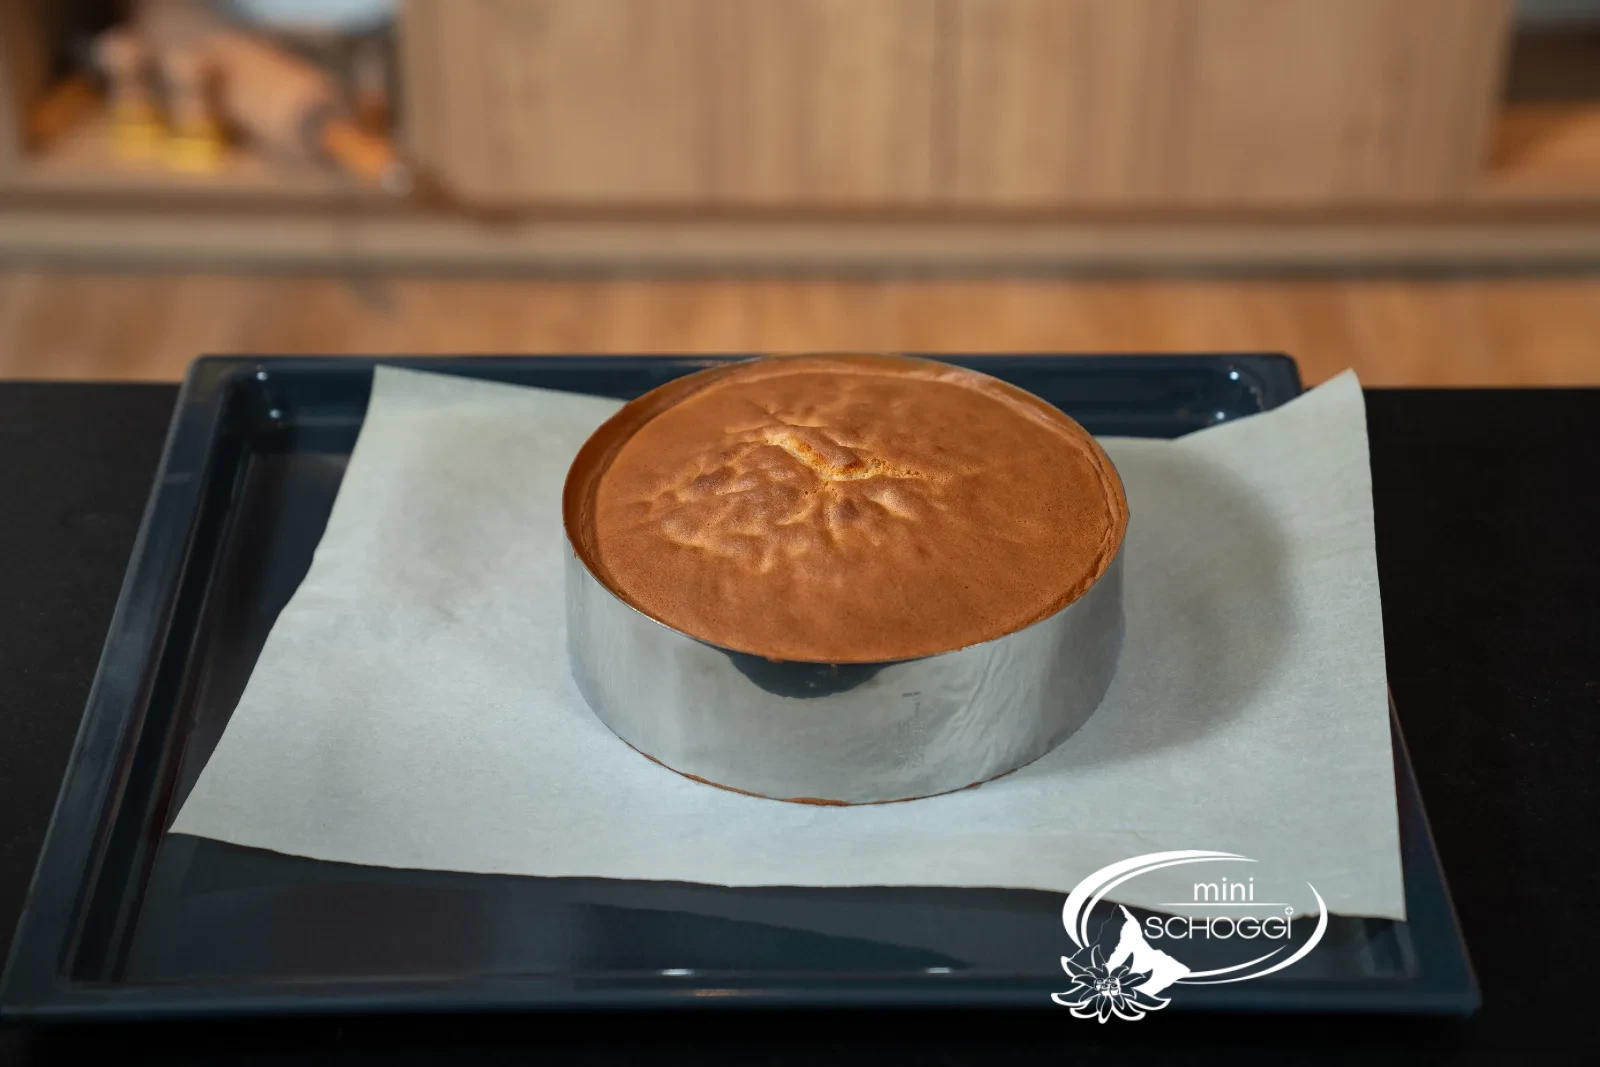
Place a cake ring on the prepared baking tray lined with baking paper and pour in the mixture. The cake ring has no base and does not need to be greased. Conventional springform pans, on the other hand, always need to be greased and floured. Immediately after filling, slide it into the preheated oven and bake at 200 °C fan for approx. 22 minutes.
The sponge is done as soon as you can gently press it down in the middle and it no longer "crackles".
What you need for this


Cake ring Ø 20 cm x 6 cm Decora
Rubber scraper red, large
5
Turn out and cool
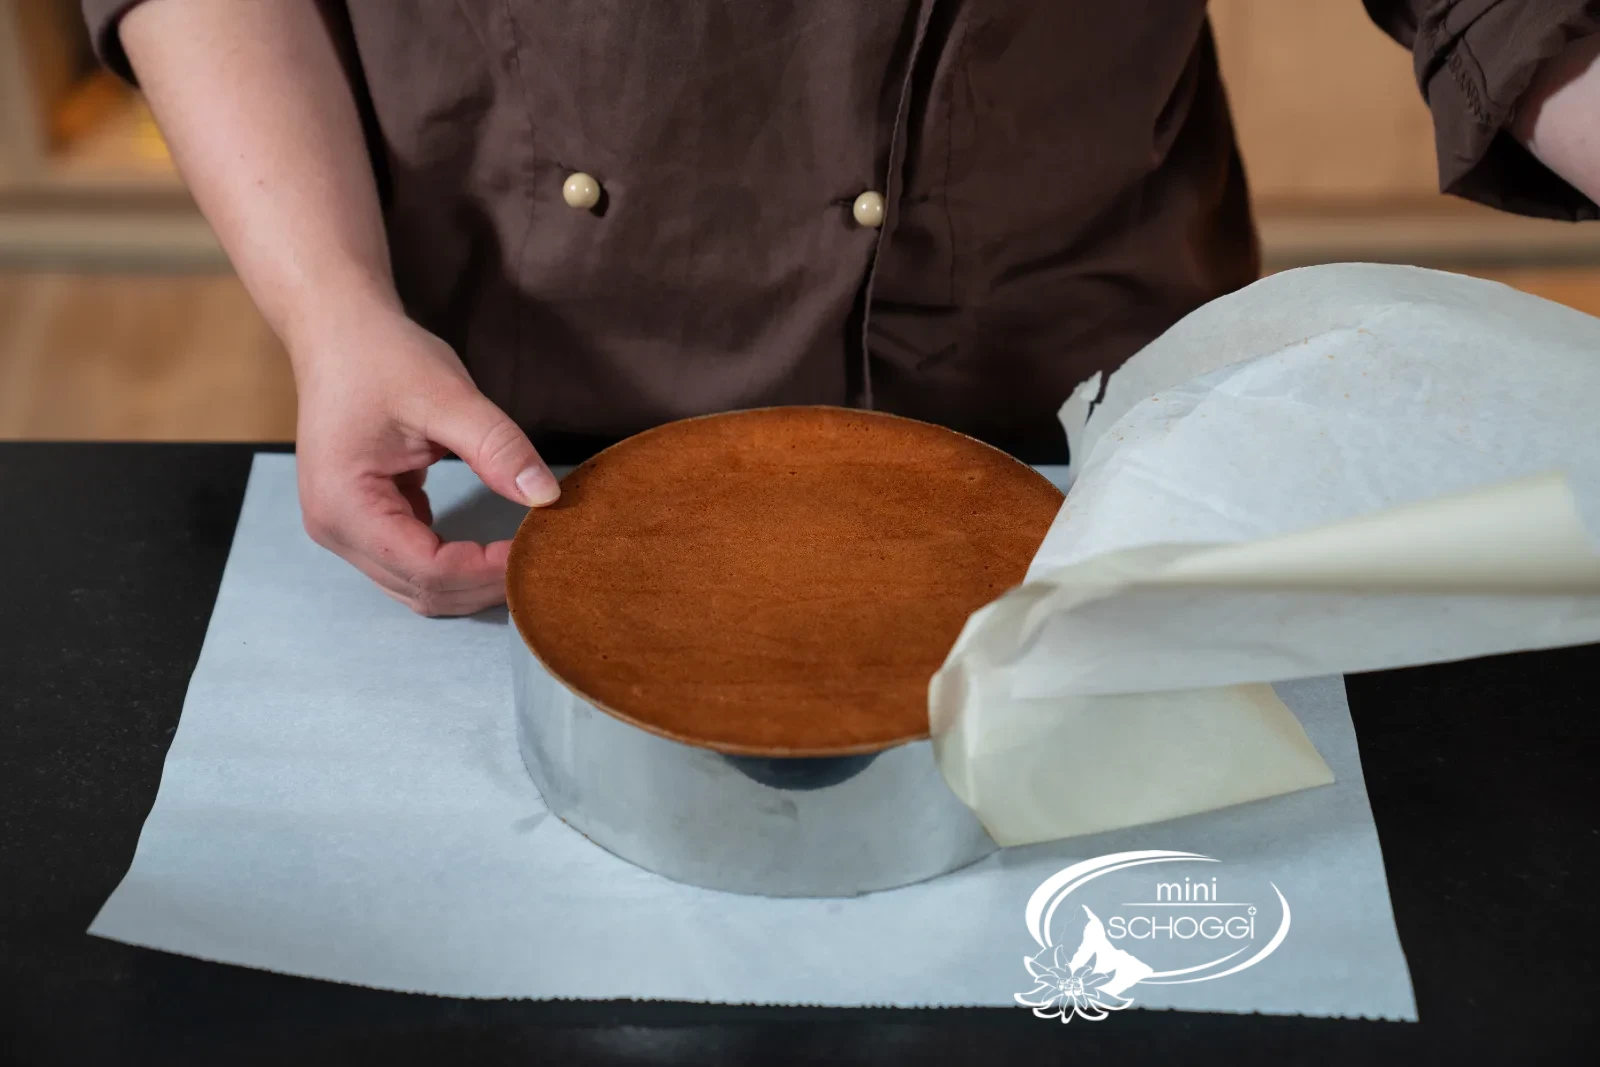
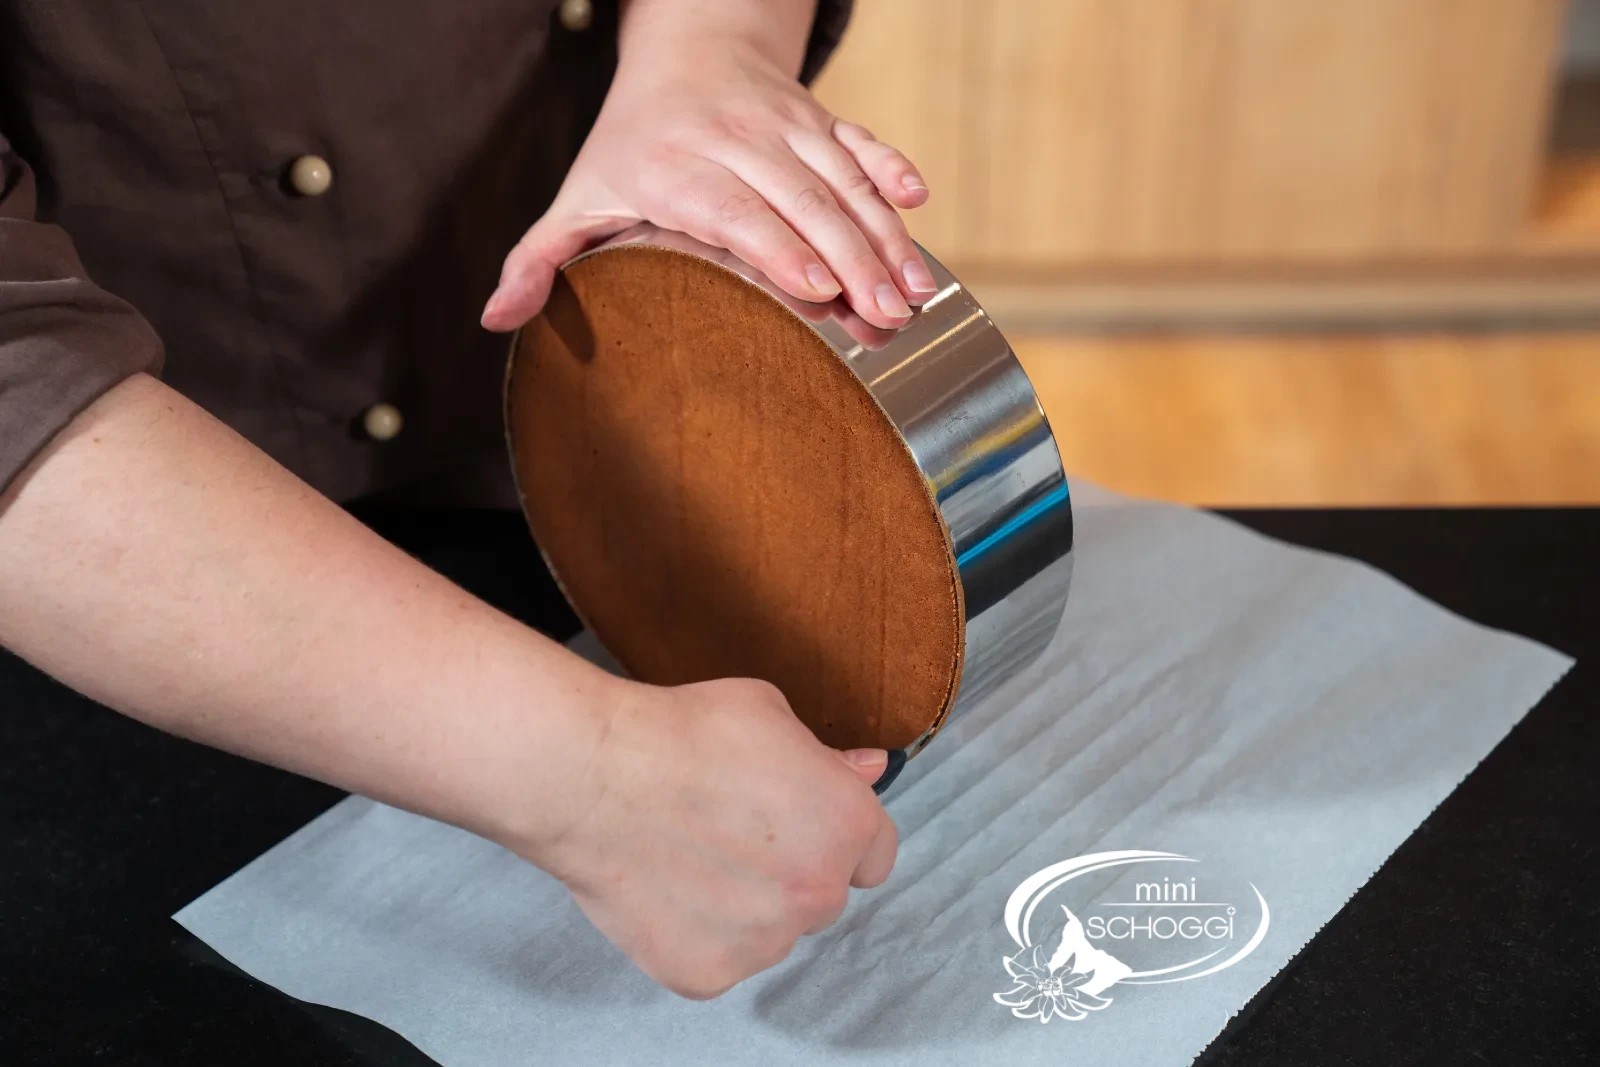
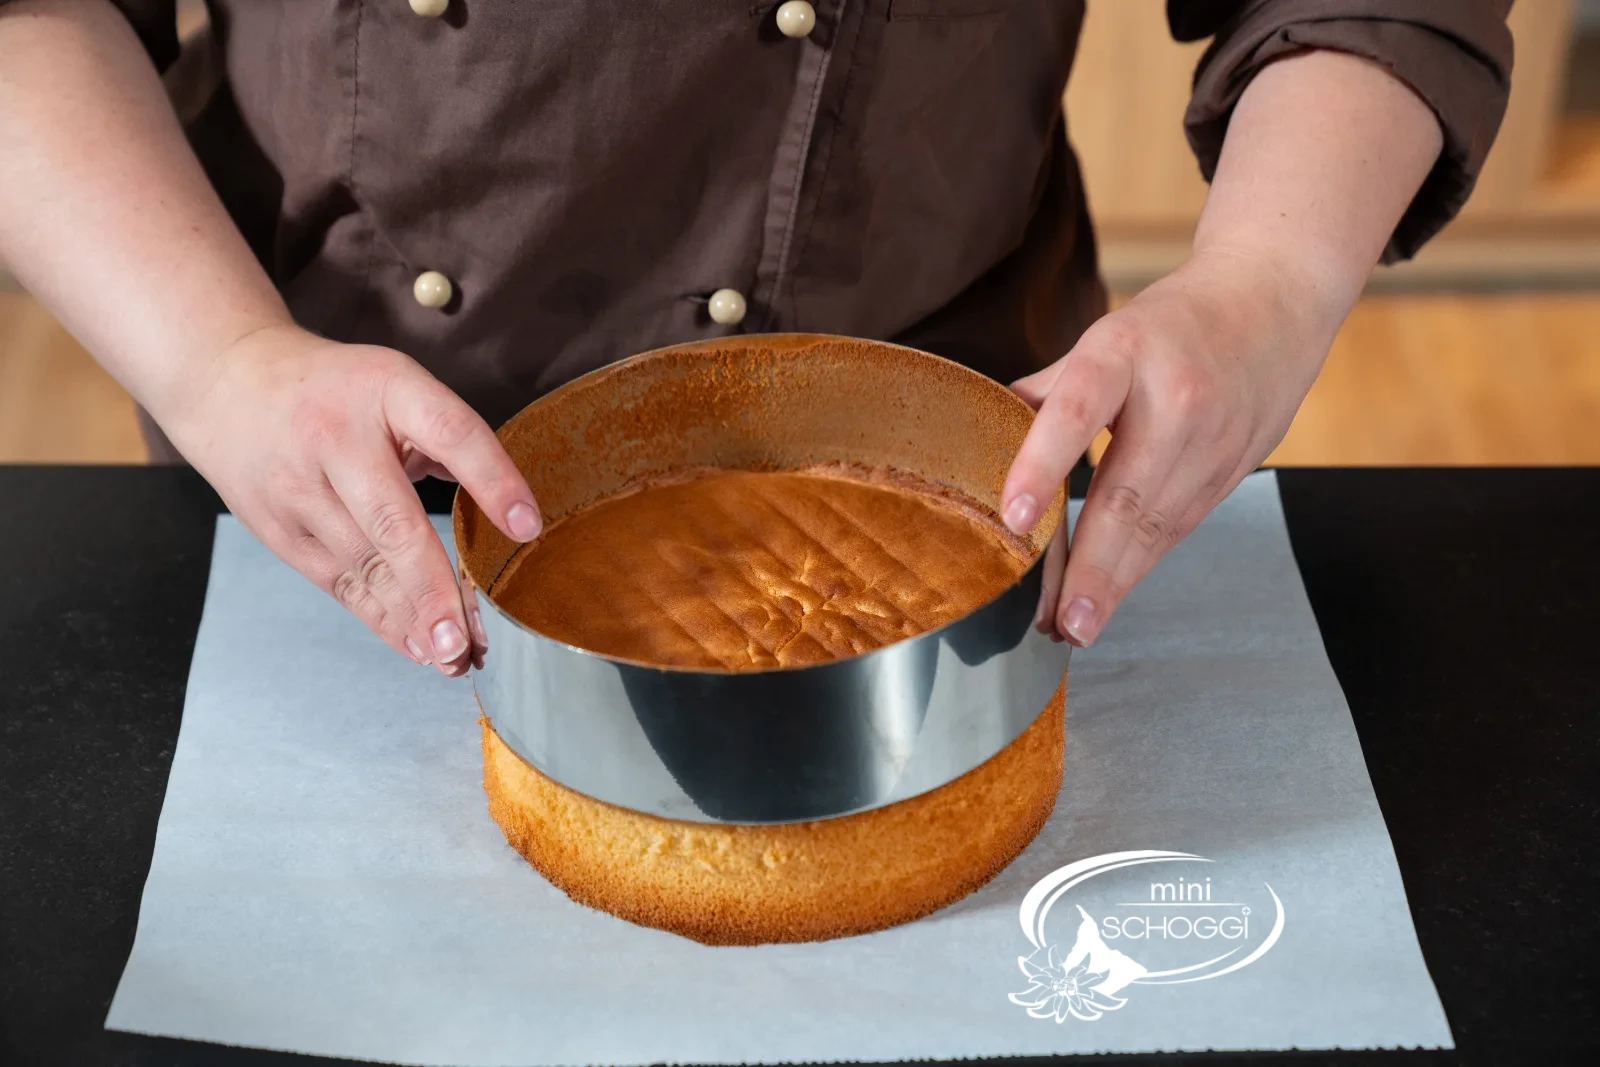
Take the sponge out of the oven and turn it out onto a sheet of baking paper so that it becomes nice and flat on top and bottom. Let it cool in the ring.
Run a spatula or a knife without a serrated edge along the ring to release the sponge.
6
Rest overnight and slice
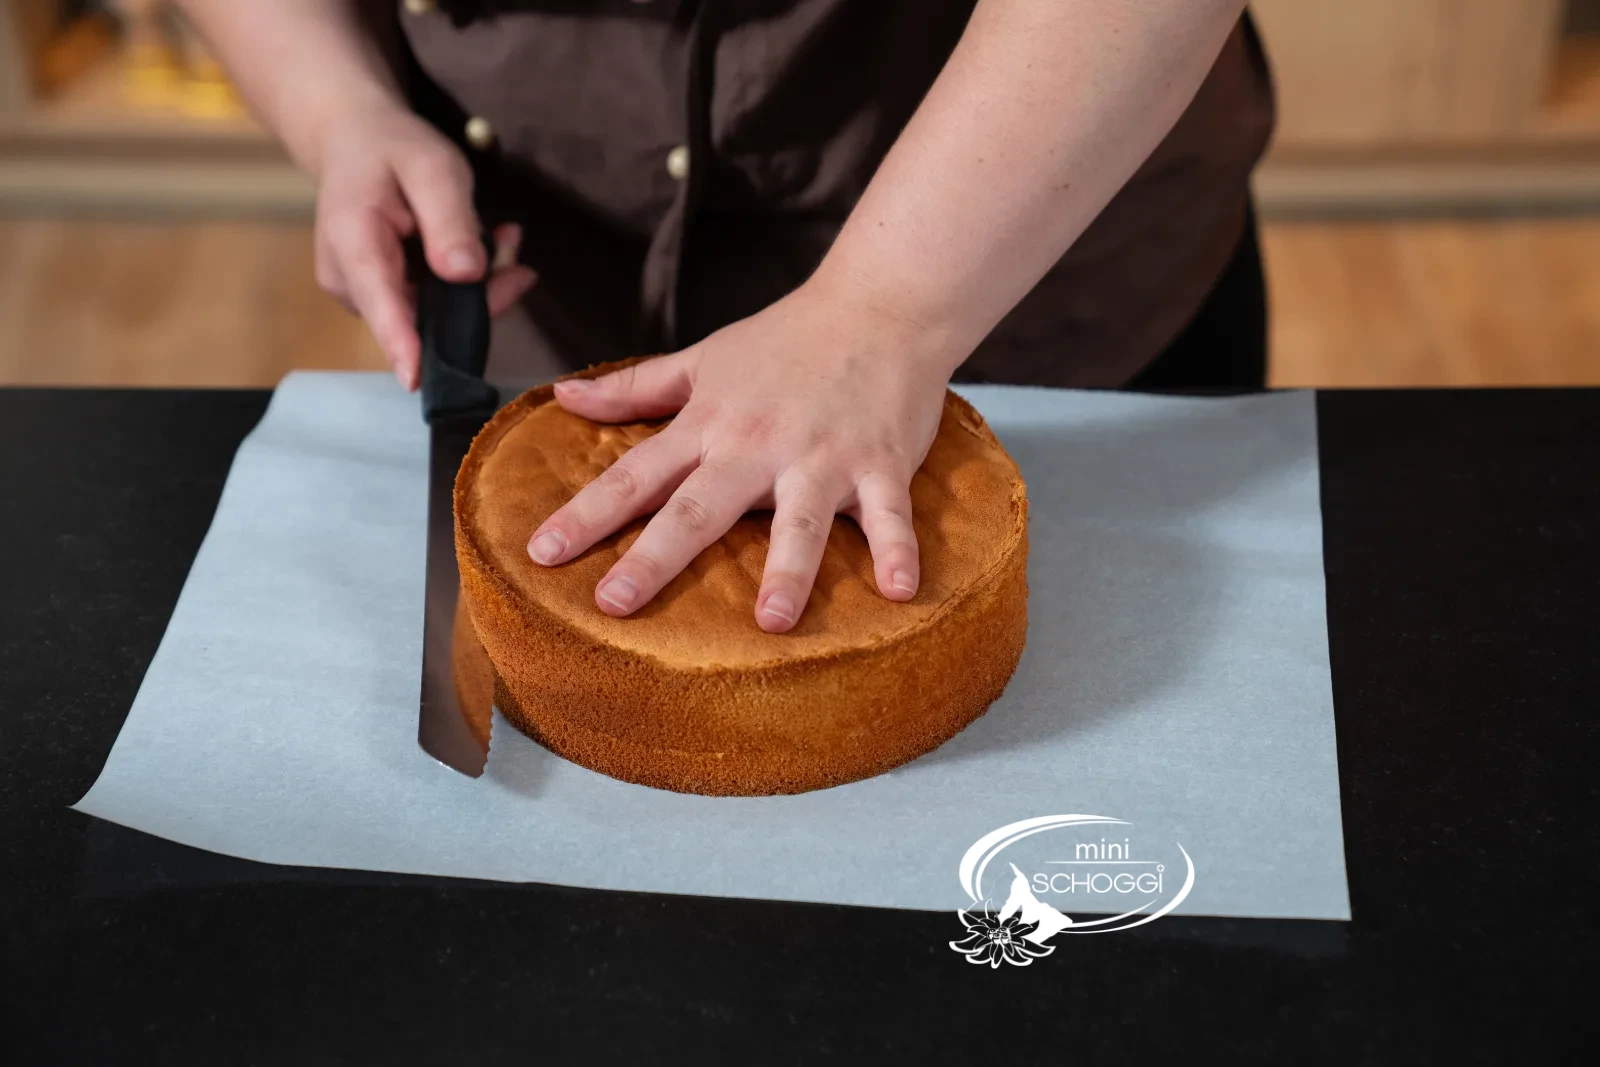
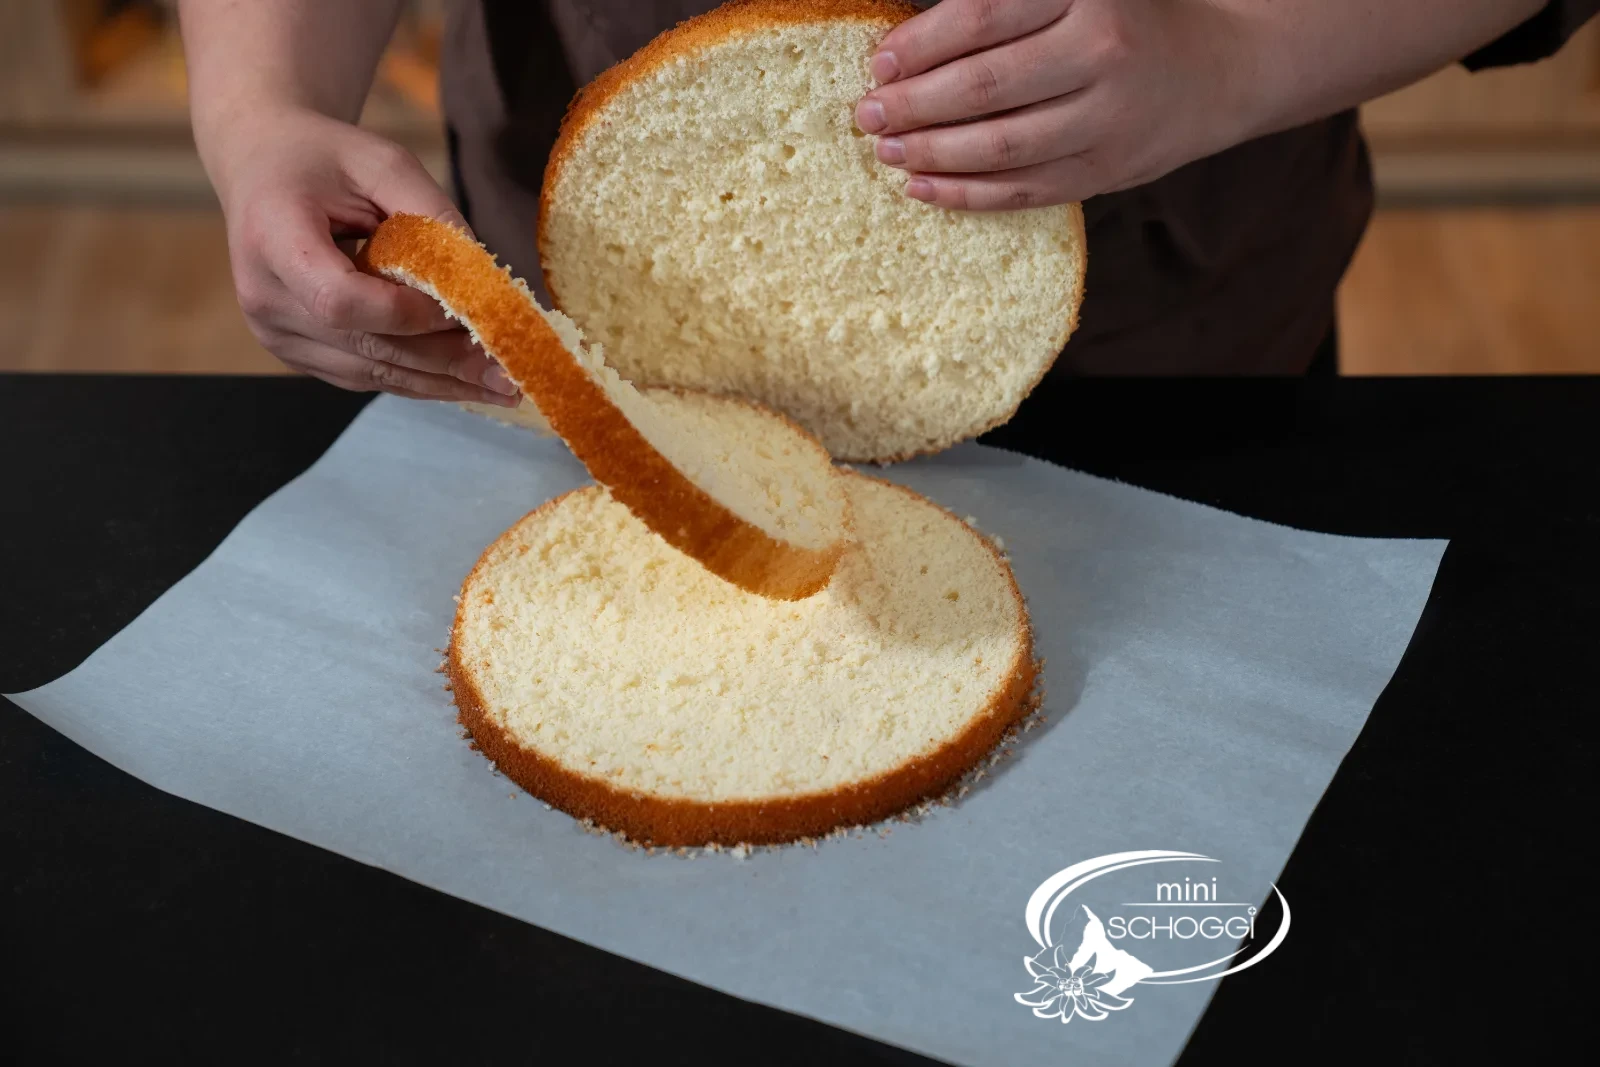
Let the sponge rest overnight – this makes it much easier to slice the next day. Divide it into three equally thick slices with a biscuit cutter or a knife.
Vanilla-strawberry cream (1st filling) preparation
1
Boil the strawberry puree & mix the vanilla cream powder
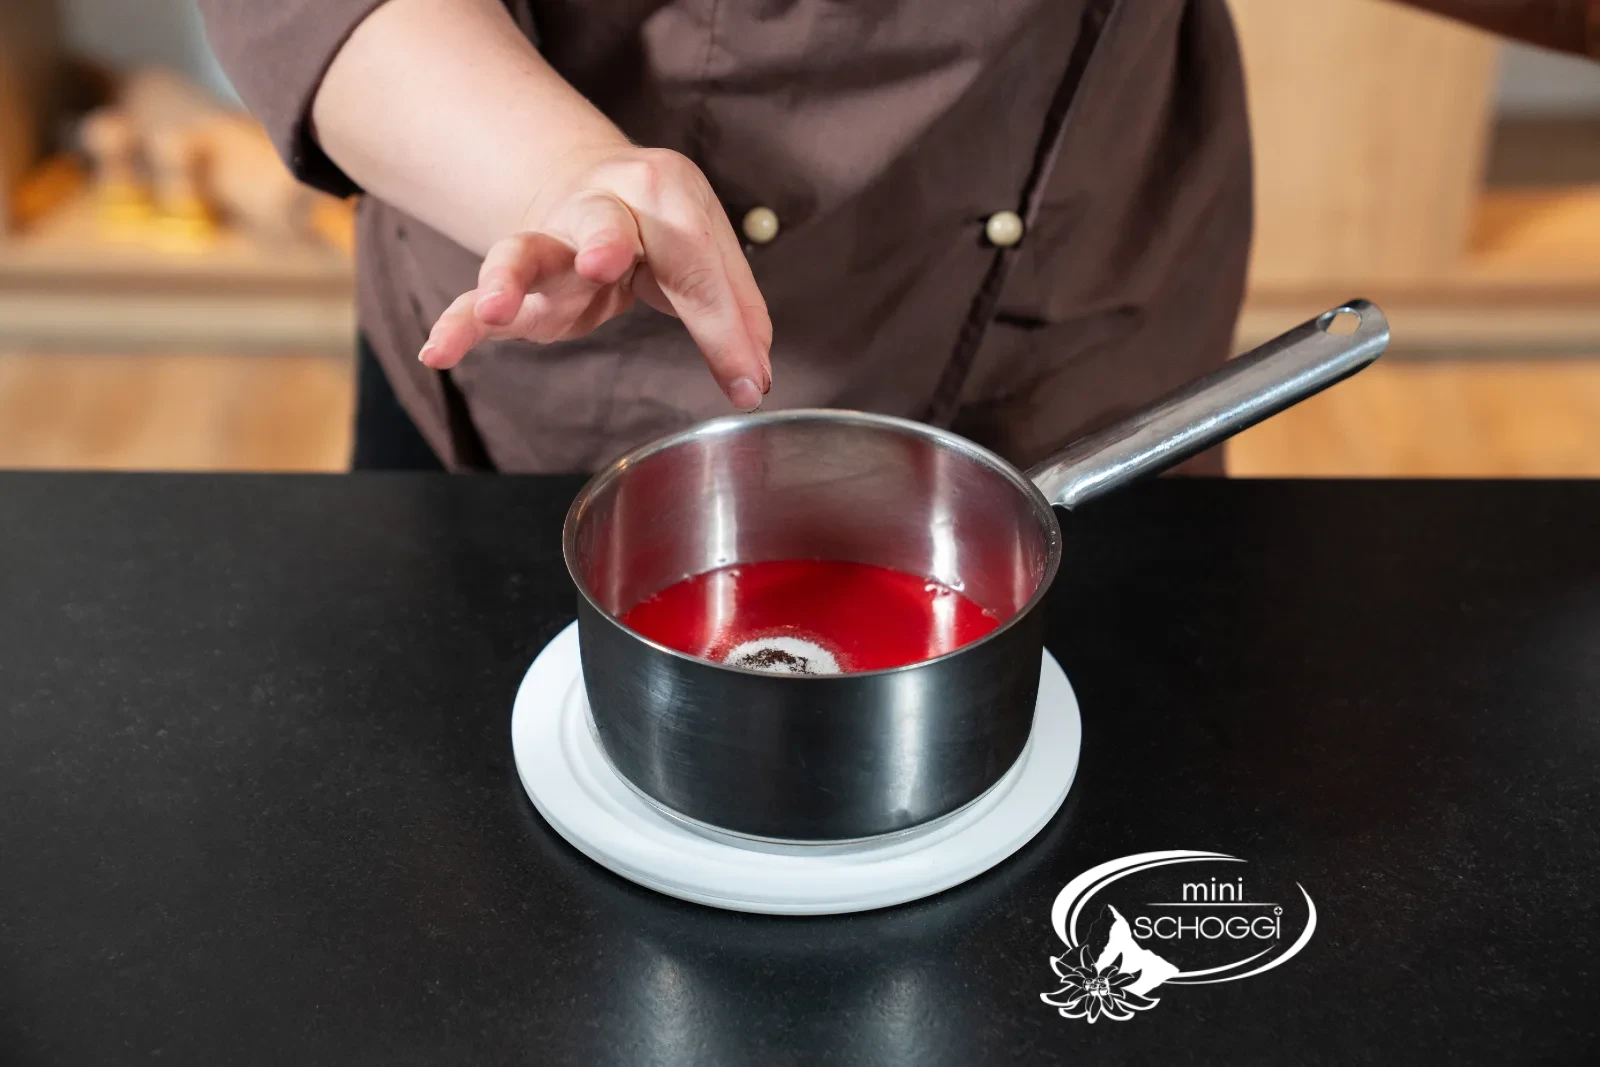
Put the Strawberry puree (part 2) together with the sugar and the Vanilla seeds in a pan.
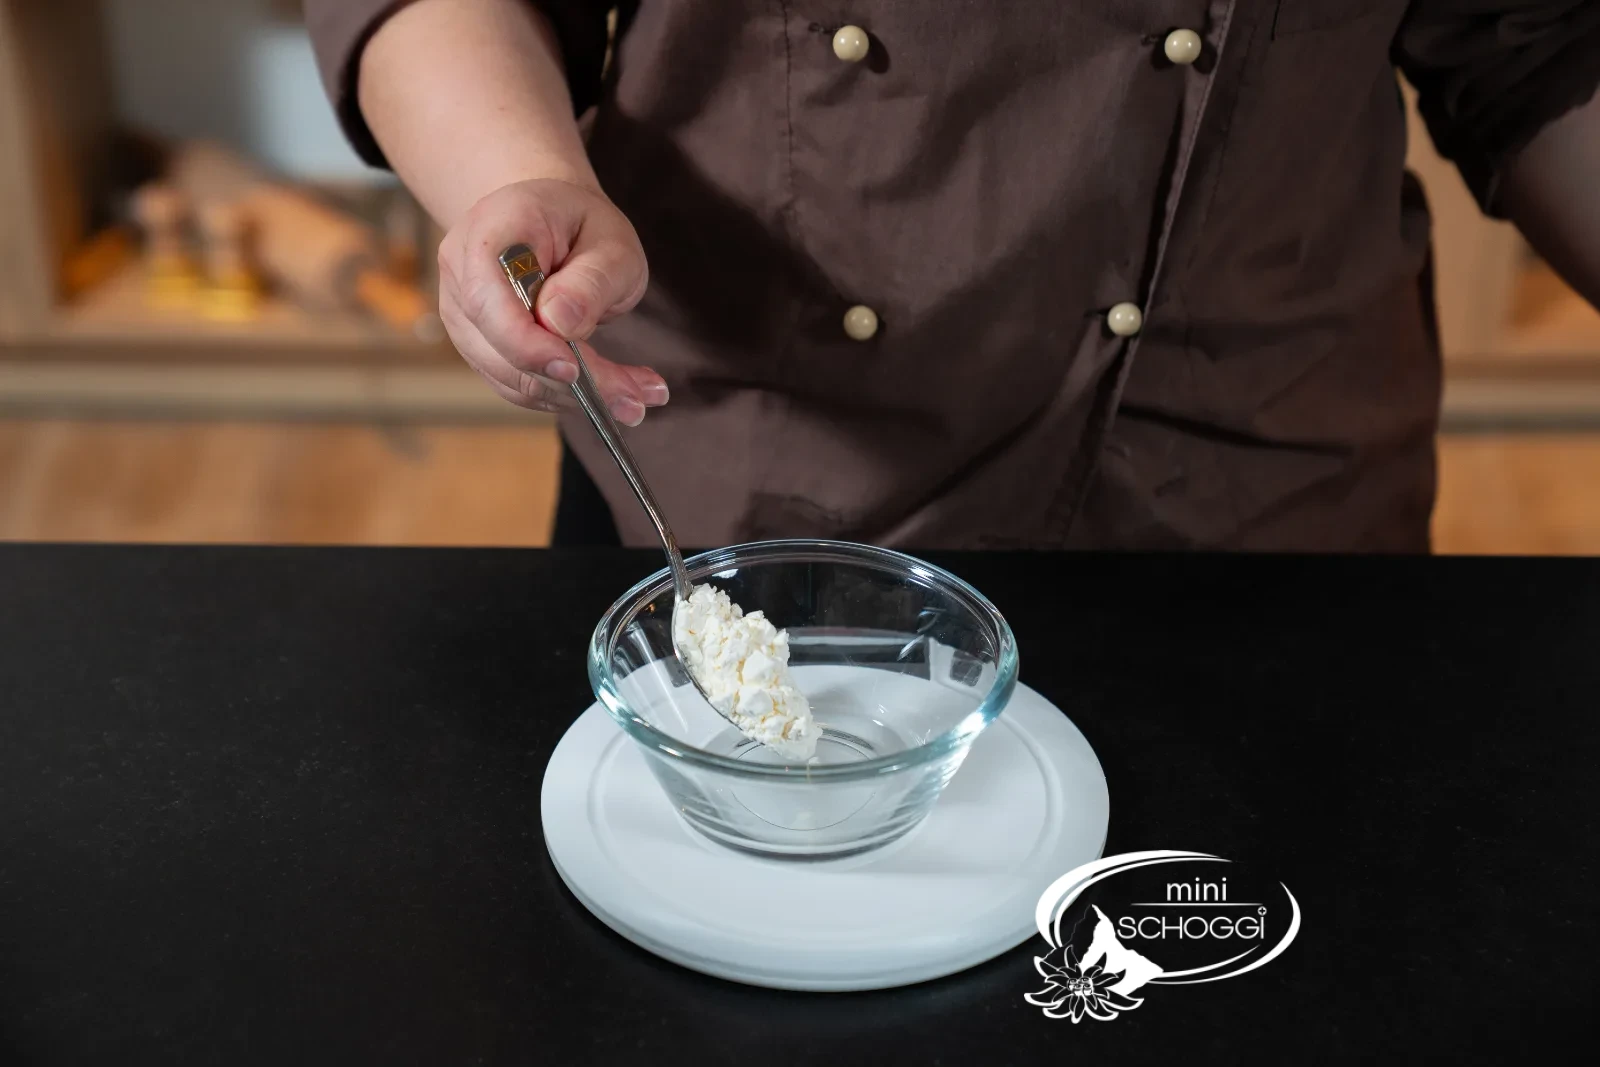
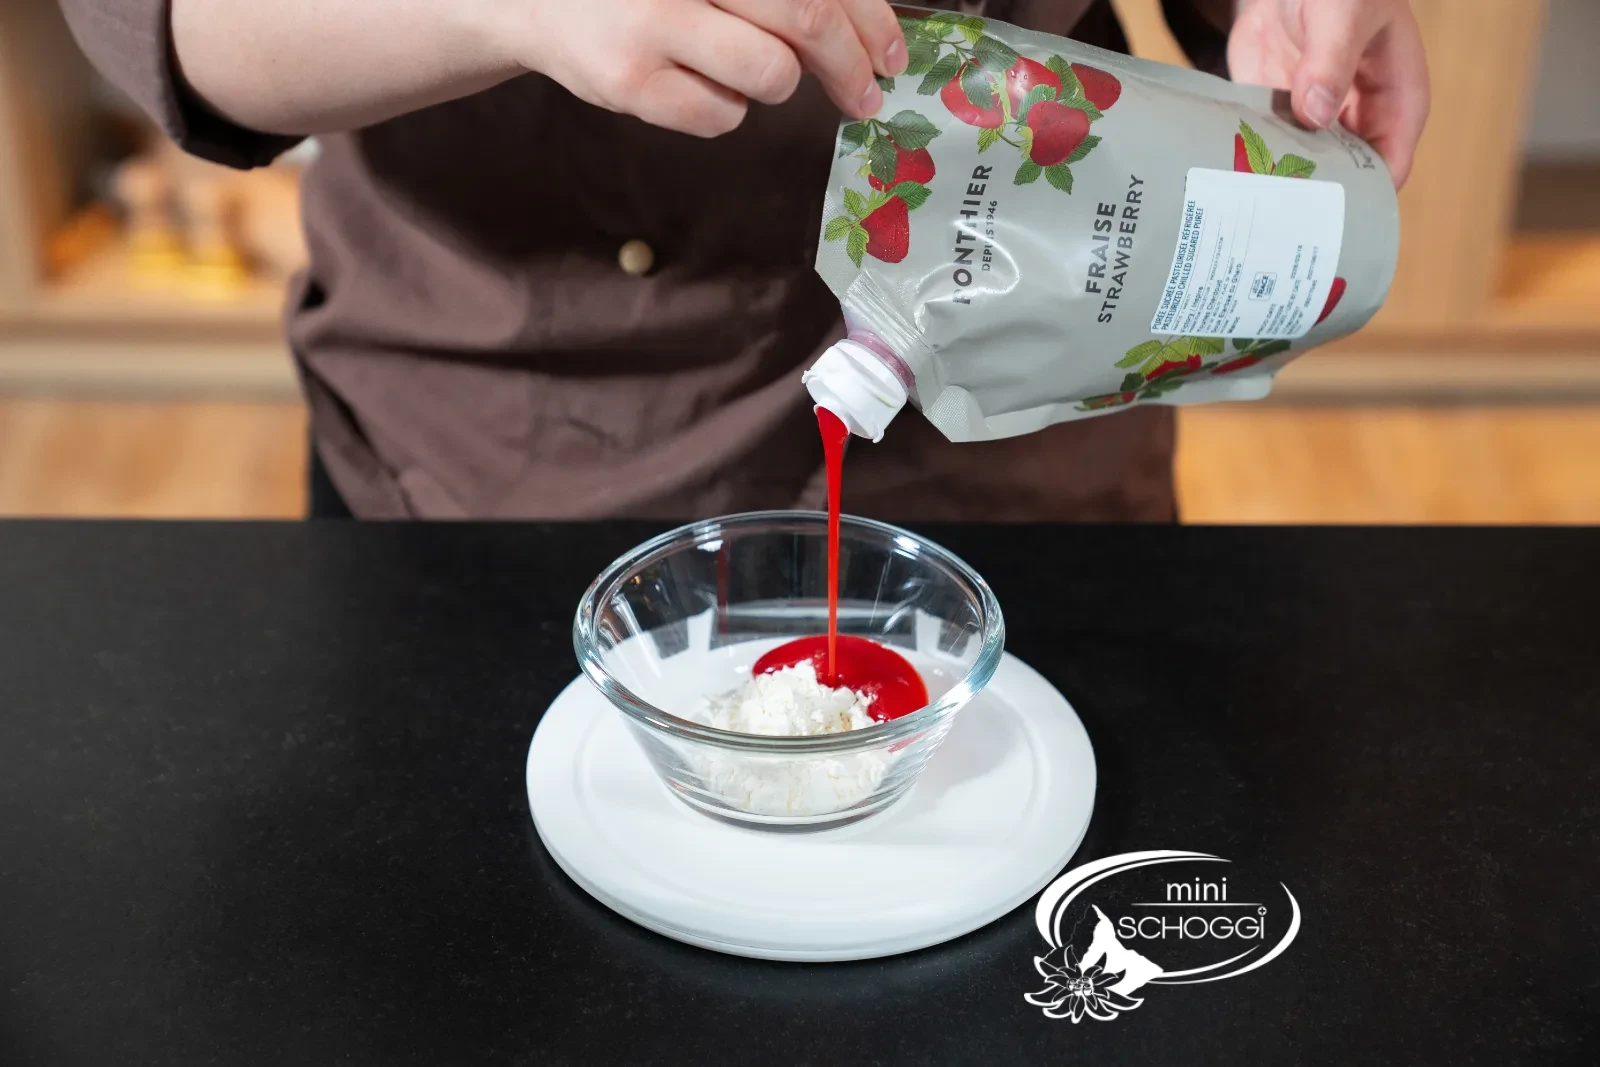
In a separate bowl, mix the Vanilla cream powder with the Strawberry puree (part 1).
What you need for this


Bourbon vanilla seeds, 5 g
Whisk 25 cm
Strawberry fruit puree 1 kg
2
Tempering, boiling and binding
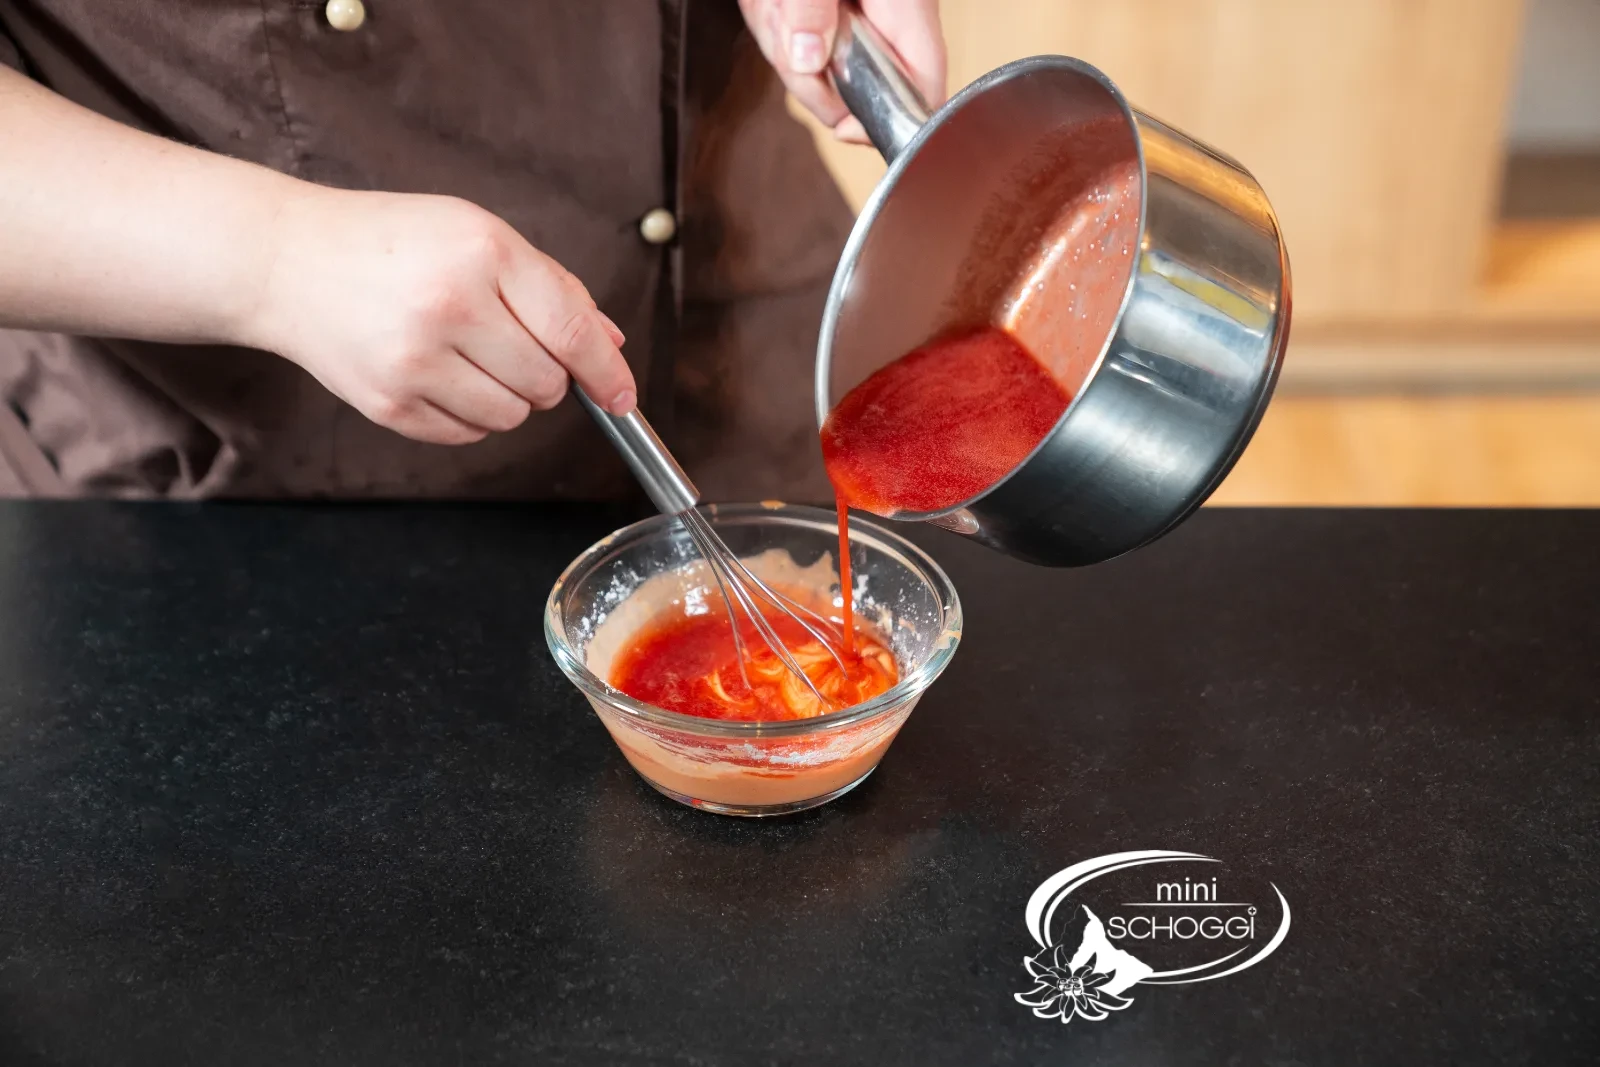
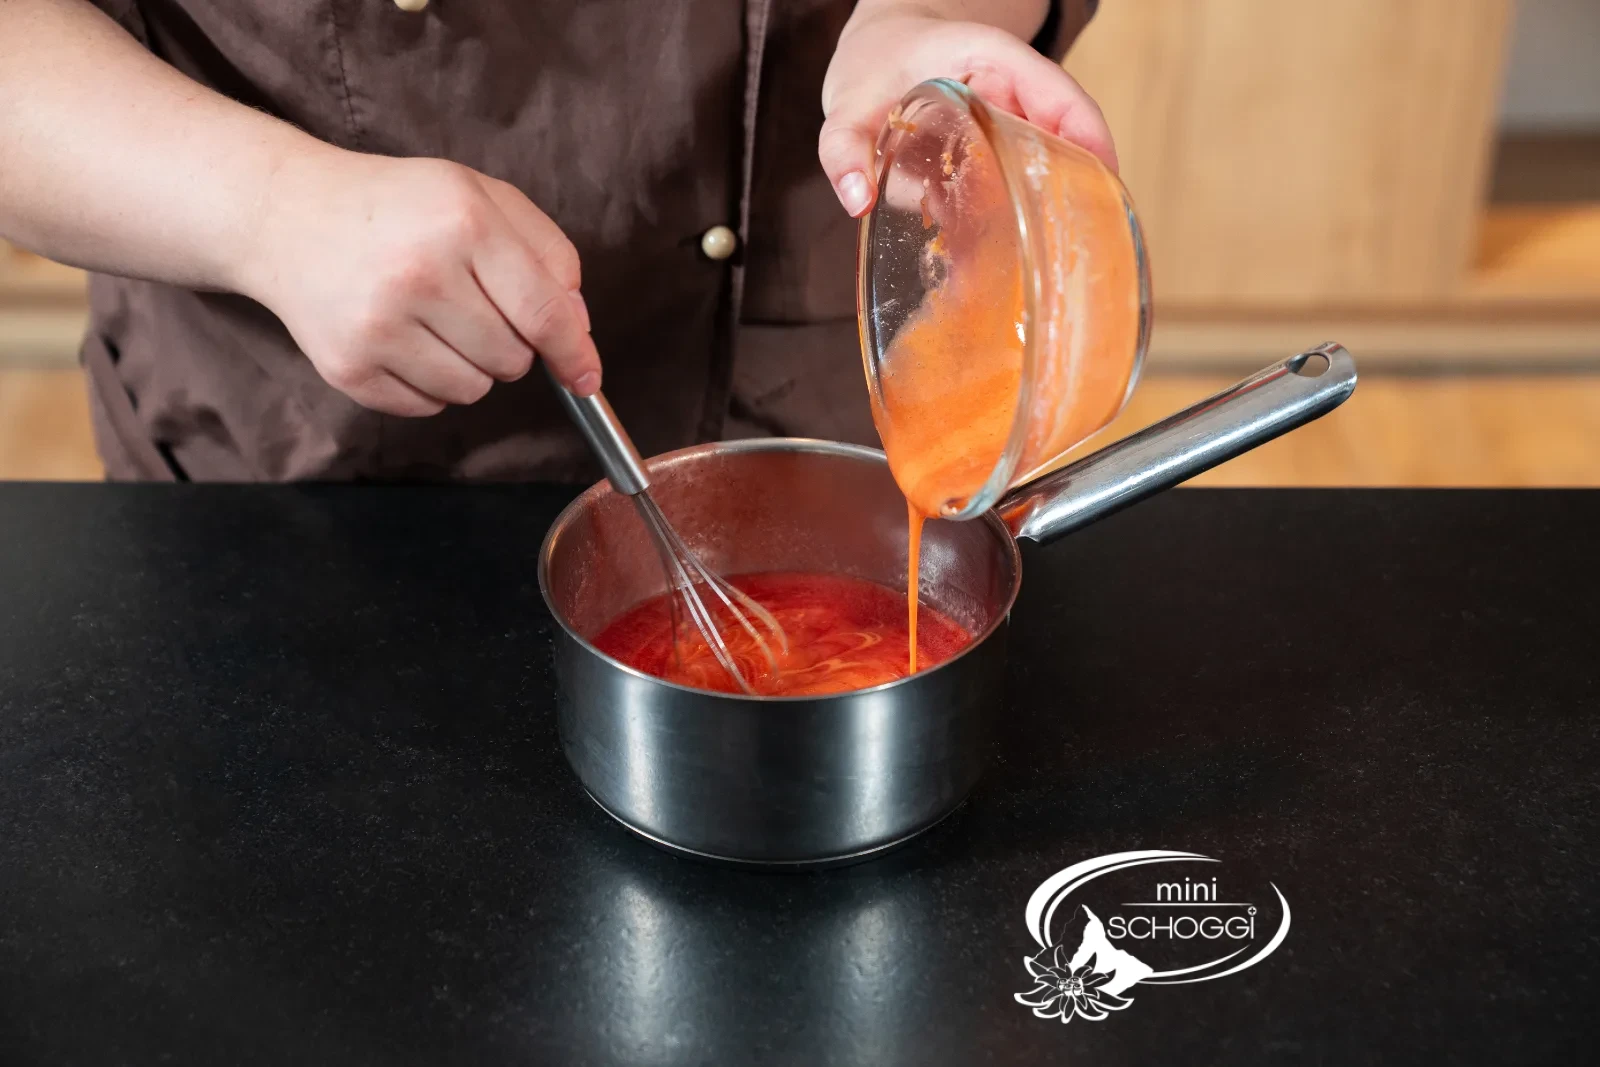
Boil the strawberry puree and add a splash of it to the mixed Vanilla cream powder. Stir well with a whisk.
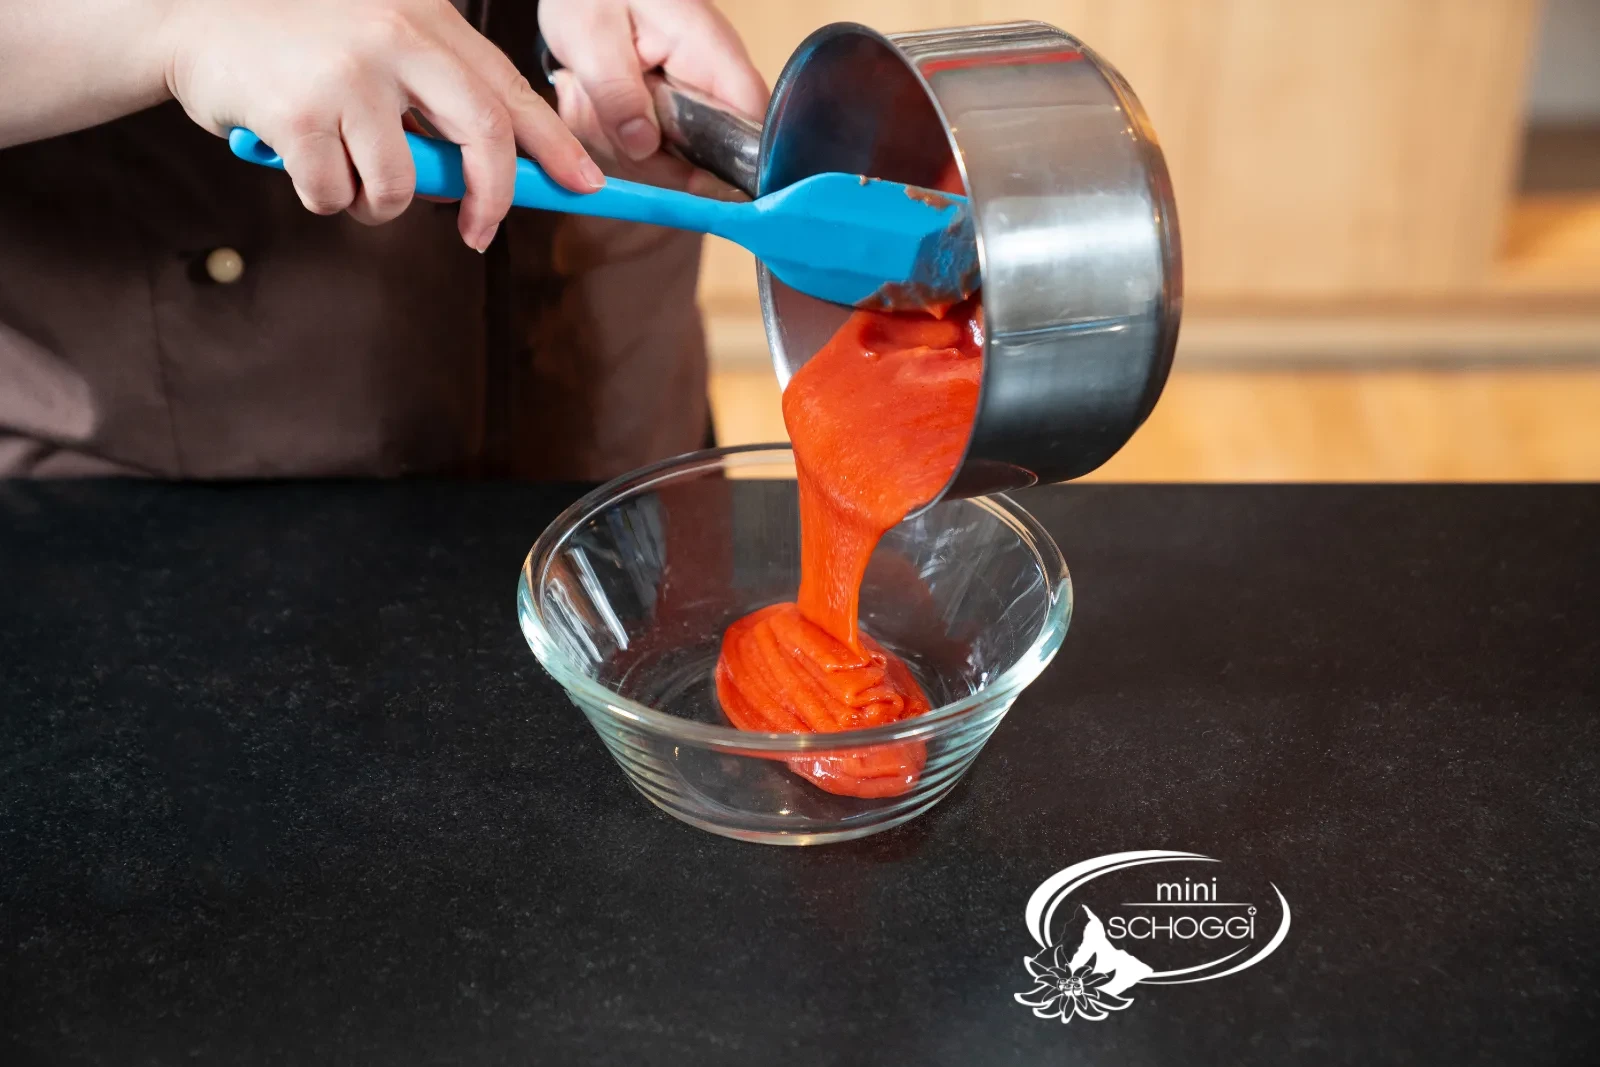
Pour the mixture back into the pan, reduce the heat and stir constantly until the cream is almost fully bound. Fill it into a bowl and cover it.
3
Cool in the fridge
Cover the cream directly on the surface with cling film and press it down a little. Then let it cool completely in the fridge. Depending on the quantity this can take a few hours.
4
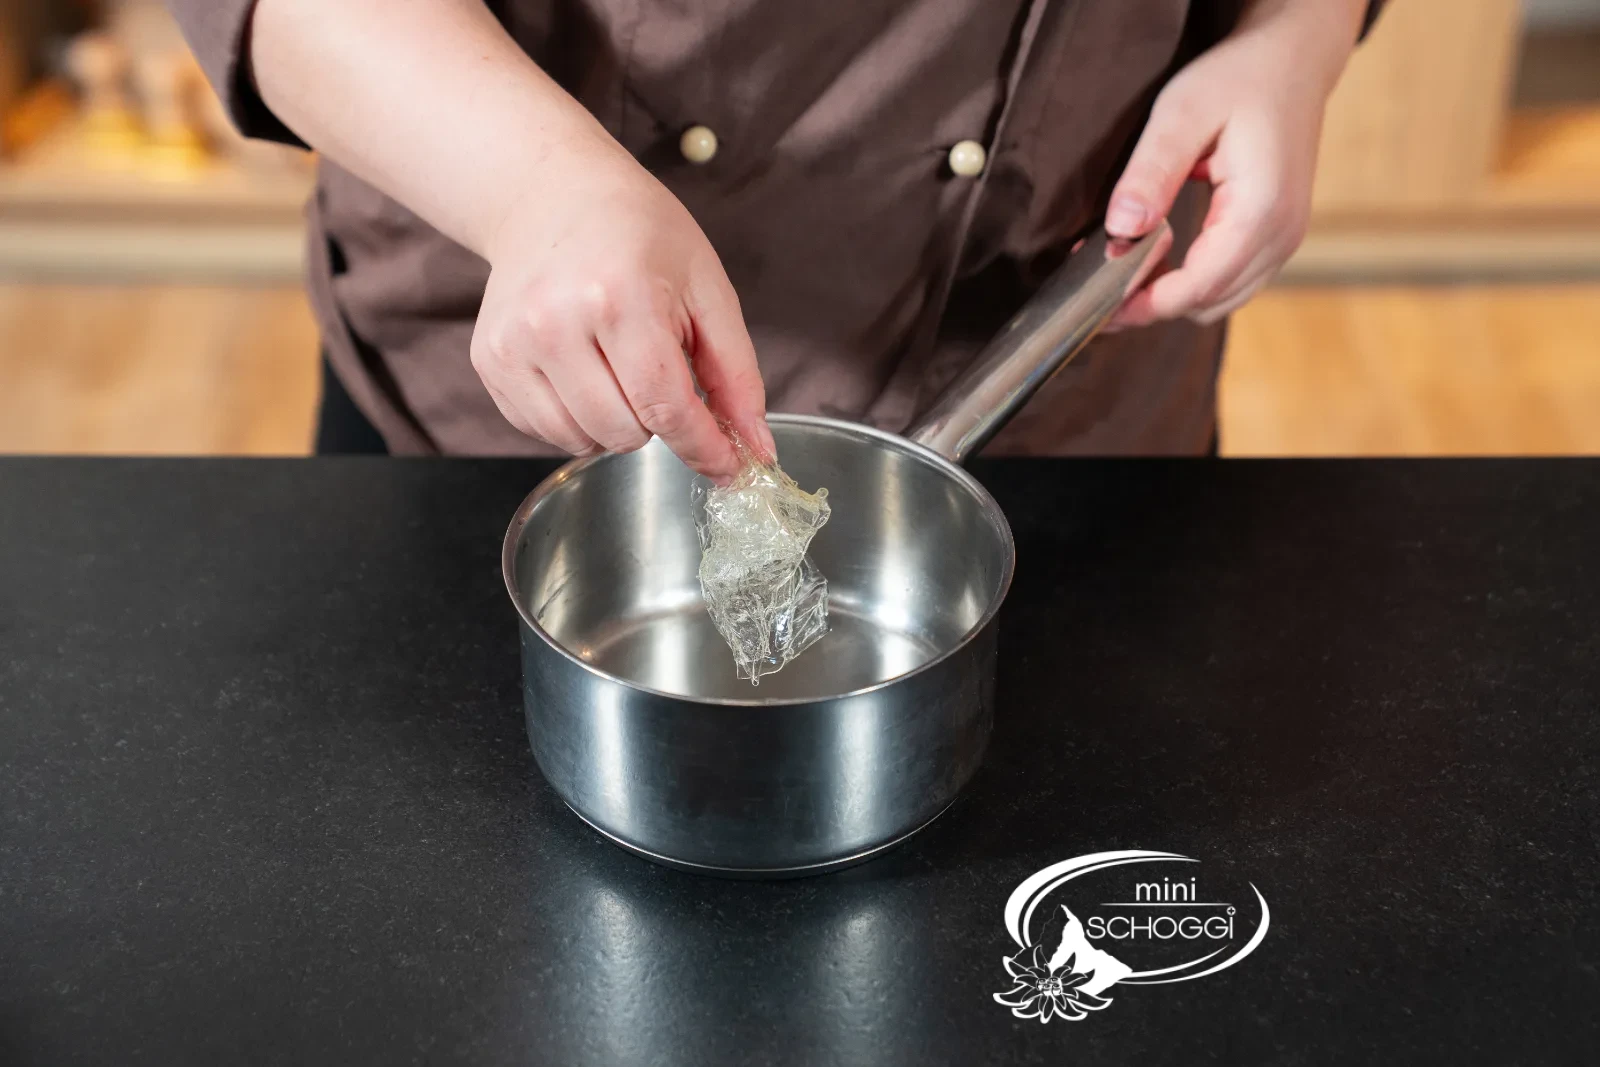
Prepare and melt the gelatine
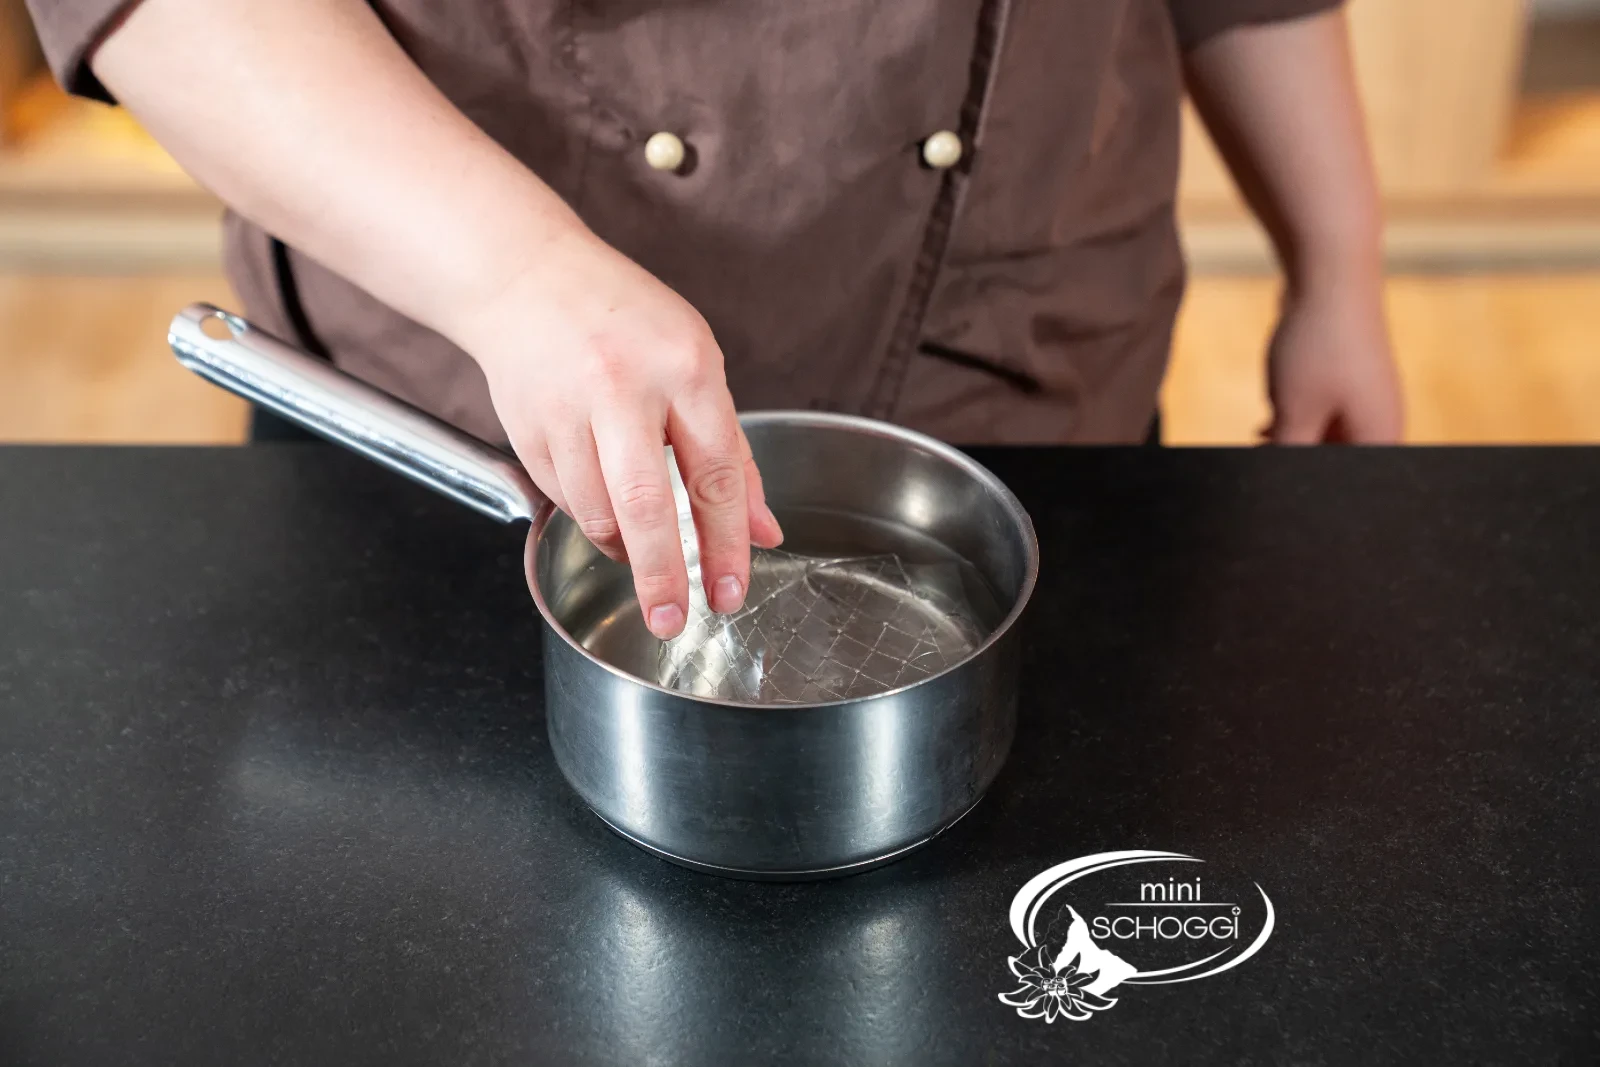
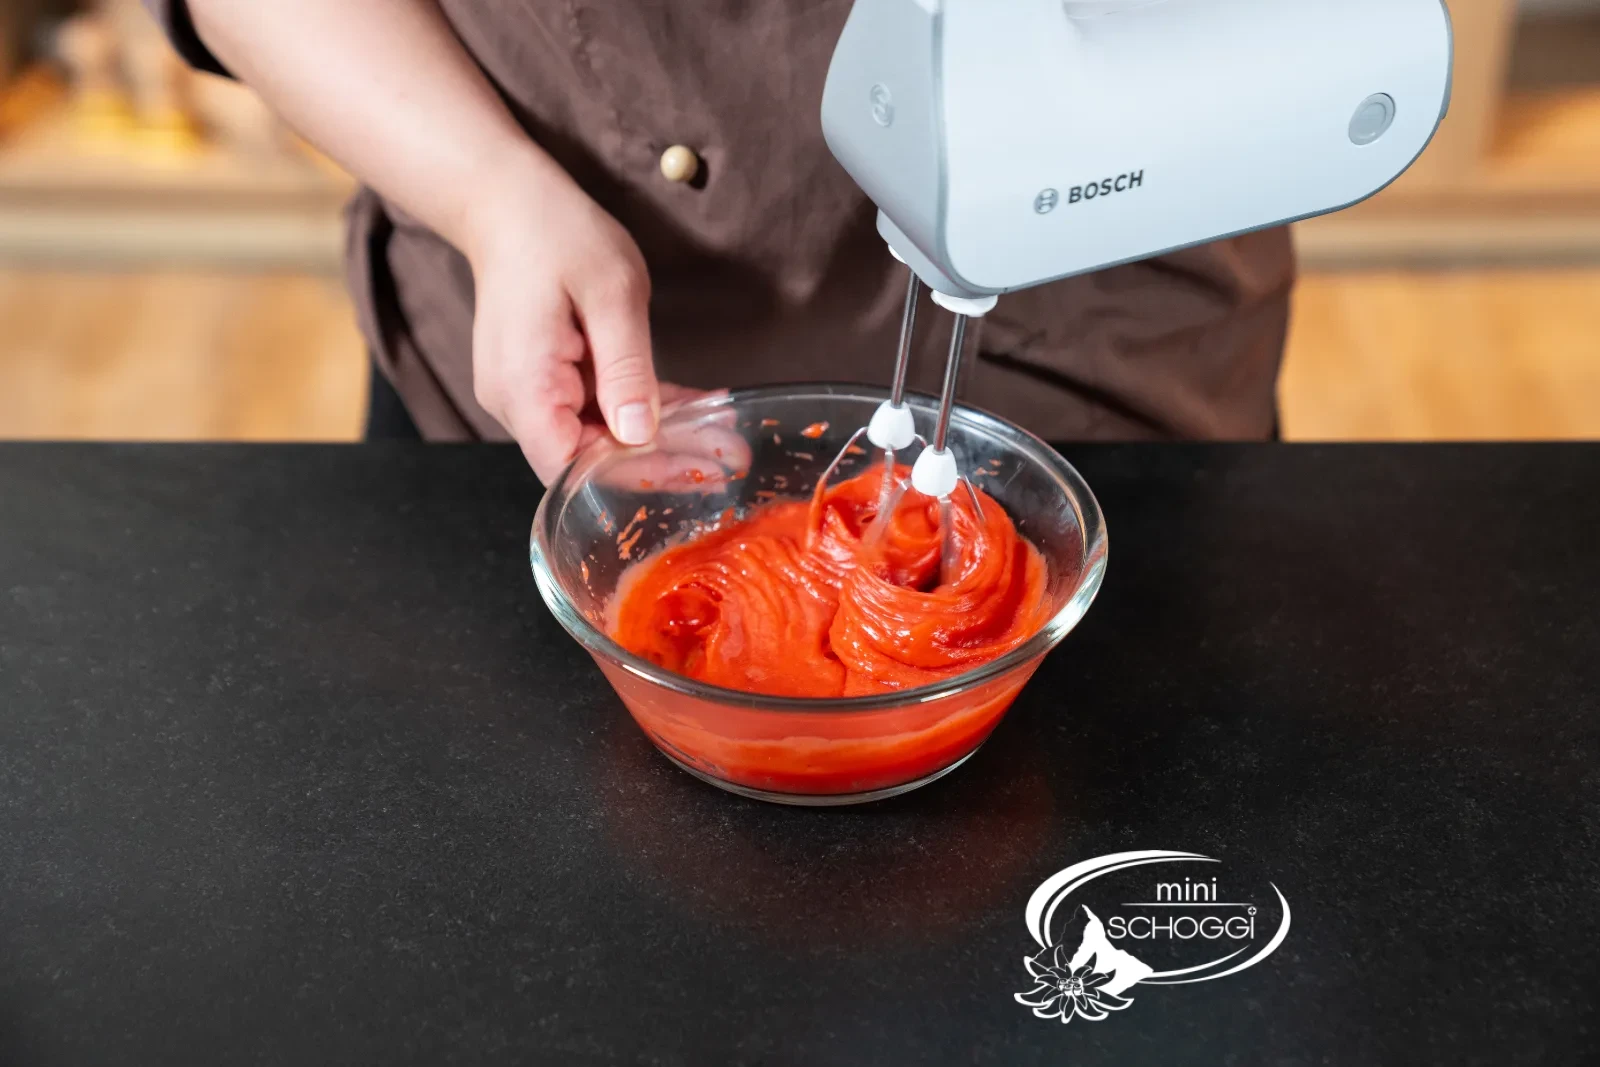
Soak the Gelatine in cold water. Take the cooled cream out of the fridge and whip it with your hand mixer until no lumps are left. Squeeze out the soaked gelatine and melt it on low heat in a small pan.
What you need for this

Professional leaf gelatine, 150 pieces
5
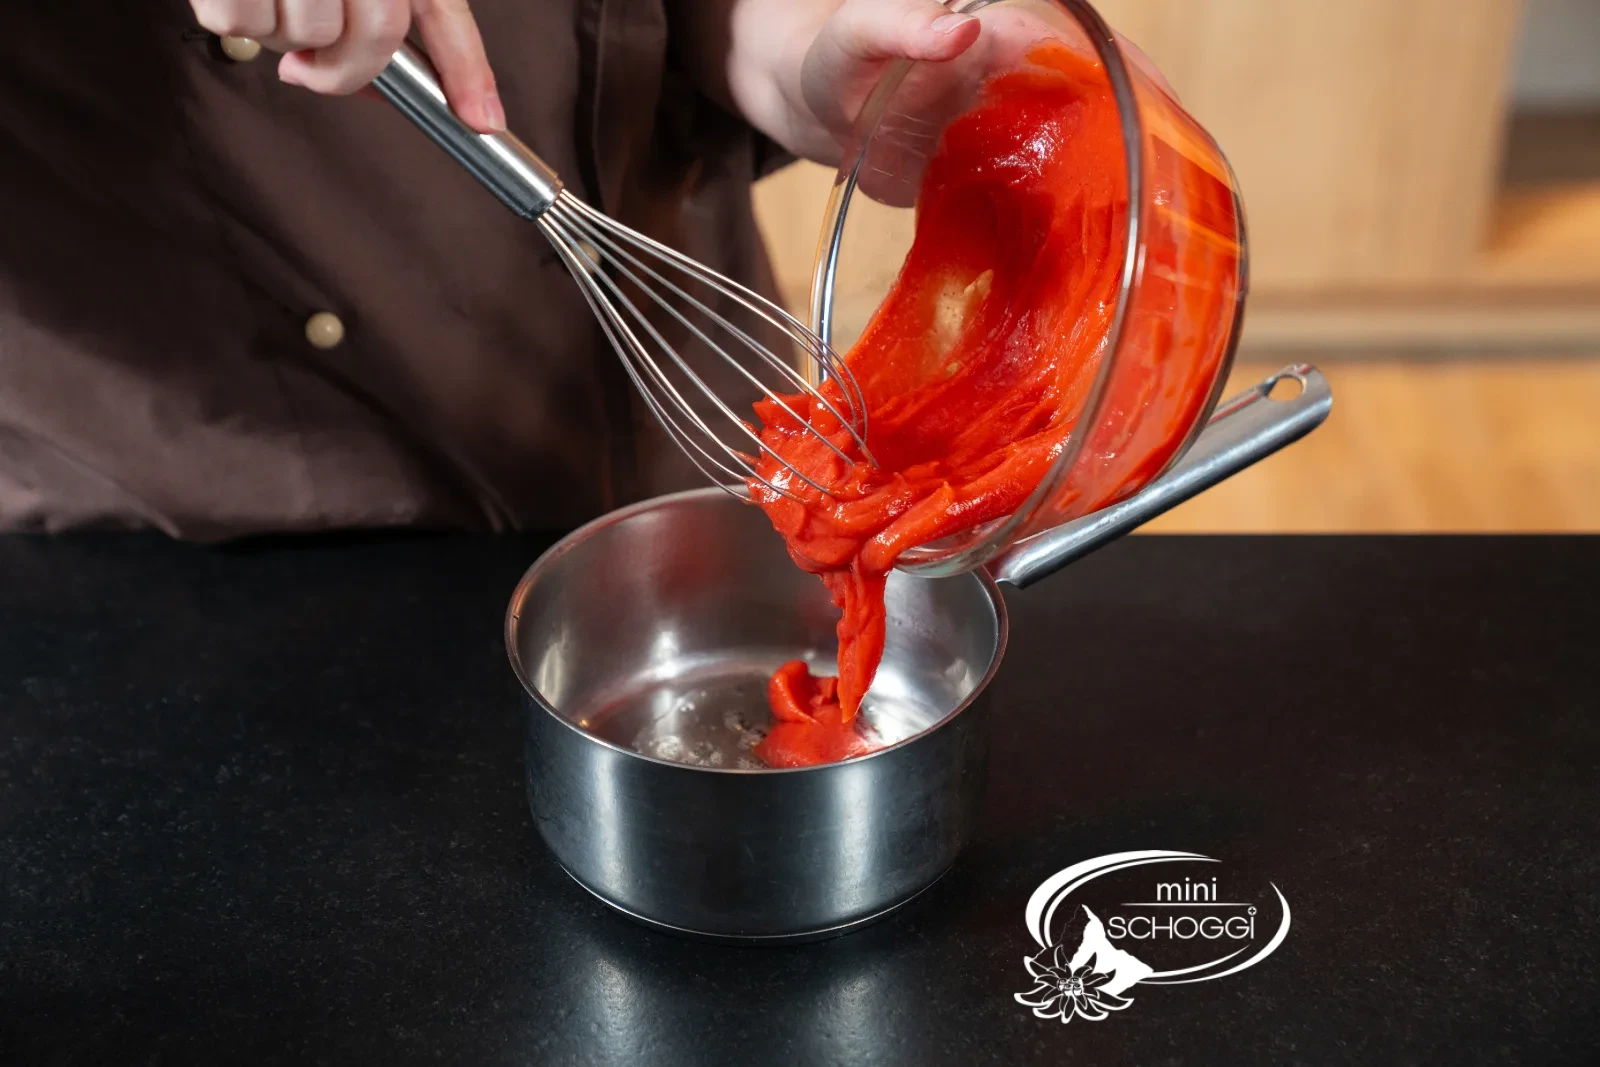
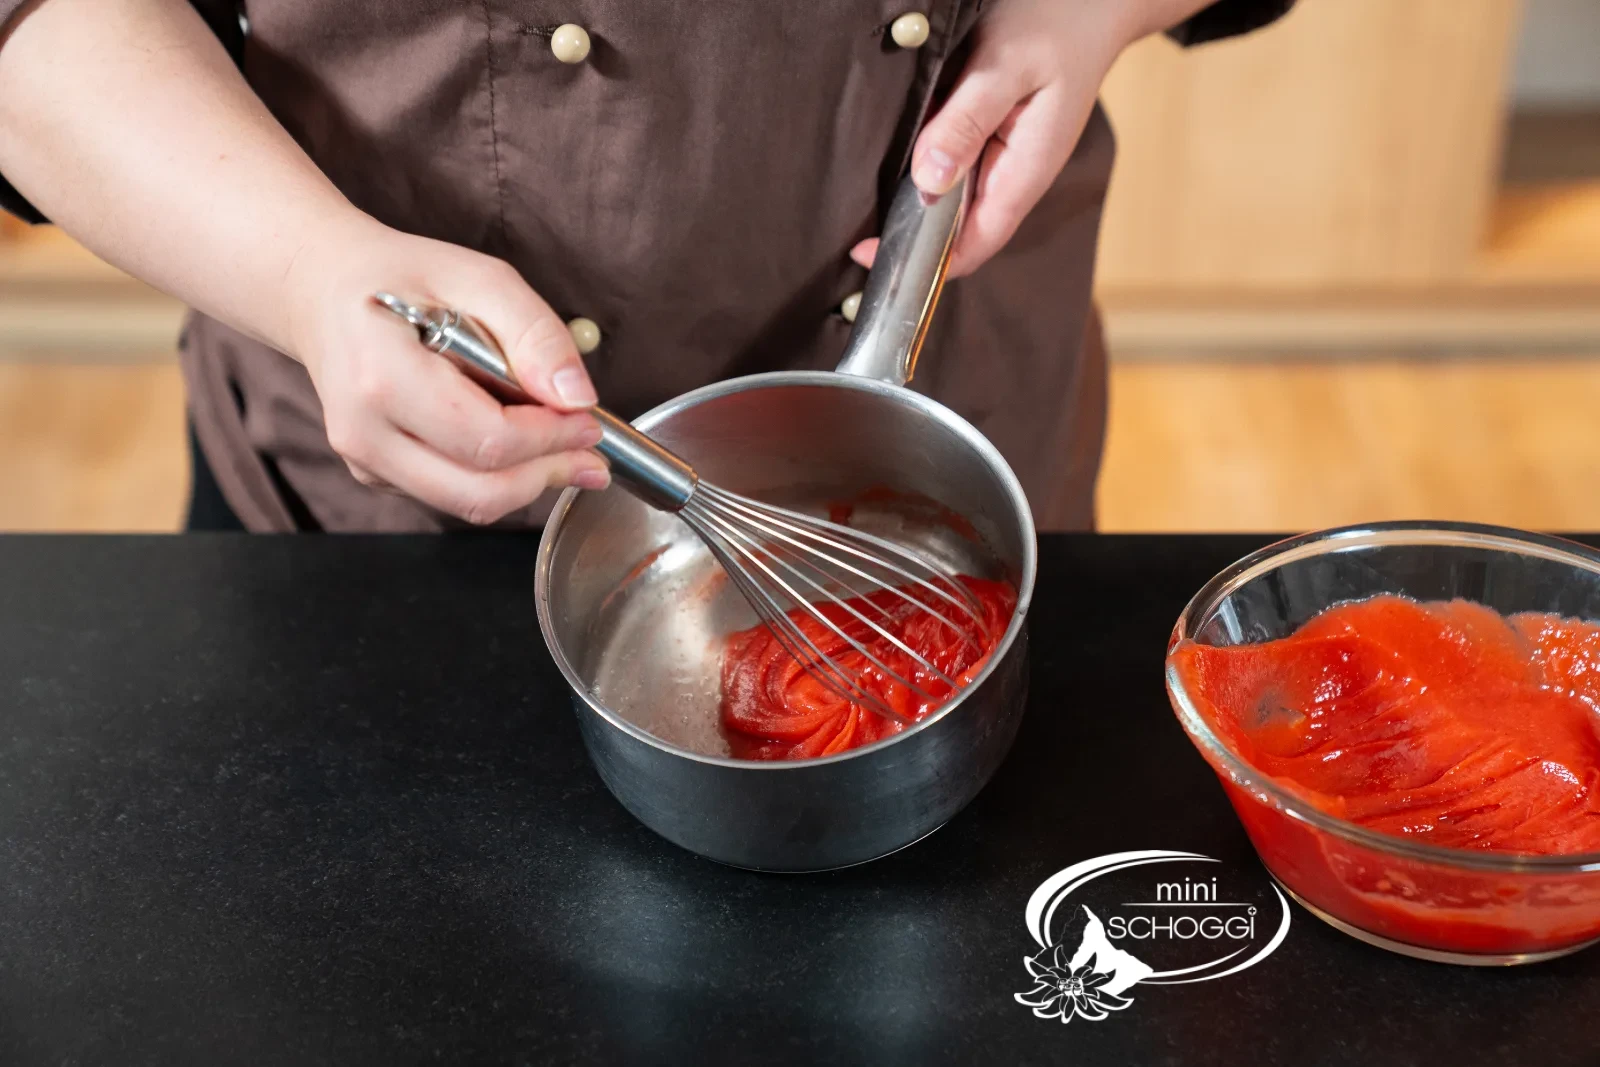
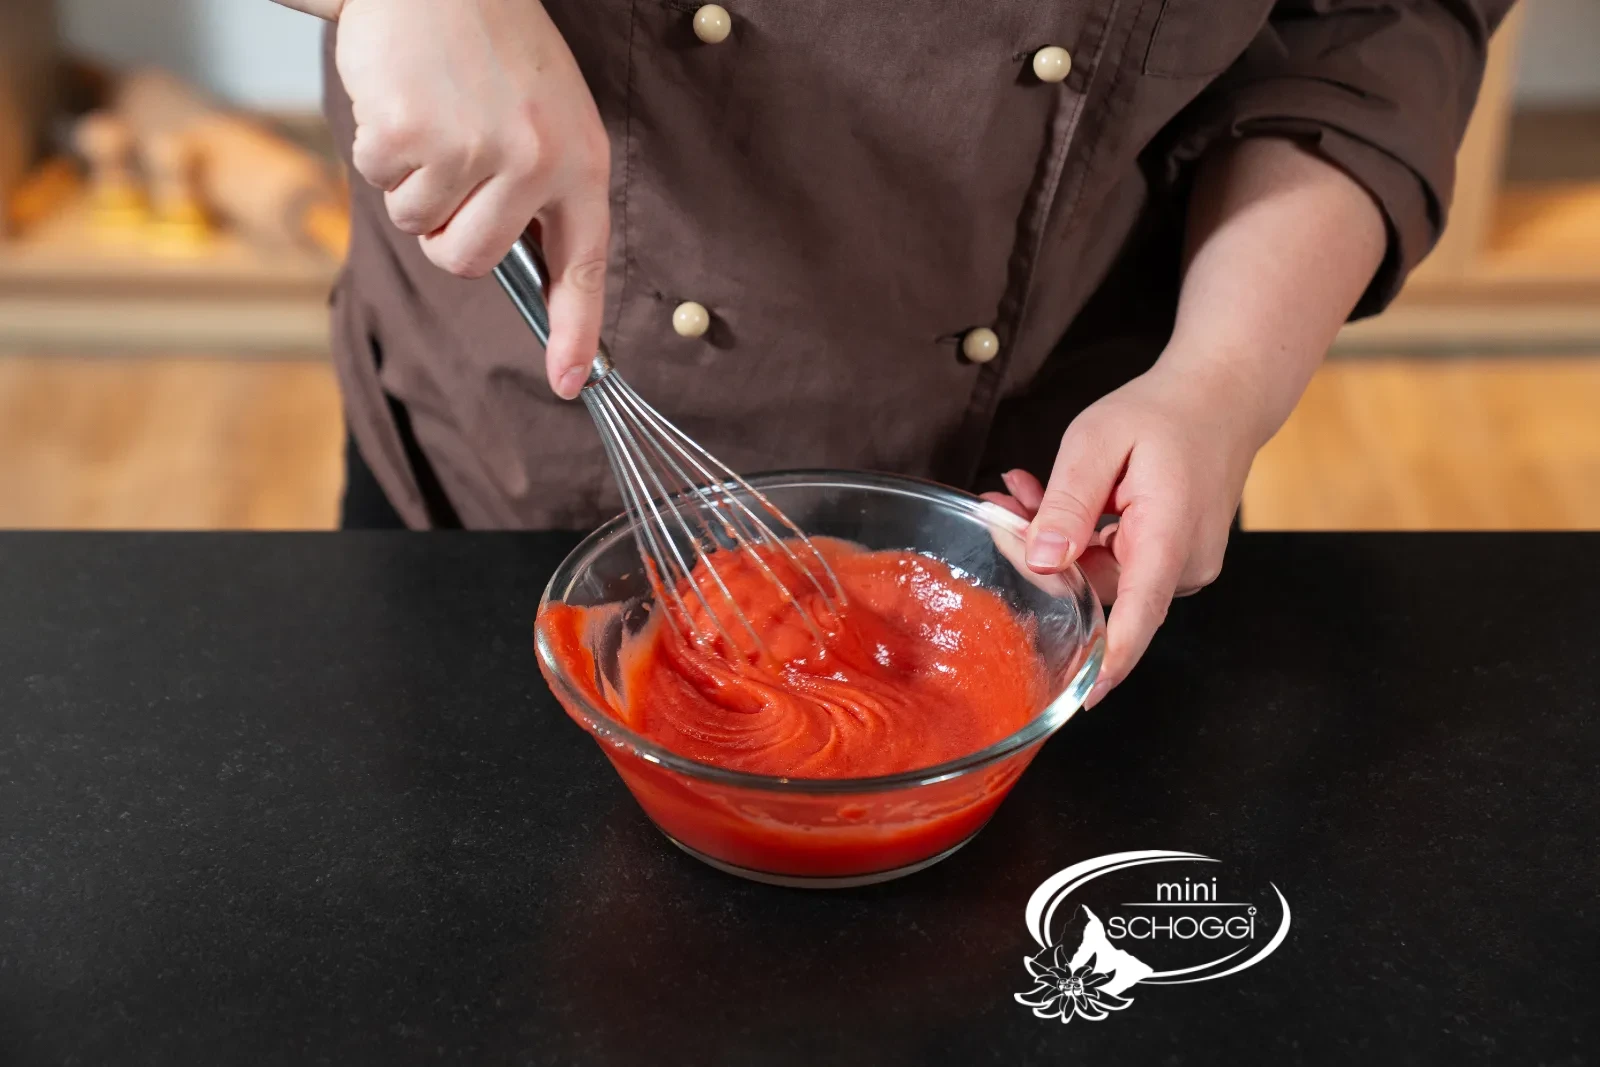
Incorporate the gelatine
Now add some of the whipped strawberry-vanilla cream to the dissolved Gelatine in the pan and mix everything well. Pour the tempered strawberry-vanilla cream back into the bowl with the rest of the cream and stir it in well with the whisk.
6
Fold in the cream
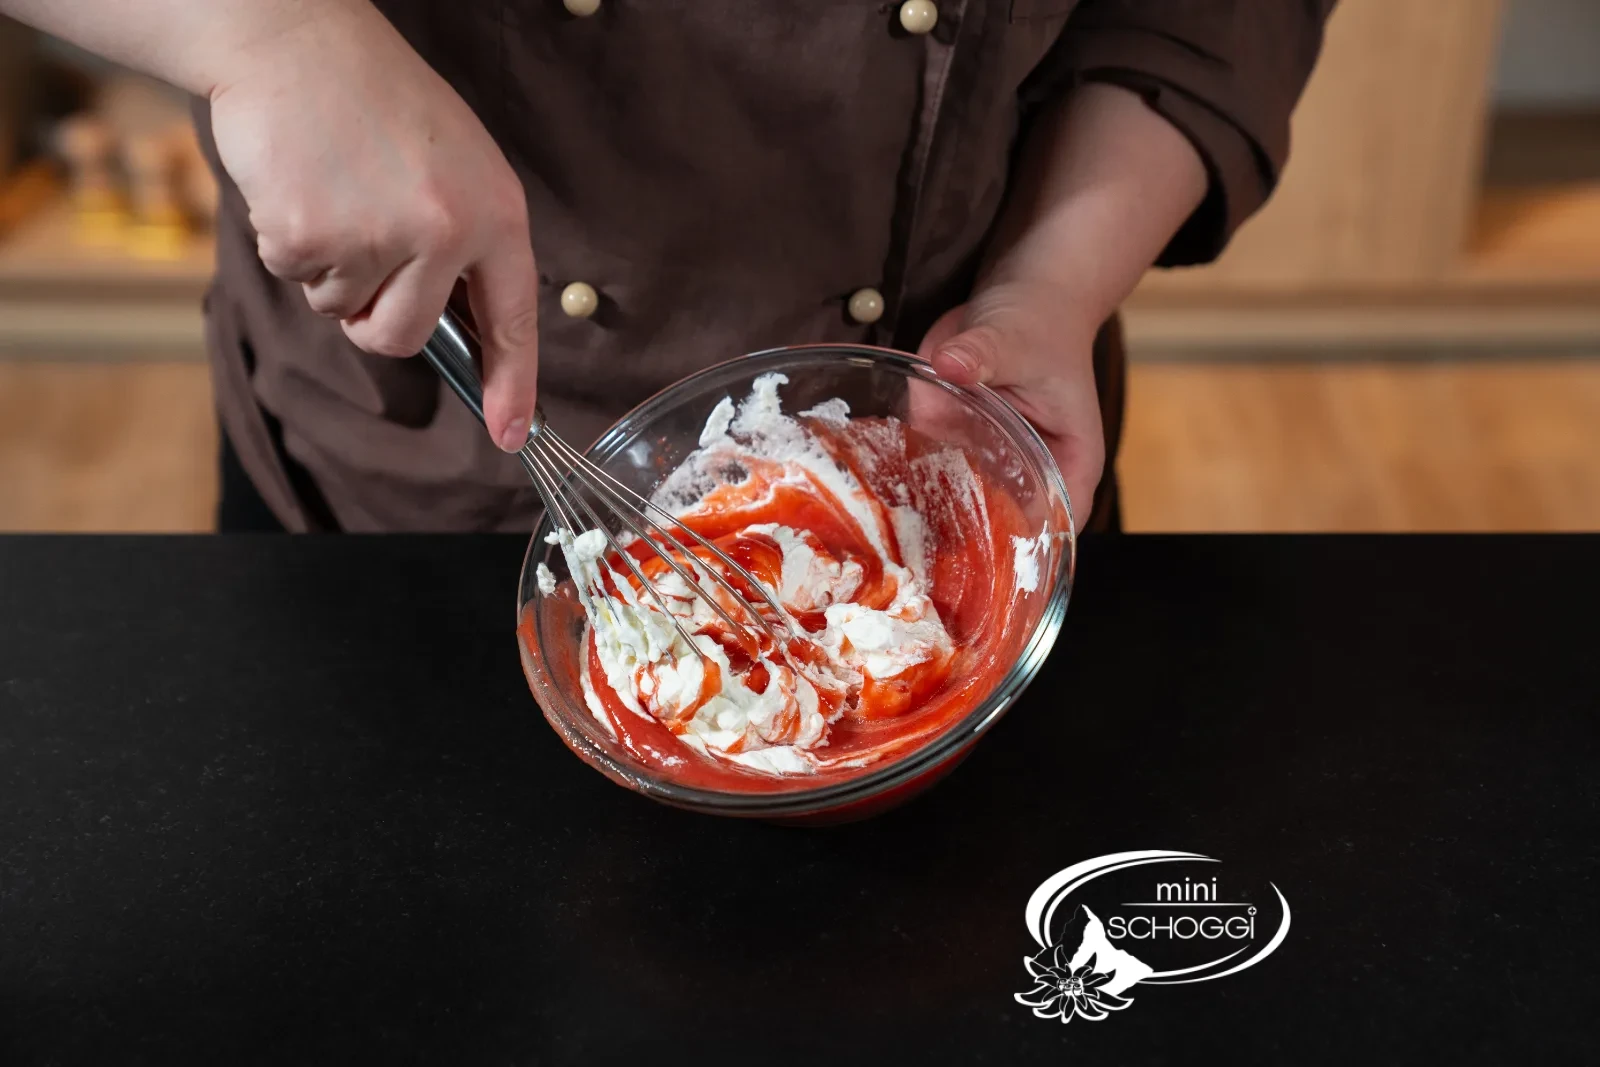
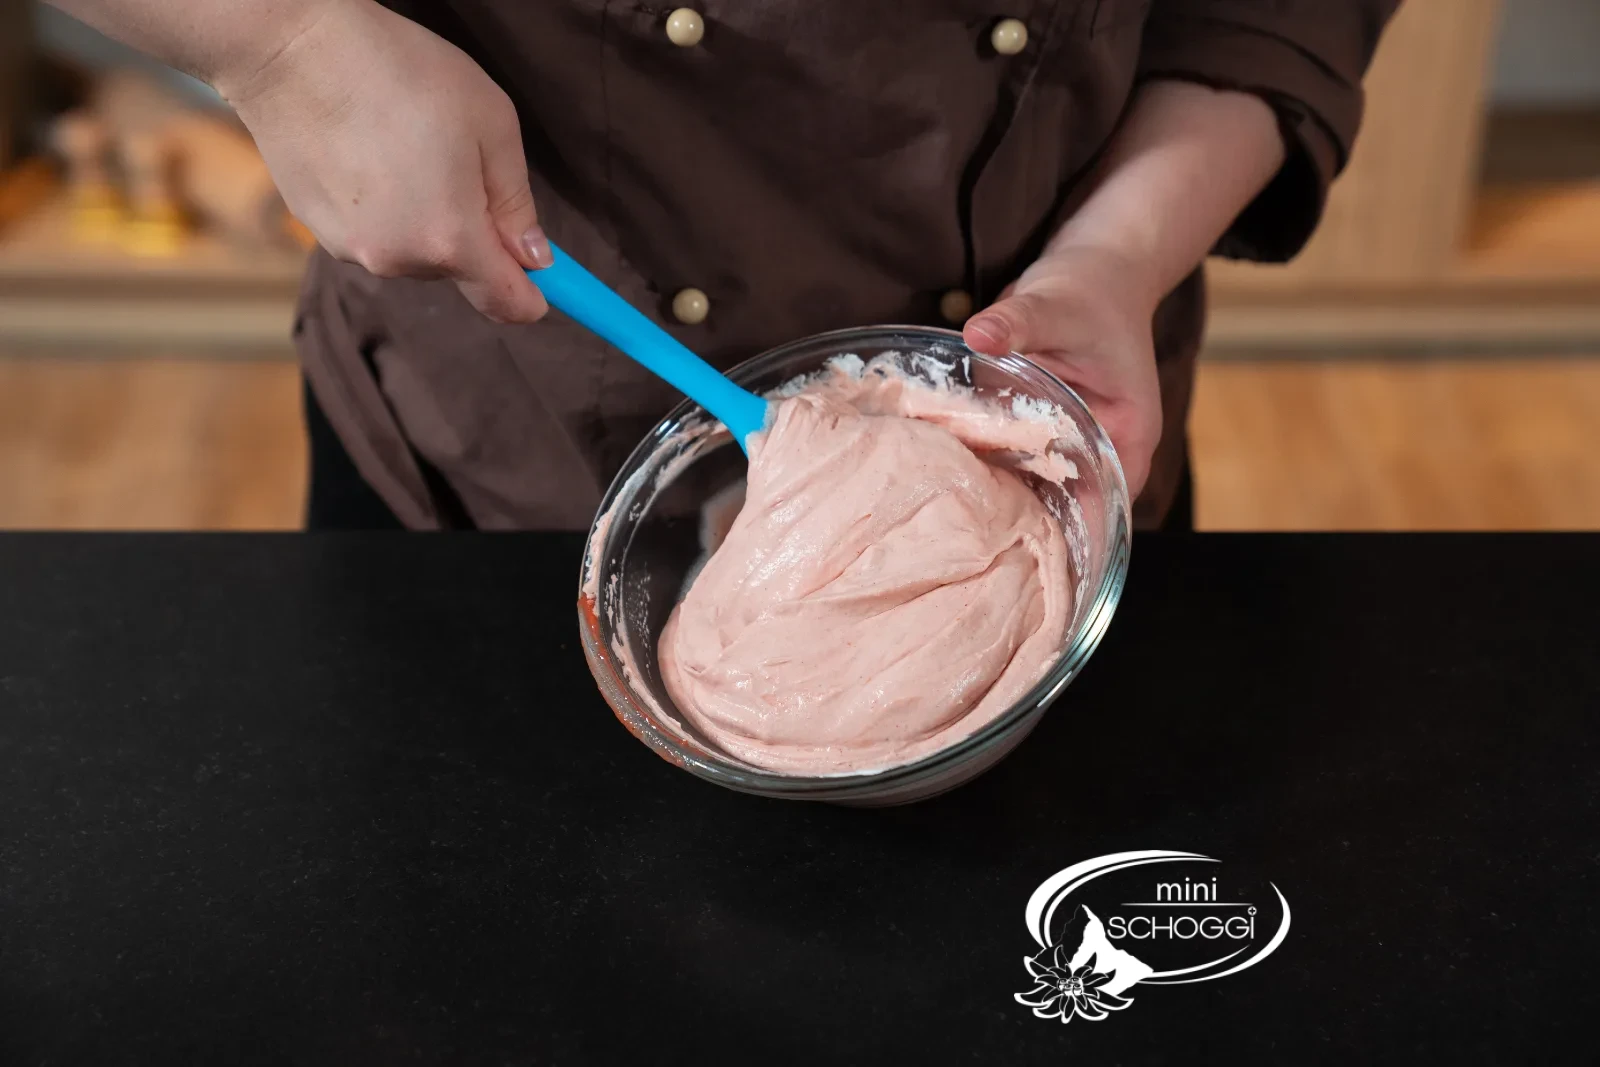
Now add the first part of the whipped full cream to the vanilla cream and gently fold it in with the whisk. Then fold in the second and finally the third part of the full cream.
Strawberry cream (2nd filling) preparation
1
Whip the cream
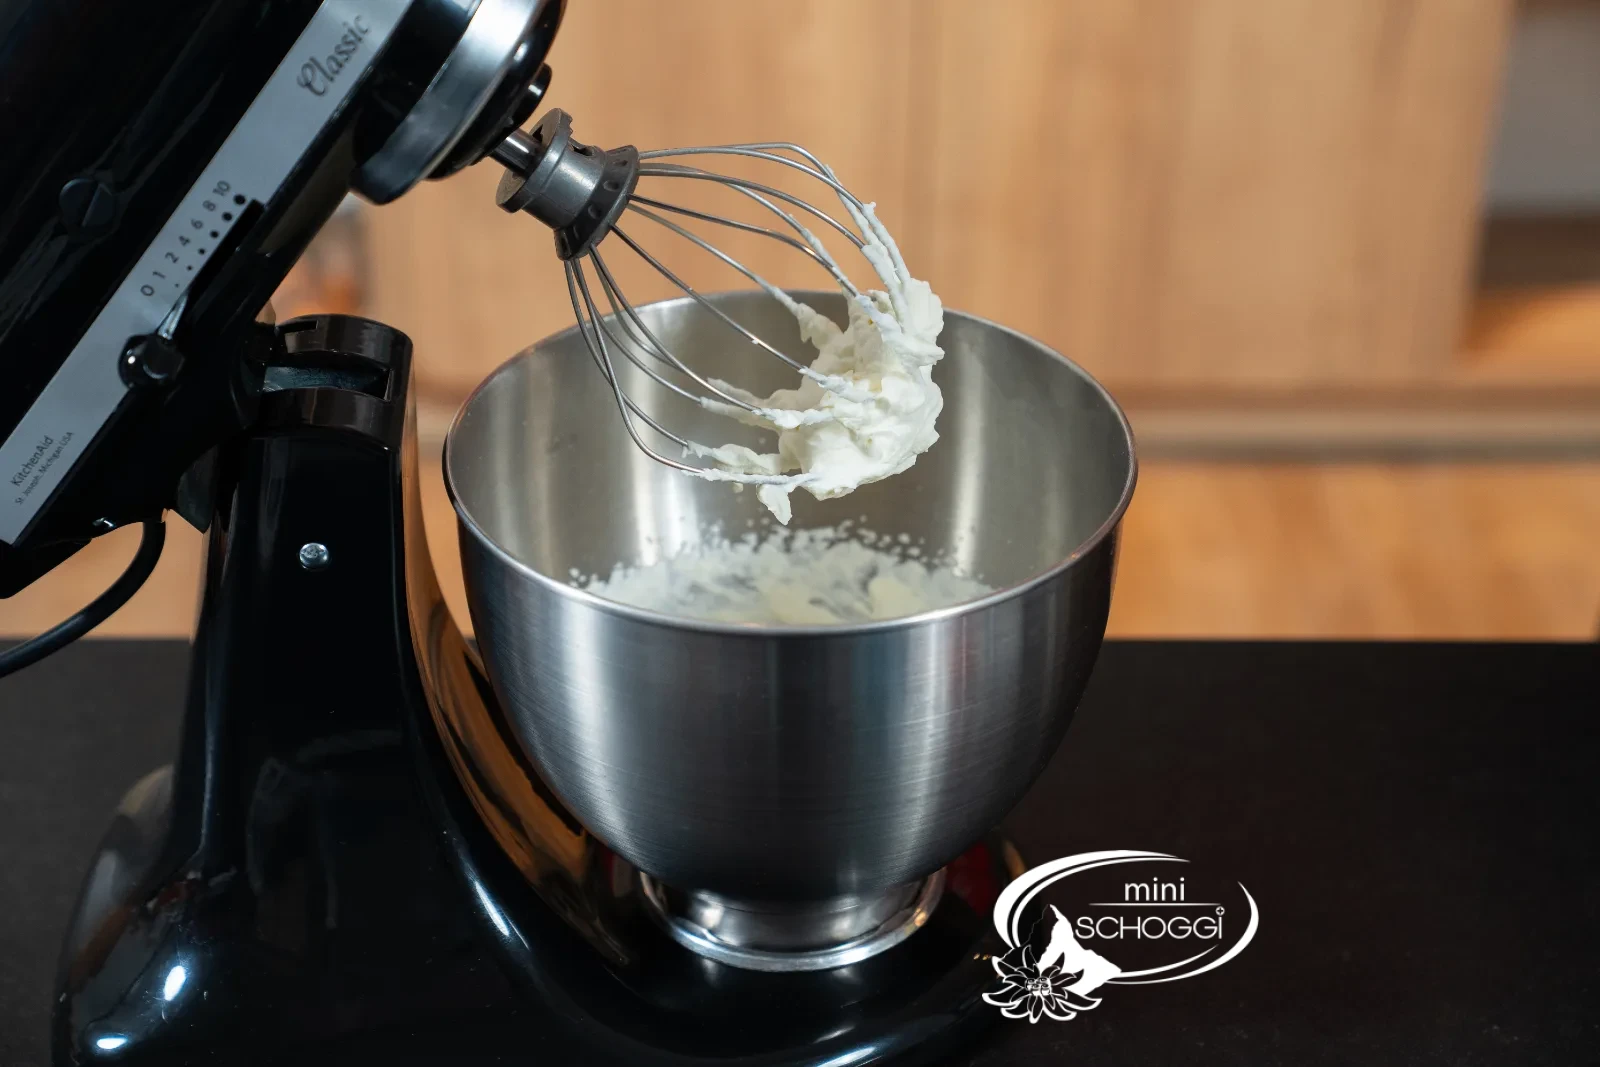
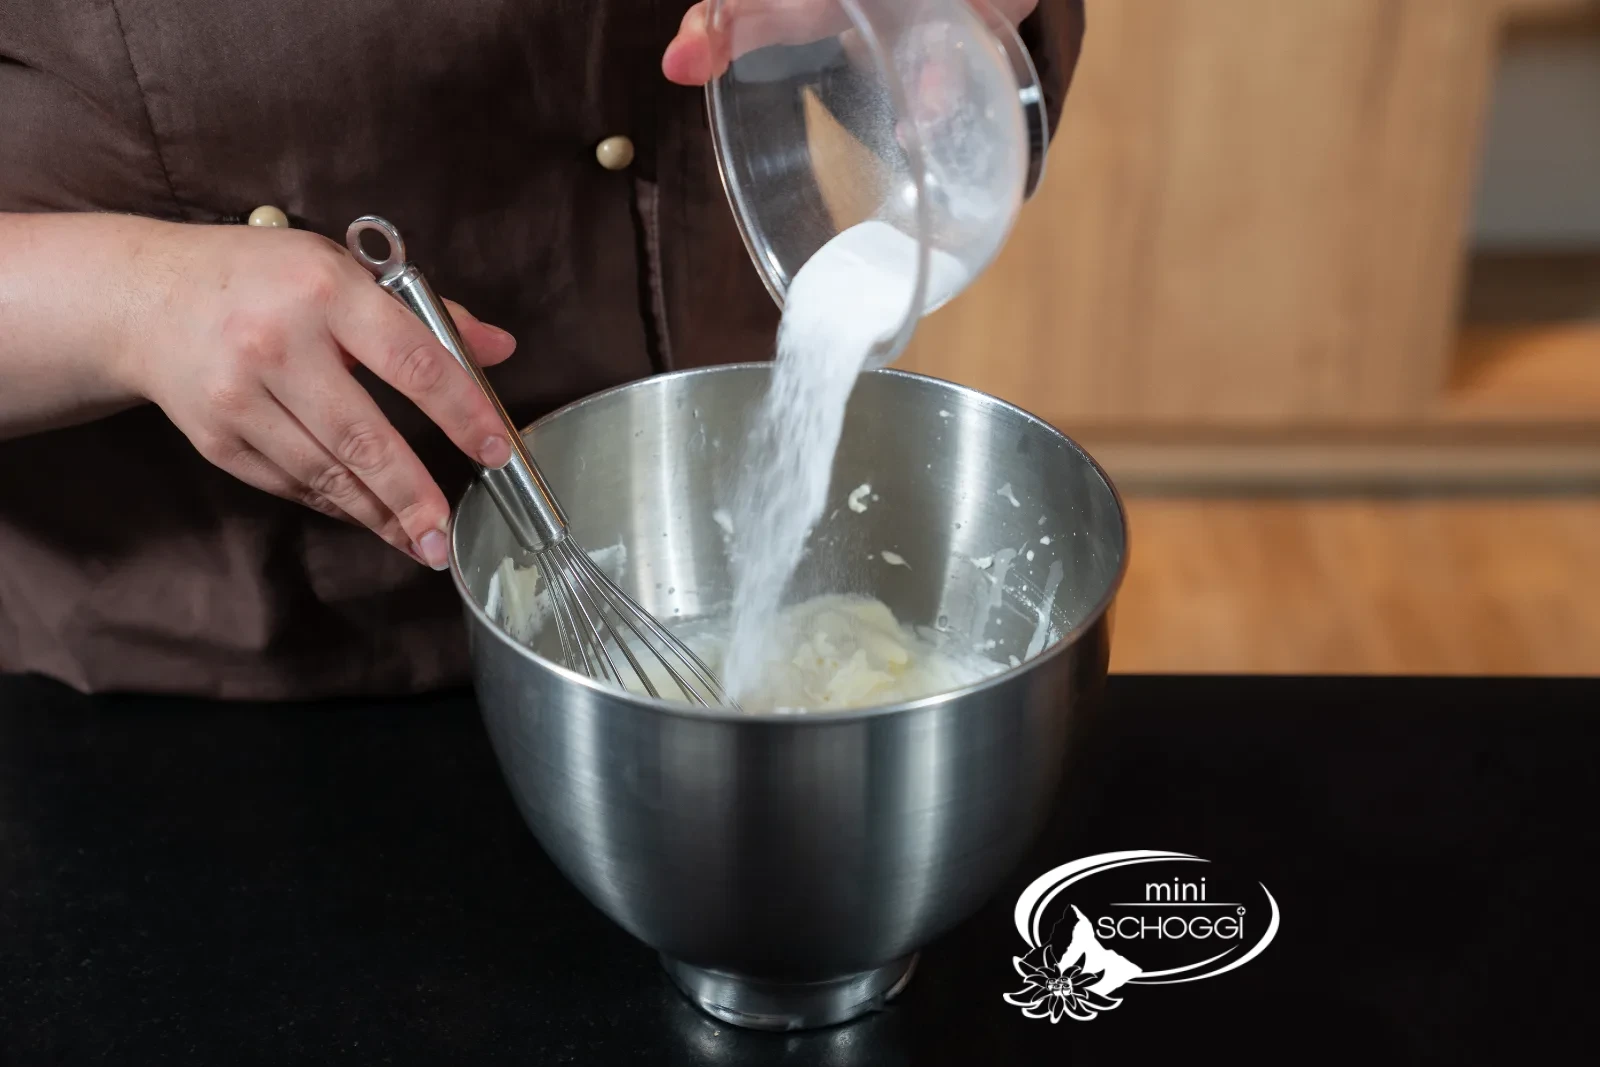
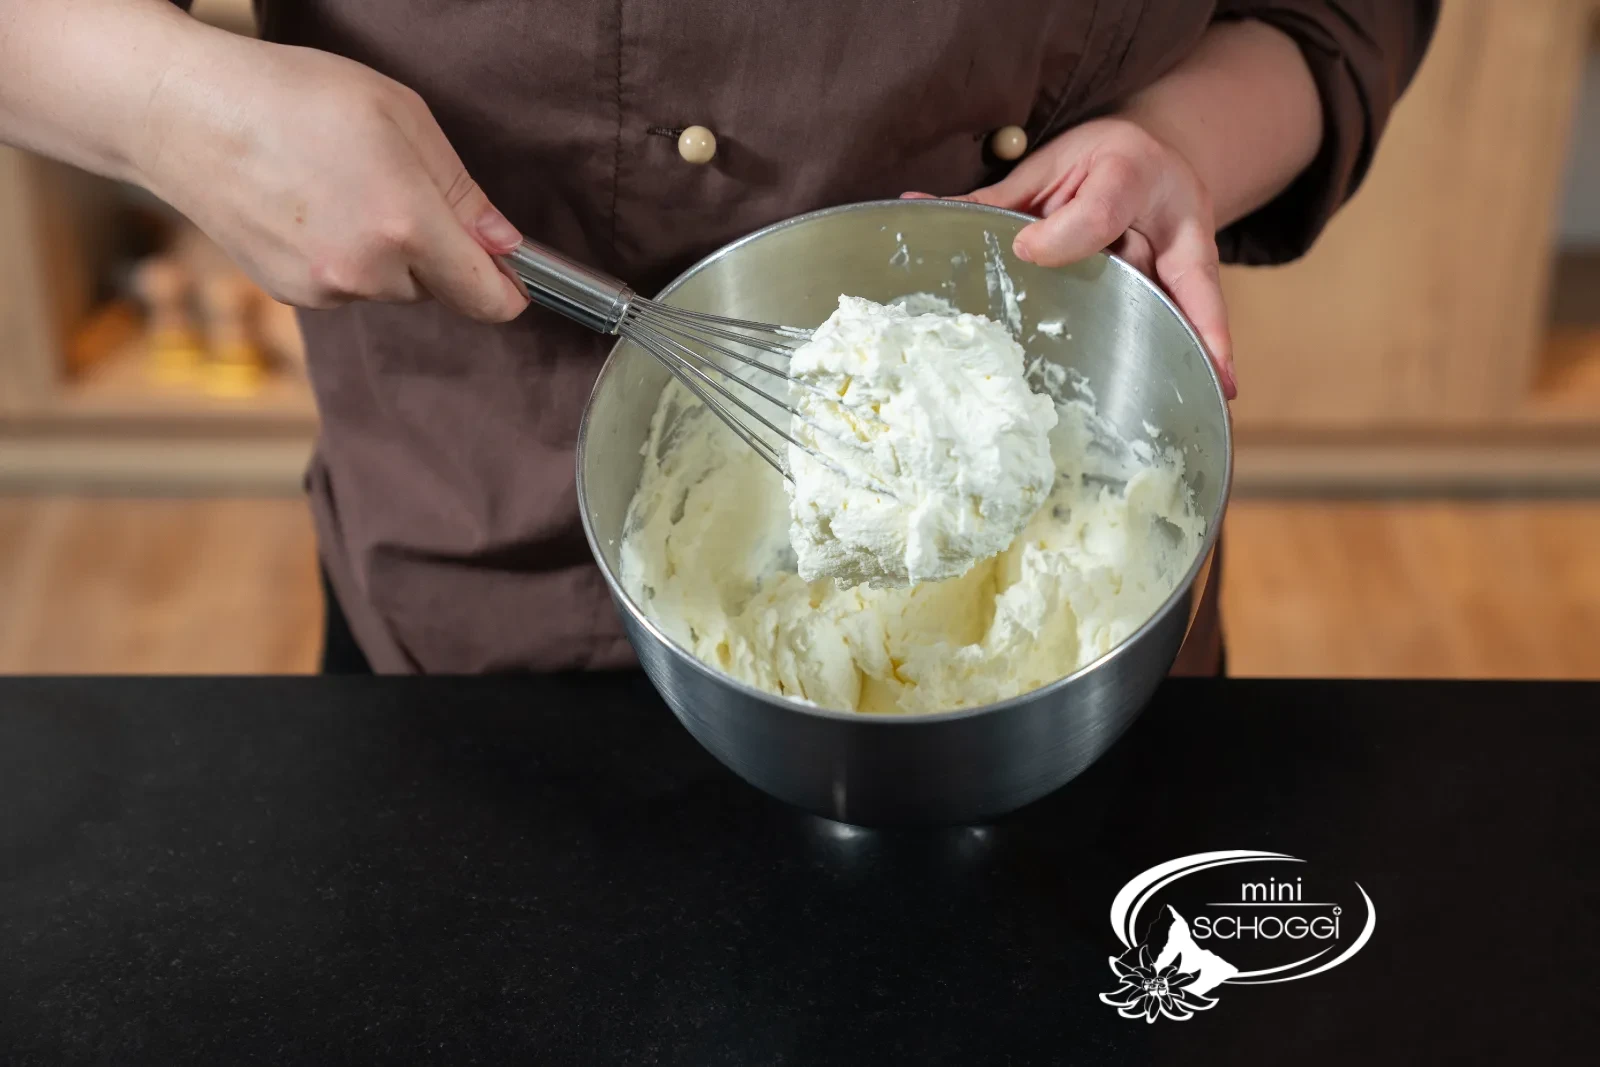
Whip the full cream together with the vanilla sugar using the hand mixer until soft, stable peaks form.
Add the Cream stiffener and continue stirring briefly but firmly by hand with the whisk so that the cream stiffener is well incorporated and activated. The cream should stay nicely airy but still firm and stable.
2
Incorporate the strawberries
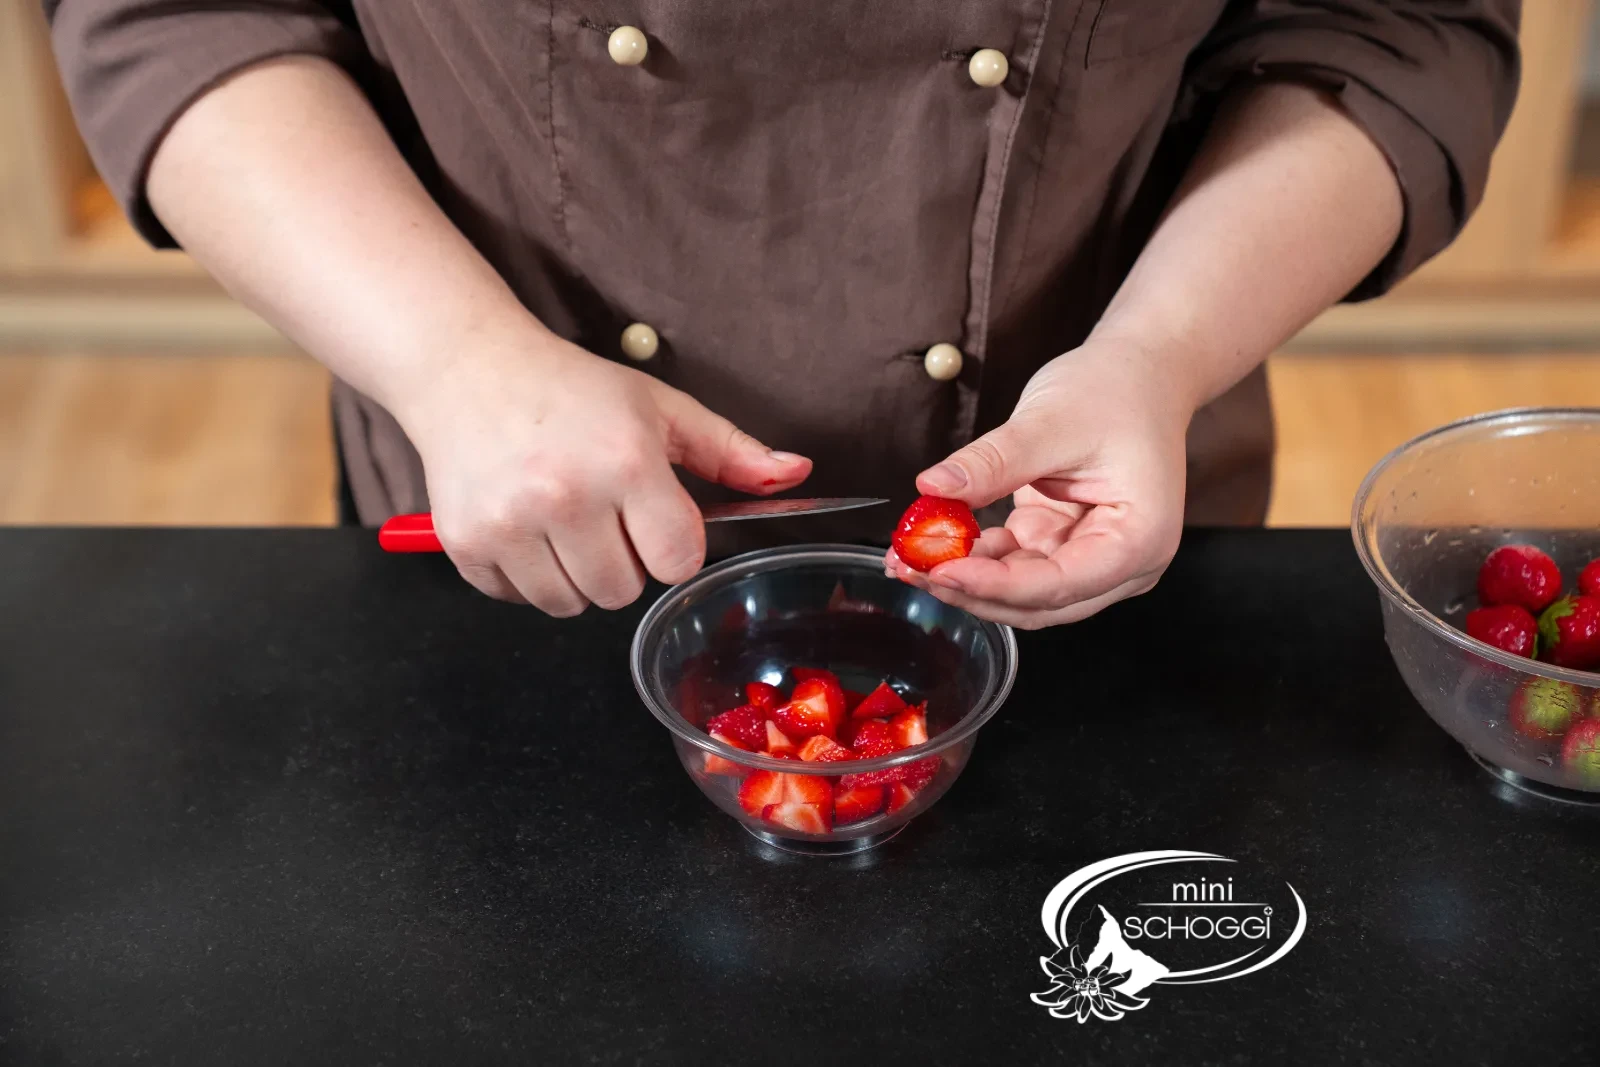
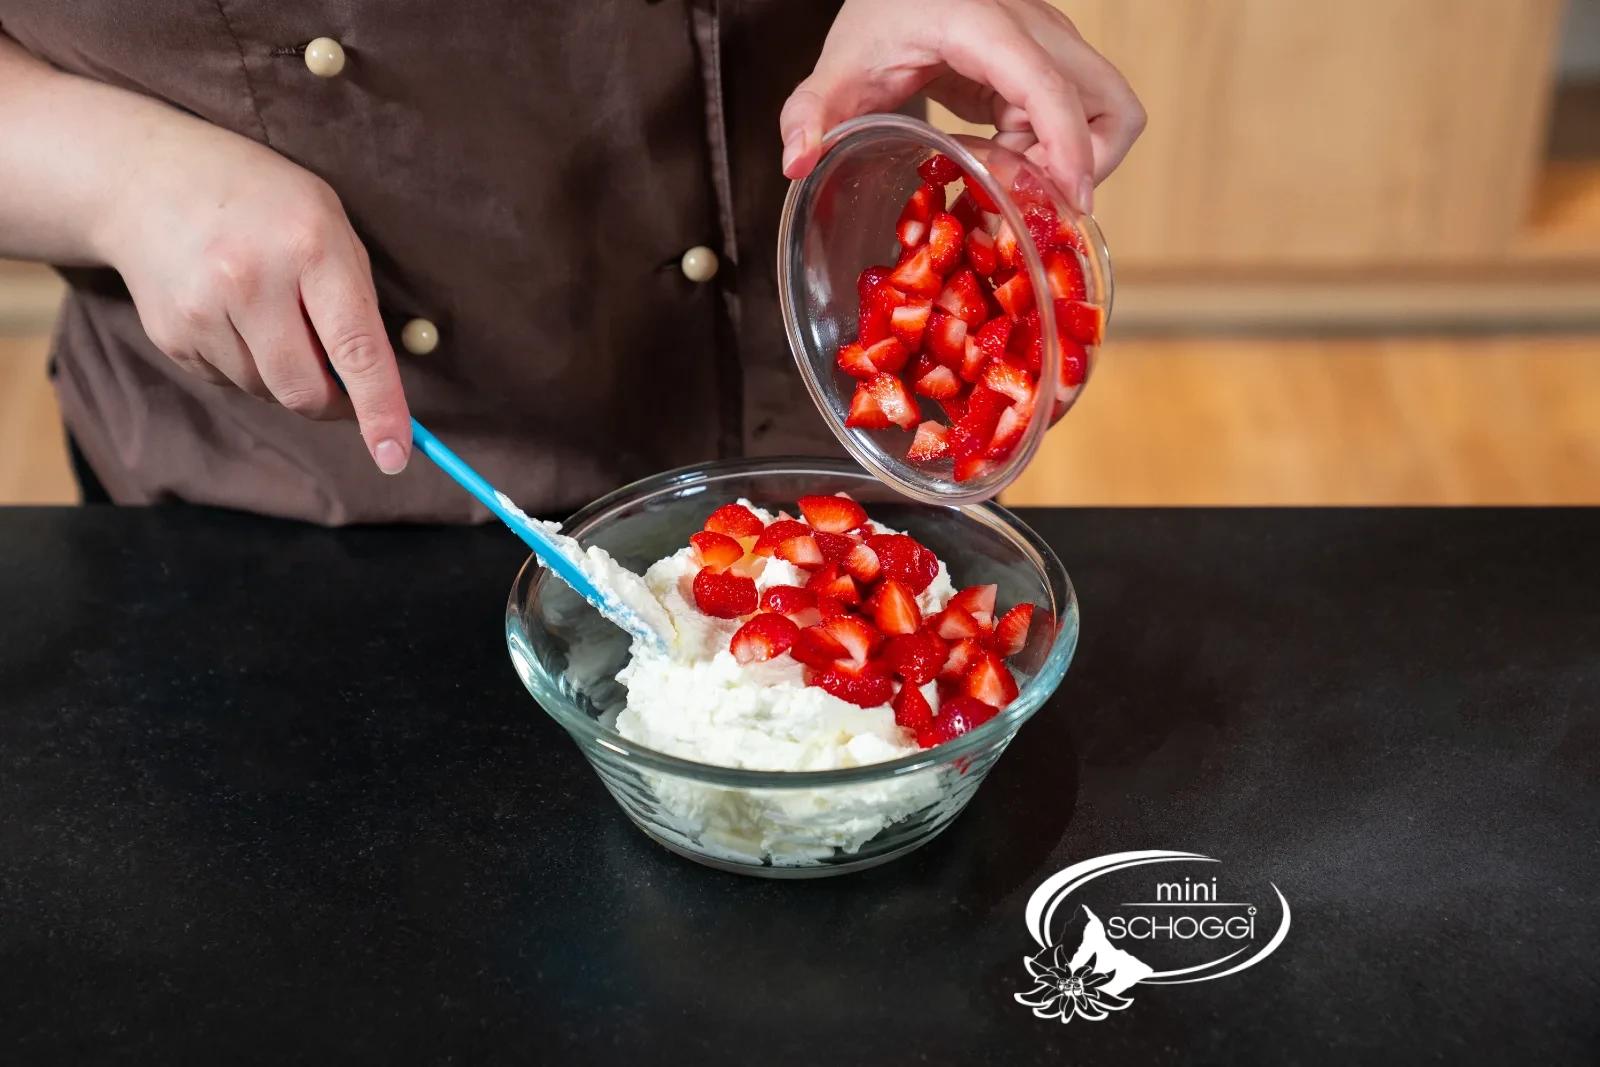
Cut the strawberries into small pieces and gently fold them into the whipped cream. Stir through well until the strawberry pieces are evenly distributed.
Assembling the cake
1
First sponge layer
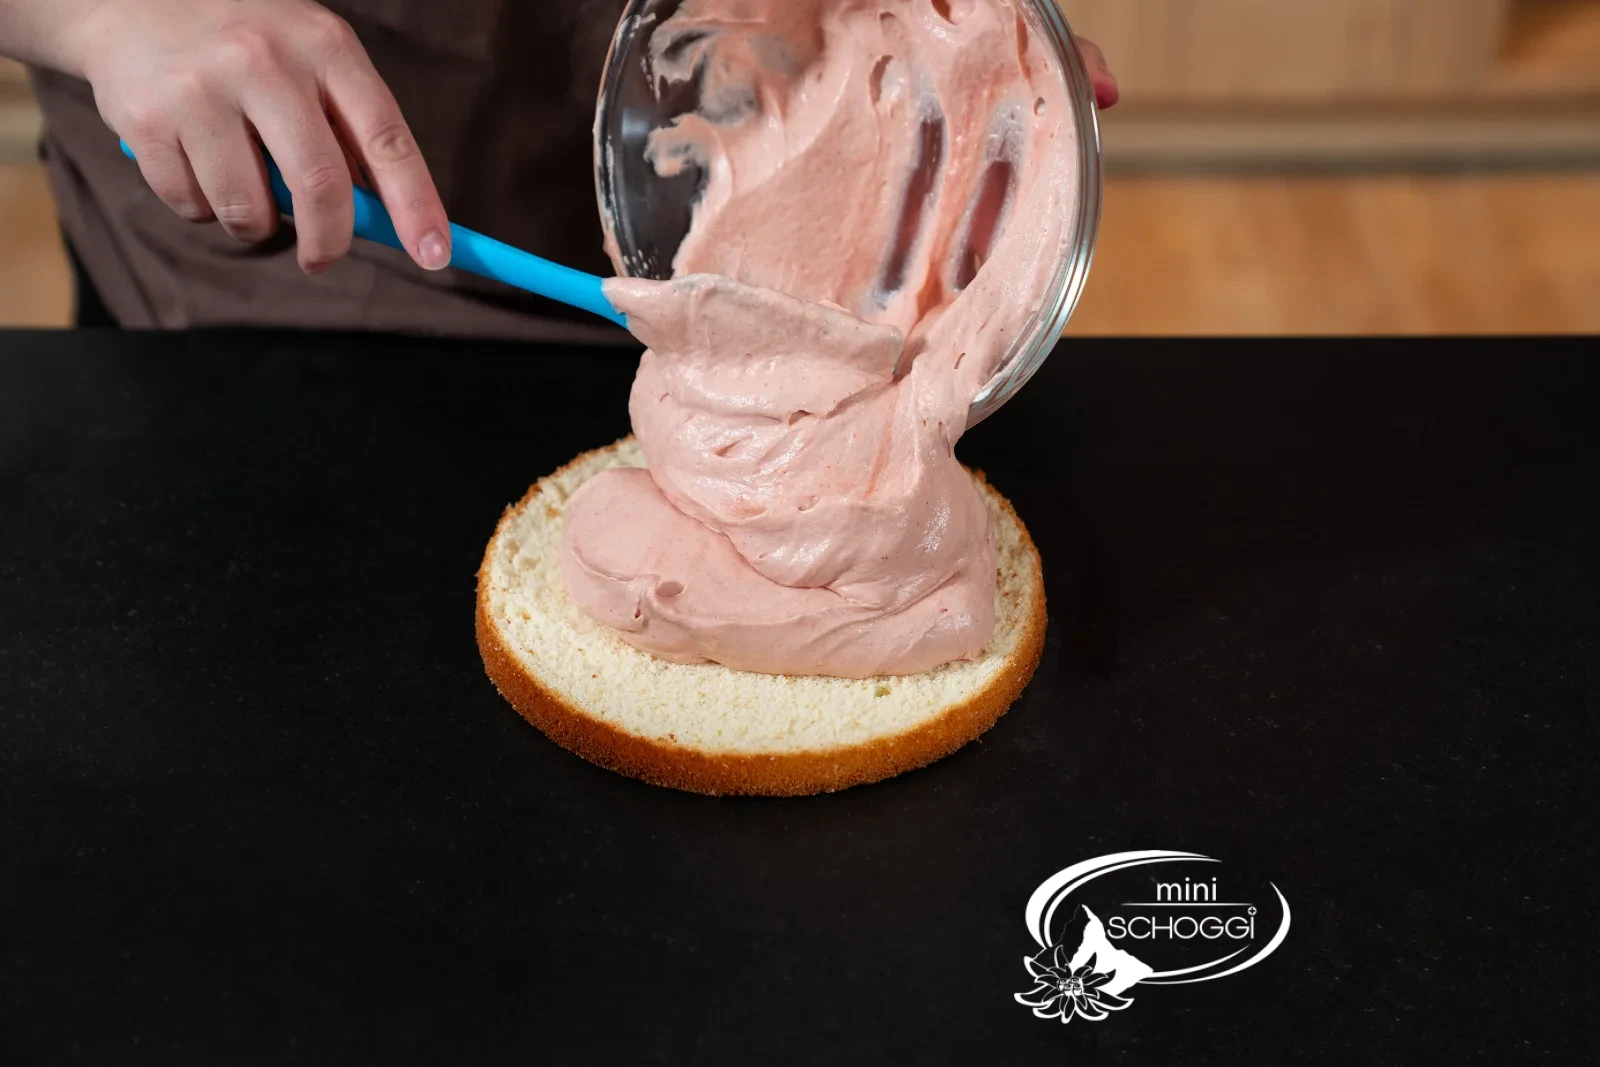
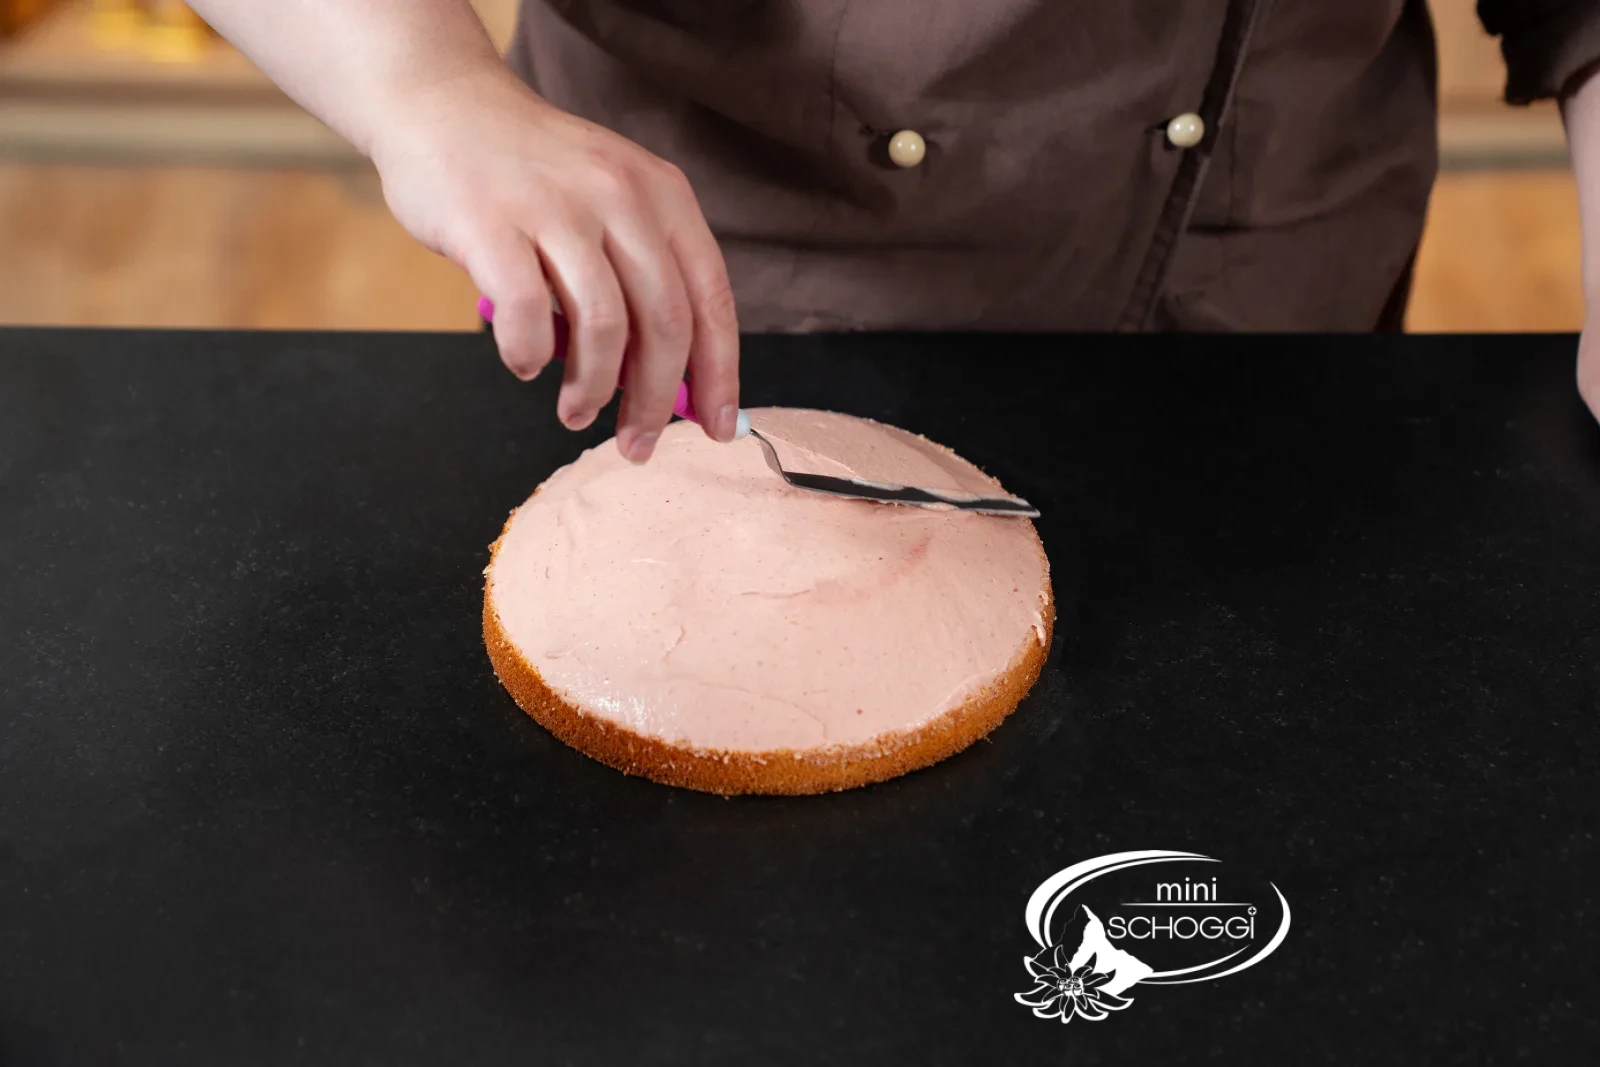
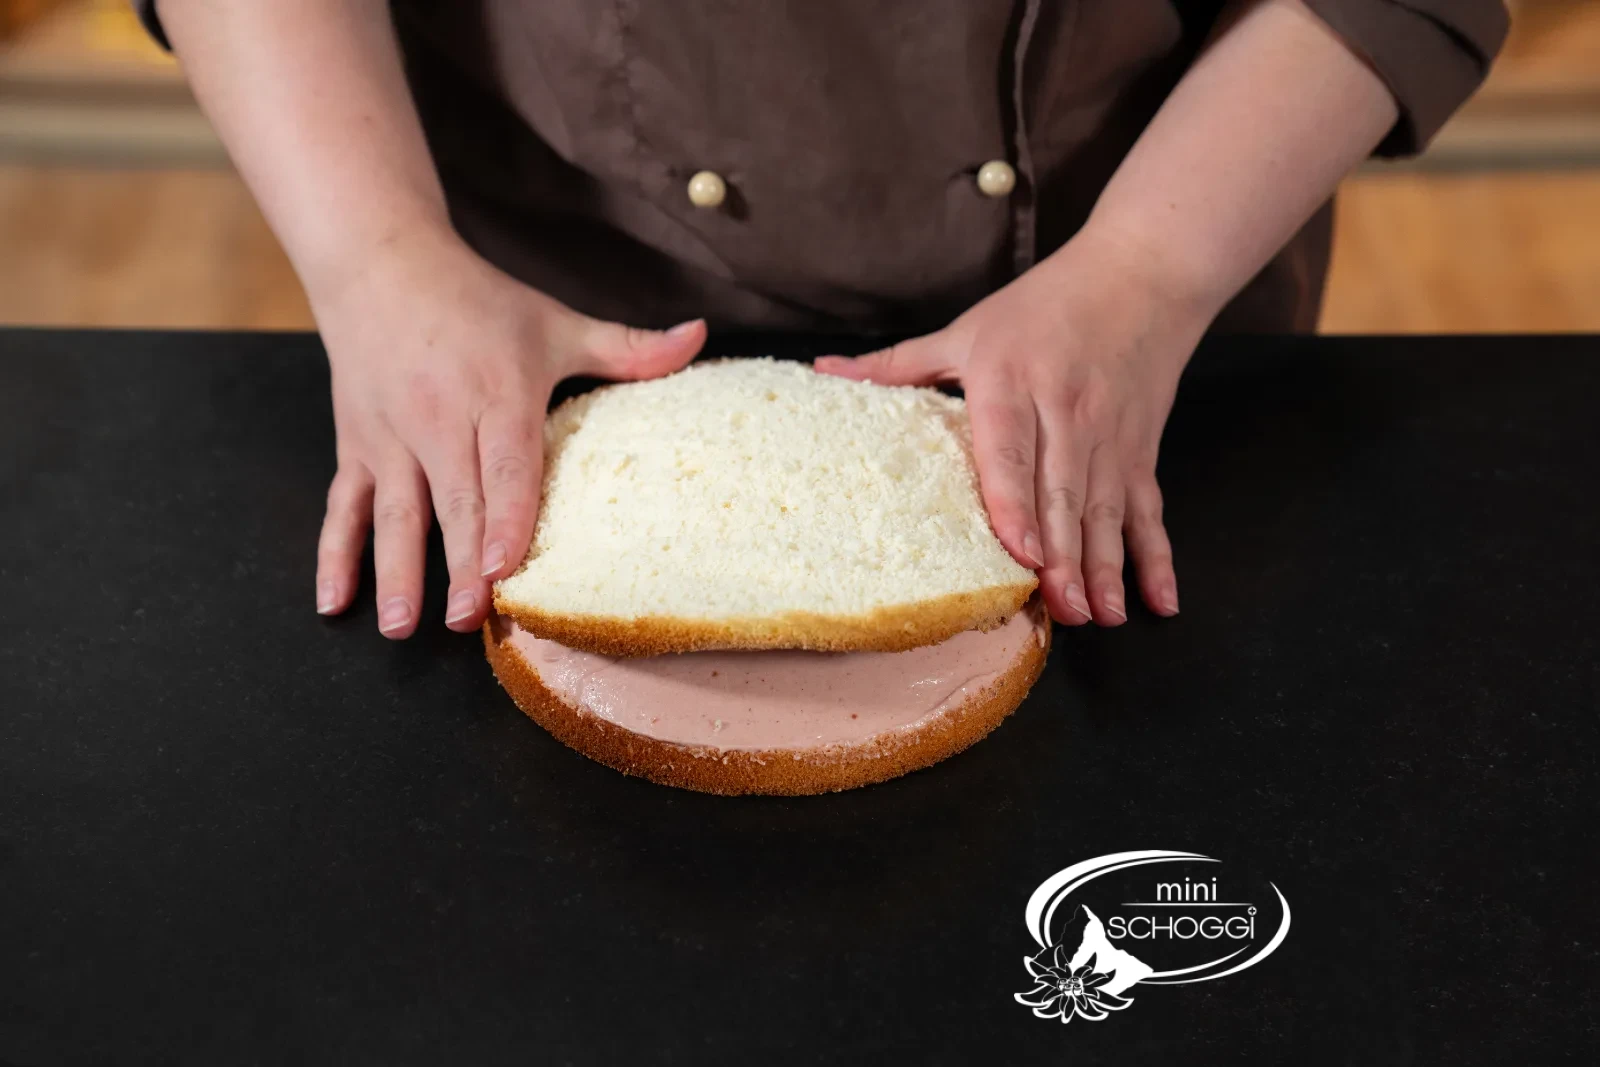
Place the first layer on a cake paper disc. Spread the vanilla-strawberry cream on top (set aside 40–50 g for later), form a mound in the middle, smooth the edges and chill for 20–30 minutes.
Place the second layer on top and press only the edges down.
2
Second layer and dome shape
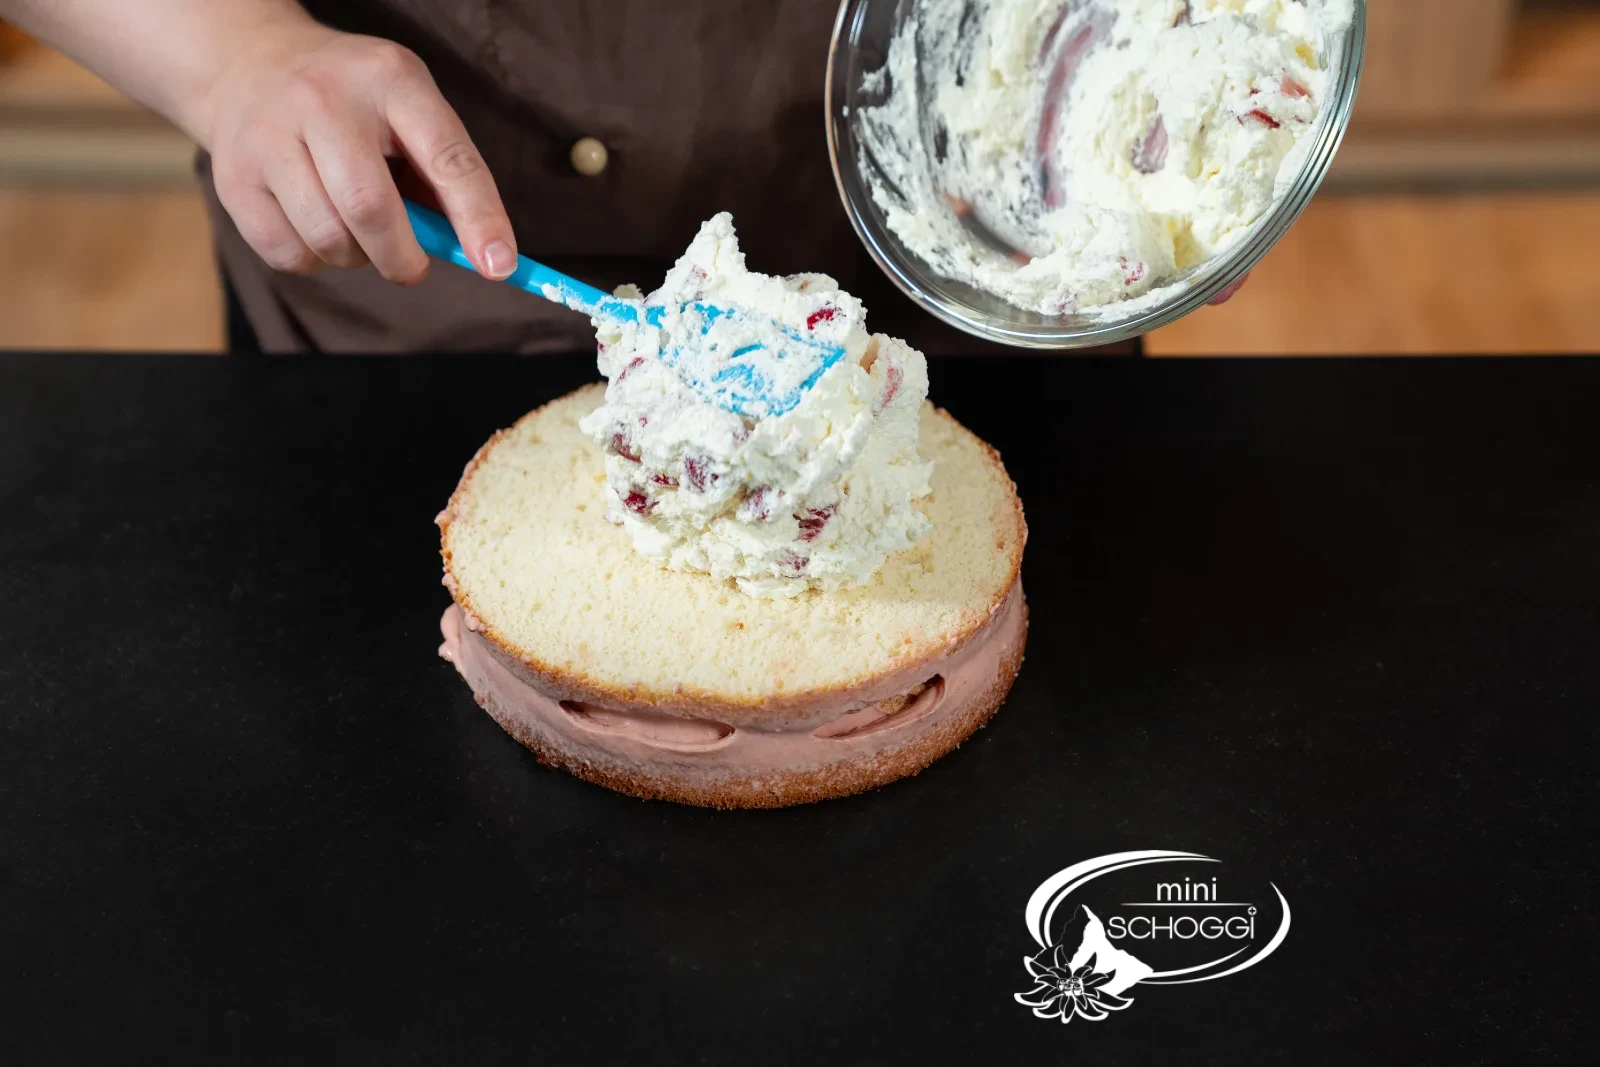
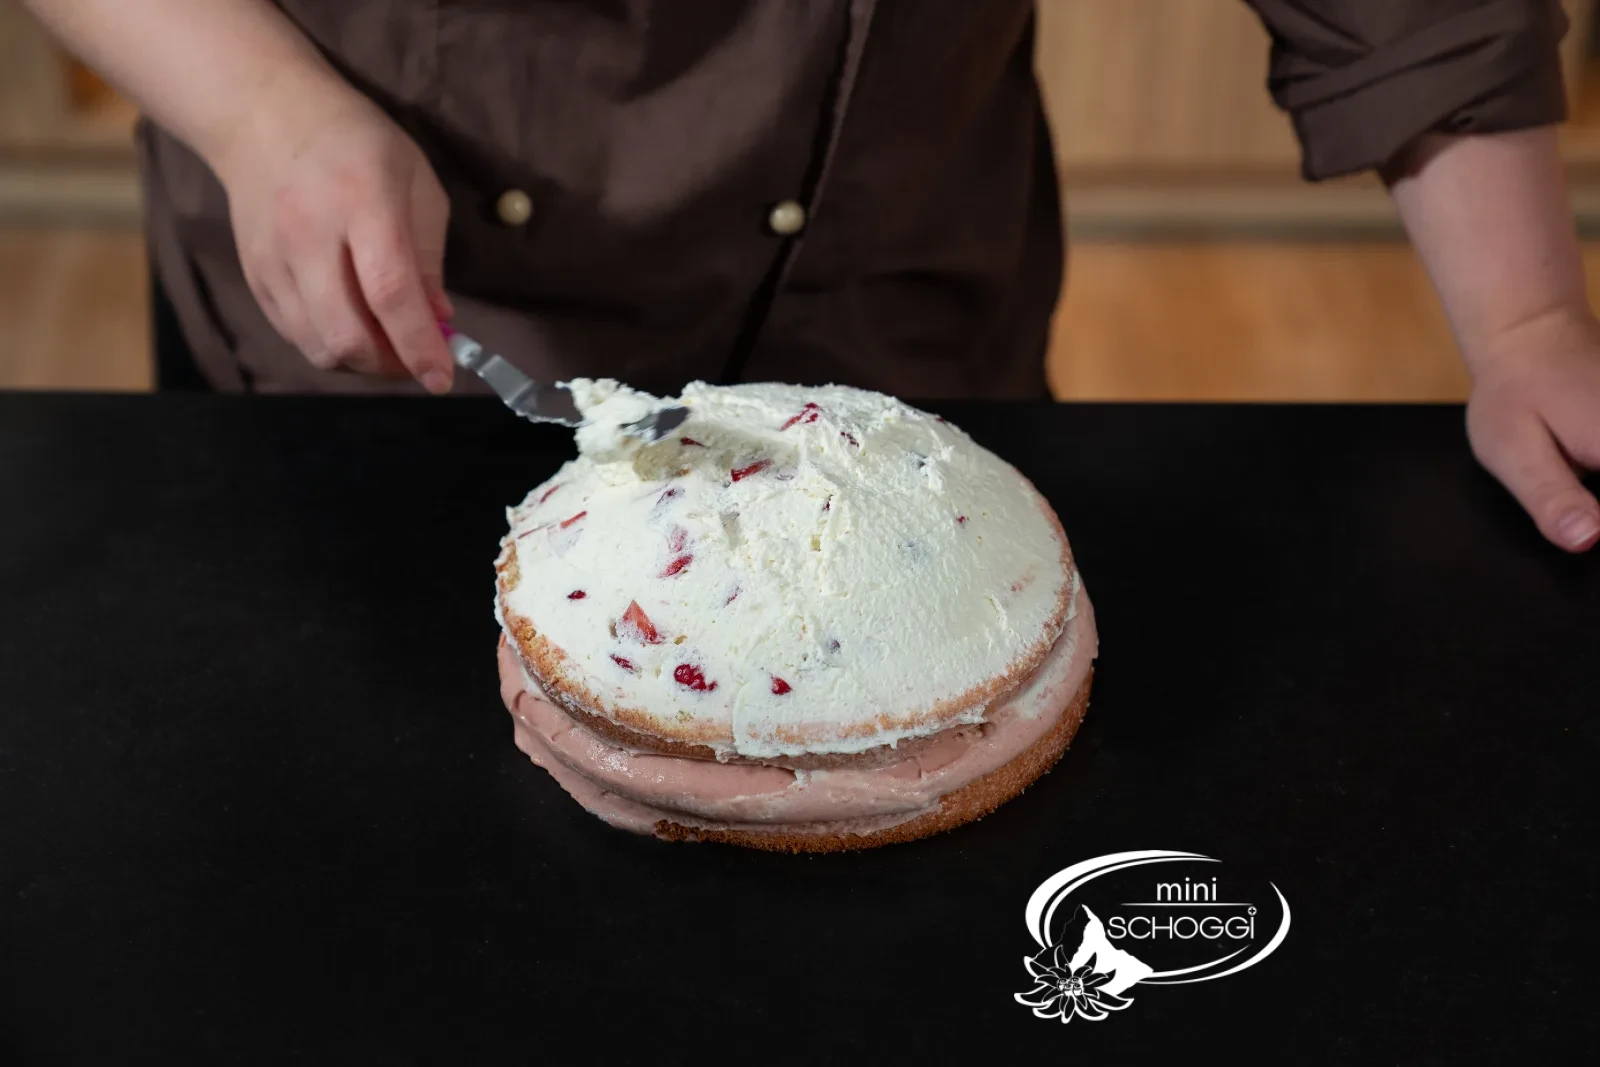
Spread the strawberry cream following the same principle and chill again for 20–30 minutes.
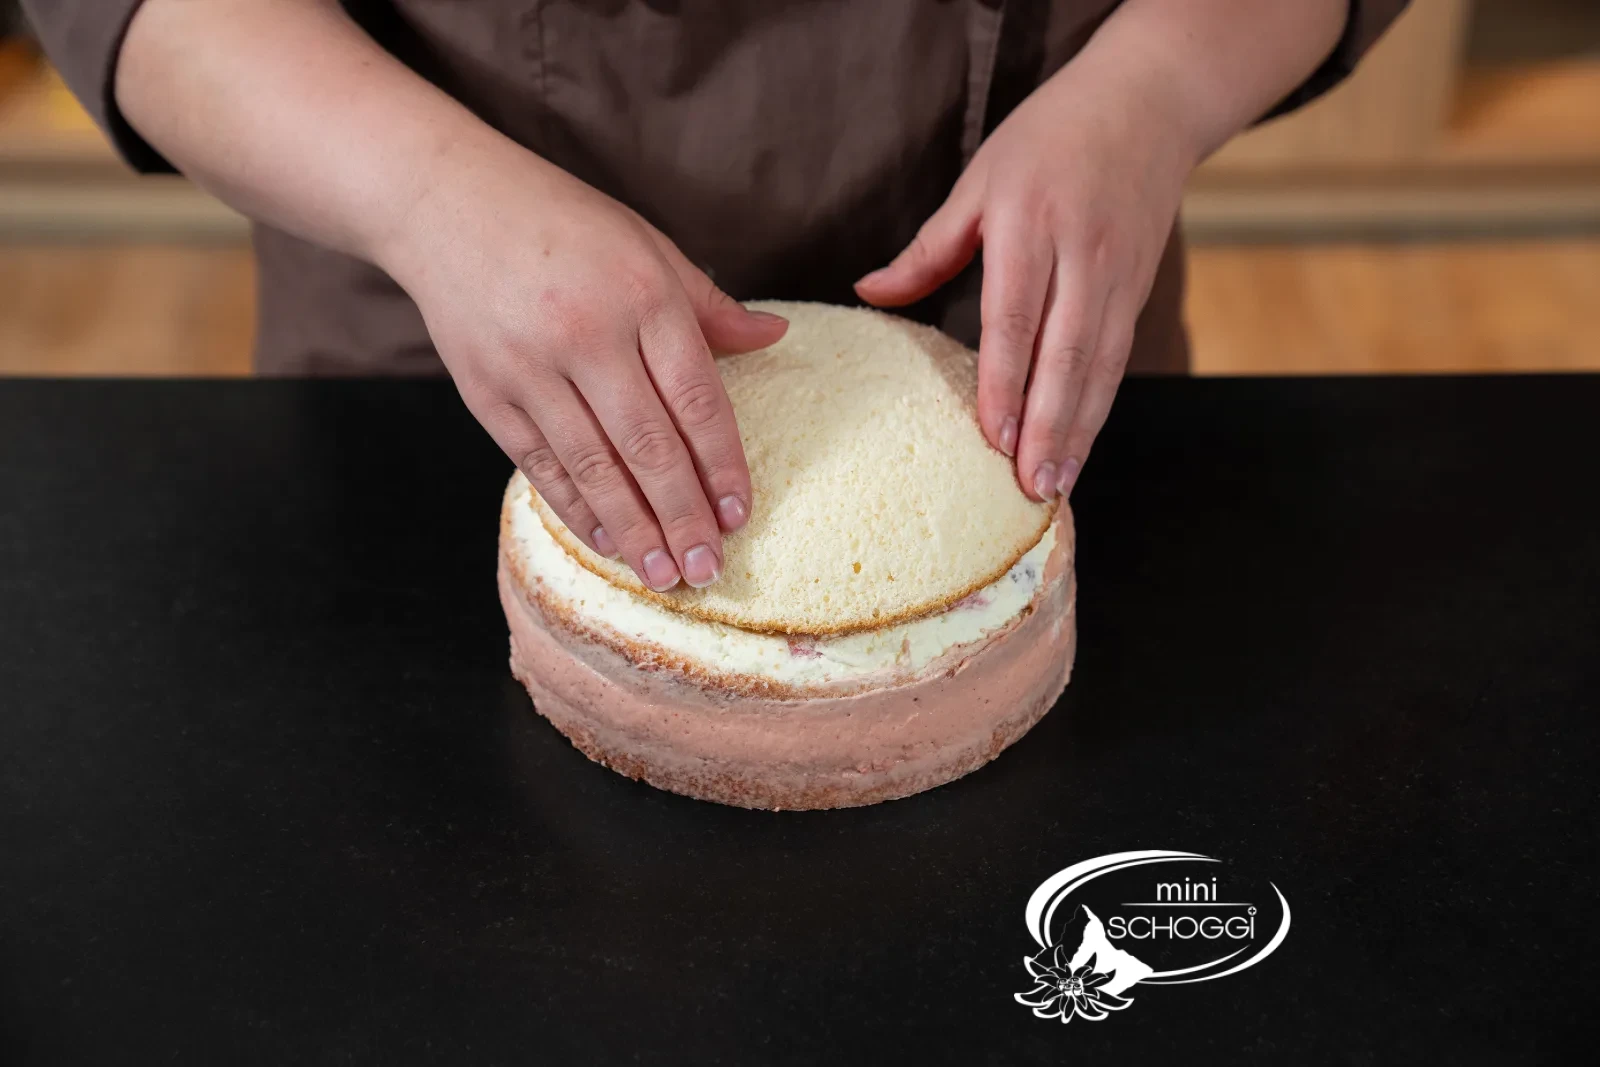
Cover the cream with the last layer and shape the sides into a dome with your hands.
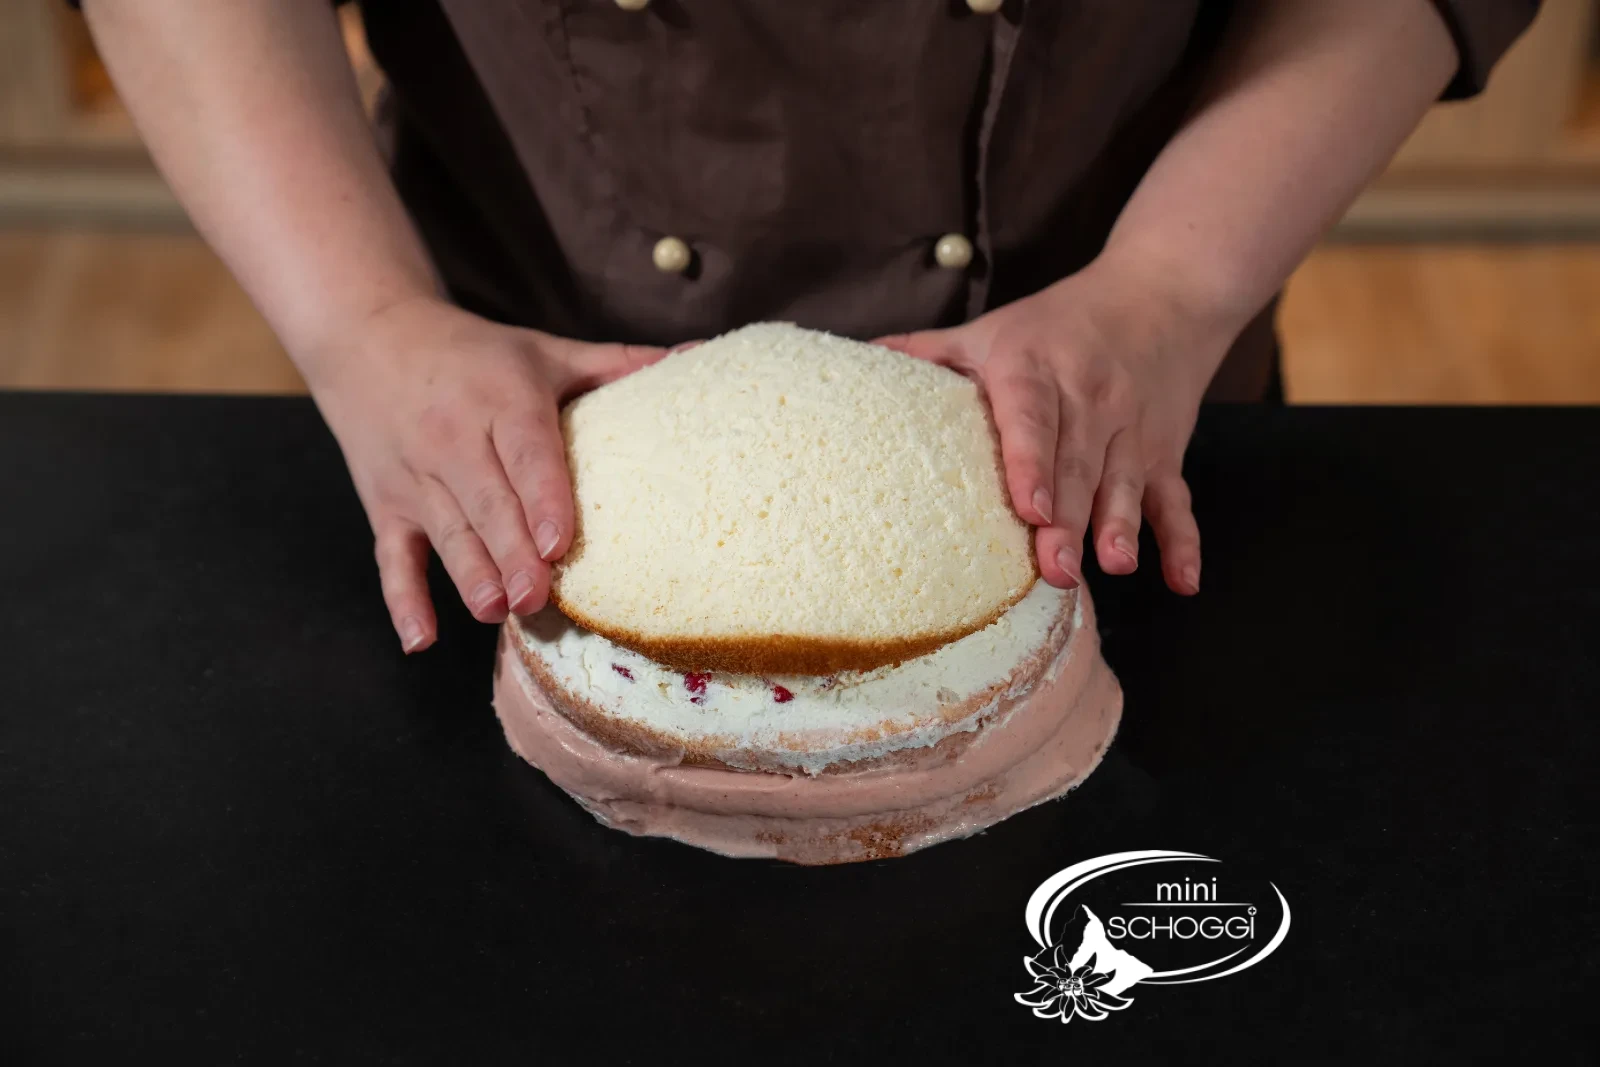
3
Fine cream coating
Thinly coat the whole cake with the reserved cream and put it back in the fridge.
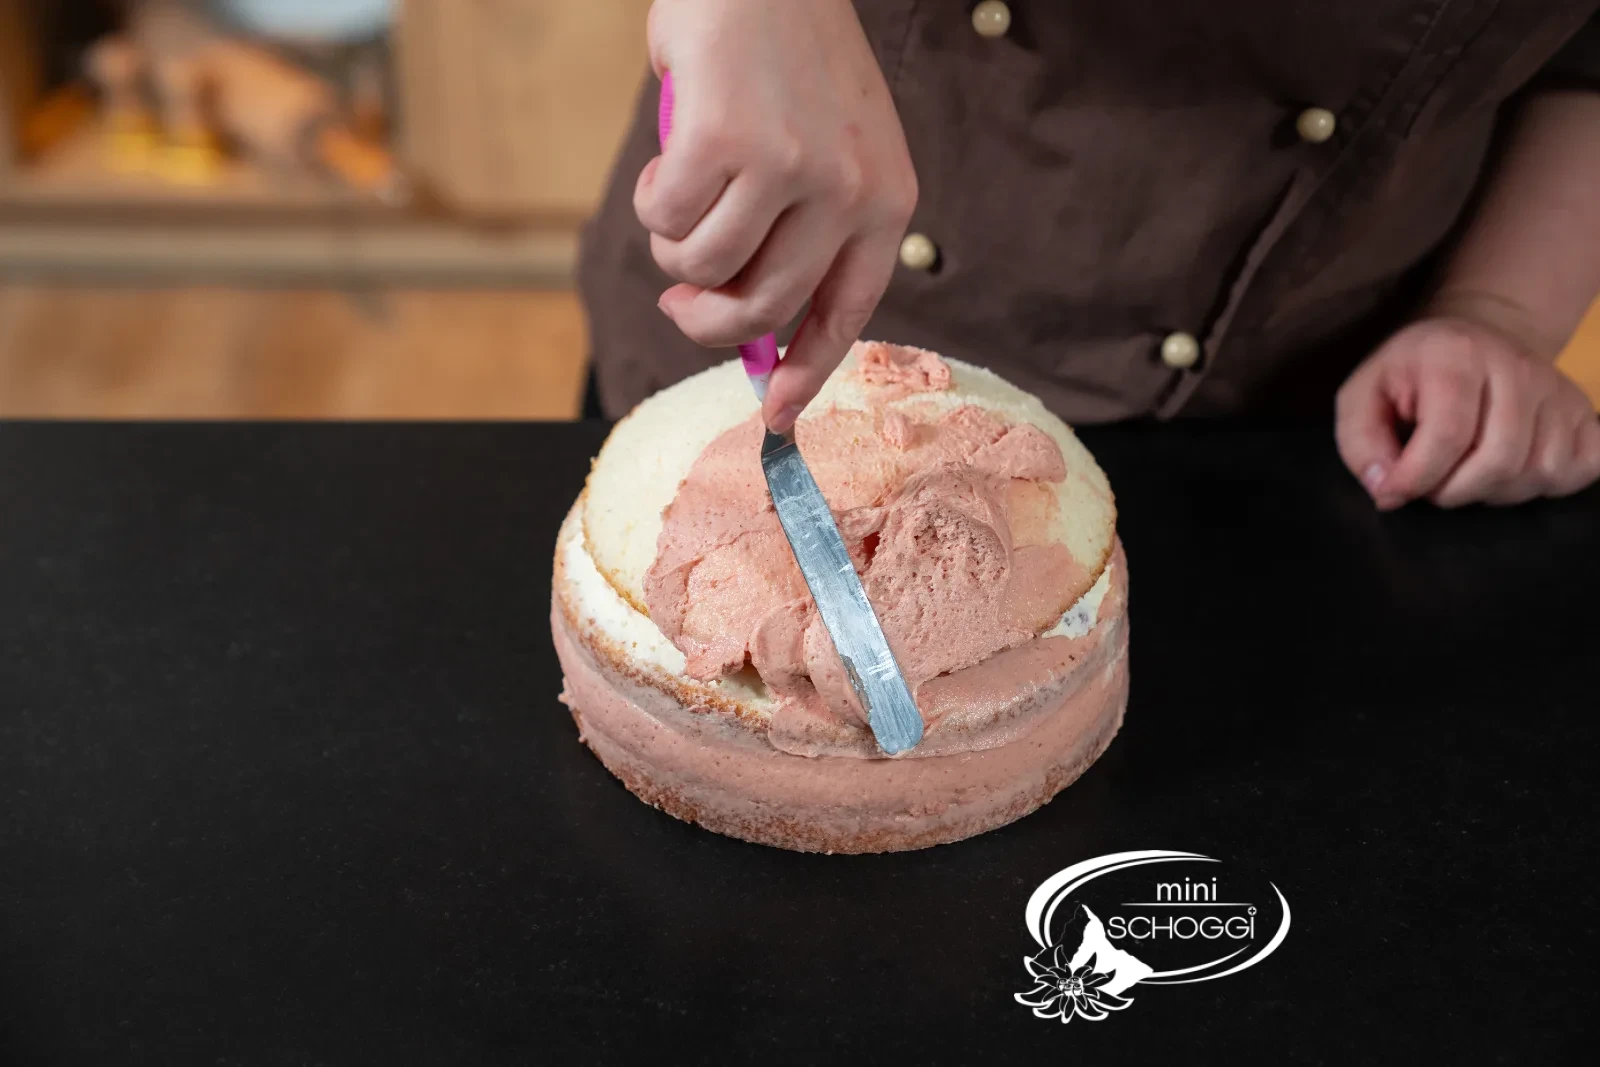
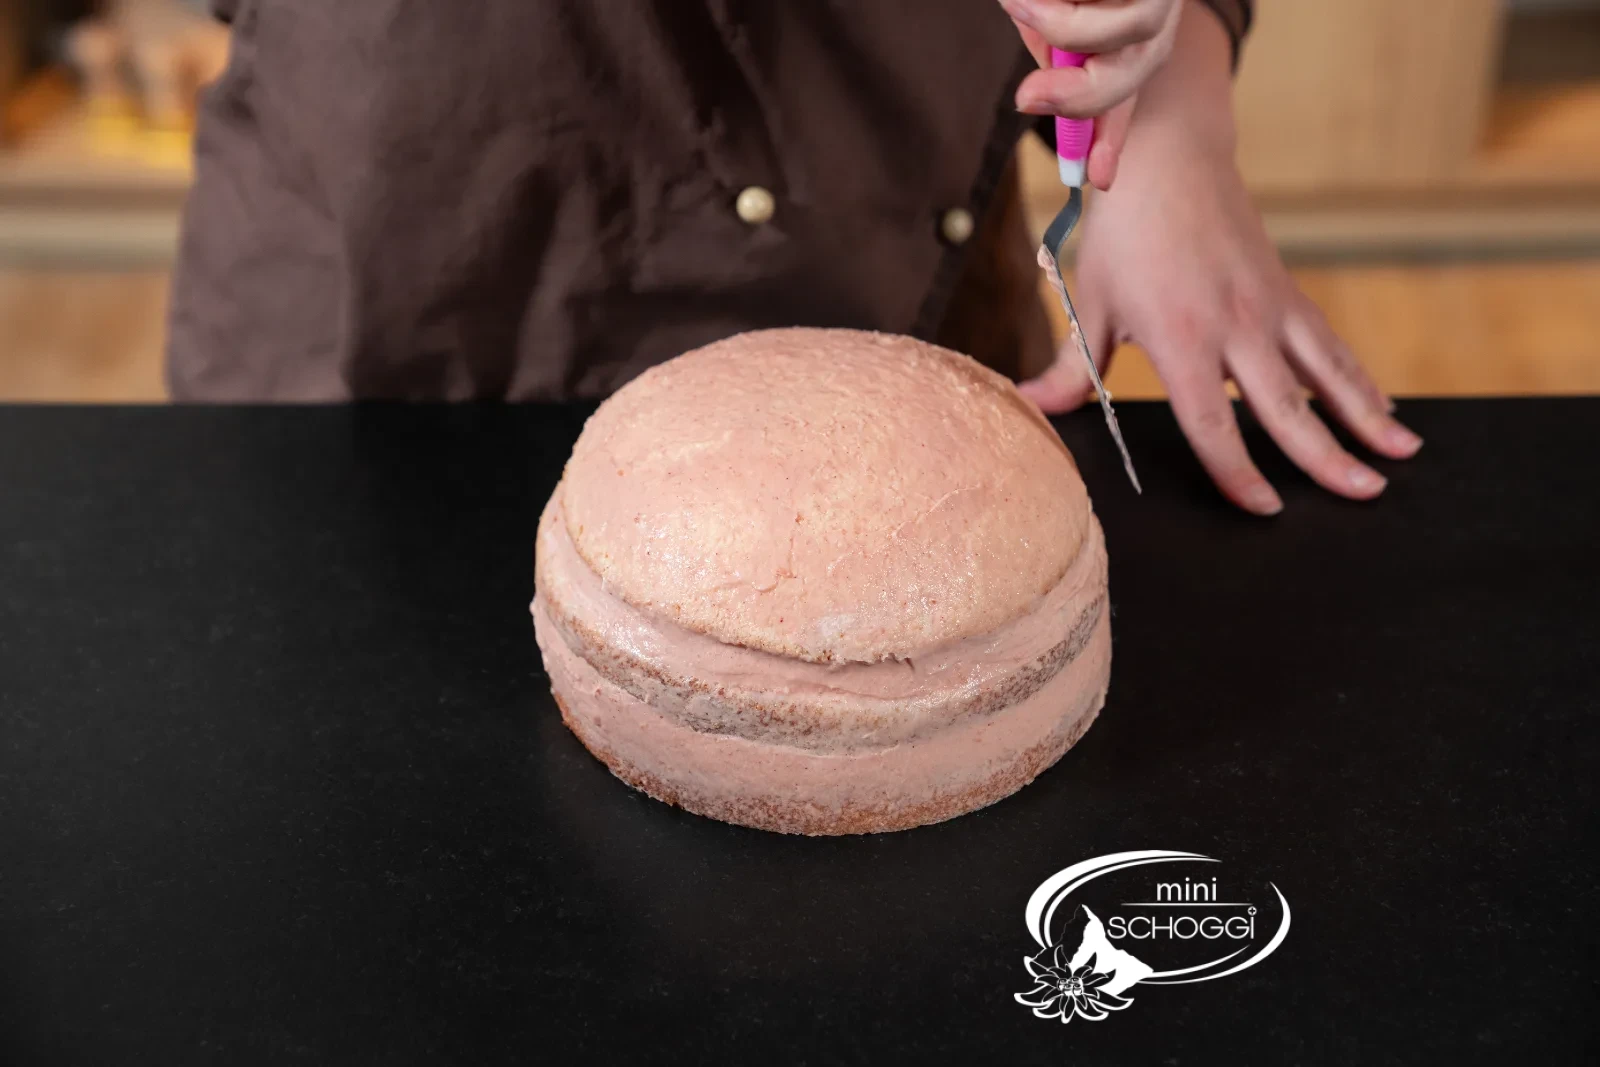
Covering with marzipan and the Swiss cross
1
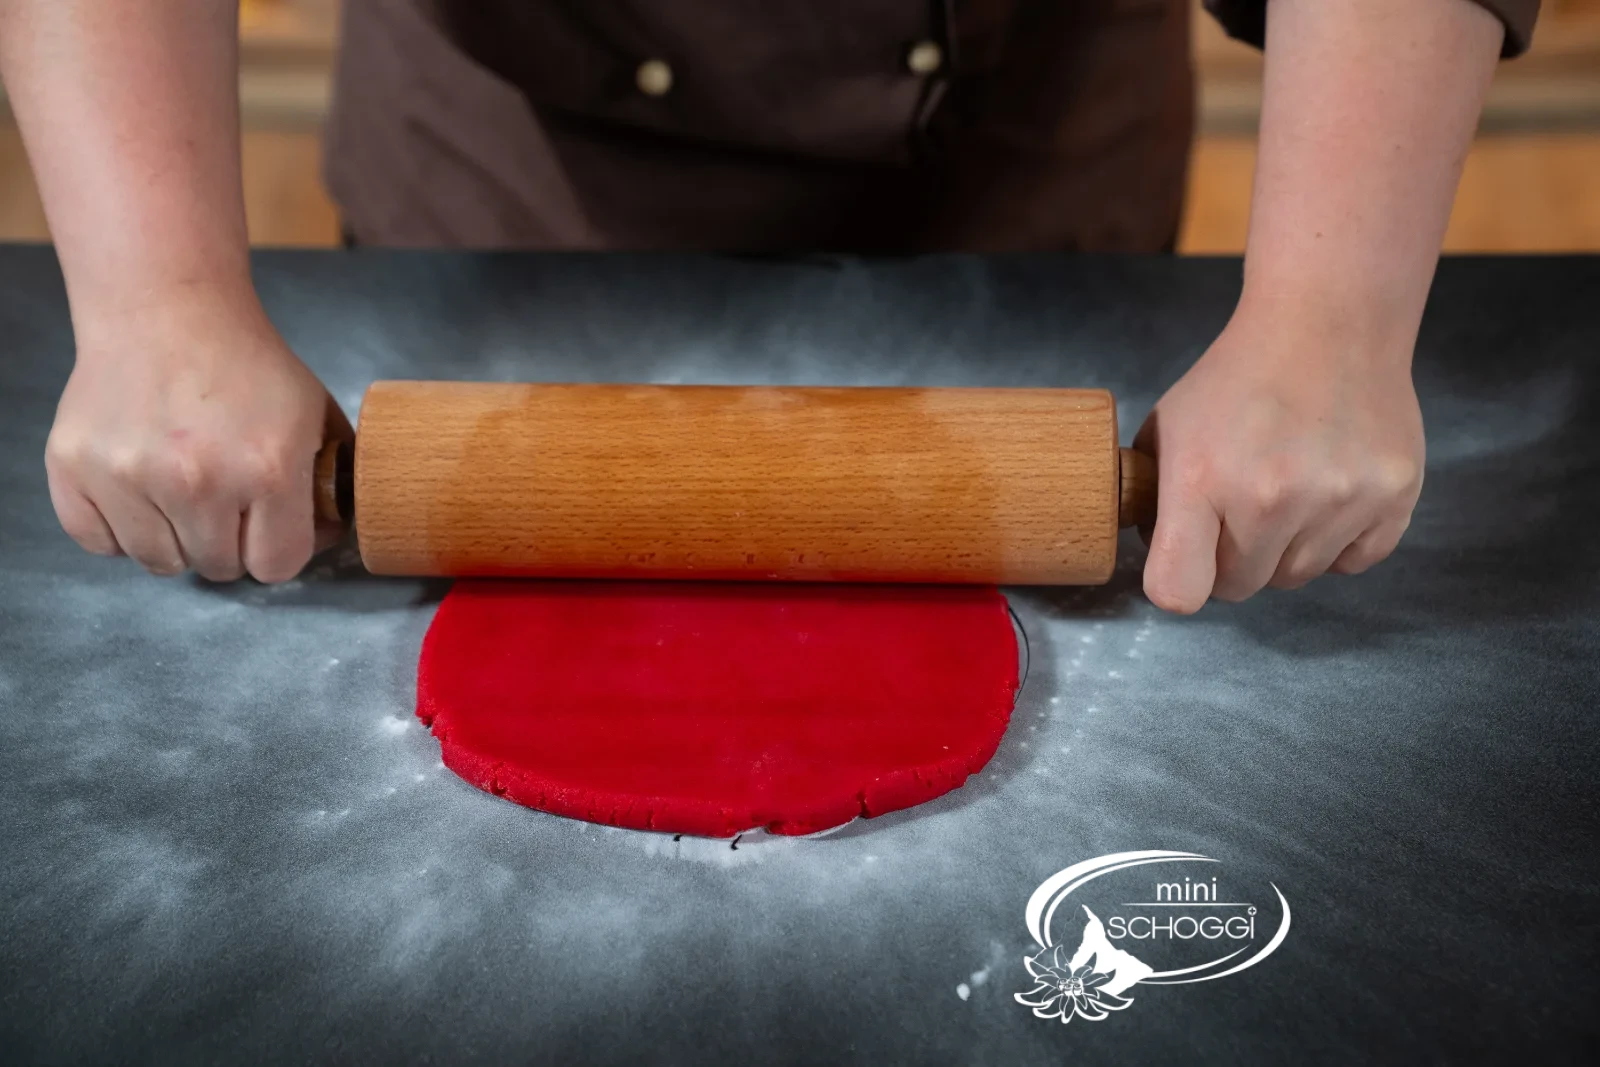
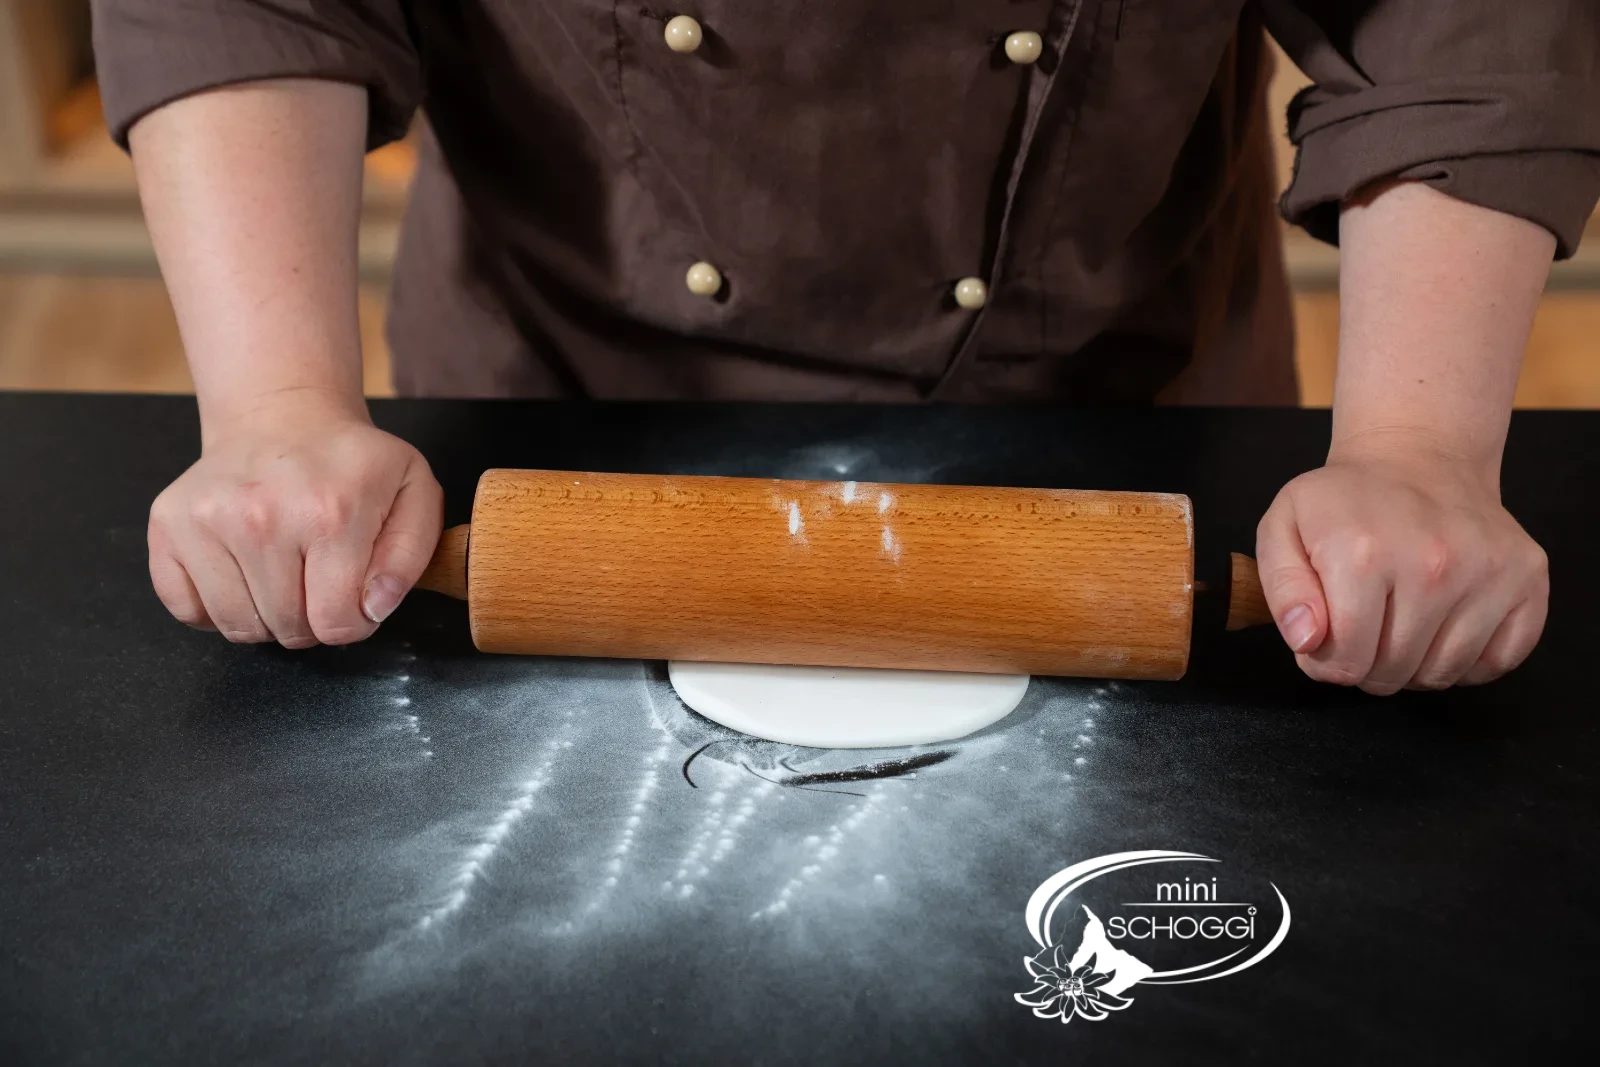
Step 01 — Roll out the marzipan
Dust the work surface with magic roll-out powder and roll out the red marzipan to about 2 mm thick.
2
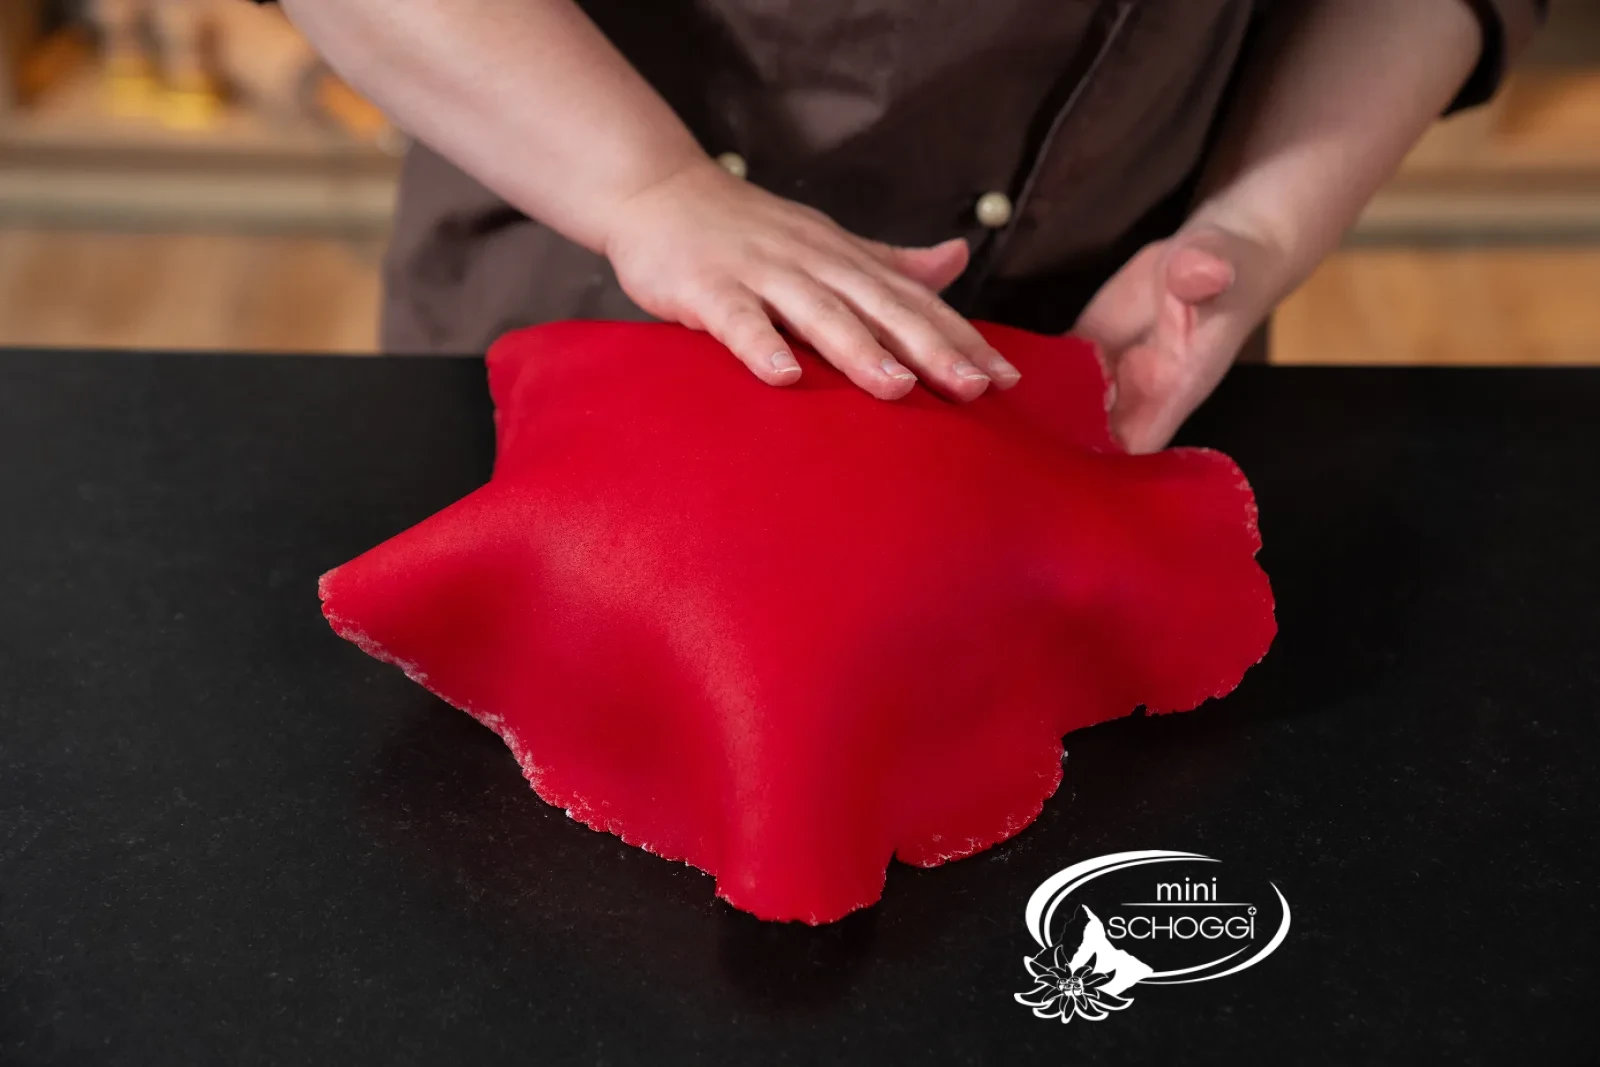
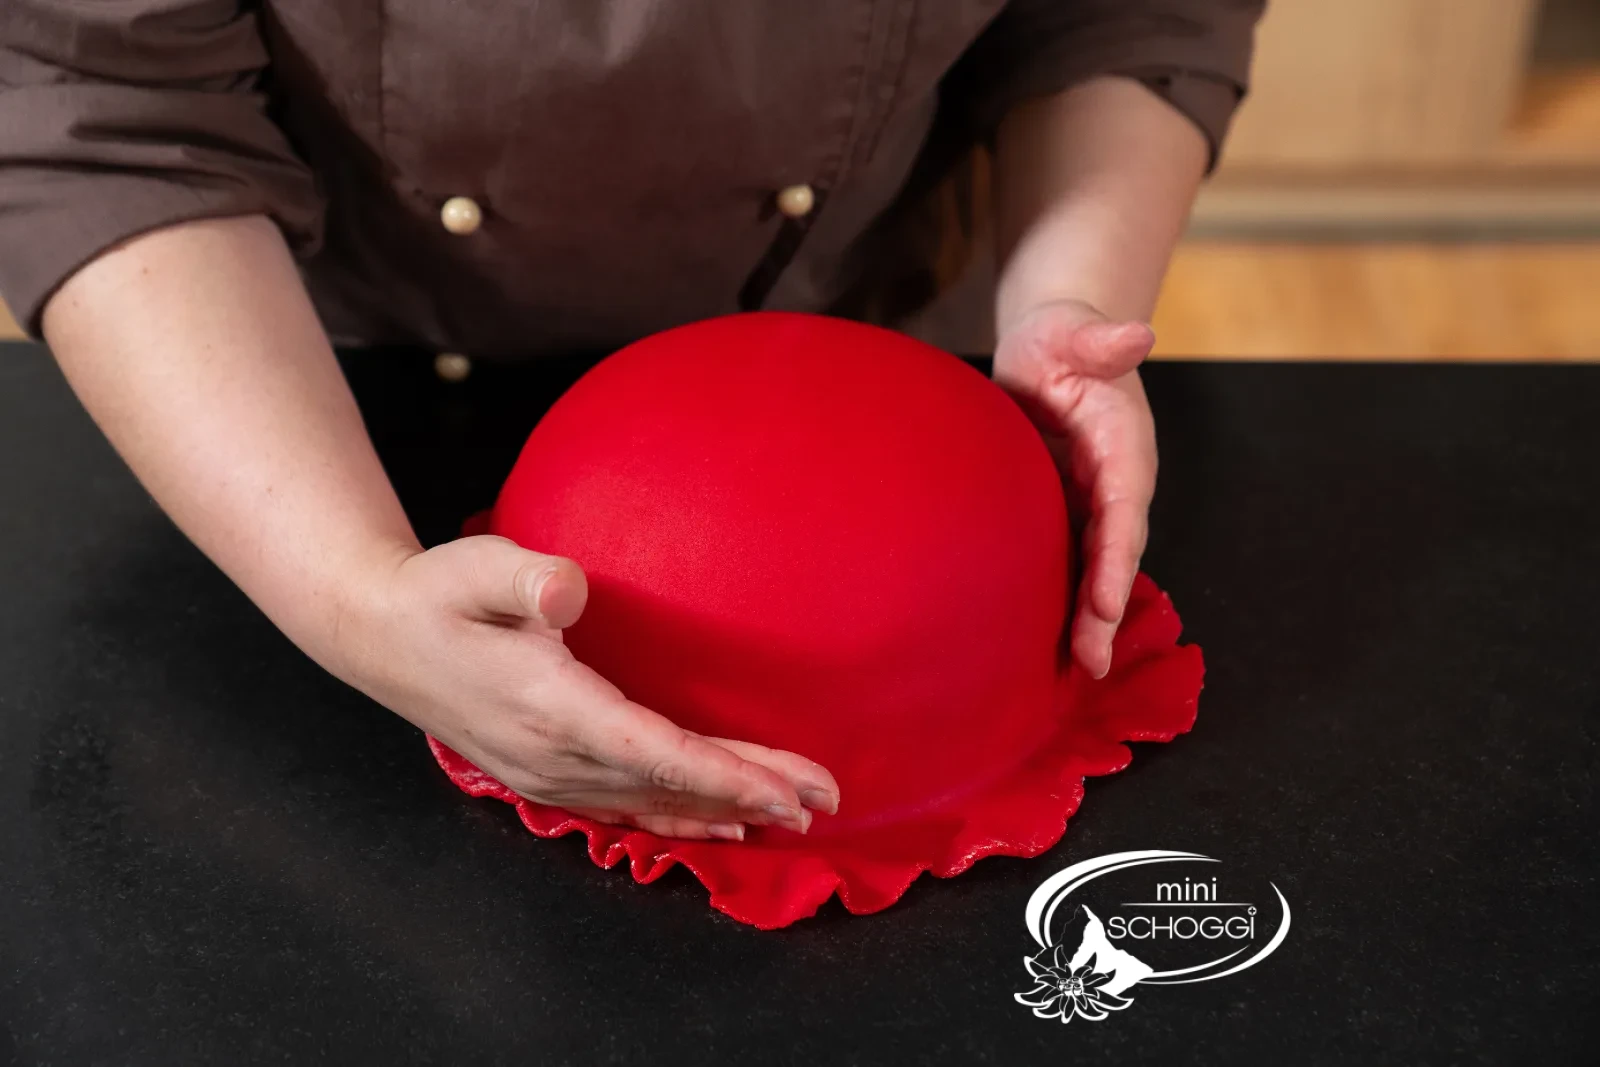
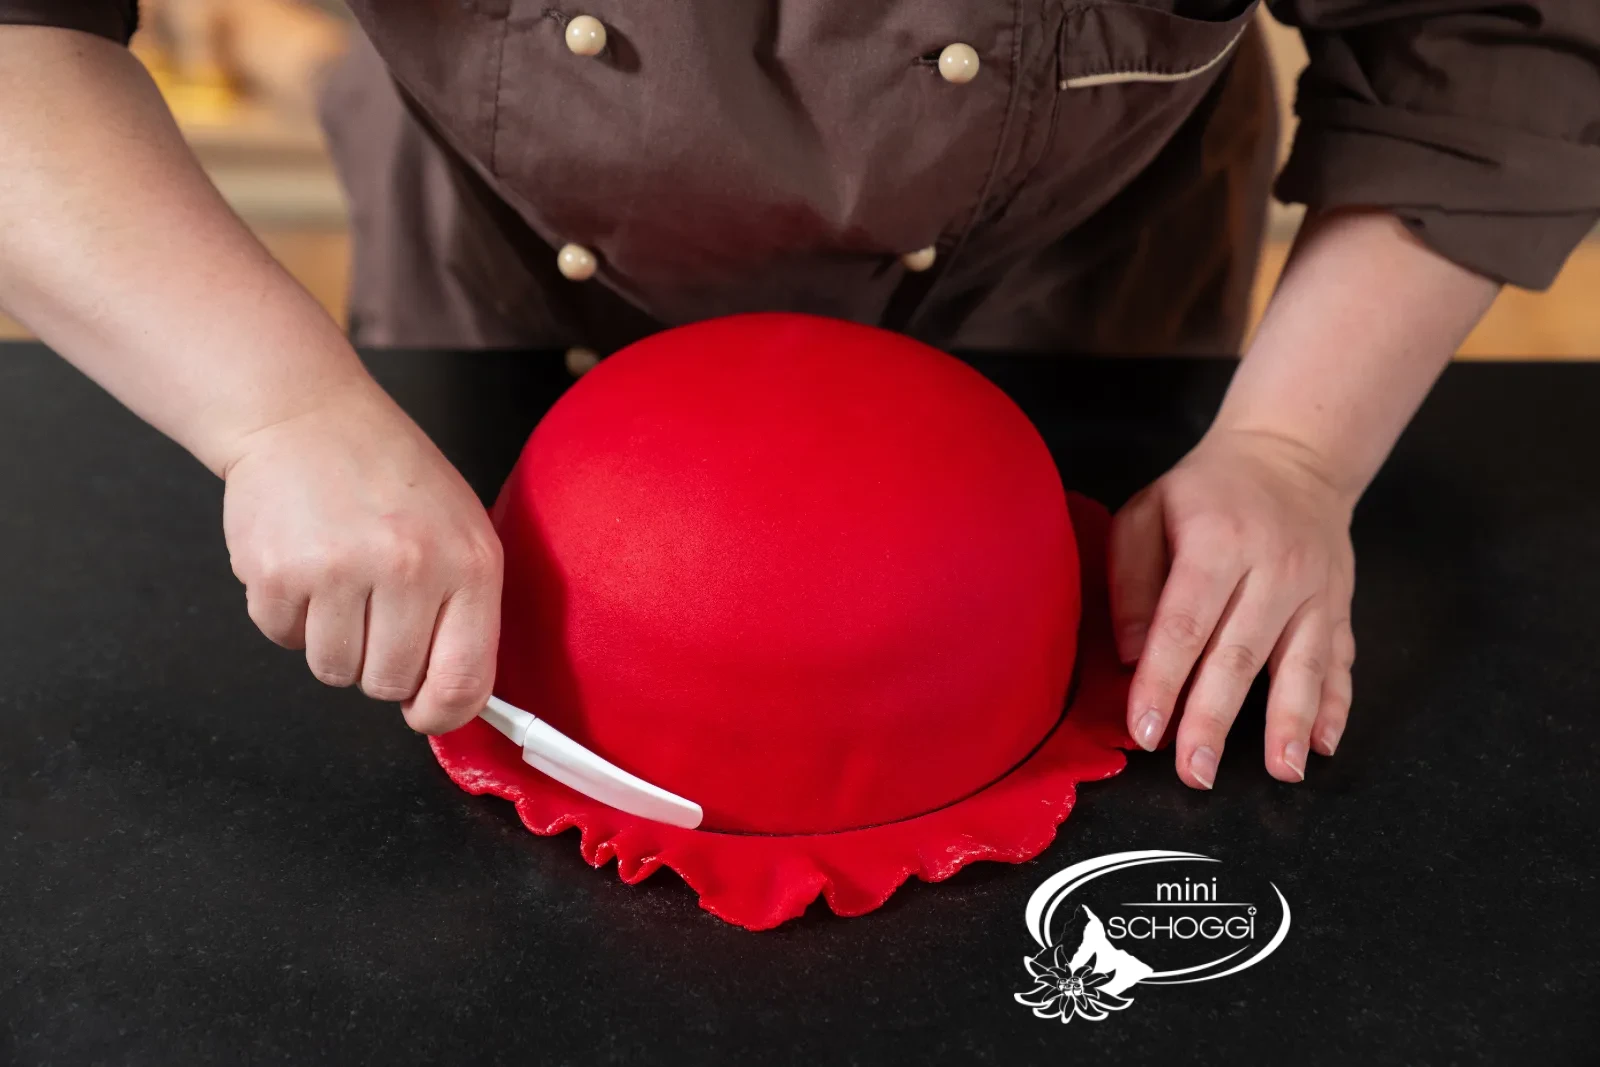
Wrap the cake in marzipan and trim
Lay the marzipan centrally over the cake, press it smooth from top to bottom and cut off the excess.
3
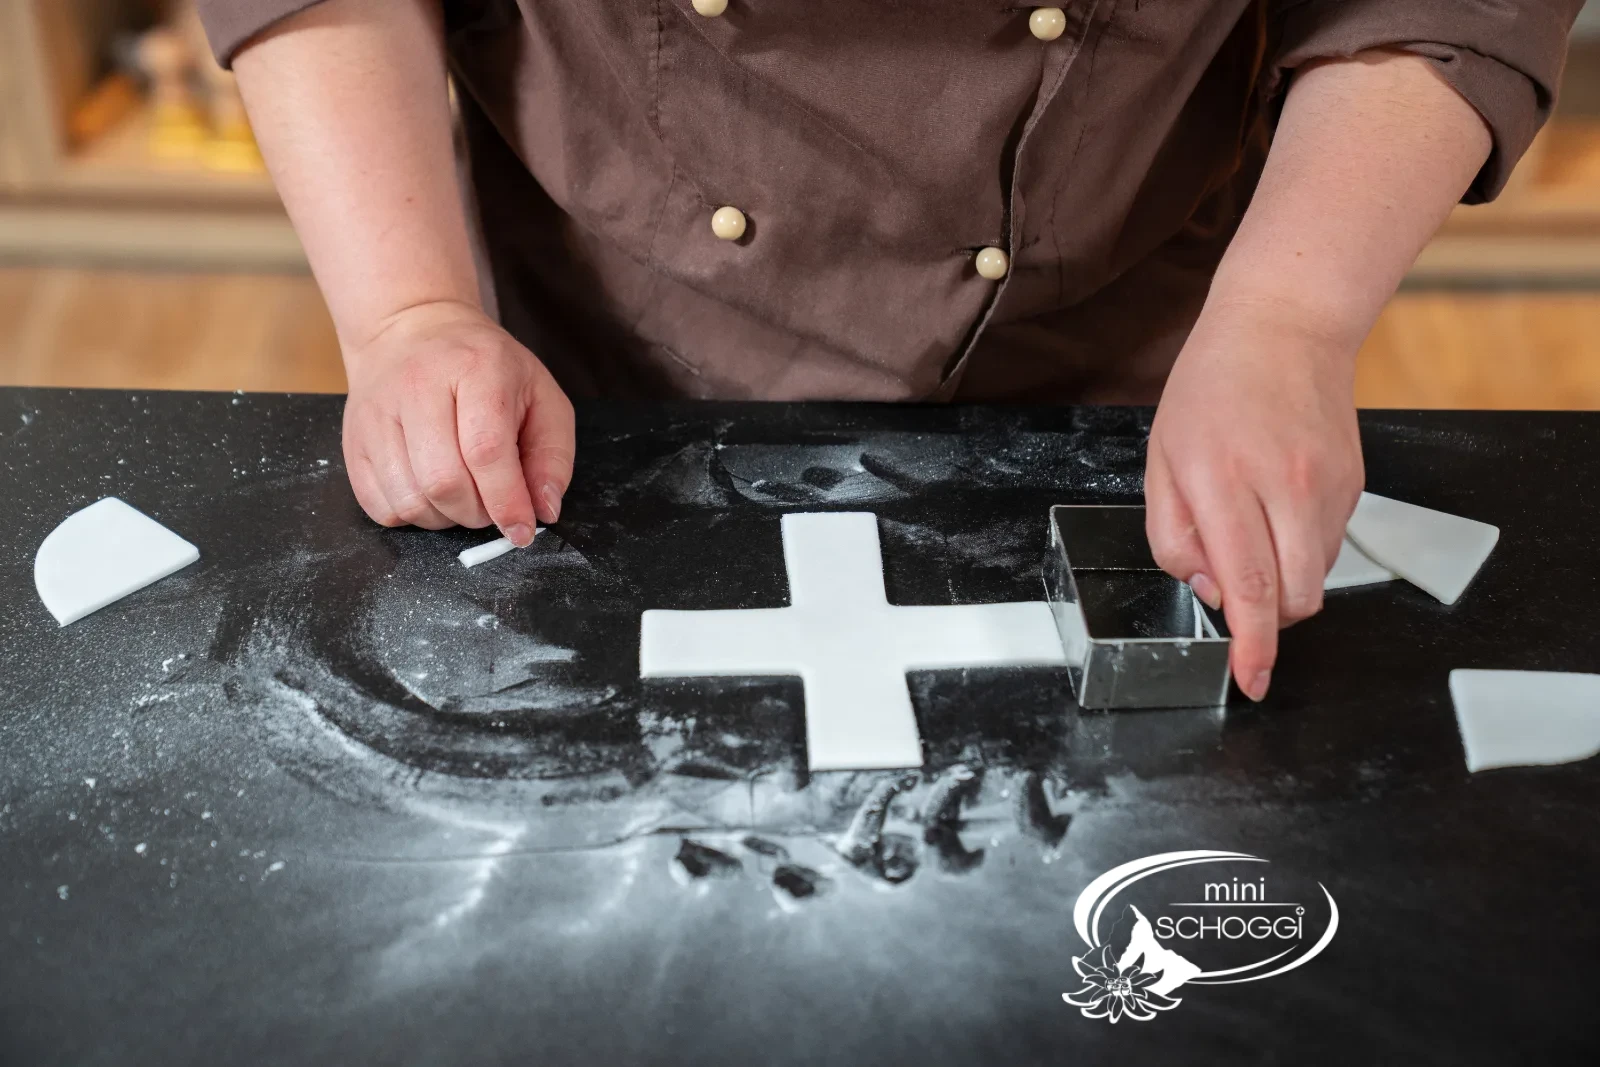
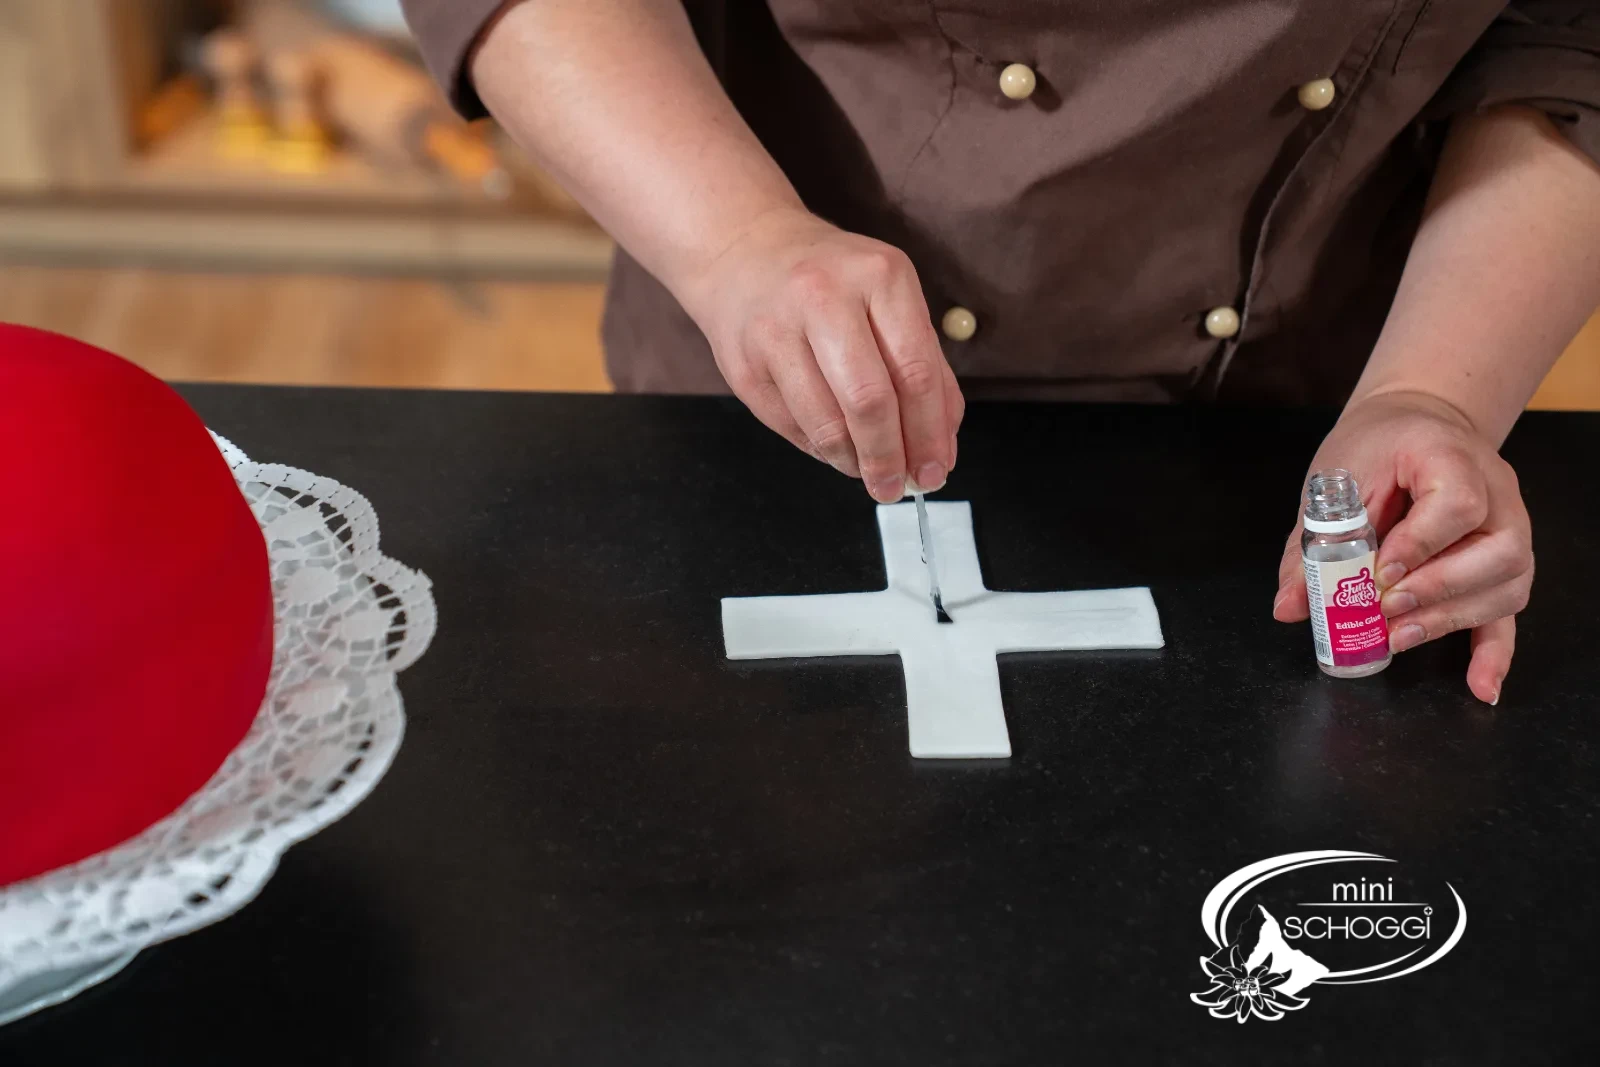
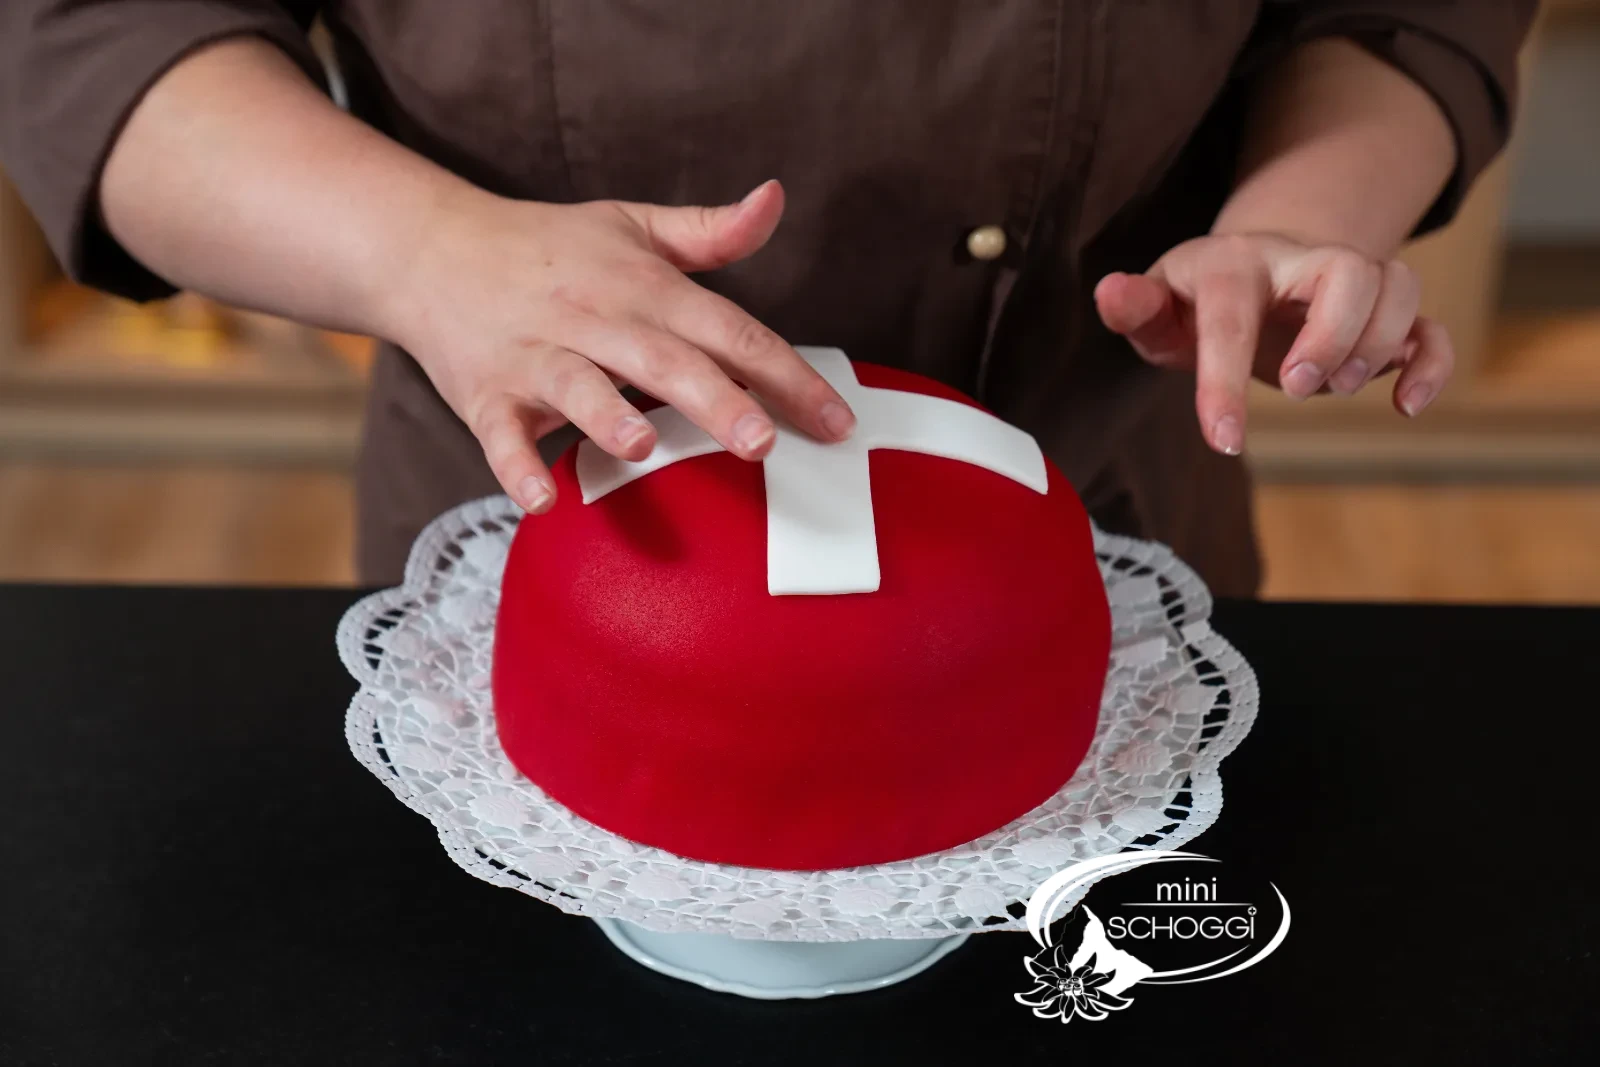
Shape and place the Swiss cross
Roll out the white marzipan, cut a cross to size, brush it with Edible glue and place it centrally on the cake.
Compact · printable
August 1 Cake – the Swiss Cross Cake
Ingredients
Quantity:
White sponge (Ø 20 cm)
Vanilla-strawberry cream (1st filling)
Strawberry cream (2nd filling)
Covering
Preparation
- Sponge: Warm sugar and egg over a water bath to 35 °C, whip up, fold in flour, bake for 22 min. at 200 °C.
- Vanilla-strawberry cream: Bind strawberry puree with vanilla cream powder, cool, work into a cream with gelatine and cream.
- Strawberry cream: Whip cream with vanilla sugar, incorporate cream stiffener, fold in strawberries.
- Assembling: Build up the sponge layers and fillings in stages into a dome shape, chilling in between.
- Covering: Wrap in red marzipan, place a white cross of marzipan on top.
Nutrition per 100 g
291kcal
16.4 gFat
31.5 gCarbohydrates
4.9 gProtein
Storage & shelf life
The cake keeps well covered in the fridge for up to 3 days. It tastes best if you take it out about 30 minutes before serving — that way the sponge and cream return to the perfect eating temperature. (Chilling time: 3 hours)
Everything for this recipe
Recommended from our bakery — exactly the sizes the recipe was tested with.
Ingredients
Magic roll-out powder 200 g
FunCakes flower paste white, 250 g
Bourbon vanilla seeds, 5 g
Edible glue with brush, 22 g
Professional leaf gelatine, 150 pieces
Cream stiffener 1 kg
Strawberry fruit puree 1 kg
Vanilla cream powder, 120 g
Marzipan red
White flour, 1 kg
Equipment
Decora rolling pin, 33 cm
Digital Thermometer, waterproof and foldable
Cake ring Ø 20 cm x 6 cm Decora
Rubber scraper red, large
Whisk 25 cm
Angled spatula mini thin with plastic handle
Biscuit cutter / Cake cutter
Rubber scraper small
Cake ring Ø 24 cm x 6 cm
Delivery in 1–2 working days · Free shipping from CHF 100*
So it turns out perfectly every time
For more strawberry flavour
For a more intense strawberry flavour, you can drizzle the sponge with a strawberry soak before filling.
For the perfect dome shape
To make the dome shape of the cake nice and even, it helps to smooth the cream and cream each time after spreading with an angled spatula from the middle outwards – this creates the typical curve without dents or unevenness.
Cover it well chilled
So that the marzipan does not tear when wrapping, the cake should be well chilled beforehand – a firm base is much easier and smoother to cover.
Frequently asked questions
Yes! The sponge can be baked 1–2 days ahead. The fully assembled cake covered in marzipan keeps in the fridge for up to 3 days – perfect for enjoying a relaxed August 1st.
Yes, fondant works just as well and is even a little easier to roll out smoothly. The taste, however, is sweeter and less marzipan-like.
The chilling breaks are crucial for the dome shape: only if the cream and cream firm up in between does the curve stay stable and the marzipan covering later sits nice and smooth.
Print recipe
Choose what should appear on the printout.
Related products
Cake ring Ø 24 cm x 6 cm
Price: CHF 23.90
Rated out of 5 stars based on
review(s)
bitte einloggen
Become a professional pastry chef in your kitchen! The cake ring Ø 24 x 6 cm...
Baker's starch 200 g
Price: CHF 5.90
Rated out of 5 stars based on
review(s)
bitte einloggen
Working with fondant, marzipan and modeling clay can be a sticky business....
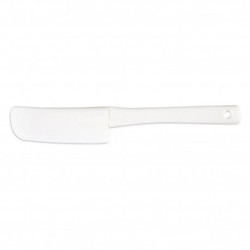
Rubber scraper small
Price: CHF 3.50
Rated out of 5 stars based on
review(s)
bitte einloggen
The scraper is made of silicone, which protects pots and bowls from...
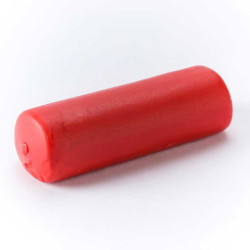
Marzipan red
Price: CHF 7.50
Rated out of 5 stars based on
review(s)
bitte einloggen
Marzipan can be used to form pretty little figures or flowers that not only...
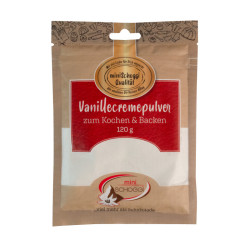
Vanilla cream powder, 120 g
Price: CHF 5.90
Rated out of 5 stars based on
review(s)
bitte einloggen
With vanilla cream powder you create perfect vanilla and pastry cream for...
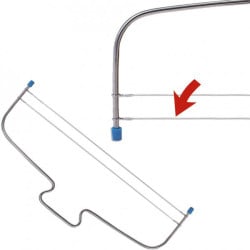
Sponge cake/cake cutter
Price: CHF 15.90
Rated out of 5 stars based on
review(s)
bitte einloggen
The cake cutter has two individually adjustable serrated wires that allow...
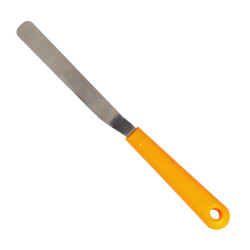
Angle spatula mini thin with plastic handle
Price: CHF 9.90
Rated out of 5 stars based on
review(s)
bitte einloggen
In our courses, a very special tool is indispensable! Angle palette,...
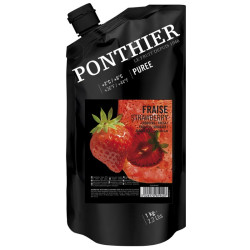
Strawberry fruit puree 1 Kg
Price: CHF 21.50
Rated out of 5 stars based on
review(s)
bitte einloggen
Fruit purees are perfect for naturally flavoring various masses. With our...
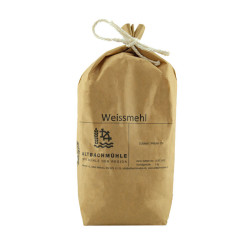
White flour, 1 kg
Price: CHF 4.50
Rated out of 5 stars based on
review(s)
bitte einloggen
White flour is suitable for pastries of all kinds, from bread to cakes to...
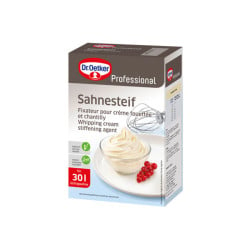
Cream stiffener 1 kg
Price: CHF 24.50
Rated out of 5 stars based on
review(s)
bitte einloggen
Good stability is extremely helpful for airy cake fillings, light...
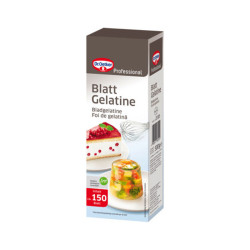
Professional leaf gelatine, 150 pieces
Price: CHF 39.70
Rated out of 5 stars based on
review(s)
bitte einloggen
Delicious cakes, sweet desserts and fine icings are given stability by...

Whisk 25 cm
Price: CHF 8.90
Rated out of 5 stars based on
review(s)
bitte einloggen
Every kitchen needs some basic equipment, and this includes a sturdy whisk....

Edible glue with brush, 22 g
Price: CHF 5.50
Rated out of 5 stars based on
review(s)
bitte einloggen
Great edible glue to easily stick decorations and embellishments on...
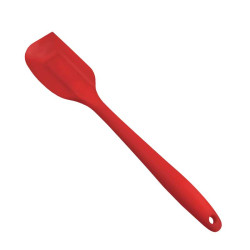
Rubber scraper Red, large
Price: CHF 9.90
Rated out of 5 stars based on
review(s)
bitte einloggen
The rubber scraper red is made of silicone, which protects pots and bowls...
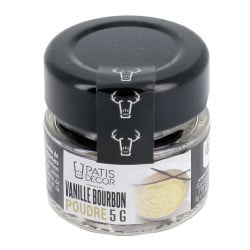
Bourbon vanilla seeds, 5 g
Price: CHF 12.50
Rated out of 5 stars based on
review(s)
bitte einloggen
Vanilla seeds are very popular because of their natural and intense flavor....
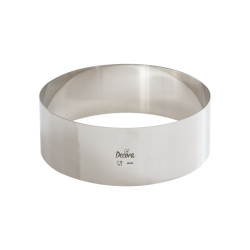
Cake ring Ø 20 cm x 6 cm Decora
Price: CHF 17.90
Rated out of 5 stars based on
review(s)
bitte einloggen
Become a professional pastry chef in your kitchen! The cake ring Ø 20 x 6 cm...

Digital thermometer, waterproof as well as foldable
Price: CHF 29.50
Rated out of 5 stars based on
review(s)
bitte einloggen
For many treats, maintaining a certain temperature is essential. In a...
FunCakes flower paste white, 250 g
Price: CHF 5.00
Rated out of 5 stars based on
review(s)
bitte einloggen
You have passionately baked an airy sponge cake, made a delicious, fruity or...

Decora rolling pin, 33 cm
Price: CHF 23.40
Rated out of 5 stars based on
review(s)
bitte einloggen
The Decora rolling pin white is a high-quality kitchen tool that has been...
Bewertungen
Leave a comment
Related posts
 Make your own chocolate Easter bunnies
You can easily make your own Easter bunnies at home! You can find out how to do it and what you need here. A sweet...
Read more
Make your own decorative Swiss roll
Make your own decor roulade - we'll explain exactly how in this blog, with lots of tips and tricks from our...
Read more
Cinnamon Star Biscuits Recipe
Make your own cinnamon stars with the help of our professionals, with lots of tips & tricks to bake the best...
Read more
Make your own chocolate pumpkin pralines
Make your own 3D chocolate pumpkin pralines - here you get detailed instructions with lots of tips and tricks...
Read more
How can I convert a cake recipe?
Converting a cake recipe, whether a sponge or a cake filling, is easy with our conversion table.
Read more