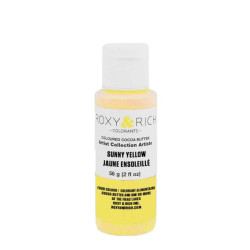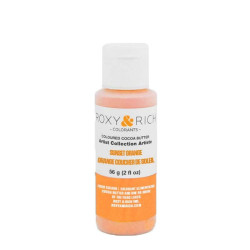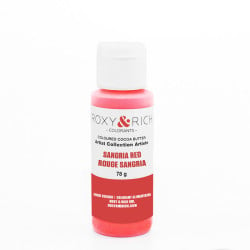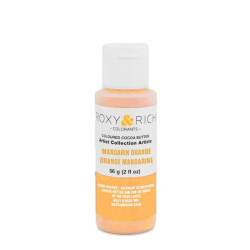
Ready-to-ship quantity: more than 20 pieces20+ in stock
Price:CHF34.90

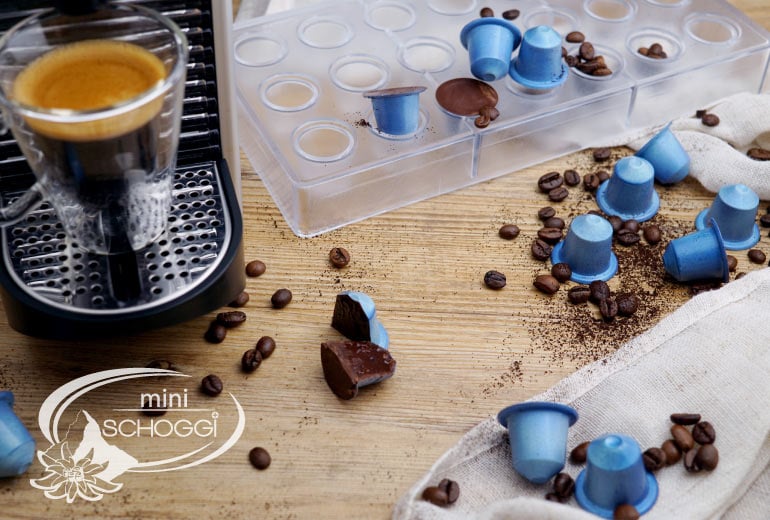
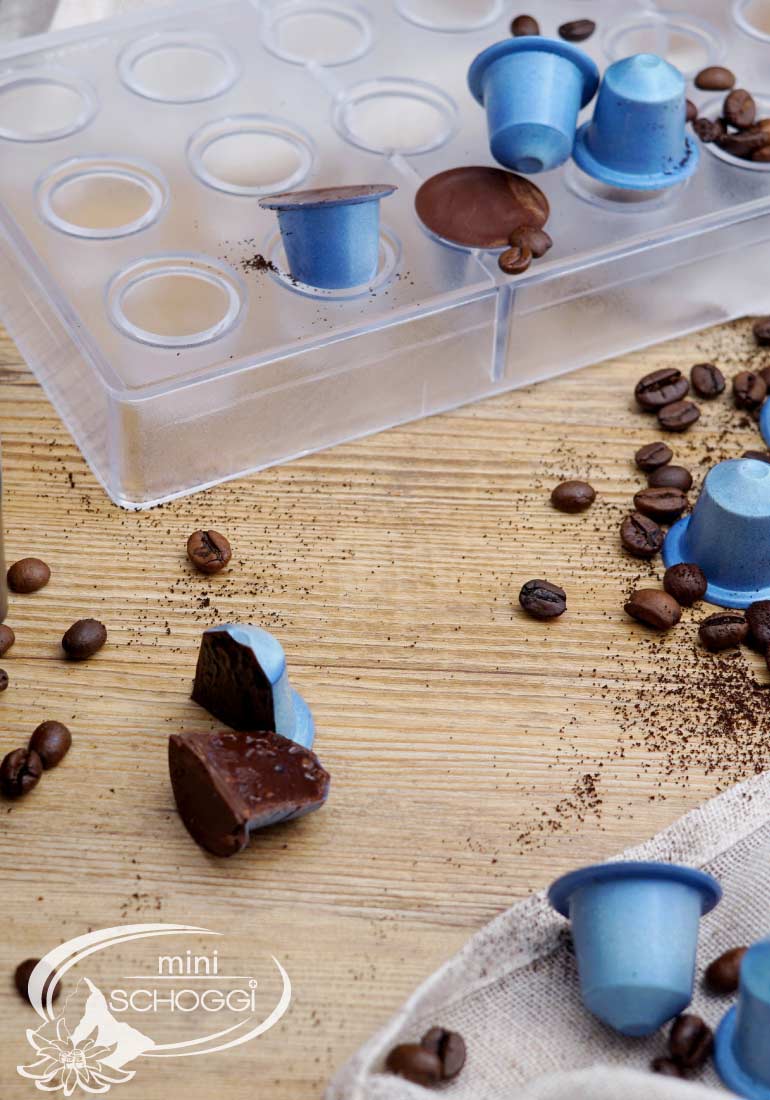
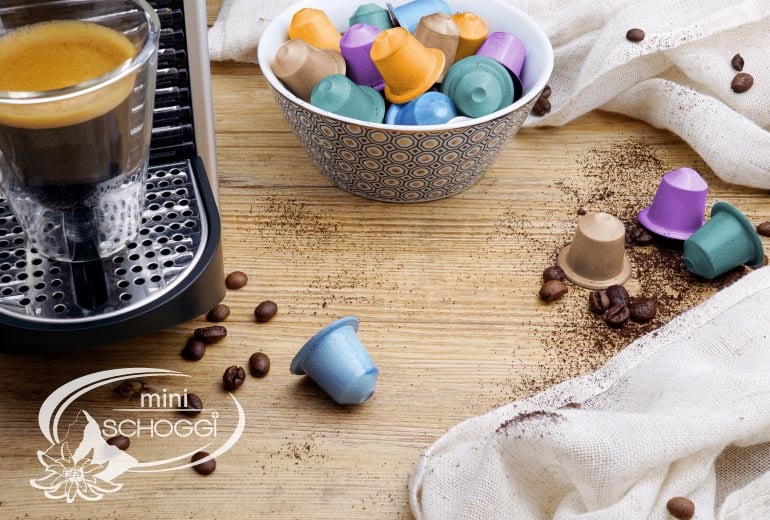
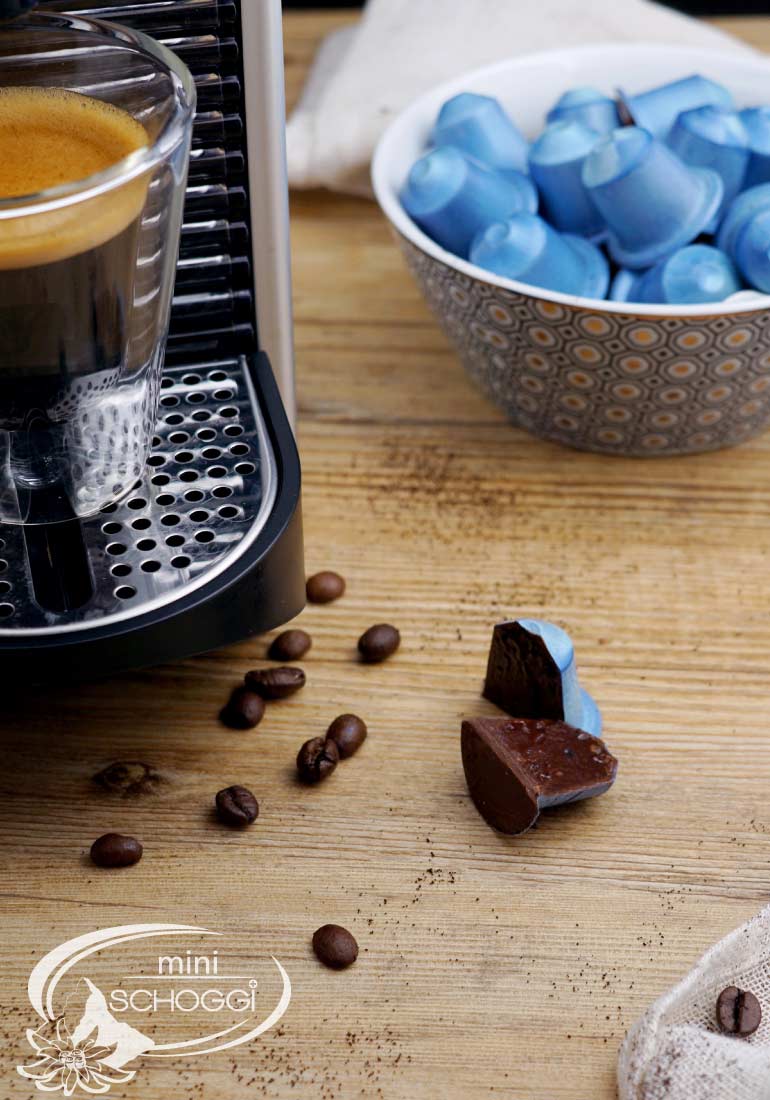
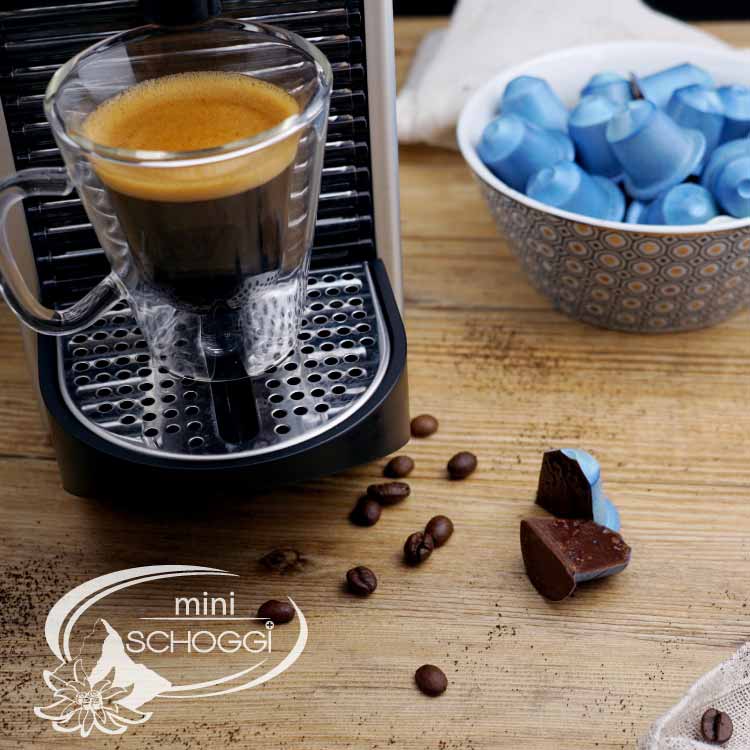
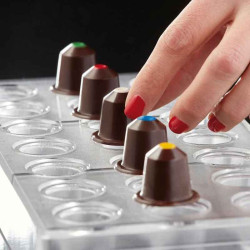
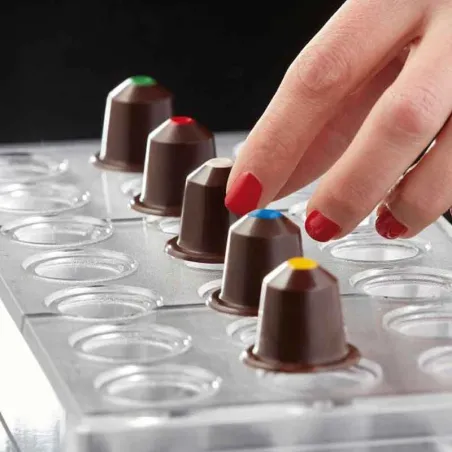
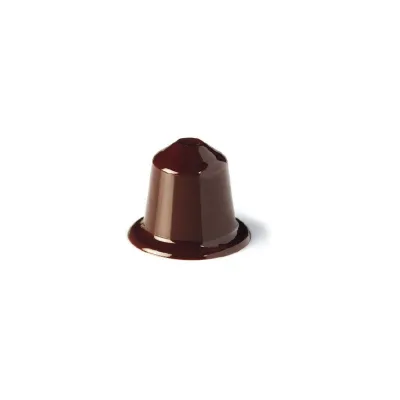
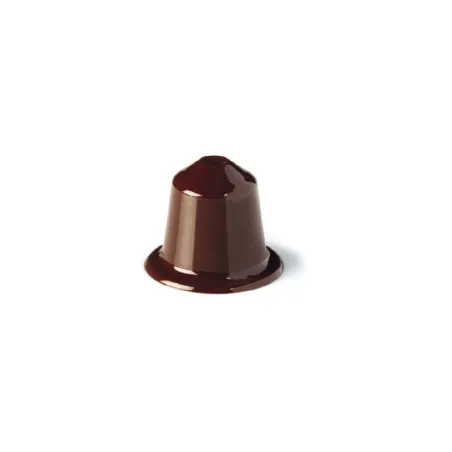
Today, in this post, we’ll show you how to make coffee capsules that look deceptively real. Edible coffee capsules. These fantastic chocolates are filled with a crunchy coffee ganache containing cocoa nibs. If you place these capsules next to your coffee machine, your guests will certainly never suspect that they aren’t real capsules at all. Of course, the capsules don’t just look stunning – they taste absolutely divine too! If you don’t have the necessary equipment yet, why not have a browse through our online shop or pop into our shop? We’ll help you with your purchase, give you some handy tips and will be happy to answer any questions you may have.
Have fun and good luck trying this out! We look forward to seeing your results!
Quantity: 21 pieces
Preparation time: approx. 30 minutes
Decorating time:approx. 100 minutes
Difficulty: Medium
Shelflife: 1 month
| Dark chocolate couverture | 120 g |
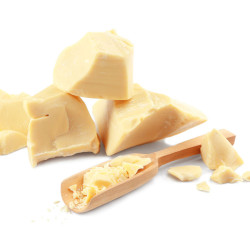
| Cocoa butter | 20 g |
| Double cream | 80 g |
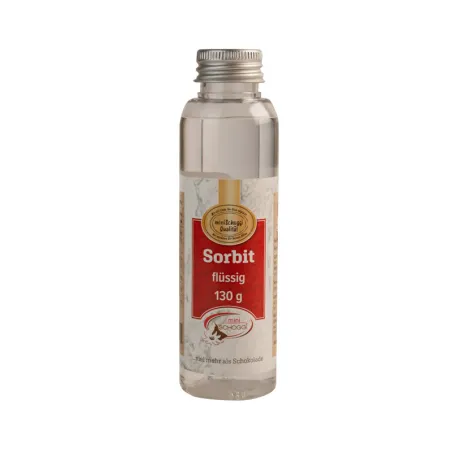
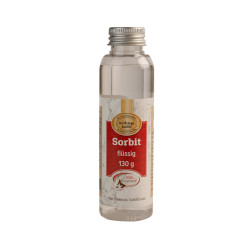
| Sorbitol | 5 g |
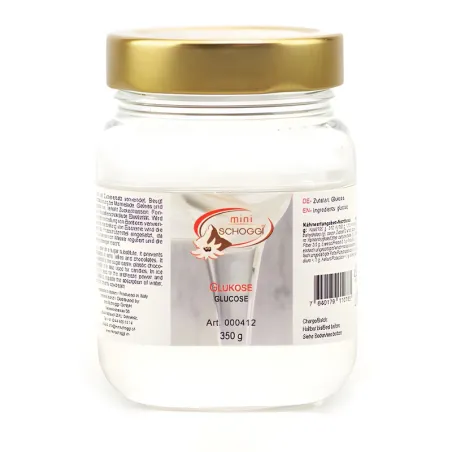
| Glucose | 10 g |
| Butter | 10 g |
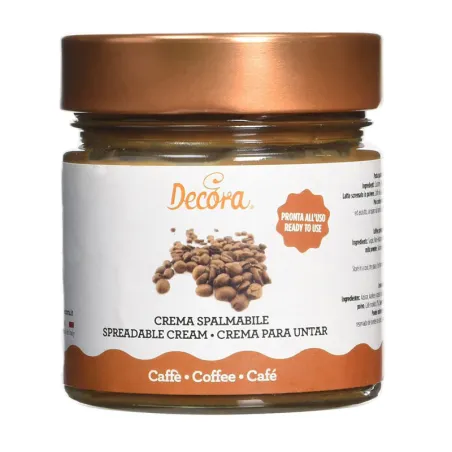
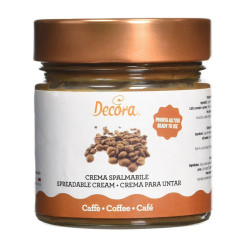
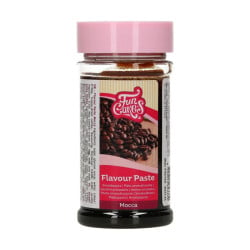
| Mocha paste | 20 g |
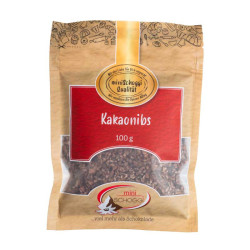
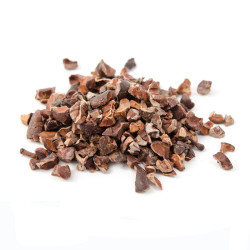
| Cocoa nibs | 40 g |
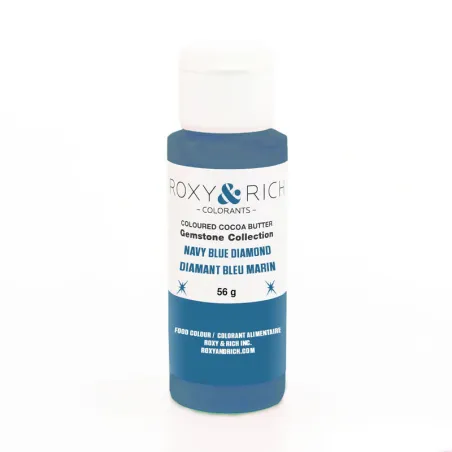
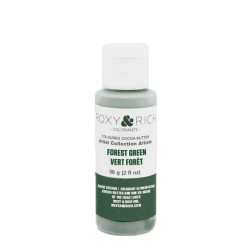
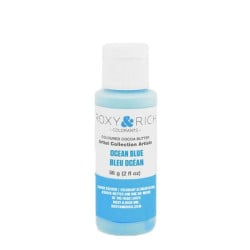
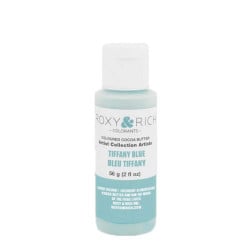
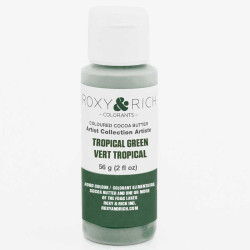
| Tiffany Blue cocoa butter colour | |
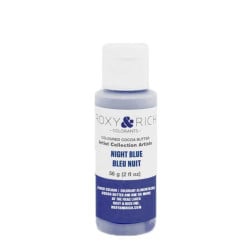
| Cocoa butter colour: Midnight Blue | |
| Cocoa butter colour: Glossy Blue | |
| Dark couverture | tempered |


Heat the double cream in a pan together with the butter, glucose and sorbitol.
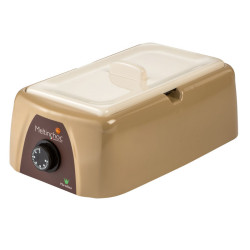
Place the couverture and cocoa butter in a bowl. As soon as the cream mixture comes to the boil, pour it into the bowl containing the couverture and leave it for about 1 minute to allow the mixture to melt slightly.
Now add the mocha paste and stir everything together until you have a smooth mixture. Of course, you can increase or reduce the amount of mocha paste to your own taste, depending on how intense you want the coffee flavour to be.
Finally, add the cocoa nibs – these add a lovely crunch.
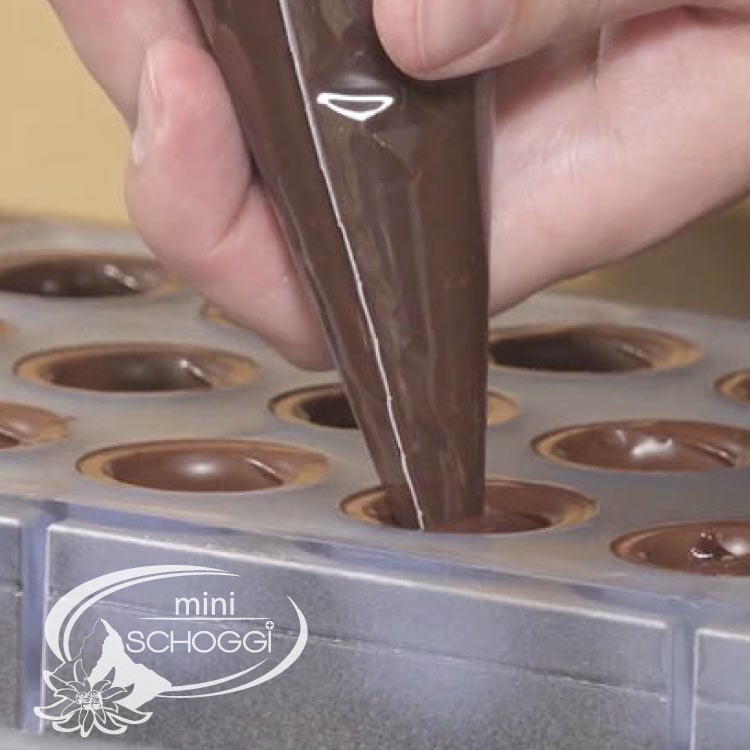
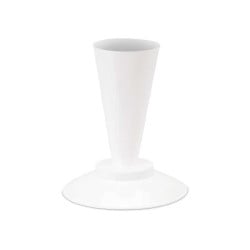
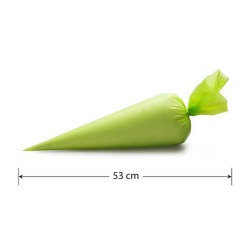
Mix the ganache thoroughly, transfer it to a piping bag and then leave it to cool slightly at room temperature.


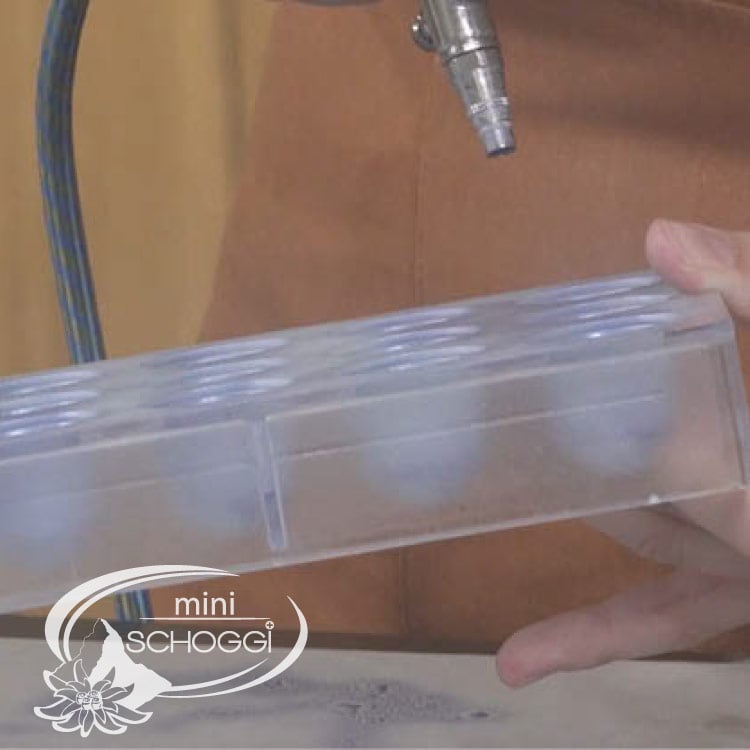
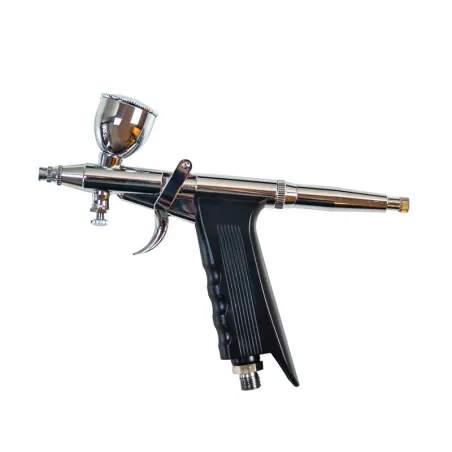
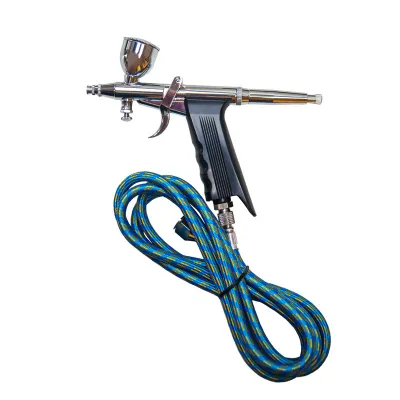
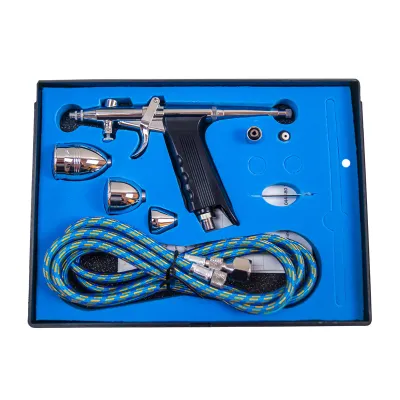
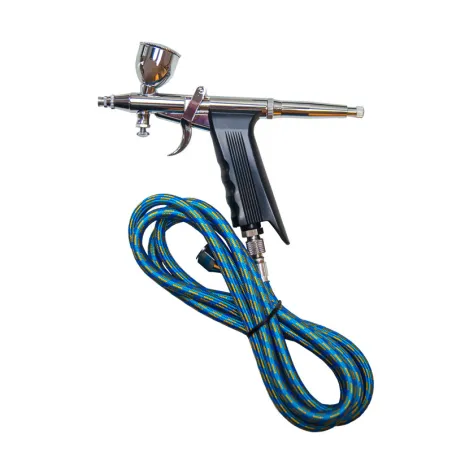
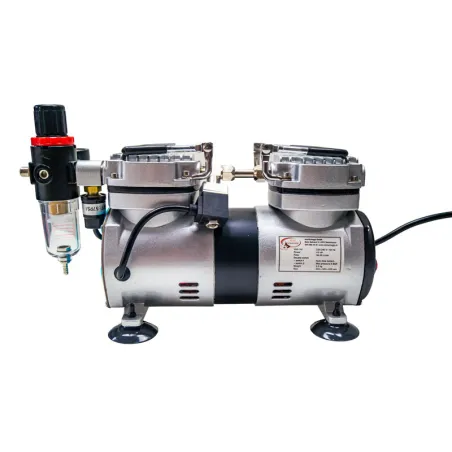
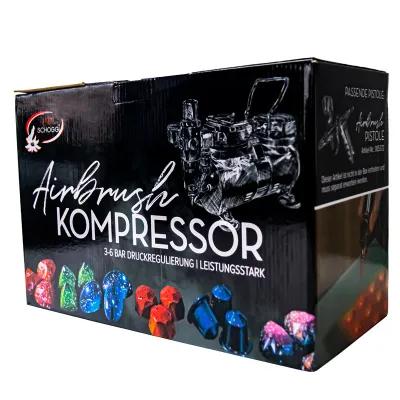
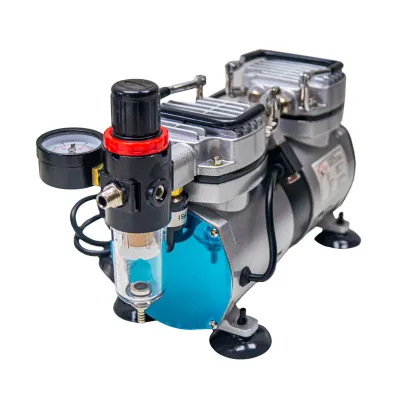
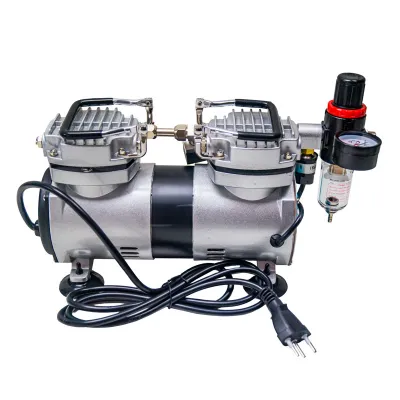
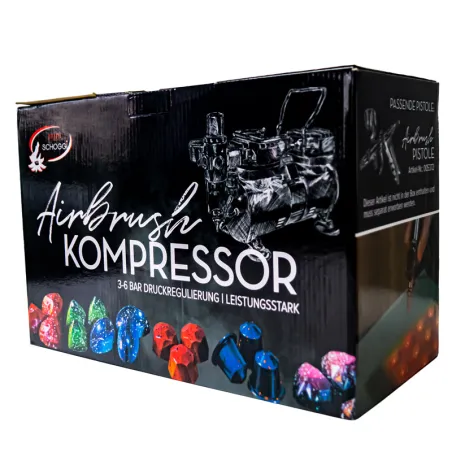
The most important thing when airbrushing is to use an airbrush gun that is actually suitable for cocoa butter paint, otherwise it will block your nozzle. Also, the compressor for the gun must be very powerful, as cocoa butter paint is significantly thicker than regular airbrush paint. Consequently, you need more pressure to work with it.
Start by polishing the chocolate mould thoroughly with some kitchen roll or cotton wool. The better the mould is polished, the more beautiful the shine will be afterwards.
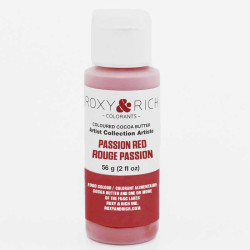
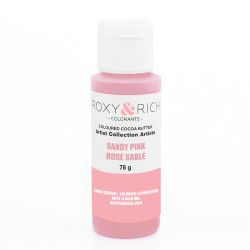
Melt the cocoa butter paint in lukewarm water before use. Now fill the airbrush first with a pearl blue, spray the moulds very lightly with it, and then go over them again with a dark blue.
Keep turning and rotating the mould as you go, so that the cocoa butter colour reaches every part.
For a rich colour, always let the colour dry a little before applying the next coat.
Once you’re finished, wipe the mould over some kitchen roll to clean it thoroughly. Now leave it to dry for about 10 minutes, and then you’re ready to pour!

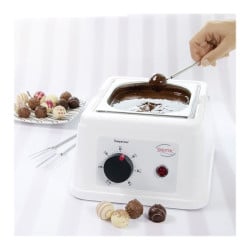
Not sure how to temper chocolate properly? Then have a look at our blog post or come along to our couverture tempering course!
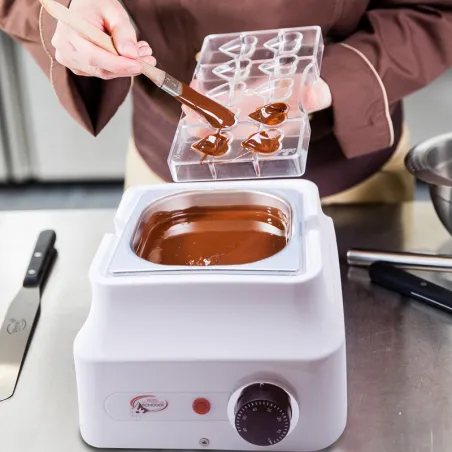
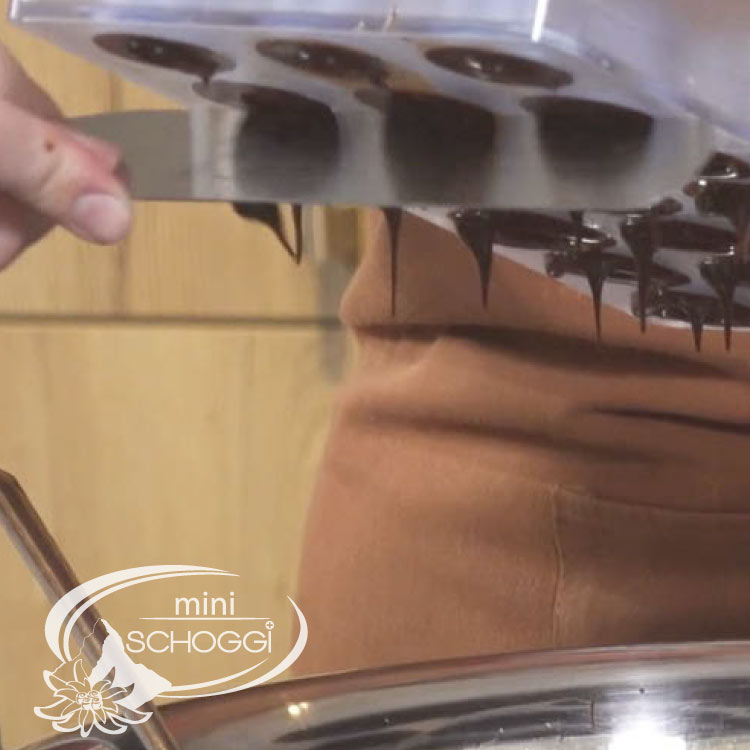
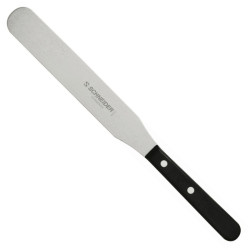
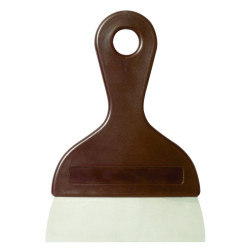
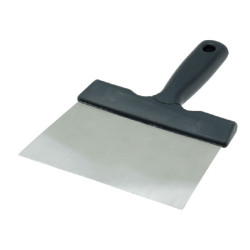
Put the tempered couverture into a piping bag and fill the praline mould completely with it. Shake the mould gently and tap it on your work surface so that the couverture is distributed evenly and any air bubbles are released. Pour the couverture back into your container, tapping the mould with the back of a spatula as you do so to ensure all the excess couverture comes out. Scrape the mould clean with a metal scraper and place it in the fridge for approx. 5–10 mins.
Now cut a hole large enough in your piping bag containing the finished ganache and fill the moulds to about 2 mm below the rim of the poured praline shells. Tap the mould gently on the work surface again to ensure the ganache is evenly distributed.
Now leave the filled pralines to set for either 1 hour at room temperature or 10 minutes in the fridge. This allows a thin skin to form on the ganache, making it easier to seal.
Finally, put some tempered couverture back into a piping bag and pipe a generous dollop onto each praline to seal it.
Tap the mould again briefly and wiggle it slightly, then scrape off the excess couverture with a metal scraper.
Place the mould back in the fridge for a further 15–20 minutes. You can now remove the pralines from the mould. To do this, simply rock the mould back and forth by its opposite corners and then turn it upside down in one go. The pralines should fall out by themselves.


Energy value in kJ:1841 kJ |Energy value in kcal:443 kcal |Fat:33 g, of which saturated fatty acids: 21 g |Carbohydrates:28 g, of which sugars: 25 g |Protein:6 g |Salt:0.03 g
Hallo Rebecca
Die Kaffekapselpralinése sehen ja toll aus. Das muss ich auch mal versuchen.
Frage: Mir ist nicht klar, wie man die Airbrush Pistole nach Gebrauch reinigt. Muss man mit Kompressordruck heisses Wasser durchspritzen oder wie geht das? Sonst verstopft ja die Düse innert kurzer Zeit.
Besten Dank für deine Auskunft!
Replied by:
Thomas Ramseier
On 2023-04-24
Hallo Astrid
Ja, unbedingt, die kommen echt super an :-)
Einfach am Schluss die restliche Kakaobutterfarbe aussprühen, in ein Decken oder auf ein Haushaltspapier und dann mit heissem Wasser durchspülen und mit Airbushreiniger am Schluss ebenfalls kurz, dann ist es schön sauber für den nächsten Einsatz :-) https://www.youtube.com/watch?v=KyAXV5TFfT8 - Hier ist ein Erklärvideo von uns zur Airbrush. Ab Minute 13 wird das Reinigen kurz erklärt. Bei weiteren Fragen sonst einfach melden :-)
Süsse Grüsse
Thomas
Sali Rebecca und Thomas. Ich finde eure block so klasse und diese kaffeekapsel sind genial...die muss ich unbedingt haben..:)...ich werde aber zum schluss noch das schoggi deckel mit goldene pulverfarbe färben, da werde es wie goldene alufolie aussehen, wie bei original. ich freue mich so für euch dass es gut leuft und du siehst so schön aus in dem videos. Ich hoffe ihr hatten schöne ferien. Liebe grüsse für euch allen.

Make your own chocolate Easter bunnies
Make your own decorative Swiss roll
Cinnamon Star Biscuits Recipe
Tempering couverture and chocolate correctly
Make your own chocolate pumpkin pralines