
Chocolate cockchafer
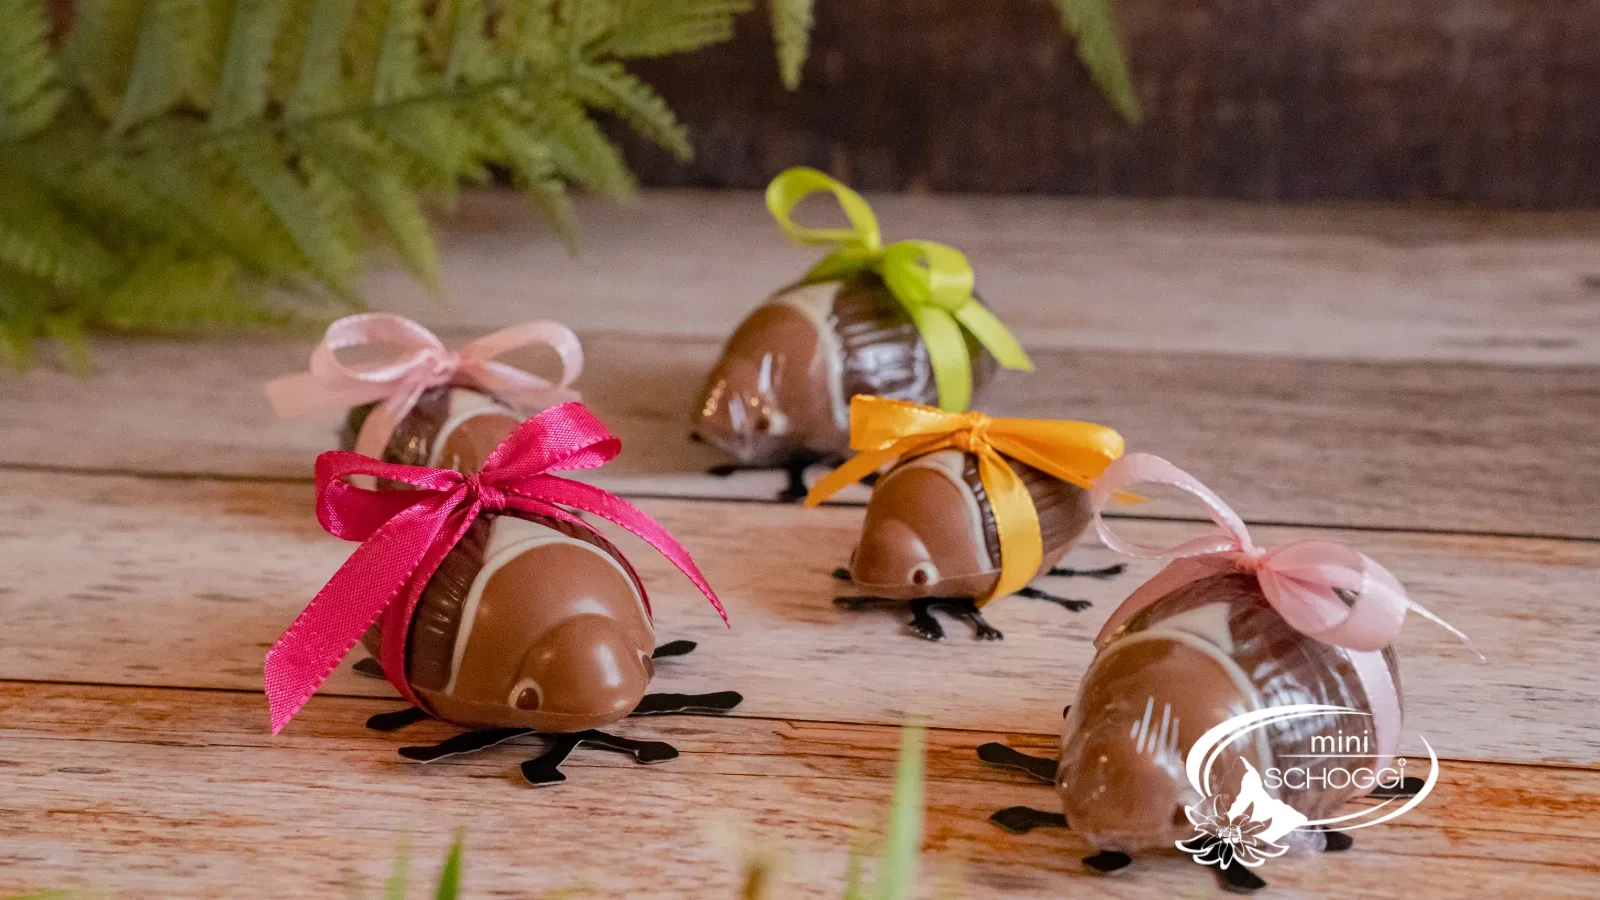
Charming chocolate cockchafers, just like from the confiserie
Quantity4/5 cockchafers
Active time45 min.
Total time1 hr. 30 min.
MilkSoya
May is the season of cockchafers. Everywhere in nature you'll come across these majestic beetles — and in confiseries and pâtisseries too, where cockchafer chocolate is classically moulded from the finest couverture and sold.
You can do exactly the same at home. Everything you need for it can be found in our shop, and we'll explain how it's done step by step right here.
There is one requirement: the couverture must be properly tempered — otherwise the beetle won't release from the mould and won't be glossy. If something turns grey, The most common mistakes when working with chocolate will help.
So: get the cockchafer mould ready, grab your favourite couverture and let's get started with the decorating.
The recipe on video
0:37 min


Ingredients
Quantity:
What you need
as neededCouverture, dark, tempered
as neededCouverture, white, tempered
as neededMilk couverture, tempered
Step by step
If you're in a hurry: the compact recipe card further down sums everything up.
Painting the mould
1
Polish the mould
Polish the cockchafer mould thoroughly with kitchen paper. The cleaner the mould, the better the beetle will release later and the more it will shine.
2
Paint in the dark areas
Put tempered Dark couverture into a cornet and use it to paint in the pupil and the other dark areas of the cockchafer.
3
Add the white and let it set
Next, do the same with the white tempered couverture.
If you've painted over the edge of the mould, simply scrape it off with a metal horn. Then leave the mould at room temperature for about 10 minutes so the painted part can set.
Chocolate shell
1
Brush out the mould
Brush the painted mould with tempered Milk couverture. Make sure you reach really every corner and crevice so no air bubbles form — keep turning the mould over and check it from the other side.
Once it's brushed out cleanly, scrape the edges briefly again with the metal horn.
2
Fill, close, swirl
Fill one half of the mould two thirds full with tempered Milk couverture, place the second half on top and secure it with the enclosed chocolate clips.
Once the clips are seated correctly, swirl the mould back and forth for 2 to 3 minutes. Keep tapping the mould with the Chocolate hammer so the couverture spreads evenly inside and no air bubbles remain.
3
Chill in two stages
Put the mould in the fridge for 10 to 15 minutes. Take it out, remove the clips and let the cockchafers cool for a further 20 to 25 minutes in the fridge.
Finishing
1
Unmould
Take the Polycarbonate mould out of the fridge and carefully release the finished cockchafer. If it's cooled through properly, it will almost fall out of the mould by itself.
2
Tie on the legs and wrap
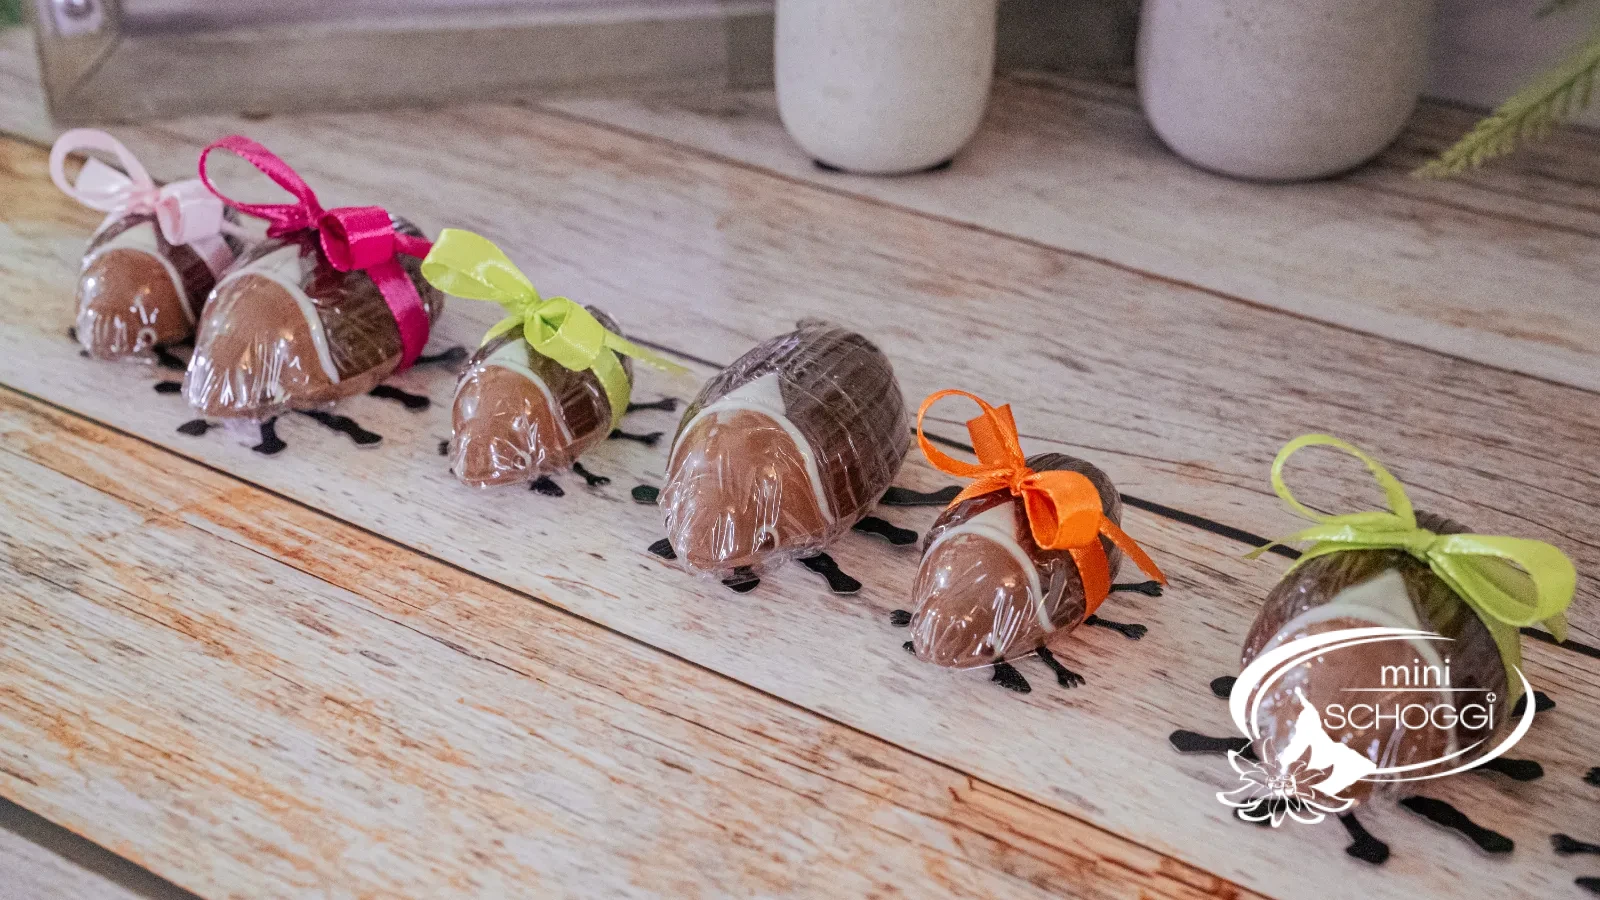
Wrap the cockchafer in cling film and tie on the little legs with a narrow Cake ribbon. With ribbons in different colours, a handful of beetles quickly becomes a whole family — and a gift everyone will love.
Compact · printable
Cockchafer chocolate
Ingredients
Quantity:
What you need
Preparation
- Polish: Polish the cockchafer mould thoroughly with kitchen paper.
- Paint: Paint in the dark areas with the cornet, then the white ones.
- Scrape: Scrape the painted-over edges off with the metal horn, let set for 10 min.
- Brush out: Brush the mould out completely with tempered Milk couverture.
- Close: Fill one half two thirds full, place the second half on top, clip together.
- Swirl: Swirl for 2–3 min. and tap with the Chocolate hammer.
- Chill: Chill 10–15 min., release the clips, chill for a further 20–25 min.
- Finish: Unmould, wrap in film, tie on the legs with ribbon.
Nutritional values per 100 g
kcal
Fat
Carbohydrates
Protein
Storage & shelf life
The finished cast chocolate figure keeps for up to six months. Store it in a dry, light-protected place at room temperature — not in the fridge, where it draws moisture and turns grey.
Everything for this recipe
Recommended from our bakery — exactly the sizes the recipe was tested with.
Ingredients
Lindt Couverture White 0.5 kg
Lindt Couverture Milk 0.5 kg
Lindt Couverture Dark 0.5 kg
Accessories
Cornet paper ready-rolled 15 pieces
Metal horn
Silicone brush, 20 cm
miniSchoggi tempering device for couverture and chocolate
Cockchafer chocolate mold, 4-piece
Cockchafer feet 7 cm, 100 pieces
Chocolate hammer
Delivery in 1–2 working days · Free shipping from CHF 100
A nice touch
Not necessary for the recipe — but it fits nicely.
Professional tempering device for couverture and chocolate
Lindt Couverture White 2.5 kg
Lindt Couverture Milk 2.5 kg
Lindt Couverture Dark 2.5 kg
Tempering device 3.5 litre, professional quality
Cornet paper Large, 1000 pieces
Cake ribbon Red
Cake ribbon Emerald Green
Chocolate mold Cockchafer, 5-piece
Cockchafer feet 5.5 cm, 100 pieces
Cockchafer feet 4.5 cm, 100 pieces

To guarantee they turn out well
Polishing is no side issue
The mould determines the shine. Every fingerprint and every leftover from last time shows on the finished figure — and a poorly polished mould only reluctantly releases the beetle.
Turn the mould while swirling
Air bubbles always collect in the same spot when the mould lies still. Rotate it fully several times while swirling and tap it from both sides — that's the difference between a smooth beetle and one with holes in its back.
Cooled down means really cooled down
The second cooling phase of 20 to 25 minutes is not a formality: chocolate contracts as it cools, and that is exactly what releases it from the mould. Turned out too early, the beetle stays stuck.
Frequently asked questions
Yes. Without tempering, the figure won't release cleanly from the mould, stays dull and turns grey after a short time. How tempering works is explained in our post on tempering couverture.
Because the coloured areas — eyes, pupils, dark parts — have to sit right against the mould wall. They are painted on before pouring and then enclosed by the chocolate coat. Painted on afterwards, you would see every brush stroke.
Up to half a year, stored dry and protected from light at room temperature. Do not keep in the fridge.
Print recipe
Choose what should appear on the printout.
Related products
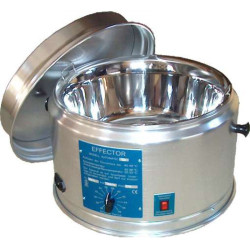
Professional tempering machine for couverture and chocolate
Price: CHF1,340.00
Rated out of 5 stars based on
review(s)
Vous devez être connecté à votre compte client
For melting and professional tempering of chocolate as well as couverture....
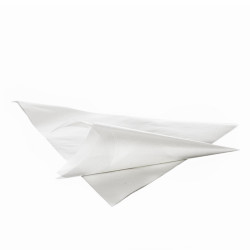
Cornet paper ready rolled 15 pieces
Price: CHF6.90
Rated out of 5 stars based on
review(s)
Vous devez être connecté à votre compte client
Cornet paper is indispensable for writing or decorating with chocolate. With...
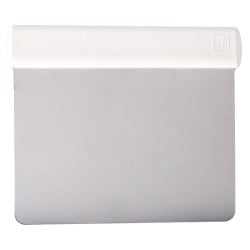
Metal horn
Price: CHF14.90
Rated out of 5 stars based on
review(s)
Vous devez être connecté à votre compte client
A metal horn is essential for creating your own hollow praline molds, for...
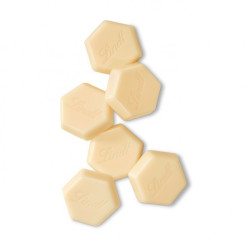
Lindt Couverture White 0.5 kg
Price: CHF19.90
Rated out of 5 stars based on
review(s)
Vous devez être connecté à votre compte client
Finest ingredients, transparency and sustainability. This is what the...

Lindt Couverture White 2.5 kg
Price: CHF72.50
Rated out of 5 stars based on
review(s)
Vous devez être connecté à votre compte client
Finest ingredients, transparency and sustainability. This is what the...
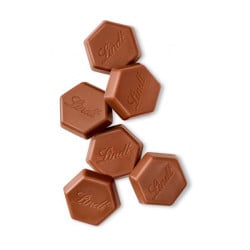
Lindt couverture milk 0.5 kg
Price: CHF17.90
Rated out of 5 stars based on
review(s)
Vous devez être connecté à votre compte client
Finest ingredients, transparency and sustainability. This is what the...

Lindt couverture milk 2.5 kg
Price: CHF65.80
Rated out of 5 stars based on
review(s)
Vous devez être connecté à votre compte client
Finest ingredients, transparency and sustainability. This is what the...
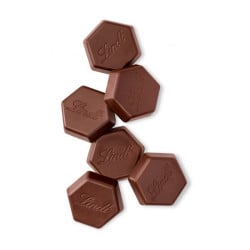
Lindt Couverture Dark 0.5 kg
Price: CHF17.50
Rated out of 5 stars based on
review(s)
Vous devez être connecté à votre compte client
The finest ingredients, transparency and sustainability. This is what the...

Lindt Couverture Dark 2.5 kg
Price: CHF64.50
Rated out of 5 stars based on
review(s)
Vous devez être connecté à votre compte client
The finest ingredients, transparency and sustainability. This is what the...
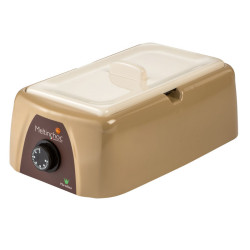
Temperature control unit 3.5 liters, professional quality
Price: CHF500.00
Rated out of 5 stars based on
review(s)
Vous devez être connecté à votre compte client
With a tempering device, tempering couverture is very easy and nothing...
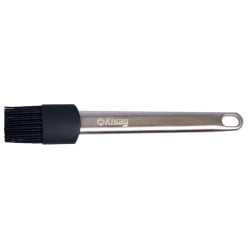
Silicone brush, 20 cm
Price: CHF16.90
Rated out of 5 stars based on
review(s)
Vous devez être connecté à votre compte client
This silicone brush should not be missing in any kitchen. It is heat...
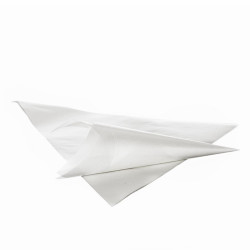
Cornet paper Large, 1000 pieces
Price: CHF115.00
Rated out of 5 stars based on
review(s)
Vous devez être connecté à votre compte client
For writing or garnishing with chocolate, a cornet paper is essential. With...
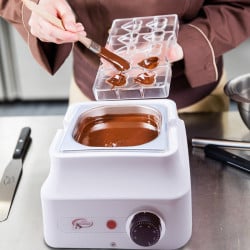
miniSchoggi tempering device for couverture and chocolate
Price: CHF99.00
Rated out of 5 stars based on
review(s)
Vous devez être connecté à votre compte client
With a tempering device, tempering couverture is very easy and nothing...
Cake ribbon red
Price: CHF3.20
Rated out of 5 stars based on
review(s)
Vous devez être connecté à votre compte client
The cake is ready, covered with fondant or marzipan, placed on the...
Cake ribbon emerald green
Price: CHF3.20
Rated out of 5 stars based on
review(s)
Vous devez être connecté à votre compte client
The cake is ready, covered with fondant or marzipan, placed on the...
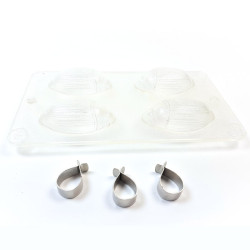
Chocolate mold cockchafer, 4 pieces
Price: CHF74.50
Rated out of 5 stars based on
review(s)
Vous devez être connecté à votre compte client
Making a sweet chocolate cockchafer yourself is no problem with the...
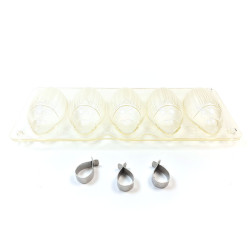
Chocolate mold cockchafer, 5 pieces
Price: CHF95.50
Rated out of 5 stars based on
review(s)
Vous devez être connecté à votre compte client
Making a sweet chocolate cockchafer yourself is no problem with the...

Maybug feet 7 cm, 100 pieces
Price: CHF32.50
Rated out of 5 stars based on
review(s)
Vous devez être connecté à votre compte client
Your homemade chocolate cockchafer will look especially good with the...
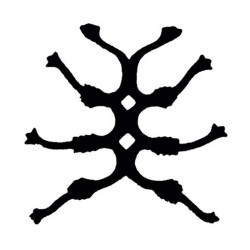
May bug feet 5.5 cm, 100 pieces
Price: CHF19.50
Rated out of 5 stars based on
review(s)
Vous devez être connecté à votre compte client
Your homemade chocolate cockchafer will look especially good with the...
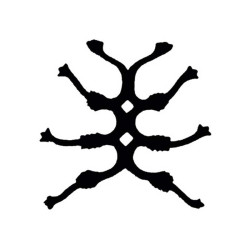
Maybug feet 4.5 cm, 100 pieces
Price: CHF15.50
Rated out of 5 stars based on
review(s)
Vous devez être connecté à votre compte client
Your homemade cockchafer will look especially good with the matching...
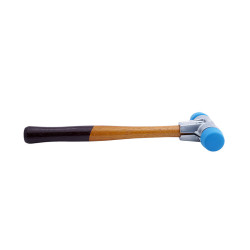
Chocolate hammer
Price: CHF55.00
Rated out of 5 stars based on
review(s)
Vous devez être connecté à votre compte client
Chocolate production at the highest level. Do you know how many steps a...
Bewertungen
Leave a comment
Related posts
 Make your own chocolate Easter bunnies
You can easily make your own Easter bunnies at home! You can find out how to do it and what you need here. A sweet...
Read more
Make your own decorative Swiss roll
Make your own decor roulade - we'll explain exactly how in this blog, with lots of tips and tricks from our...
Read more
Cinnamon Star Biscuits Recipe
Make your own cinnamon stars with the help of our professionals, with lots of tips & tricks to bake the best...
Read more
Tempering couverture and chocolate correctly
Melt, seed, reheat: the seeding method step by step, with the temperatures for every type of couverture and the test...
Read more
Make your own chocolate pumpkin pralines
Make your own 3D chocolate pumpkin pralines - here you get detailed instructions with lots of tips and tricks...
Read more