
...


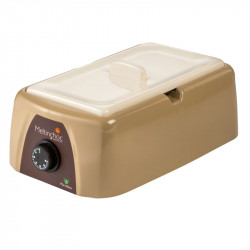
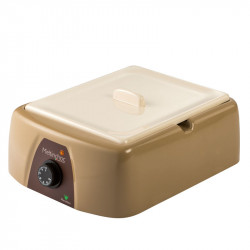
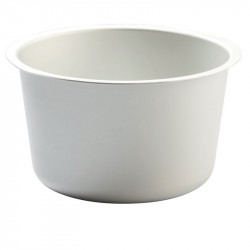
Additional container for Städter tempering unit
CHF39.90


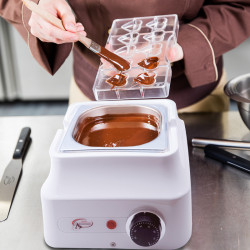
 Casting your own chocolate Easter bunnies
Make your own decor roulade
Cinnamon star recipe
Making Halloween chocolates
Cake Recipes Convert
Casting your own chocolate Easter bunnies
Make your own decor roulade
Cinnamon star recipe
Making Halloween chocolates
Cake Recipes Convert

Leave a comment