
Make truffles yourself — white, milk and dark
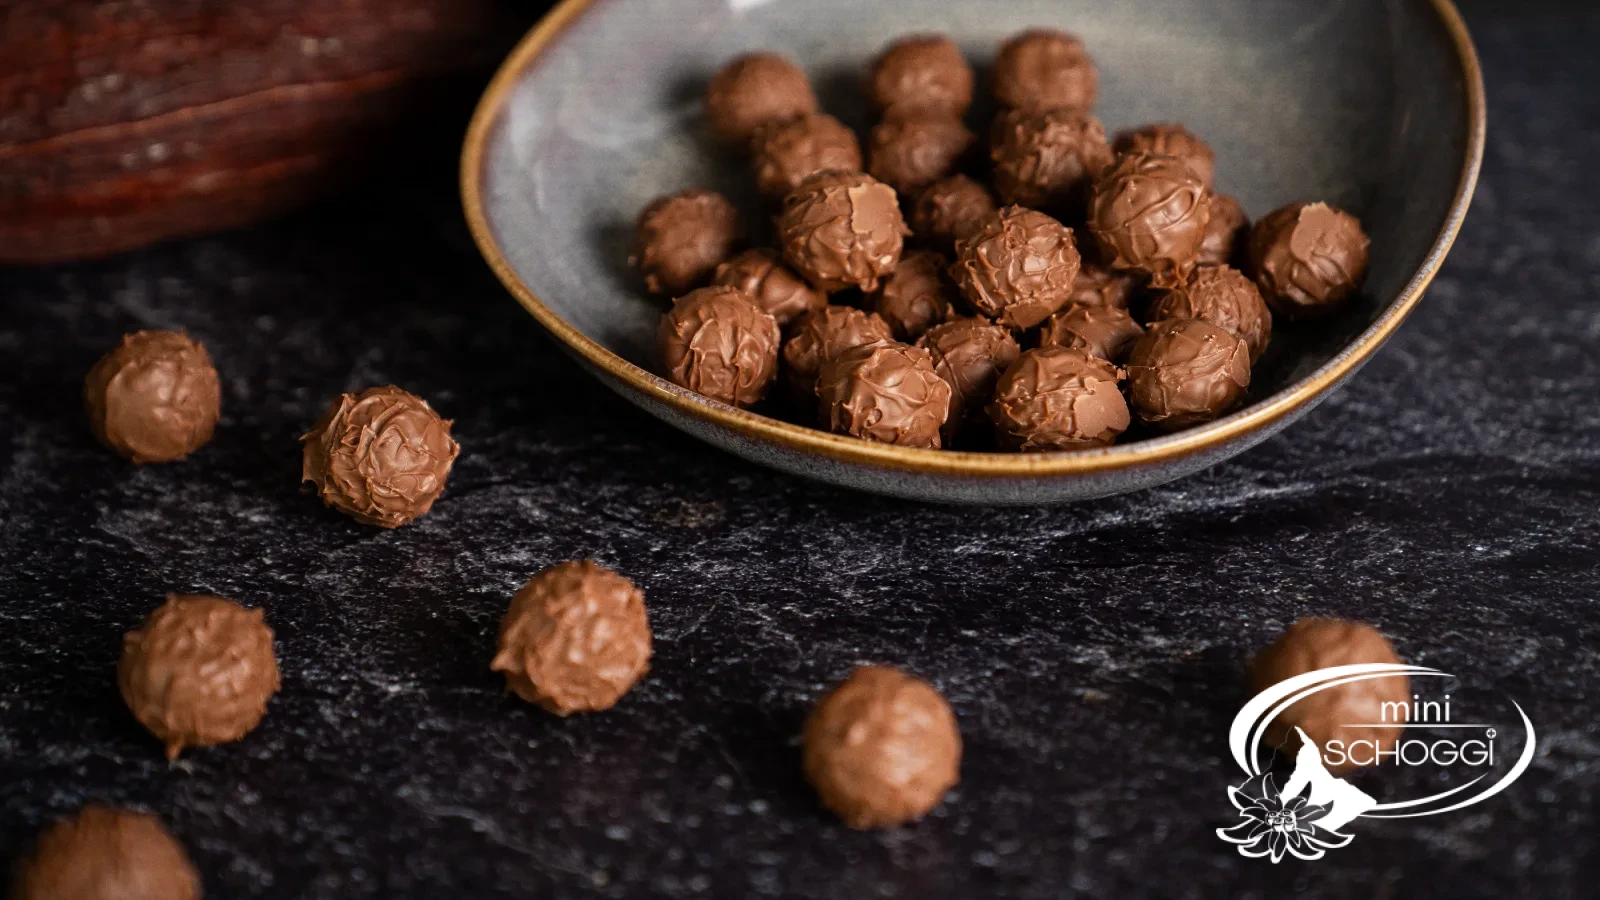
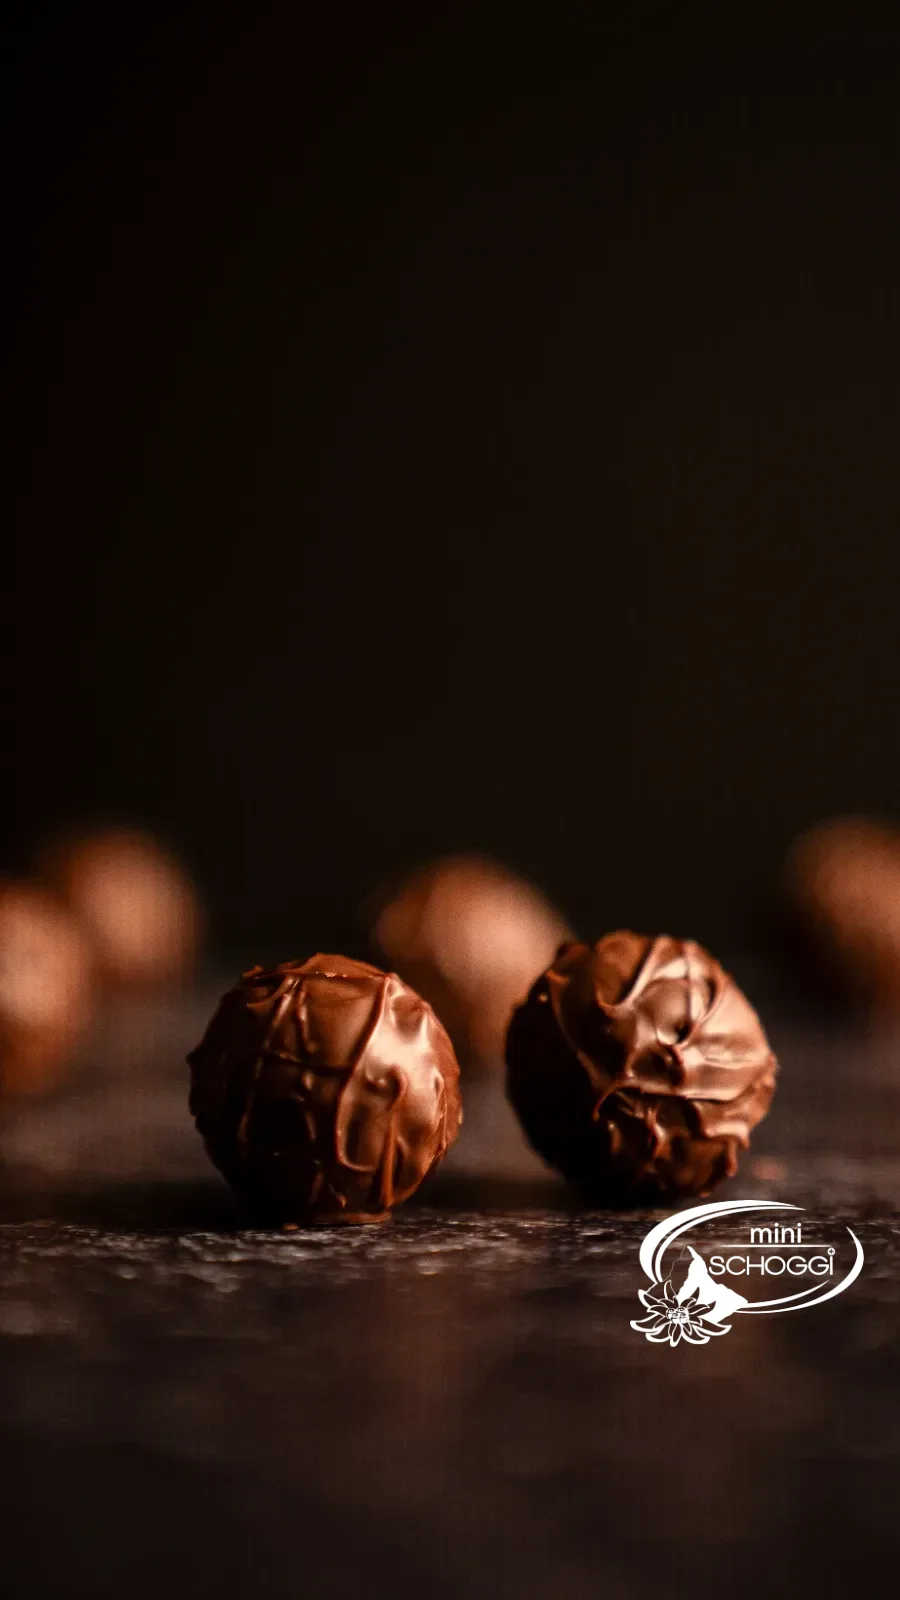
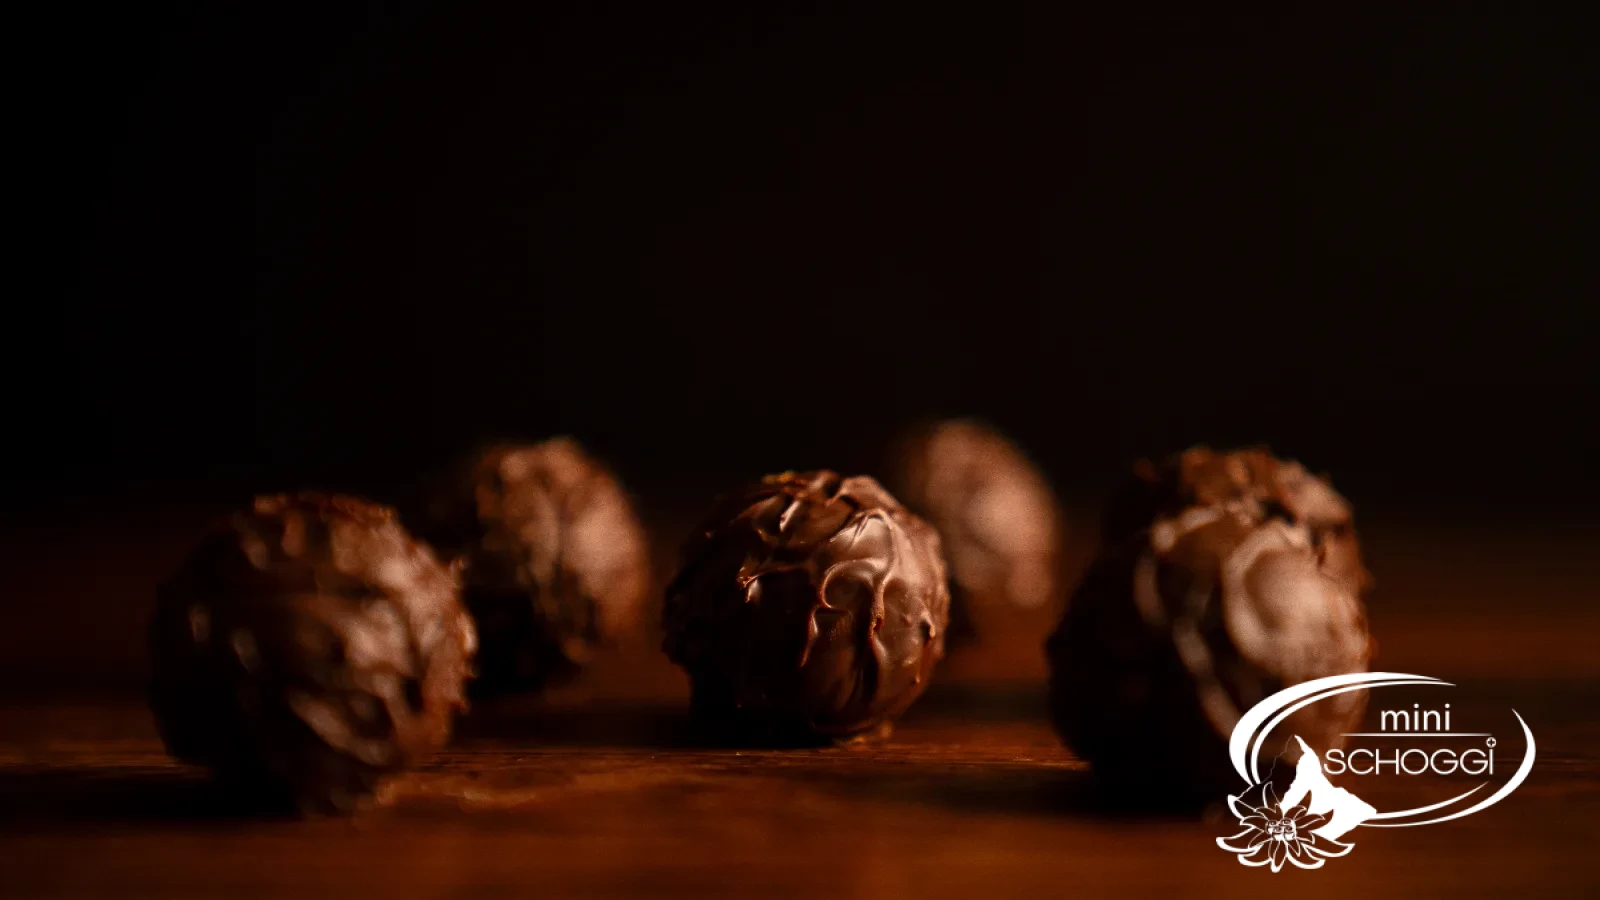
Creamy Ganache, a crisp coating — and the typical peaks
Quantity63 truffles at Ø 26 mm (per variety)
Active timeapprox. 60 min.
Total timeapprox. 2 hrs 30 min. (incl. 20 min. cooling and 1 hr resting)
contains milkmay contain soymay contain traces of nuts
Truffles are the most honest praline there is: a ball, a filling, a coating. None of it can be hidden. That's exactly why it's worth making them yourself once — and exactly why this recipe contains more than would fit in a list of ingredients.
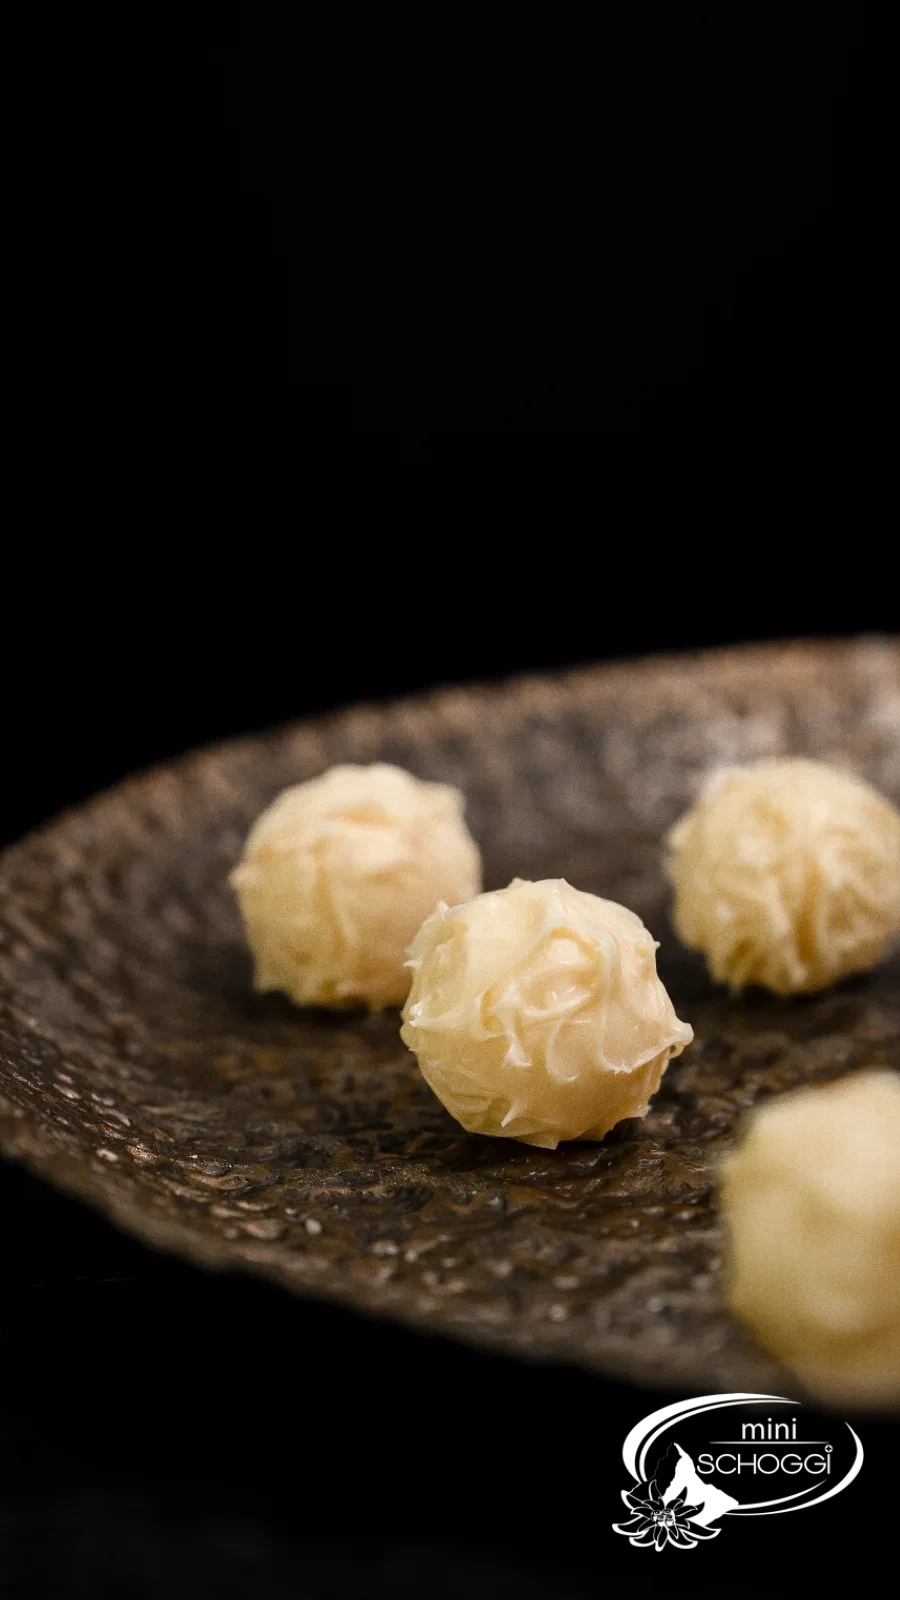
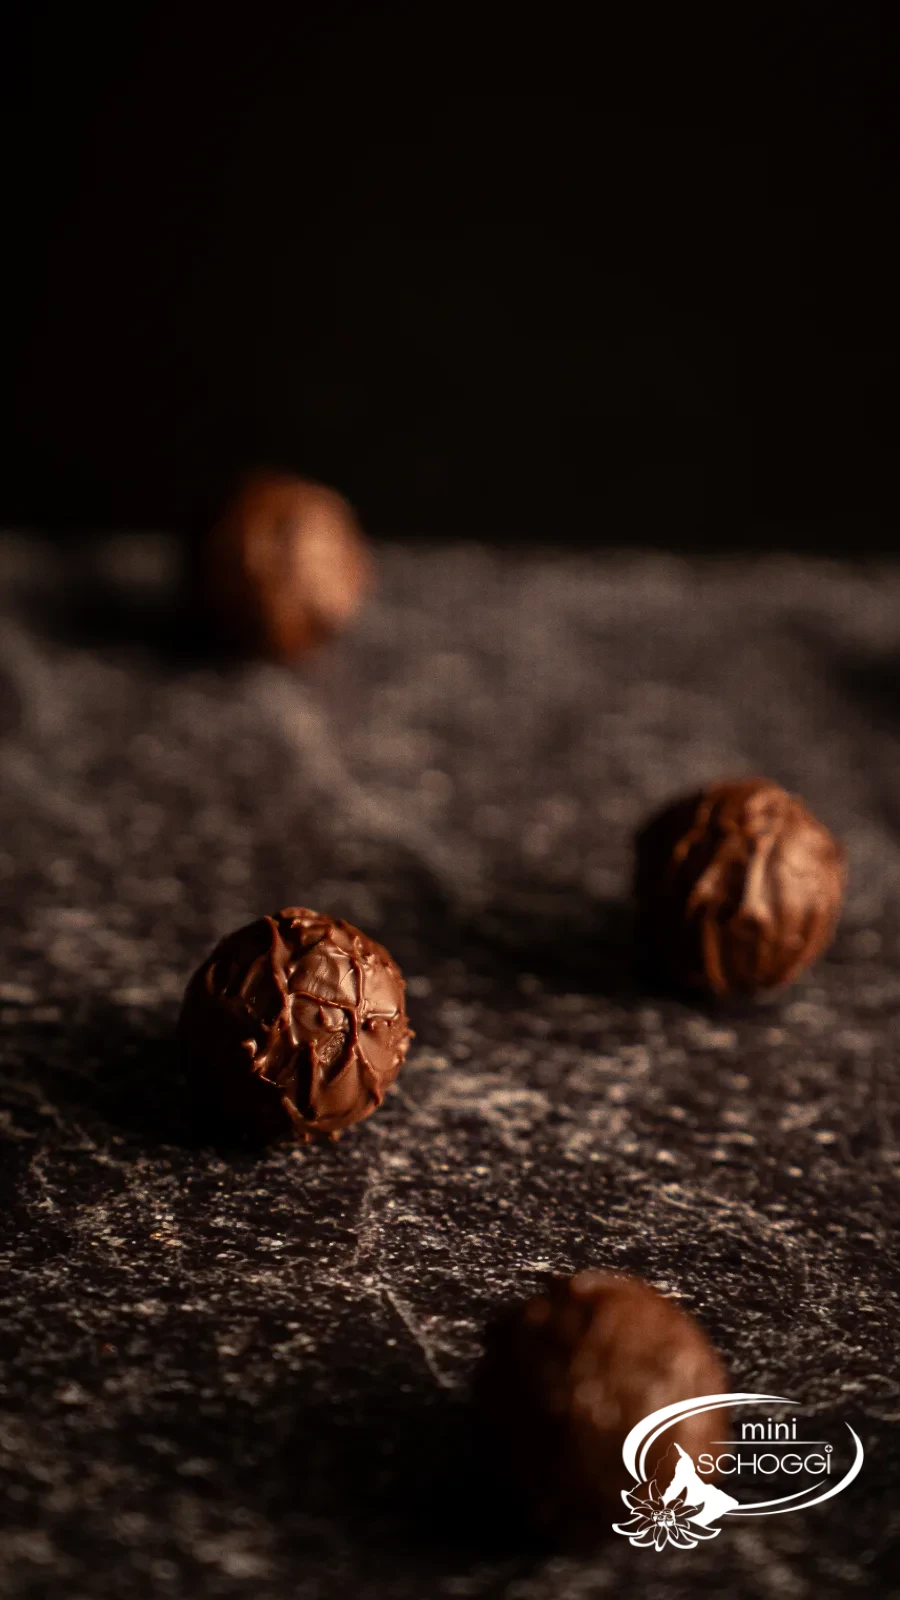
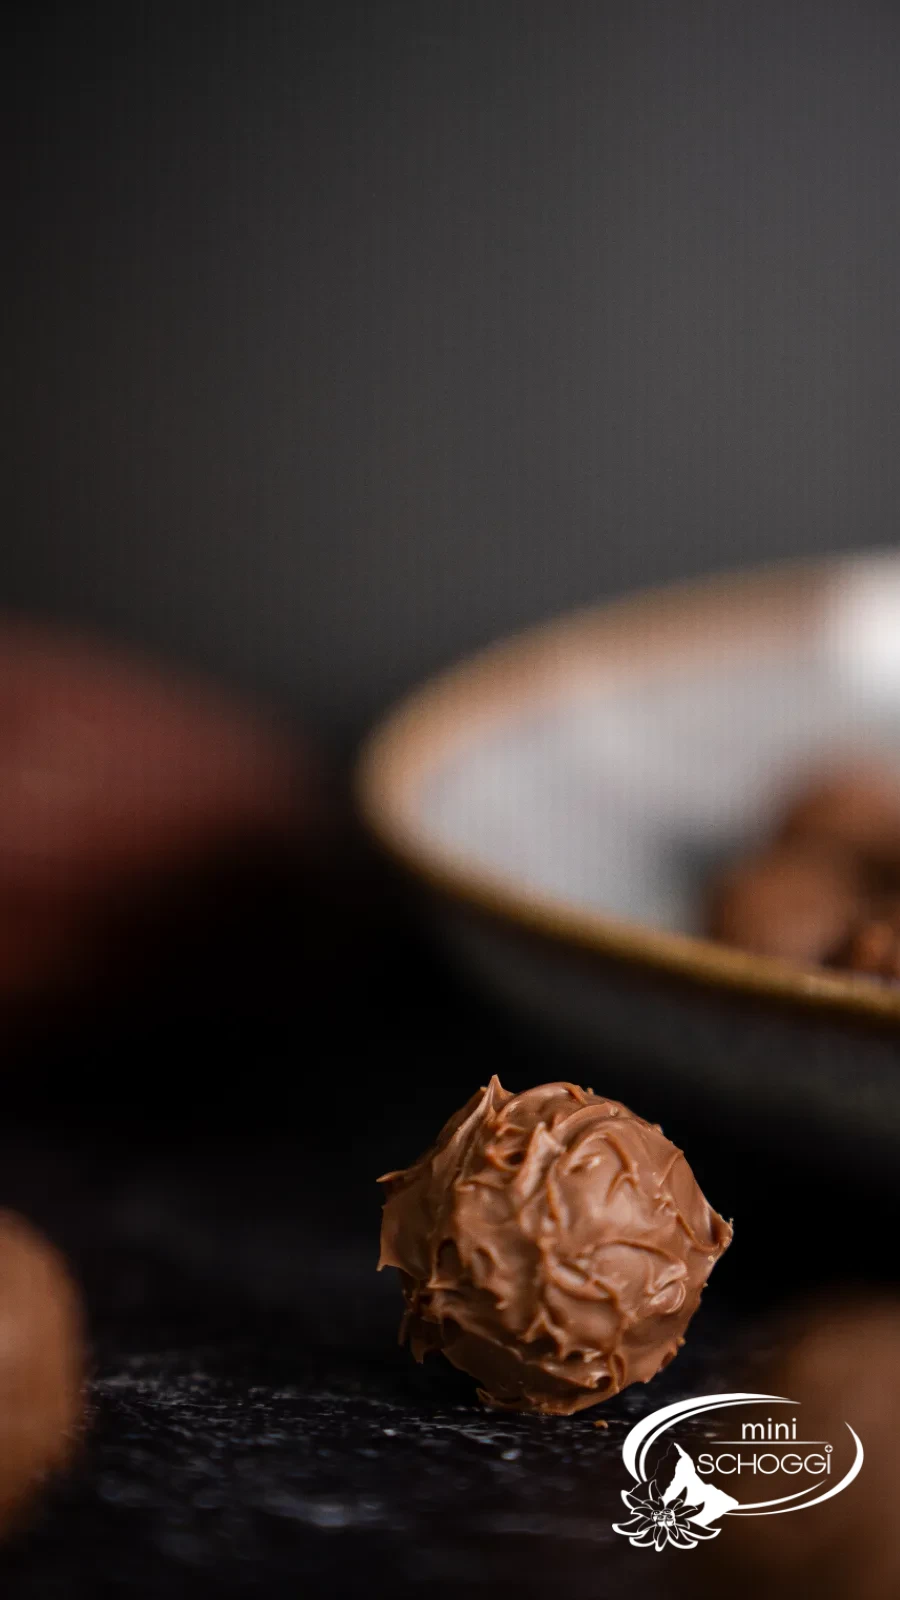
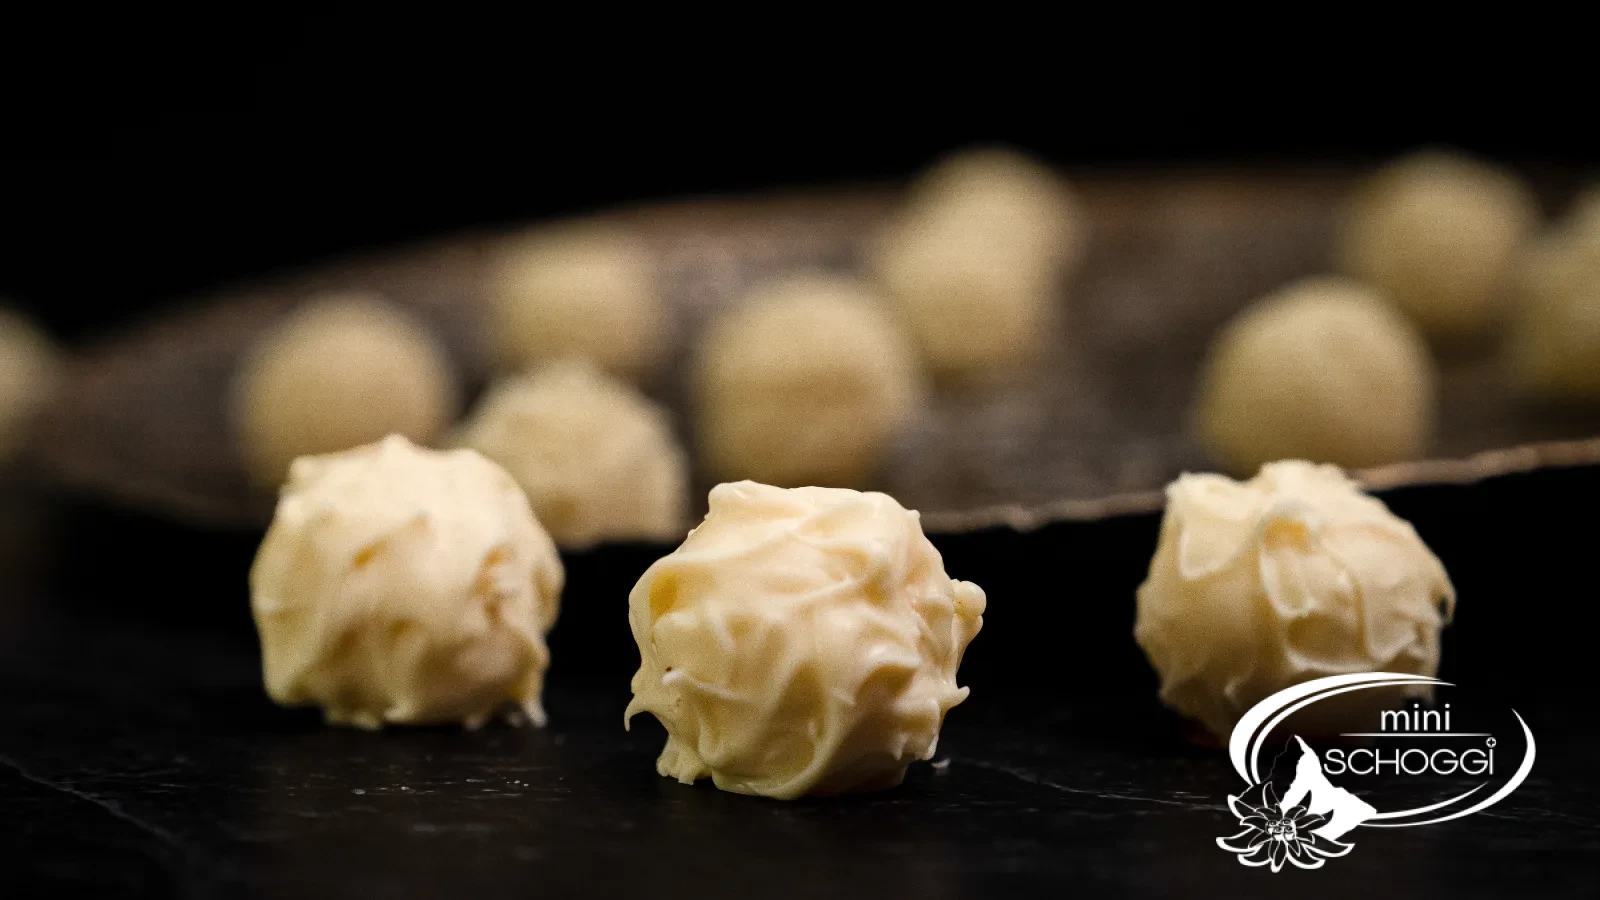
The structure is always the same. Cream, Glucose syrup and Sorbitol syrup are brought to the boil and poured over the couverture: this gives a Ganache that stays creamy and doesn't crumble after two days. The Ganache goes into a ready-made Hollow praline ball, the ball is sealed, dipped into tempered couverture and rolled over a Cake rack. Rolling creates the little peaks by which a truffle can be recognised from afar.
Three varieties, one process: white, milk and dark differ only in the couverture, and for the dark one in a little more cream — Dark couverture is firmer and needs more liquid so the Ganache turns out equally soft.
The only point where things can really go wrong is the tempering. Untempered chocolate turns grey, soft and doesn't develop any peaks. How it's done is explained step by step in our post Tempering couverture, coating chocolate and chocolate correctly — read it through once before you start. After that, the rest is handwork, and you learn that by the second ball.
One recipe makes 63 truffles. That sounds like a lot, and it is — but truffles keep for four weeks, and nobody has ever complained about a tin they were given.
Ingredients
Quantity:
Step by step
If you're in a hurry: the compact recipe card further down sums it all up.
The Ganache
1
Bring the cream to the boil with the Glucose syrup and Sorbitol syrup. Pour over the couverture and stir until smooth
Weigh out the full cream, add the Glucose syrup and the Sorbitol syrup and bring it all to the boil once in a small pan. Stir with the Whisk as you do so, so the Glucose syrup lifts off the bottom of the pan — it is sticky and otherwise settles at the bottom.
As soon as the cream boils, take the pan off the heat. Boiling it longer achieves nothing and only evaporates liquid that you need in the Ganache.
Put the couverture in a Bowl and pour the hot cream over it. Wait a moment before stirring — let the chocolate soften from the heat first.
Then stir with the Whisk from the centre outwards. At first the mixture looks curdled and unappealing, that's normal: just keep stirring until it suddenly turns and becomes glossy, smooth and homogeneous. That's exactly when the Ganache is ready — no more lumps, no fatty edge.
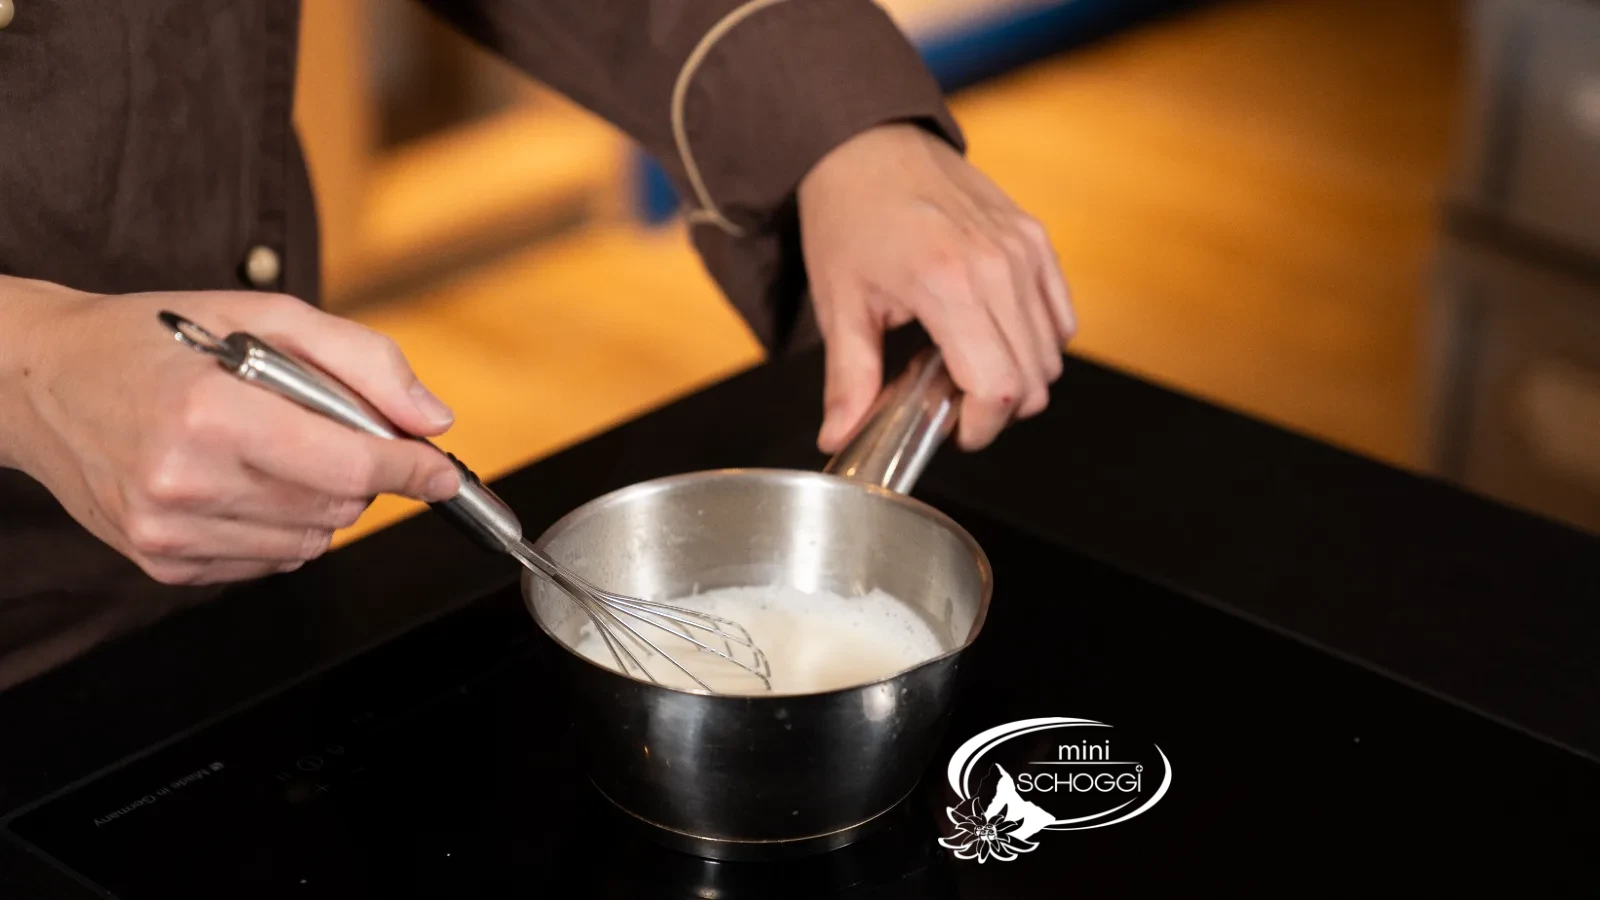
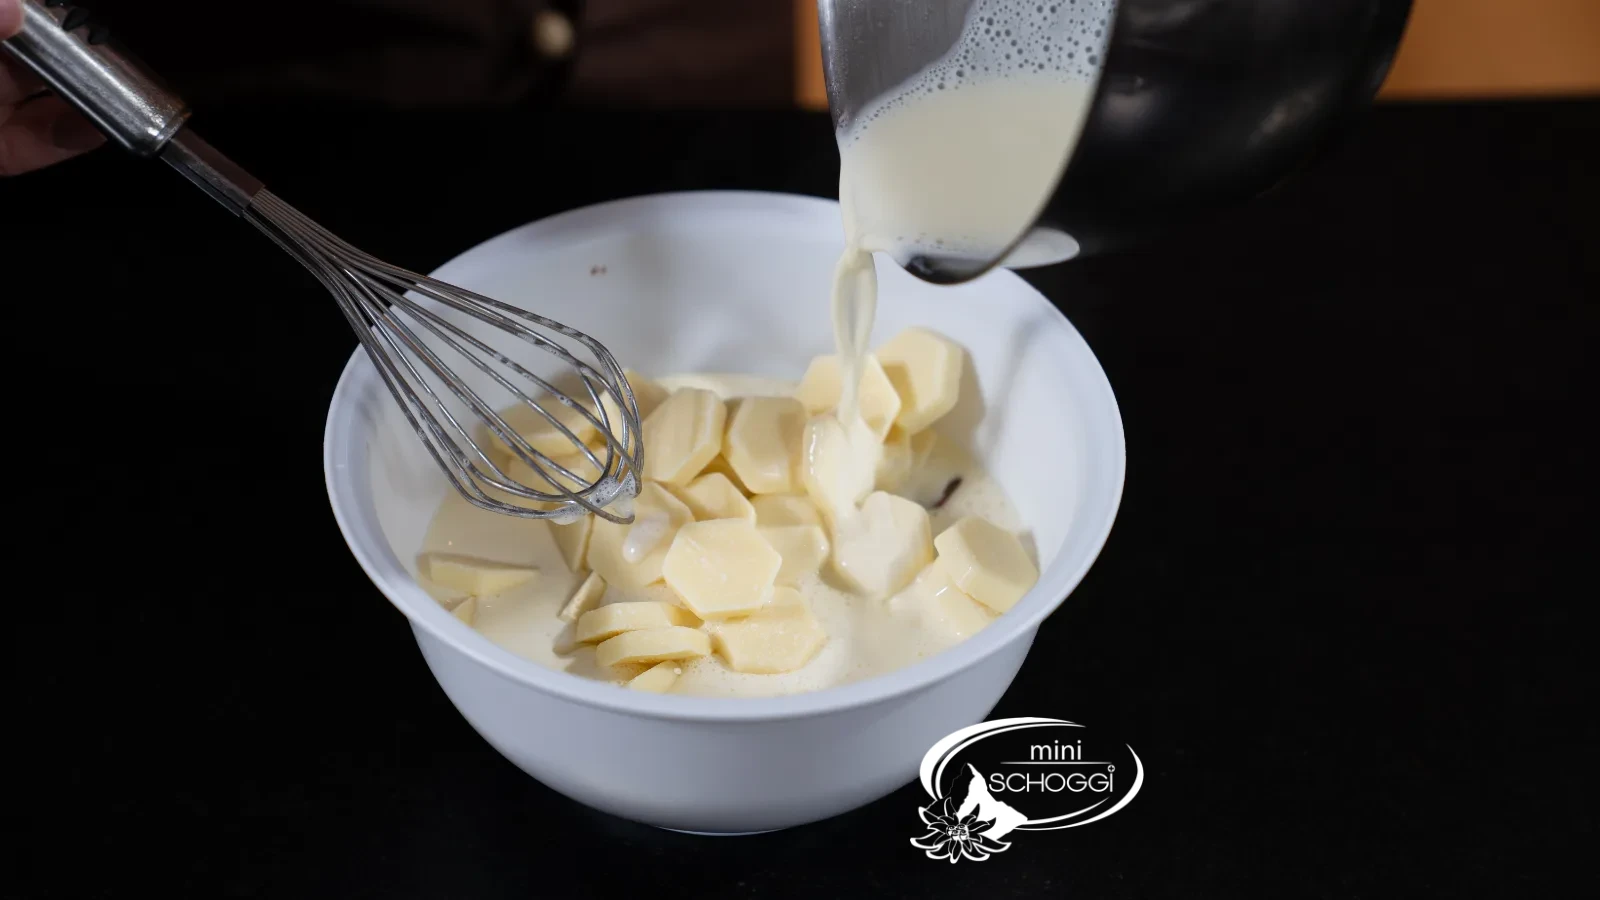
Here's what you need for it


Glucose syrup, 350g
Sorbitol syrup liquid, 130g
Whisk Small 21.5 cm
2
Transfer into the Piping bag and cool to 26 °C
Fill the finished Ganache into a Piping bag and let it cool at room temperature for around 20 minutes. The target temperature is about 26 °C — hand-warm, no more.
Why this matters: too hot and the Ganache melts the Hollow praline ball from the inside, and you get holes when sealing. Too cold and it can no longer be piped through the opening. If you want to be precise, measure it; otherwise the back of your hand will do — the Ganache should feel lukewarm, not warm.
In the meantime, stand the Piping bag upright in a tall glass so nothing leaks out.
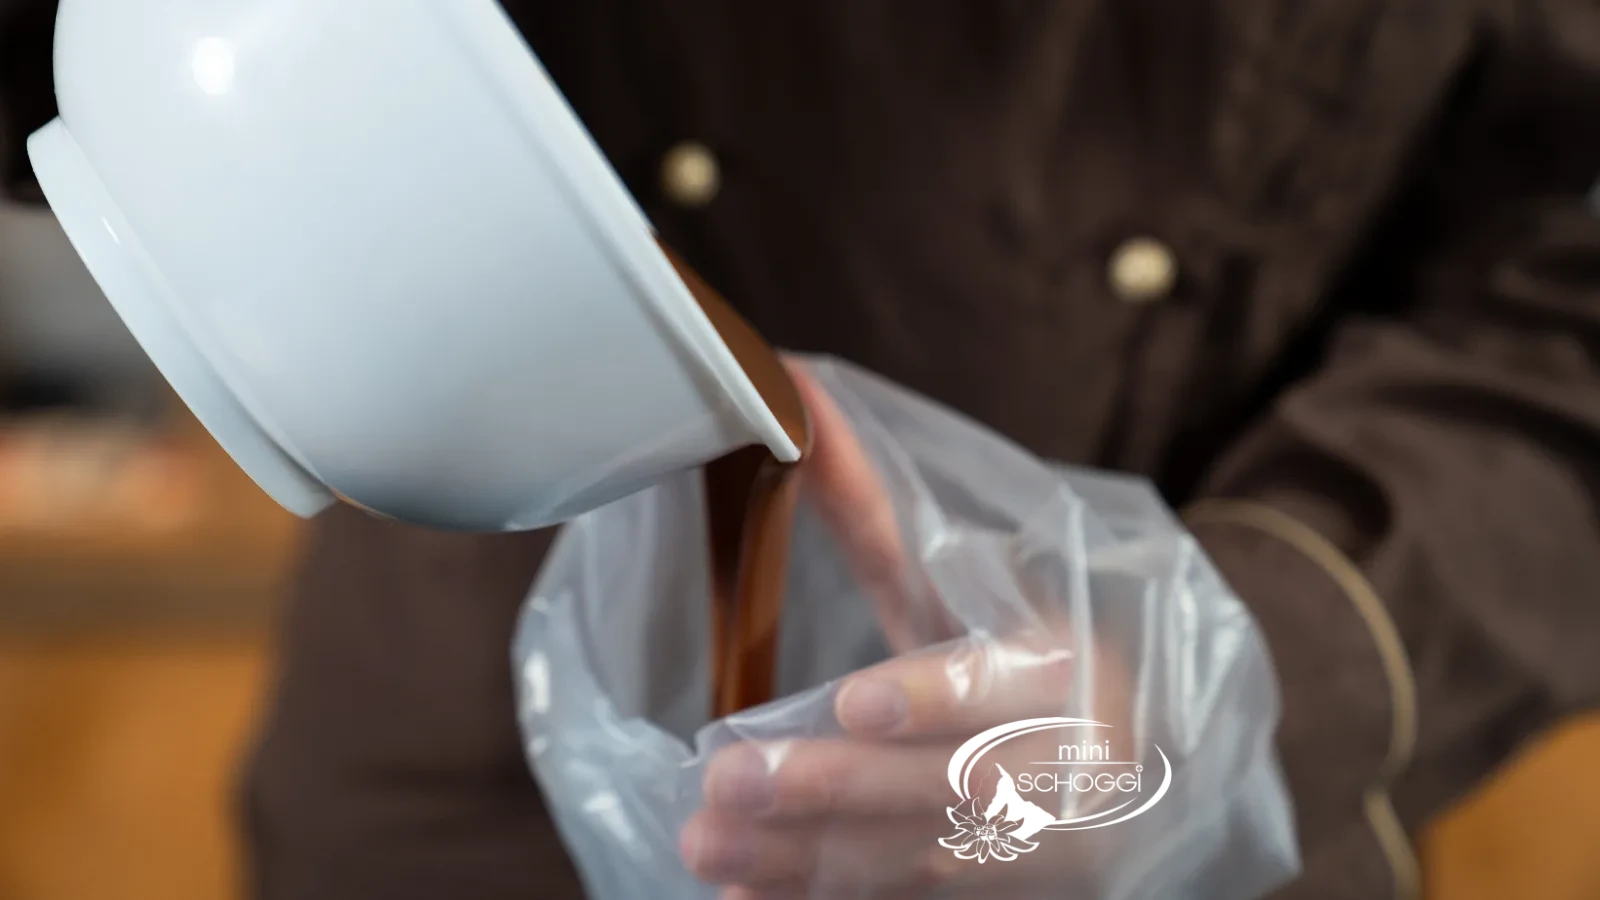
Here's what you need for it


Disposable Piping bag 30 cm, 10 pieces
Insertion thermometer digital
Filling and sealing
1
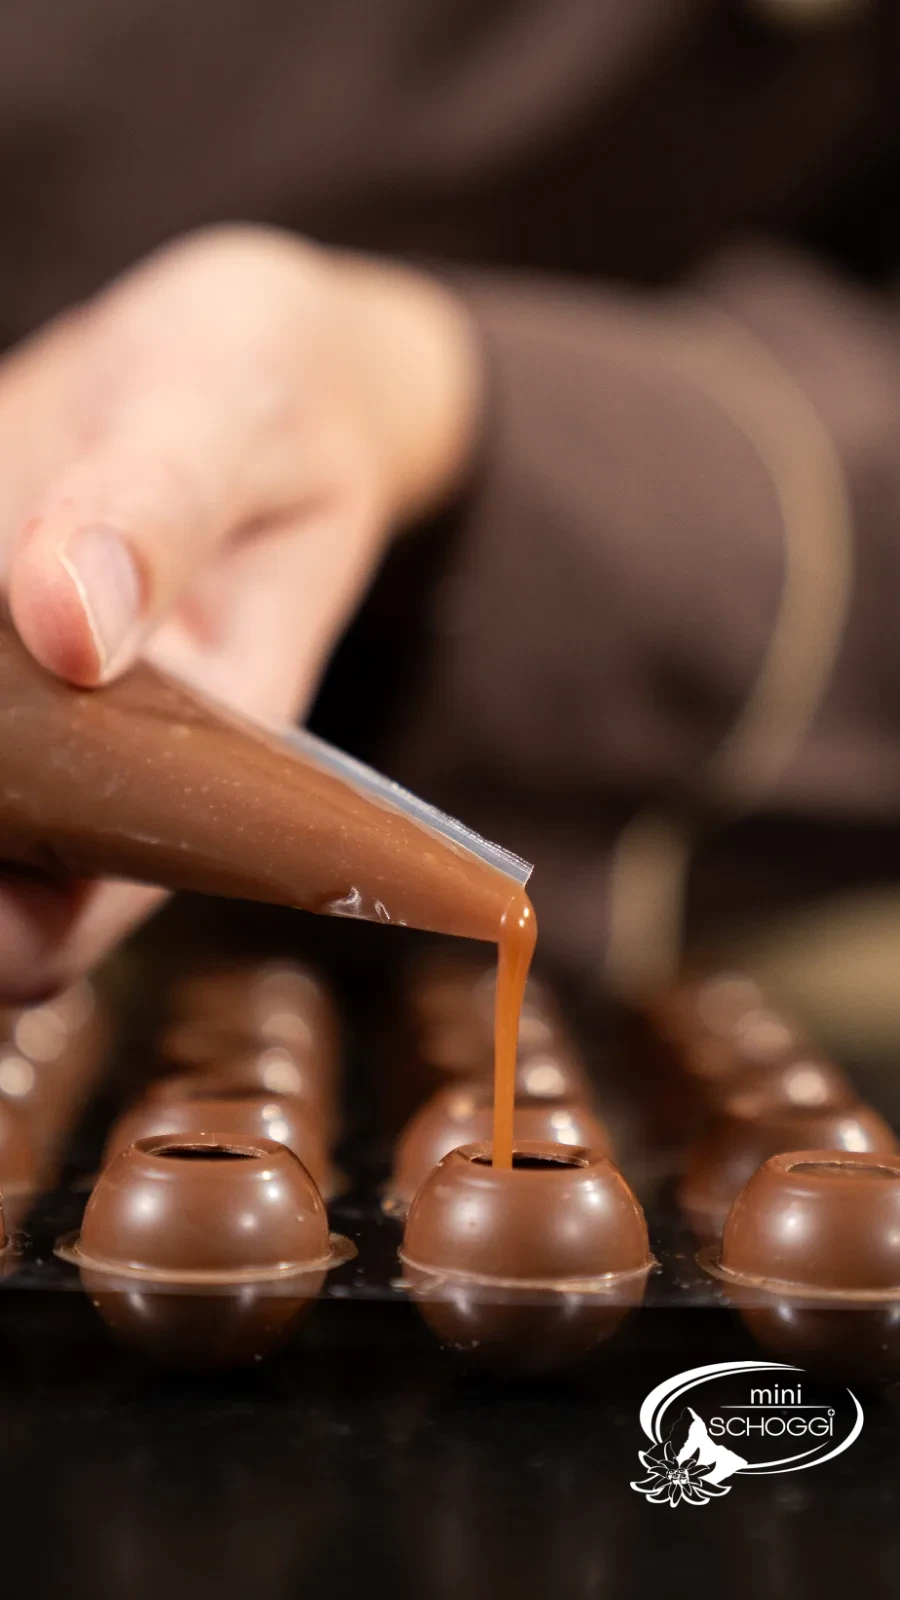
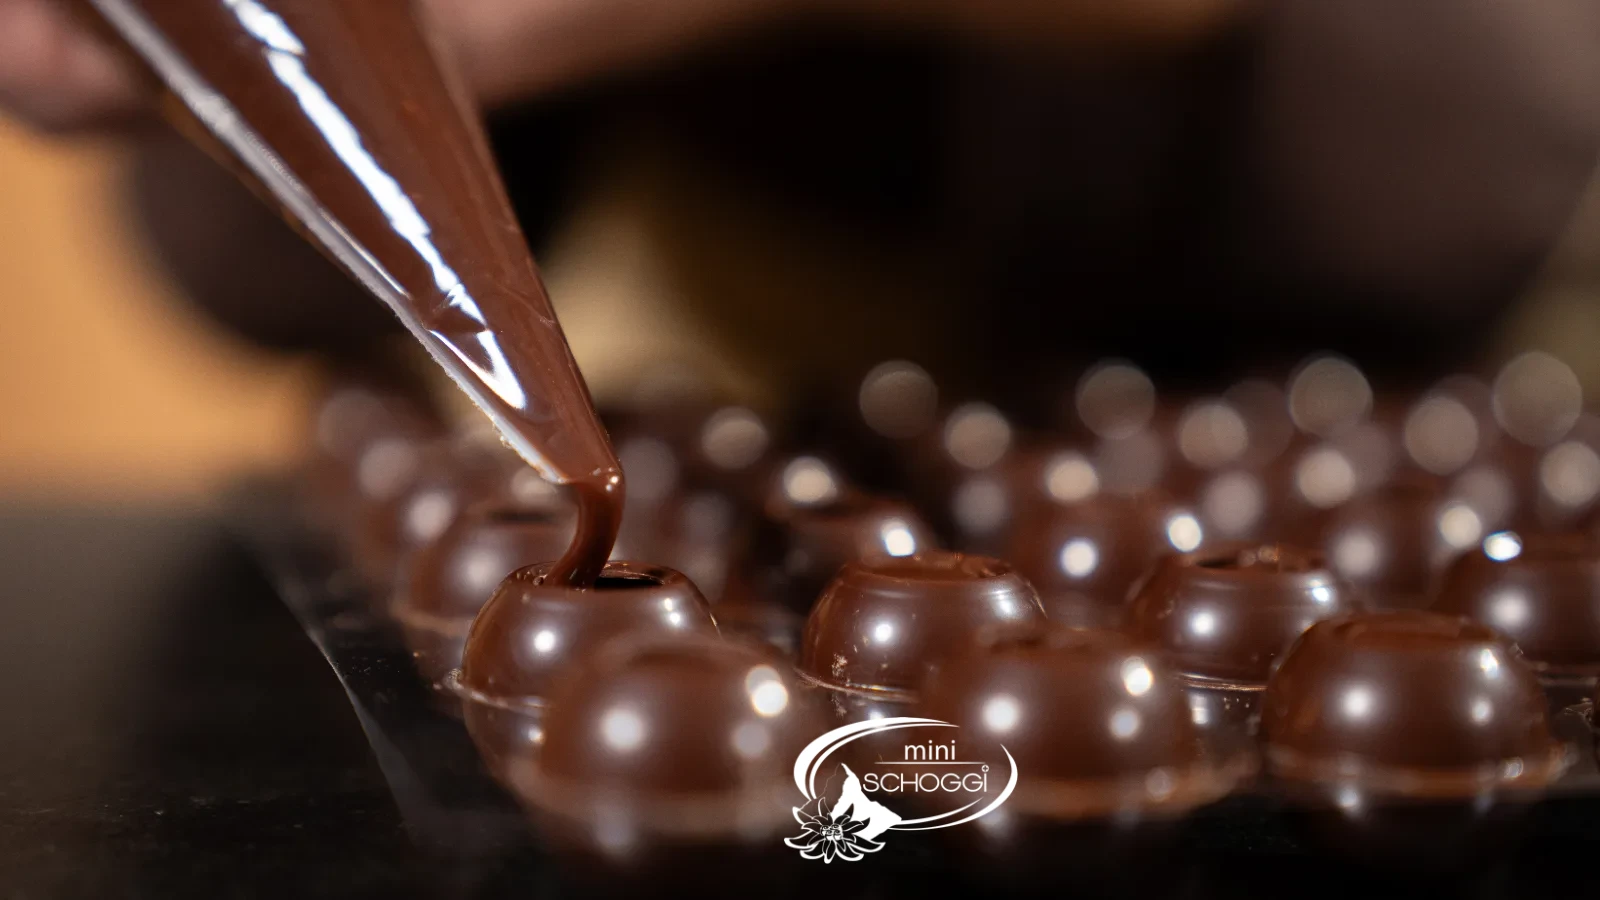
Fill the hollow praline balls — to just below the rim
Place the hollow praline balls in their tray, just as they are delivered: this way they stand upright and won't tip over. Cut a small opening in the Piping bag — better too small and cut again than too large.
Fill each ball to just below the rim, not right to the top. The small hollow space at the top is intentional: that's where the sealing chocolate goes next, and if the Ganache reaches all the way up, you'll end up with a bump instead of a round ball.
Work briskly, but without rushing. 63 balls are filled faster than you'd think.
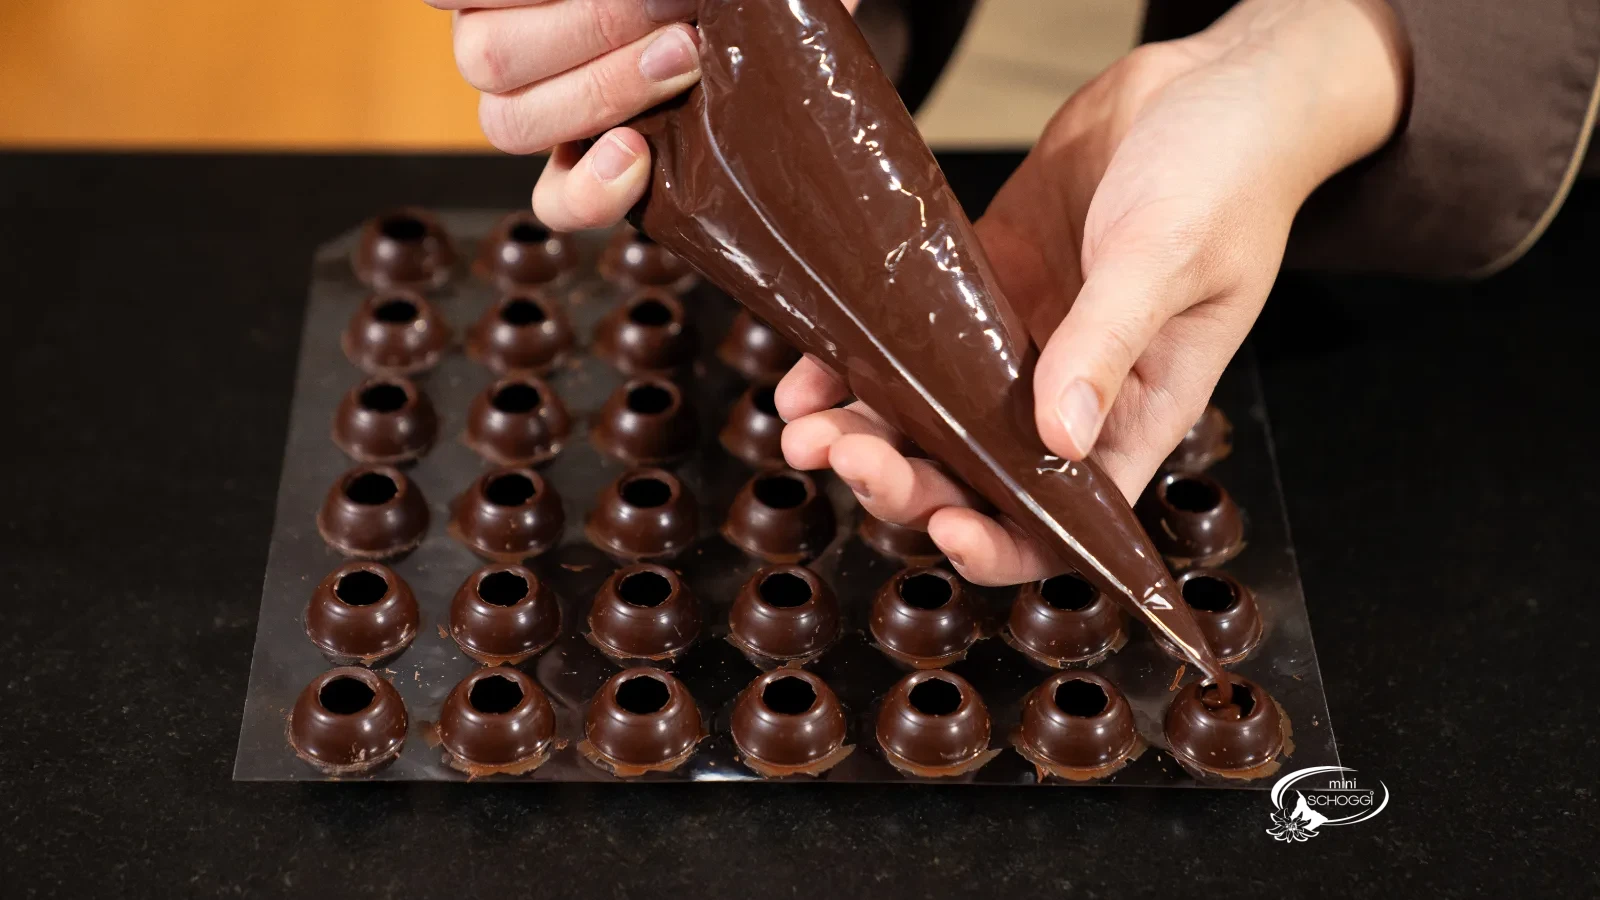
What you need for this


Hollow praline balls White Ø 26mm, 63 pieces
Hollow praline balls Milk Ø 26 mm, 63 pieces
Hollow praline balls Dark Ø 26mm, 63 pieces
2
Let stand for an hour — the skin is the trick
Let the filled balls stand at room temperature for at least an hour. During this time a thin skin forms on the Ganache.
This is not a waiting game but the real trick of this step: the sealing chocolate can be placed cleanly onto a firm surface. If you seal too early, it sinks into the soft Ganache and the ball gets a dent — or it runs out during dipping.
Don't put them in the fridge. Condensation forms there, and water is the only thing that truly ruins tempered chocolate.
3
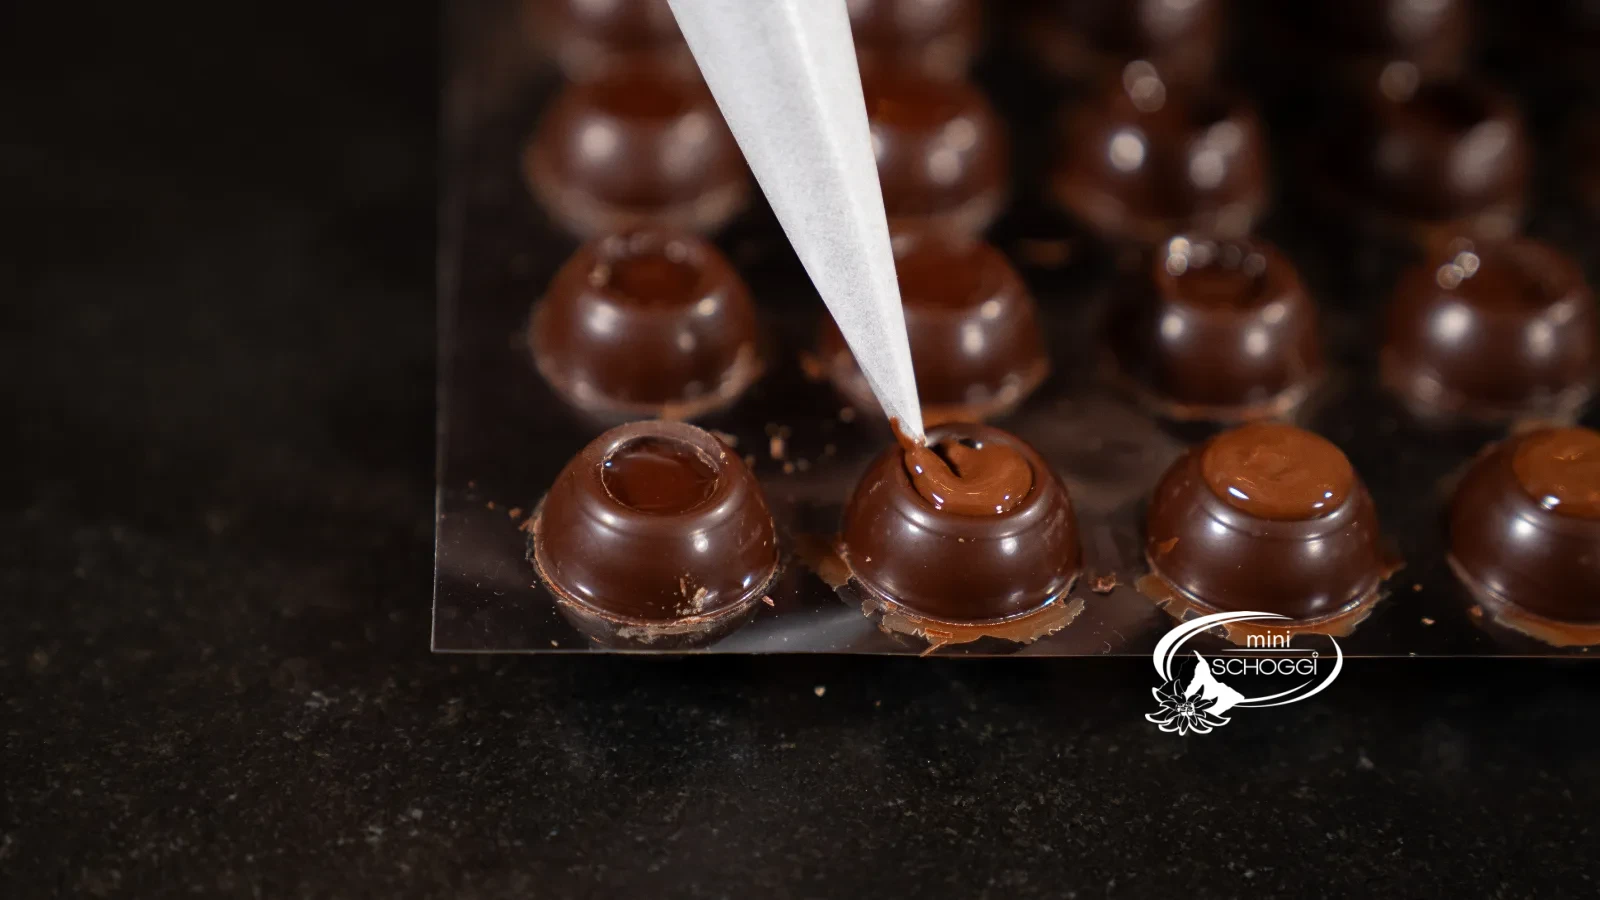
Seal with tempered couverture
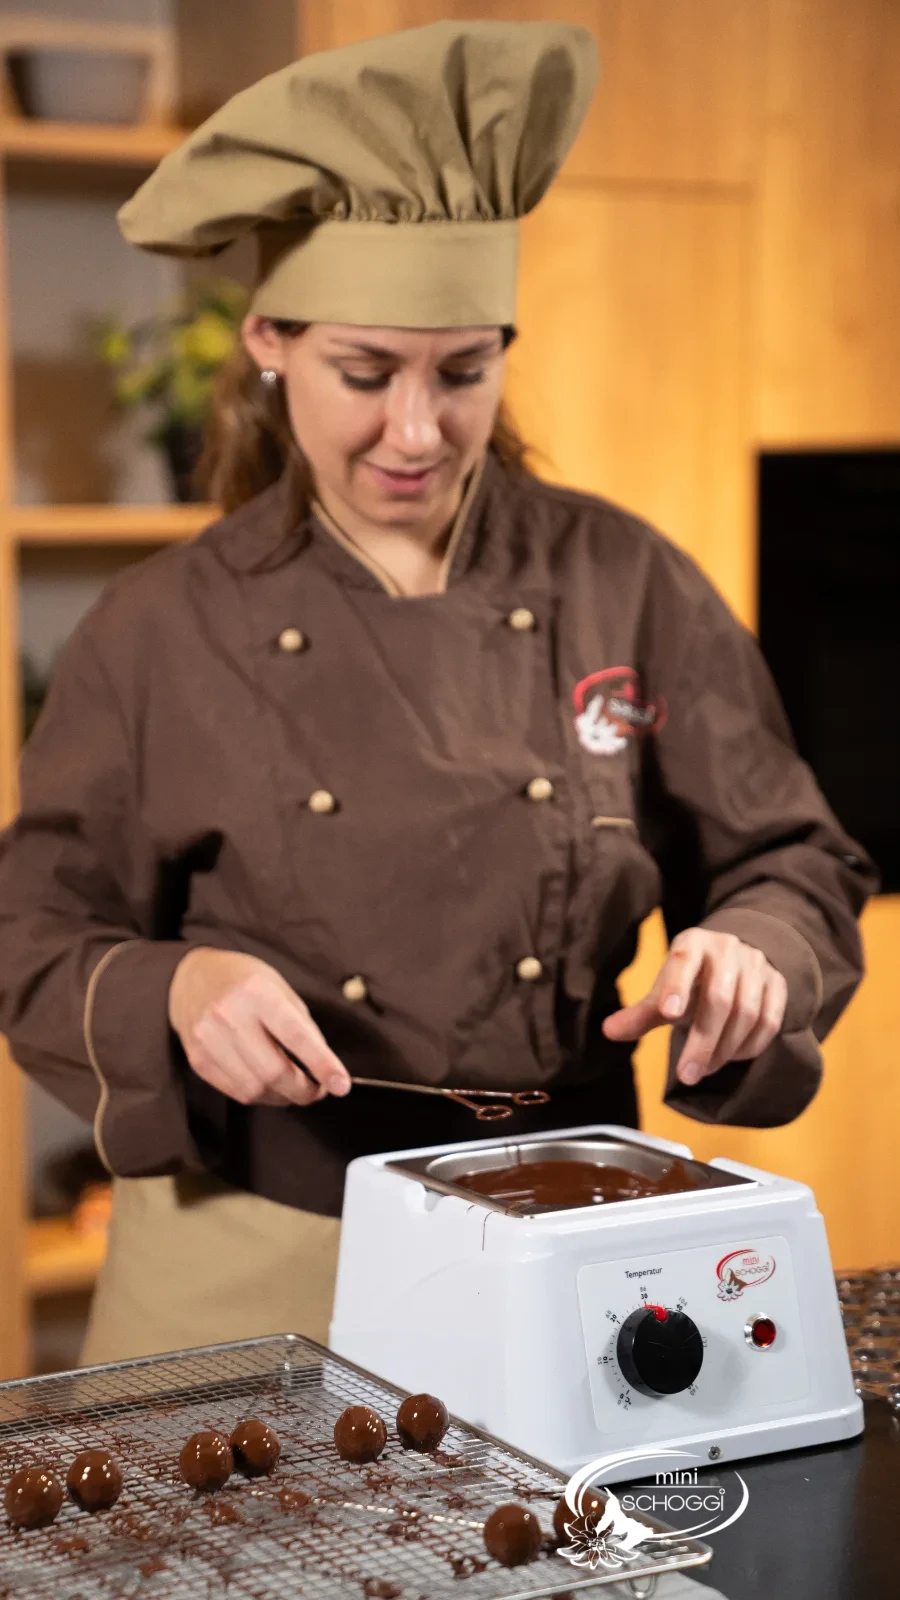
Now you need tempered couverture for the first time. Use the same type as for the Ganache and temper it — in the tempering device or by hand, as described in the tempering post.
Place a small dab on each opening, just enough to close the hole. Smooth the excess with a Spreading palette or the back of a knife while the chocolate is still liquid.
Let the seals set briefly before you carry on — they should turn matt and feel firm. This takes just a few minutes.
Dipping and spiking
1
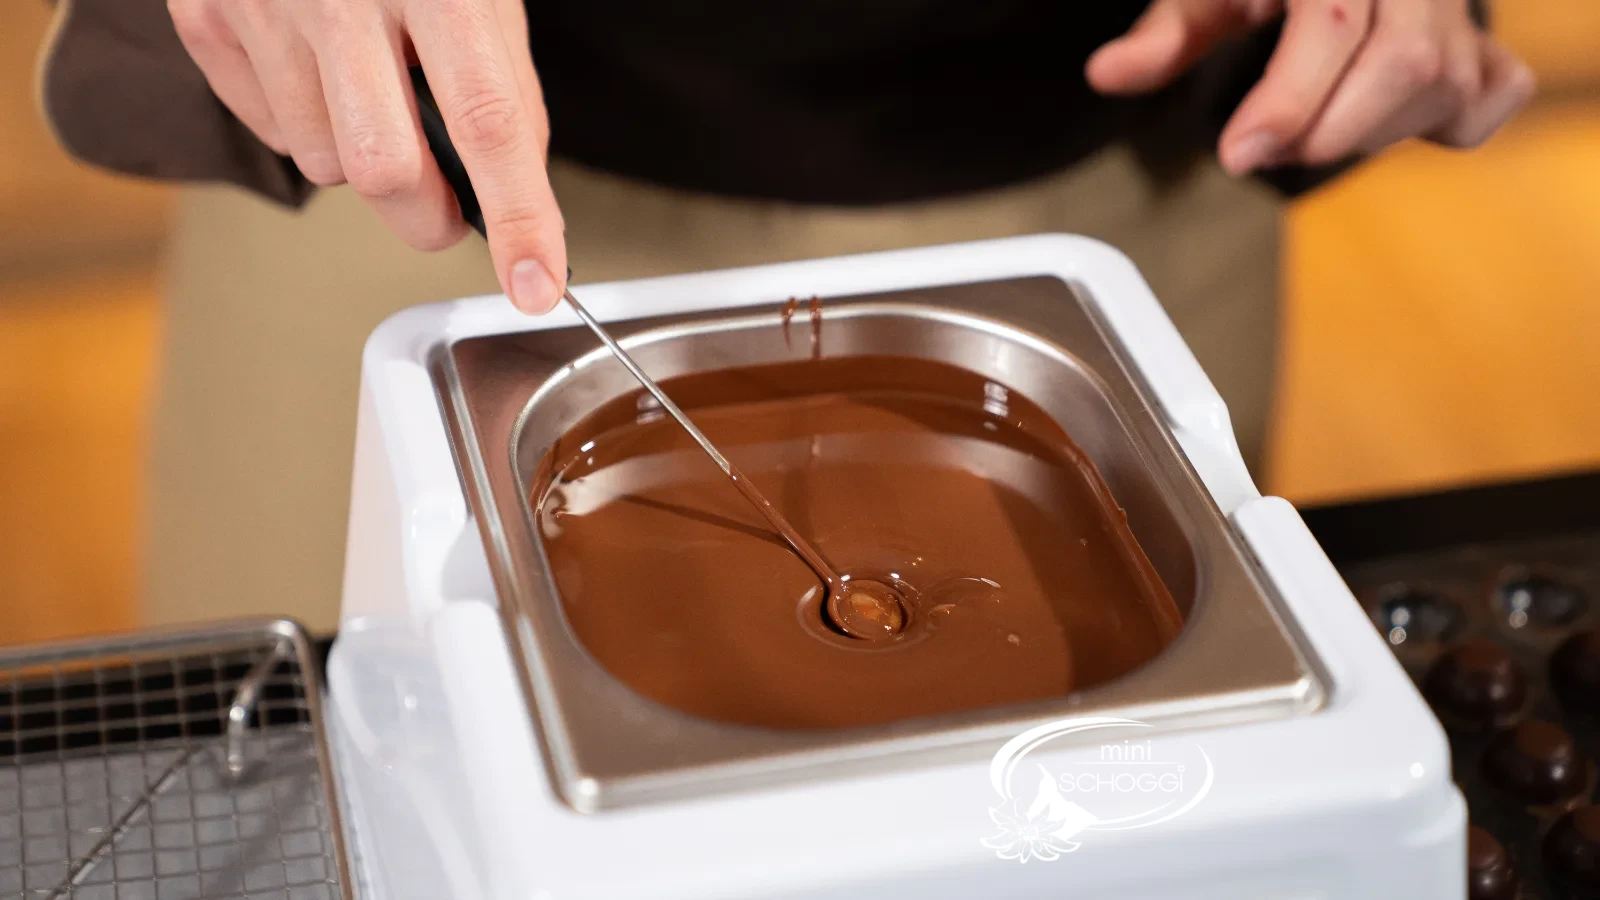
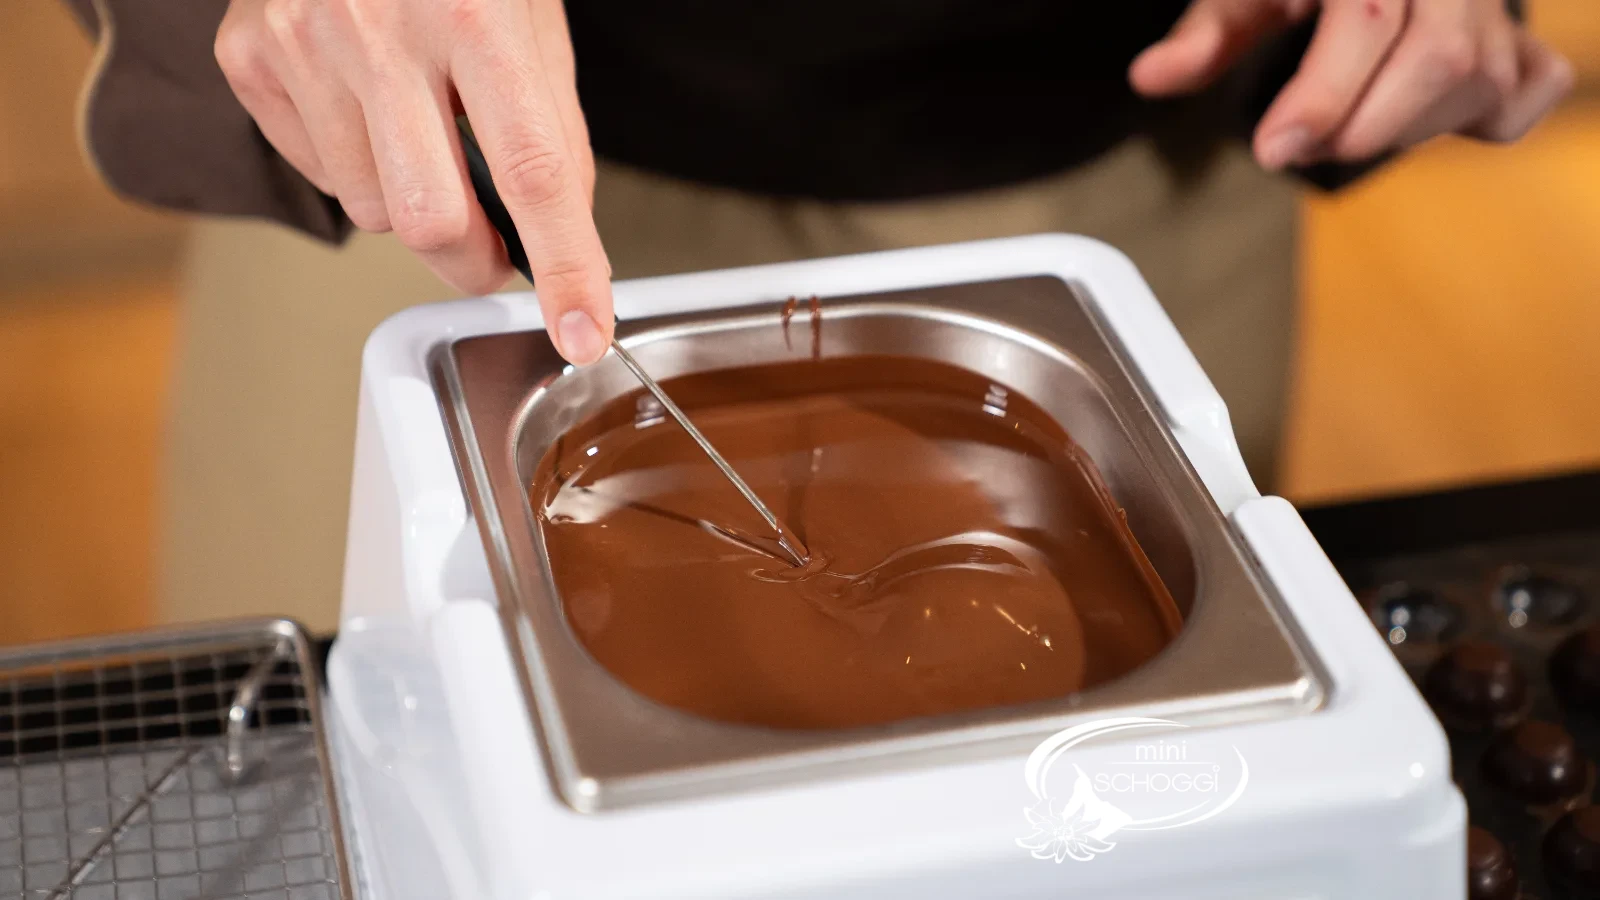
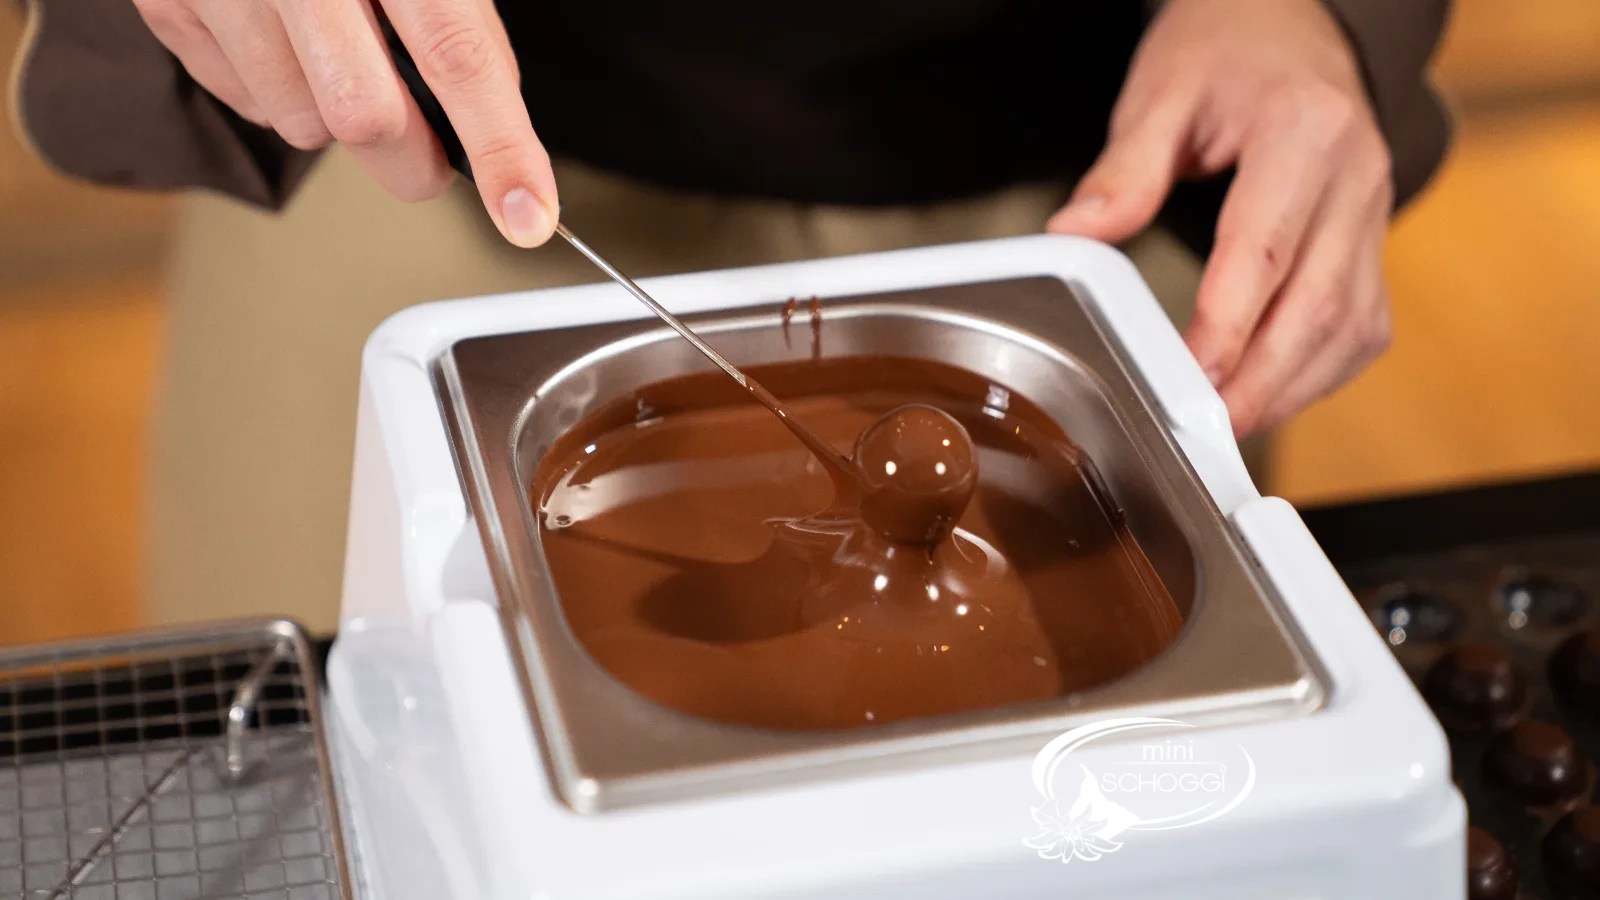
Dip the ball into tempered couverture
Place the ball on the round dipping fork and push it fully below the surface of the tempered couverture once. Submerge it completely — otherwise the bare Hollow praline ball stays visible in one spot, and you'll notice it later.
The couverture should be around 31 to 32 °C (dark), 30 to 31 °C (milk) or 28 to 29 °C (white). If it's warmer, the coating turns thick and dull; if it's cooler, it sets too quickly and you won't get any spikes.
What you need for this


Lindt Couverture White 0.5 kg
Lindt Couverture Milk 0.5 kg
miniSchoggi tempering device for couverture and chocolate
Dipping fork 1-prong round
2
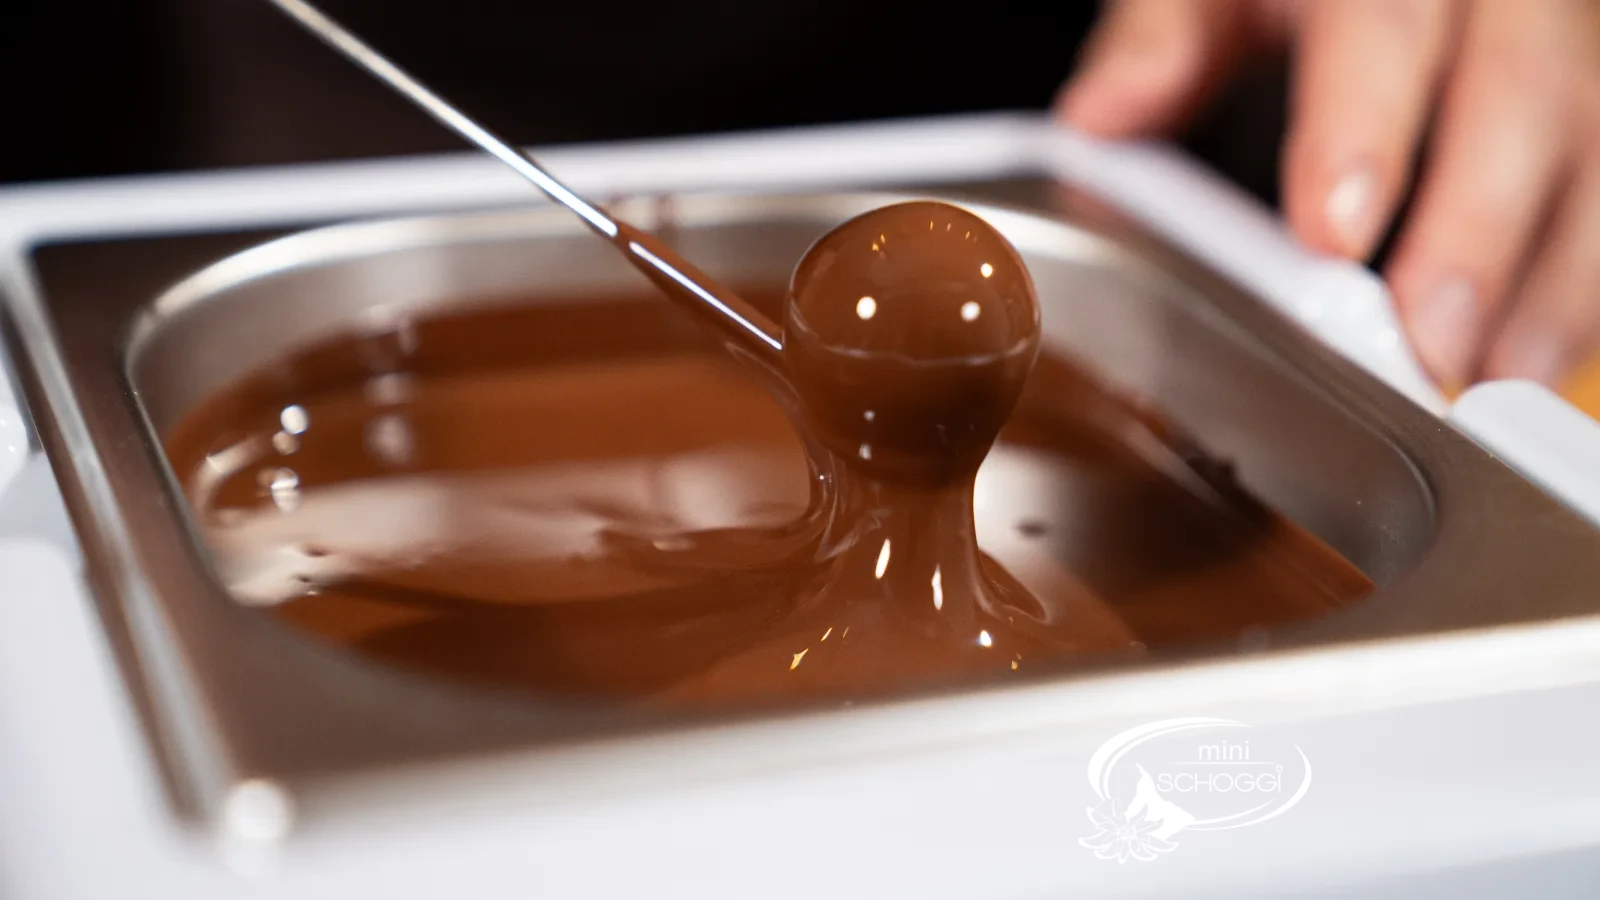
Lift out and let drip
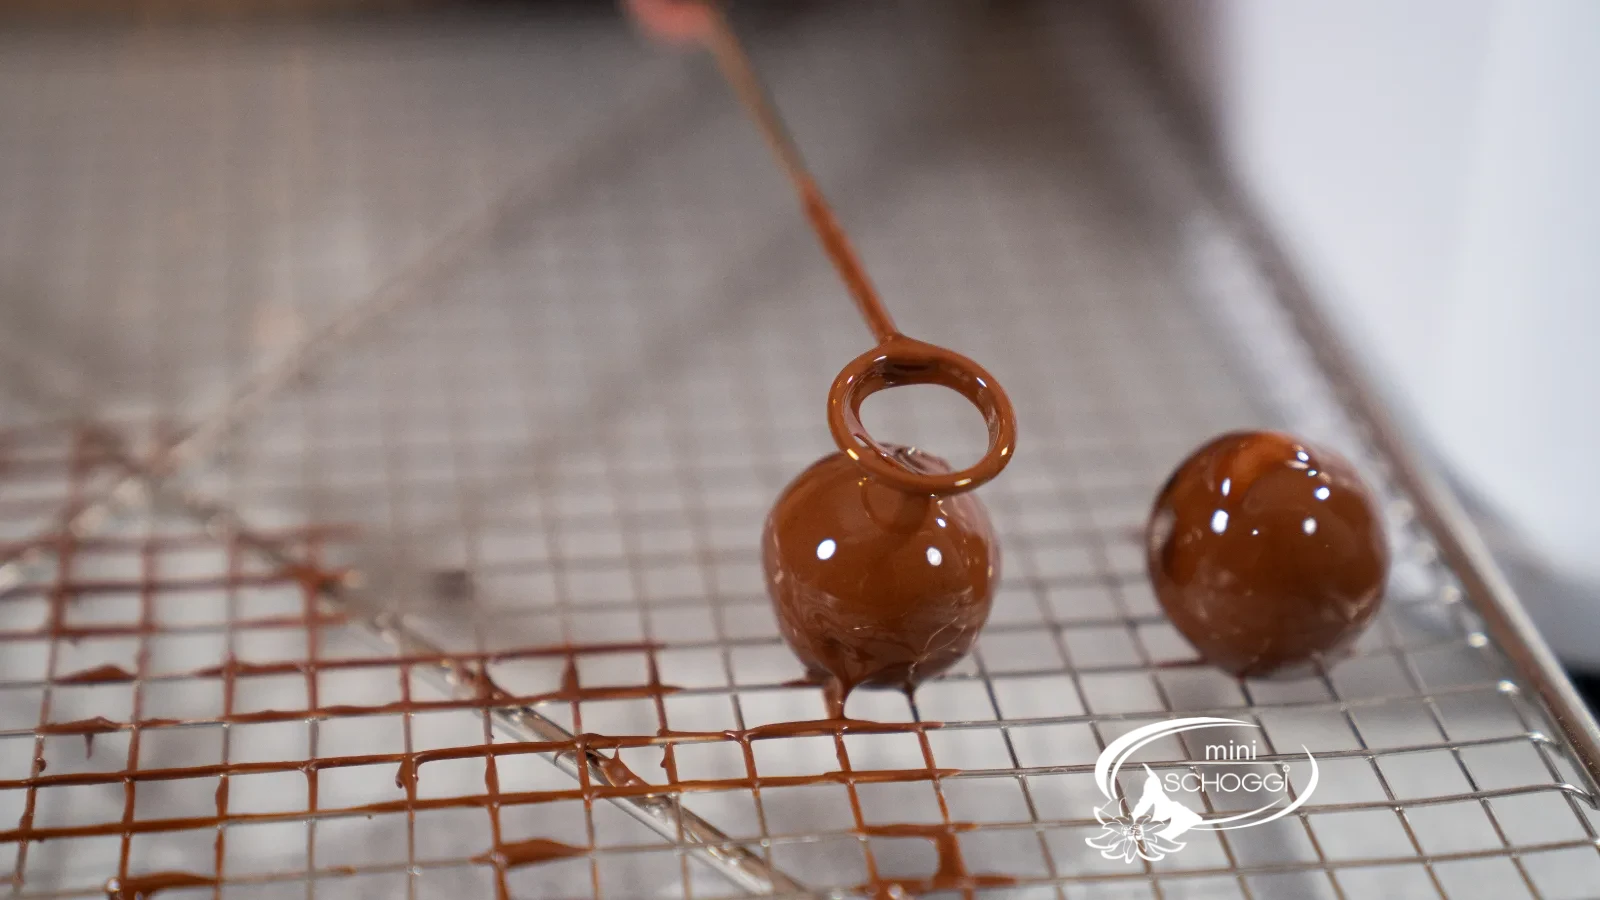
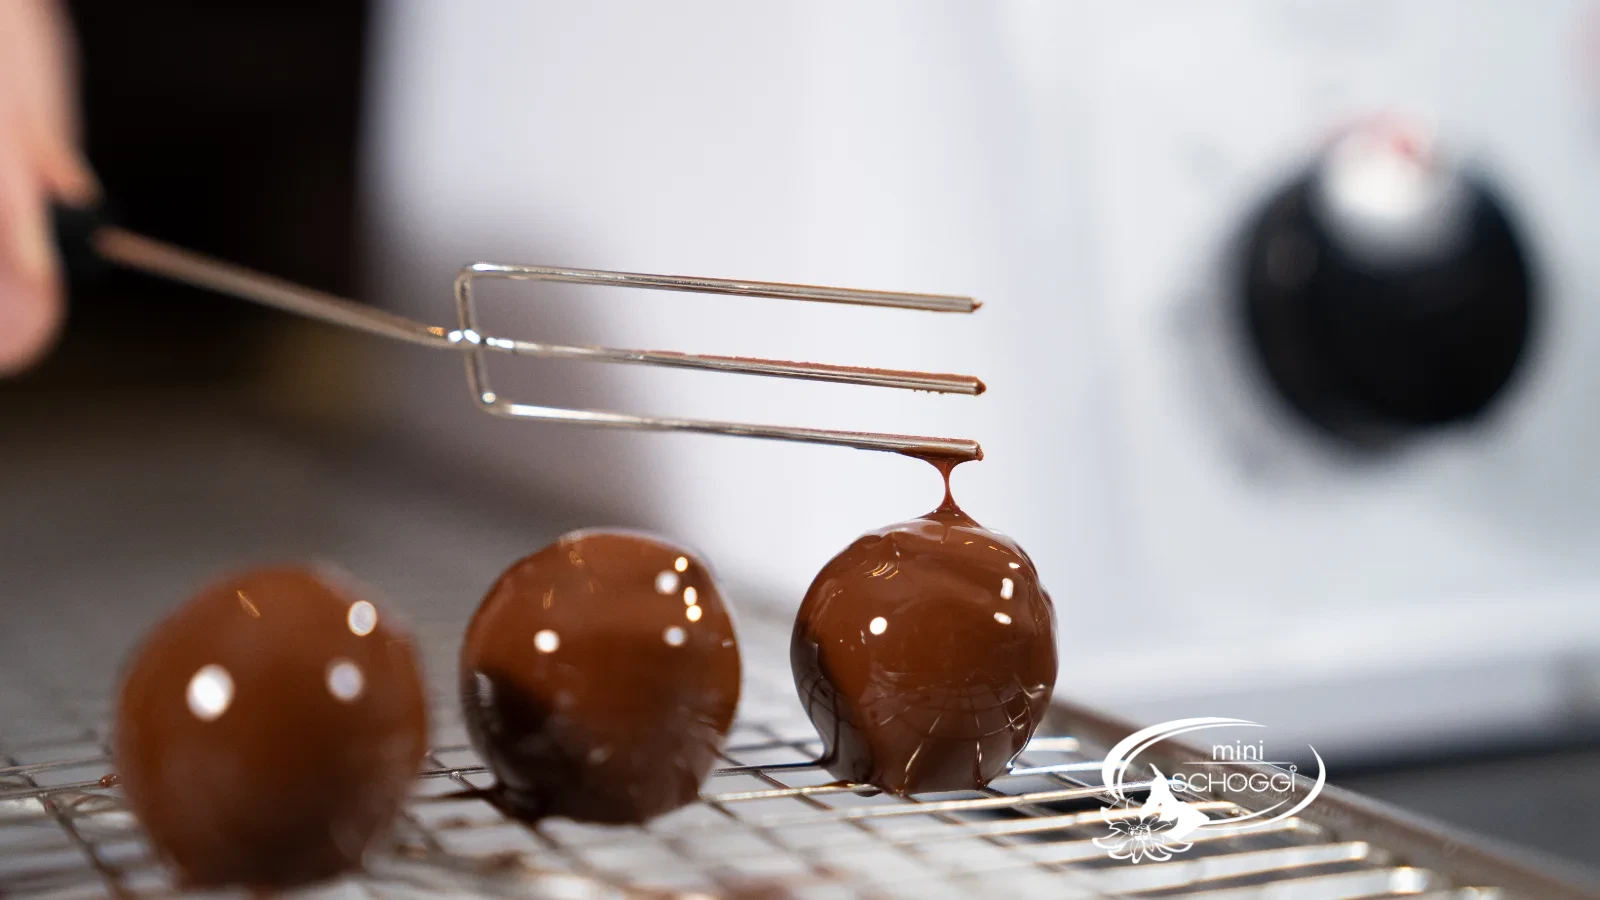
Slide the fork under the ball and lift it out. Tap the fork gently up and down a few times over the edge of the bowl so the excess couverture drips off. Wipe the underside of the fork along the rim.
This is the step people like to rush — and then every truffle later ends up standing on a little chocolate foot. Two extra seconds of dripping save you ten seconds of touch-up work later.
After that, set no more than four to five truffles on the Cake rack before you carry on. You won't manage more before the first ones set too firmly.
What you need for this

miniSchoggi tempering device for couverture and chocolate
Dipping fork 1-prong round
Stainless steel Cake rack
3
The spike test — the most important moment
Now it's decided whether the truffles get their spikes. Tap very lightly with the prong of a dipping fork onto the outermost chocolate layer and slowly pull it up and away.
If a little peak forms and stays put, the couverture has set just right — go for it. If the peak sinks back into itself, wait ten seconds and try again. If nothing sticks to the fork at all, it's already too late: the chocolate has set firm and the surface stays smooth.
This window is short, about half a minute. That's why you should only do four to five balls at a time.
4
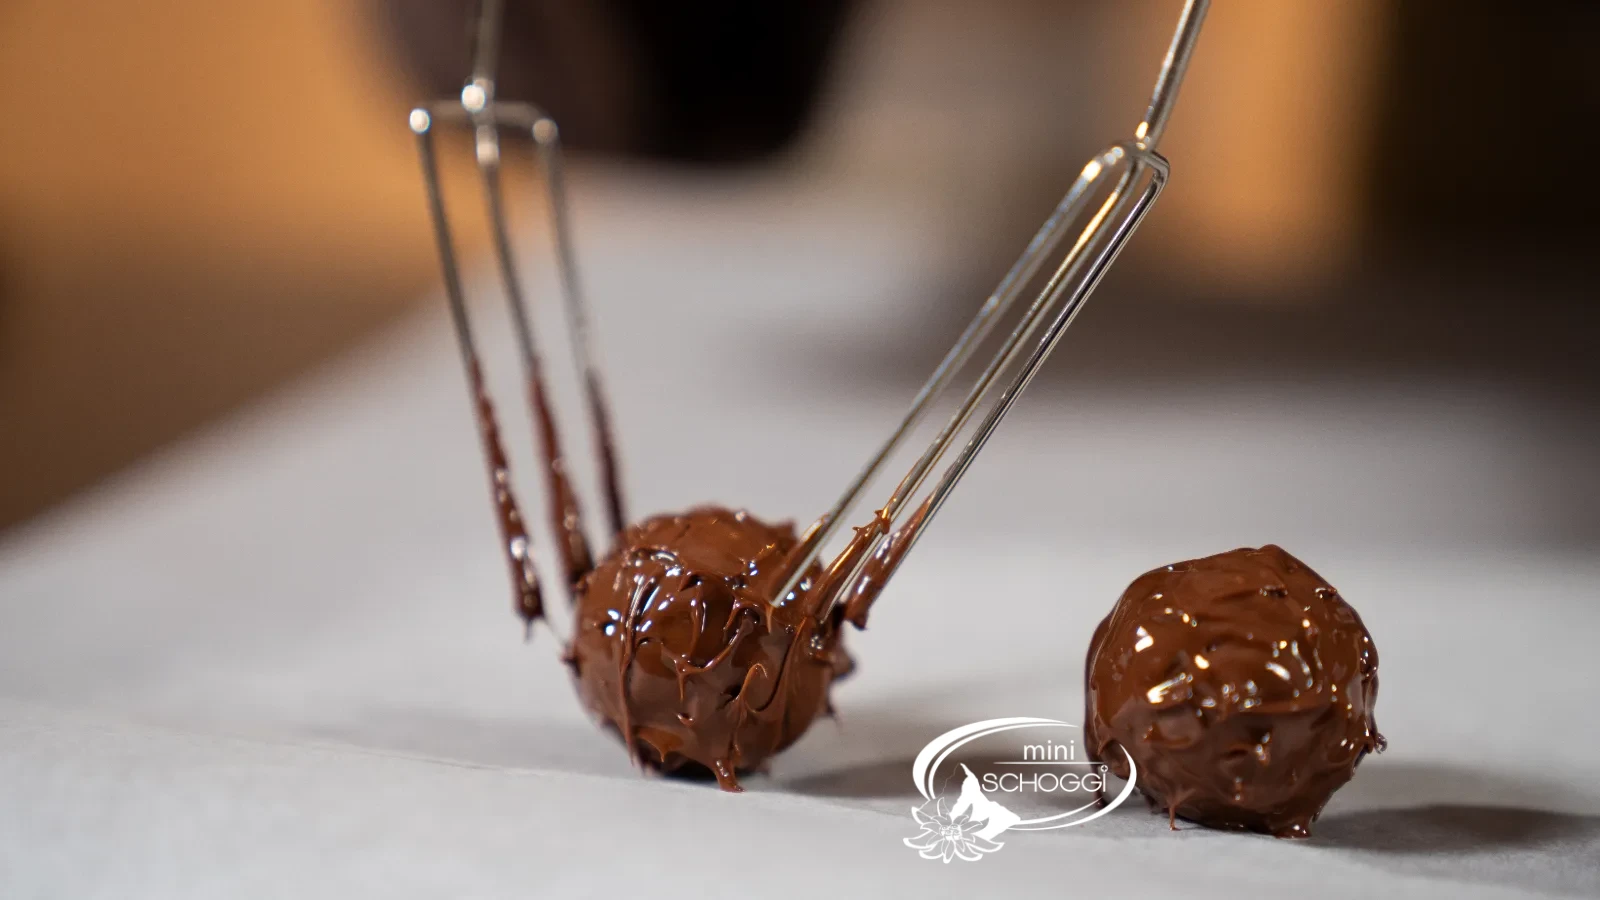
Roll over the Cake rack — with two forks
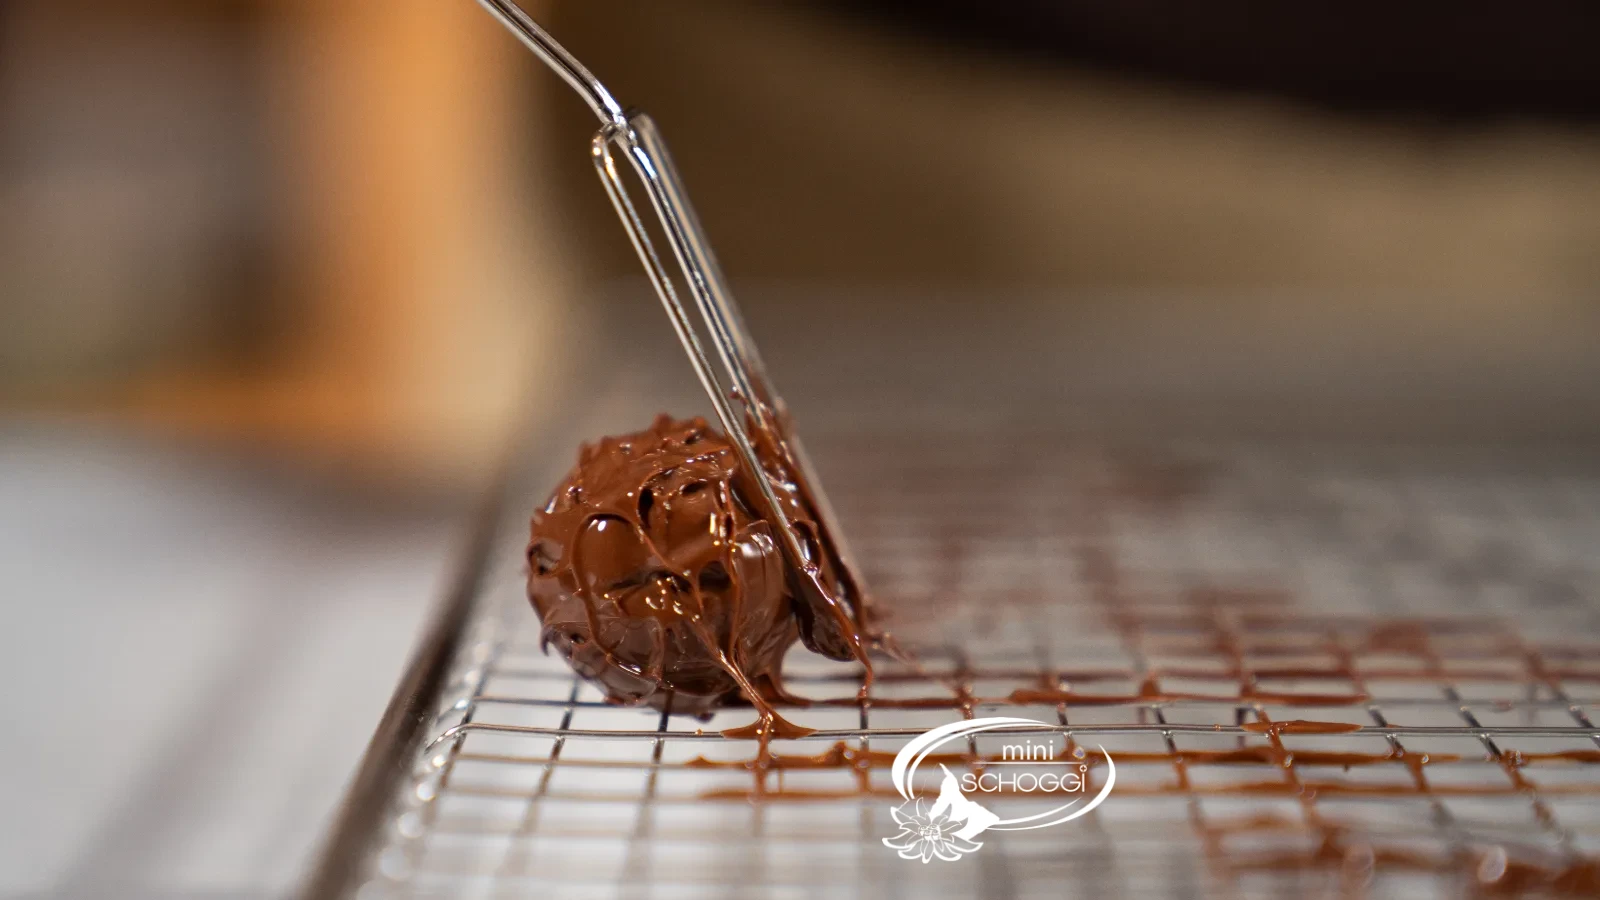
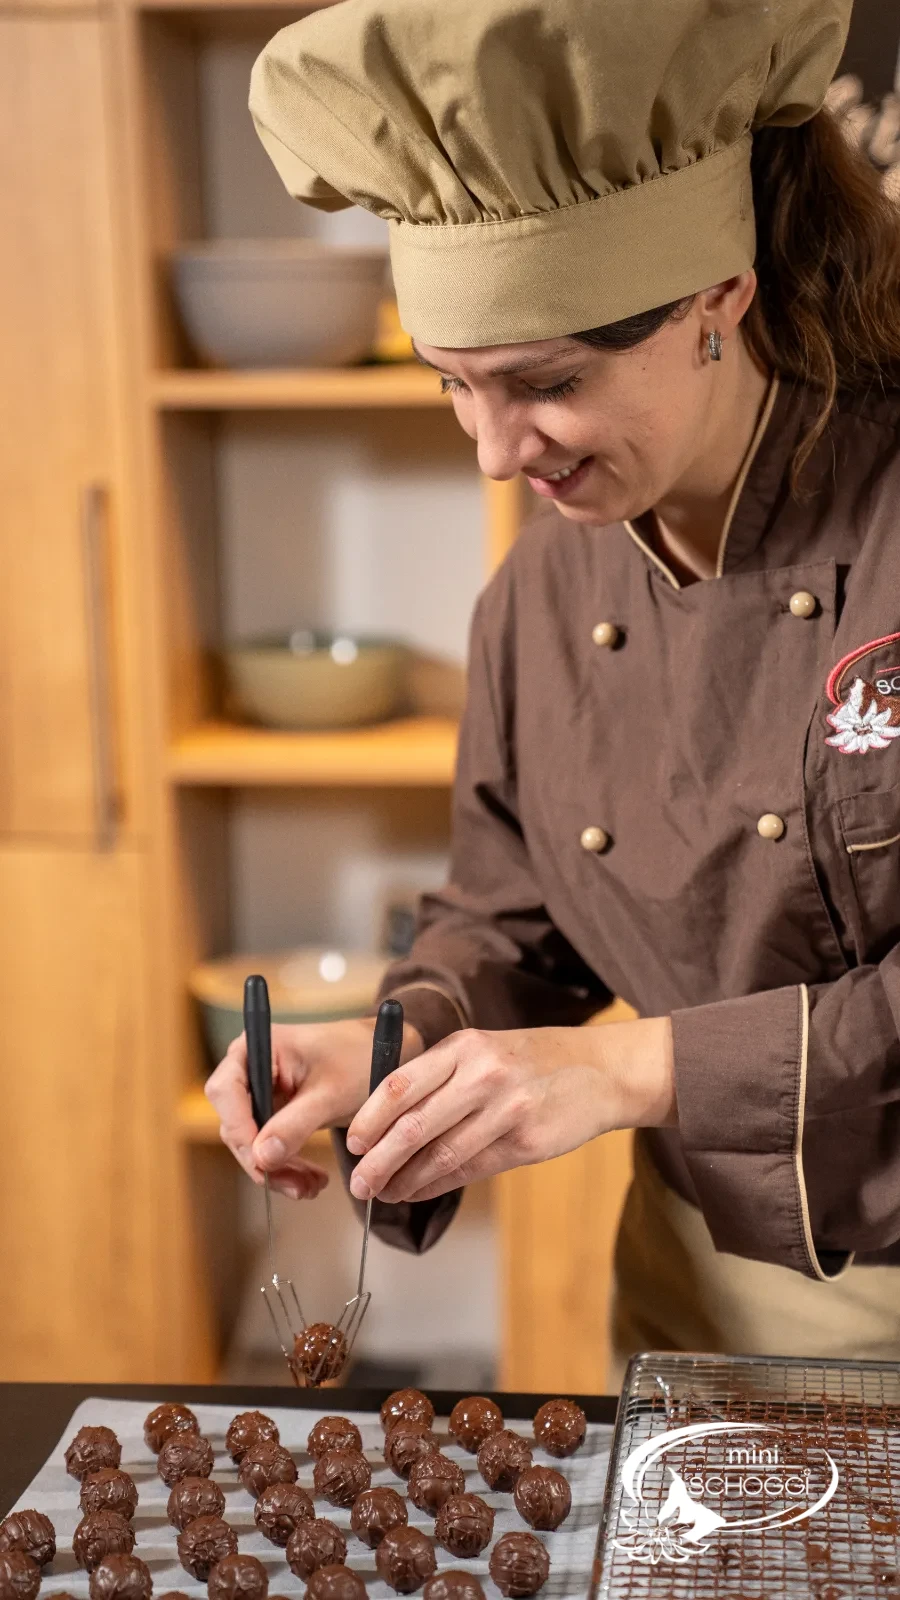
Take two 3-prong dipping forks, one in each hand, and gently roll the truffle over the Cake rack. Don't press — the truffle should turn, not drag.
Roll it in every direction until it has the classic peaks all around. With each turn the Cake rack pulls fine threads out of the still-soft couverture, and those are exactly what stay standing as spikes.
Wipe the forks with kitchen paper after every third or fourth ball. Sticky forks tear the spikes back off instead of making new ones.
What you need for this


Lindt Couverture White 0.5 kg
Lindt Couverture Milk 0.5 kg
Lindt Couverture Dark 0.5 kg
Dipping fork 3-prong
5
Set down and let cool
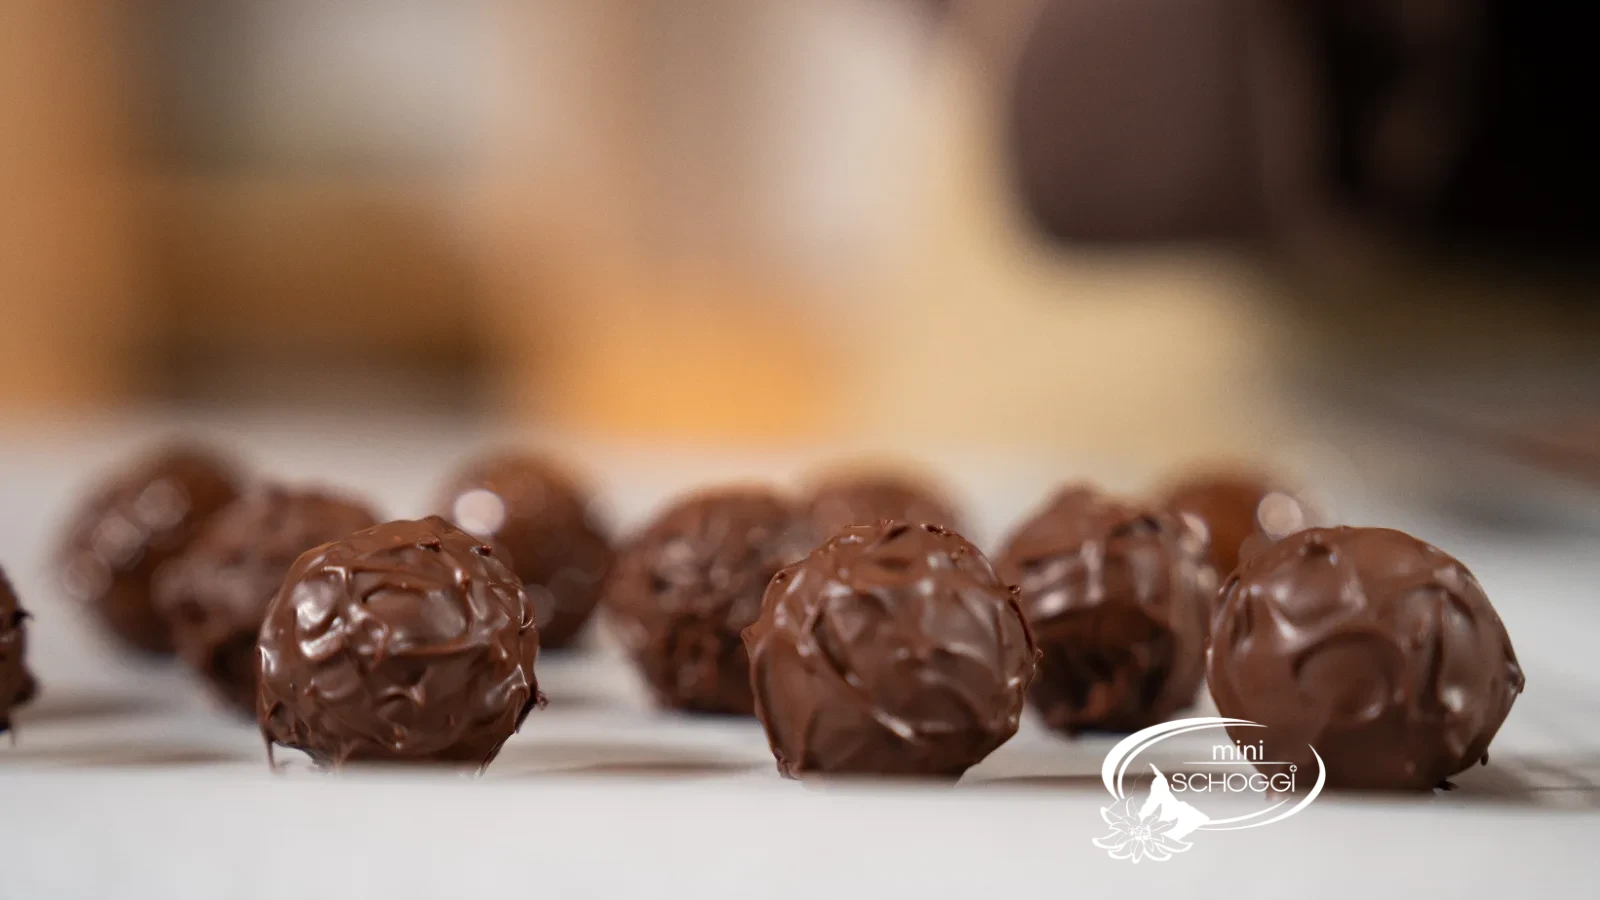
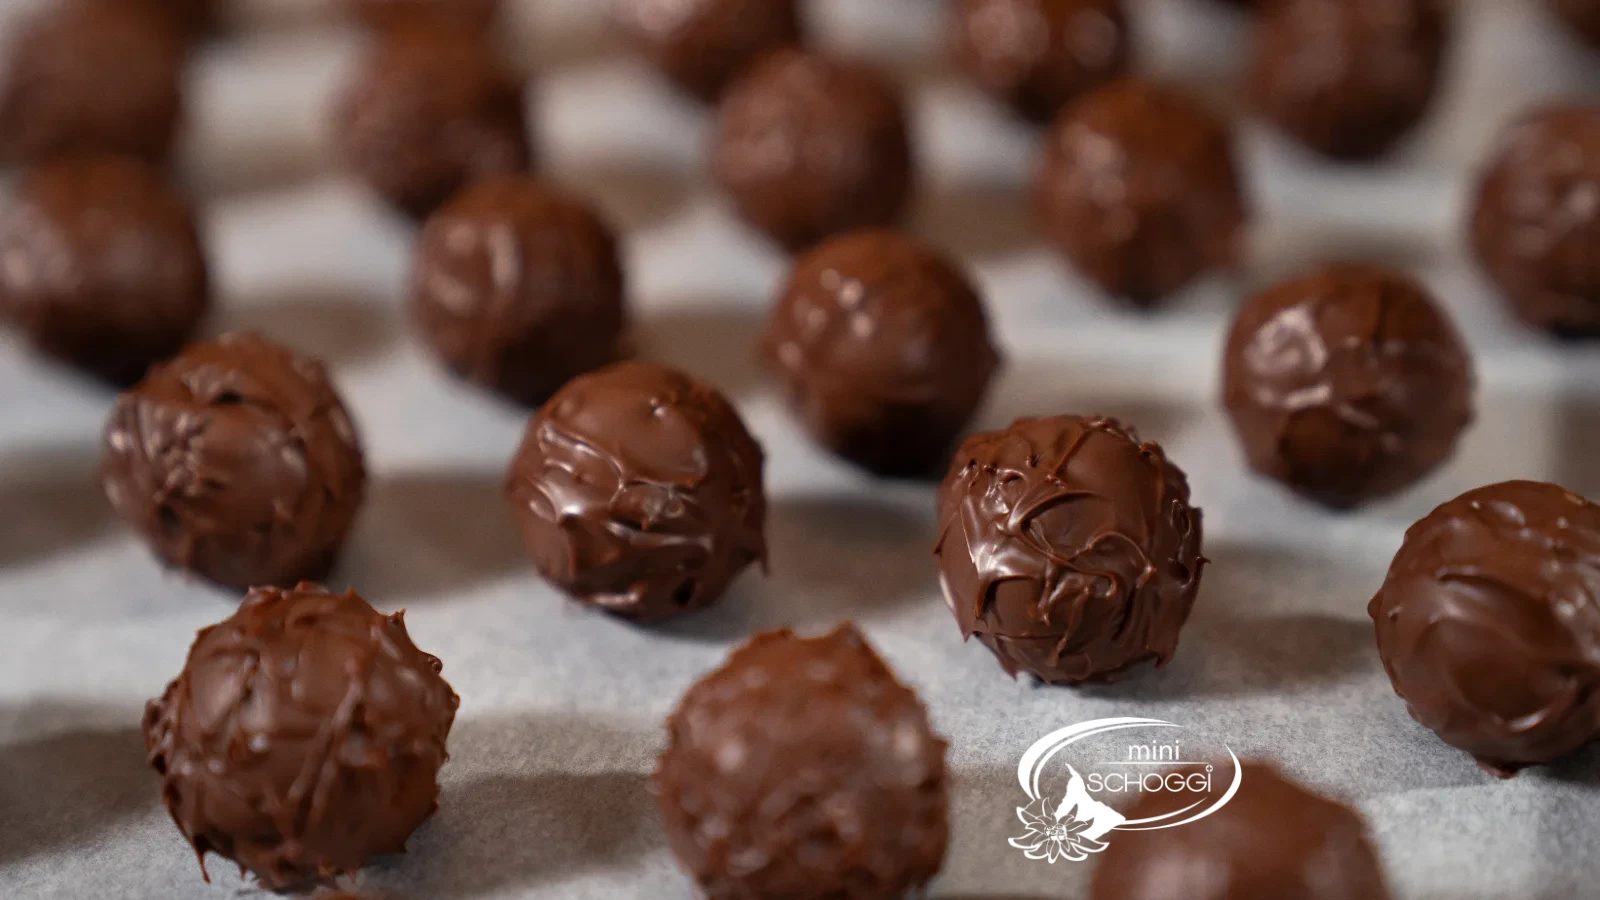
Once you are happy with the pattern, set the truffle down on baking paper using the two forks and let it cool completely there. Don't touch it any more — fingerprints stay visible.
When all the truffles are coated, put them in the fridge for about five minutes. This is not for storage, just a final boost so the coating sets firmly and shines nicely. After that, take them out again.
6
Done — and how they keep
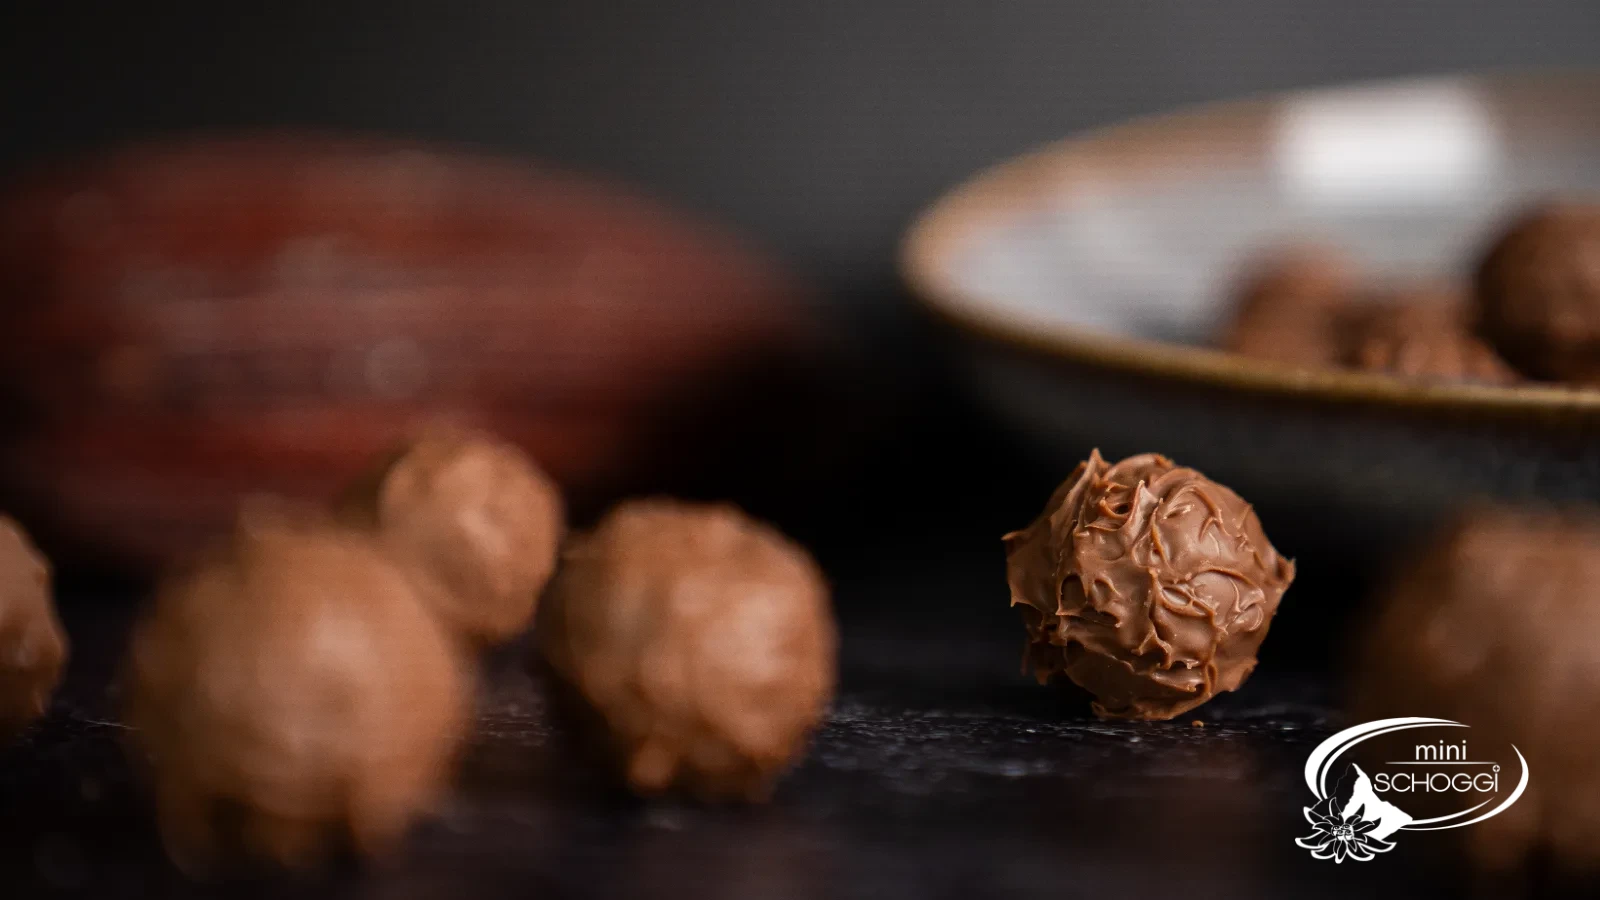
Done. The truffles shine, the peaks stand up, and when you bite into them the coating cracks before the Ganache comes through.
Store them at room temperature in a closed tin, and they will keep for up to four weeks. Not in the fridge: there they sweat when you take them out, and the surface turns grey and dull.
For a course or as a gift: 63 pieces fill about three medium Cookie tins.
Compact · printable
Truffles
Ingredients
Quantity:
WHITE TRUFFLES (63 PIECES)
MILK TRUFFLES (63 PIECES)
DARK TRUFFLES (63 PIECES)
Preparation
- Ganache: Bring the cream to a boil with Glucose syrup and Sorbitol syrup, pour over the couverture, stir until smooth.
- Cool down: Fill into the Piping bag, let cool for 20 min. to approx. 26 °C.
- Fill: Fill the Hollow praline balls to just below the rim.
- Rest: 1 hr. at room temperature — a skin forms.
- Seal: Dab the opening closed with tempered couverture, let it set.
- Dip: Submerge the ball completely with the round fork, let it drip off.
- Spikes: As soon as the couverture is just about to set, roll it over the Cake rack with two 3-pronged forks.
- Done: Set down on baking paper, chill for 5 min., store at room temperature.
Nutritional values per 100 g
505kcal
31.9 gFat
48.5 gCarbohydrates
5.3 gProtein
Storage & shelf life
The finished truffles keep for up to four weeks. Store them at room temperature in a closed tin, ideally between 15 and 18 °C. Do not put them in the fridge: when you take them out, moisture condenses on the cold chocolate, the coating turns grey and dull, and the sugar migrates to the surface. To give them as a gift, place them in Chocolate capsules — that way the spikes stay intact.
Everything for this recipe
Recommended from our bakery — exactly the sizes the recipe was tested with.
Ingredients
Lindt Couverture White 0.5 kg
Lindt Couverture Milk 0.5 kg
Lindt Couverture Dark 0.5 kg
Glucose syrup, 350g
Sorbitol syrup liquid, 130g
Hollow praline balls White Ø 26mm, 63 pieces
Hollow praline balls Milk Ø 26 mm, 63 pieces
Hollow praline balls Dark Ø 26mm, 63 pieces
Lindt Couverture Dark 2.5 kg
Accessories
miniSchoggi tempering device for couverture and chocolate
Dipping fork 1-prong round
Dipping fork 3-prong
Stainless steel cake rack
Disposable piping bag 30 cm, 10 pcs
Small whisk 21.5 cm
Dipping fork set, 10 pieces
Insertion thermometer digital
Delivery in 1–2 working days · Free shipping from CHF 100*
So they turn out perfectly every time
No peaks without tempered couverture
This is the one thing that makes or breaks this recipe. Untempered chocolate stays soft, turns grey and never sets in a way that forms peaks. If you're making truffles for the first time, read through the tempering post beforehand or use a tempering device — that takes all the calculating off your hands.
The ideal room temperature is 18 to 20 °C
In a kitchen that's too warm the couverture won't set, and the peaks collapse back in on themselves. In one that's too cold it sets too quickly and the surface stays smooth. If your room is above 22 °C, work in smaller batches and place the dipped truffles briefly in a cooler spot before rolling.
Only ever four to five balls at a time
Between dipping and rolling there's a window of about half a minute. Whoever dips ten balls and then starts rolling will find the first five already set. Four to five is the amount you can manage in this window — even if it feels slow at first.
Frequently asked questions
Most often the ball was rolled over the cake rack too early — the couverture needs to be just about to set, otherwise every peak runs back in on itself. The second common cause: the couverture is too warm or wrongly tempered. And the third: the kitchen is too warm. Ideal is 18 to 20 °C in the room.
The Ganache turns out fine without them too. The difference shows after a few days: Glucose syrup and Sorbitol syrup bind water, which keeps the filling soft and prevents it from becoming sandy. Without them the truffles are hard rather than creamy after about a week. For truffles that are given as gifts, we wouldn't leave them out.
Ganache keeps in the fridge for about a week. You can bring it to room temperature, whip it and use it as a filling for biscuits — this is how, for example, the walnut kiss biscuits are made. Or you can roll it into balls by hand and coat them in Cocoa powder: those are the classic French truffles, entirely without a Hollow praline ball.
Print recipe
Choose what should appear on the printout.
Related products
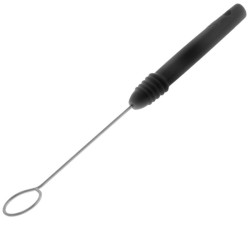
Trempier fork 1s round
Price: CHF 9.90
Rated out of 5 stars based on
review(s)
With the truffle fork you have the possibility to truffle praline balls. So...
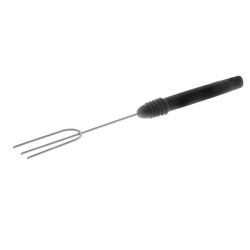
Trempier fork 3 prongs
Price: CHF 9.90
Rated out of 5 stars based on
review(s)
With the truffle fork you have the possibility to truffle chocolates. So you...
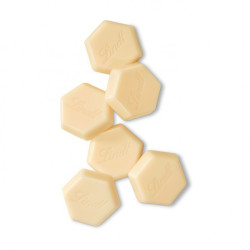
Lindt Couverture White 0.5 kg
Price: CHF 19.90
Rated out of 5 stars based on
review(s)
Finest ingredients, transparency and sustainability. This is what the...
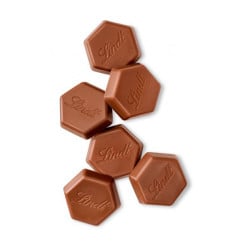
Lindt couverture milk 0.5 kg
Price: CHF 17.90
Rated out of 5 stars based on
review(s)
Finest ingredients, transparency and sustainability. This is what the...
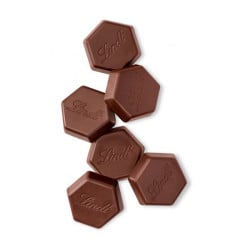
Lindt Couverture Dark 0.5 kg
Price: CHF 17.50
Rated out of 5 stars based on
review(s)
The finest ingredients, transparency and sustainability. This is what the...
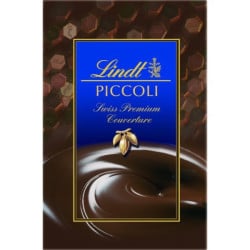
Lindt Couverture Dark 2.5 kg
Price: CHF 64.50
Rated out of 5 stars based on
review(s)
The finest ingredients, transparency and sustainability. This is what the...
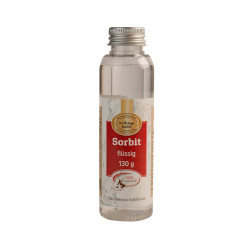
Sorbitol liquid, 130g
Price: CHF 5.90
Rated out of 5 stars based on
review(s)
Sorbitol consists of corn and wheat starch and serves as a sugar substitute...
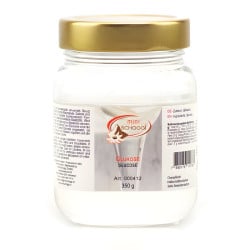
Glucose, 350g
Price: CHF 8.90
Rated out of 5 stars based on
review(s)
Glucose is a sticky, viscous sugar mixture used in a wide variety of...
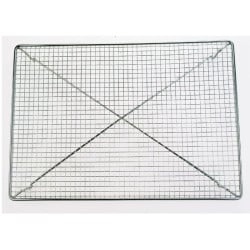
Stainless steel grille
Price: CHF 34.90
Rated out of 5 stars based on
review(s)
With the help of the fine lattice pattern you create noble chocolates in...
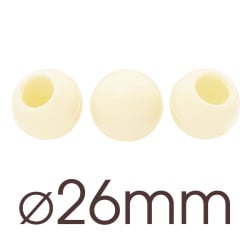
Hollow balls white Ø 26mm, 63 pieces
Price: CHF 17.90
Rated out of 5 stars based on
review(s)
Truffles hollow balls guarantee you a uniform and thin shape from the...
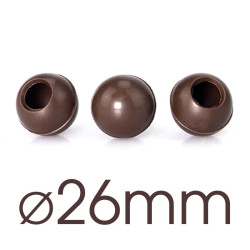
Hollow balls dark Ø 26mm, 63 pieces
Price: CHF 17.90
Rated out of 5 stars based on
review(s)
Truffles hollow balls guarantee you a uniform and thin shape from the best...
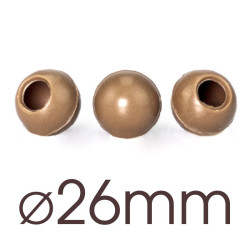
Hollow balls milk Ø 26 mm, 63 pieces
Price: CHF 17.90
Rated out of 5 stars based on
review(s)
Truffles hollow balls guarantee you a uniform and thin shape from the...
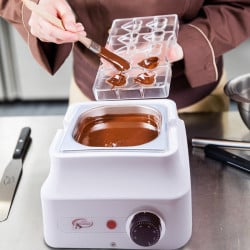
miniSchoggi tempering device for couverture and chocolate
Price: CHF 99.00
Rated out of 5 stars based on
review(s)
With a tempering device, tempering couverture is very easy and nothing...

Insertion thermometer digital
Price: CHF 22.50
Rated out of 5 stars based on
review(s)
For many treats, maintaining a certain temperature is essential. In a...

Trempier fork set, 10 pieces
Price: CHF 54.90
Rated out of 5 stars based on
review(s)
For the enrobing and making of chocolates, the trimming fork is an...
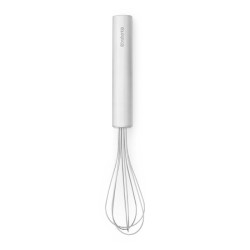
Whisk Small 21.5 cm
Price: CHF 15.90
Rated out of 5 stars based on
review(s)
Every kitchen needs some basic equipment, and this includes a sturdy whisk....
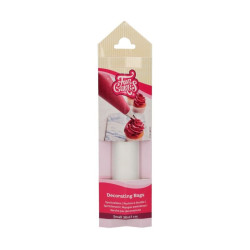
Disposable piping bag 30 cm, 10 pieces
Price: CHF 4.30
Rated out of 5 stars based on
review(s)
Disposable piping bags made from high-quality, food-safe plastic are the...
Bewertungen
Leave a comment
Related posts
 Make your own chocolate Easter bunnies
You can easily make your own Easter bunnies at home! You can find out how to do it and what you need here. A sweet...
Read more
Make your own decorative Swiss roll
Make your own decor roulade - we'll explain exactly how in this blog, with lots of tips and tricks from our...
Read more
Cinnamon stars with almonds and egg white icing
Juicy cinnamon stars made with almonds, sugar and cinnamon, topped with snow-white egg white icing. Flour-free, made...
Read more
Tempering couverture and chocolate correctly
Melt, seed, reheat: the seeding method step by step, with the temperatures for every type of couverture and the test...
Read more
Make your own chocolate pumpkin pralines
Make your own 3D chocolate pumpkin pralines - here you get detailed instructions with lots of tips and tricks...
Read more