Blog Navigation

Recipe for Cakesicles - Cakes on a Stick


Cakesicles: Delicious cake on a stick

These cakesicles are super tasty, quick to make and look super pretty too. The delicious little cakes are super practical for children's birthday parties because the children can easily take them everywhere - what child likes to stay seated at the table? However, you can also bake the Sicles for other occasions. In this post, we made a fruity version with blueberries and a hint of lemon. Of course, you can vary the choice of fruit if you don't like blueberries, for example. In addition, you will receive valuable tips on how to decorate the cakes - have fun!

Preparation time

10 min.

Baking time

20 min.

Decoration time

20 min.

Blueberry Pie Pie

chocolate mousse

The production

  1. Melt the butter and preheat the oven to 170 °C convection.
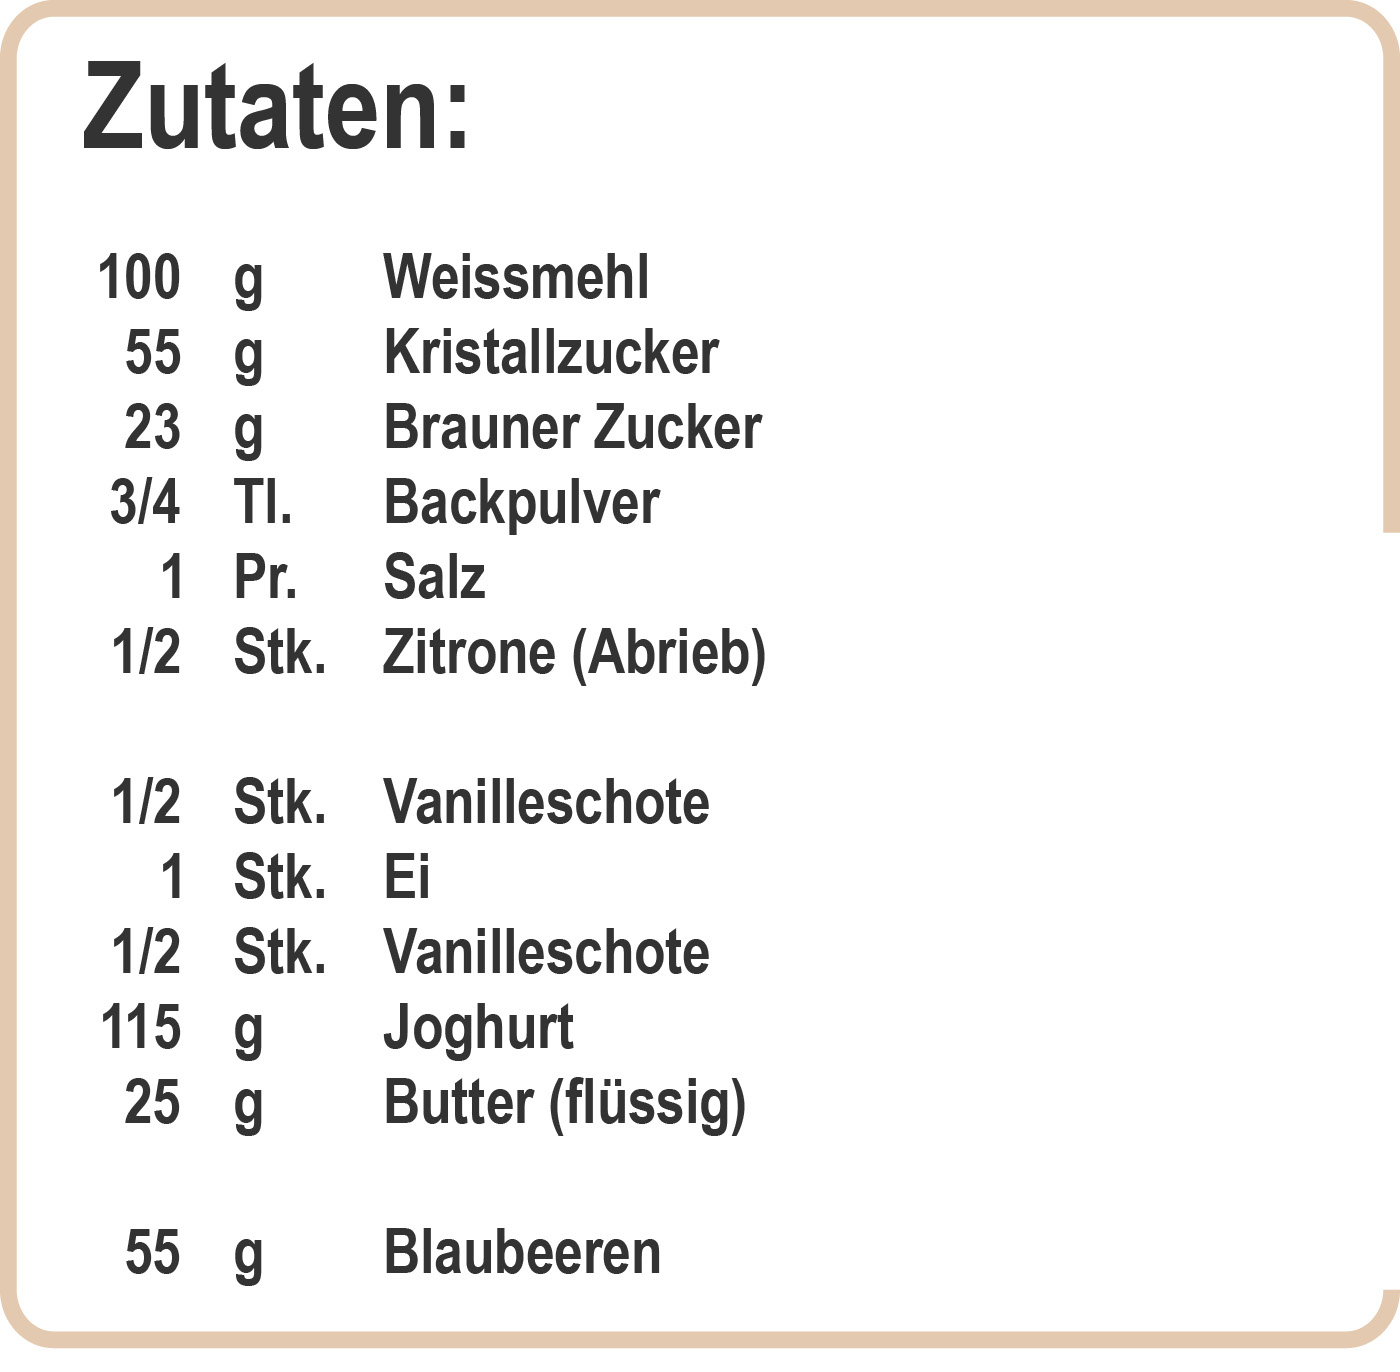
  2. Weigh all the dry ingredients, put them in a large bowl and grate the zest of half an organic lemon.
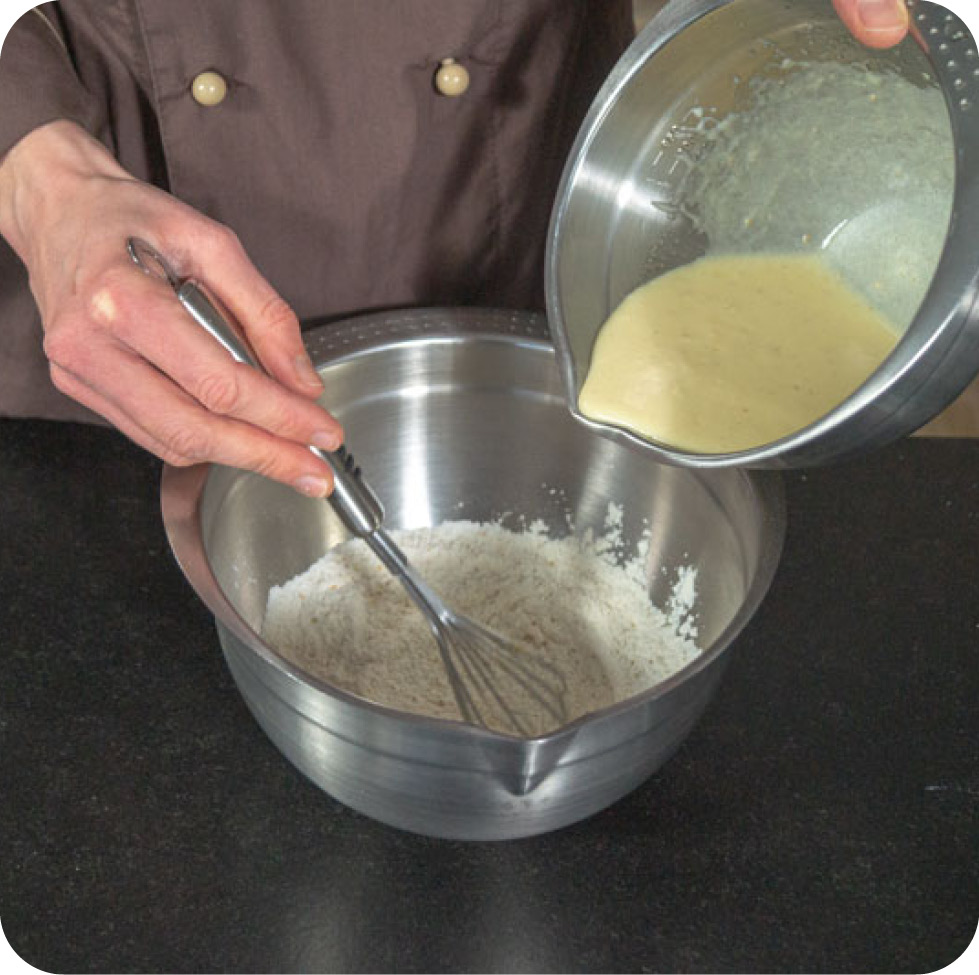
  3. Now weigh the liquid ingredients, put them in a bowl and stir in the lukewarm, liquid butter.
  4. Finally, mix everything together to form a smooth dough.
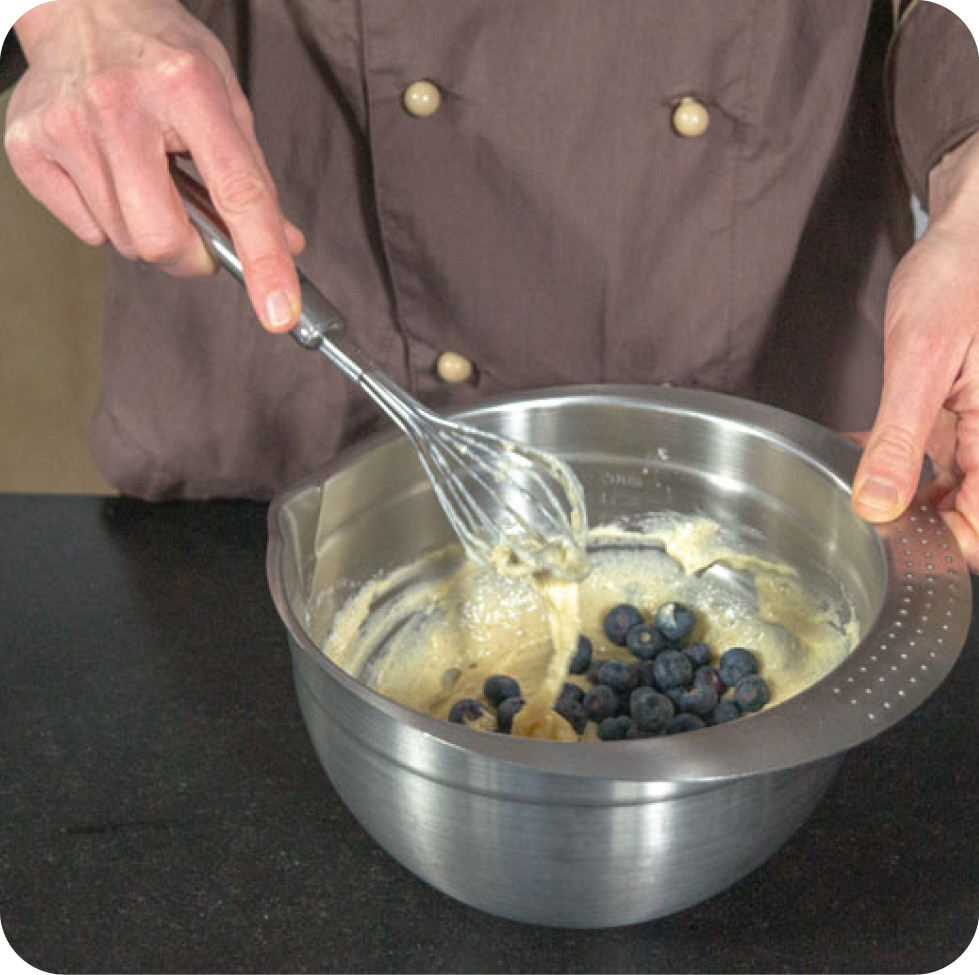
  5. Now wash the blueberries and carefully fold them into your cake mixture.
  6. Grease your baking tin well and dust it with a little flour.
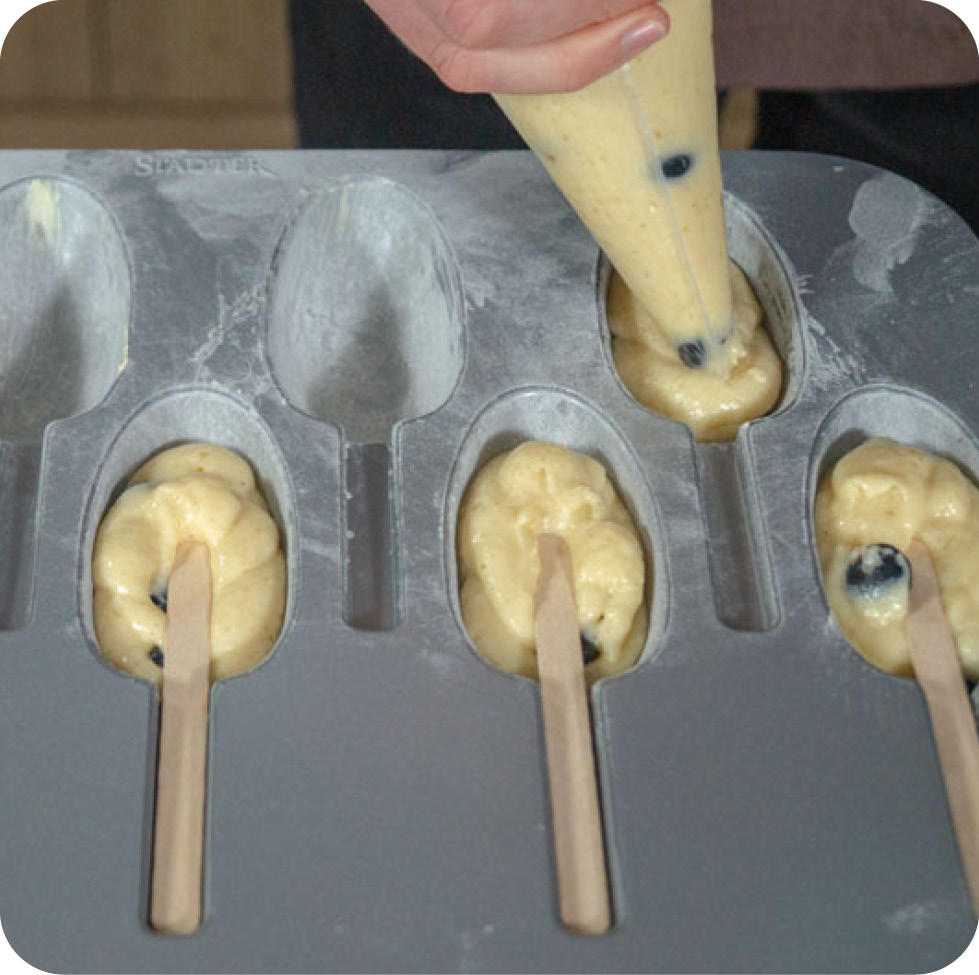
  7. Fill the batter into a piping bag and pour about 56 g of the mixture into the baking tin.
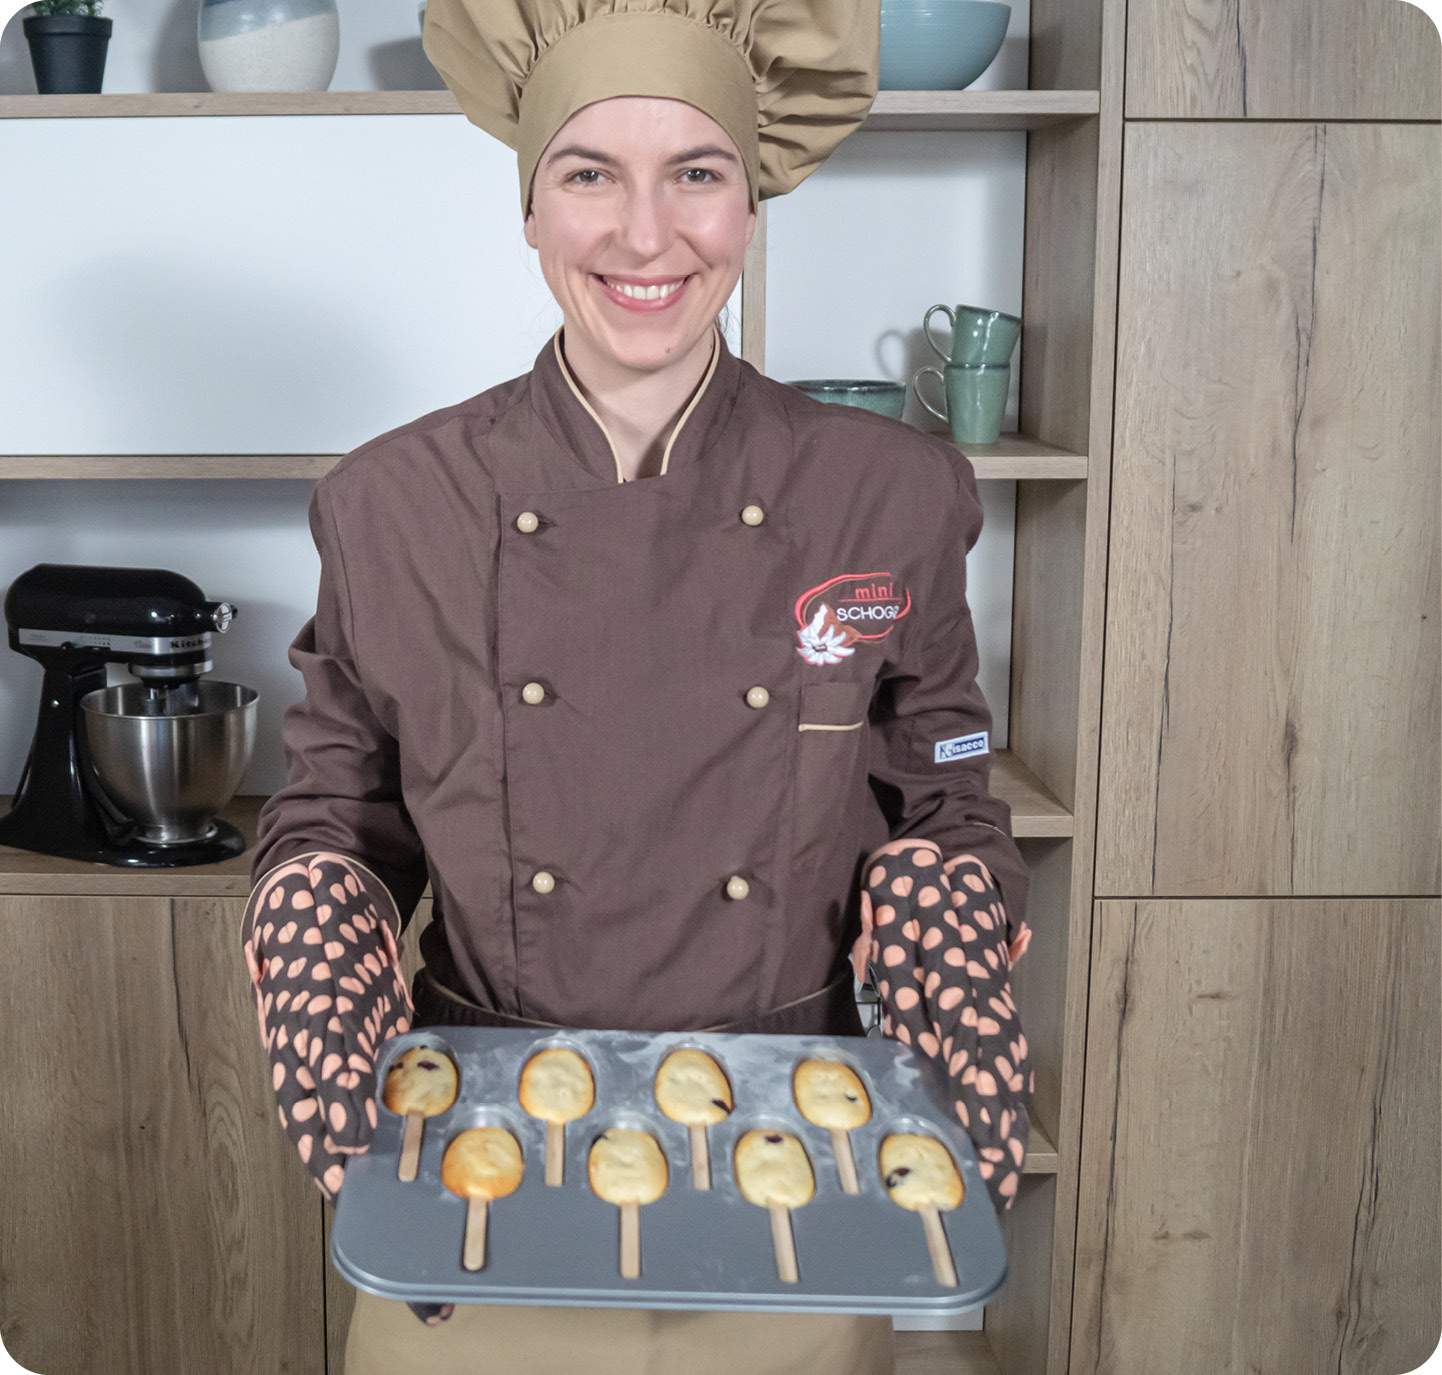
  8. Finally, press a wooden stick into the tin, spread some batter over it so that the stick is covered and bake the cakesicles at 170 °C convection oven for about 20 minutes.
  9. After baking, place the cakesicles on a wire rack to cool.

The decoration

Here's how:

  1. First, set up a water bath.
  2. Prepare a baking tray with baking paper and then pour the colour of icing you want to use into different heatproof bowls.
  3. Melt the colour over the bain-marie and then pour it into a tall glass or container.
  4. Dip the cooled cake piece completely into the icing, pull it out again and let it drip a little over the glass.
  5. Place the pieces on the prepared baking tray and let the icing set a little.
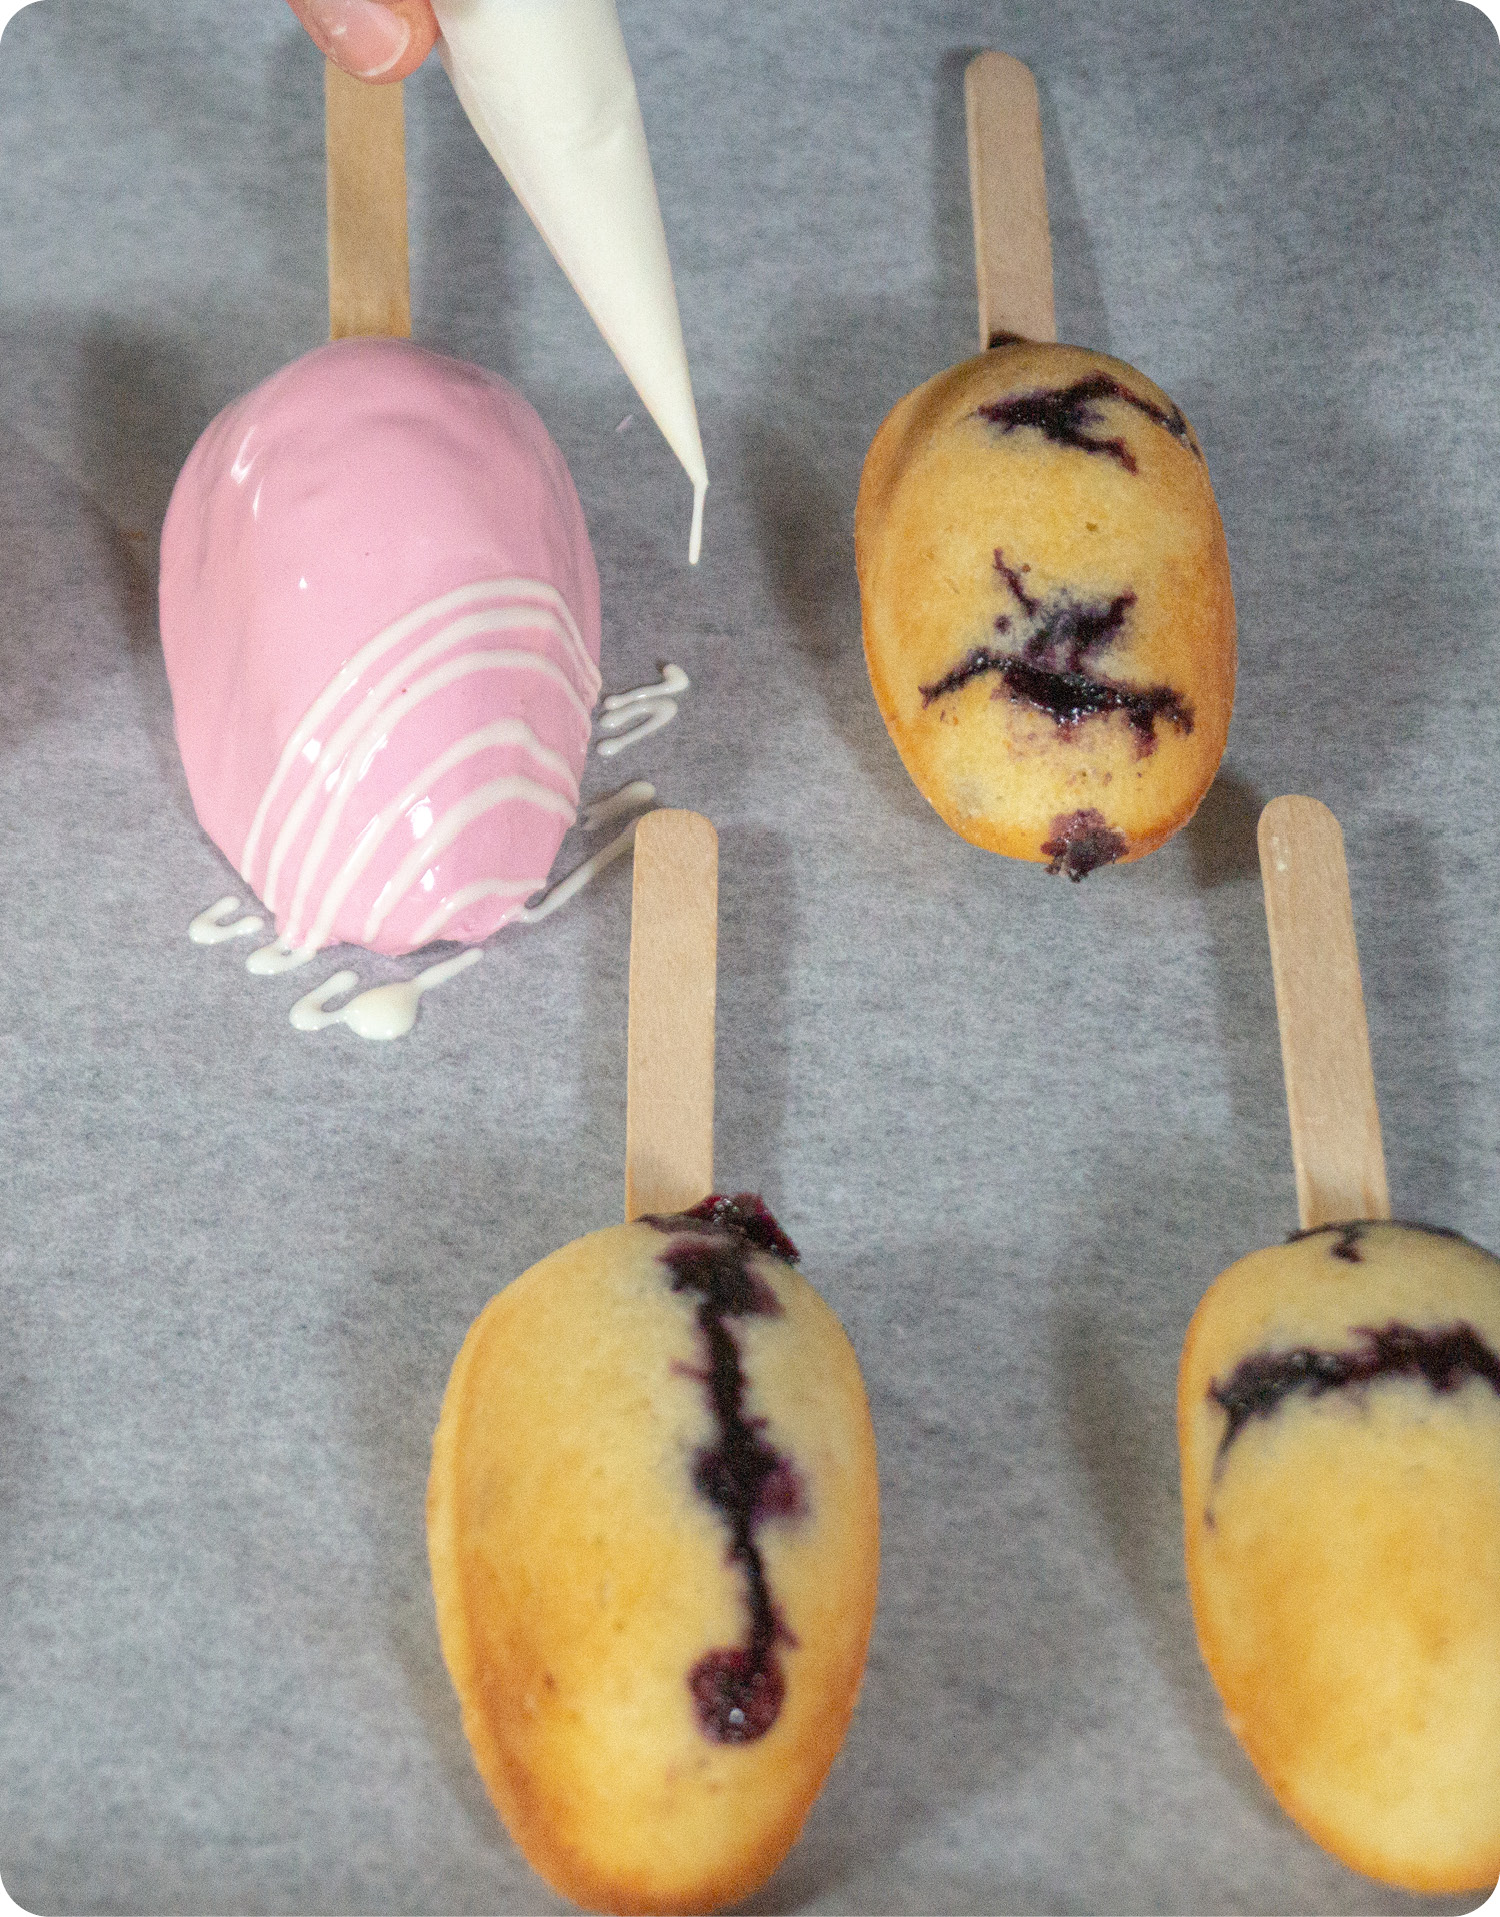
  6. Now you can decorate them with sprinkles or apply patterns to the surface with a second colour.
  7. Fill the second colour into a cornet and paint very fine stripes over the surface.
  8. There are no limits to your creativity! Have fun!

If you liked this post, please share it with your friends and follow us on Instagram and Facebook. We would also be very happy if you leave us a Like or even tag us in your posts when you try our products or recipes!
Thank you!

Your miniSchoggi team!


Leave a comment

Security code