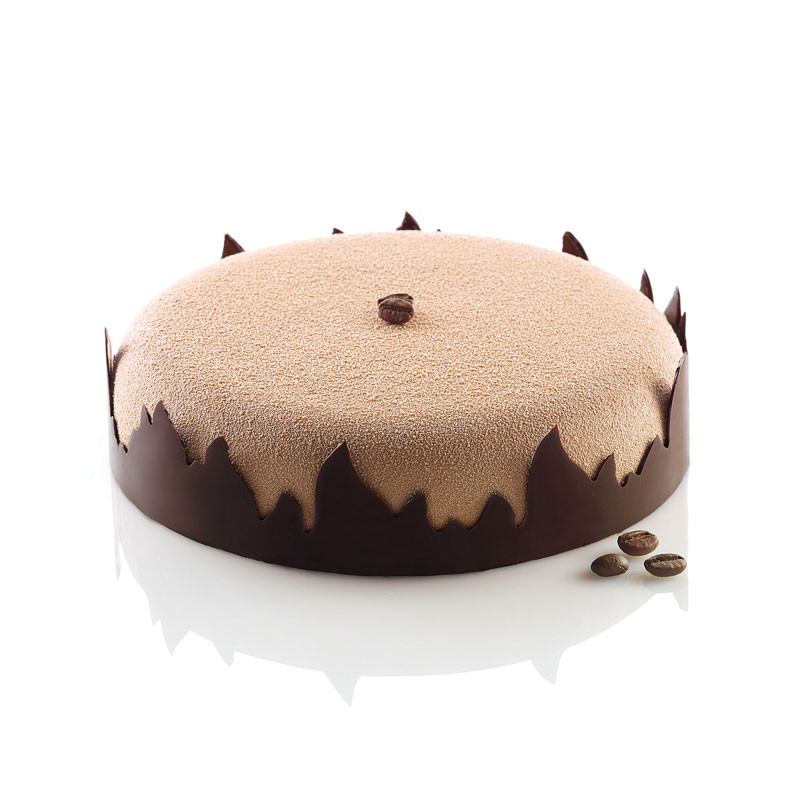


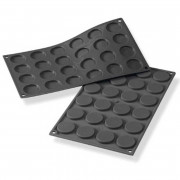
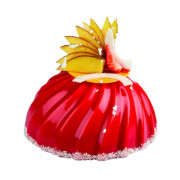
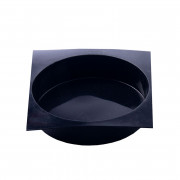
The cake is finished and certainly looks great. But stop! Something is still missing. A little decoration can never hurt! But how do you get an extraordinary decoration with little effort? All you need for a gorgeous chocolate border is: tempered chocolate coating, a metal horn and this set! This silicone mat with PVC foil is suitable for cupcakes and cakes with a diameter of 6 - 26 cm. The set includes the silicone mold, the cake insert strip and a plastic scraper.
Data sheet
The cake is finished and certainly looks great. But stop! Something is still missing. A little decoration can never hurt! But how do you get an extraordinary decoration with little effort? All you need for a gorgeous chocolate border is: tempered chocolate coating, a metal horn and this set! This silicone mat with PVC film is suitable for cupcakes and cakes with a diameter of 6 - 26 cm. The set includes the silicone mold, the cake insert strip and a plastic scraper.
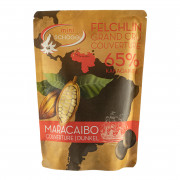
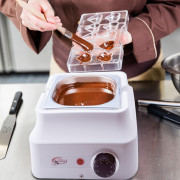
Before you can use the silicone mold, you need to prepare a necessary component: the delicious chocolate coating. It is not enough to simply melt the drops. The couverture must be tempered before use. Use only high-quality couverture and not the chocolate from the supermarket.
When tempering, each couverture goes through three stages. Melting, cooling and heating again. After the last stage, the couverture has reached the optimum processing temperature. Depending on the couverture, the temperatures vary. If you are looking for the Table in our blog post, then nothing can really go wrong. To make sure that your couverture really has the right temperature, you can additionally use a Chocolate thermometer to the help.
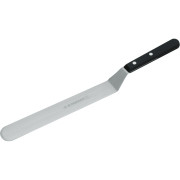
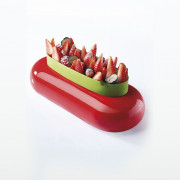
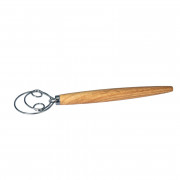
Now to shape the chocolate, you take the Cake insert strips and cut off a long piece of the film. Place the silicone tape on the PVC film. Press the silicone foil lightly against the PVC foil so that no air gets in between. Now fill the mold with tempered chocolate coating. The easiest way is to use a piping bag. To fill the piping bag with couverture, you can use a Piping bag holder. Place the piping bag over the holder. Scoop with a Sauce spoon the couverture into the piping bag. Do not fill the piping bag more than 2/3 full. Close the top of the piping bag and close the bag with a clamp. Now cut off a little of the top of the bag and place the chocolate on the PVC foil. On the edge of the silicone mold, the strip will show you where to fill the strip with chocolate to get the right diameter. Take a metal horn and brush the excess chocolate off the silicone mold. The chocolate should have a smooth surface at the level of the silicone mold. Now remove the silicone mold from the PVC foil and let the chocolate cool for 2 - 3 minutes. The chocolate should still be movable, but not flowing. Now take the corresponding cake ring. Place a new cake strip around the cake ring. Now take your shaped chocolate with strip and place it around the cake ring as well. The assembly is as follows from the inside out: Cake ring, insert strip, chocolate coating, insert strip. The inner insert strip is there to keep the couverture removable from the cake ring. Let the couverture cool and only remove the strip once the couverture has cooled properly. To finish your cake with this chocolate border, you should first finish the cake and at the very end carefully put the chocolate ring over the cake with disposable gloves. The work of art is finished.
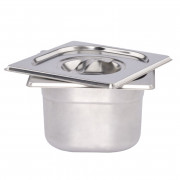
Before use, you should place your silicone mold in a warm water bath with some dishwashing liquid. This is not necessary, but it contributes to the longevity of your silicone mold. The warm water with detergent closes the pores of the silicone surface better. Thus, the material remains flexible for a long time and you can enjoy the silicone molds longer. After the silicone mold has been in the water bath for 5-10 minutes, you can now place the mold on a kitchen towel to drain. Do not try to rub the mat dry with the kitchen towel. Silicone is an excellent lint catcher. So your silicone mold may become covered with lint when you dry the silicone mat with the kitchen towel. Once the mold is dry, you can use the mold right away. Additional greasing is not necessary.
After use, you can simply put the silicone mold in the dishwasher. Depending on how often you use the silicone mold, we recommend that you outgas your silicone mold 1-2 times a year. To do this, place the silicone mold in the middle of your oven at 200 degrees top/bottom heat for 4 hours. The heat causes certain substances in the silicone baking mold to volatilize. Occasionally, a white layer or white dots may form on the silicone mold. This is especially common if you have not used the silicone mold for a long time. To do this, simply place the mold in the water bath with dishwashing detergent. Then the grease film will dissolve from the silicone mold. Due to the flexibility of the material, you can fold silicone molds and store them in a space-saving way. Don't worry. The silicone mold always returns to its original shape, even after folding or bending.
Immerse yourself in the World of chocolate. Whether pralines, chocolate bars, chocolate bars or other chocolate products, we would like to introduce you to the pleasure of chocolate making. Whether a tempering, pouring, or praline course, at miniSchoggi we are sure to meet your taste. As a great experience for the whole family or for the production of extraordinary gifts, our figure casting courses are perfect. At miniSchoggi, you'll learn how to properly polish polycarbonate molds, make them cute and pour them out nice and thin. In this way, young and old can create colorful and elegant chocolate figures. Children as young as 8 can participate and make a very special Easter bunny or Santa Claus. An experience for young and old.

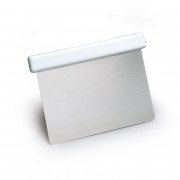


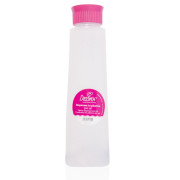
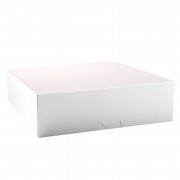
The cake is finished and certainly looks great. But stop! Something is still missing. A little decoration can never hurt! But how do you get an extraordinary decoration with little effort? All you need for a gorgeous chocolate border is: tempered chocolate coating, a metal horn and this set! This silicone mat with PVC foil is suitable for cupcakes and cakes with a diameter of 6 - 26 cm. The set includes the silicone mold, the cake insert strip and a plastic scraper.