Ready-to-ship quantity: more than 20 pieces20+ in stock
Price:CHF12.50

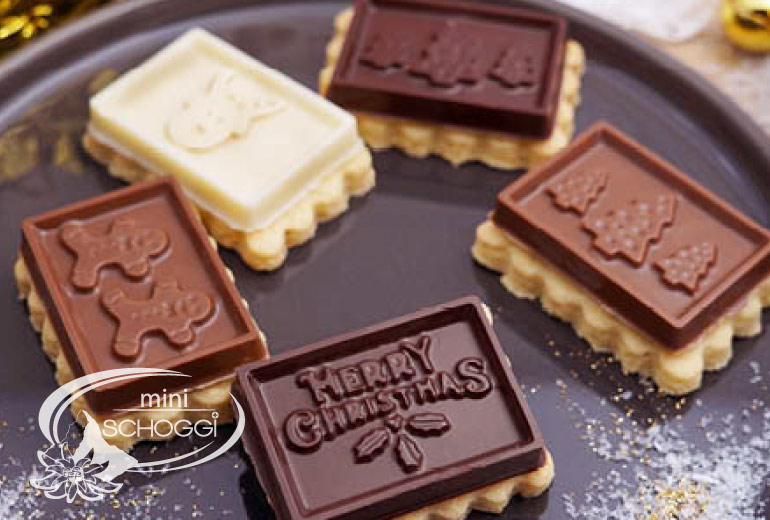
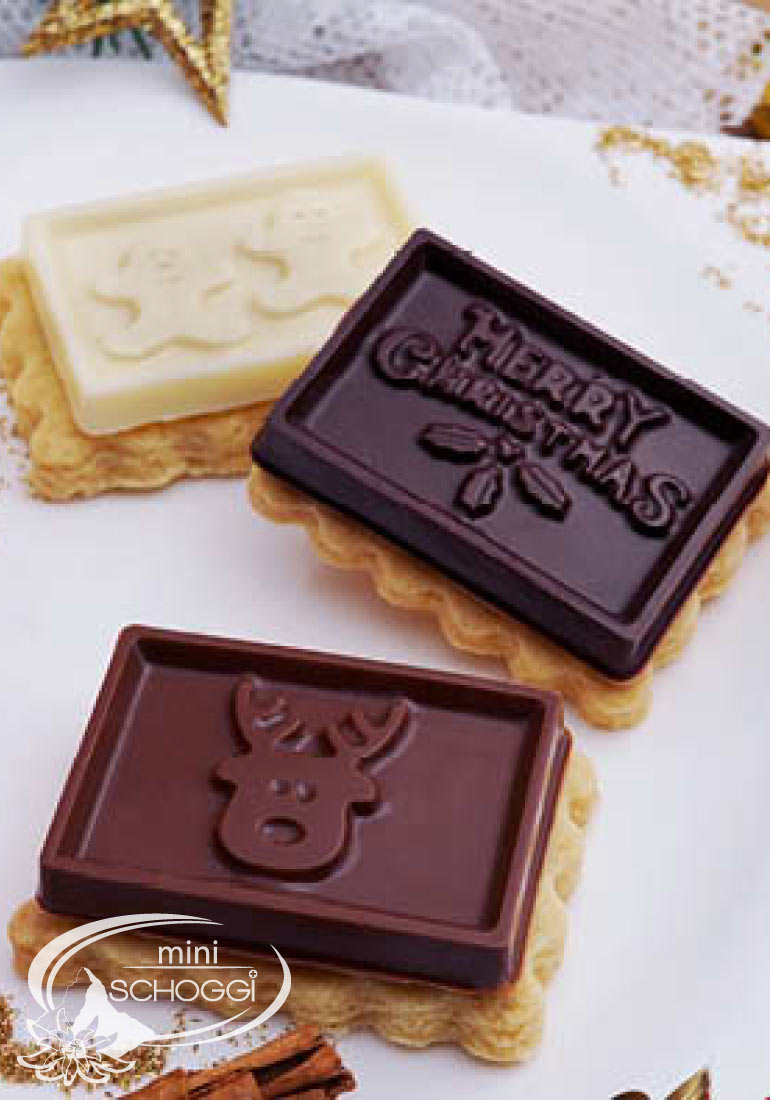
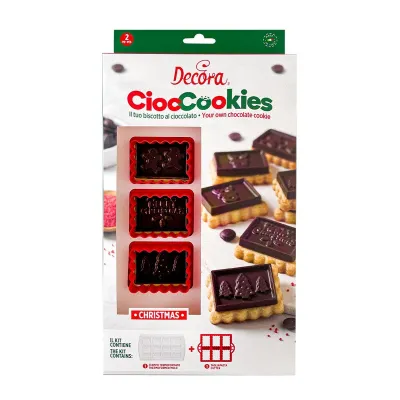
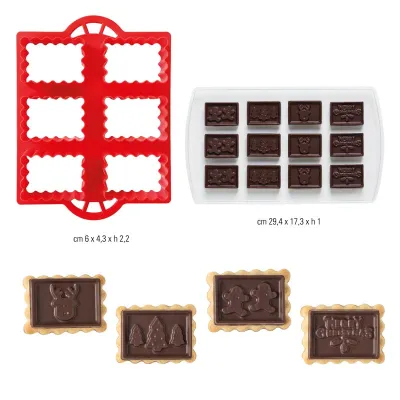
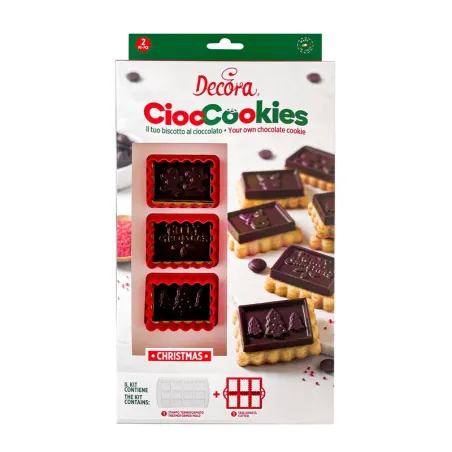
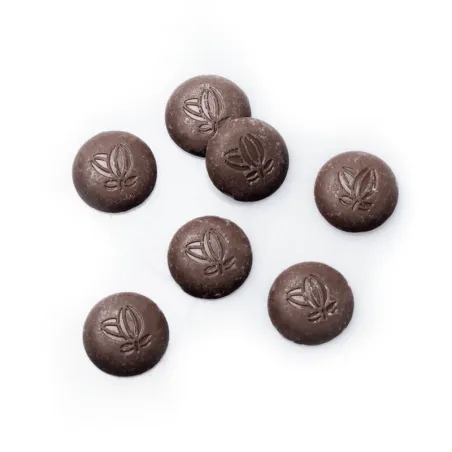
Butter biscuits have been a staple of our everyday lives for many generations. For some, they evoke childhood memories; for others, they’re a quick snack whilst out walking or even at work. One thing is certain, though: they’re popular. That’s why we’ve come up with our own version of the butter biscuit, which we’d love to share with you. A delicious butter biscuit with a subtle hint of vanilla, decorated with a beautiful, festive, high-quality couverture chocolate disc. Both the chocolate mould and the biscuit cutter are included in the set, making the process simple. You can, of course, adjust the thickness of the biscuit and the chocolate, as well as their proportions, to suit your taste. Right then, off to the kitchen – put on your apron and let’s get started! We can’t wait to see your creations!
Quantity: 24 pieces
Baking time: approx. 10–15 minutes
Cooling time: 80 minutes

Difficulty: Easy
Shelflife: 1 month
| 100 g | granulated sugar | |
| 200 g | Butter, softened | |
| 1 | egg | |
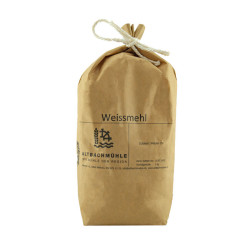
| 300 g | plain flour | |
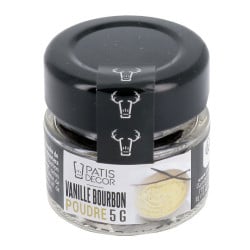
| 1/2 tsp | vanilla seeds | |
| 1 | pinch of salt | |
| Cooled butter biscuits | ||
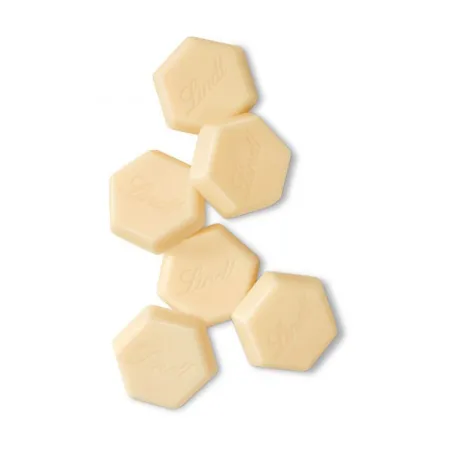
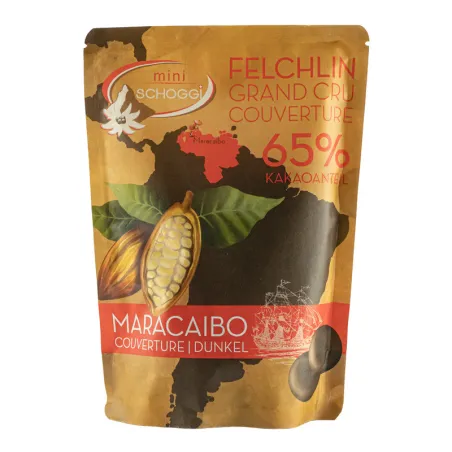
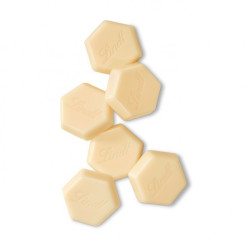
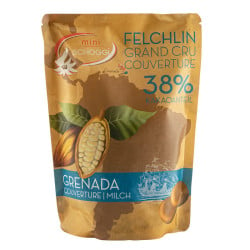
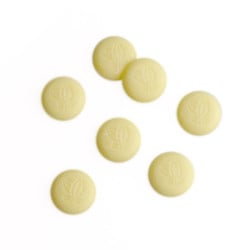
| 100 g | White couverture | |
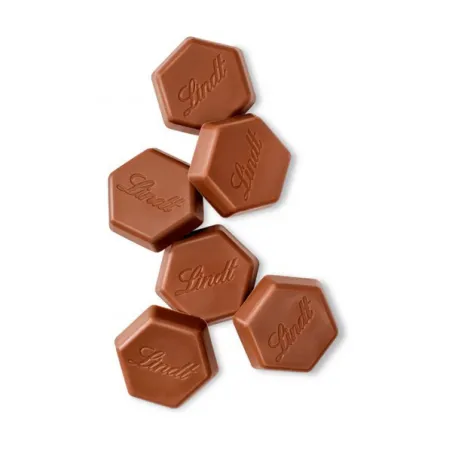
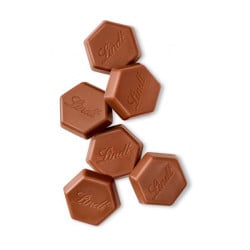
| 100 g | Milk couverture | |
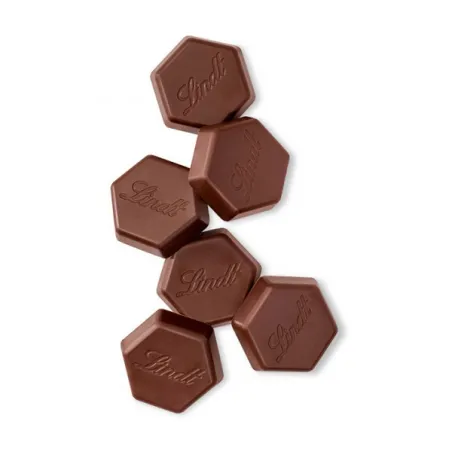
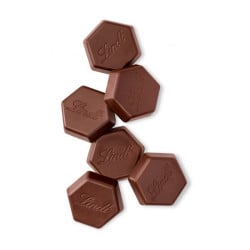
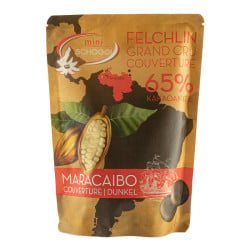
| 100 g | Dark couverture | |


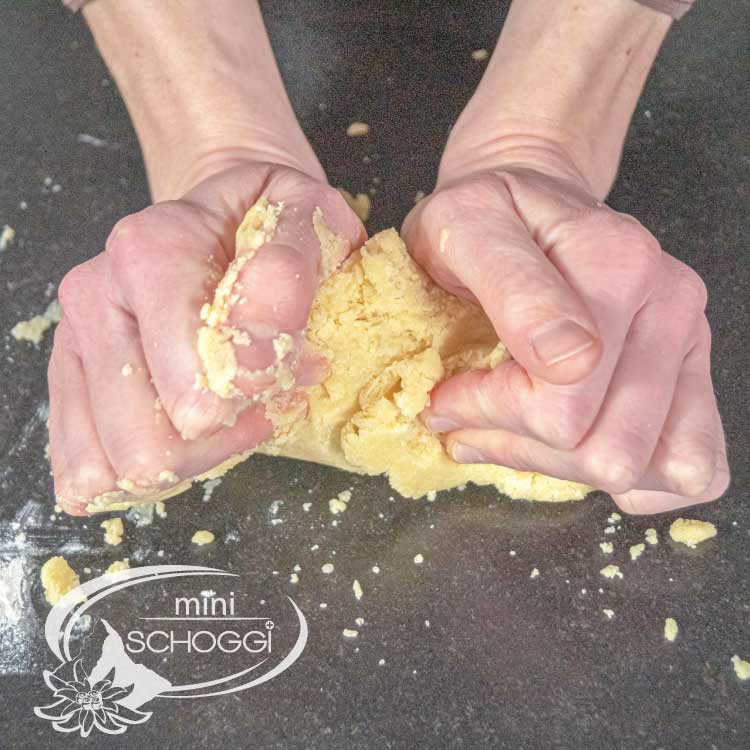
Cream the softened butter with the caster sugar until light and fluffy. Once the mixture is nice and light and fluffy, add the egg and stir it well into the dough. Then add the remaining ingredients and knead everything together with your hands until you have a firm, smooth dough. Wrap the dough in cling film and place it in the fridge for at least an hour.
Once it has been chilled, preheat the oven to 170 ºC (fan).
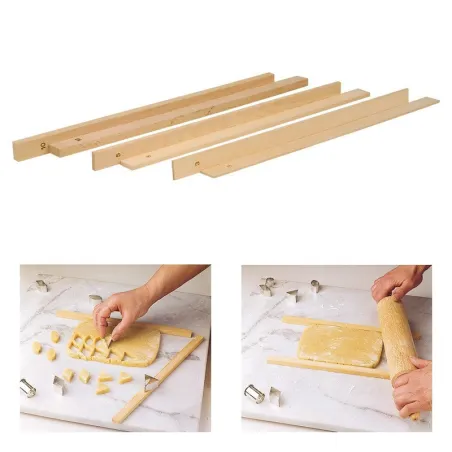
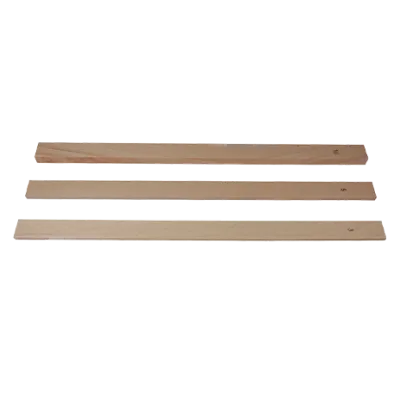
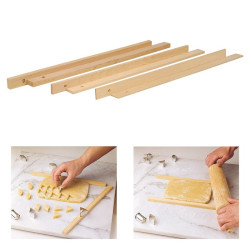
Then knead the dough briefly to soften it slightly again. Dust your work surface with a little flour and roll out the dough with a rolling pin to a thickness of 5 mm.
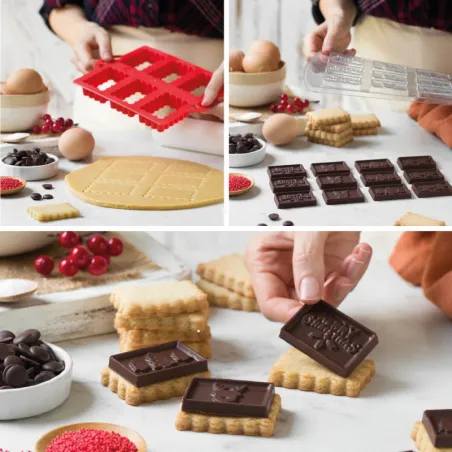
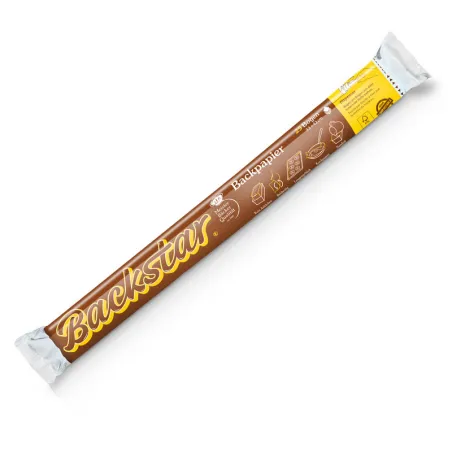
Now take the cookie cutter and cut out the butter biscuits. Repeat the process until all the dough has been used up. Place the biscuits on a baking tray lined with baking paper and bake them in the preheated oven for 10–15 minutes. Leave them to cool for at least 20 minutes.


Of course, you can also just use one type of couverture of your choice. In that case, you’d simply need a total of 300 g of that couverture.
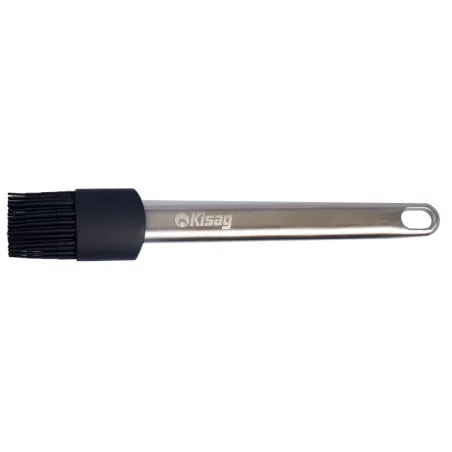
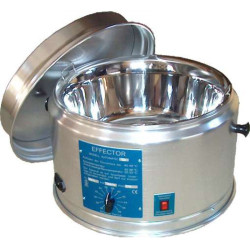
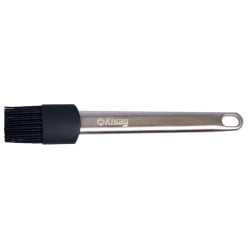
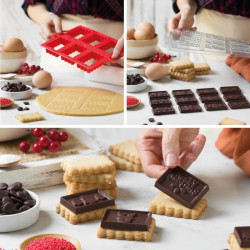
Now, using a silicone brush, thoroughly coat the plastic moulds with tempered couverture. This step is very important to ensure that no air bubbles form later when you pour the chocolate, and that you end up with a nice, smooth surface. Turn the mould over every now and then whilst doing this, so you can see more clearly whether you’ve coated all the nooks and crannies of the chocolate mould properly.
Not sure how to temper chocolate properly? Why not have a look at our couverture tempering course or our blog post?
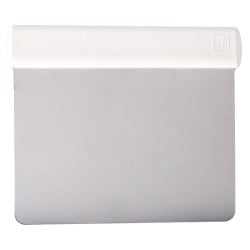
Then run a metal spatula over the mould once to clean it. This will ensure you get clean edges later on.
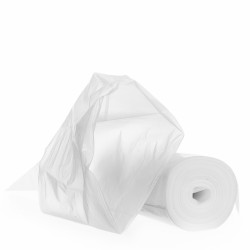
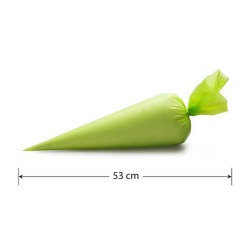
Now fill a piping bag with the tempered couverture and fill each mould with 8–10 g of chocolate. Try to work as neatly as possible.
Next, place the mould in the fridge for 20 minutes. Once it’s cooled, you can release the little chocolate squares by carefully turning the mould upside down onto the work surface.
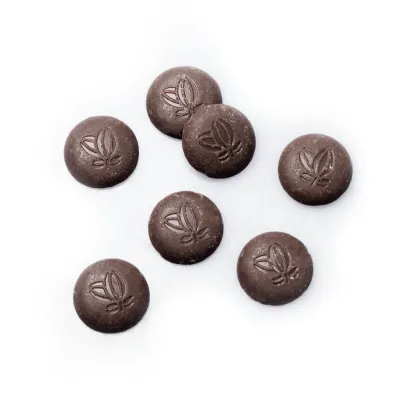
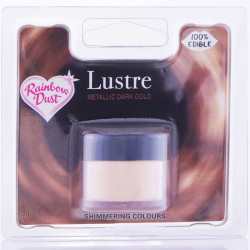
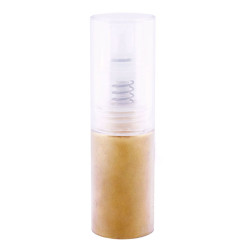
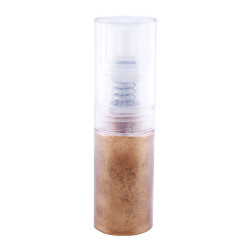
Now stick the festive chocolate discs onto your butter biscuits using a little extra couverture. Finally, you can also decorate them with a touch of gold or bronze powder, but that’s entirely up to you, of course.
Energy value in kJ:1901 kJ |Energy value in kcal:457 kcal |Fat:26 g, of which saturated fatty acids: 15 g |Carbohydrates:48 g, of which sugars: 16 g |Protein:6 g |Salt:0.187 g
Make your own chocolate Easter bunnies
Make your own decorative Swiss roll
Cinnamon Star Biscuits Recipe
Make your own chocolate pumpkin pralines
How can I convert a cake recipe?