
Halloween Marble Cake
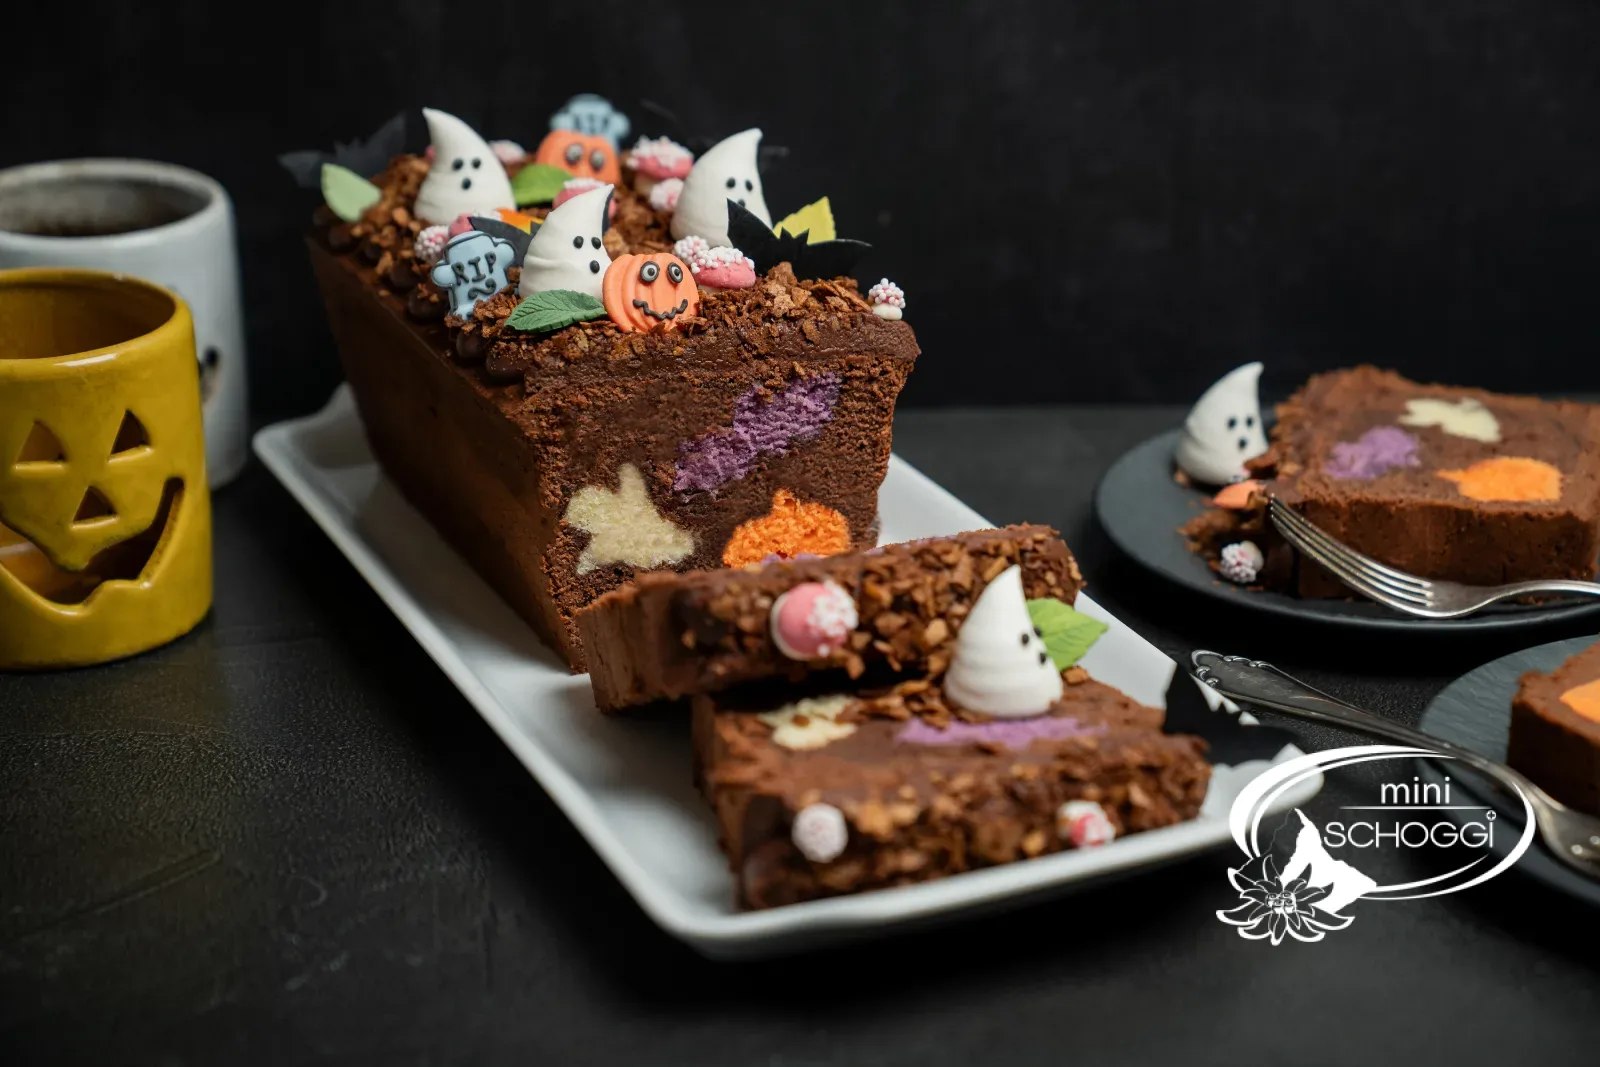
In every slice a ghost, a pumpkin and a bat
Quantity1 cake (30 cm)
Active timeapprox. 1 hr 30 min
Total timeapprox. 4 hrs 30 min (incl. cooling)
contains glutencontains eggcontains milk
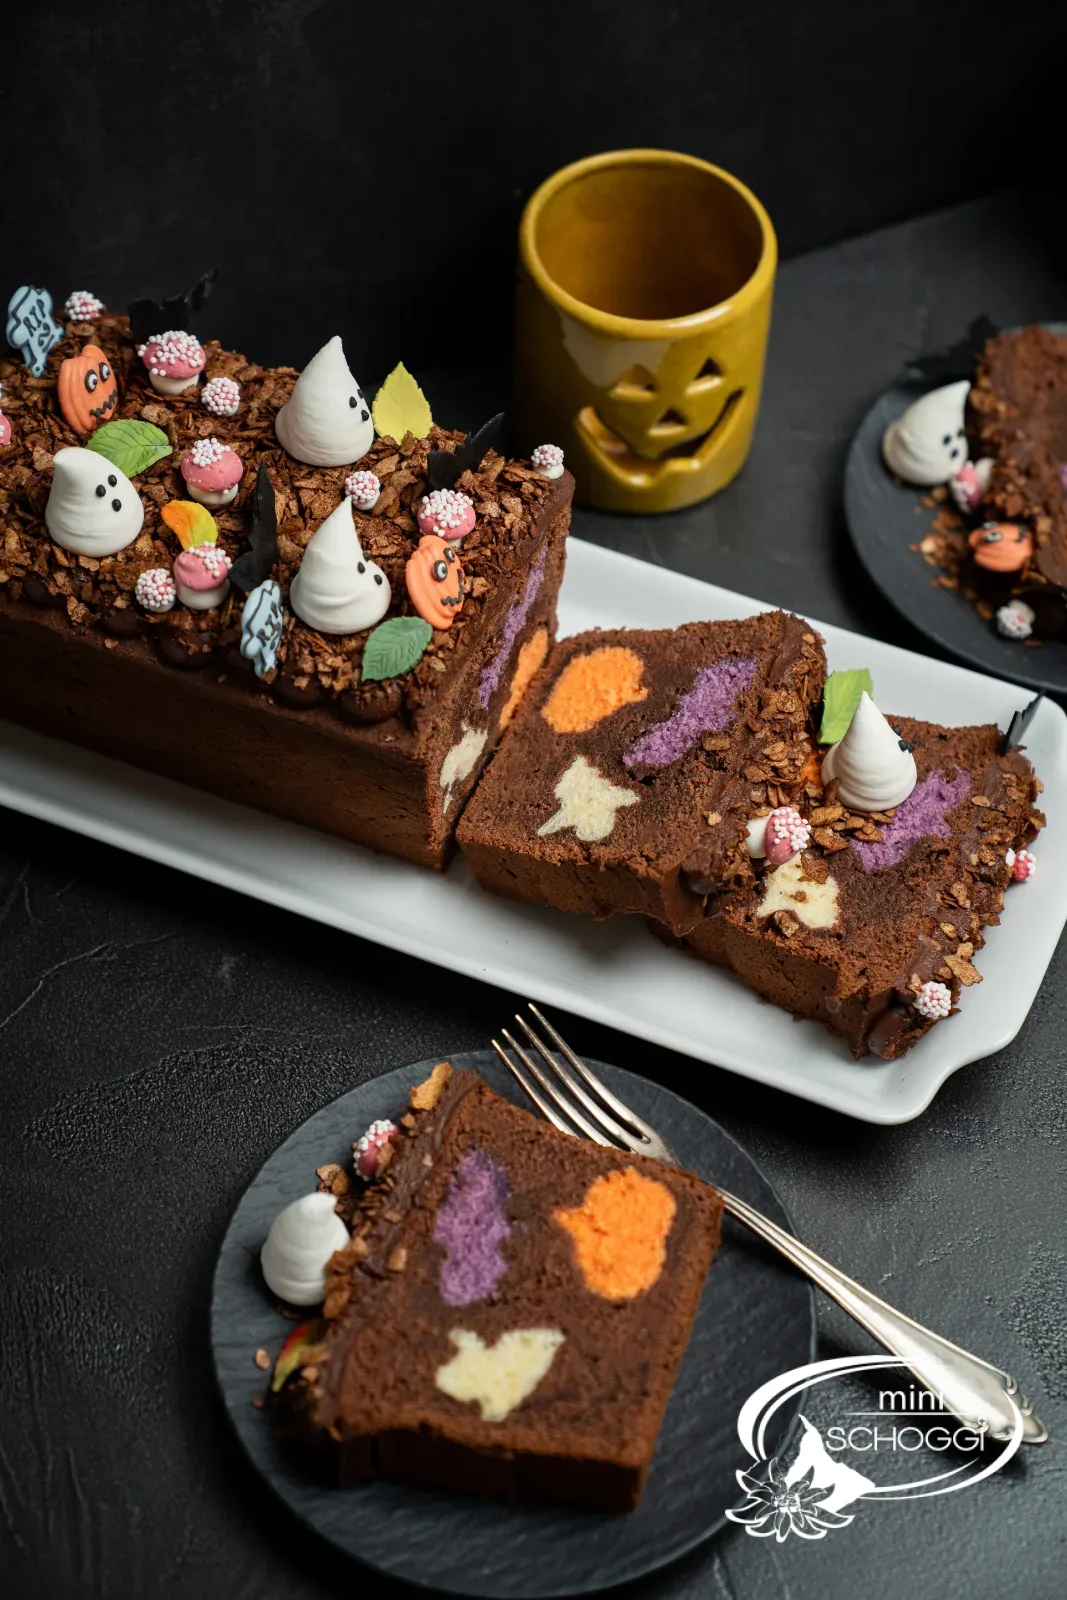
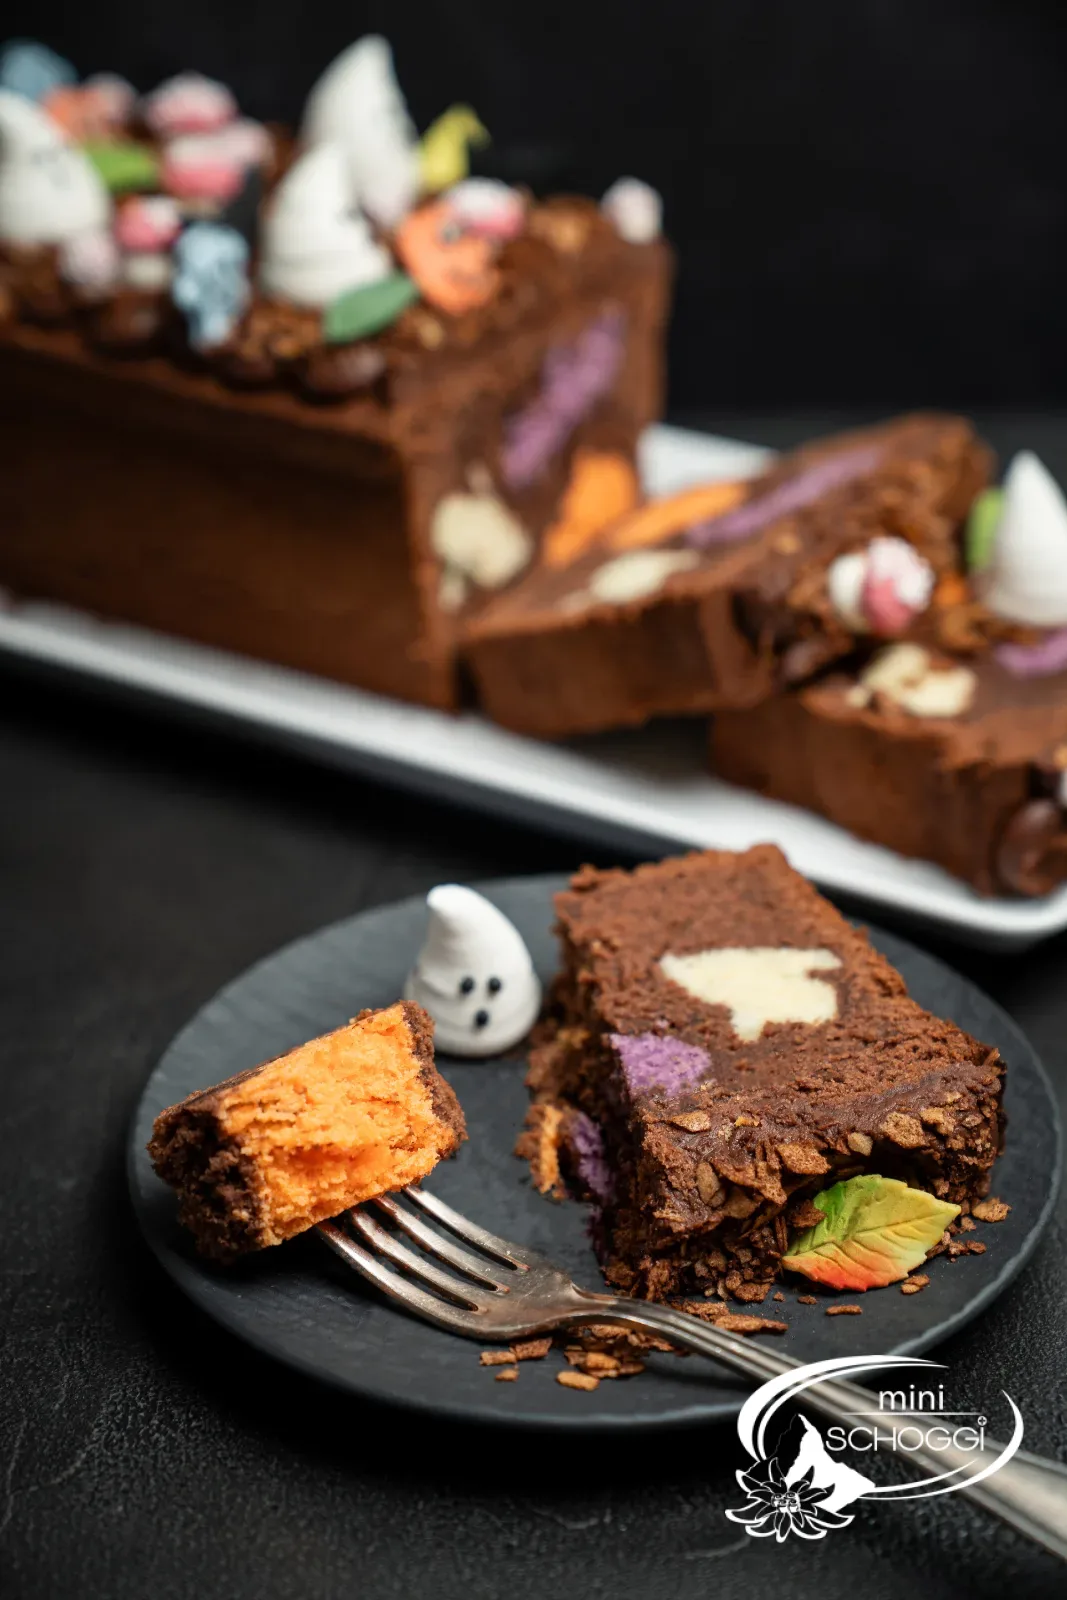
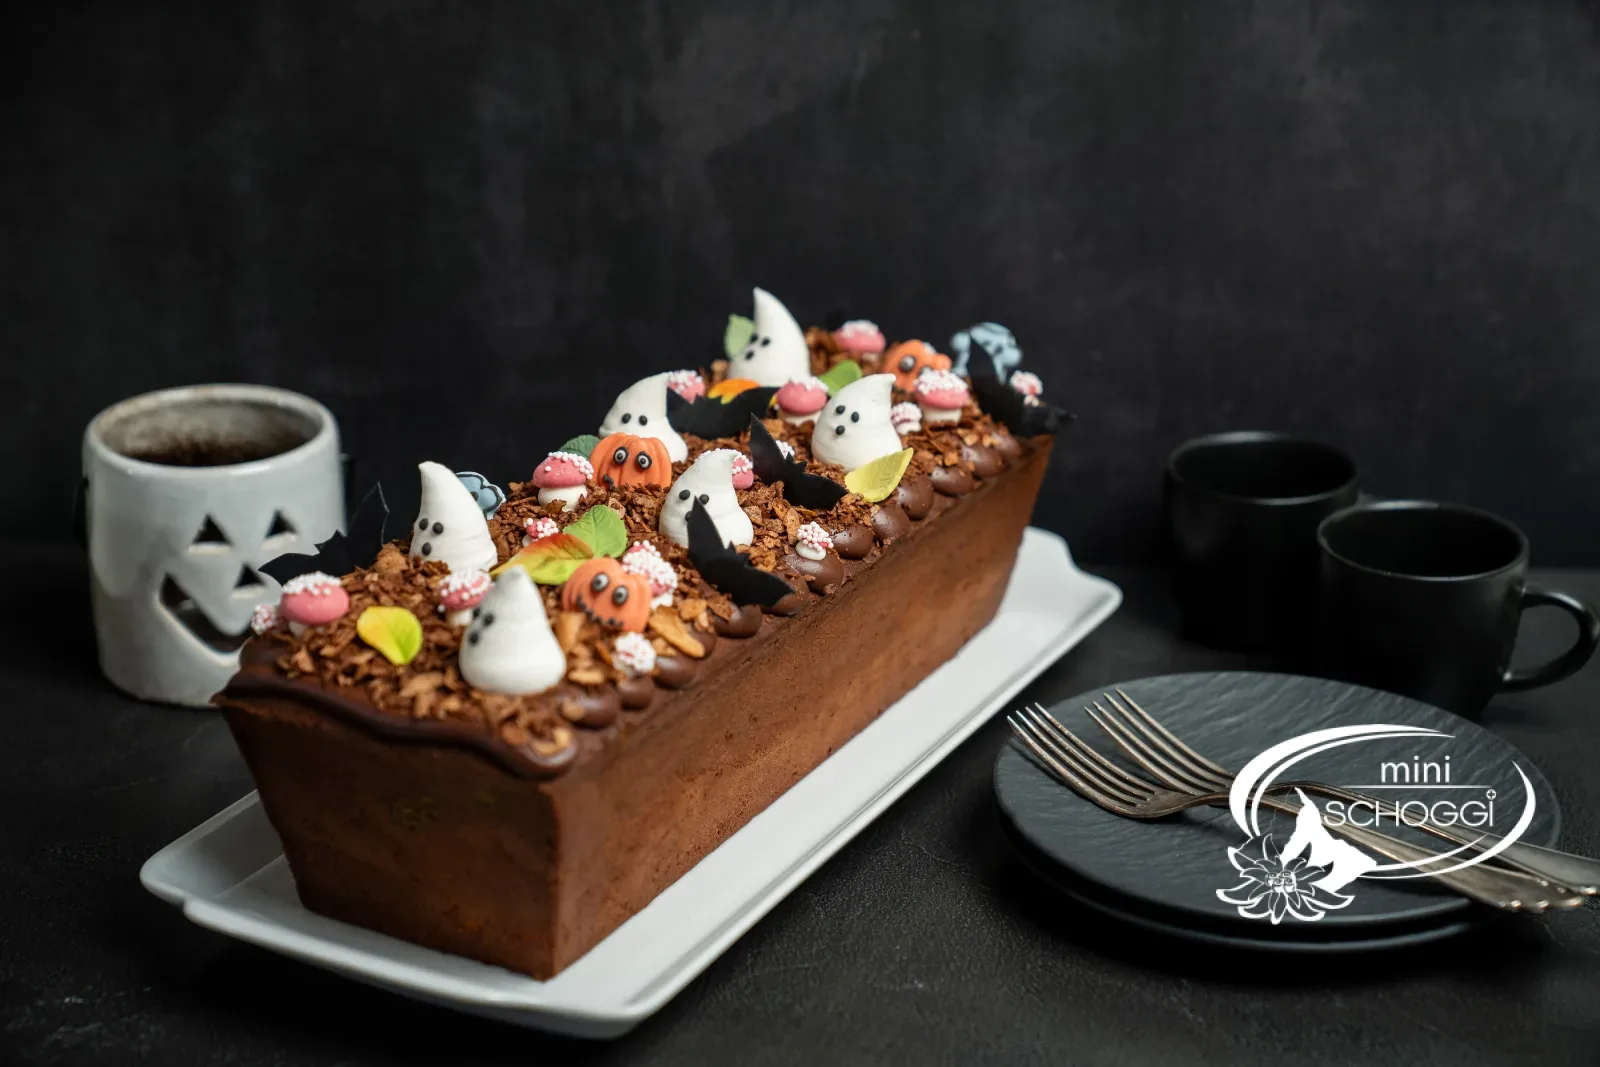
From the outside a chocolatey cake with ganache and Halloween decoration, cut open a surprise: in every slice sits a white ghost, an orange pumpkin and a purple bat.
Pastry chefs know this principle as a motif cake. First, three colourful sponge cakes are baked, and the motifs are cut out of their slices. You then arrange these in rows in a cocoa batter and bake the cake a second time. Because the coloured cakes are already baked, the motifs keep their shape and do not bleed.
Two things are decisive: the motifs must lie closely packed so that all three appear in every slice, and a strip of butter in the middle guides the cake to split open during baking. We explain why in the steps.
And the cake scraps left over from cutting out the motifs? Those become our Monster balls.
Ingredients
Quantity:
Light batter (for white, orange and purple)
535 gButter, softened
535 gSugar
11 gVanilla sugar
5 pcs.Eggs
535 gWhite flour
20 gBaking powder
335 mlMilk
as neededGel color orange
as neededGel color purple
Cocoa batter
190 gButter, softened
190 gSugar
6 gVanilla sugar
3 pcs.Eggs
300 gWhite flour
12 gBaking powder
190 mlMilk
30 gCocoa powder
Also needed
15 gButter, softened (for the strip in the middle)
as neededButter or release spray for the tins
Decoration
as neededHalloween sprinkle decor
Step by step
If you're in a hurry: the compact recipe card further down summarises everything.
Three colourful cakes
1
Cream the butter, sugar and eggs
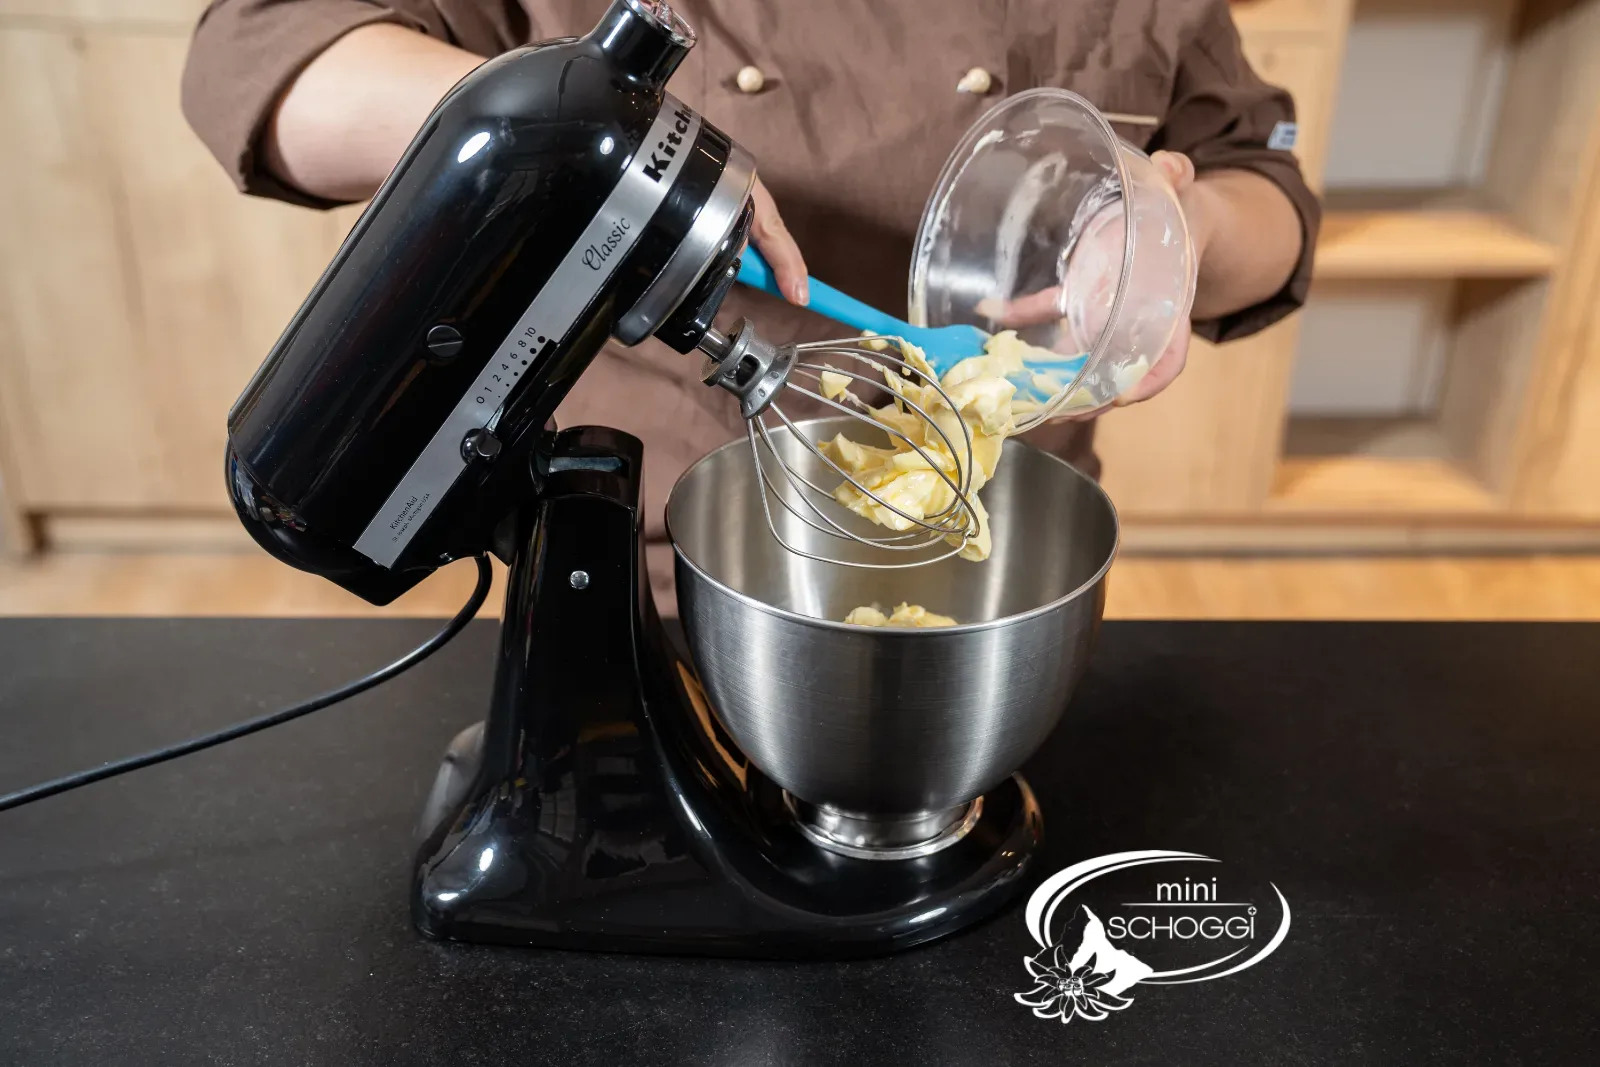
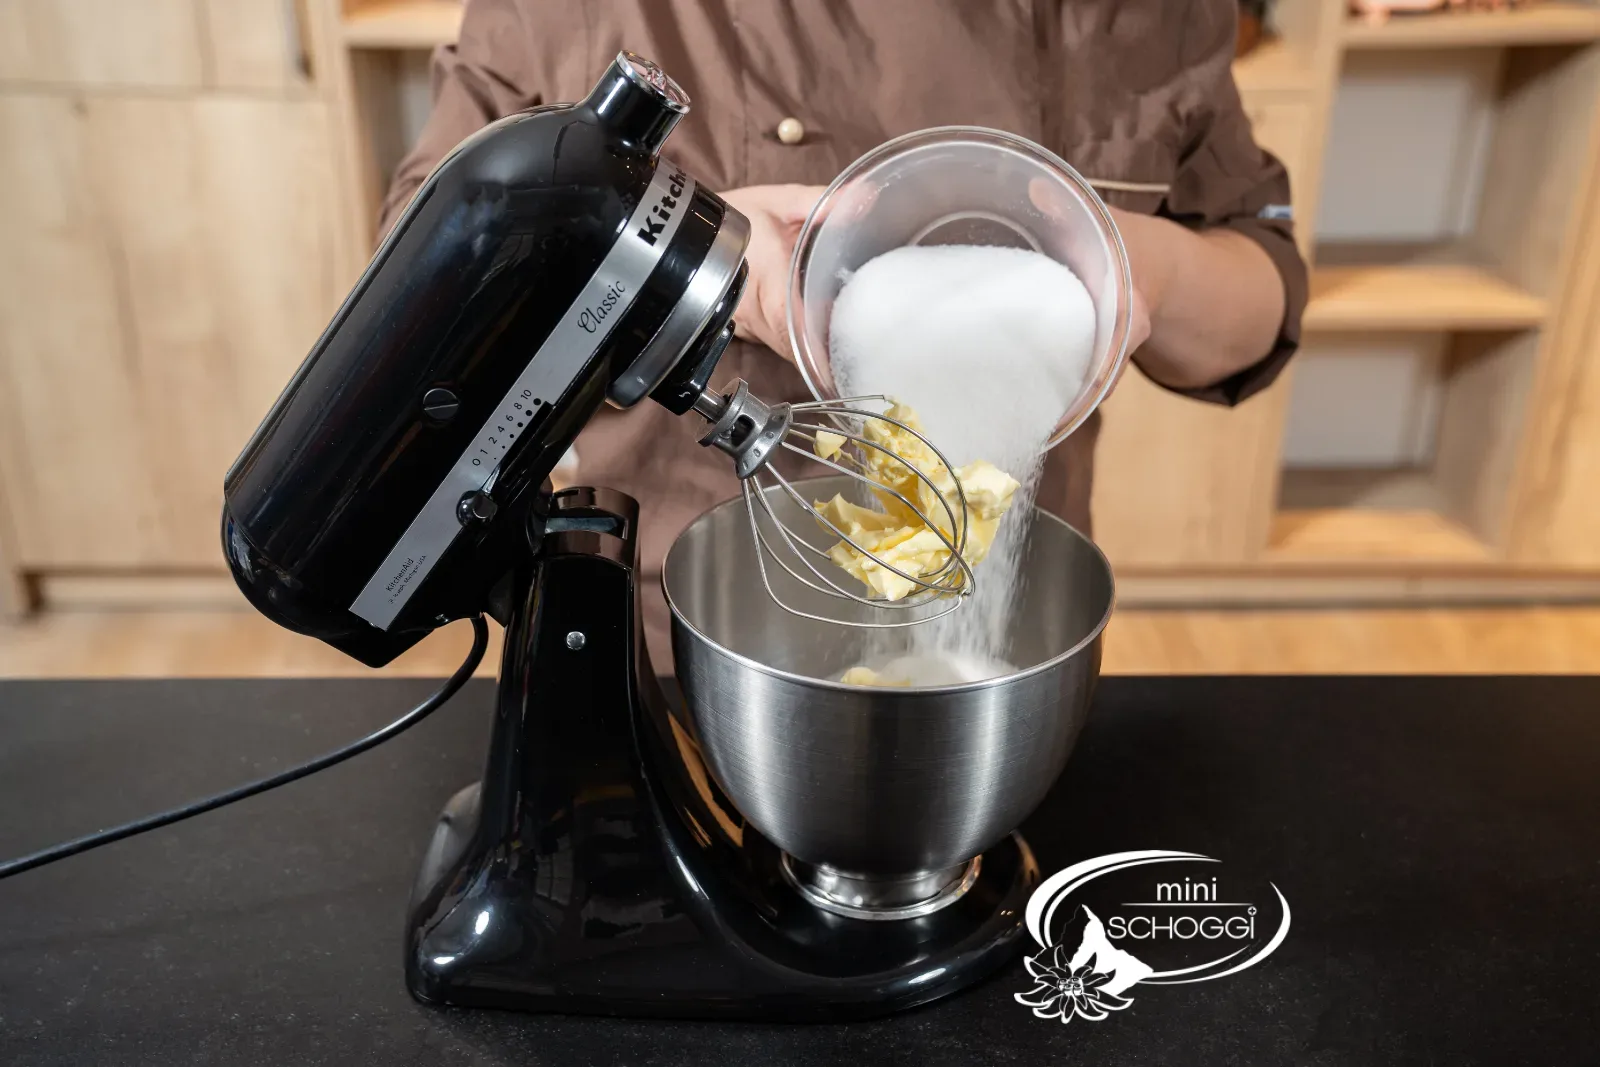
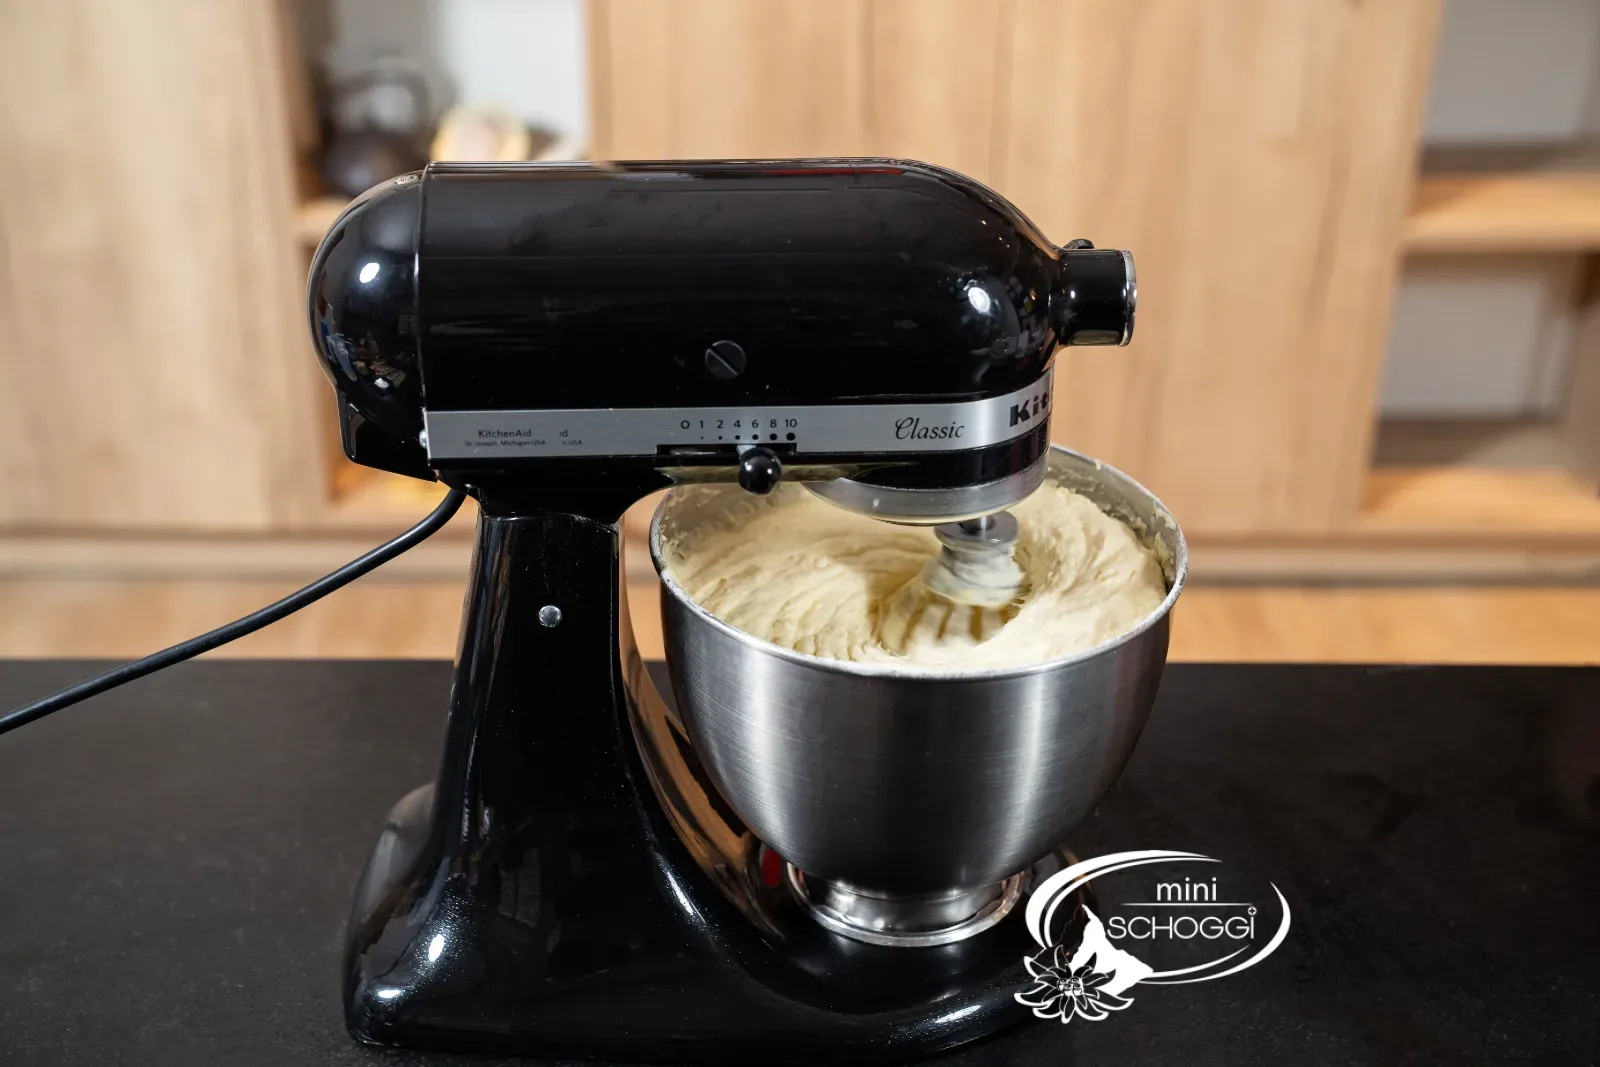
Preheat the oven to 180 °C convection and grease three loaf tins. Cream the soft butter with sugar and vanilla sugar in the stand mixer until the mixture is light and fluffy.
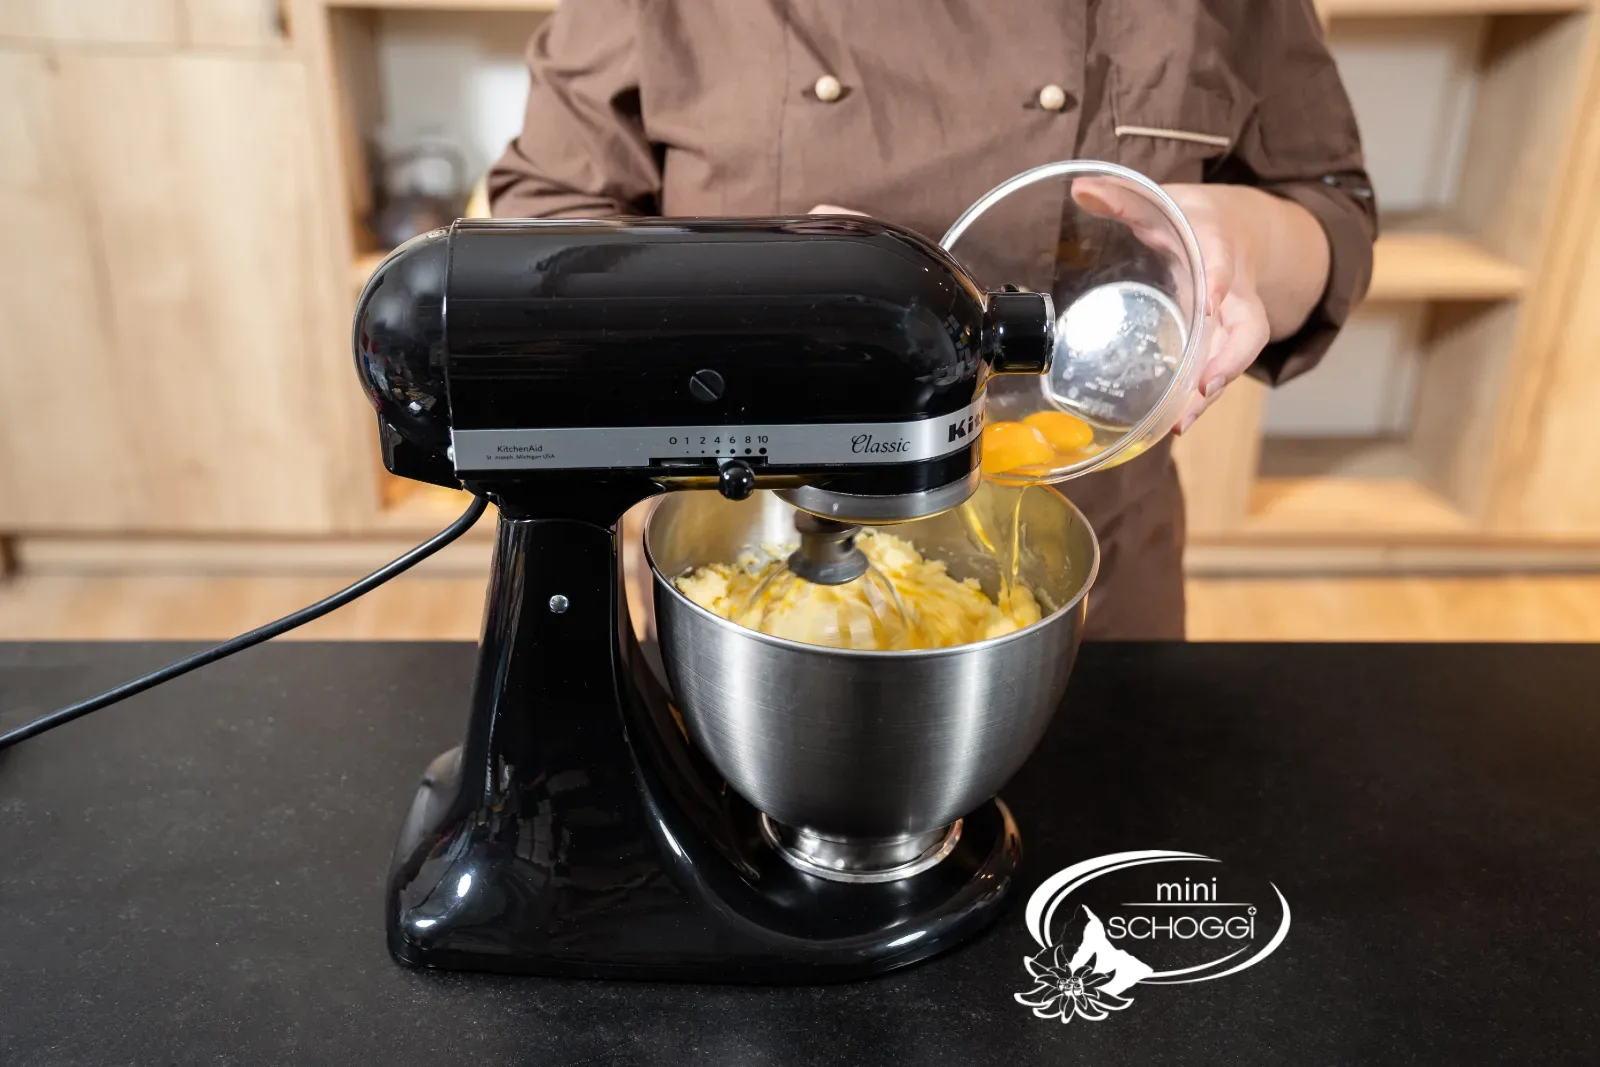
Add the eggs one at a time and mix each one in fully before adding the next. This way the butter absorbs the egg without curdling, and the cake will have a fine crumb.
2
Add the flour and milk
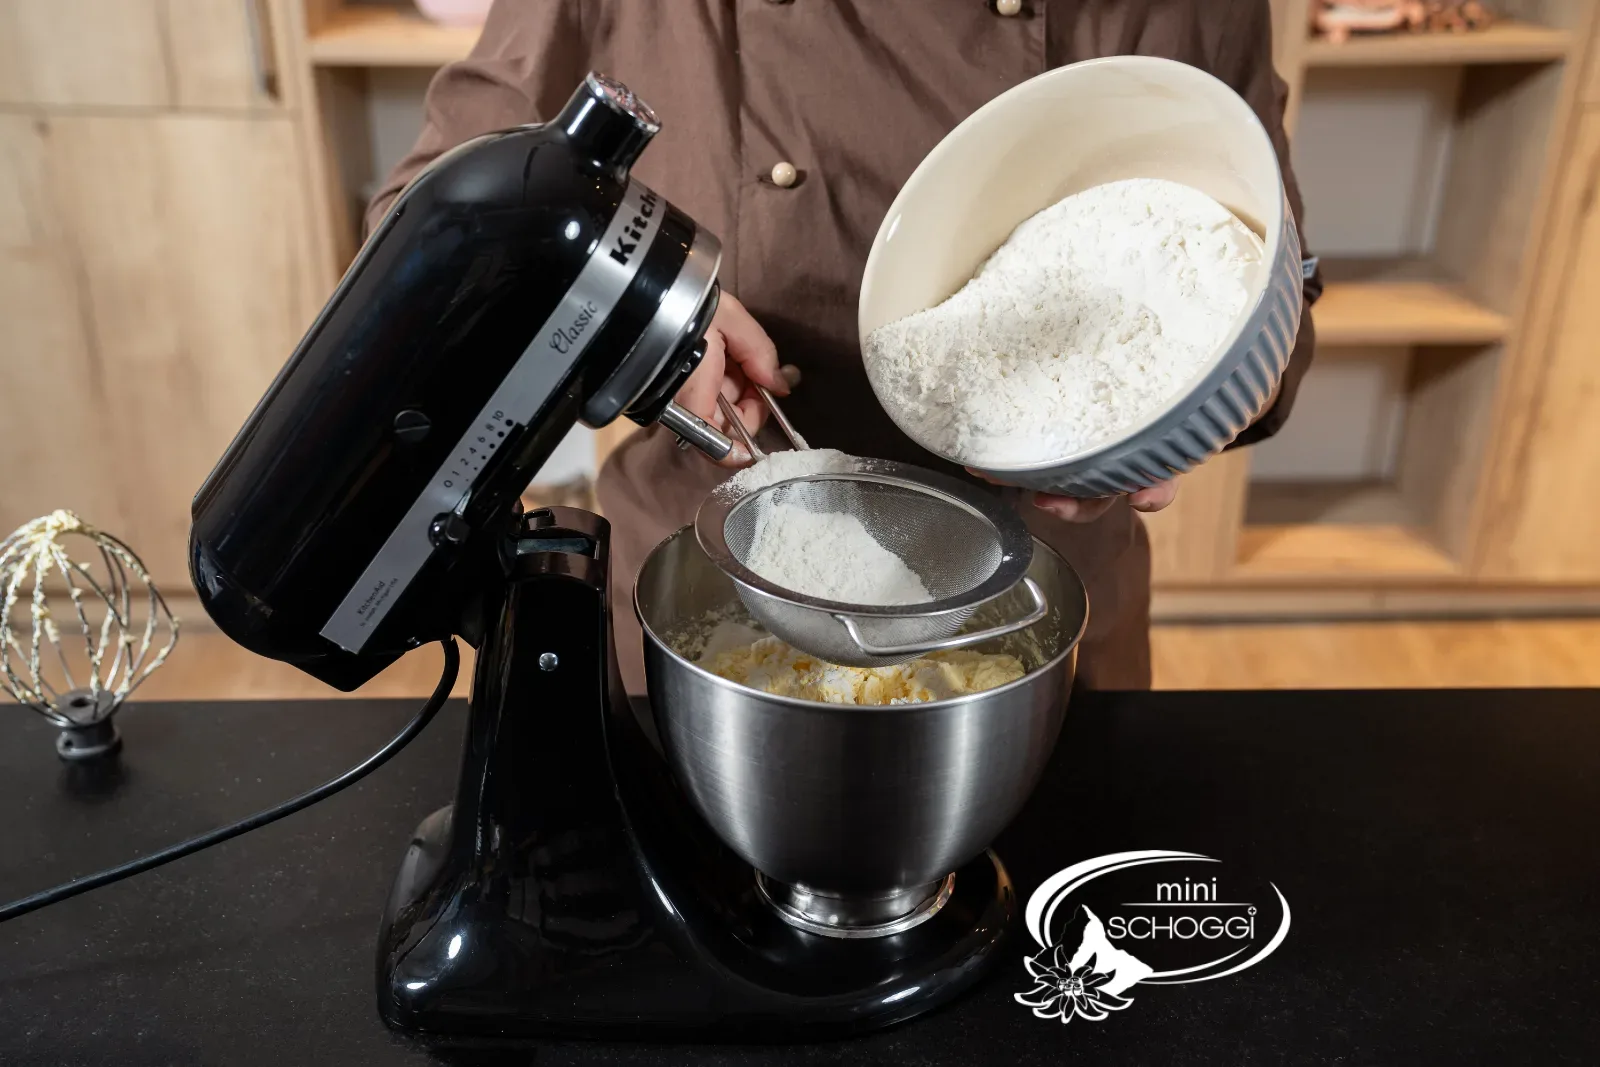
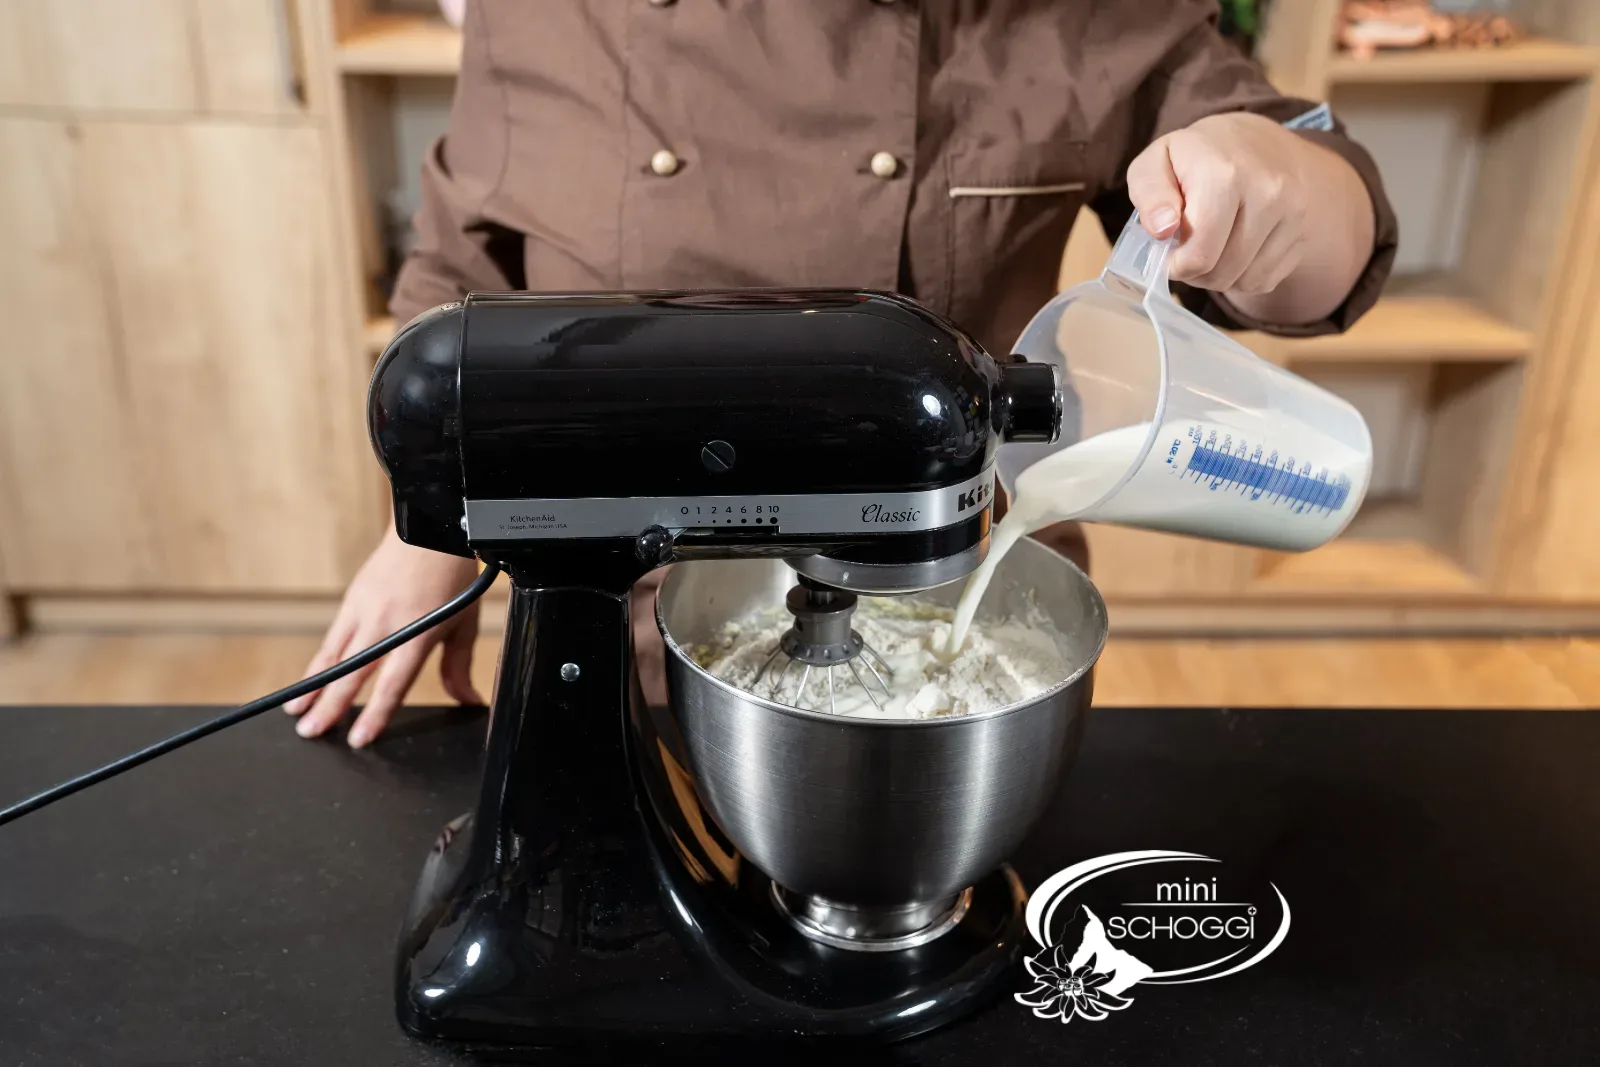
Mix the flour and baking powder and sift them over the batter. Fold in the flour and milk alternately, only briefly, until the batter is smooth. Mixing for too long makes the sponge tough, and the shapes will be harder to cut out later.
You will need


White flour, 1 kg
FunCakes baking powder, 80 g
3
Divide and colour the batter
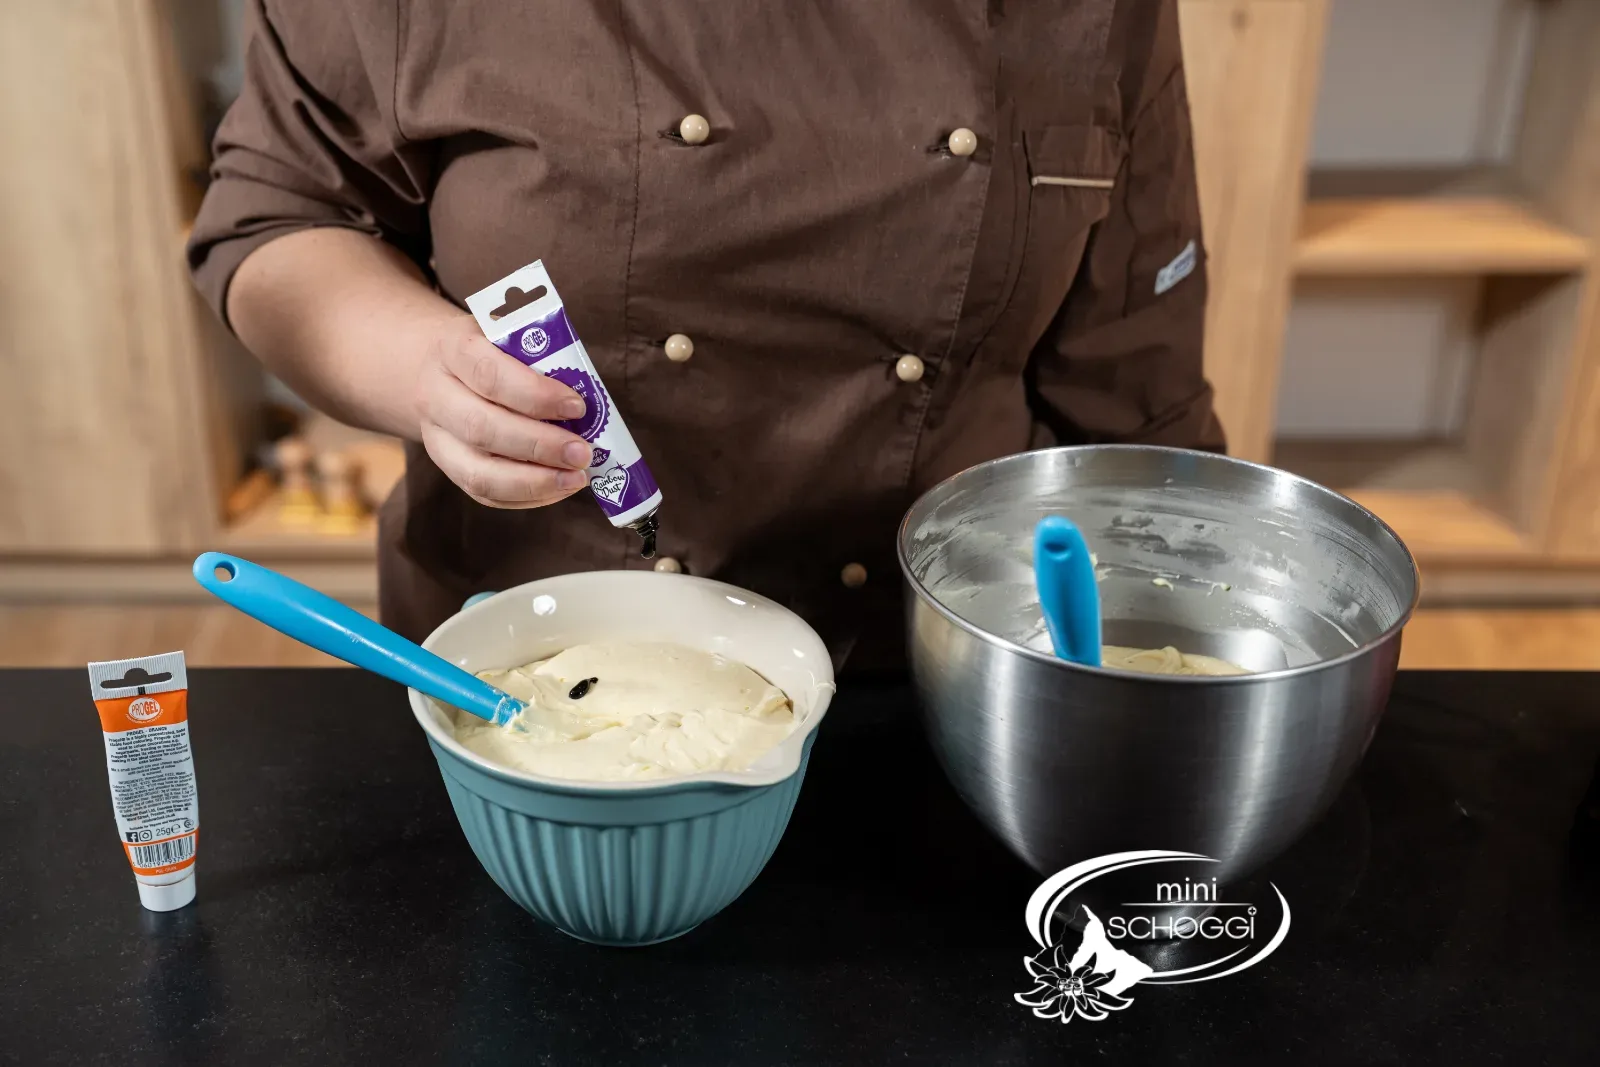
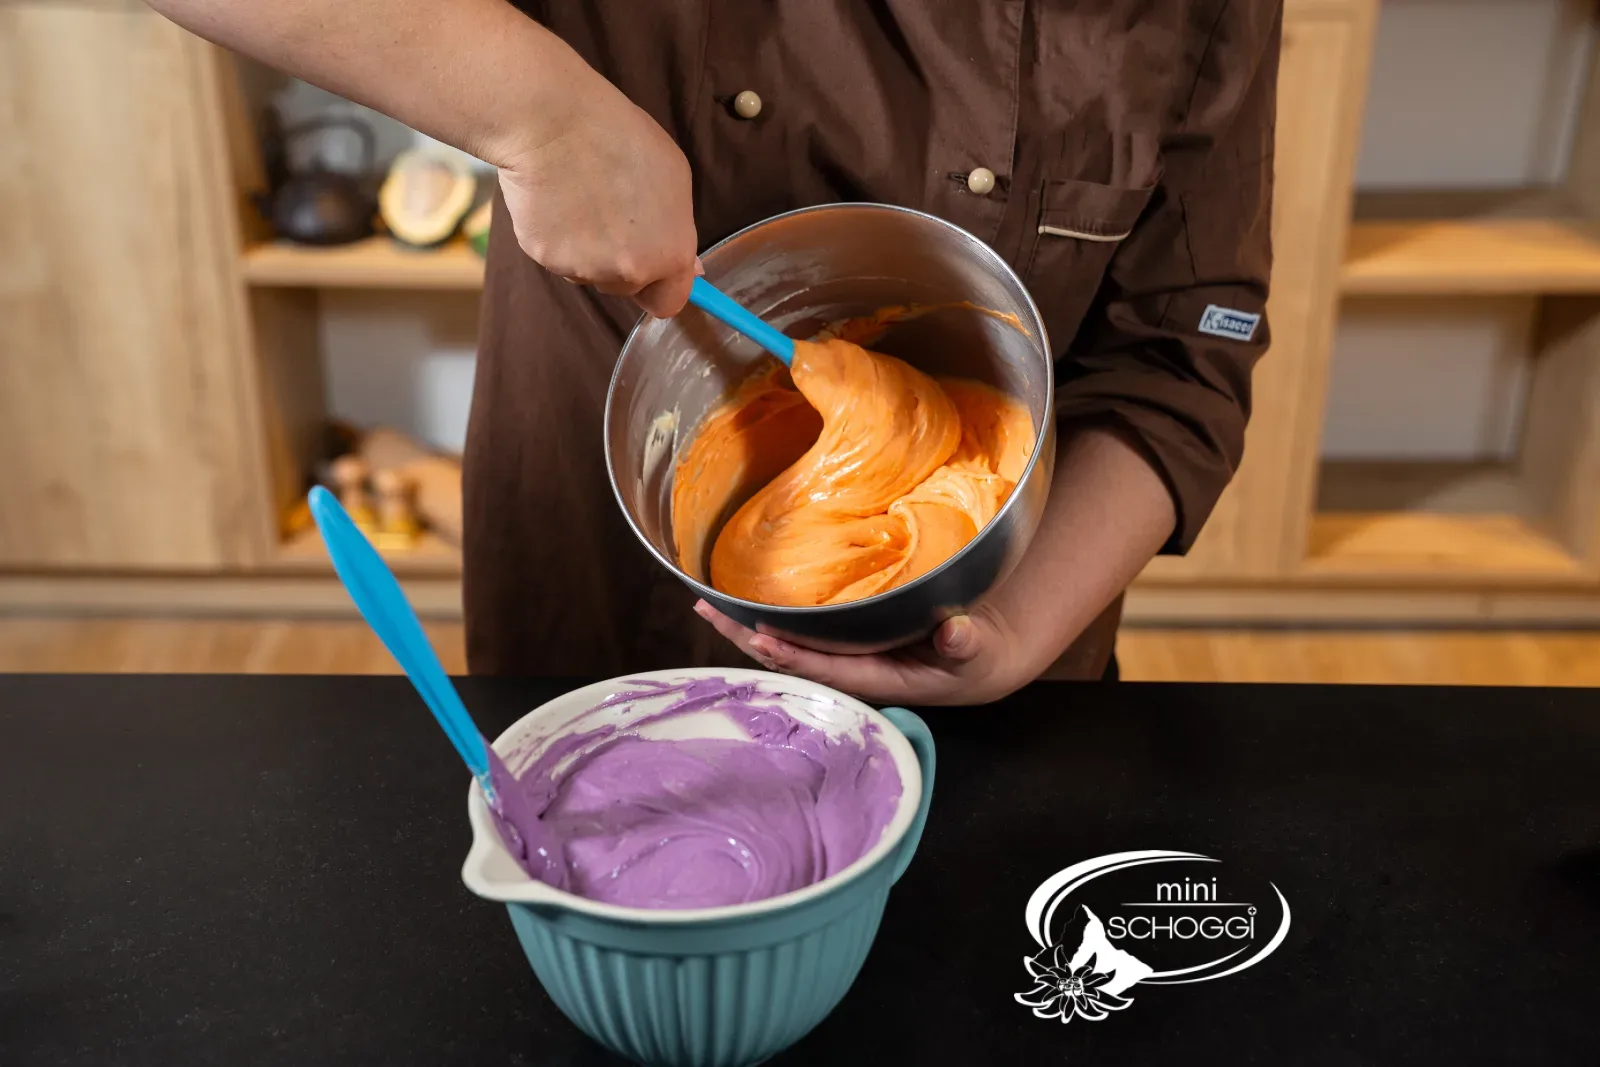
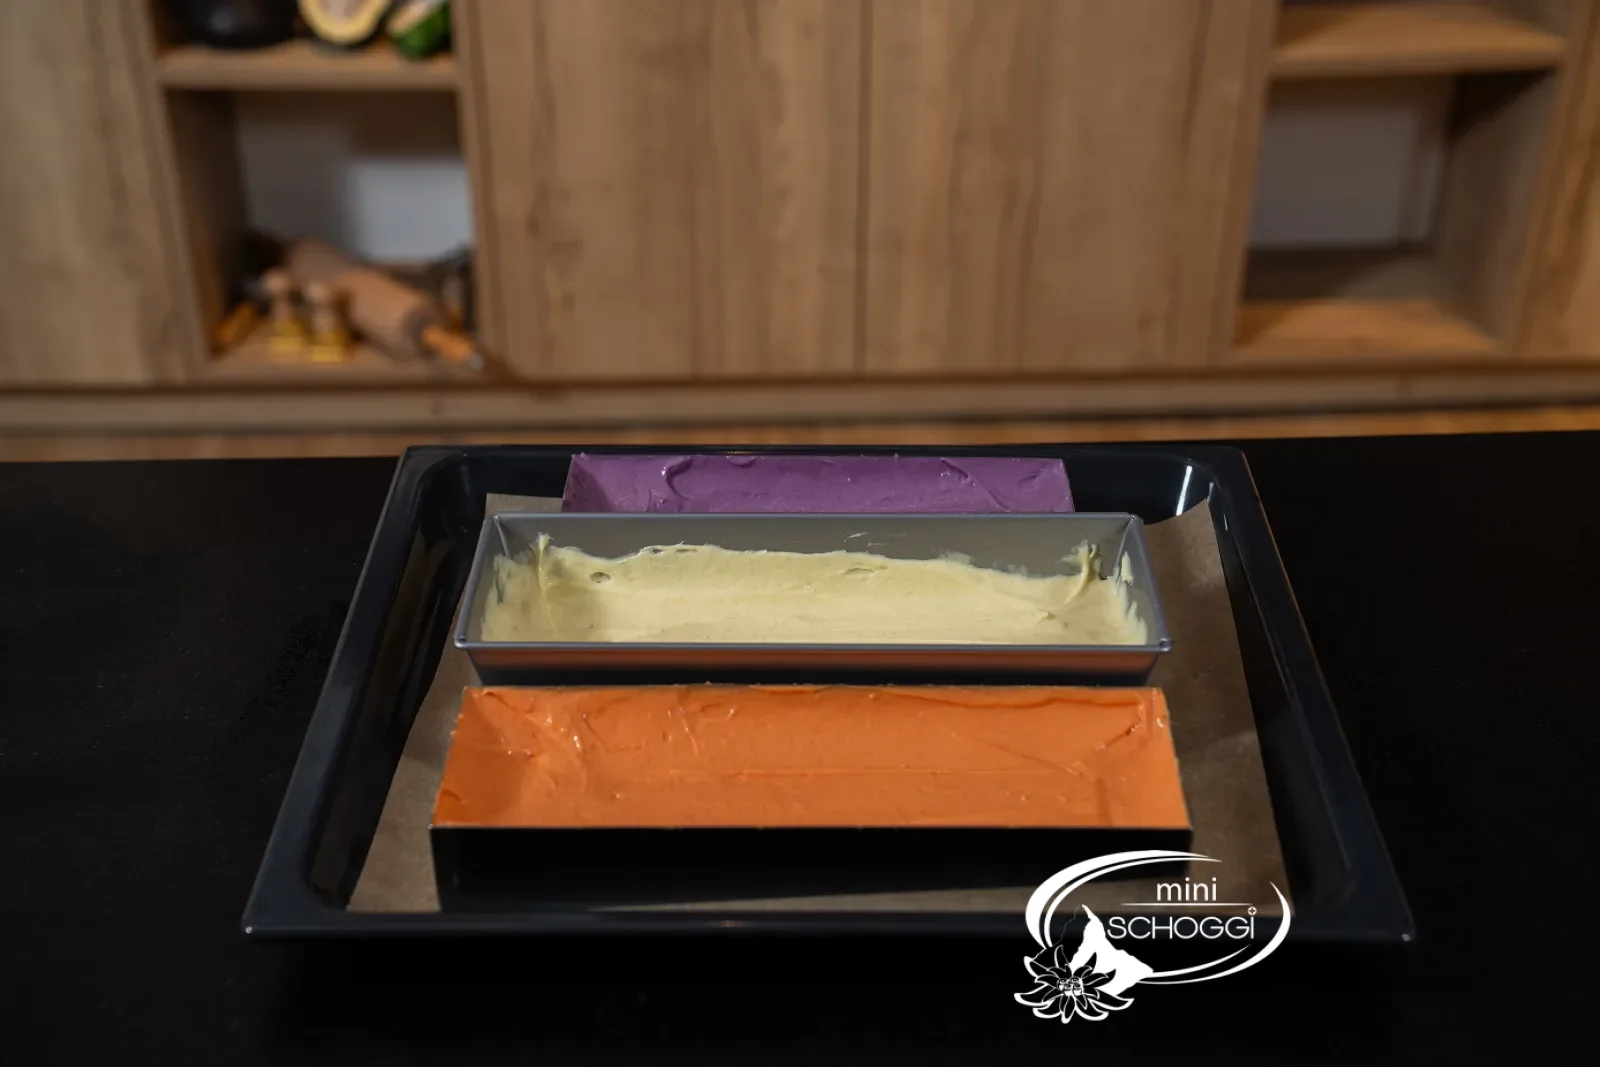
Divide the batter into three equal portions. One stays white and goes into the first tin. Colour the other two boldly with gel color in orange and purple. Use more colour than seems right: it becomes lighter in the oven, and next to the dark cocoa batter the shapes should stand out.
You will need


Progel gel color orange, 25 g
Progel gel color purple, 25 g
Cake tin adjustable, 20-30 x 10.5 cm
Cake tin rectangular 30 x 10.5 x 7 cm
4
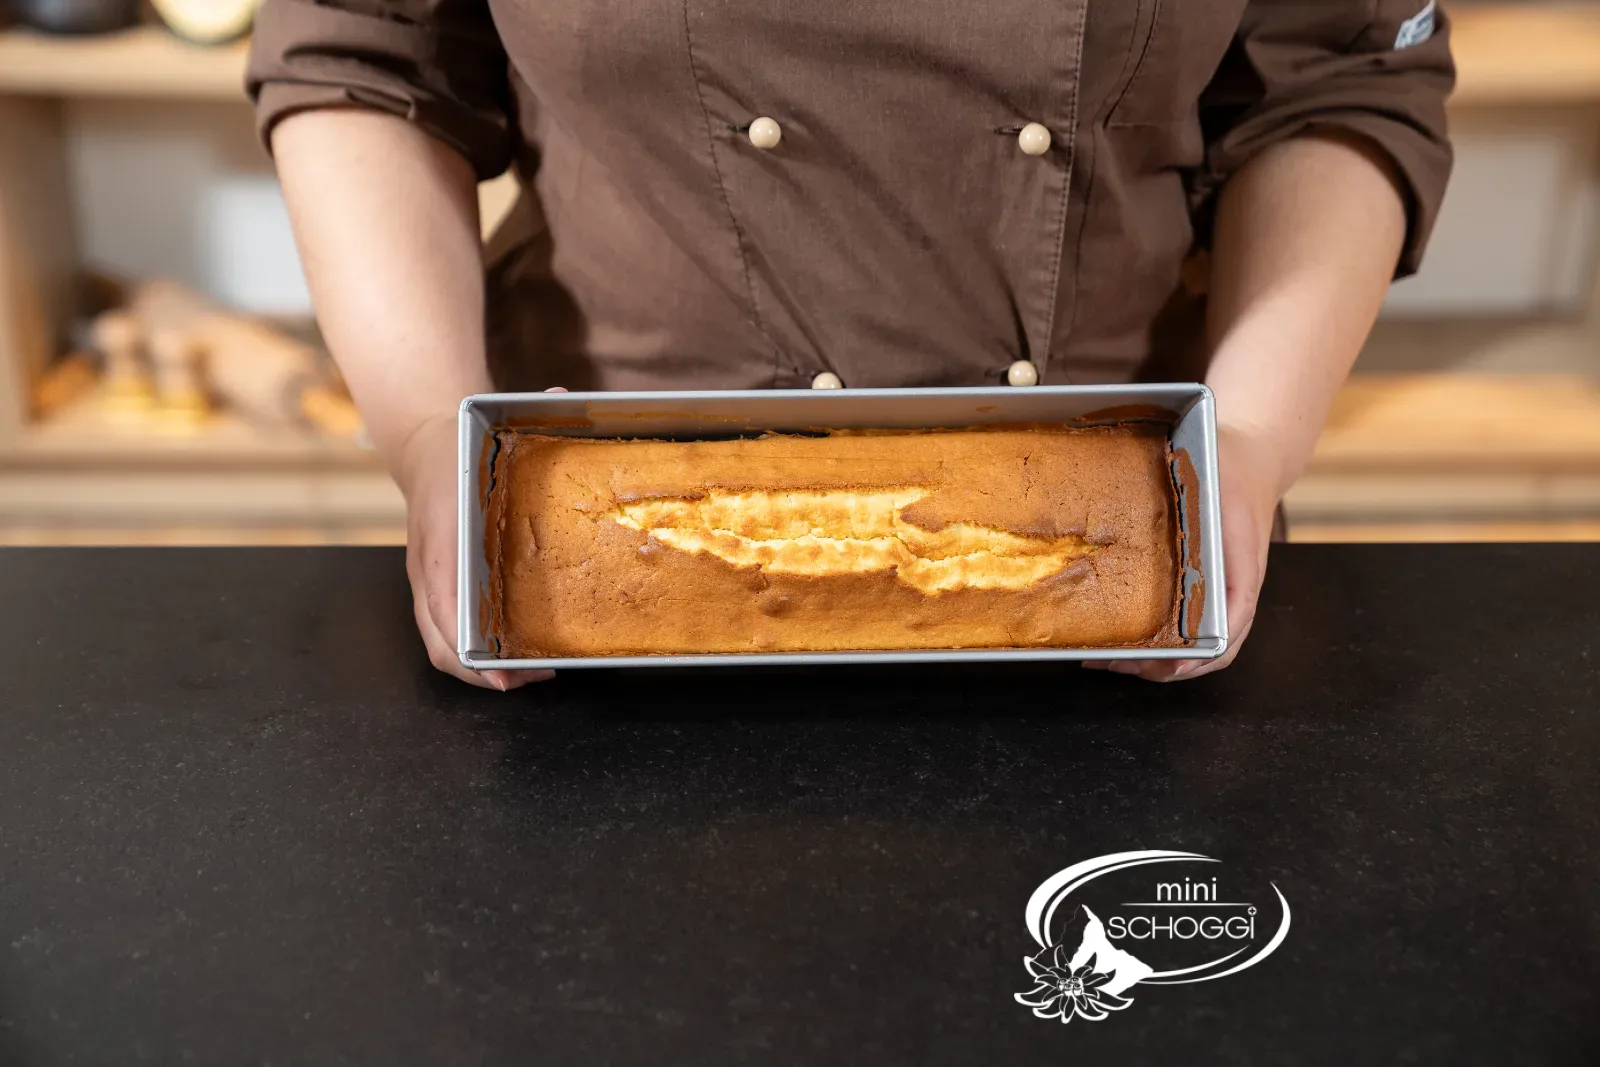
Bake and cool
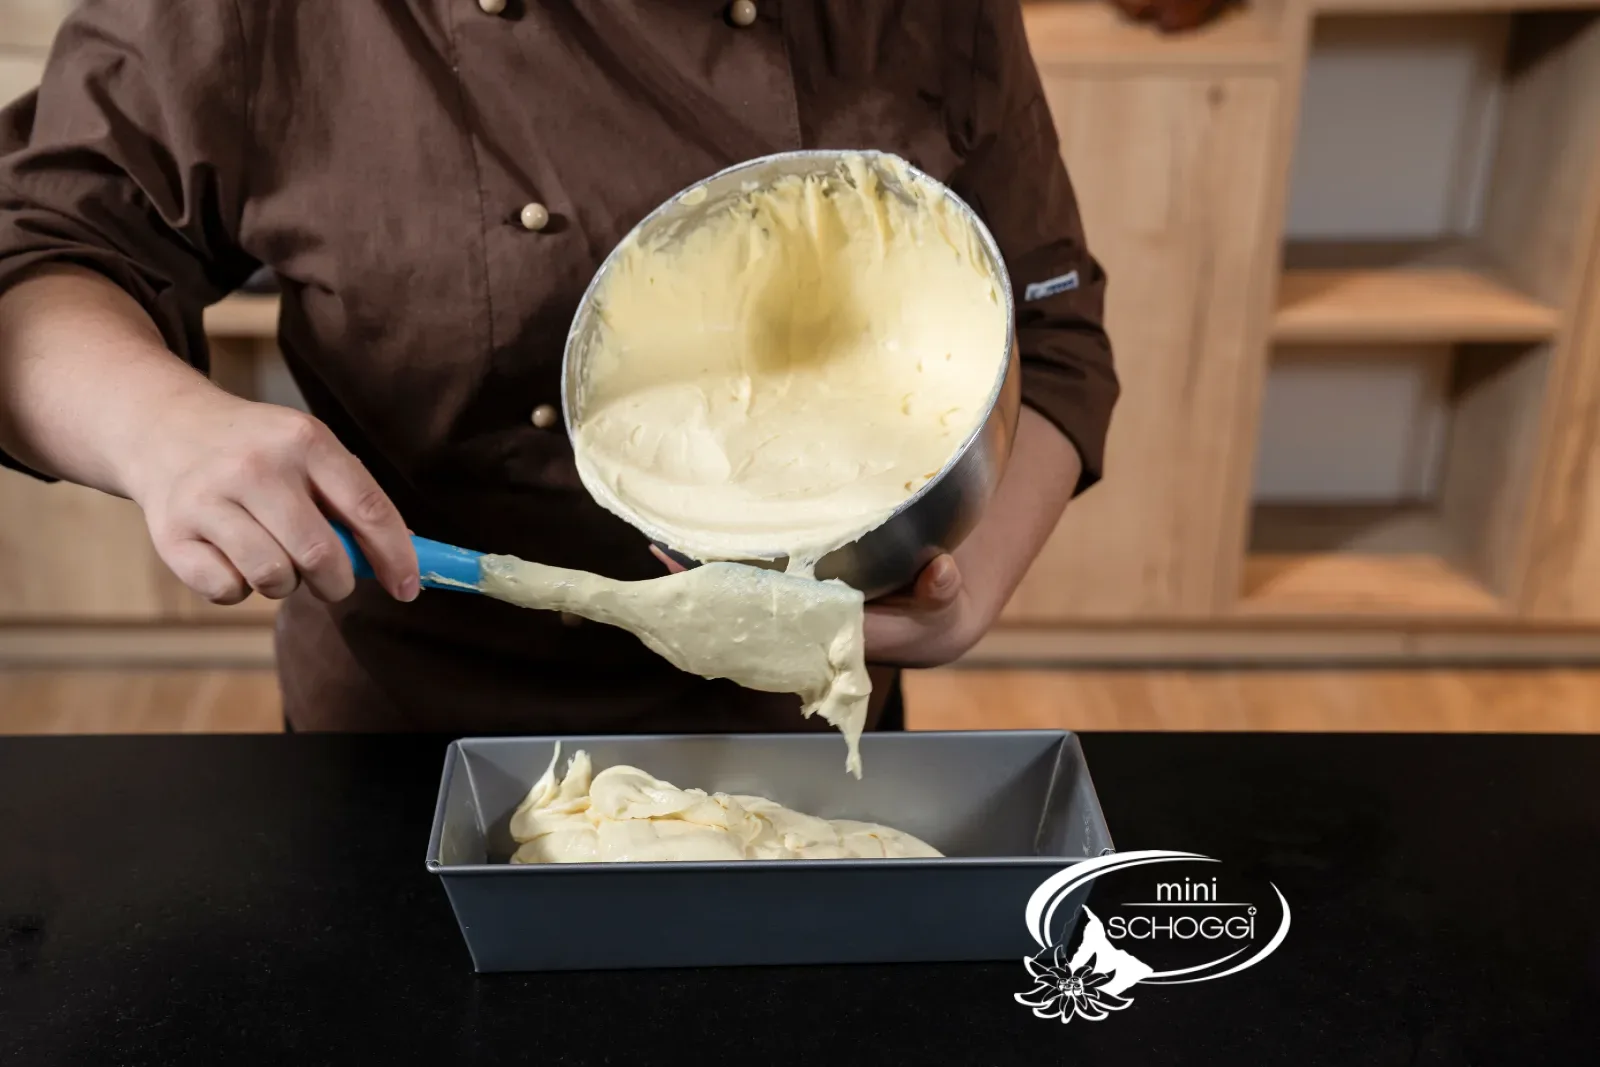
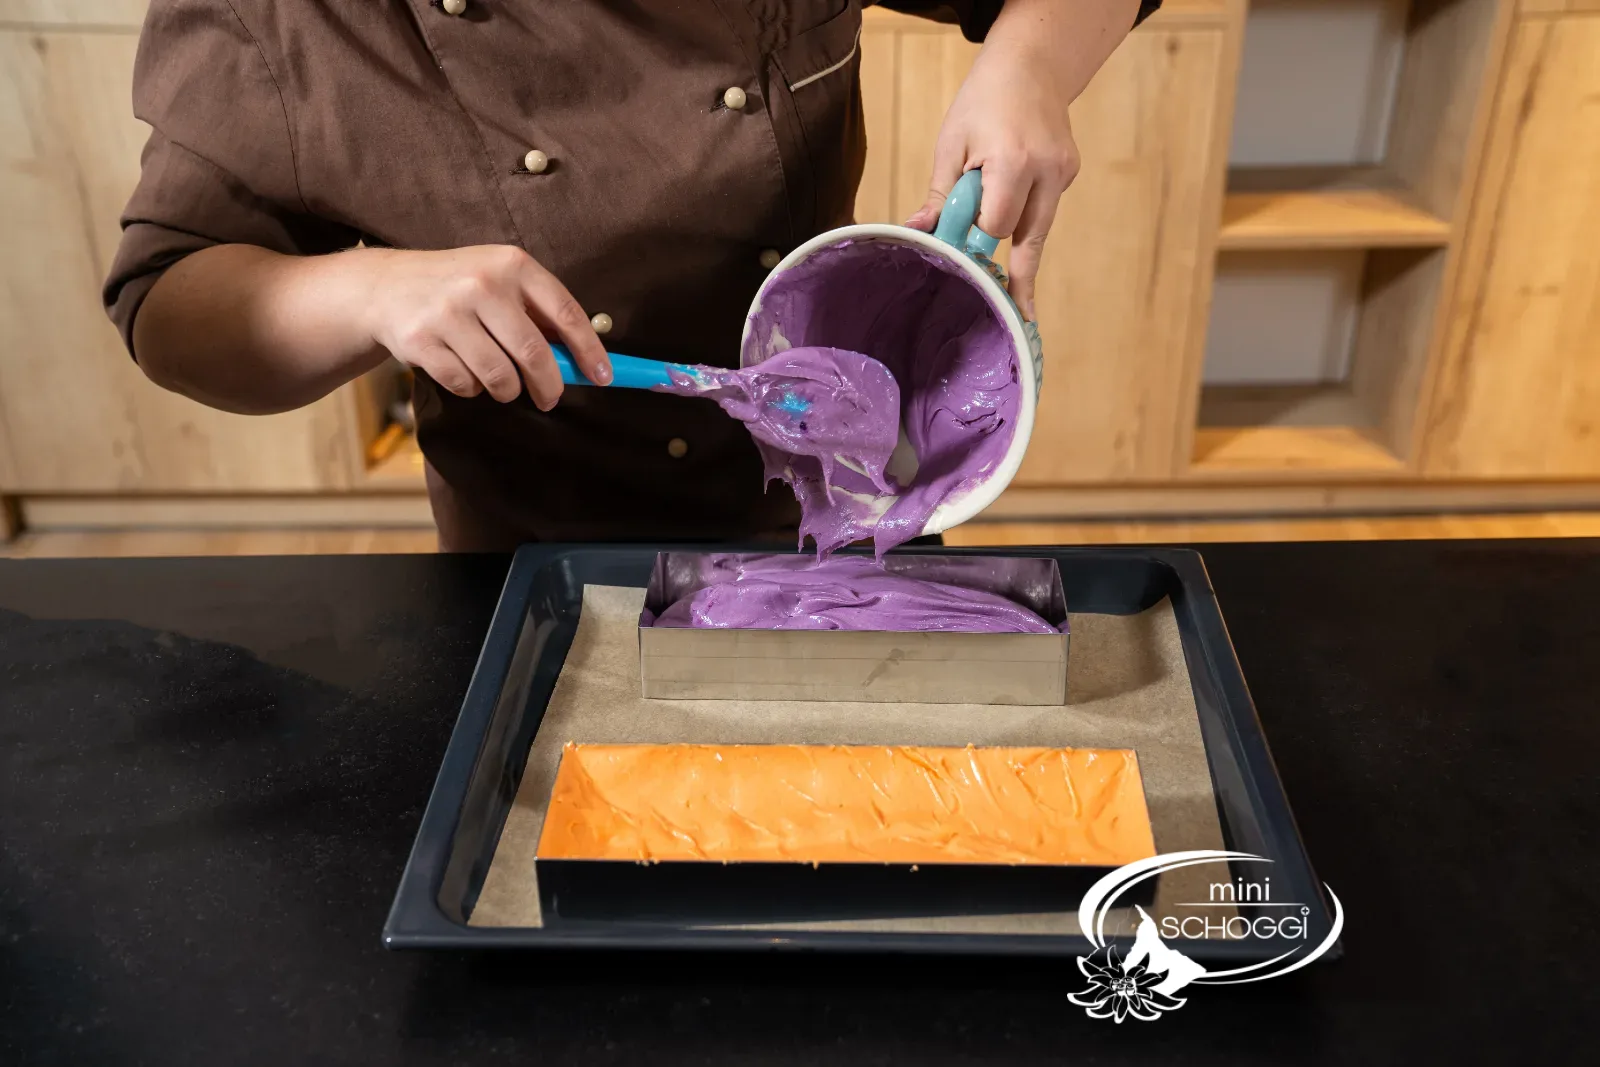
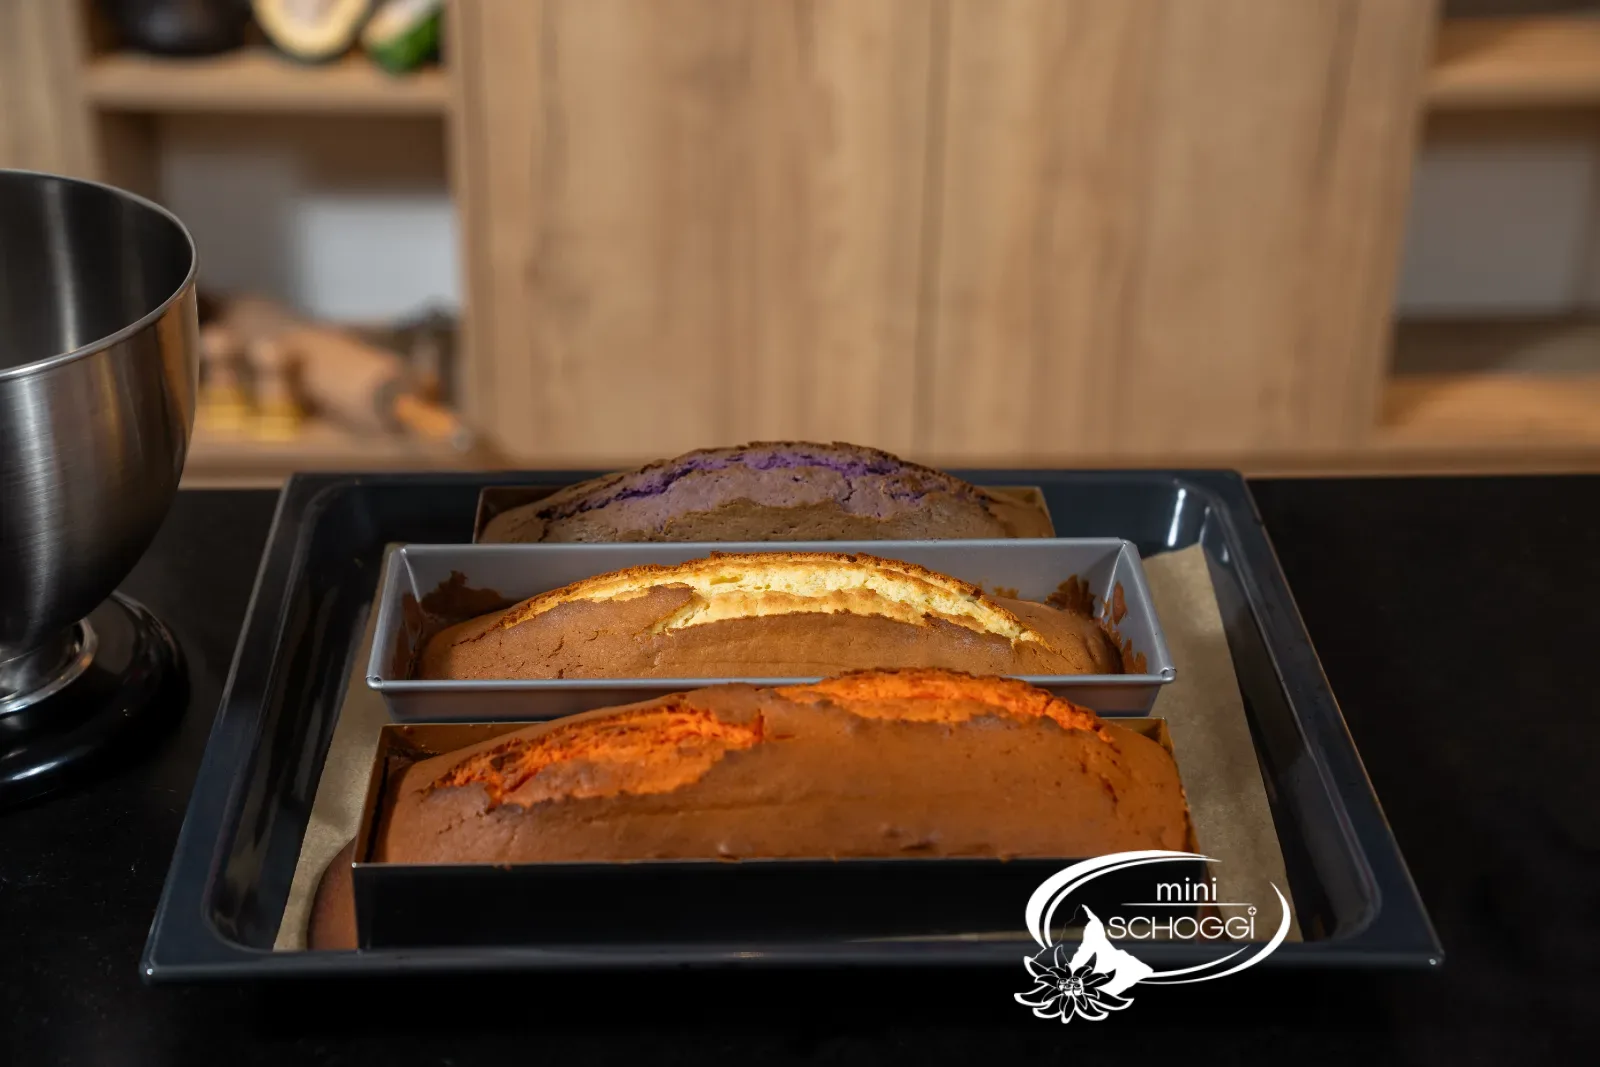
Fill the orange and the purple batter into the other two tins, smooth the surface and bake all three cakes for 45 minutes at 180 °C convection. Do the skewer test and let them cool completely, ideally overnight: cold cake won't crumble when cut.
Cut out the motifs
1
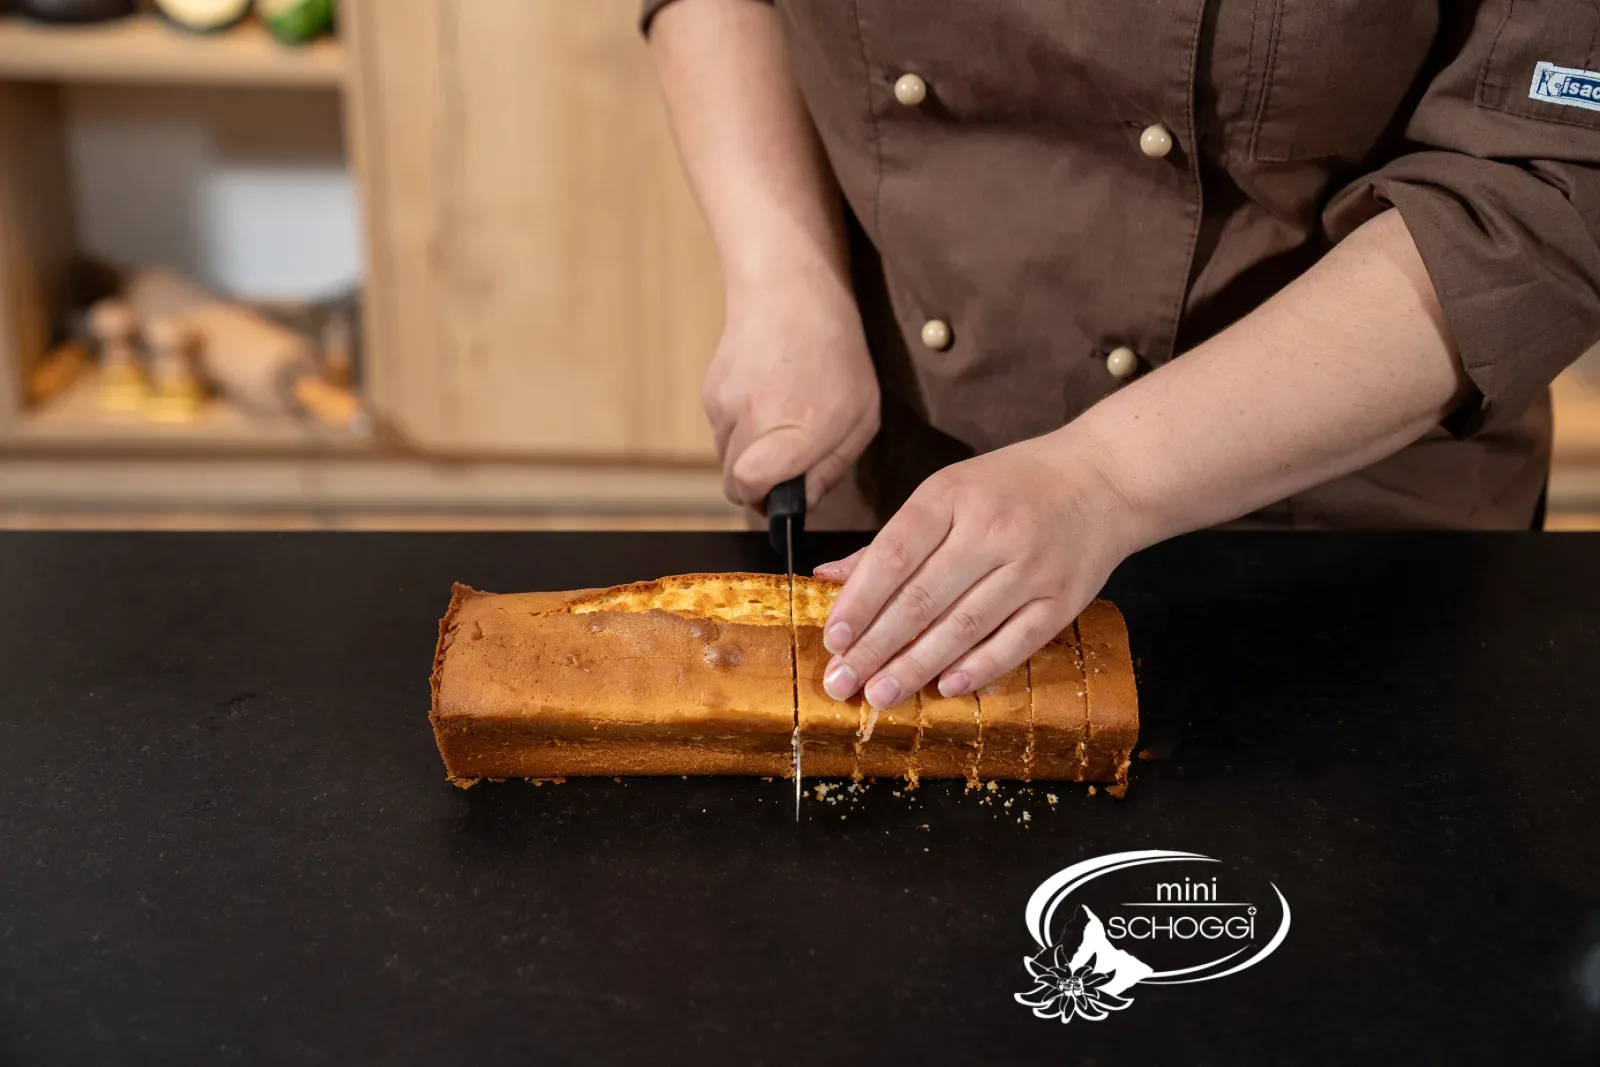
Cut into slices
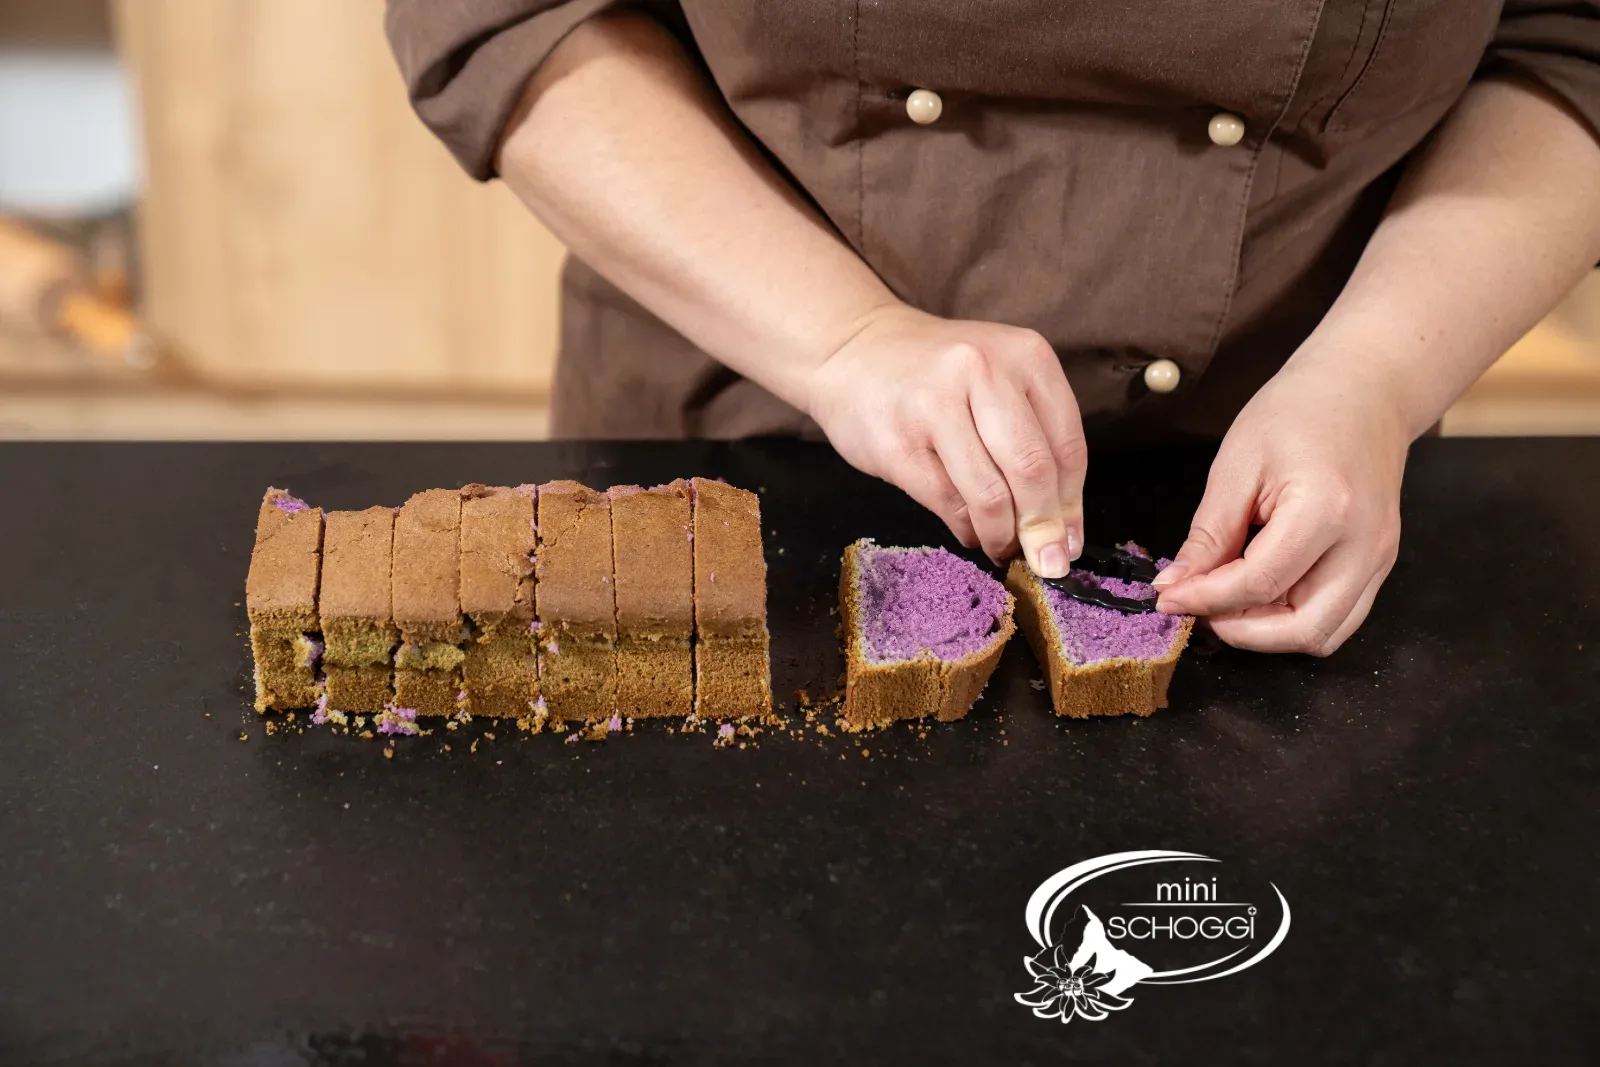
Remove the cakes from the tins and cut them into 2 cm thick slices. You'll need the white cake tin again straight away: wash it out, dry it and grease it again.
2
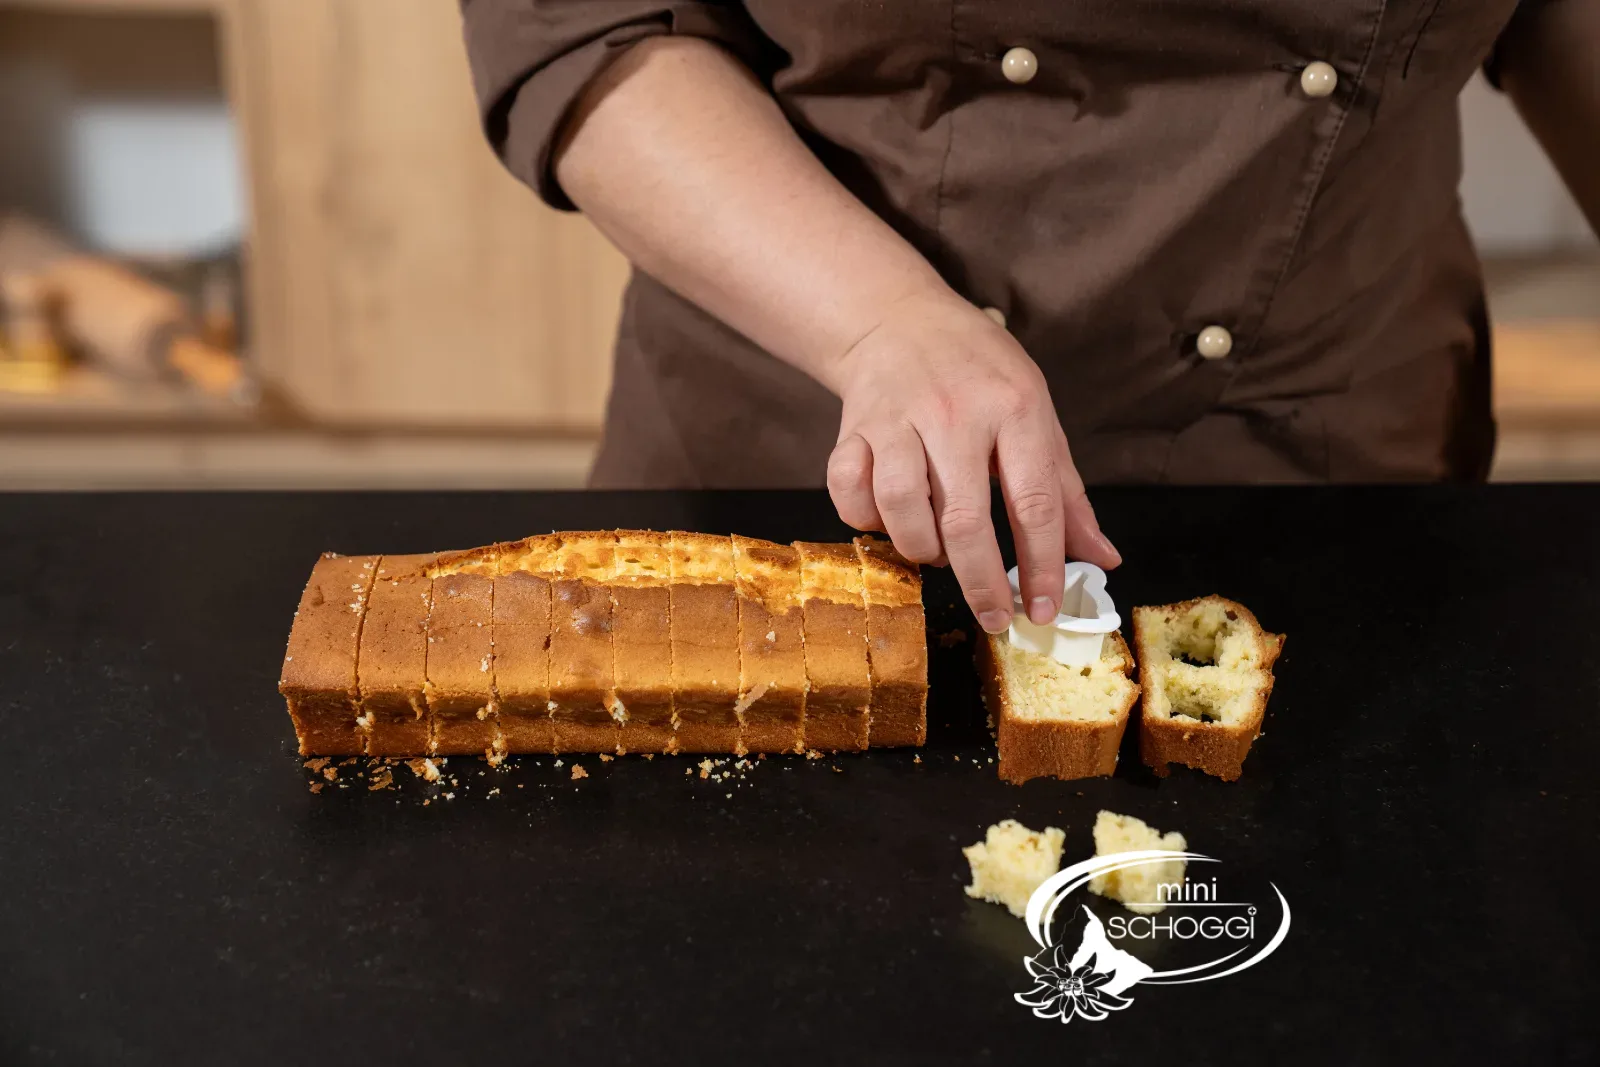
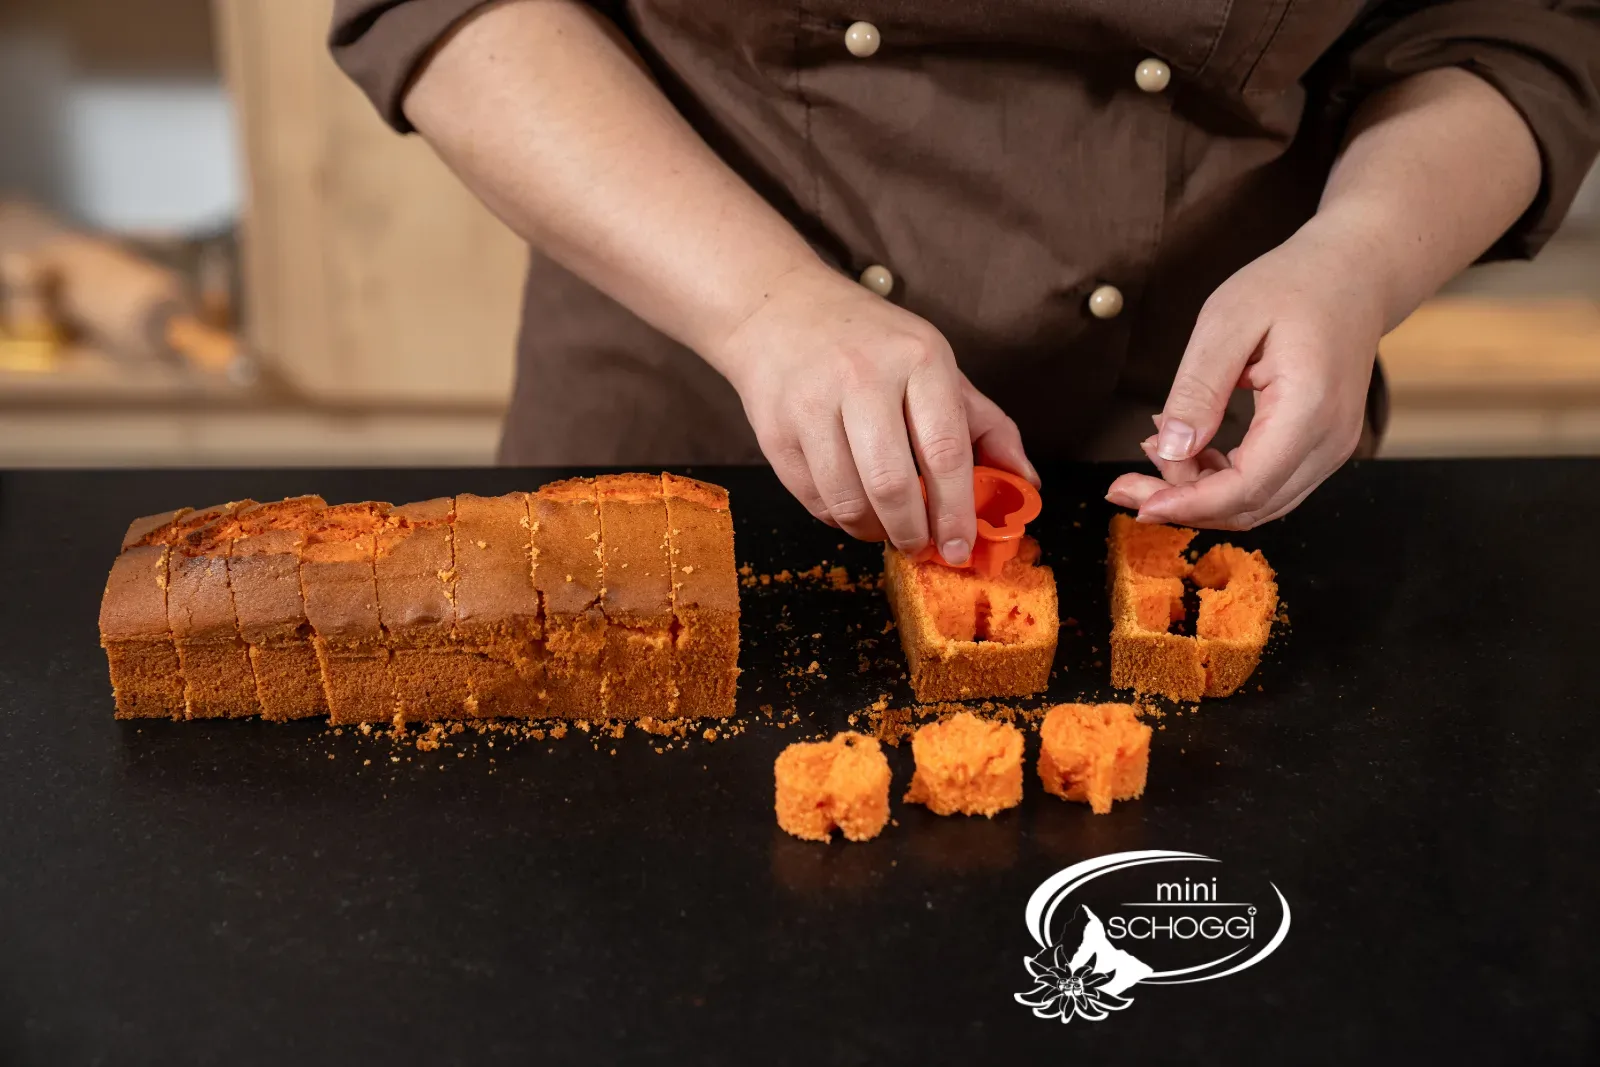
Ghosts, pumpkins and bats
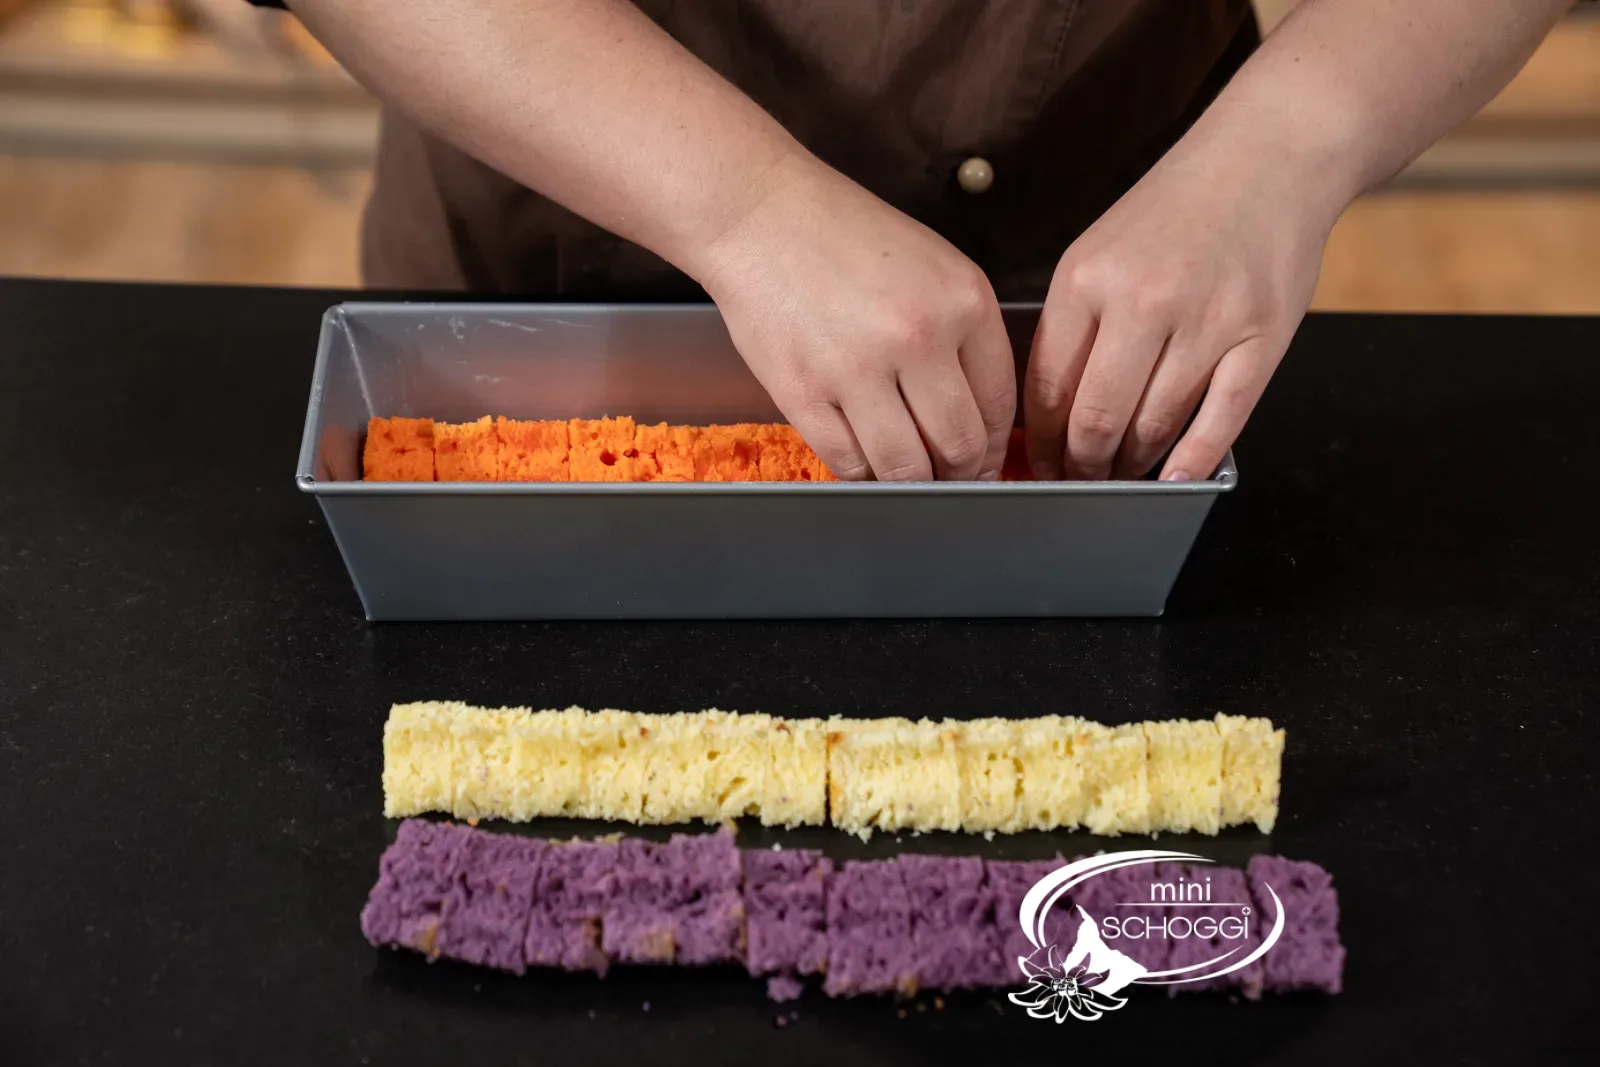
Cut one motif out of each slice: ghosts from the white cake, pumpkins from the orange cake, bats from the purple cake. Lay them in rows the length of the tin, close together. That way you'll find all three in every slice later.
Put the cake scraps into a tin: this is how we make our monster balls, small cake balls shaped as a pumpkin, witch, spider and mummy.
You'll need

Cookie cutter Set Halloween 6 Stück
Assemble and bake
1
Stir the cocoa batter
Stir the cocoa batter just like the light batter and add the cocoa together with the flour.
2
Place the motifs
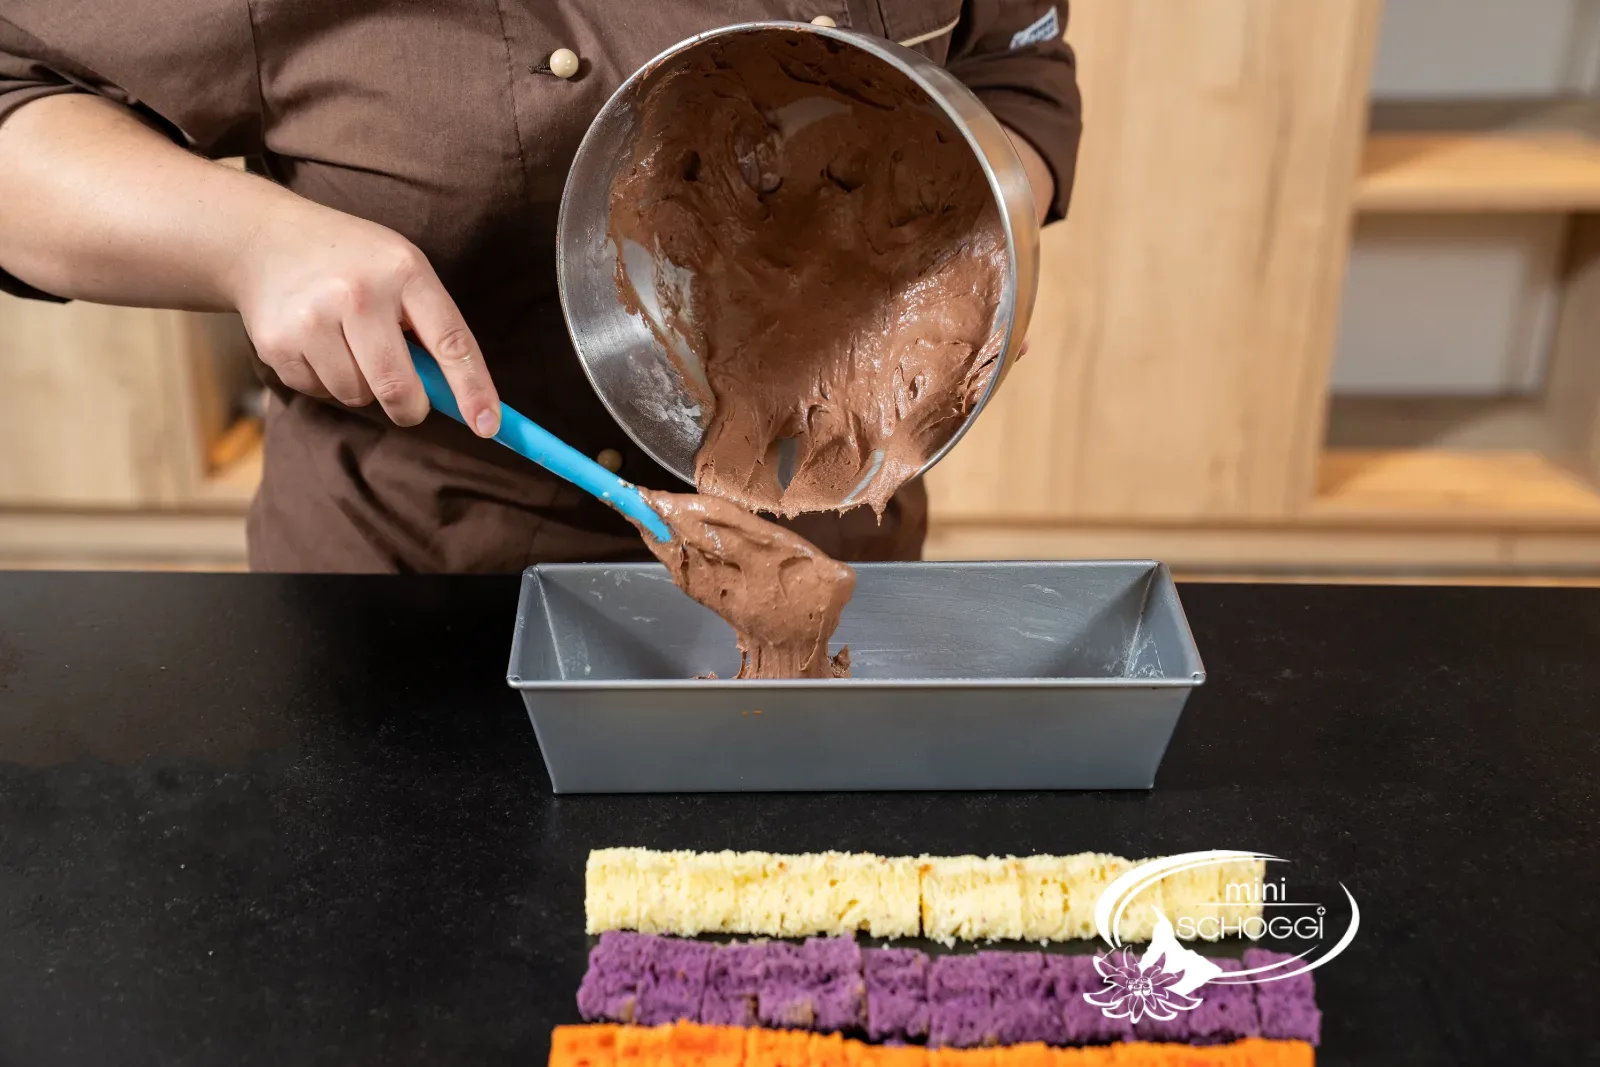
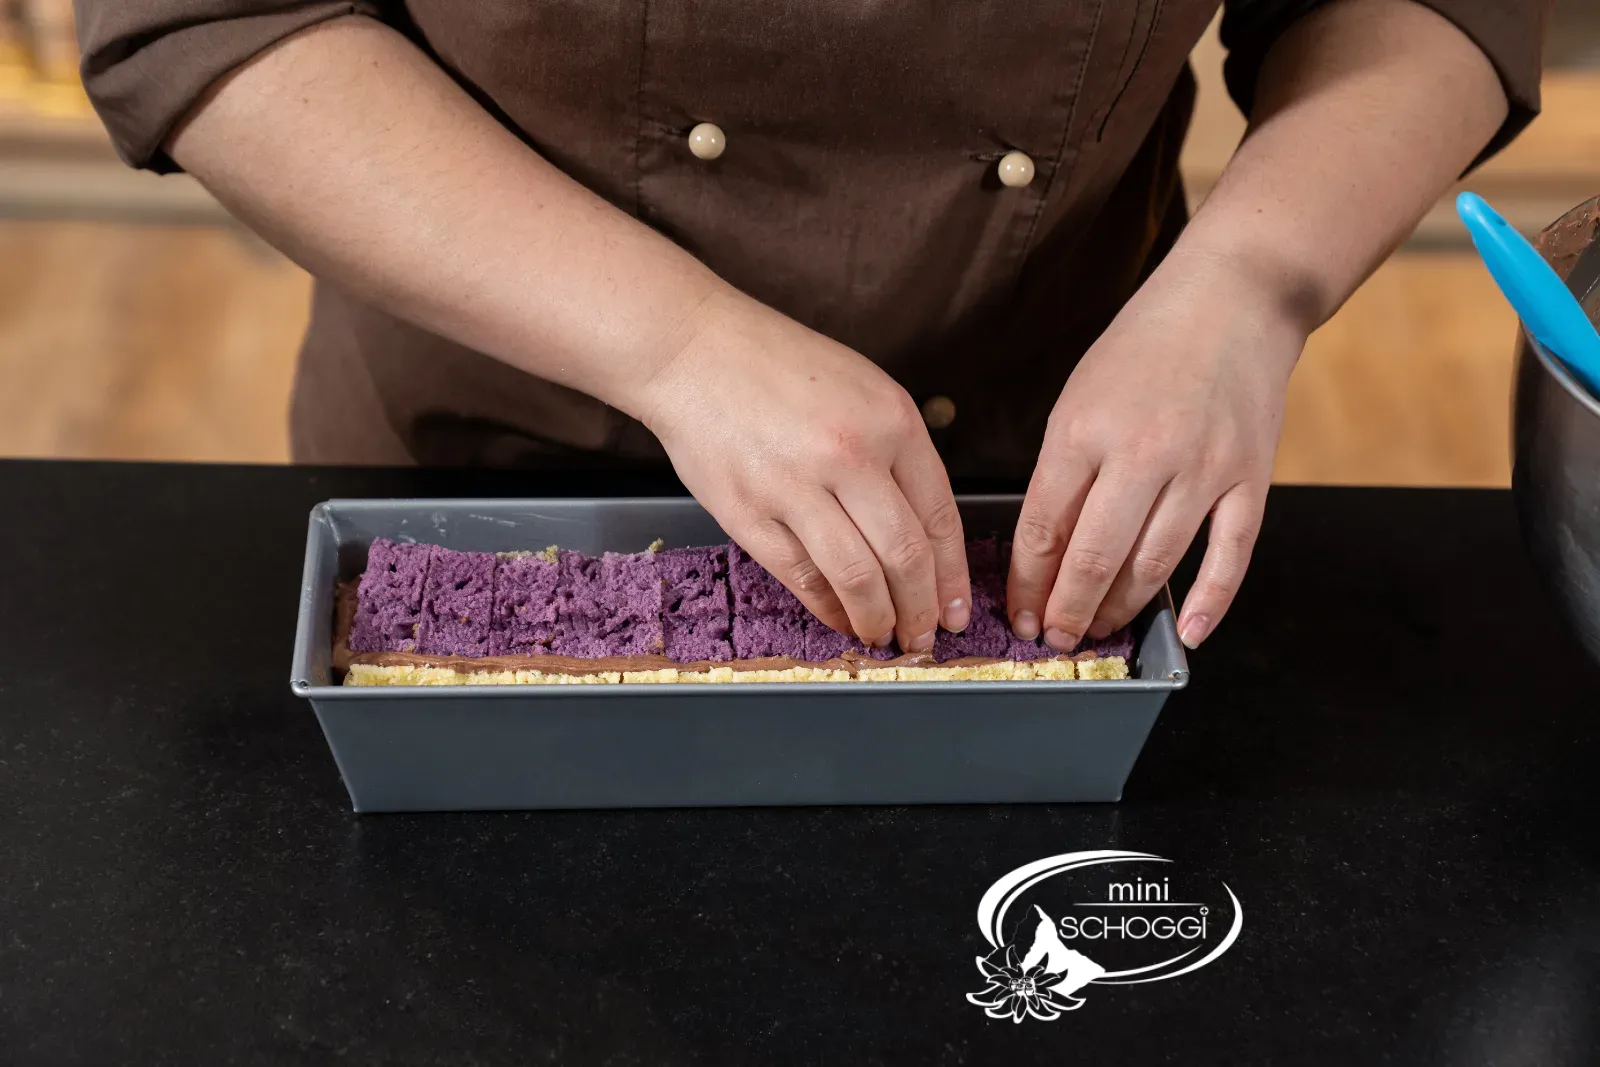
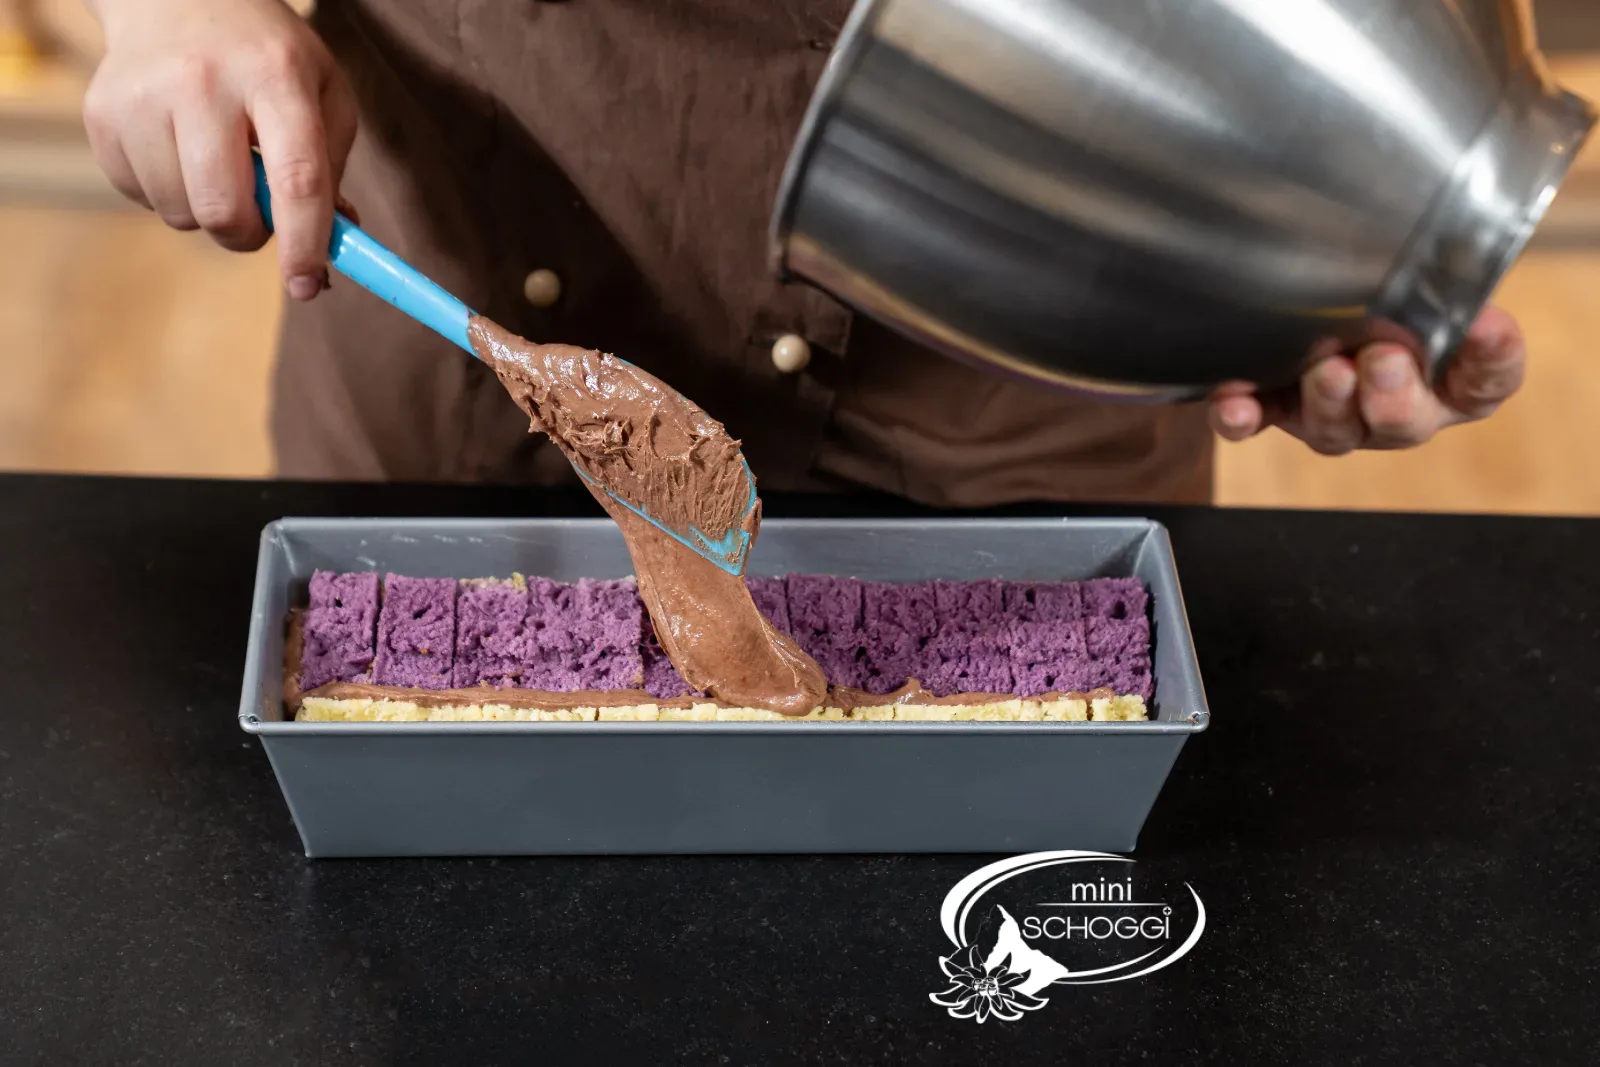
Spread a thin layer of cocoa batter on the bottom of the tin. Place the first row of motifs in it and cover them with cocoa batter so they sit firmly. Then add the second and third rows, each time with cocoa batter in between. Feel free to offset the rows slightly and at different heights, so every slice looks different.
3
Butter strip and bake
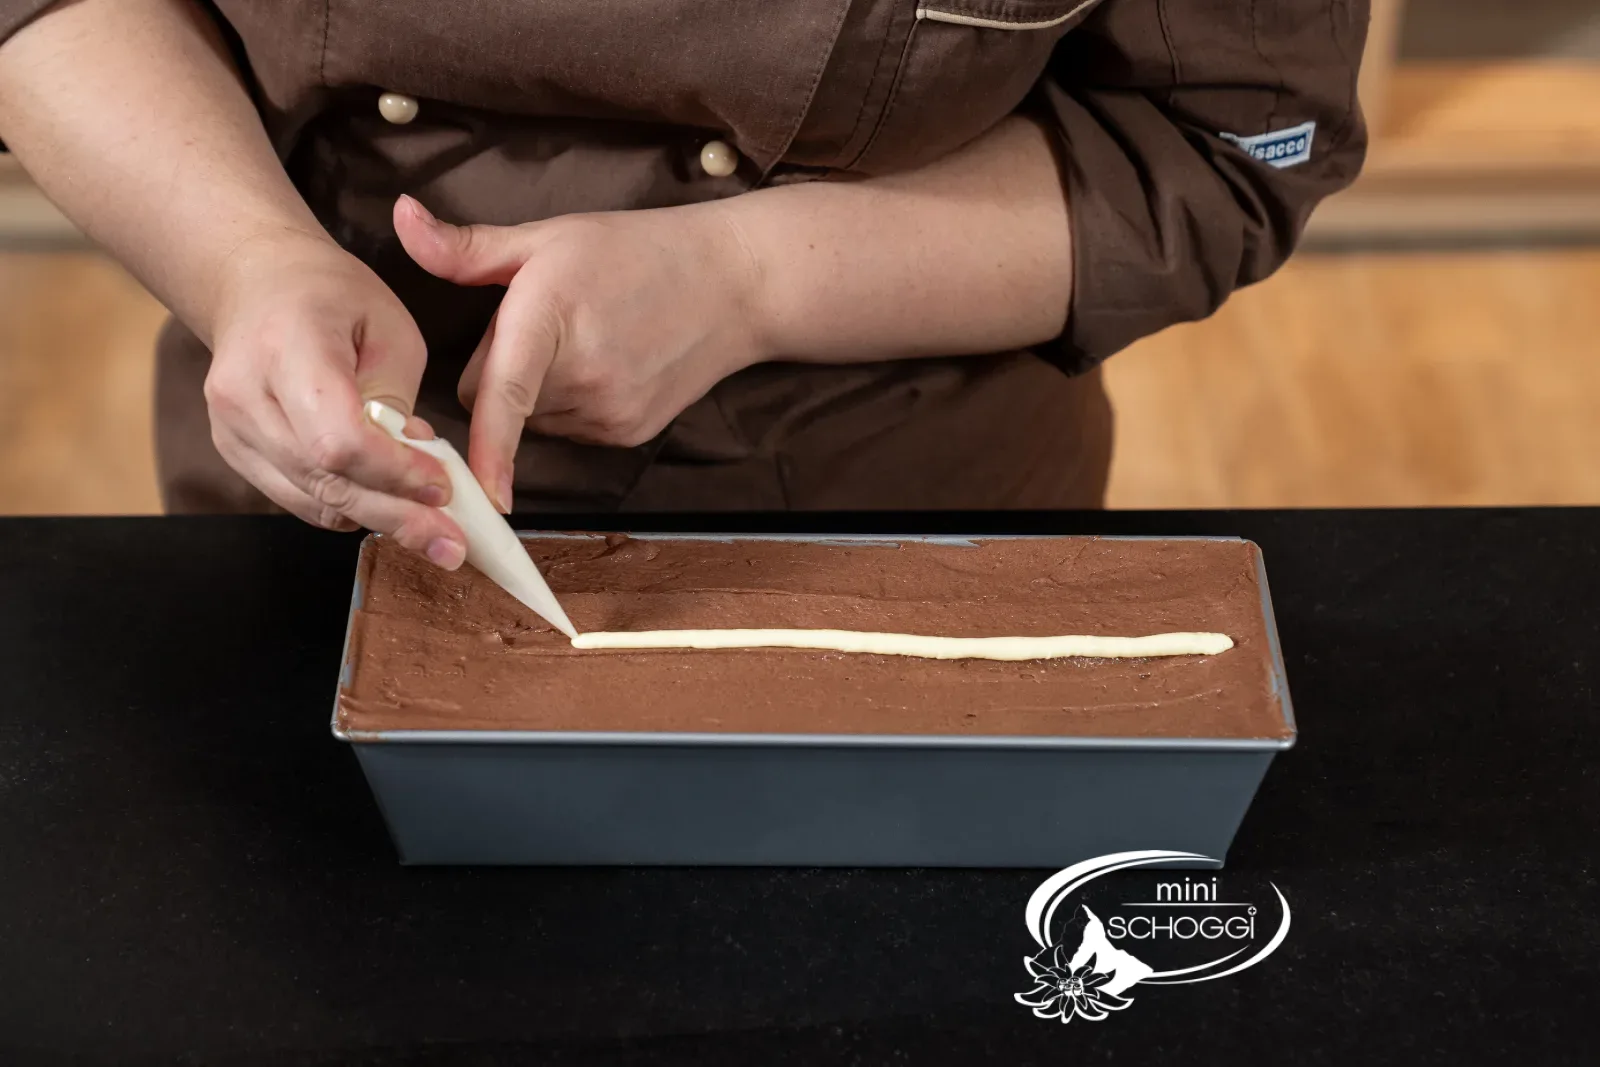
Cover everything with the remaining cocoa batter and smooth it out. Pipe a thin strip of soft butter lengthwise down the middle. The cake will then split right there, instead of bulging somewhere and shifting the motifs.
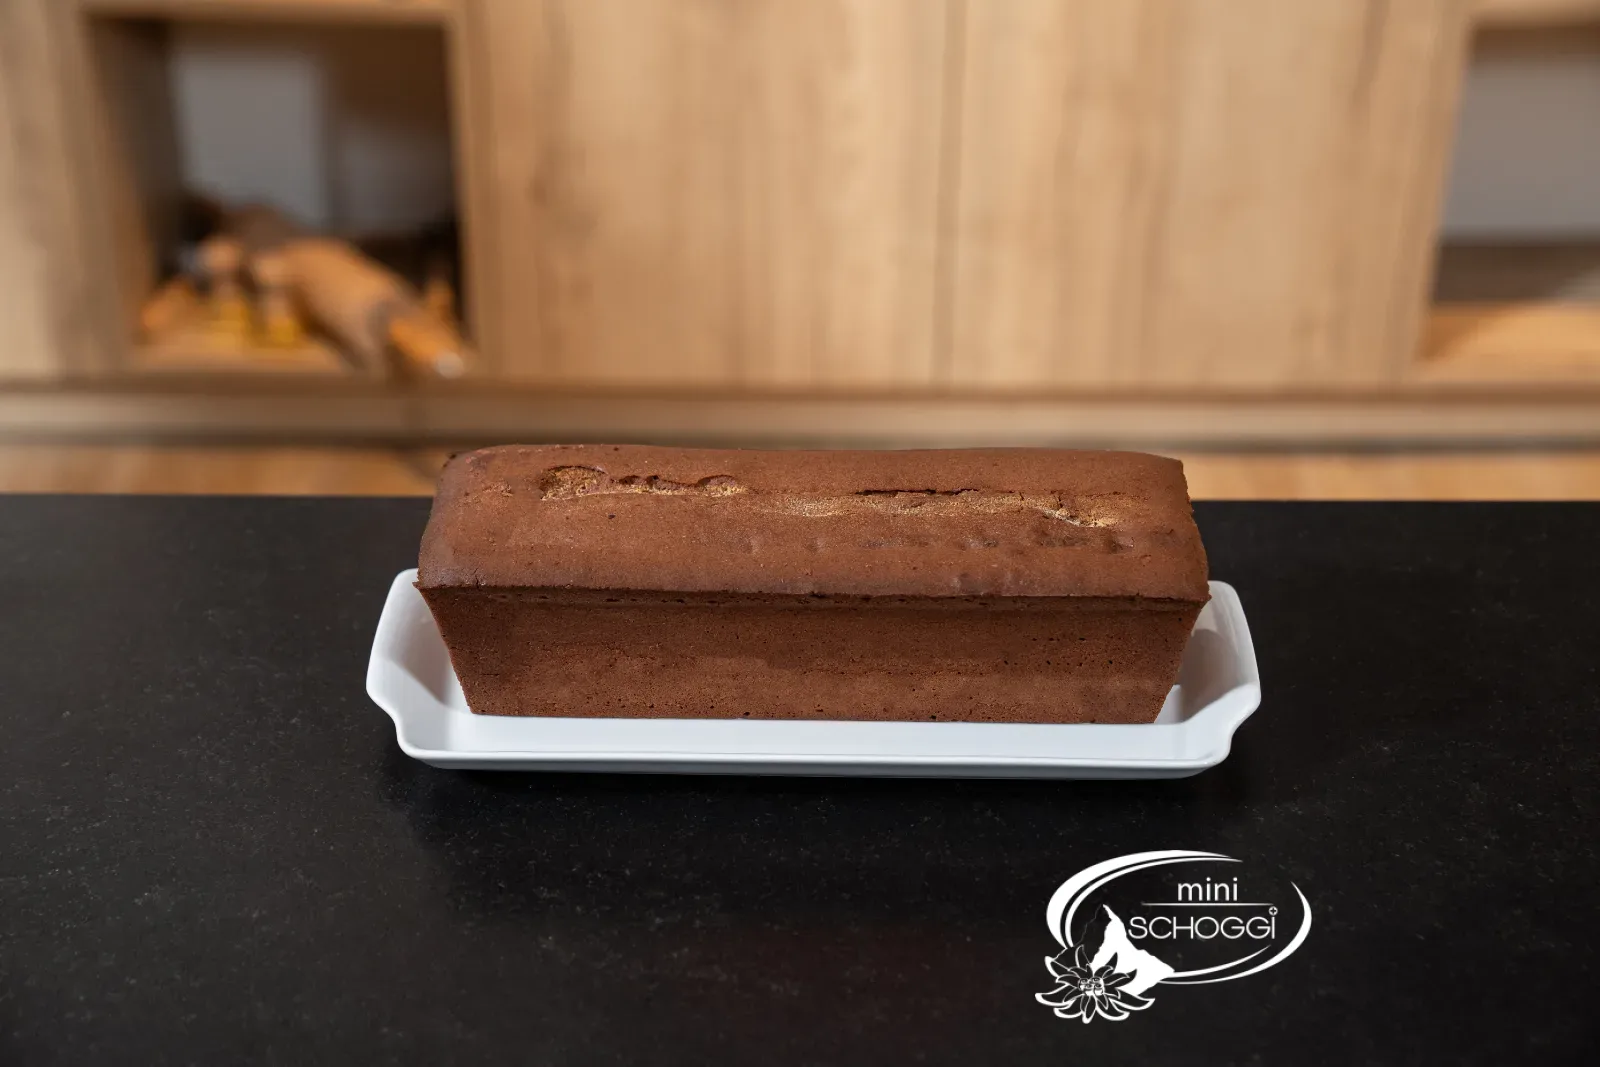
Bake the cake at 180 °C convection for 45 minutes and let it cool completely.
Decorate
1
Pipe the ganache
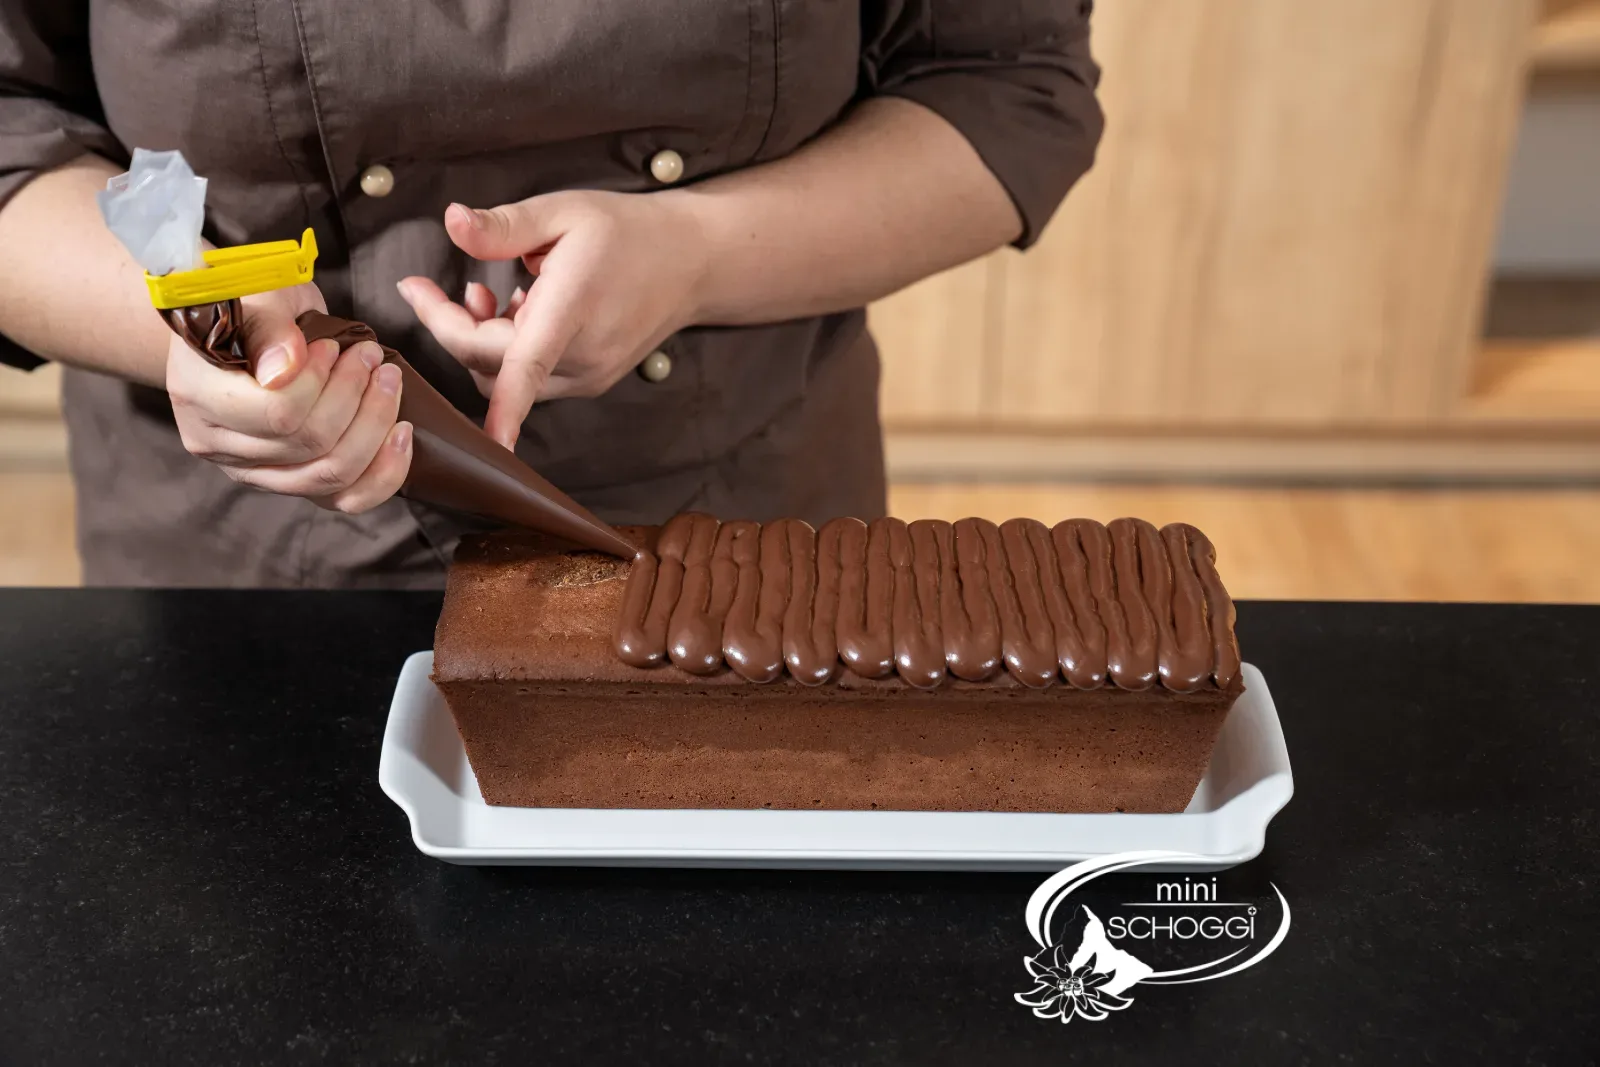
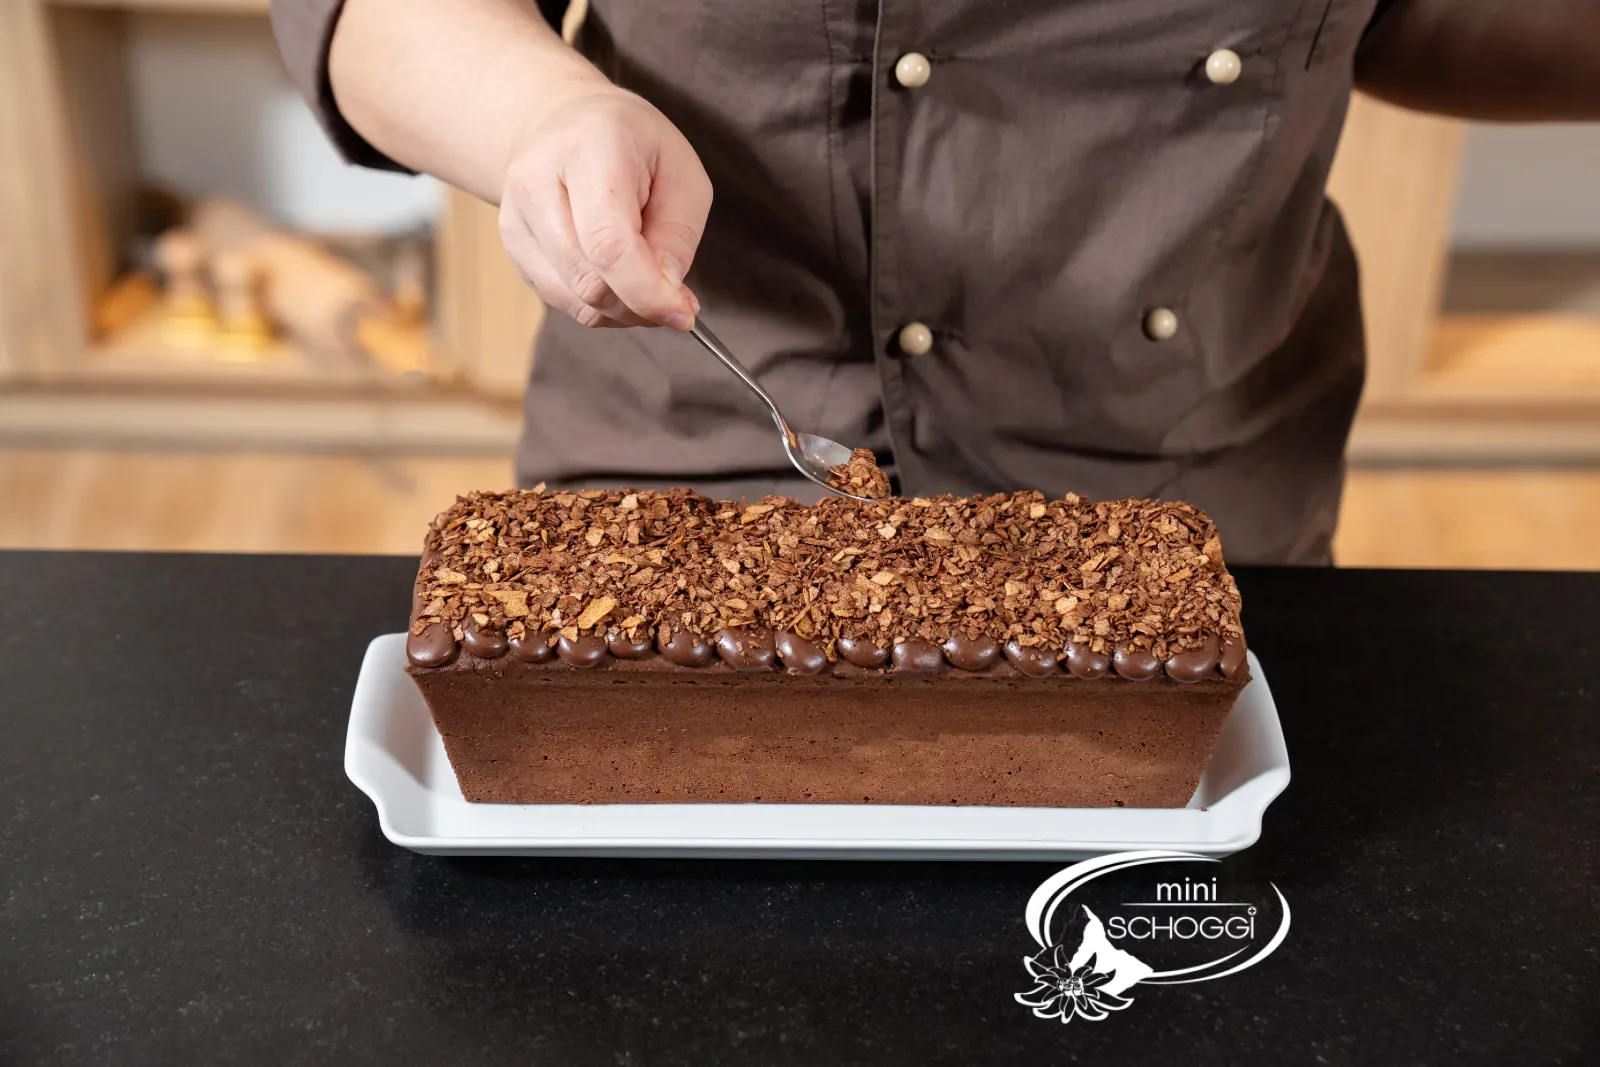
Bring the whole cream and butter to the boil, pour both over the chopped couverture, leave it to stand for a minute and stir to a smooth ganache. Let it set until it can be piped, then pipe it in stripes onto the cake.
You will need


Cocoa powder, 1 kg
Hüppen flake (feuilletine), 100 g
Disposable piping bag 30 cm, 10 pieces
Lindt dark couverture 0.5 kg
2
Sprinkle the Hüppen earth
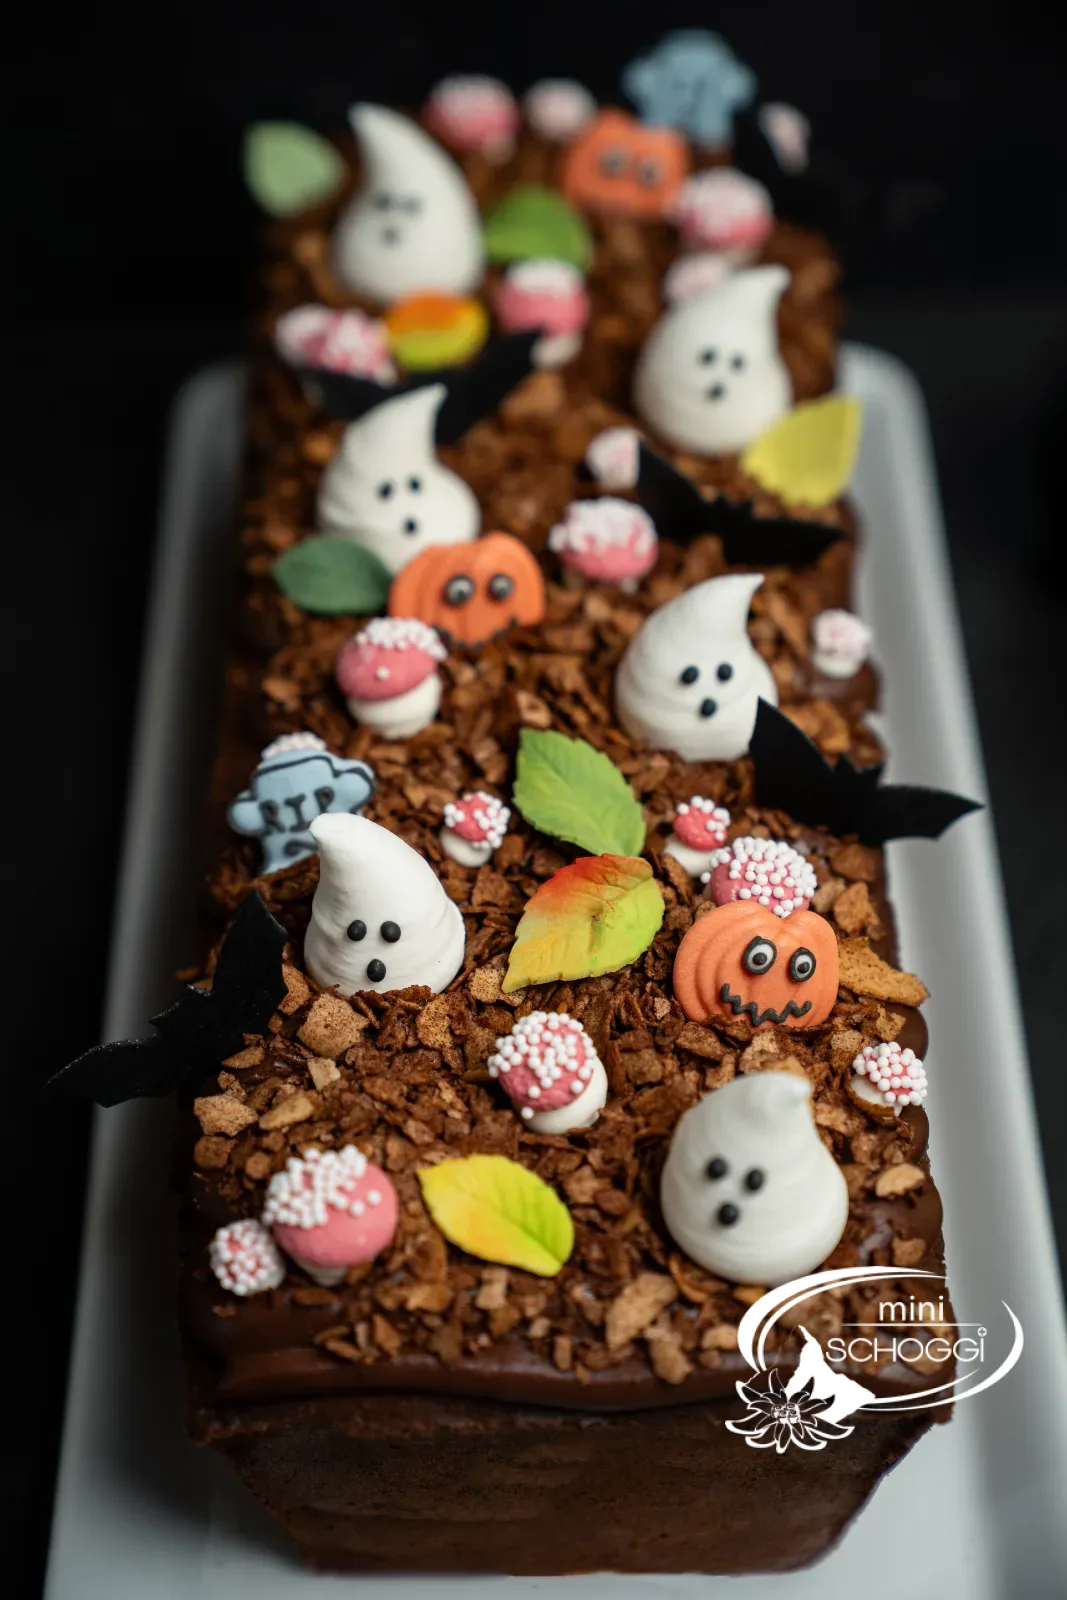
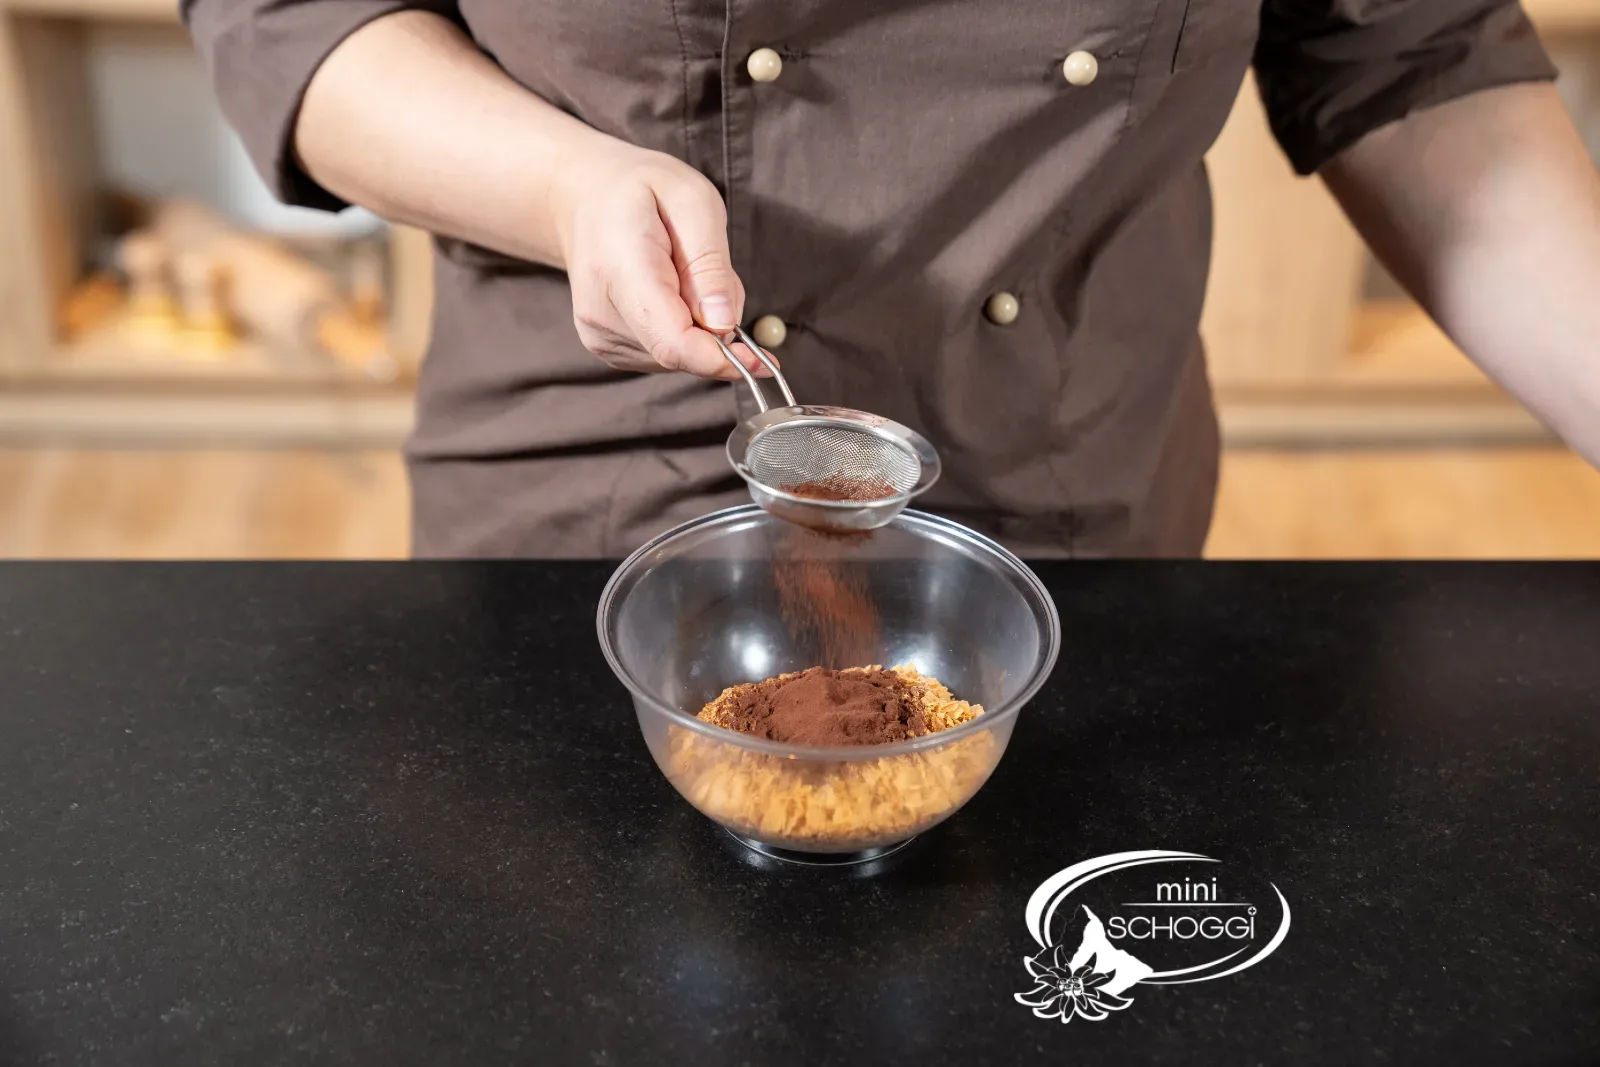
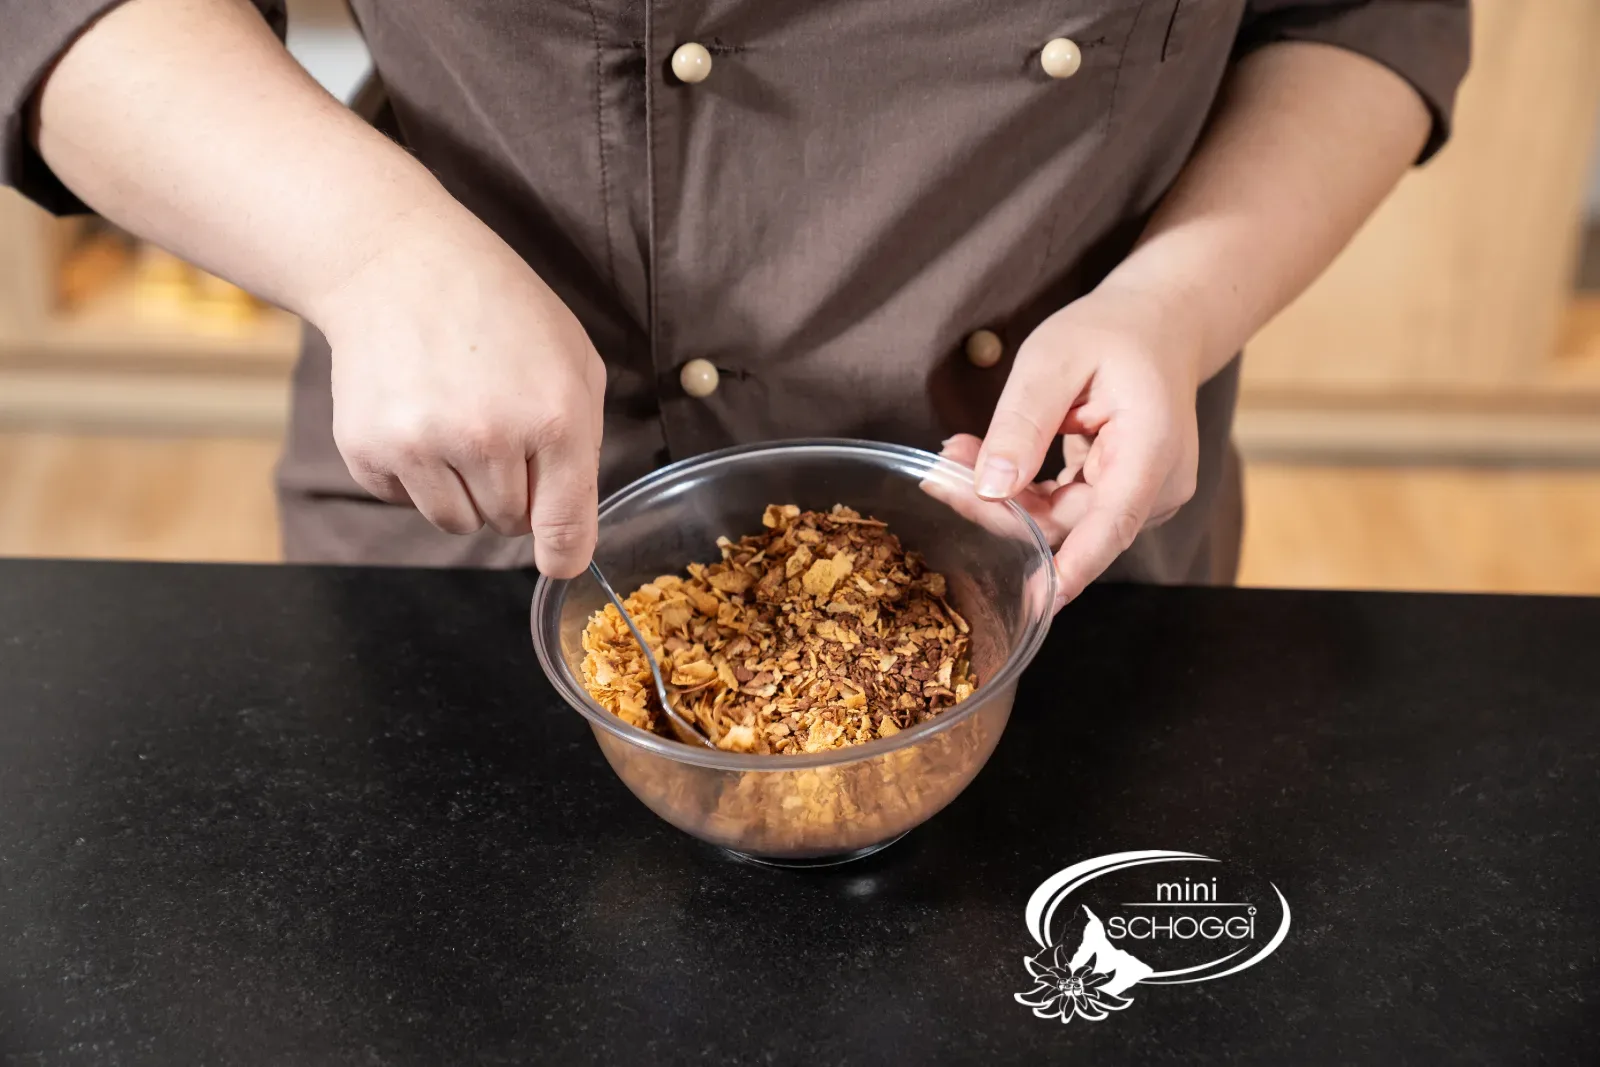
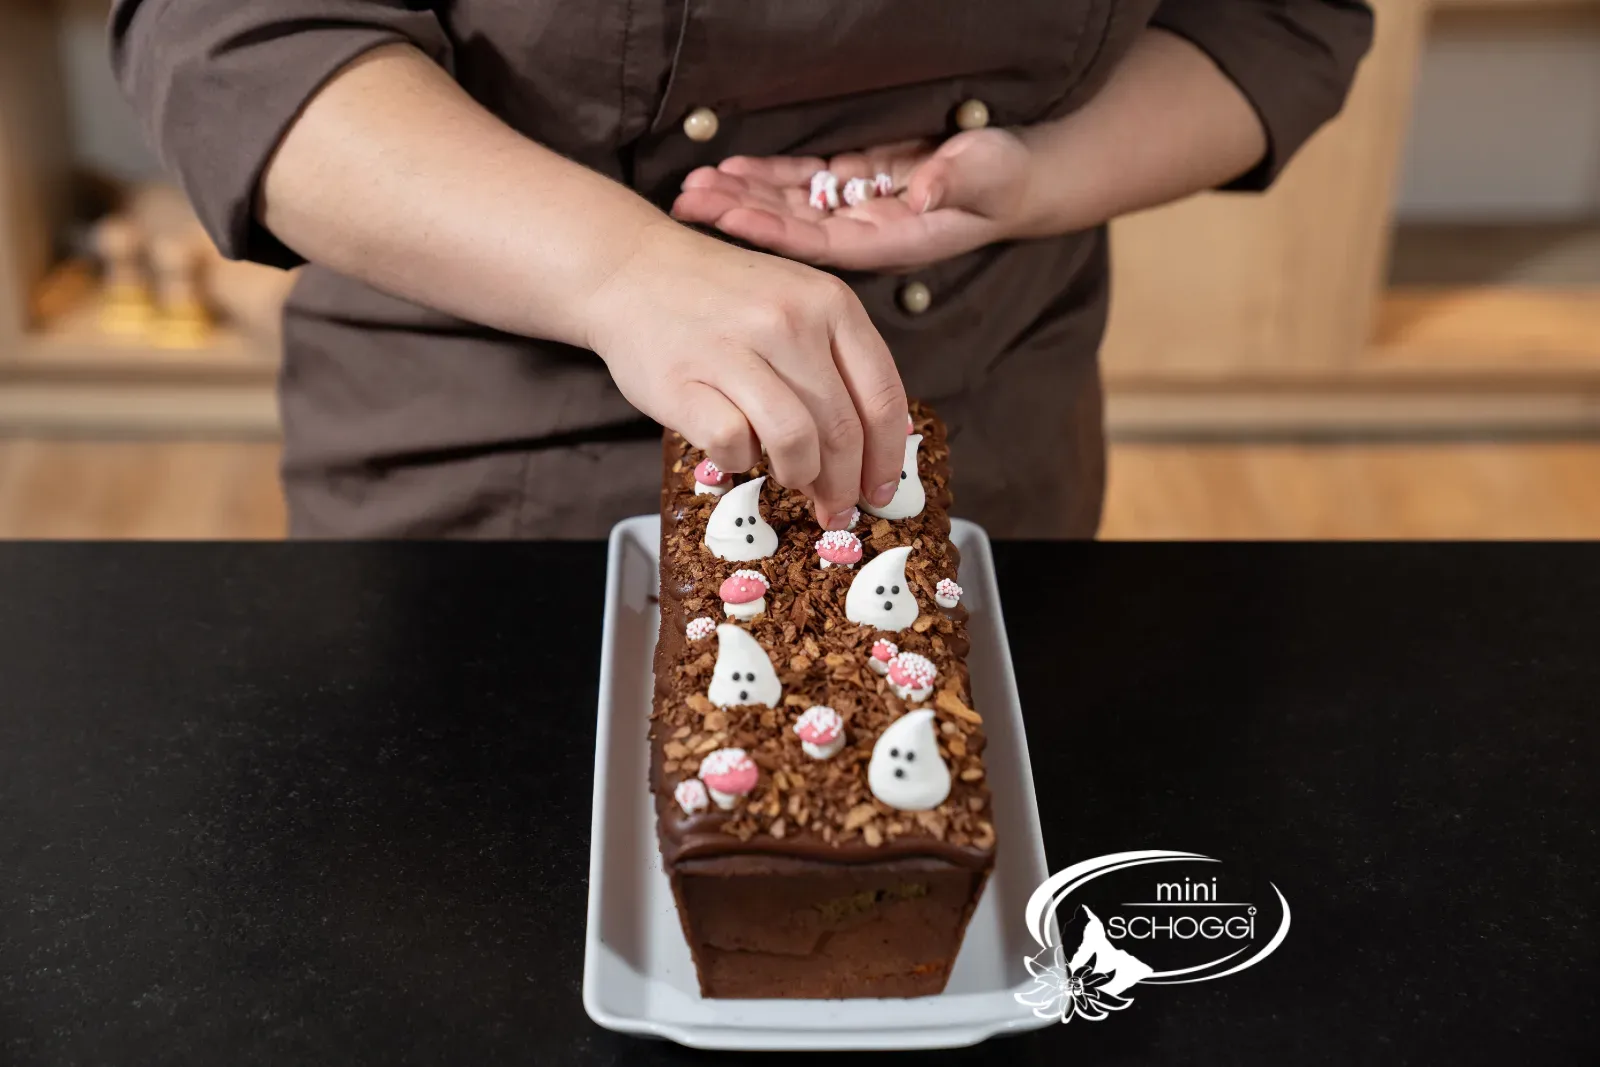
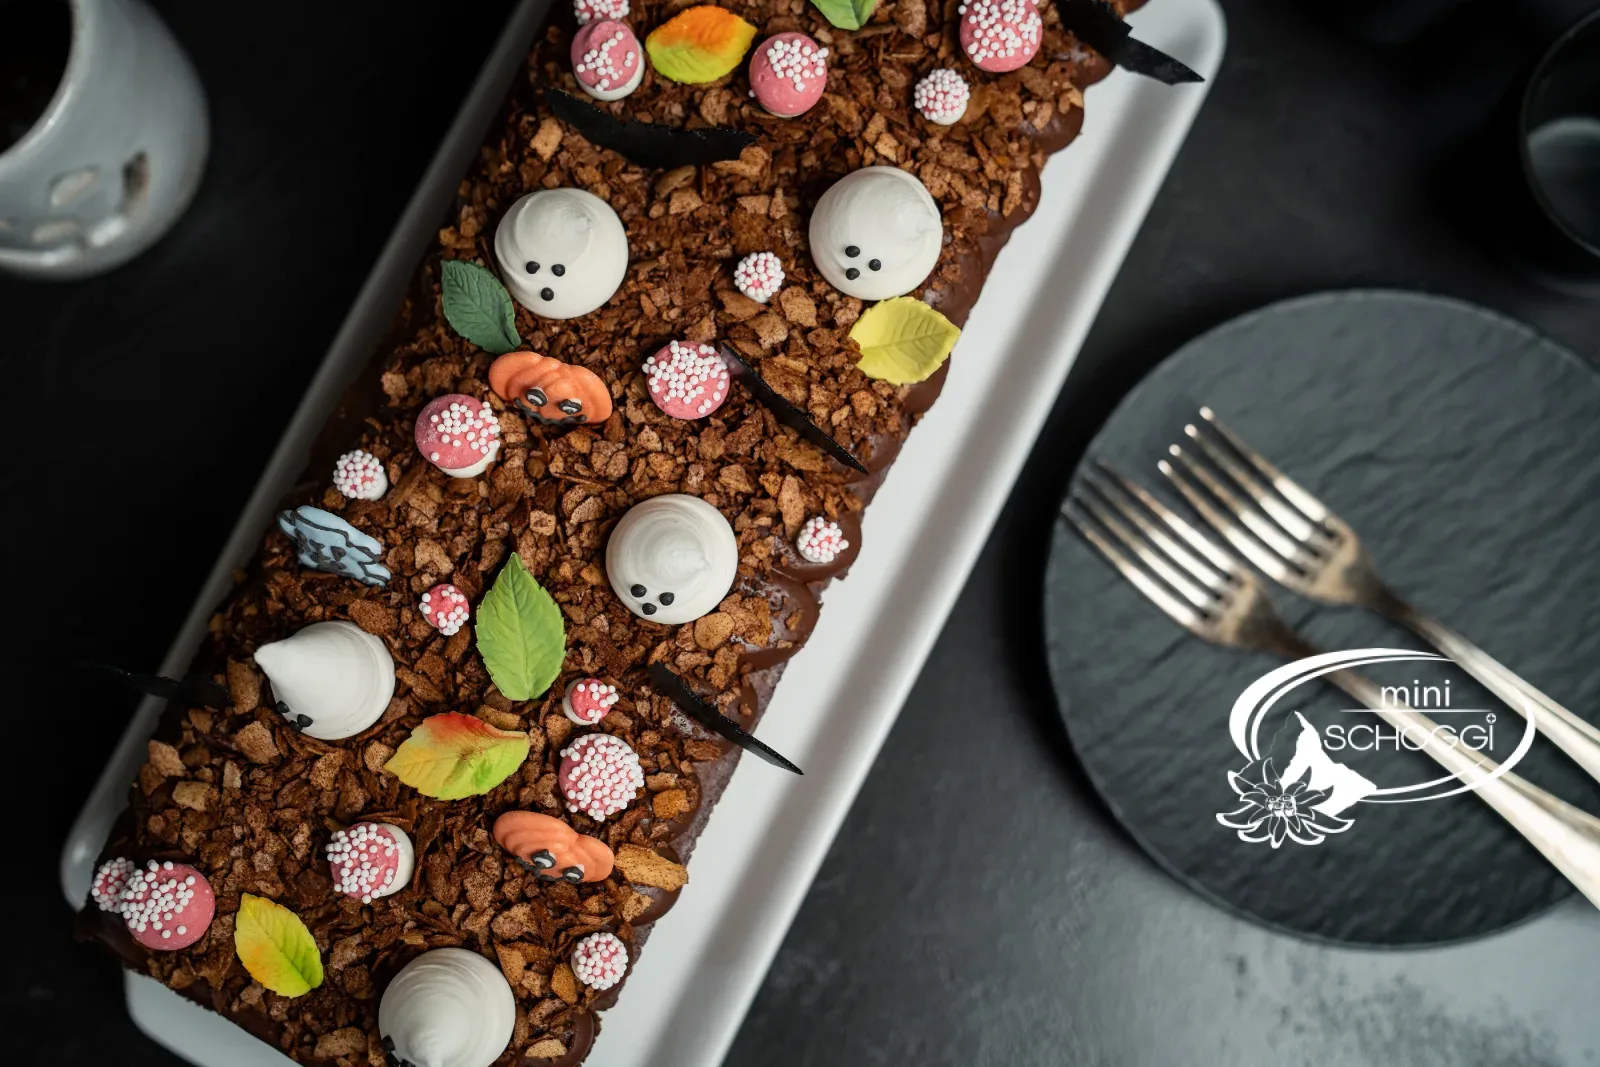
Mix the Hüppen flakes with the cocoa. Sprinkle the "earth" onto the still soft ganache and press it on lightly so it sticks.
3
Decorate
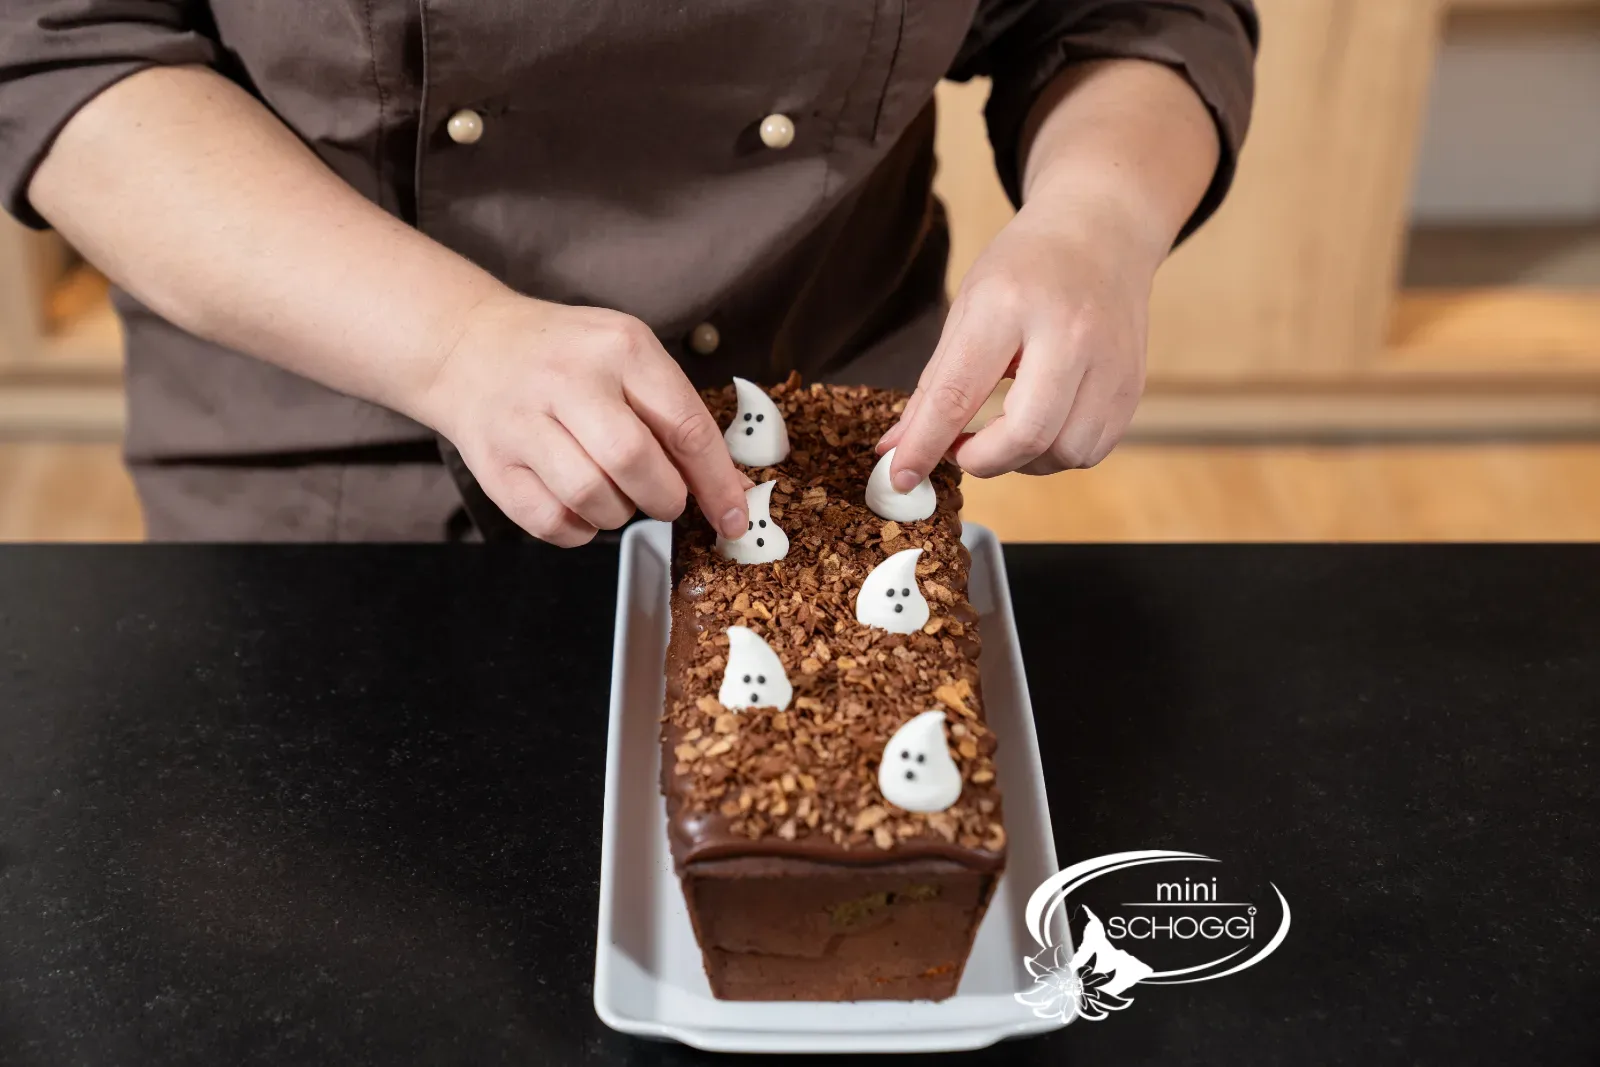
Finally, place mushrooms, ghosts, pumpkins and sprinkle decor on the earth, exactly as you like.
You will need


Sugar decoration mini mushrooms, 20 g
Halloween sugar decoration 3D ghost, 3 pieces
Halloween sugar decoration spooky pumpkins, 8 pieces
Sprinkle decor Halloween mix 4 in 1, 100 g
Compact · for printing
Halloween marble cake
Ingredients
Quantity:
Light batter (for white, orange and violet)
Cocoa batter
Also needed
Ganache
Hüppen soil
Decoration
Preparation
- Light: Mix the light batter, divide into thirds, colour one orange and one violet, bake 45 min at 180 °C convection, let cool.
- Motifs: Cut the cake into 2 cm thick slices, cut out ghosts, pumpkins and bats.
- Cocoa: Mix the cocoa batter, layer the rows of motifs alternately with cocoa batter in the tin.
- Baking: Pipe the butter stripe into the middle, bake 45 min at 180 °C convection, let cool.
- Decoration: Pipe on the ganache, sprinkle with Hüppen soil, decorate with sugar decoration.
Nutritional values per 100 g
479kcal
26.6 gFat
57.1 gCarbohydrates
4.1 gProtein
Storage & shelf life
Wrapped in foil, the marble cake keeps for three to four days in a cool place. The Hüppen soil stays crunchiest if you sprinkle it on only shortly before serving.
Everything for this recipe
Recommended by our bakery team, in exactly the sizes this recipe has been tested with.
Ingredients
Progel Gel color Orange, 25 g
Progel Gel color Purple, 25 g
White flour, 1 kg
Cocoa powder, 1 kg
FunCakes Baking powder, 80 g
Hüppen flake (Feuilletine), 100 g
Sugar decoration Mini Pilze, 20 g
Halloween Sugar decoration 3D ghost, 3 pieces
Halloween Sugar decoration Spooky pumpkins, 8 pieces
Sprinkle decor Halloween mix 4 in 1, 100 g
Lindt couverture white 0.5 kg
Lindt couverture white 2.5 kg
Lindt Couverture Milch 0.5 kg
Lindt Couverture Milch 2.5 kg
Lindt Couverture Dunkel 0.5 kg
Lindt Couverture Dunkel 2.5 kg
Accessories
Halloween cookie cutter set, 6 pieces
Disposable piping bag 30 cm, 10 pieces
Adjustable cake tin, 20-30 x 10.5 cm
Rectangular cake tin 30 x 10.5 x 7 cm
Rectangular cake tin 24 x 10 x 7 cm
Delivery in 1 to 2 working days · Free shipping from CHF 100*
So it's guaranteed to work
Bake the day before
The colourful cakes are easiest to slice and cut out when they have cooled overnight. Freshly baked, they crumble and the motifs get frayed edges.
Close together
There must be no gap between the motifs in a row. If only cocoa batter sits there, the slice shows no motif at that spot.
Colour boldly
Gel color loses its brilliance in the oven. So colour the batter one shade stronger than you want the result to look.
Frequently asked questions
It forms a predetermined breaking point: the cake splits exactly in the middle as it rises. This way it rises evenly, and the motifs inside stay in place.
All motifs that are about 2 cm high and fit the width of your tin. Simple, compact shapes work better than fine details, which break off when cutting out.
Turn them into our Monster balls: the leftovers are crumbled, bound with ganache or cream cheese, rolled in couverture and decorated as a pumpkin, witch, spider or mummy. One kilo of cake makes 36 balls.
Print recipe
Choose what should appear on the printout.
Related products
Lindt Couverture White 0.5 kg
Price: CHF 19.90
Rated out of 5 stars based on
review(s)
bitte einloggen
Finest ingredients, transparency and sustainability. This is what the...

Lindt Couverture White 2.5 kg
Price: CHF 72.50
Rated out of 5 stars based on
review(s)
bitte einloggen
Finest ingredients, transparency and sustainability. This is what the...
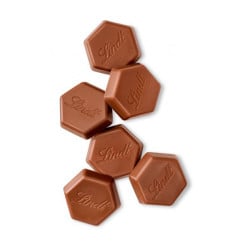
Lindt couverture milk 0.5 kg
Price: CHF 17.90
Rated out of 5 stars based on
review(s)
bitte einloggen
Finest ingredients, transparency and sustainability. This is what the...
Lindt couverture milk 2.5 kg
Price: CHF 65.80
Rated out of 5 stars based on
review(s)
bitte einloggen
Finest ingredients, transparency and sustainability. This is what the...
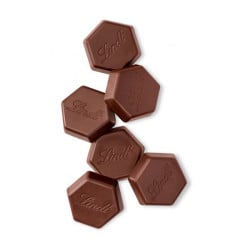
Lindt Couverture Dark 0.5 kg
Price: CHF 17.50
Rated out of 5 stars based on
review(s)
bitte einloggen
The finest ingredients, transparency and sustainability. This is what the...
Lindt Couverture Dark 2.5 kg
Price: CHF 64.50
Rated out of 5 stars based on
review(s)
bitte einloggen
The finest ingredients, transparency and sustainability. This is what the...
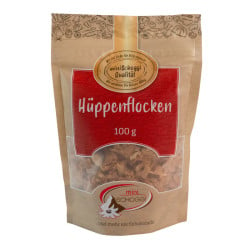
Feuilletine flakes (pailleté feuilletine), 100 g
Price: CHF 8.50
Rated out of 5 stars based on
review(s)
bitte einloggen
Feuilletine, also known as pailleté feuilletine or crêpes dentelles, are...
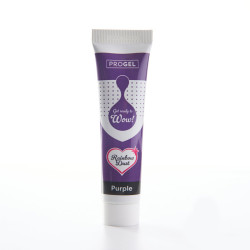
Progel gel color Purple, 25 g
Price: CHF 6.40
Rated out of 5 stars based on
review(s)
bitte einloggen
Gel colors are suitable for almost all masses, fillings and decorations. As...
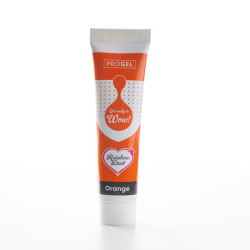
Progel gel color orange, 25 g
Price: CHF 6.40
Rated out of 5 stars based on
review(s)
bitte einloggen
Gel colors are suitable for almost all masses, fillings and decorations. As...
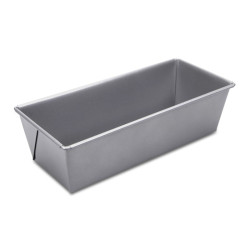
Rectangular cake tin 24 x 10 x 7 cm
Price: CHF 18.90
Rated out of 5 stars based on
review(s)
bitte einloggen
You need the right shape for a delicious cake. With this cake tin, you get...
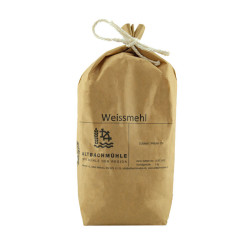
White flour, 1 kg
Price: CHF 4.50
Rated out of 5 stars based on
review(s)
bitte einloggen
White flour is suitable for pastries of all kinds, from bread to cakes to...
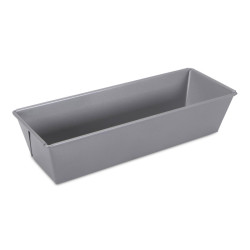
Rectangular cake tin 30 x 10.5 x 7 cm
Price: CHF 22.50
Rated out of 5 stars based on
review(s)
bitte einloggen
You need the right shape for a delicious cake. With this cake tin, you get...
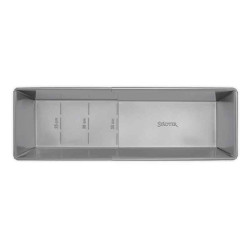
Cake baking pan adjustable, 20-30 x 10.5 cm
Price: CHF 27.50
Rated out of 5 stars based on
review(s)
bitte einloggen
For a delicious cake you need the right mold. With this cake baking pan you...

Cookie cutter set Halloween 6 pieces
Price: CHF 5.40
Rated out of 5 stars based on
review(s)
bitte einloggen
This cookie cutter set includes 6 cookie cutters in Halloween inspired...
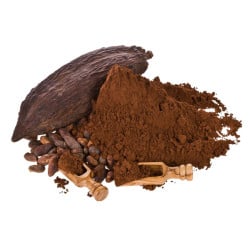
Cocoa powder, 1 kg
Price: CHF 42.50
Rated out of 5 stars based on
review(s)
bitte einloggen
Cocoa powder should not be missing in any kitchen or bakery, whether as an...
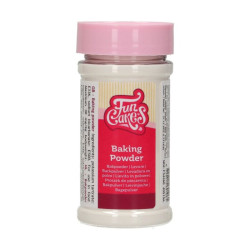
FunCakes baking powder, 80 g
Price: CHF 4.10
Rated out of 5 stars based on
review(s)
bitte einloggen
FunCakes Baking Powder is a high quality baking powder that contains the...
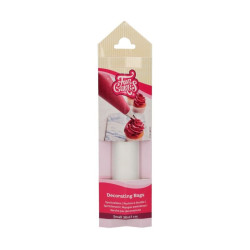
Disposable piping bag 30 cm, 10 pieces
Price: CHF 4.30
Rated out of 5 stars based on
review(s)
bitte einloggen
Disposable piping bags made from high-quality, food-safe plastic are the...
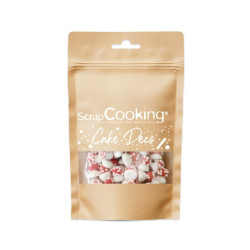
Sugar decoration mini mushrooms, 20 g
Price: CHF 5.50
Rated out of 5 stars based on
review(s)
bitte einloggen
Give your cakes and cupcakes a very special charm with these lovingly...
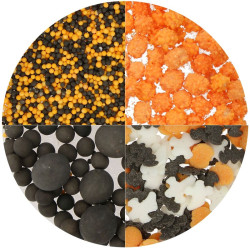
Sprinkles Halloween mix 4 in 1, 100 g
Price: CHF 6.90
Rated out of 5 stars based on
review(s)
bitte einloggen
With the Sprinkle decor Halloween mix 4 in 1, every Halloween cake, every...
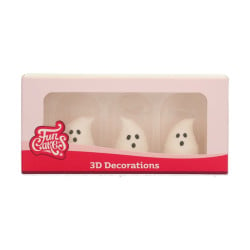
Halloween sugar decorations 3D ghost, 3 pieces
Price: CHF 4.90
Rated out of 5 stars based on
review(s)
bitte einloggen
Three white ghosts with friendly faces – and Halloween is on the cake. Ready...
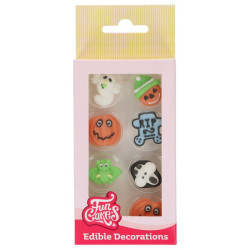
Sugar decorations Halloween spooky pumpkins, 8 pieces
Price: CHF 5.90
Rated out of 5 stars based on
review(s)
bitte einloggen
When the pumpkins glow and the ghosts are on the prowl, your cake deserves...
Bewertungen
Leave a comment
Related posts
 Make your own chocolate Easter bunnies
You can easily make your own Easter bunnies at home! You can find out how to do it and what you need here. A sweet...
Read more
Make your own decorative Swiss roll
Make your own decor roulade - we'll explain exactly how in this blog, with lots of tips and tricks from our...
Read more
Cinnamon Star Biscuits Recipe
Make your own cinnamon stars with the help of our professionals, with lots of tips & tricks to bake the best...
Read more
Make your own chocolate pumpkin pralines
Make your own 3D chocolate pumpkin pralines - here you get detailed instructions with lots of tips and tricks...
Read more
How can I convert a cake recipe?
Converting a cake recipe, whether a sponge or a cake filling, is easy with our conversion table.
Read more