...
Blog categories
- Sweet recipes (95) click
- Salty recipes (8) click
- Cooking (27) click
- Seasonal recipe ideas (64) click
- Things to know (21) click
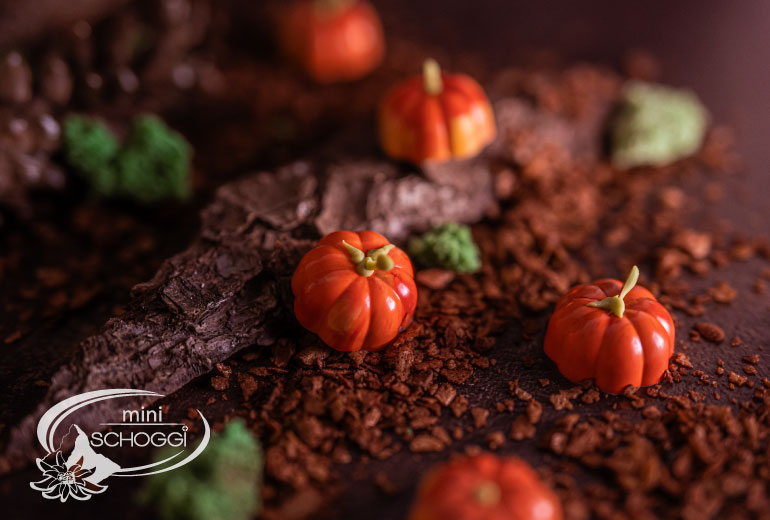
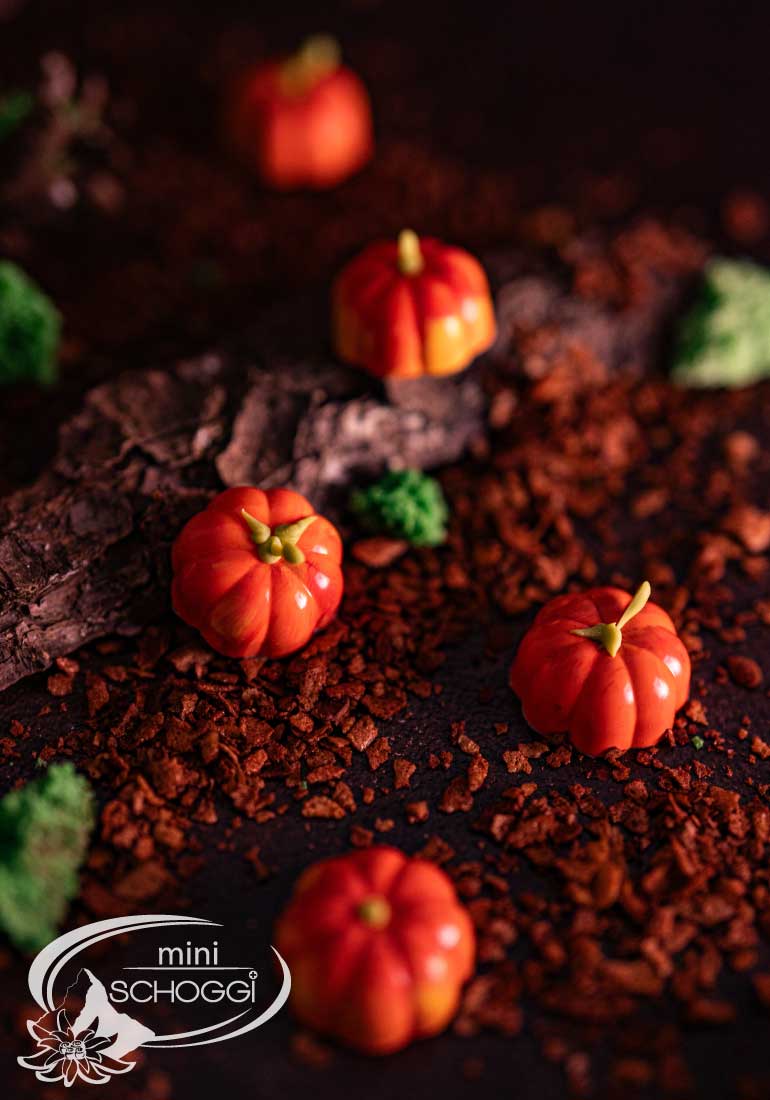
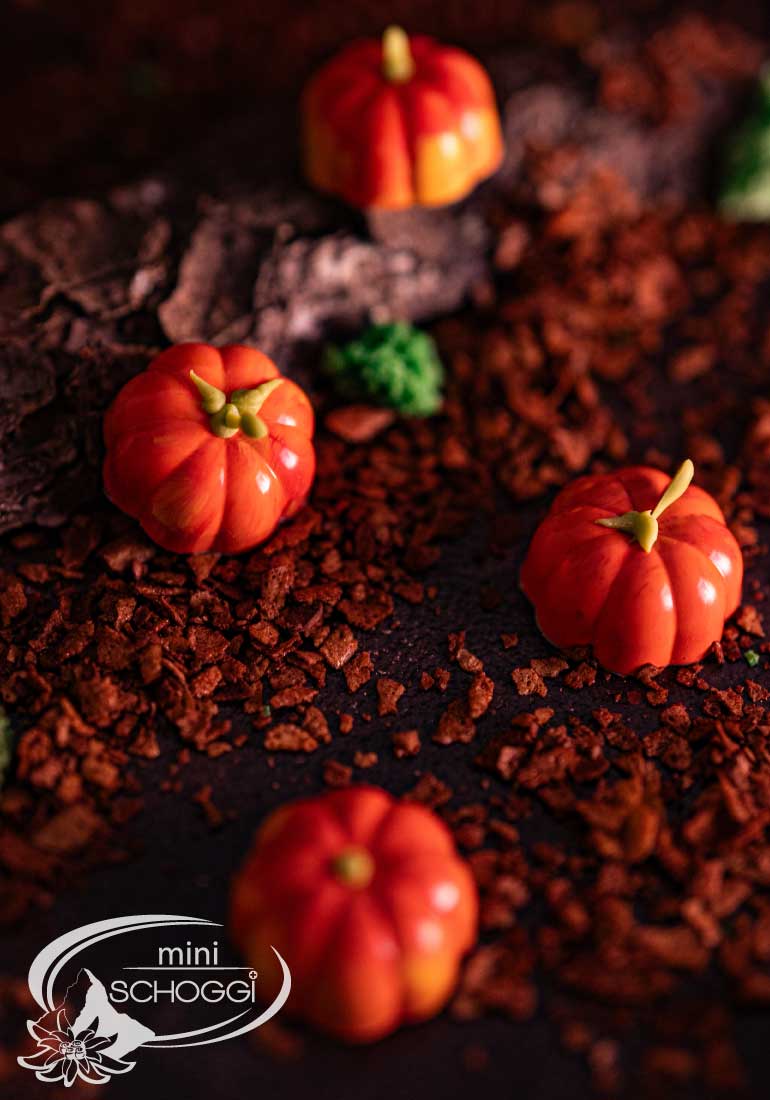
Autumn is the perfect time of year to enjoy delicious pumpkin pralines. With their delicate texture and unique flavour, these treats evoke the warm, cosy feelings of this time of year. The pumpkin praline is a truly indulgent experience that pampers the palate and tantalises the senses.
A tempting vanilla ganache is hidden in the centre of each praline. This creamy filling consists of a mixture of high-quality vanilla pods and particularly fine Swiss couverture. The vanilla gives the ganache a subtle sweetness and a wonderfully soothing aroma.
To round off the praline perfectly, the outer shell is made from cocoa butter colours. These colours give the pumpkin praline an elegant and appealing appearance. Just looking at it makes you want to bite into this little delicacy and enjoy the taste of autumn and warmth.
The pumpkin praline is an absolute taste sensation and a unique accompaniment for anyone who wants to enjoy autumn to the full. Whether as a sweet addition to a cosy fireside evening or as a special highlight on a festive autumn table, these pralines are guaranteed to pamper every palate and warm every heart.
So treat yourself and immerse yourself in the world of pumpkin pralines. Try this delicious delicacy and let the taste of autumn dance on your tongue. Pumpkin praline is not only a delight for the palate, but also a symbol of the beauty and pleasure of this marvellous season. Discover the secret of this irresistible treat and take your autumn to a whole new level of culinary delight.
Quantity: 24 pieces
Cooling time: approx. 30 minutes
Difficulty level: Medium
Shelf life: 1 month
| Whole cream | 70 g | |
| Glucose | 10 g | |
| Sorbitol | 5 g | |
| Butter | 5 g | |
| Vanilla seeds | 1 msp | |
| Couverture | white | 140 g | |
| Couverture | white, tempered | 600 g | |
| Cocoa butter colours | Little | |
| Powder colour | fat-soluble, green | Little | |
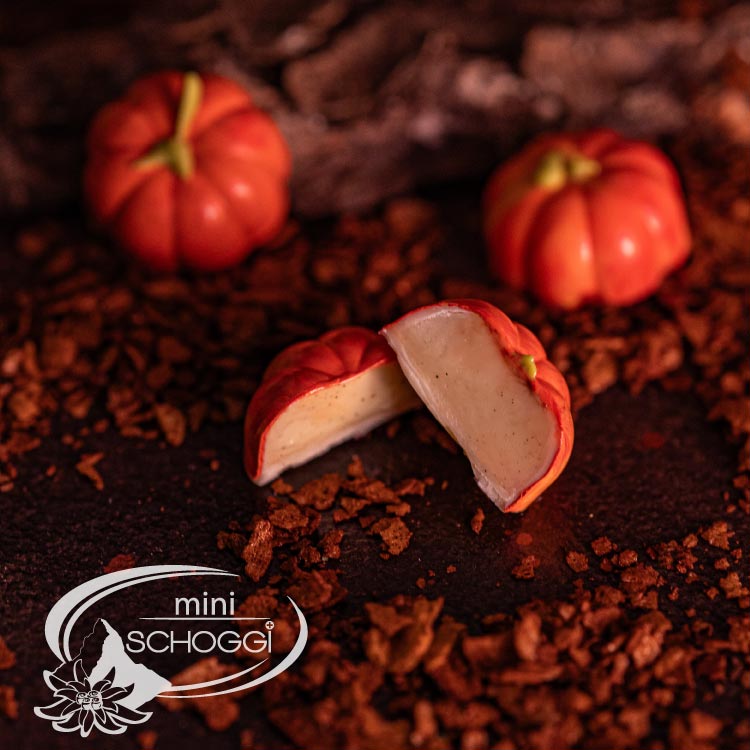
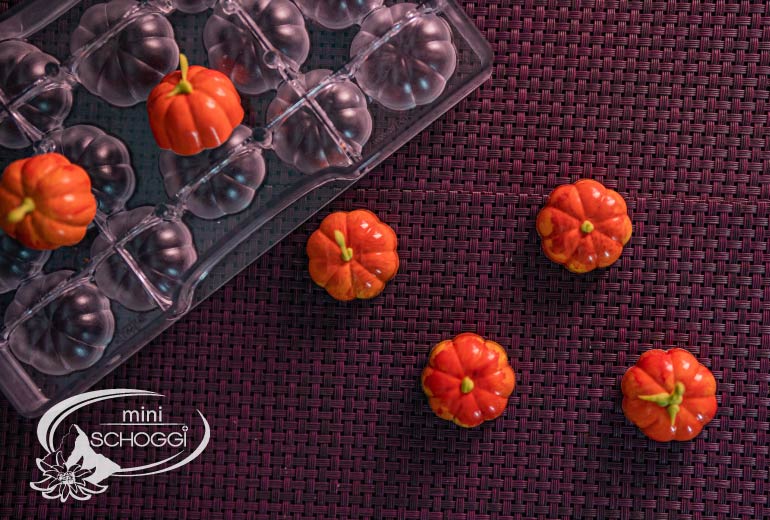
Place the couverture drops in a bowl.
Place the full cream in a small pan with the glucose, sorbitol, butter and vanilla seeds and bring the mixture to the boil, stirring constantly. As soon as the mixture boils, you can remove it from the heat and pour it over the couverture drops. Wait for approx. 1 minute until the pieces have melted a little and then stir everything with a whisk until a uniform mixture is formed. Pour the finished ganache into a piping bag and leave to cool at room temperature for an hour.
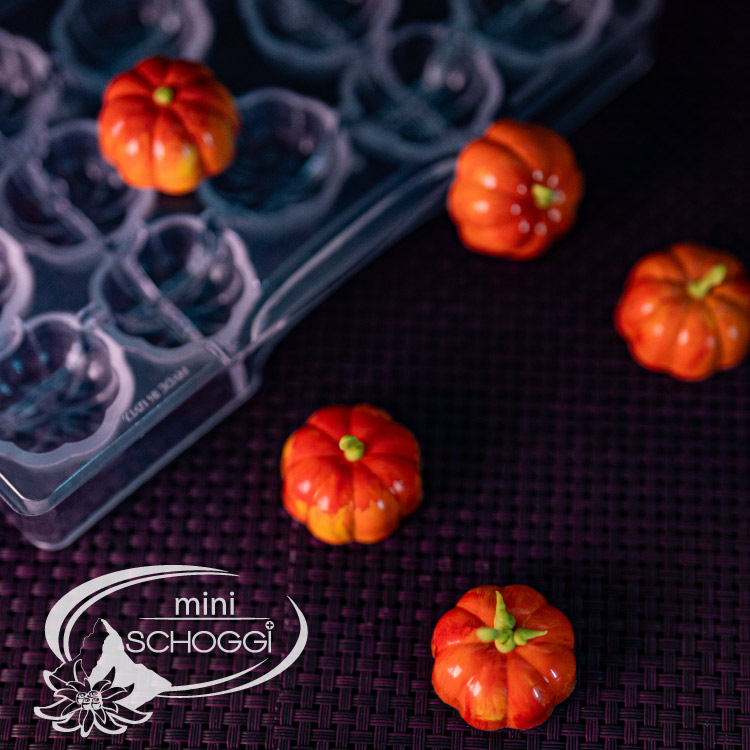
Place the cocoa butter colours in a bowl of warm water so that they can melt. Make sure that the temperature of the water does not exceed 45 ºC.
In the meantime, you can grab a paper towel and carefully polish your mould. The better you polish the mould, the more beautiful the shine will be afterwards.
As soon as the cocoa butter colours have melted, you can start brushing the mould. Using two to three different shades of orange will give your chocolates a more realistic look. Turn the chocolate mould over every now and then to check that you really have filled all the areas with the colour and that there are no air holes. Once you are happy with your result, you need to clean the mould quickly before you can start moulding. To do this, wipe the polycarbonate mould over some kitchen paper to remove any excess paint. Leave the paint to set at room temperature for approx. 5 minutes, then you can move on to the next step.
Now you can start moulding the chocolate. Pour the tempered white couverture into a piping bag and fill each cavity of the praline mould to the brim with the couverture. Then take a chocolate mallet and tap it against the edge of the praline mould. This will prevent air holes from forming and the chocolate layer will be nice and even. Then empty the chocolate back into its container and tap against the mould again constantly with the chocolate hammer. Try to turn the chocolate mould in a circle so that the couverture can flow out evenly and you end up with a nice, thin chocolate shell. Finally, run a metal horn over the surface of the mould to remove any remaining couverture and then place the praline mould in the fridge for approx. 5 minutes to allow the chocolate to set.
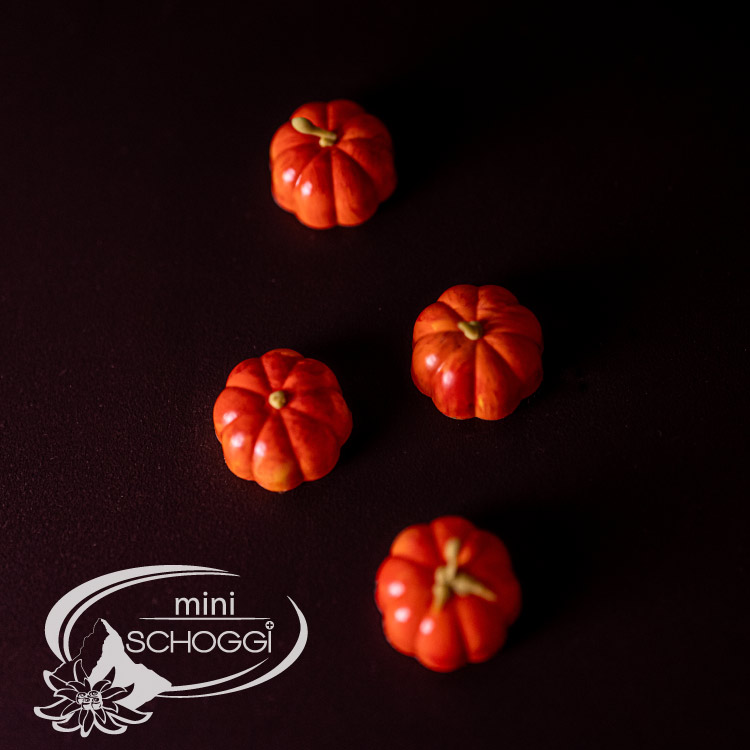
Now pour the cooled ganache into the pre-moulded praline shell. Make sure that you leave approx. 2-3 mm of space to the surface so that you can seal the chocolates afterwards. Place the filled mould in the fridge for approx. 30 minutes or leave it at room temperature for 2 hours so that the ganache can form a light skin. This makes it easier to seal the chocolates.
As soon as this skin has formed, you can start sealing. To do this, simply pour some tempered couverture onto the mould and spread it evenly so that no ganache is visible. Then go over the surface again with a metal horn to clean the mould and remove the excess couverture. Then place the chocolate mould in the fridge for at least 30 minutes.
Mix some of the tempered couverture with green fat-soluble powder colouring until you get a shade of green that you like. Put this coloured chocolate into a cornet and pipe small pumpkin stems onto baking paper. Press a little longer at the beginning and then draw a small line downwards. This will give you a wider stem at the top than at the bottom. Then leave the decoration to harden at room temperature.
Now mould the chocolates. Simply take the mould out of the fridge and turn it out onto your work surface. The chocolates should then simply fall out by themselves.
Now put some of the green couverture in the centre of each pumpkin and stick the prepared, hardened stem to it. If you like, you can now make additional leaves and tendrils with the couverture.
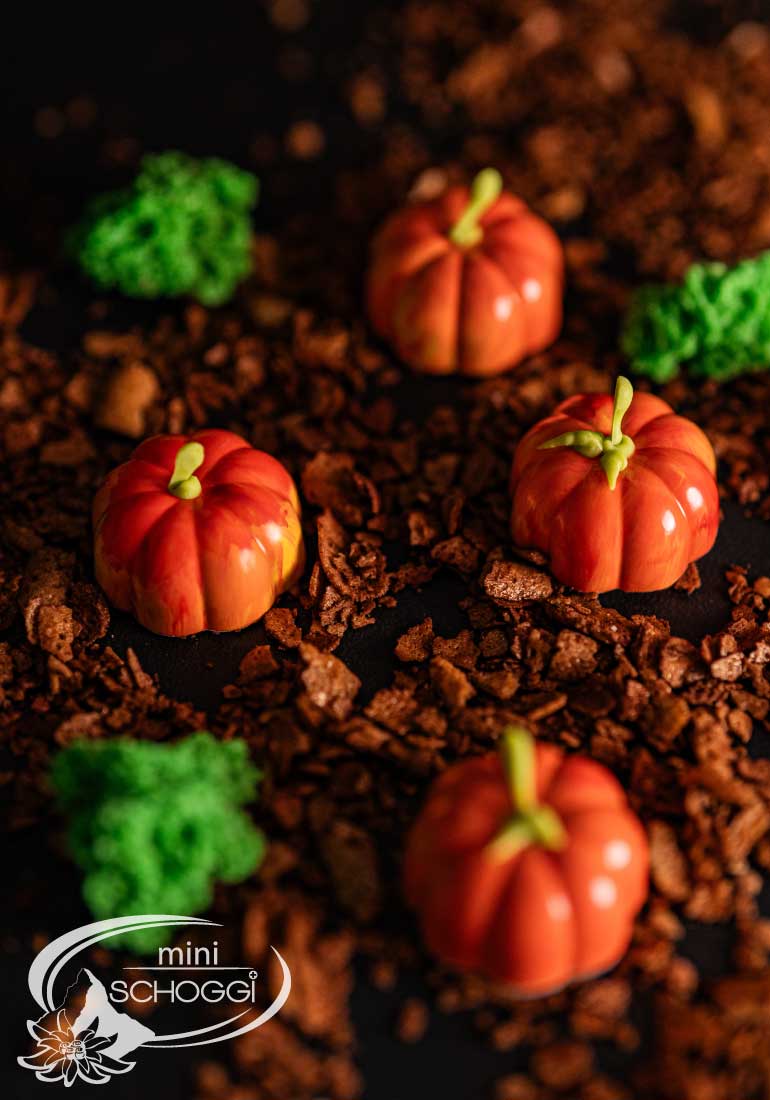
The finished chocolates can be kept at room temperature for up to a month. However, they are best when fresh!

 Casting your own chocolate Easter bunnies
 Make your own decor roulade
 Cinnamon star recipe
 Correctly temper couverture and chocolate
 Making Halloween chocolates
Leave a comment