Ready-to-ship quantity: more than 20 pieces20+ in stock
Price:CHF19.90

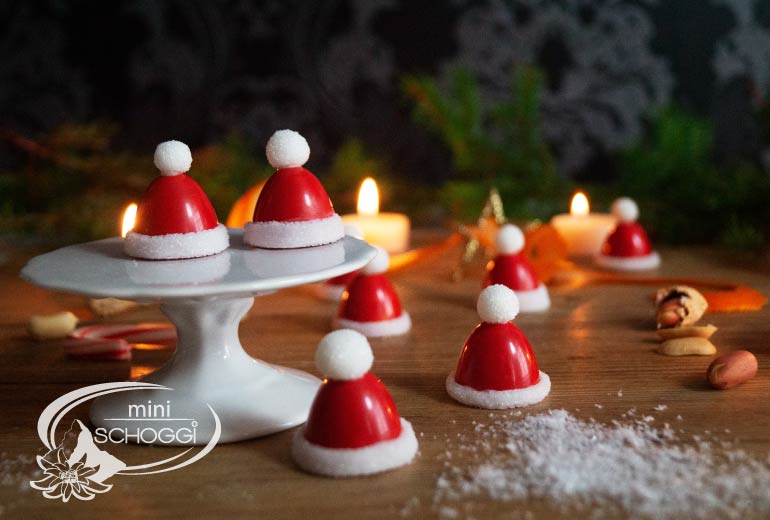
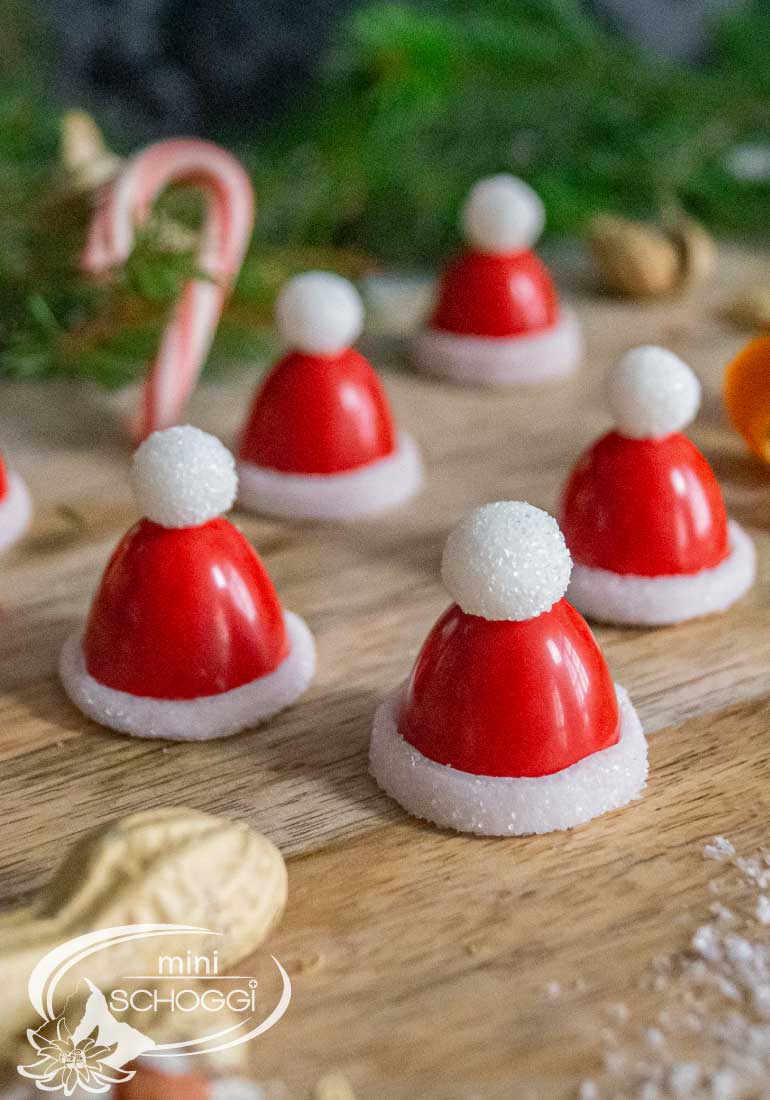
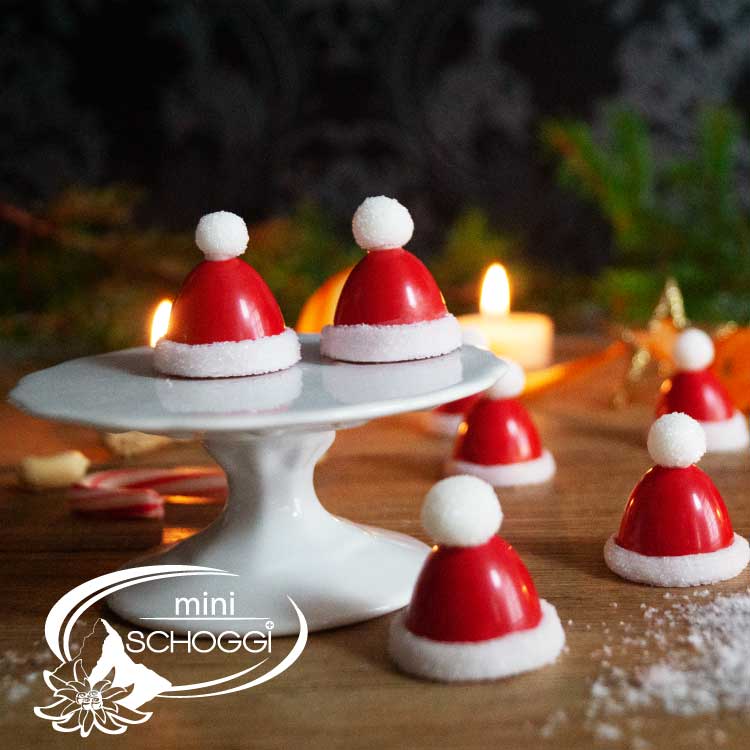
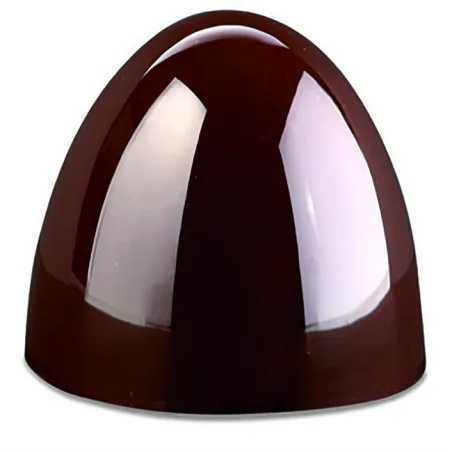
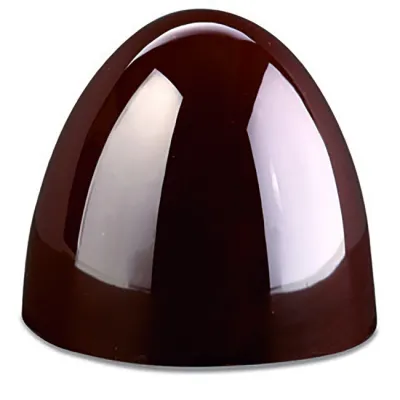
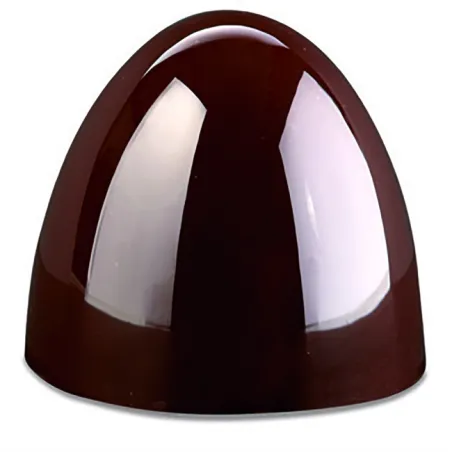
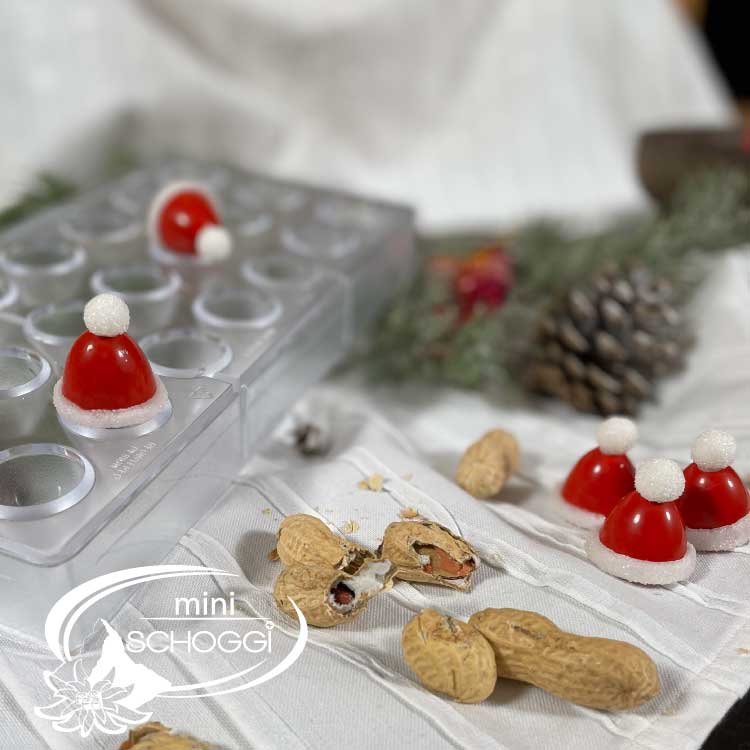
St Nicholas’ Day is just round the corner and we’ve come up with something really special for you! As mandarins and peanuts are the traditional treats for St Nicholas’ Day, we thought we’d create a praline shaped like a St Nicholas’ hat, featuring precisely these flavours. Delicate mandarin ganache with crunchy peanut pieces, enveloped in a thin layer of the finest white chocolate. Be sure to give this recipe a go and surprise your loved ones with it. These chocolates truly capture all the flavours of the run-up to Christmas. So, with this little treat, you’ll get yourself in the perfect mood for Christmas whilst bringing moments of joy to your friends and family.
Quantity: 21 pieces
Level of difficulty: Medium
Shelflife: 1 month
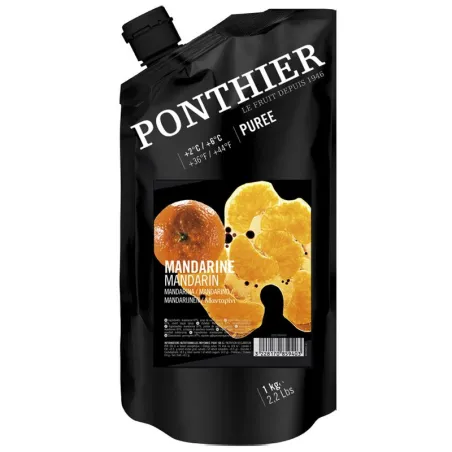
| Mandarin purée | 80 g | |
| Double cream | 40 g | |
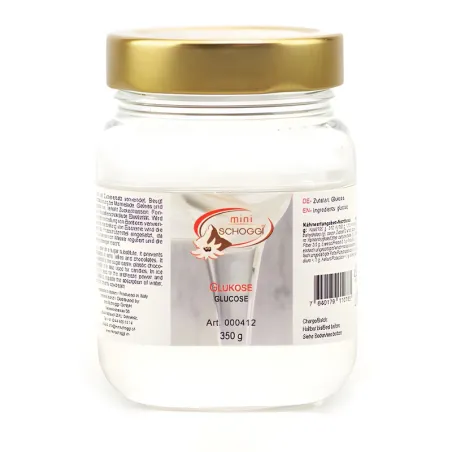
| Glucose | 10 g | |
| Sorbitol | 5 g | |
| Butter | 5 g | |
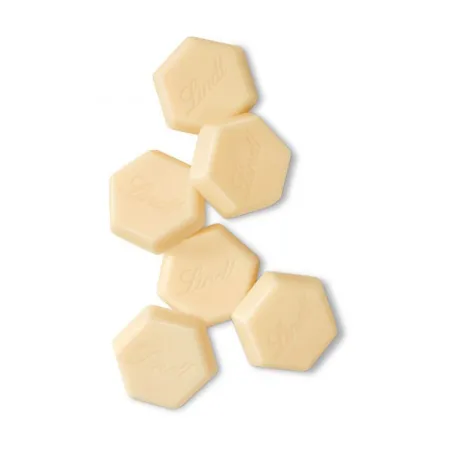
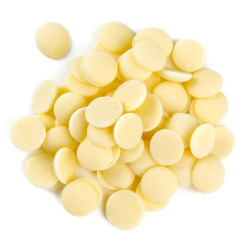
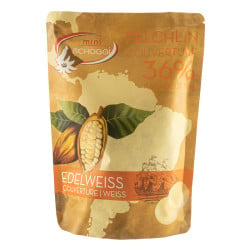
| White couverture chocolate | 140 g | |
| Mandarin flavouring | 2 tsp | |
| Peanuts | unsalted | 40 g | |
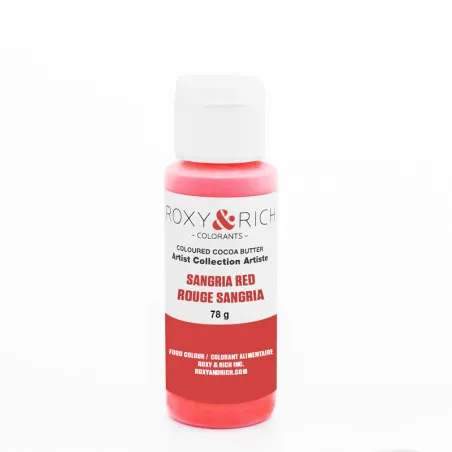
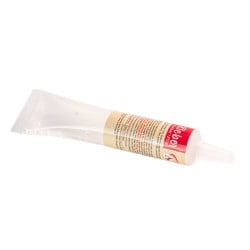
| Cocoa butter colour | Sangria red | A little | |
| Couverture | white, tempered | 400 g | |
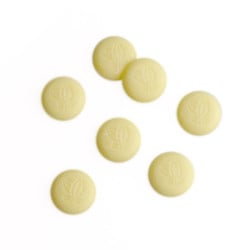
| Fondant | white | Small | |
| Granulated sugar | A little | |
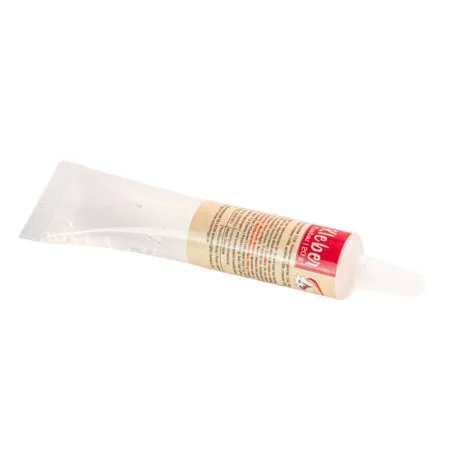
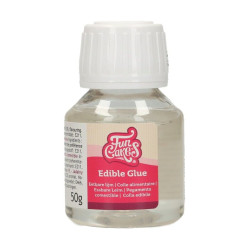
| Glue | edible | A little | |
| Baker’s starch | A little | |

Simmer the mandarin purée in a small pan until it has reduced to 40 g. The purée is quite watery to begin with, but reducing it gives you a more intense flavour and a thicker consistency.
Now add the double cream, glucose, sorbitol and butter, and bring the mixture back to the boil briefly. Pour this hot mixture over the couverture drops and stir everything together after about 1 minute. Stir until you have a smooth ganache.
Now stir in the mandarin flavouring thoroughly. Finally, peel the peanuts, chop them into very small pieces and fold them into the ganache. Transfer the finished mandarin ganache to a piping bag and leave it to cool at room temperature for about 30 minutes.

Place the cocoa butter colouring in a bowl of warm water so that it can melt. Make sure the water temperature doesn’t exceed 45 ºC. In the meantime, you can grab a kitchen towel and carefully polish your mould. The better you polish the mould, the more beautiful the shine will be afterwards.
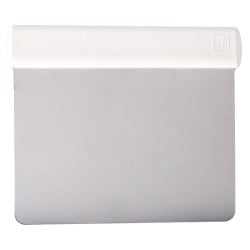
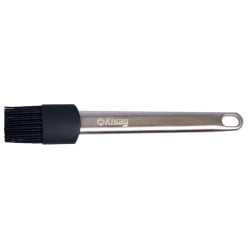
Now brush the chocolate mould with the liquid cocoa butter colouring. You should repeat this process once more to ensure the colour is applied evenly and provides good coverage. Wipe off any excess colouring onto a kitchen roll and leave the mould to stand for a few minutes so that the colour can set completely. Using asilicone brush, coat the painted dome-shaped mould with a thin layer of tempered white couverture, then run ametal scraperover the mould to remove any excess couverture.
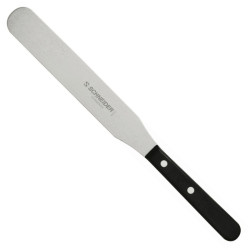
You can now fill the mould completely with tempered white couverture. Tap the back of aspatula against the polycarbonate mould several times to release any air bubbles. Now turn the mould upside down and pour the chocolate back into your tempering machine. Don’t forget to tap the mould again here either, as we want a nice, thin praline wall. As soon as the chocolate has completely flowed out, run the spatula once along the bottom of the mould to remove the excess couverture. Finally, clean the mould again with a metal scraper and then place it in the fridge for about 5 minutes.

Take the praline mould out of the fridge, cut a generous hole in your piping bag containing the ganache, and fill the moulds to about 2–3 mm below the rim. Now leave the mould to stand at room temperature for at least an hour. This allows a thin skin to form on the ganache, making it easier to seal later on.
After the ‘resting time’, you can now fill a piping bag with tempered white chocolate, cut off a medium-sized piece from the tip and pipe the chocolate onto the ganache. Tap the mould gently on the worktop so that everything is evenly distributed, then scrape off the excess couverture using a metal spatula.
The finished pralines should now be placed in the fridge for about 20 minutes. In the meantime, you can get on with the decoration.

Take some fondant and roll it between your hands into 21 small balls. Roll the balls in granulated sugar and set them aside.
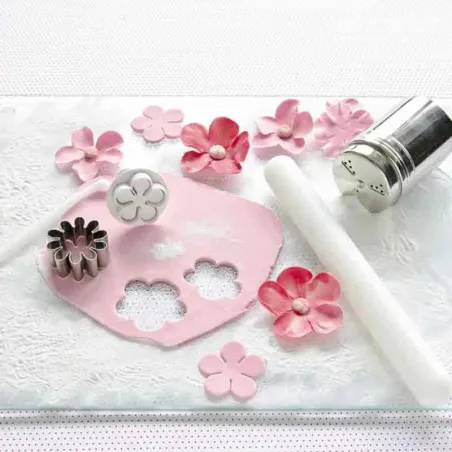
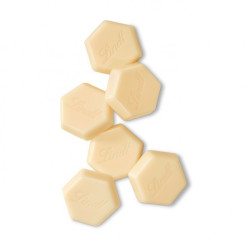
Sprinkle a little baking starch onto your work surface and over the remaining fondant, then roll it out to a thickness of approx. 2 mm aus.Schneide, cut narrow strips from the fondant, brush them with edible glue and sprinkle them lightly with caster sugar. Now spread tempered white couverture or cake glaze onto the back of the strip and wrap it around the lower edge of the St Nicholas praline. Use a pair of scissors to trim off the excess.
Use this method to attach the balls to the top of the domes as well.

The finished chocolates will keep for up to a month at room temperature. It is best to store them in a dry place, as otherwise the sugar and fondant will absorb moisture.


Ich habe euere neuen Videos geschaut...Bravo!!!
Einfach erklärt...super ausgeführt...tolle Idee...dafür brauchts natürlich auch Material....habe soeben bestellt...
danke euch für die tolle Tips, immer wieder neue Ideen...
Carol aus Thun
Replied by:
Nicholas Burk
On 2022-11-24

Hallo Carol,
vielen lieben Dank für den netten Kommentar! Das freut uns wirklich sehr, wenn Dir unsere Videos gefallen
und Dich gleich auch noch dazu inspirieren, die Rezepte nachzumachen!
Süsse Grüsse
Dein miniSchoggi Team
Make your own chocolate Easter bunnies
Make your own decorative Swiss roll
Cinnamon Star Biscuits Recipe
Tempering couverture and chocolate correctly
Make your own chocolate pumpkin pralines