...
Blog categories
- Sweet recipes (95) click
- Salty recipes (8) click
- Cooking (27) click
- Seasonal recipe ideas (64) click
- Things to know (21) click
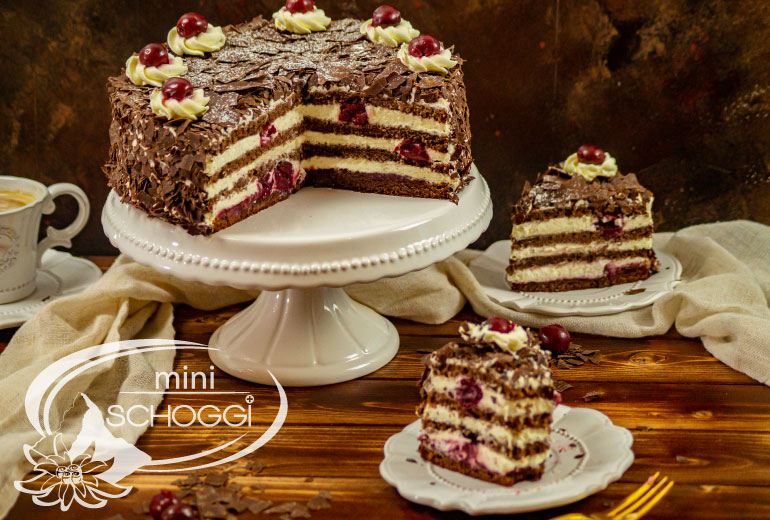
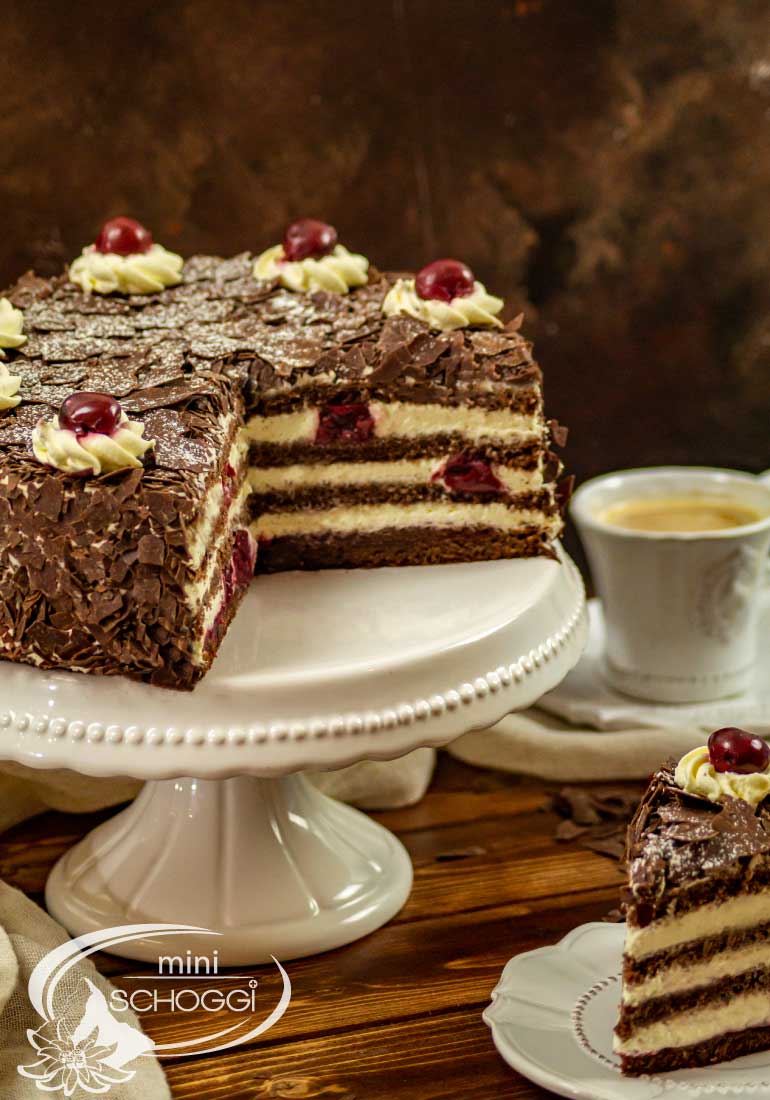
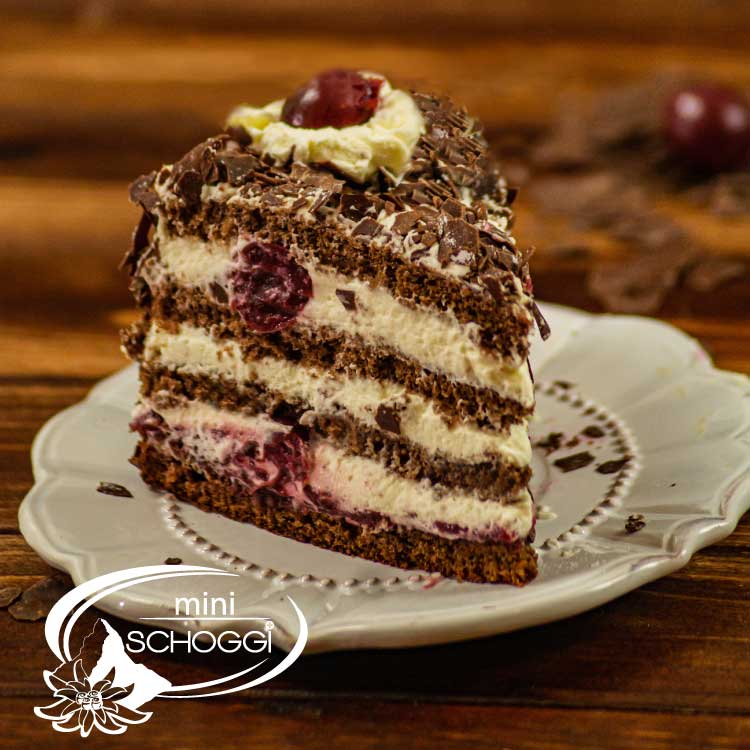
The Black Forest gateau is a German classic that is now known and popular all over the world. In Switzerland, of course, it's hard to imagine life without this cake and many people have it on the Sunday table from time to time. The great thing about this cake is that it looks great and is really very easy to make. We're sharing our sure-fire and incredibly delicious recipe with you so that you can easily bake the cake at home.
Quantity: 1 cake | 22 cm
Baking time: 20 to 25 minutes
Baking temperature: 200 ºC convection oven
Level of difficulty: Easy
Shelf life: 3 days
| Granulated sugar | 175 g | |
| Whole egg | Egg whisked | 300 g | |
| White flour | 125 g | |
| Wheat starch | 25 g | |
| Cocoa powder | 30 g | |
| Sour cherries in syrup | 2 tins | |
| Granulated sugar | 20 g | |
| Sour cherry juice | part 1 | 90 g | |
| Vanilla cream powder | 20 g | |
| Sour cherry juice | part 2 | 20 g | |
| Granulated sugar | 60 g | |
| Water | 30 g | |
| Cherry | 50 g | |
| Whole cream | 700 g | |
| Leaf gelatine | 2 pieces | |
| Granulated sugar | 40 g | |
| Chocolate chips | dark | 200 g | |
| Cherries | whole | Few | |
It is best to start by making the chocolate sponge cake. You can even prepare it a day in advance. This gives it enough time to cool and makes it easier to cut.
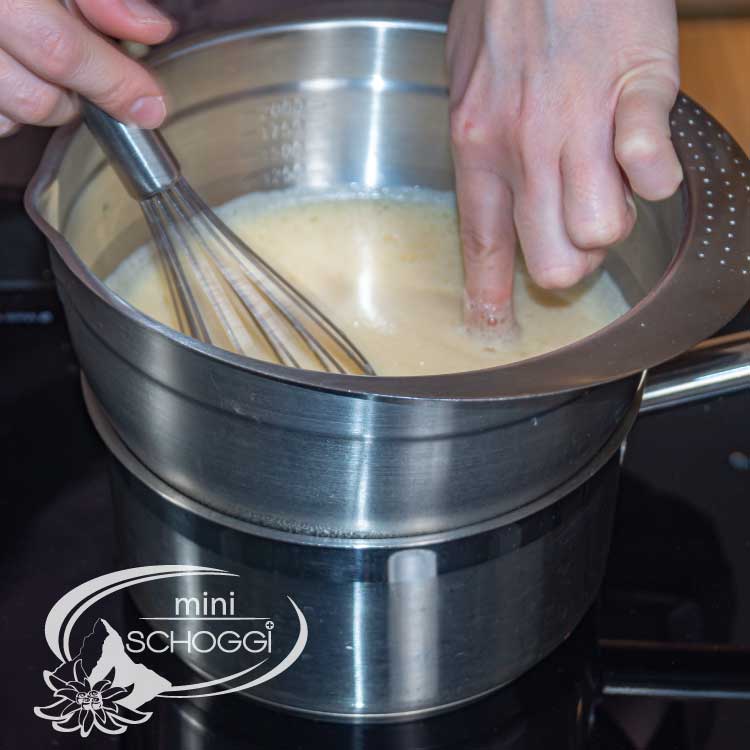
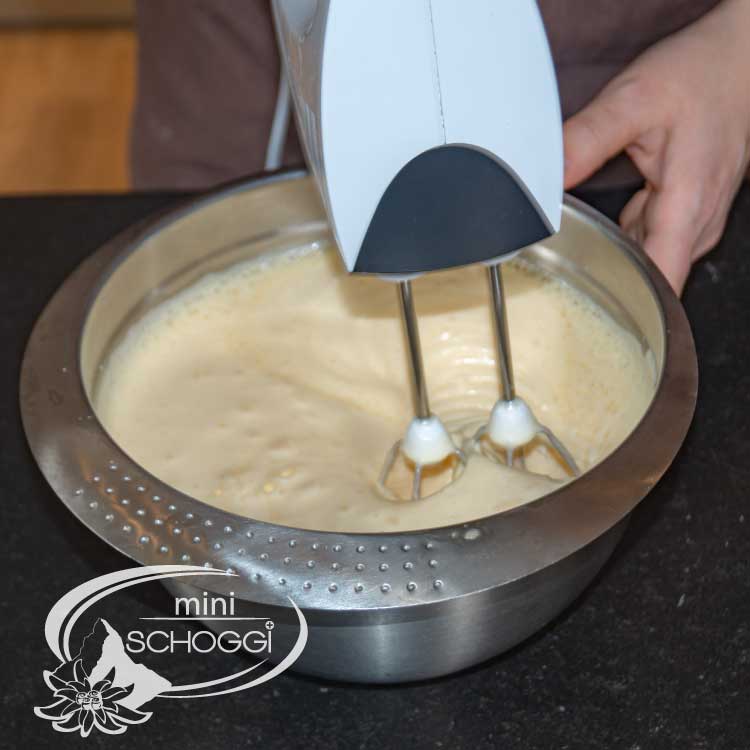
Put the whole egg and sugar in a metal bowl and place it on a suitable pan with a little water. Heat the water over medium heat, stirring the egg mixture constantly with a whisk so that it does not burn or become lumpy. The mixture will become lighter and frothier as it is heated and whisked. Dip your finger into the egg mixture and then rub your fingers together. If you can no longer feel any sugar crystals, you can remove the mixture from the water bath and whip it completely with a hand mixer until it has become really light and has doubled in volume.
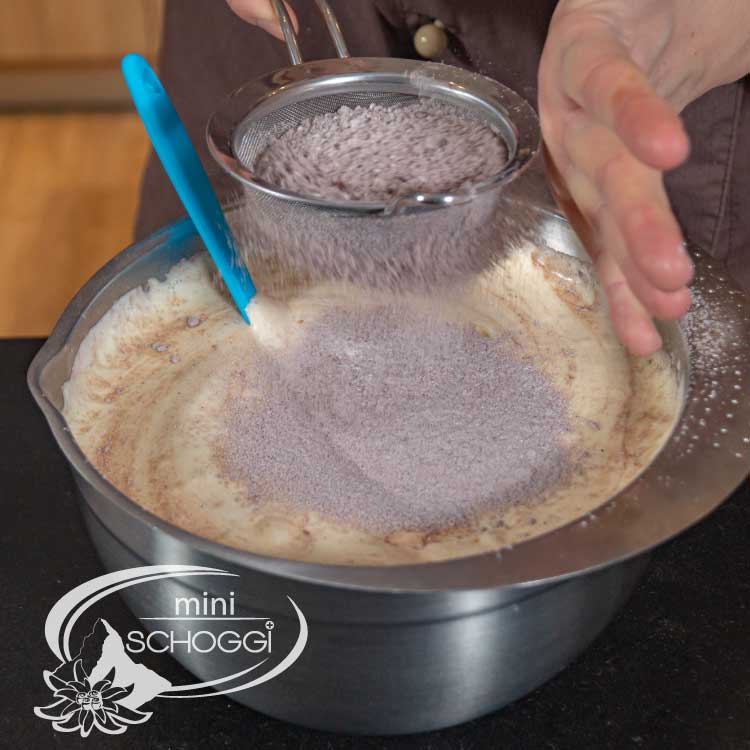
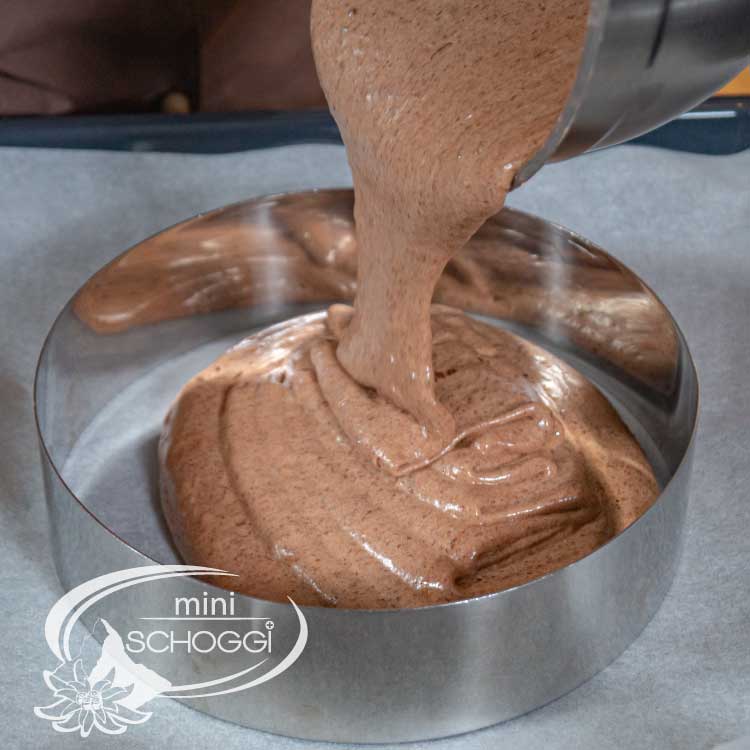
Mix the starch, white flour and cocoa powder in a bowl and sift them into the egg foam in three parts. Fold in the flour with a rubber scraper. Pour the sponge mixture into a 22 cm cake ring placed on a baking tray lined with baking paper. Bake the sponge for 20 to 25 minutes at 200 ºC convection oven.
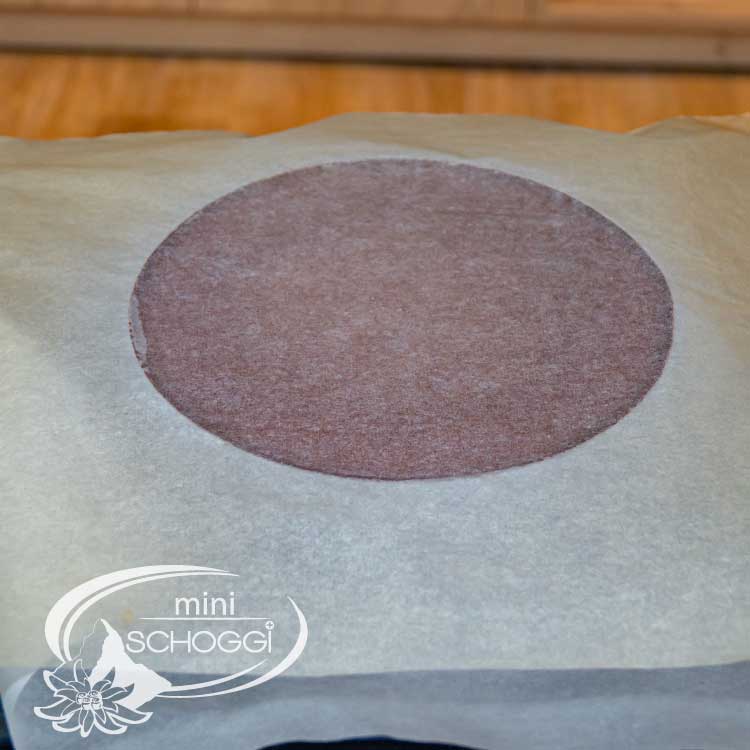
To check whether the cake is ready, it is best to do a simple test. Prick the centre of the cake with a thin wooden stick. If there are cake remnants, you need to bake it a little longer, but if the stick is free of dough remnants, you can take the cake out of the oven. Now place another baking tray with baking paper on top of the cake and turn it 180 degrees. Remove the upper baking tray and let the cake cool completely. This is best done overnight. You don't have to worry about the cake drying out, as it is well protected by the two baking papers and the rotation gives it a smooth surface on both sides.


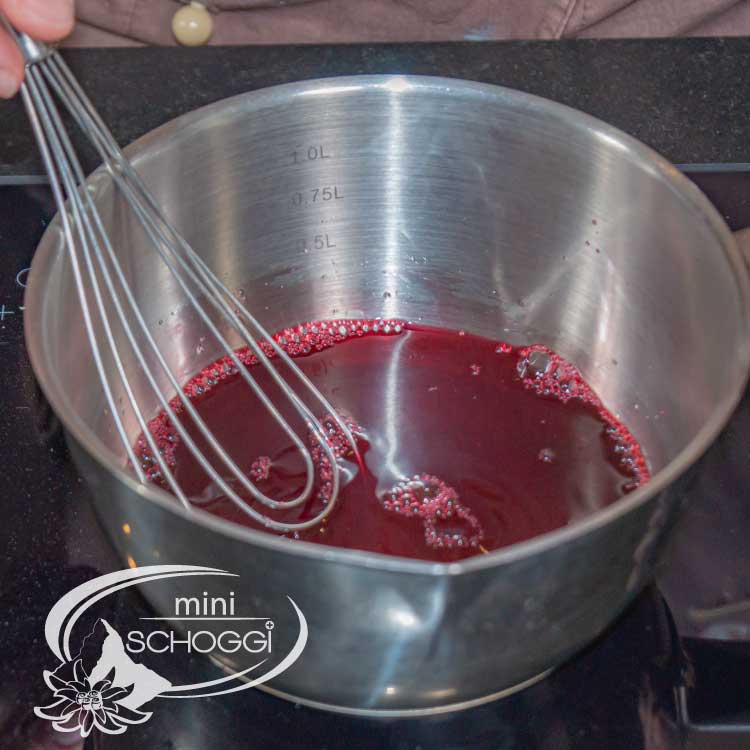
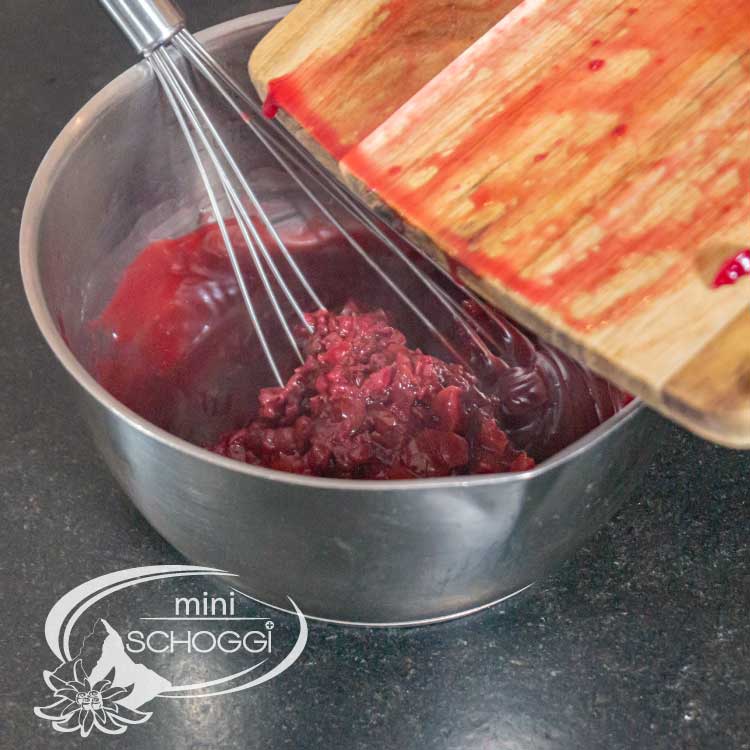
While the cake is cooling, you can start making the jelly. This can also be prepared in advance. Pour off the cherries from the first jar and collect the juice. Finely chop the sour cherries with a sharp knife and put 90 g of the juice with the sugar into a small pan and heat the mixture over a medium heat. Put 20 g of the collected juice in a separate bowl with vanilla cream powder and mix the ingredients. Pour a sip of the hot juice into the bowl with the mixed vanilla cream and stir it in well. Pour this mixture into the pan and bring the juice to the boil, stirring constantly to form a thickened cream. Then add the finely chopped cherries, mix them into the cream and finally transfer it to a bowl so that it can cool completely. Either leave the jelly to cool overnight or put it in the fridge for about an hour.
If you want to make the classic version with alcohol, you now have to prepare a sugar syrup and mix it with kirsch. Simply boil 30 g water with 60 g sugar and let the mixture simmer for about one minute. Pour the syrup into a bowl, add 50 g of kirsch and allow the syrup to cool.
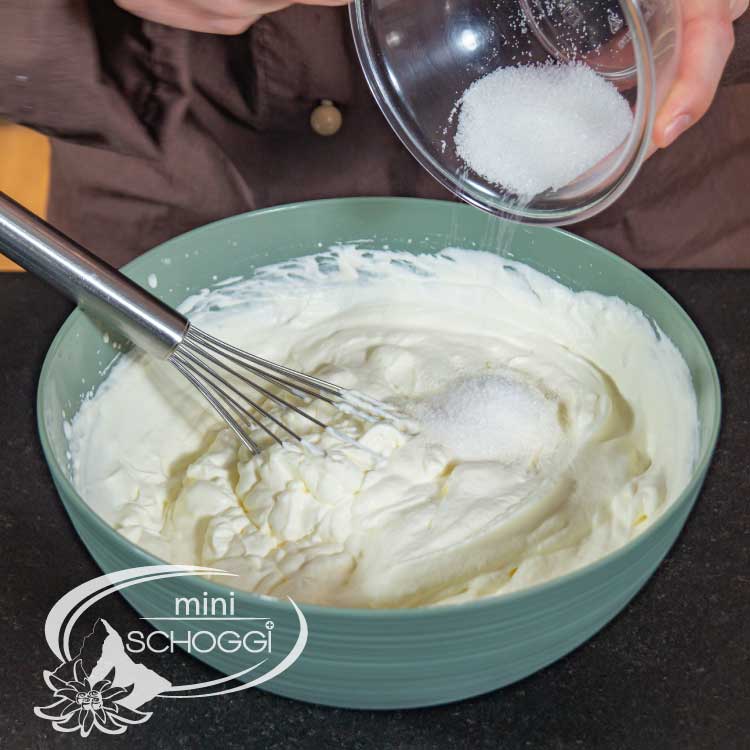
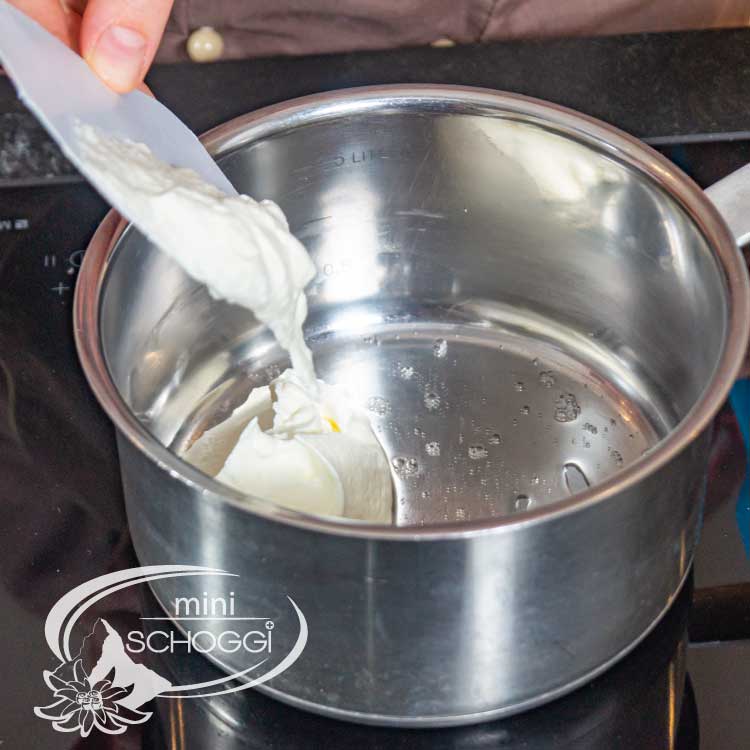
Now whip the full cream. Make sure that you only whip it to about 70 to 80 % at first. Then add 40 g granulated sugar (optional) and stir it in briefly with a whisk. Soak the gelatine in cold water, then squeeze it out well and melt it in a small pan on a low heat. Add some of the whipped cream to the melted gelatine and mix the two ingredients to a homogeneous cream. Add the leveled gelatine mass back to the remaining cream and whisk it in. Now you can stir a little more vigorously until the cream has completely firmed up.
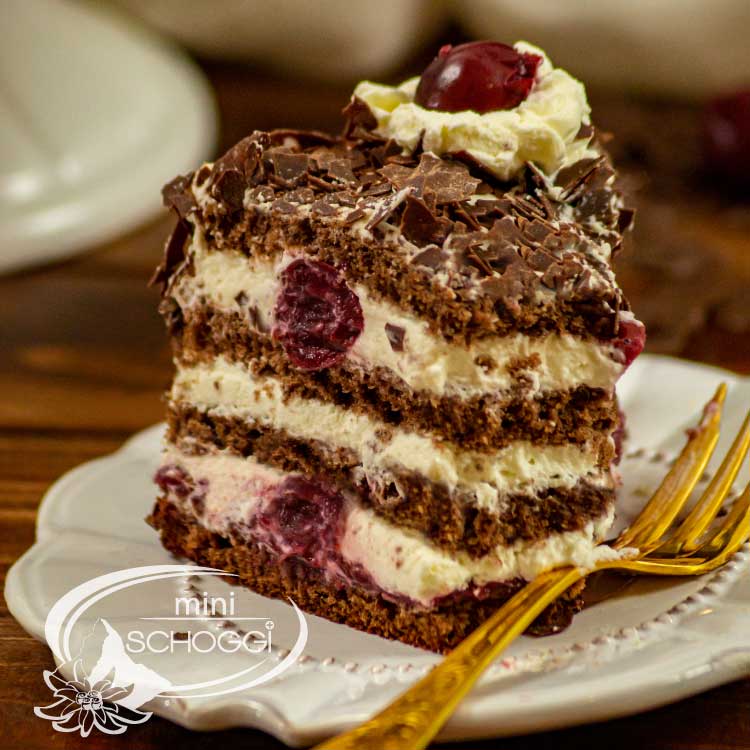
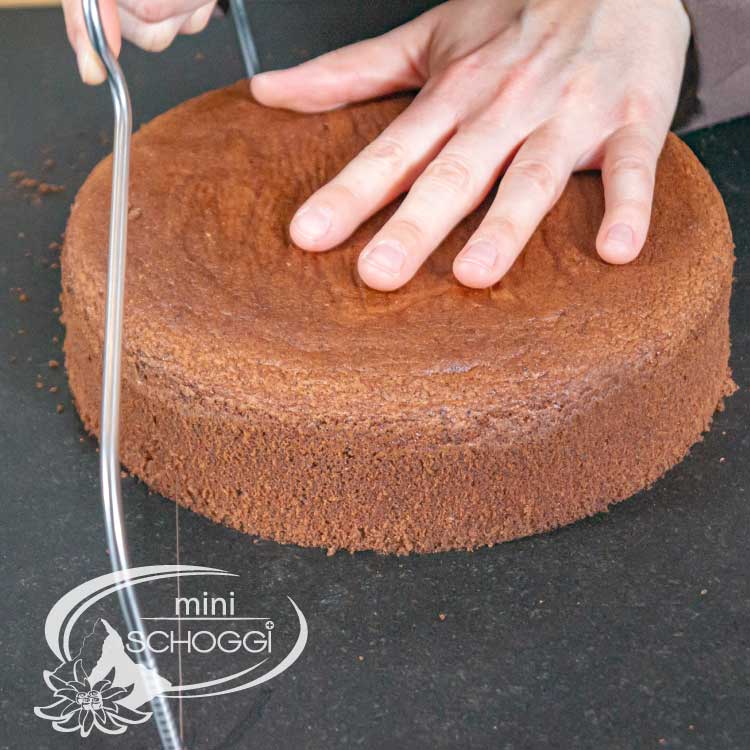
Now place the cooled sponge cake on your work surface and carefully remove it from the baking ring using a cake ring knife. Cut the cake into four evenly thick layers (approx. 1 cm thick). It is best to use a sponge cutter for this. Place the base on a cake slice (20 cm) and carefully spread the sour cherry jelly over it. Make sure that you spread the jelly evenly so that the cake will be nice and straight later.
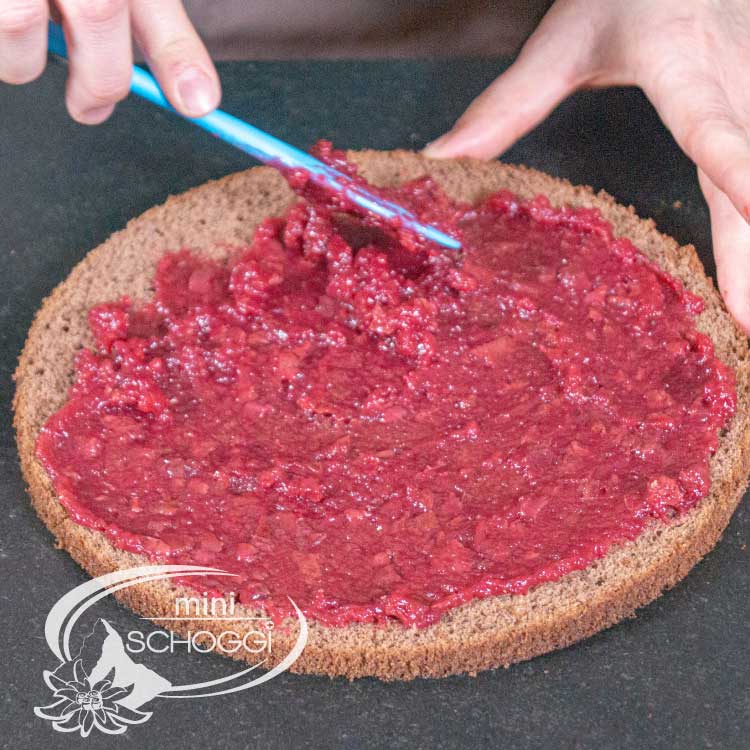
Now add 150 g of the whipped whole cream to the jelly and smooth it out with the help of a spatula. Again, make sure that the mixture is evenly distributed. Now take a few sour cherries and press them into the cream mixture. You decide how many of the whole cherries you want to spread per layer. When you are happy with the distribution, add the second layer. Try to place the base directly on top of the first one and press it down gently.
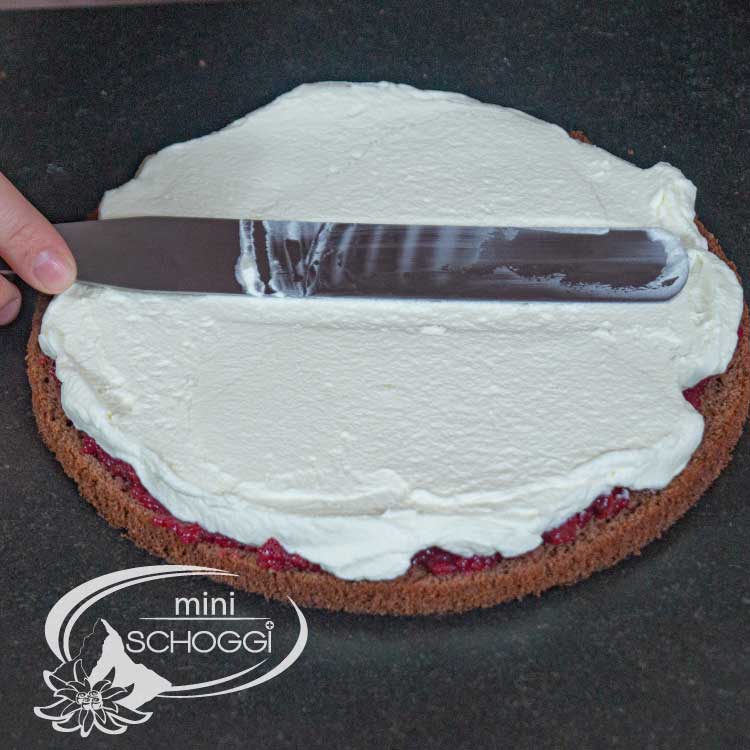
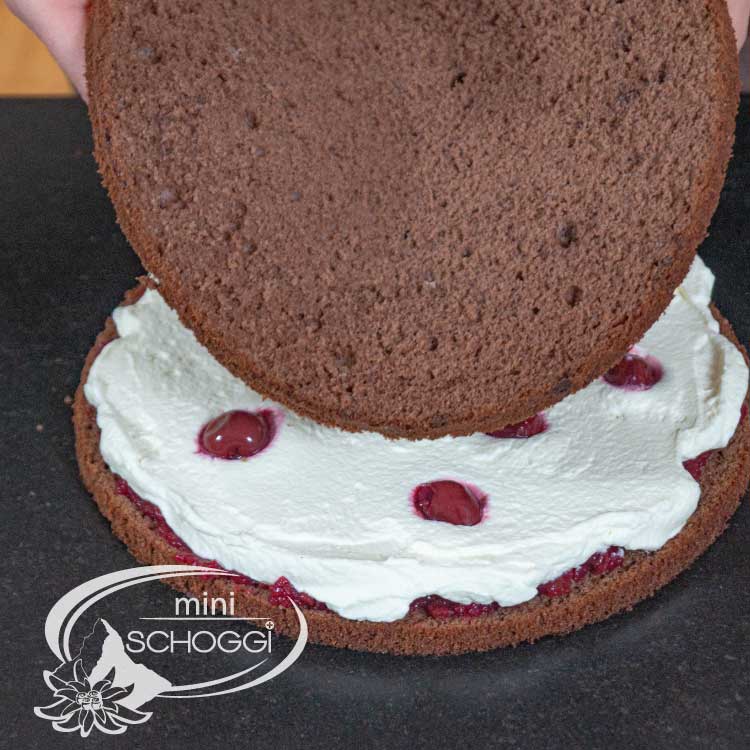
Now drizzle the second base with your alcohol syrup. If you want to make a non-alcoholic version of the cherry tart, you can either omit the syrup completely or replace it with a fruity cherry syrup. The best way to soak the base is with a cake trough or a silicone brush. Now pour 150 g of the cream on top of this layer and spread whole sour cherries on top again. Do exactly the same for the next layer. First soak, then spread with cream and sprinkle with cherries. Then put the final lid on top and spread the cake with cream. It is best to take 150 to 200 g of cream, pour it onto the surface and smooth it down. Then run a spatula around the cake and spread it evenly over the edge. If there is still more dough sticking out in some places, you can simply add a little more cream to these areas and smooth it out again.
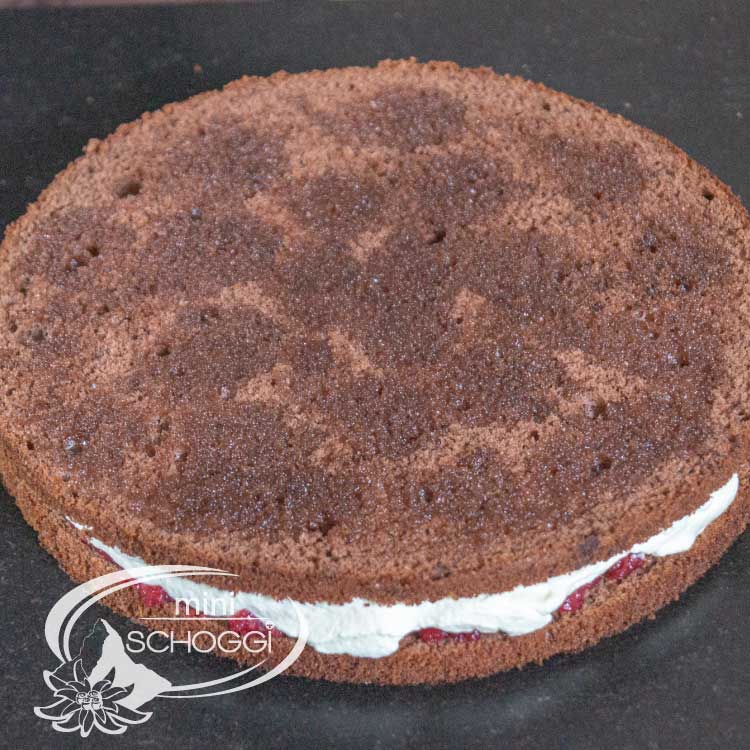
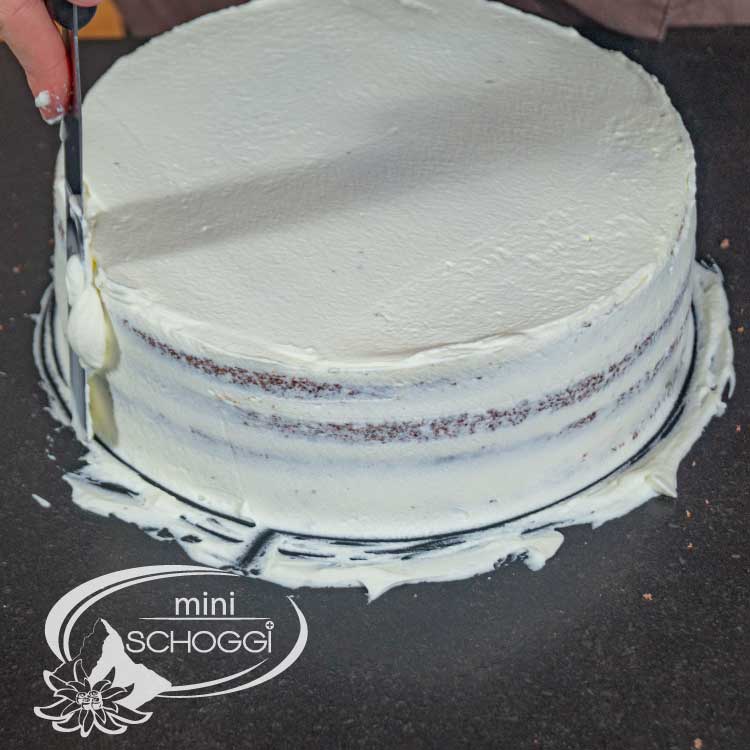
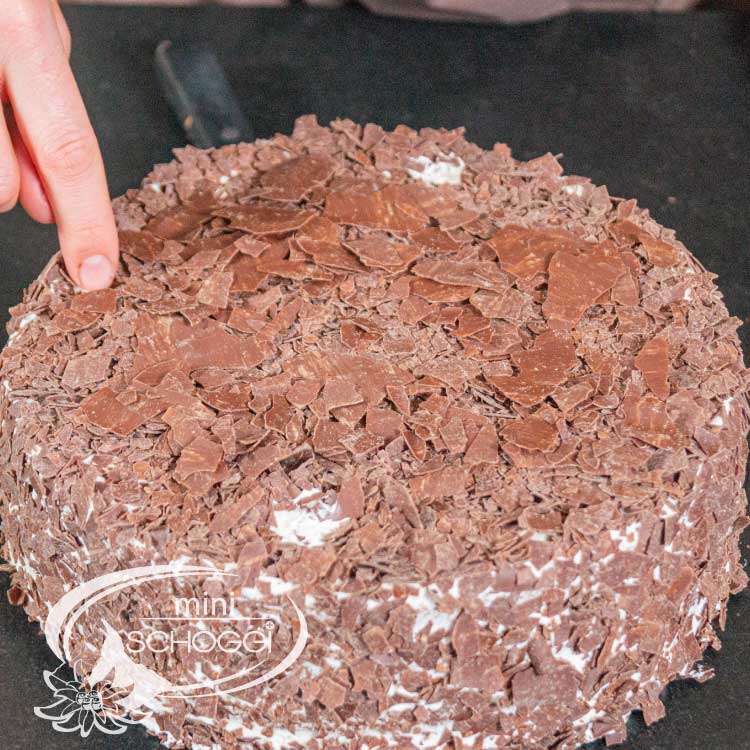
Once the cake is nicely covered and you are happy with the result, it's time to 'dress' it with chocolate chips. Run an angled palette under the cake slice and carefully lift it up.
Fill a large bowl with chocolate chips, hold the cake at a slight angle over it and now press a handful of the chips against the edge of the cream cake at a time. Once the edge is completely covered, you can sprinkle the rest of the chips on the surface. Choose shavings that are slightly larger than the rest for the surface, this will give the cake a nicer look.
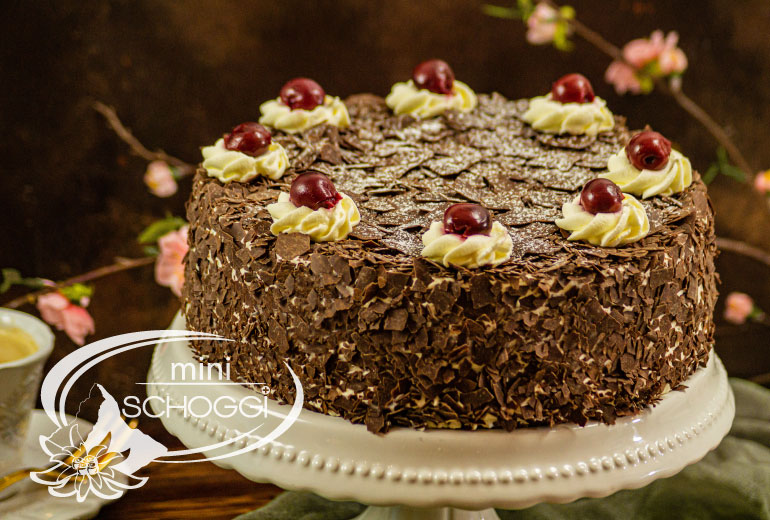
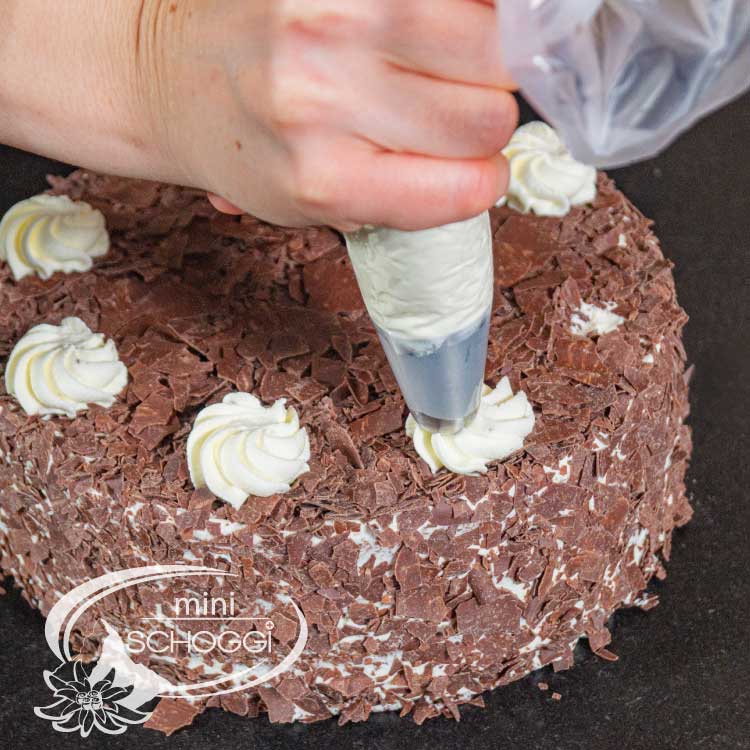
Now it's time for the final decoration. Classically, the Black Forest cake is decorated with one cream rosette per cake slice. Decide in the case how many pieces you want to cut and then drill a small hole and the chocolate decoration at the intervals how big the pieces should be. This is necessary so that the cream rosette will hold later. If you tried to pipe the cream directly onto the chips, it would simply slip off again.

Fill the remaining cream into a piping bag with a rosette nozzle (18 mm) and pipe small, beautiful cream rosettes onto the prepared areas. Now pick out the most beautiful remaining cherries and place one cherry per cream decoration. Of course, you can also use fresh cherries if they are in season.
Finally, dust the whole cake lightly with icing sugar and you're done. We recommend that you refrigerate the cake for another 30 to 60 minutes before cutting it, so that it is easier to cut.


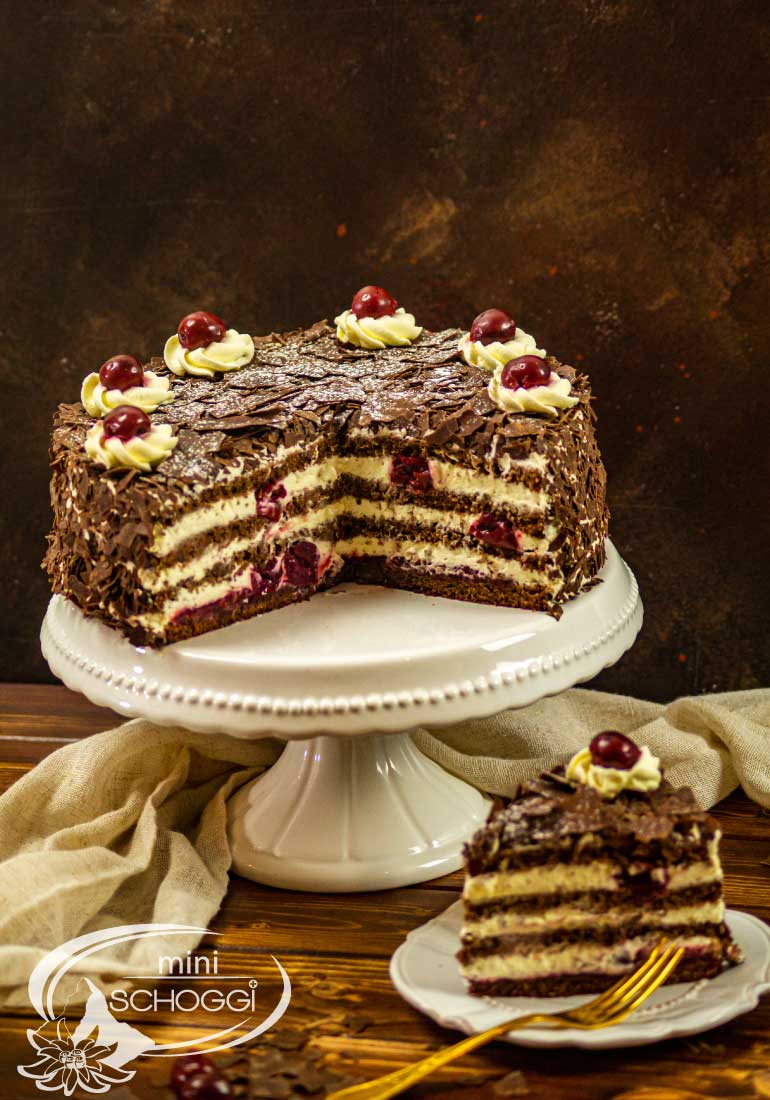
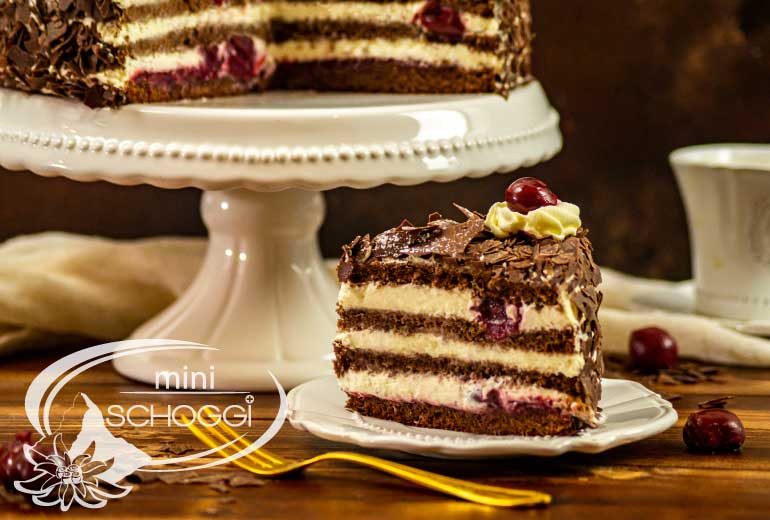
The finished cake will keep for three days in the fridge.
If you want to freeze the cake, you should add one sheet of gelatine to the cherry jelly and an additional sheet of gelatine to the full cream. Then the cake can be kept in the freezer for up to one month.

 Casting your own chocolate Easter bunnies
 Make your own decor roulade
 Cinnamon star recipe
 Correctly temper couverture and chocolate
 Cake Recipes Convert
Leave a comment