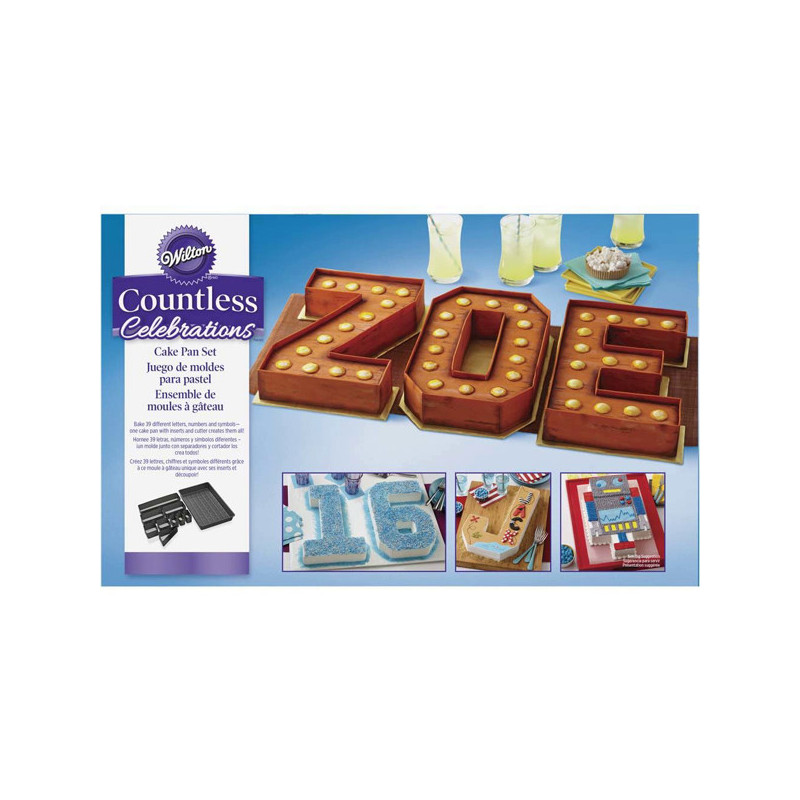


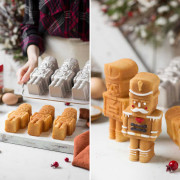
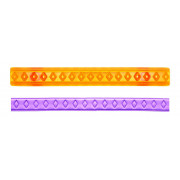
Say it with numbers and letters! There is no more personal and individual cake than in the form of a number or letter. The anti-stick metal baking pan measures 38 x 23 x 5 cm. The set includes the baking pan and 9 individual pieces to bake each letter and number. With only one baking pan you are perfectly equipped for anniversaries, birthdays and New Year's Eve.
Data sheet
Say it with numbers and letters! There is no more personal and individual cake than in the form of a number or letter. The anti-stick metal baking pan measures 38 x 23 x 5 cm. The set includes the baking pan and 9 individual pieces to bake each letter and number. With only one baking pan you are perfectly equipped for anniversaries, birthdays and New Year's Eve.
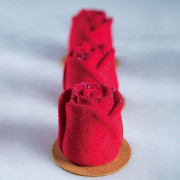
Here is a delicious recipe for a Red-Velvet number or letter.
For the fluffy Red-Velvet dough you need:
300 g butter (room temperature)
300 g sugar
1 pinch of salt
6 eggs size M
1 package baking powder
150 ml buttermilk or cream (not low-fat)
Progel color red
Preheat the oven to 180 degrees Celsius. Prepare the baking pan with the desired number or letter in the mold. Spray the baking pan with the Baking Release Sprayso that after baking the dough comes out of the mold in the best possible way. Beat the butter with the sugar and salt. For this purpose use a Hand mixer or a Dough machine. Add the eggs little by little, beating constantly until you get a creamy and fluffy consistency. Mix the flour and baking powder together. Set your machine to the lowest setting. Add the flour mixture and the buttermilk alternately, sip by sip. Before adding the next ingredient, wait until the last portion of flour or buttermilk or cream is well mixed with the butter mixture. Now add 2-3 progel drops to the mixture. The color spreads very well in the dough. Mix everything at the end until a homogeneous dough mass is formed and the color is well distributed. Do not mix too long and only on the lowest speed, so that the volume is not lost. If this happens, your dough will not be as nice and airy after baking. Now pour the dough evenly into the number or letter well. Bake the dough for 15-20 minutes. To check if the sponge is really baked, you can do the stick test. Take a toothpick and insert it to the bottom of the baking pan. Immediately afterwards, pull the toothpick out again. If there is still some dough stuck to the toothpick, you should put the sponge cake in the oven for another 2 minutes. After baking, let the entire baking pan cool completely with the finished number or letter. Now remove the cold parts from the baking pan and carefully lift the motif out of the baking pan. Do not use any metal tools, otherwise you could scratch the baking pan.
For the filling you need:
1 organic lemon
200 g Philadelphia Nature
200 g mascarpone
125 g butter
100 g powdered sugar
Tonka bean
Wash the lemon under hot water. Dry the lemon with a kitchen towel and finely grate the peel of the lemon. Squeeze the juice from the lemon. Beat the butter with the powdered sugar until creamy for 5-10 minutes. Then add the grated lemon zest and lemon juice. Gradually add Philadelphia and mascarpone alternately to the butter mixture. Finally, finely grate the tonka bean into the cream. The tonka bean has a very special taste, slightly reminiscent of vanilla. Depending on your taste, you can add half a teaspoon to a teaspoon of grated tonka bean to the cream. Be rather careful, because a fresh bean is very intense.
Back to your number or letter: Using a cake cutter, cut the completely cooled sponge horizontally down the middle so you get two halves.
Now take the Piping bag holder a Dressing bag and the Hole grommet 14 mm to hand. Cut a hole in the piping bag. This hole does not have to be too large. The nozzle must only be able to slip through to the bottom, but not fall out. Put the piping bag with the nozzle over the holder. Make sure that the tip is slightly bent in the holder so that the cream does not flow out again. Now take the bottom half of the sponge and spread the cream on the sponge in a dabbing manner. Once you have covered the entire surface with the cream, place the top half exactly on top of the bottom half. To decorate, you can now also put some dabs on the surface and then decorate as desired with different fruits, brittle or chocolate pieces. If you want to decorate the cake with the remaining cream, there are numerous nozzles to create different patterns. Here you will find great tulle sets.
We reveal the secret of the famous cakes together in the Cake basic course 1. Here you will get to know 5 famous cakes in just one day and make all 5 yourself. At the end of the day you will take home your homemade cakes and the recipe booklet. We are looking forward to your registration!


Say it with numbers and letters! There is no more personal and individual cake than in the form of a number or letter. The anti-stick metal baking pan measures 38 x 23 x 5 cm. The set includes the baking pan and 9 individual pieces to bake each letter and number. With only one baking pan you are perfectly equipped for anniversaries, birthdays and New Year's Eve.