...
Blog categories
- Sweet recipes (95) click
- Salty recipes (8) click
- Cooking (27) click
- Seasonal recipe ideas (64) click
- Things to know (21) click
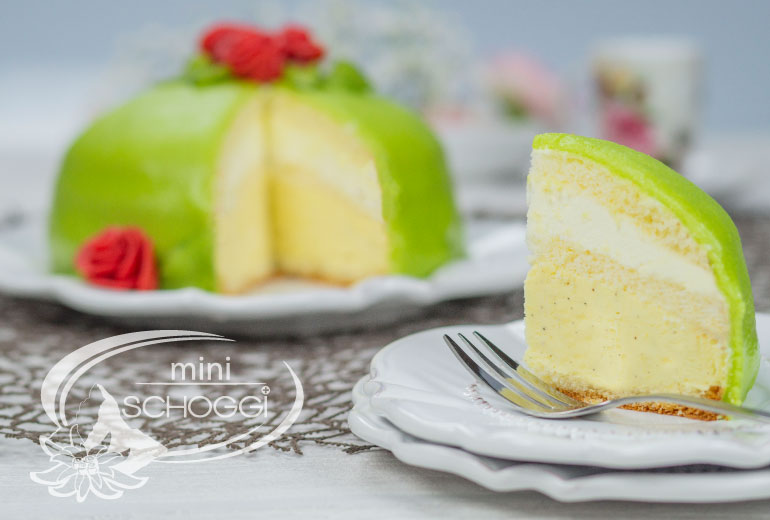
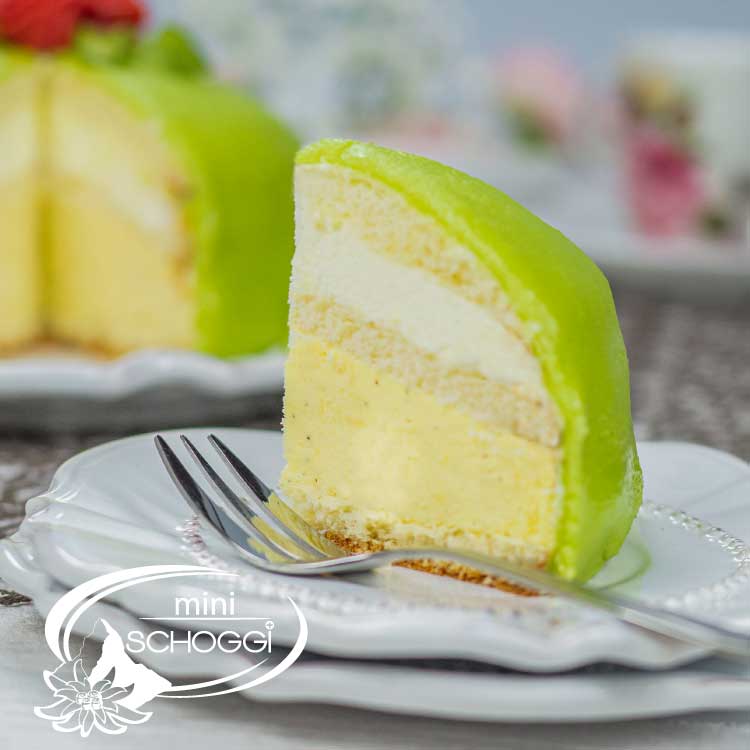
This classic vanilla cream is our absolute favourite and can be found in many of our recipes and courses. The cream can be super well flavoured with pastes and purees, as vanilla enhances and supports many flavours. To help you make our favourite cream at home, we've put together step-by-step instructions for you. Be sure to try out the recipe!
| Whole milk | Part 1 | 130 g | |
| Granulated sugar | 25 g | |
| Vanilla seeds | 1 pinch | |
| Vanilla cream powder | 20 g | |
| Egg yolk | 25 g | |
| Whole milk | Part 2 | 15 g | |
| Vanilla pudding | cold | 200 g | |
| Leaf gelatine | 1 piece | |
| Whole cream | whipped | 90 g | |
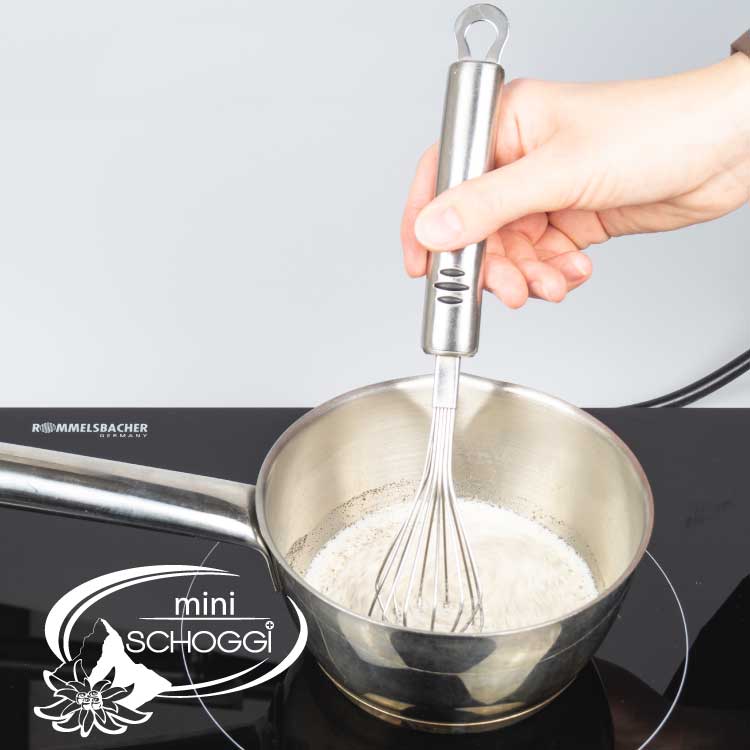
Weigh the milk (part 1) together with the sugar and the vanilla seeds in a pan. Bring the mixture to the boil once briefly.
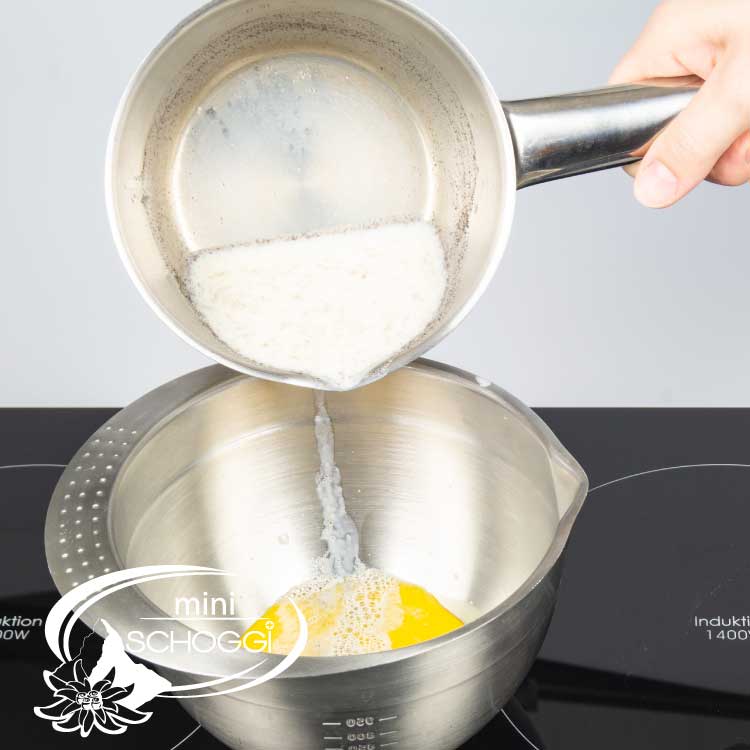
In a stainless steel bowl, mix the vanilla cream powder, the egg yolk and the milk (part 2) with a whisk. It should make a smooth liquid. As soon as the vanilla-milk mixture starts to boil, add a small sip of the warm mixture to the egg yolk mixture and whisk briefly.
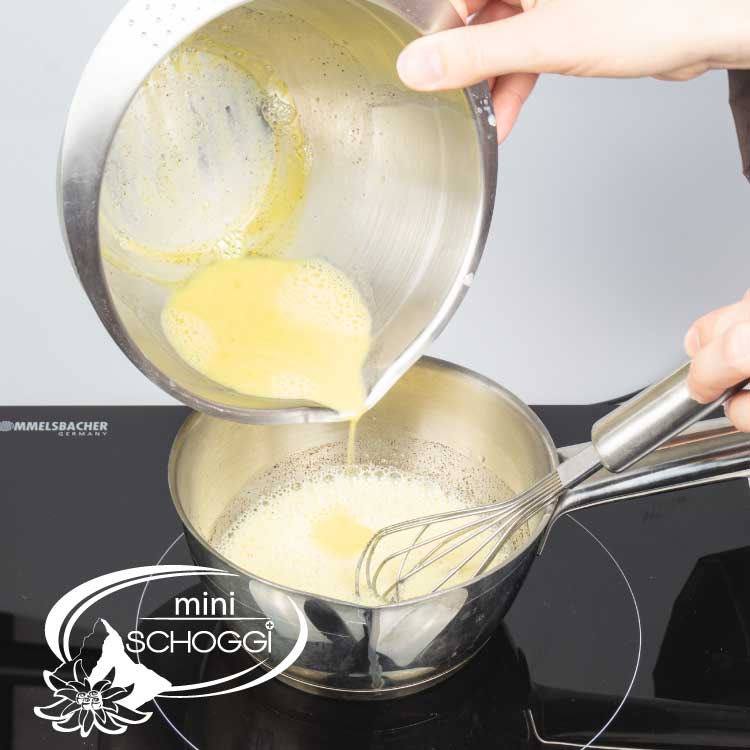
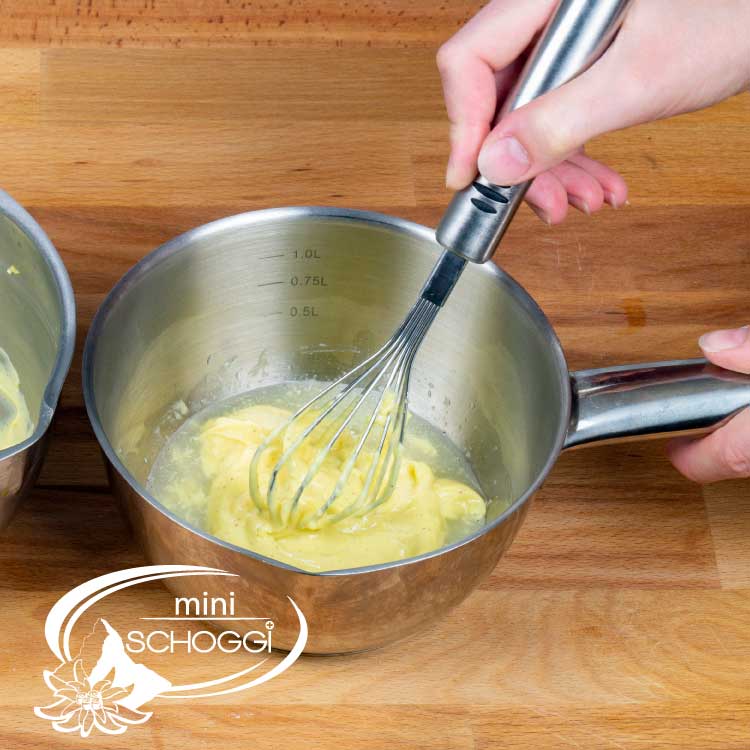
Pour the leveled egg yolk mixture back into the pan with the hot vanilla-milk mixture, stirring the mixture constantly with a whisk. It is really important that you keep stirring the whole time, otherwise the egg can burn and you will get unsightly lumps in the cream.

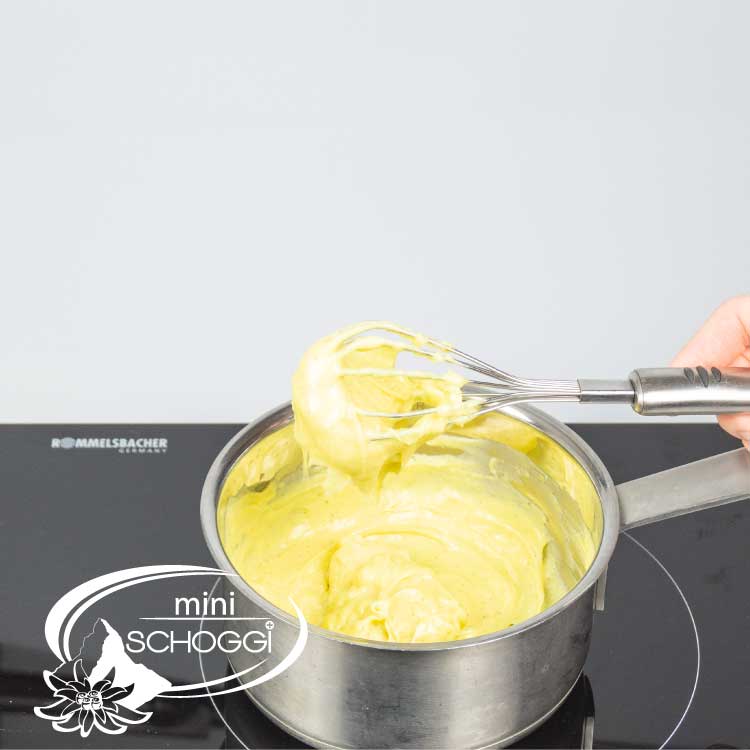
Stir until the liquid evaporates and the custard thickens nicely. The custard is only sufficiently cooked when it becomes a firm pudding, as you see in the photo.
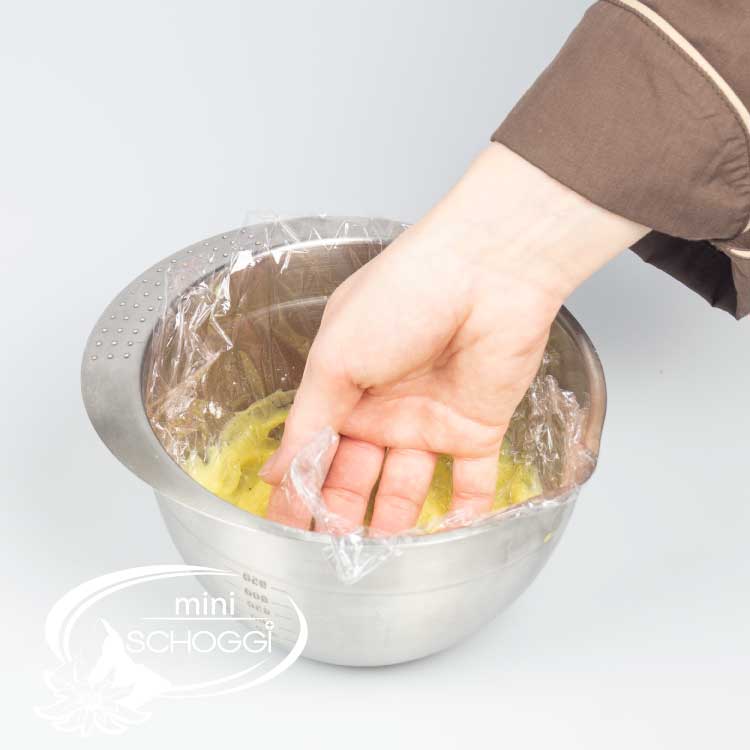
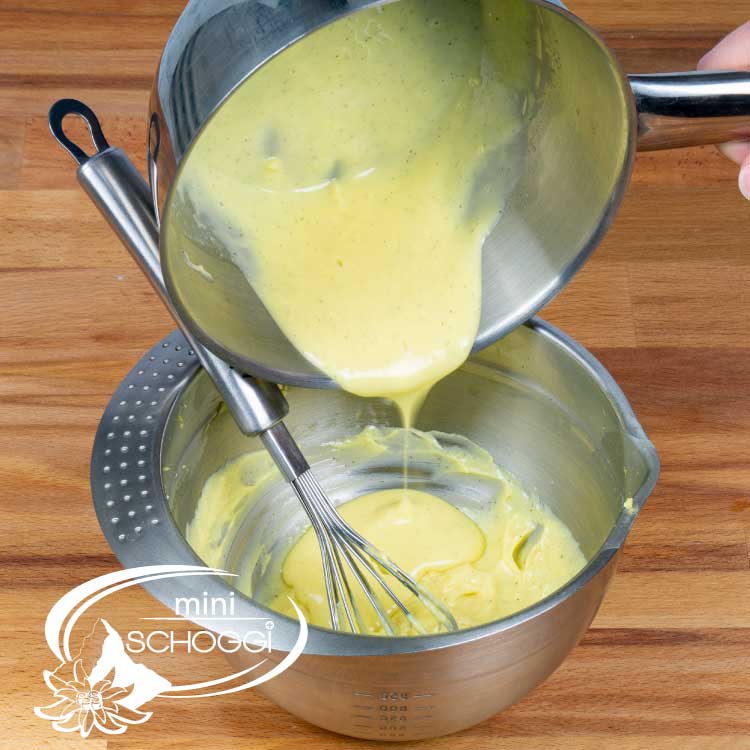
Now pour the finished custard into a clean bowl. Press a piece of cling film directly onto the still hot filling and press it down nicely. Make sure that you also press it down well on the edge of the bowl.
Leave the mixture to cool in the fridge for at least 6 hours. You can also prepare the pudding the day before and leave it to cool overnight in the fridge.
Once the cooling time is over, you can prepare the next ingredients. Whip the cold vanilla pudding with a hand mixer or food processor until the whole mixture is smooth and supple.
In the meantime, soak the gelatine in cold water and whip the full cream in a separate bowl.
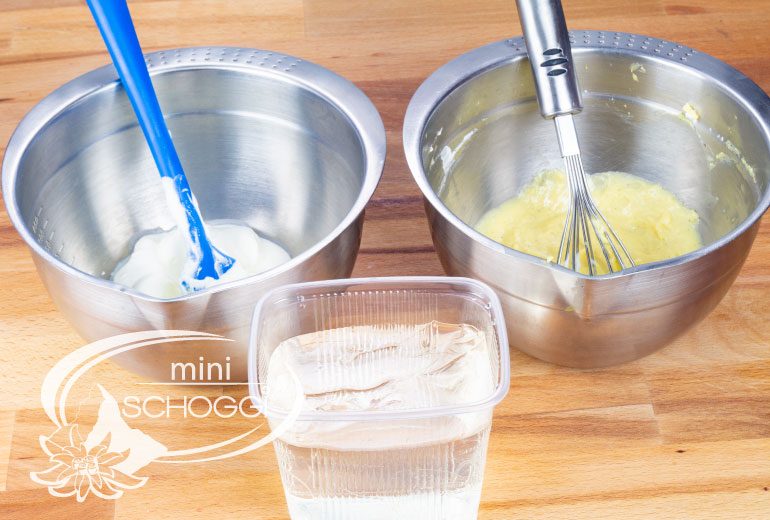
Squeeze the soaked gelatine well and put it into a small pan. You must now dissolve the gelatine at a low temperature. If the gelatine gets too hot or boils, it loses its consistency and binding properties.
As soon as the gelatine is liquid, you can add a generous amount of the cold vanilla pudding and stir it well. Once the custard has combined well with the gelatine and you have a homogeneous mass, you can pour this mixture back into the bowl with the rest of the custard, stirring constantly, and mix again very well.
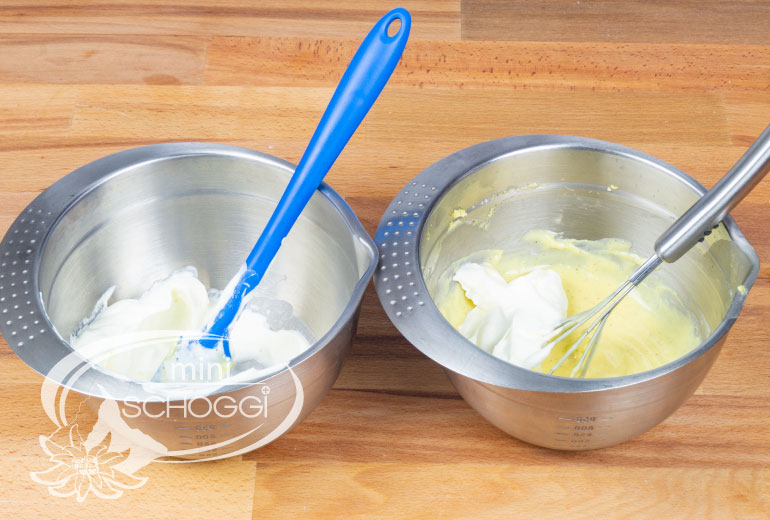
Finally, add the whipped cream in about three parts. Do not stir the cream too much, just fold it in. Nevertheless, the mixture should be homogeneous in the end. Before using the vanilla cream, place it in the fridge for about 5 minutes so that it becomes a little firmer.
You can now make various products from the finished vanilla cream:
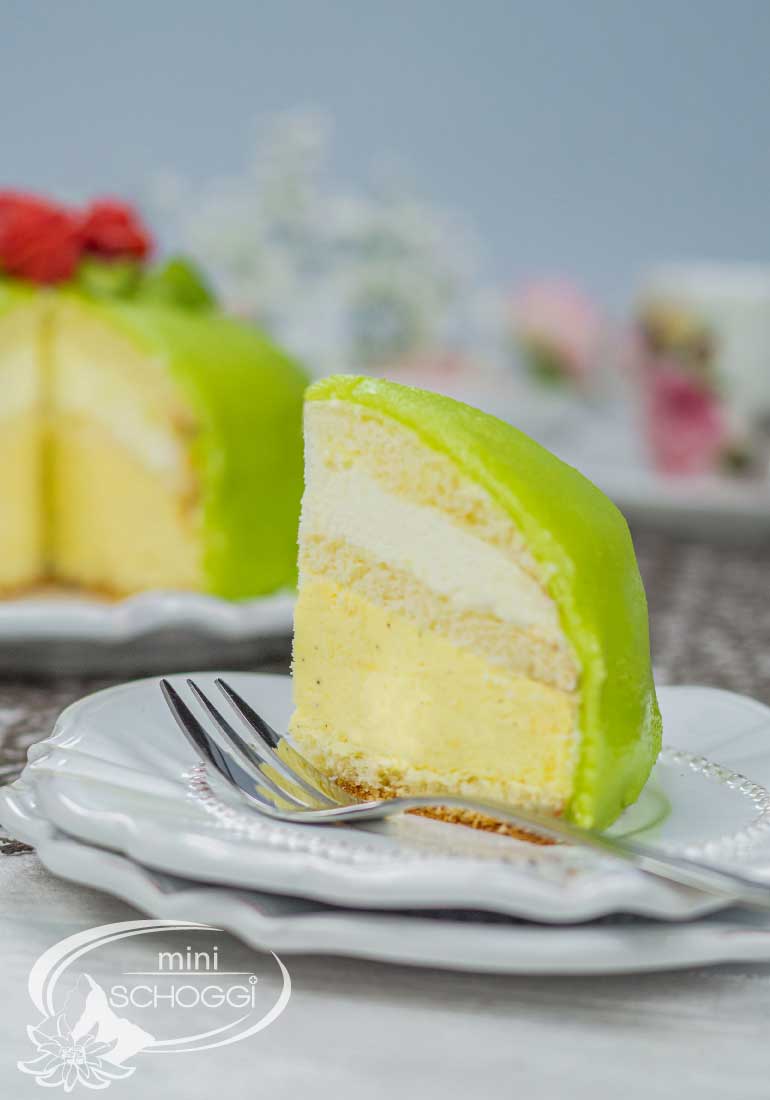
A classic Swedish cake or delicious cream slices.
Vanilla cornets, edberry tarts, fruit bases and various patisserie.
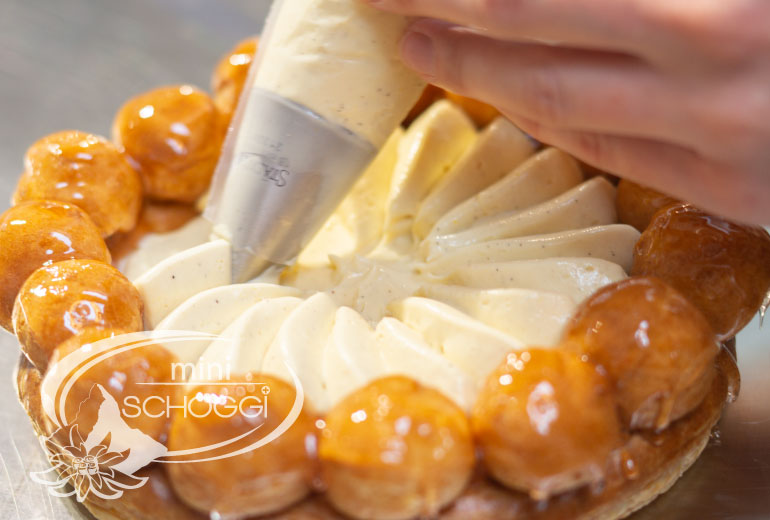
You can also refine the vanilla cream very well with fruit purees or aroma pastes . This allows you to create many different variations with one basic cream. This is especially practical if you have a pastry that is easy to fill. Cream puffs / eclairs, for example, are ideal for filling with different creams.
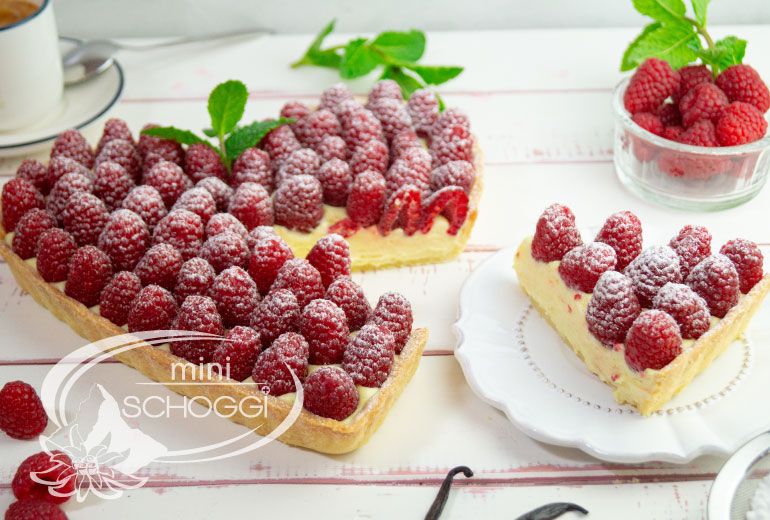
The finished vanilla cream has a shelf life of up to three days in the refrigerator. In ready-made pies, the cream can easily be frozen for up to 2 months.
 Casting your own chocolate Easter bunnies
 Make your own decor roulade
 Cinnamon star recipe
 Correctly temper couverture and chocolate
 Cake Recipes Convert
Leave a comment