
...


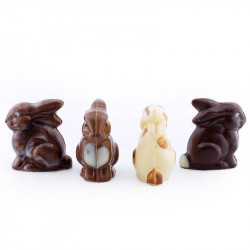


 Casting your own chocolate Easter bunnies
Make your own decor roulade
Cinnamon star recipe
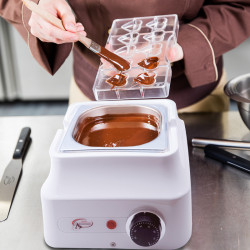
Correctly temper couverture and chocolate
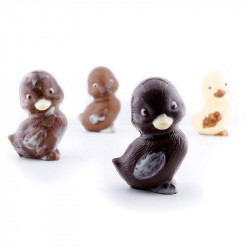
Making Halloween chocolates
Casting your own chocolate Easter bunnies
Make your own decor roulade
Cinnamon star recipe
Correctly temper couverture and chocolate
Making Halloween chocolates
Leave a comment
Comments
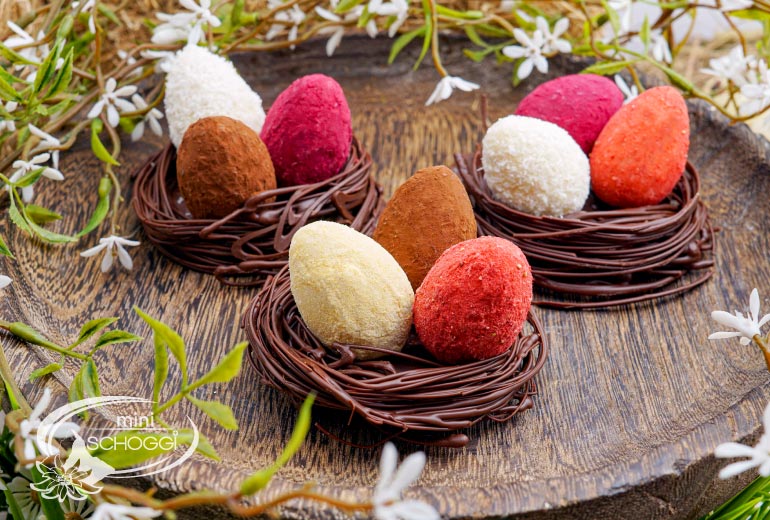
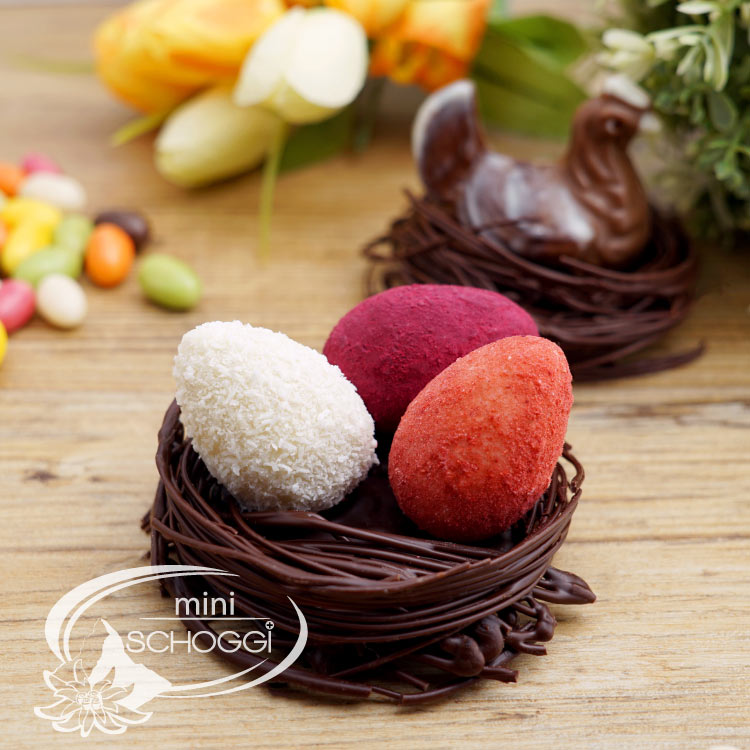
Gefüllte Ostereier im Schokoladennest
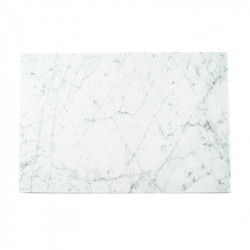
By: Sabine Piller On March 17th 2024Ich habe mich an diese tolle Aufgabe gewagt und es hat beim ersten Mal vieles erstaundlich gut funktioniert. Leider hat das filieren nicht so gut funktioniert. Ich hatte die Marmorplatte sogar länger als eine Stunde im Tiefkühler. Leider haben die Schokoladenfäden nicht gut am Schoggiboden gehalten und beim vierten Nest gings gar nicht mehr. Habe ich zuwenig Übung oder gibt es einen Trick dafür?
Liebe Grüsse
Sabine Piller
Replied by: Rebecca Odermatt On March 18th 2024