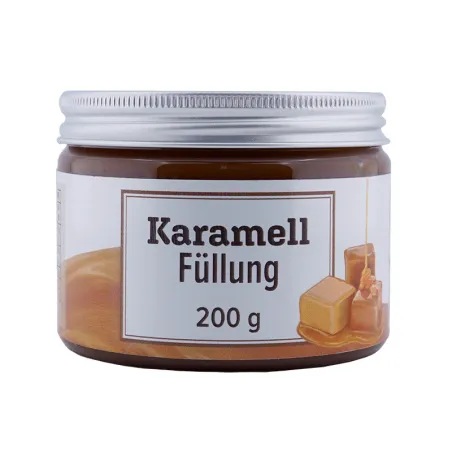
Caramel filling, 200g
CHF12.50
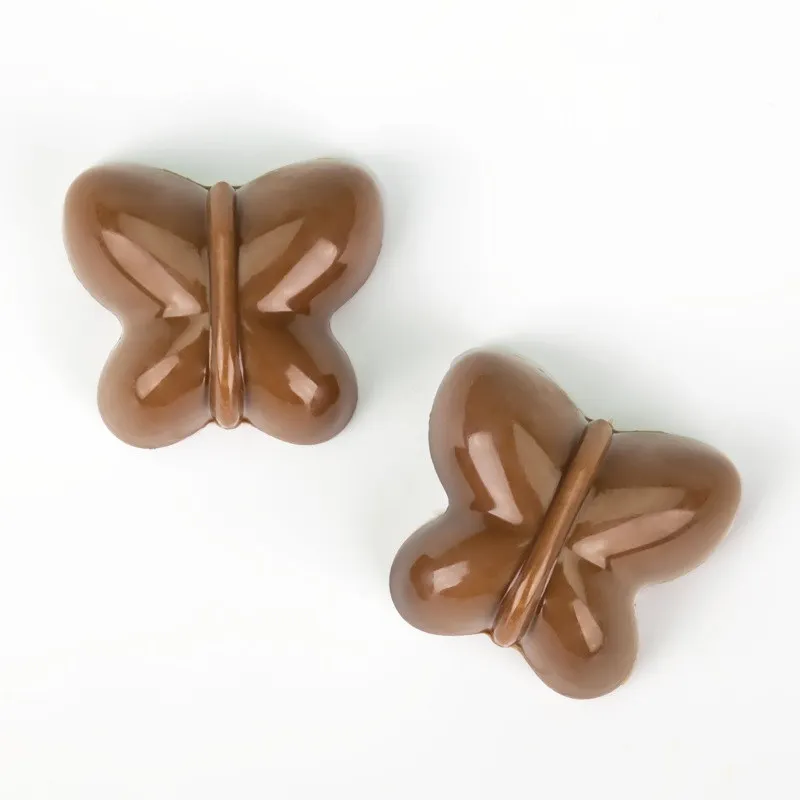
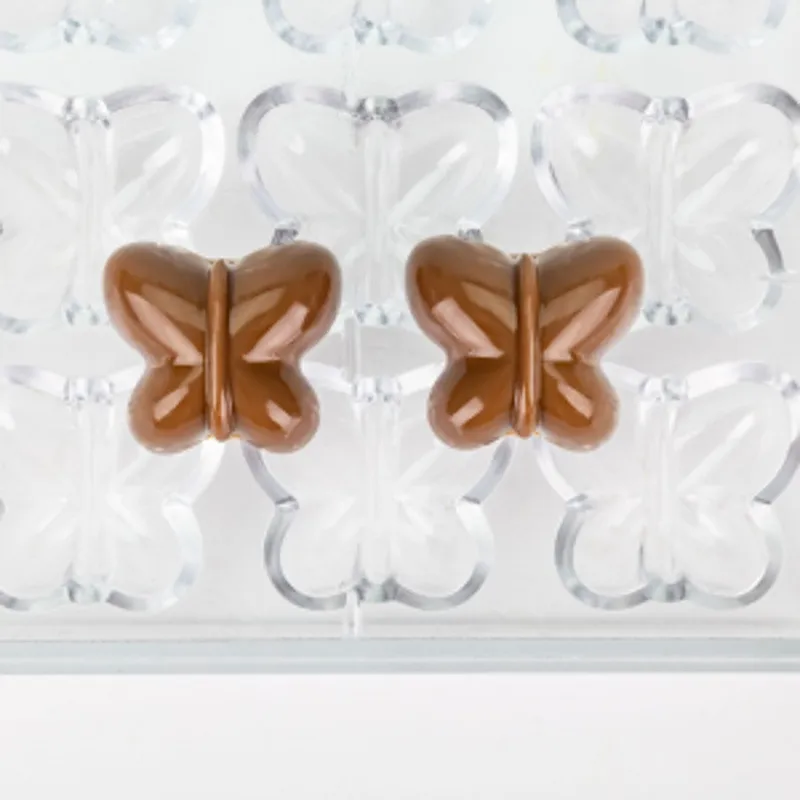
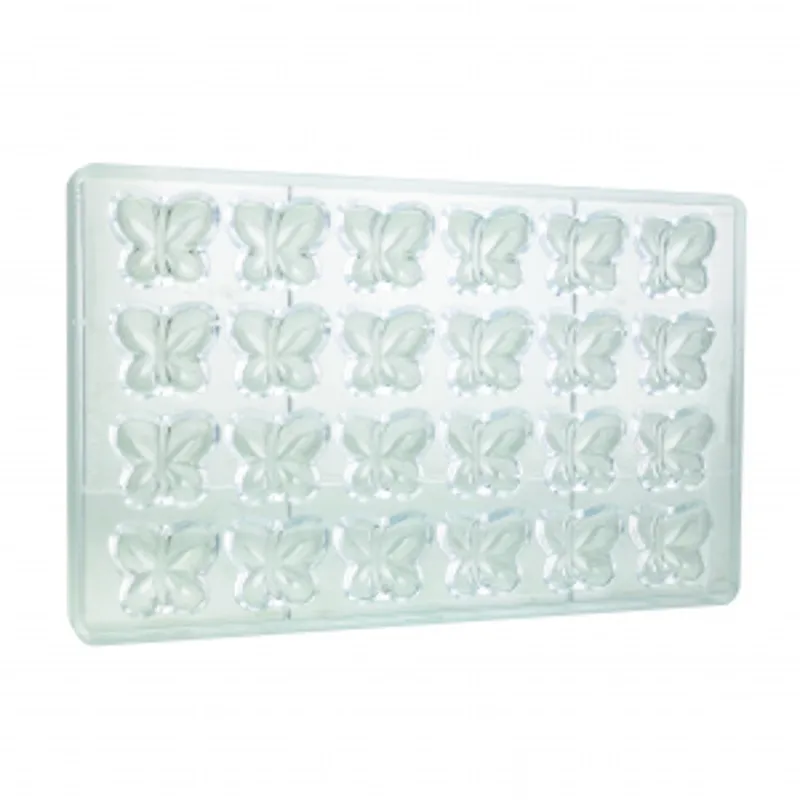
Every day is the perfect day to give someone the gift of homemade chocolates. Thanks to this professional, creative chocolate mold made of delicate butterflies in high-quality polycarbonate, you can easily make your own chocolates. With this mold, you can make up to 24 chocolates with each pass. These sweet works of art are 3 cm long, 3.5 cm wide and 1.4 cm high. The butterfly shape is ideal for making seasonal creations - for example for spring, Easter or as a lovely gift. Whether you are working with colored cocoa butter, conjuring up marbled effects or trying out elegant decorations - with the butterfly shape, your chocolates will fly straight into your heart and onto every sweet plate.
| Size | Length: 27.5 cm / Width: 17.5 cm / Height: 2.5 cm |
|---|---|
| Approximate weight of the finished chocolate mold | 9 g |
| Quantity | 24 chocolates per mold |
| Country of production | Italy |
| Size of the final product | Length: 3 cm / Width: 3.5 cm / Height: 1.4 cm |
| Material | Food grade polycarbonate |
| Application note | Wash and polish the shape before use. Suitable for the dishwasher. |
With the "Butterflies" polycarbonate mold, you can bring spring straight into your chocolate kitchen! The 24 delicate butterflies stand for lightness, new beginnings and the joy of small, handmade moments. Perfect for your seasonal creations - whether for Easter brunch, Mother's Day, a summer coffee table or simply to give yourself a piece of chocolate happiness. These sweet works of art are 3 cm long, 3.5 cm wide and 1.4 cm high - perfectly proportioned to melt in your mouth and make you smile. The high-quality, crystal-clear polycarbonate gives your chocolate a brilliant shine and can be easily removed from the mold after hardening - for results that look like they came straight from the confectionery. The butterfly shape is ideal for designing seasonal creations: delicate spring chocolates with fruity fillings, Easter chocolate gifts or summery butterfly truffles that radiate lightness and joy. Whether you work with colored cocoa butter, try out marbled effects or enhance your chocolates with gold dust - every creation is an expression of your creativity and attention to detail. Let your chocolate fly - with the butterfly shape, you can create chocolates that enchant, inspire and simply make you happy.
Before you can use the mold, you need to prepare a very important component: the delicious chocolate coating. It is not enough to simply melt the drops. The chocolate coating must be tempered before use. Only use high-quality couverture chocolate and not the chocolate from the supermarket. Each couverture goes through three stages during tempering. Melting, cooling and heating again. After the last stage, the couverture is at the optimum processing temperature. The temperatures vary depending on the couverture. If you follow the table in our blog post, nothing can really go wrong. To make sure that your couverture is really at the right temperature, you can also use a chocolate thermometer.
Preparation is extremely important for all molds used for casting chocolate molds. Rinse the mold with lukewarm water and a gentle detergent. This must not contain any lye or rinse aid, as this would damage the molds. Then wash off all residues with lukewarm water and dry the mold. Polish the mold with non-fraying absorbent cotton or a very fine handkerchief. From now on, you should no longer touch the mold directly, otherwise you will see fingerprints on the chocolate later. Hold the mold by the edge where no chocolate will be poured later. Make sure that your mold has reached room temperature, as a mold that is too hot or too cold can interrupt the tempering process.
Before you can start making them, there is one more important ingredient to prepare: The ganache - a delicious praline filling.
For the ganache you need:
40 g whole cream
5 g sorbitol
5 g butter
10 g glucose
40 g fruit puree (of your choice)
5 tsp flavoring (of your choice)
40 g whole cream
140 g white couverture
First boil the fruit puree until you only have 40 g of the puree left. The puree will be very watery at first. Reducing it will give it a more intense flavor and make it thicker. Now add the full cream, sorbitol, butter and glucose to the reduced puree and bring the mixture to the boil. As soon as the mixture boils, you can pour it over the white couverture drops and leave to stand for a short time so that they can melt a little. After a minute, you can stir the mixture with a whisk to obtain a smooth, homogeneous mixture. Then add the flavoring and stir it in well. Finally, pour the ganache into a piping bag, seal it with a clip and leave the ganache to cool at room temperature for approx. 30 minutes.
What you need for your hollow praline shells:
Cocoa butter colors of your choice (optional)
Praline mold
Brush
Tempered couverture
Metal horn
Spatula
Put the cocoa butter paint in a bowl of warm water so that it can melt. Make sure that the temperature of the water does not exceed 45 ºC.
In the meantime, you can grab a paper towel and carefully polish your mold. The better you polish the mold, the more beautiful the shine will be afterwards.
Now brush the praline mold with the liquid cocoa butter paint. You should repeat this process again so that the color application is nicely opaque. Note that you can also omit this step. The color gives the praline an exciting look and is therefore optional.
Wipe off the excess paint on a paper towel and leave the mold for a few minutes to allow the paint to set completely.
Using a silicone brush, brush the dome shape with a thin layer of tempered white couverture if you have not used any color. Then run a metal horn over the praline mold to remove the excess couverture.
Now you can fill the mold completely with tempered couverture. Tap the polycarbonate mold several times with a chocolate mallet or the back of a spatula to release any air bubbles. Now turn the mold over and pour the chocolate back into your tempering device. Again, don't forget to tap the chocolate, as we want a nice, thin wall of praline.
As soon as the chocolate has completely run out, run the spatula along the bottom of the mold once to remove the excess couverture. Finally, clean again with a metal horn and then place the mold in the refrigerator for approx. 5 minutes.
Take the praline mold out of the fridge, cut a large hole in your piping bag with the ganache and fill the poured praline molds up to approx. 2-3 mm below the edge. Leave the molds at room temperature for at least an hour. This will give the ganache a light skin and make it easier to seal later.
After the "resting time", you can now fill a piping bag with tempered white chocolate, cut off a medium-sized piece of the tip and fill the chocolate onto the ganache. Tap the mold lightly on the base so that everything is evenly distributed and then remove the excess couverture using a metal horn.
Now you can decorate your chocolates and put them in the fridge for about 20 minutes.
Couvertures are available in dark, white and milk chocolate varieties. However, these can be dyed in a wide variety of colors with the help of cocoa butter dyes. Cocoa butter colors can also be used directly. To do this, brush a little color of your choice into your chocolate mold or decorate your finished chocolates at the end with the liquid cocoa butter color. You can also decorate your praline with dried fruit. This gives your praline a fresh, fruity note as well as a beautiful splash of color. Another option for finishing off your pralines is to use chocolate gitattos: To do this, smooth out your freshly sealed praline in the mold and place the tattoo foil on top. Now leave the whole thing to dry at room temperature. After some time, the foil can be carefully removed from your chocolates. A beautiful tattoo effect will be revealed. You can create an even greater variety of decorations by combining different praline shapes and cocoa butter colors. With a little metallic powder, you can create a pretty shimmer on your praline or would you just like to put a pistachio on the praline? Try it out, give your creativity free rein and conjure up unique and personal praline creations with your own hands.
Polycarbonate is not a simple plastic or hard plastic. Unlike most plastics, it can withstand very high temperatures. Polycarbonate is extremely transparent, very strong and incredibly robust. It is considered almost unbreakable and scratch-resistant and is therefore often used instead of glass. The thermoplastic polymer is therefore used in the manufacture of spectacle lenses, car headlights and in the construction industry. As it is also lighter than glass, it is a welcome alternative. All these properties together do not necessarily make the material cheap. Polycarbonate is therefore only used when it is really necessary. For the confectionery sector, this means that perfect pralines, chocolate bars or other chocolate products can be produced in the mold. In contrast to silicone, polycarbonate gives the chocolate its shine after polishing. Thanks to the dimensionally stable chocolate mold, the chocolate can contract during cooling and thus be easily removed from the mold. Silicone, on the other hand, is known for its tendency to conform to the mass. This is not desirable in confectionery. We therefore recommend that you avoid silicone molds for chocolate products and opt for high-quality polycarbonate. You won't regret it.
We love and live chocolate! In our courses, you can immerse yourself in the world of chocolate with us. Our expert course leaders will show you what you need to know about handling chocolate so that you can create the most delicious chocolate masterpieces at home. Dive in with us and let yourself be enchanted!