...


Who hasn't experienced it? Outside, the sun is beating down from a cloudless sky and there's no breeze to cool down the 30 °C temperature. There's only one thing that helps in this heat, and that's a cool, delicious homemade ice cream. But not everyone has an ice cream machine at home, so we're sharing with you our lightning ice cream recipe that you can easily make at home - without an ice cream machine, of course.
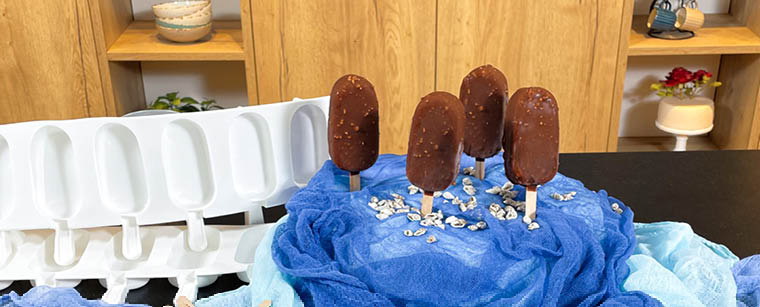
We have chosen a creamy hazelnut ice cream with a crunchy chocolate coating. If you don't like this flavour, don't worry, you can easily replace the hazelnut flavour with the flavour you like best! Our flavour pastes and fruit purees are best suited for this. As the flavour pastes have a slightly more intense taste, you only need 20 to 30 g of the pastes. Why not try out the recipe and let us know which ice cream variant is your favourite!

15 min.
6 Glaces

3-4 hours
This is the basic mixture, which you can flavour as you like. Simply replace the hazelnut filling with other ingredients.
40 g egg yolk
10 g icing sugar
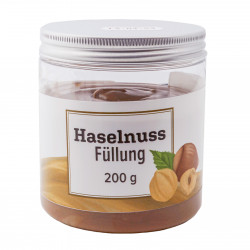
50 g hazelnut filling
10 g hazelnut brittle
200 g whole cream (whipped)
300 g couverture, dark
100 g cocoa butter
40 g egg yolk
10 g icing sugar
20-30 g aroma paste
200 g whole cream (whipped)
300 g couverture, dark
100 g cocoa butter

40 g egg yolk
10 g icing sugar
60 g fruit puree
200 g whole cream (whipped)
300 g couverture, dark
100 g cocoa butter

 Casting your own chocolate Easter bunnies
 Make your own decor roulade
 Cinnamon star recipe
 Correctly temper couverture and chocolate
 Cake Recipes Convert
Leave a comment