
Rolling Your Own Cornet
Good to know · Chocolate School
Roll your own cornet
Seven steps, one sheet of parchment paper — and Rebecca shows you how in the video.
E-mail
WhatsApp
Facebook
Copy link
https://www.minischoggi.ch/gb/blog/recipe/rolling-your-own-cornet.html
Tap once to select the whole address — then copy.
To print: Cmd+P (Mac) or Ctrl+P (Windows)
What you'll learn
- What cornets are used for in confectionery
- What you can fill them with
- Why parchment paper and not baking paper
- How to roll a cornet in seven steps
- How to tell that the little tip sits right
- How to fill the cornet without it leaking
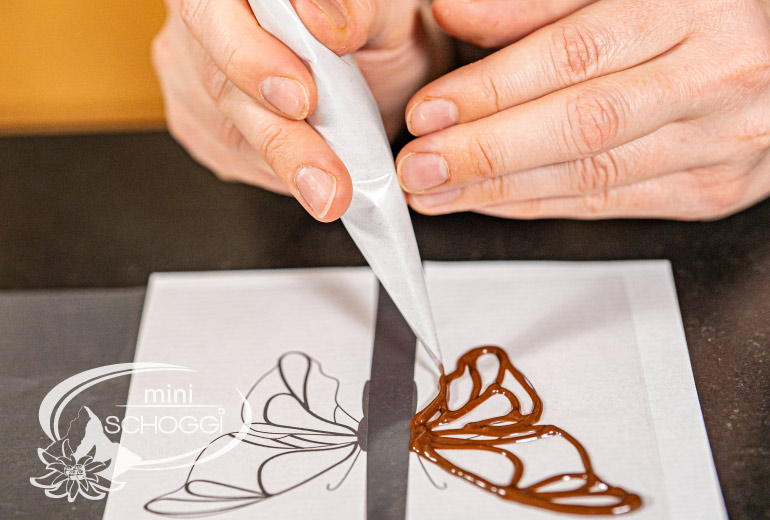
The cornet is used in every confectionery, cake shop and patisserie — without these little paper cones, simply nothing gets done. You need them not only for sealing hollow praline shells or for masking chocolate molds, but also for decorating cakes and for writing.
You can fill them with a wide variety of masses. The most common are tempered couverture, Writing chocolate, liquid Fondant and Royal icing — but Buttercream works too. Once you've got the hang of it, you can conjure up the most filigree decorations with it. That does, however, take time and practice.
How exactly is a cornet rolled? What do you need to keep in mind when using it, and can you use any paper for it? Rebecca answers all this in the video and shows you step by step how it's done.
Watch the video
3:27 min1Which paper is the right one?
Parchment paper — and expressly not baking paper.
Parchment paper is generally used to make cornets. It is sturdier and, above all, less slippery than silicone paper, i.e. the usual baking paper. This makes the cornets much easier to roll, and they keep their shape.
Parchment paper also doesn't grease through as quickly. That's why we recommend always using parchment paper for your own cornets and never baking paper.
Baking paper instead of parchment paper
Baking paper is coated with silicone and slips away under your fingers as you roll. The cone never gets properly tight, the tip stays open — and as soon as tempered couverture goes in, the paper greases through and the cone gives way.
2Rolling a cornet — step by step
Seven simple moves. Best of all, play the video alongside and roll along.
Laying the paper down correctly
Lay the cornet paper in front of you so that the long edge faces you and the tip points to the side.
1
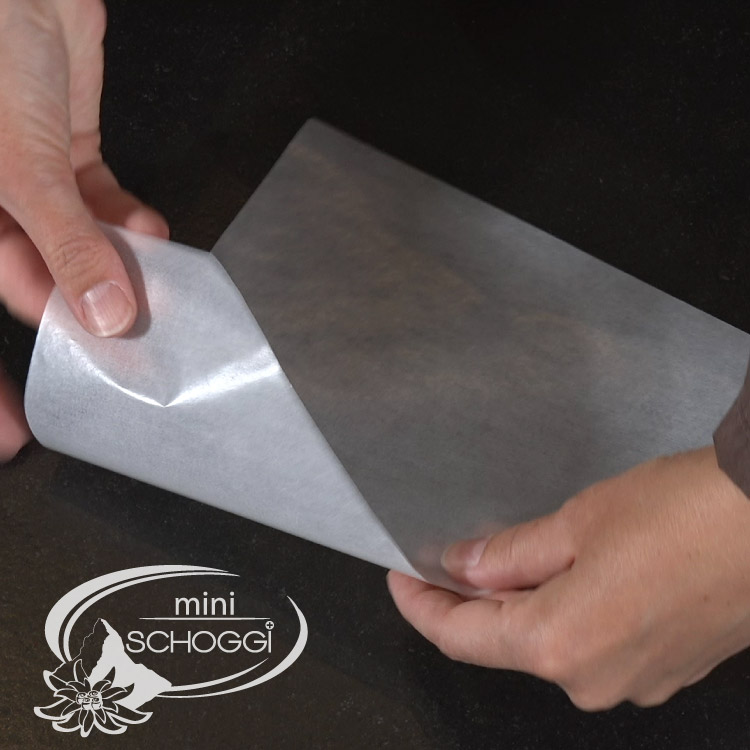
Roll in the top corner
Hold the paper in the middle with the thumb and index finger of one hand. With the thumb of the other hand, take the top corner and roll it in towards the middle. Fold the paper in slightly at an angle as you go — this creates the cone.
2
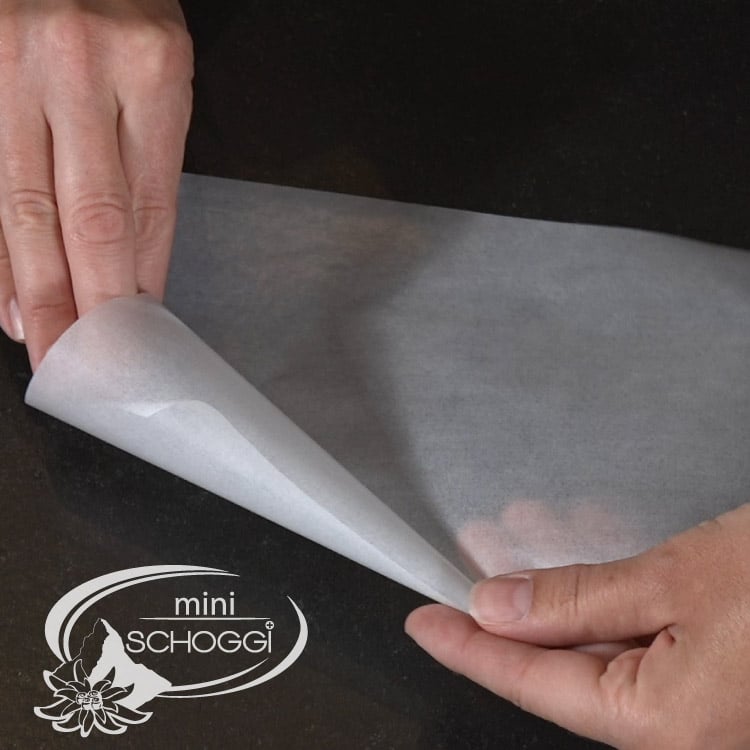
Keep turning
Hold the tip of the cornet firmly at the bottom and keep turning the paper in with your thumb.
3
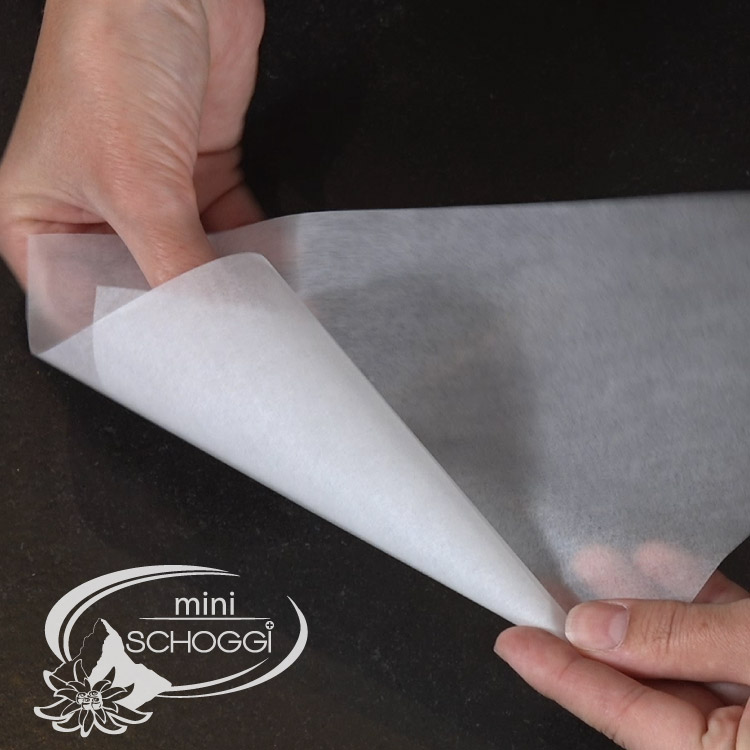
Roll to the end
Keep rolling until the whole sheet is wound up. The cone should taper to a point at the bottom and stay open at the top.
4
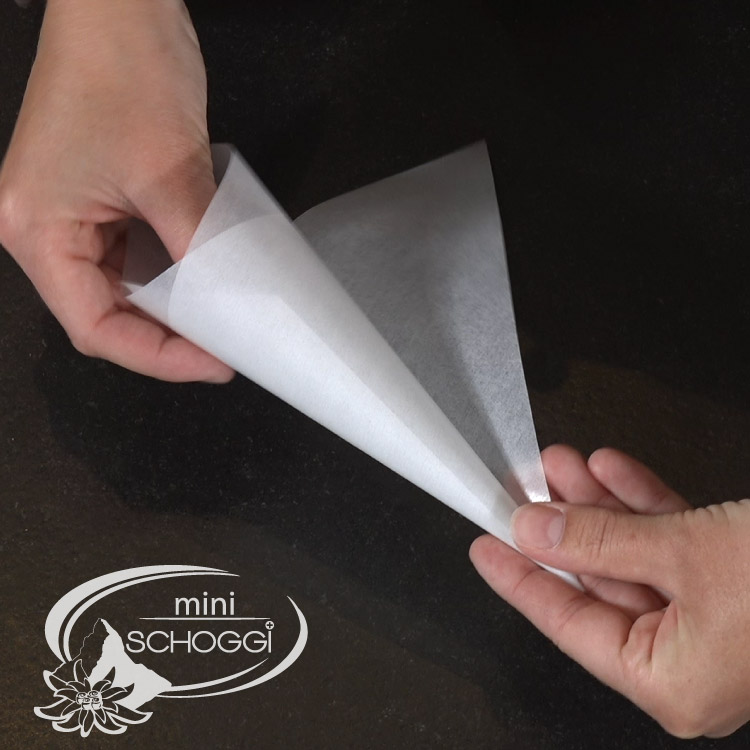
The small tip must stick out
Make sure the small tip sticks out of the cornet — it's the anchor for the next step. If it doesn't stick out, you can pull it out very carefully.
5
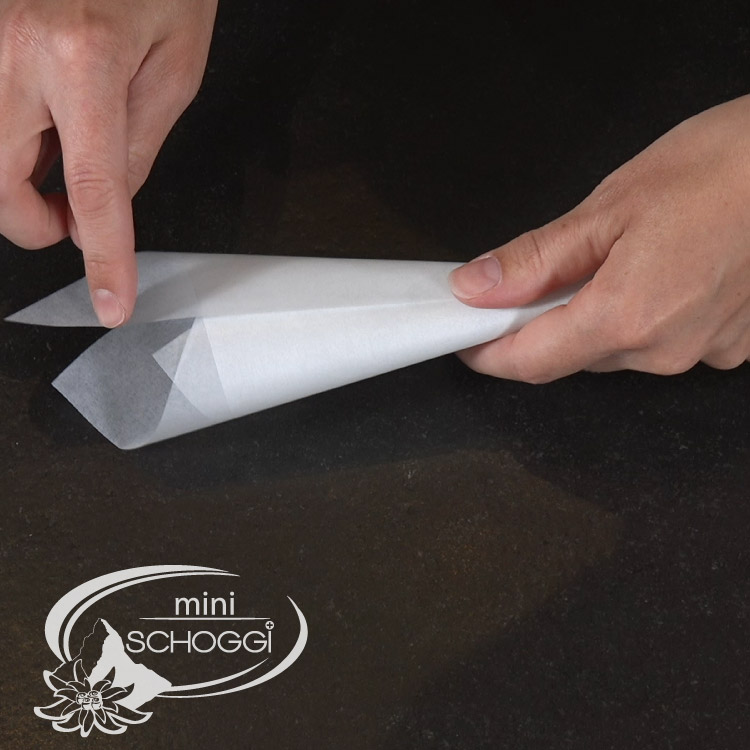
Fold over the excess paper
To keep the cornet in shape, it needs to be stabilised: fold over the excess paper. It should sit right next to the small tip.
6
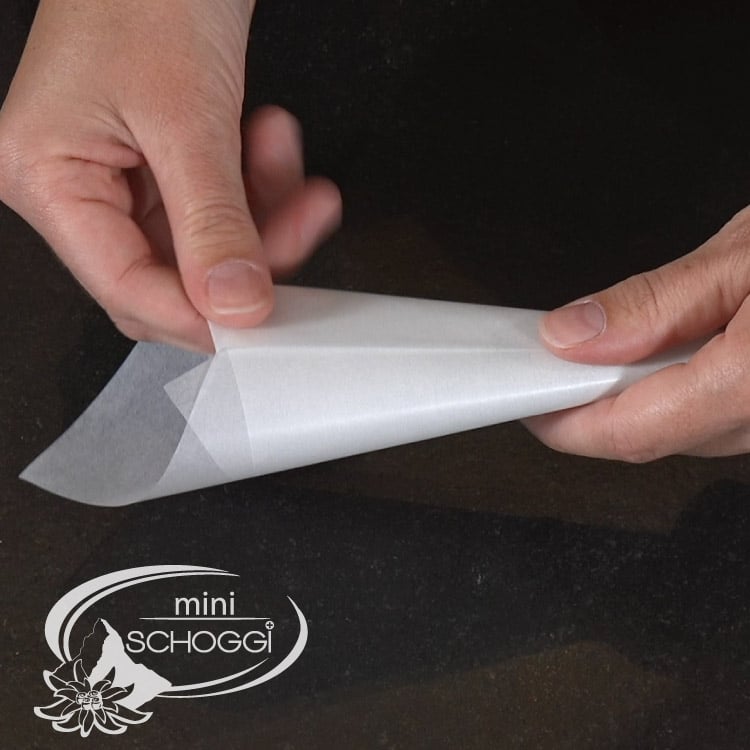
Press down the fold
Run firmly over the fold once so that it really holds. Your cornet is now ready to use.
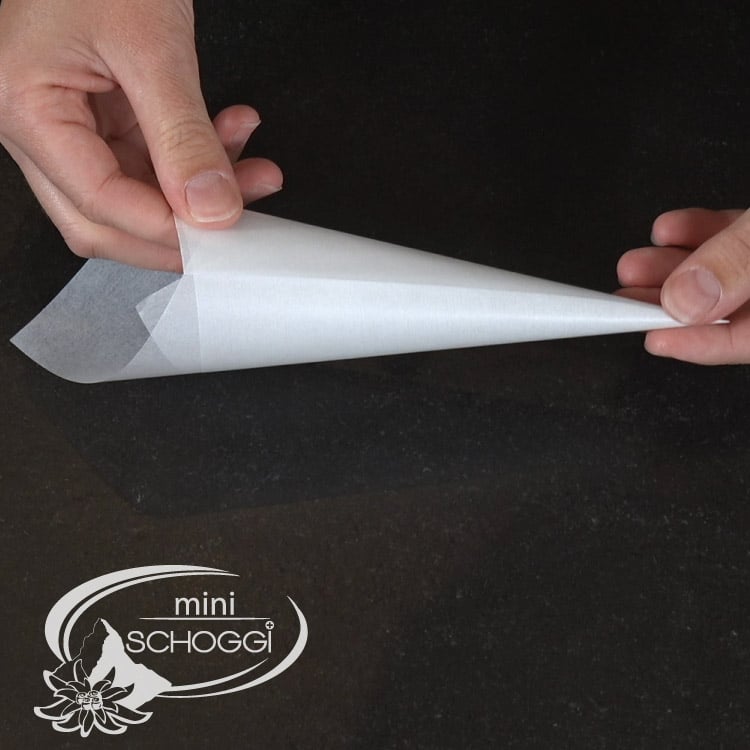
Always fill from the long side
Always fill the cornet only from the long side, where the tip sits. It's no problem if this tip gets dirty in the process — it will be folded into the cone anyway.
3What you need for this
Is the effort too much for you? No problem — Rebecca rolls the ready-rolled cornets by hand, one after the other.
Leave a comment