...
Blog categories
- Sweet recipes (95) click
- Salty recipes (8) click
- Cooking (27) click
- Seasonal recipe ideas (64) click
- Things to know (21) click
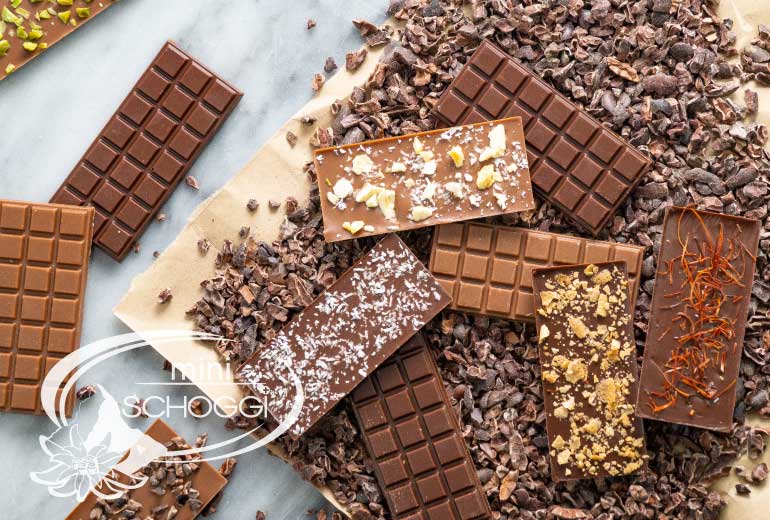
Making your own chocolate sounds like a dream to you? Then let's make it come true! In this video or blog post, we explain how you can make your own chocolate at home from scratch. It's quite simple in principle, but you need a few pieces of equipment to make it, without which it simply won't work. The melangeur is probably the most important of these and without it, the chocolate would not be as smooth and fine as we know and love it. We explain to you how to use the melangeur correctly and what you have to pay attention to when making the couverture. Try it out and surprise your friends and family with your own chocolate! You can choose the composition of your chocolate completely freely and also mix two types of beans or cocoa nibs. We have an exquisite selection of high-quality and flavourful beans and nibs in our online shop.
Quantity: 2 kg
Production time: 20 to 30 minutes
Conching time: 24 to 48 hours
Difficulty: Easy
Shelf life: Up to one year
| Cocoa butter | 200 g | |
| Cocoa nibs | 1 kg | |
| Granulated sugar | 800 g | |
| Vanilla seeds [optional | 1 pinch | |
| Soya lecithin | 4-10 g | |
| Cocoa butter | 500 g | |
| Cocoa nibs | 200 g | |
| Whole milk powder | 400 g | |
| Skimmed milk powder | 100 g | |
| Granulated sugar | 760 g | |
| Malt extract | 40 g | |
| Vanilla seeds [optional | 1 pinch | |
| Soya lecithin | optional | 4-10 g |

Carefully heat the cocoa butter over a water bath. Be careful not to heat it to more than 40 ºC. Pour the liquid cocoa butter into your melangeur and turn it on. Now add a small amount of cocoa nibs. It is important that you do not add all the nibs at once, otherwise the grindstones of the melangeur can get bogged down. In general, it is important that you now add the nibs in portions over a period of about 10 minutes. You can always tell whether you can add new nibs or not by the sounds the melangeur makes. If the sounds are still quite loud and rattling, then the cocoa nibs are still being ground, but if the sounds are quieter and smoother, then you can add new nibs again.
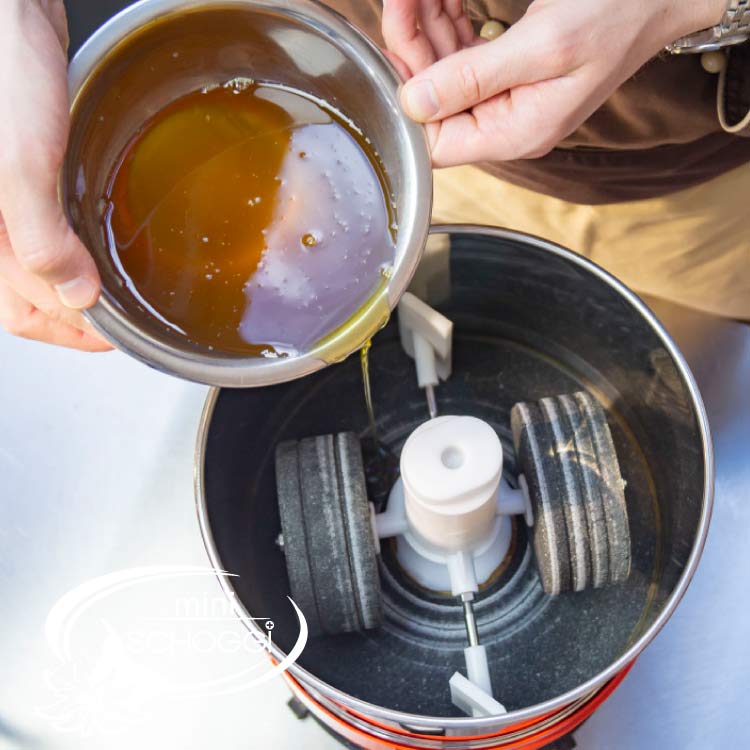
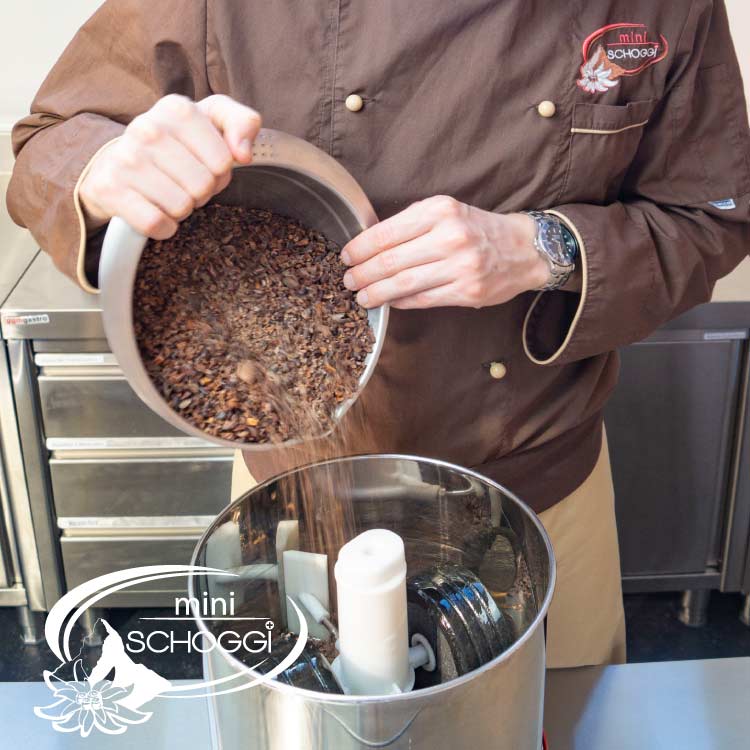
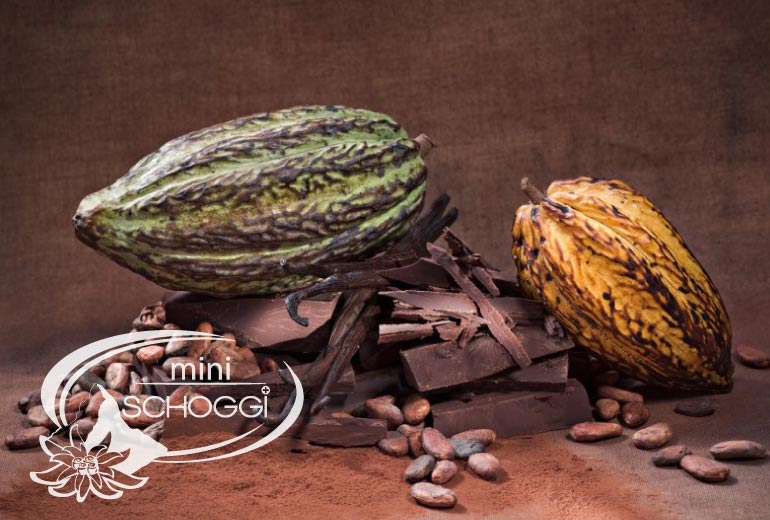
It is also very important to keep reheating the mass with the help of a hot air dryer. By constantly adding new nibs, the cocoa mass cools down quite quickly and the melangeur has more work to do. To make the work easier for the melangeur, you have to heat the mass with the hot air dryer. Either heat the cocoa mass from above (don't get too close to the nibs or you'll burn them) or heat the metal bowl at the bottom.
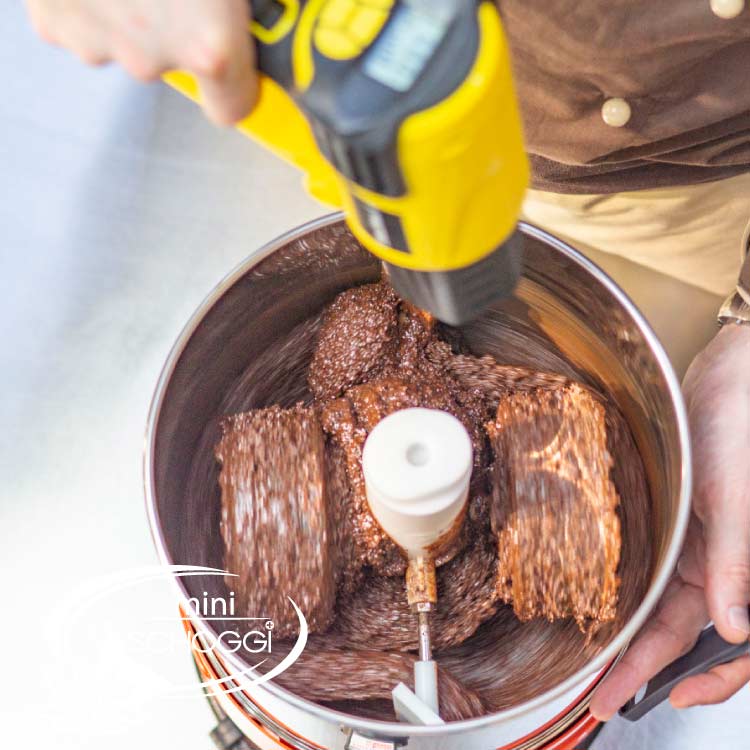
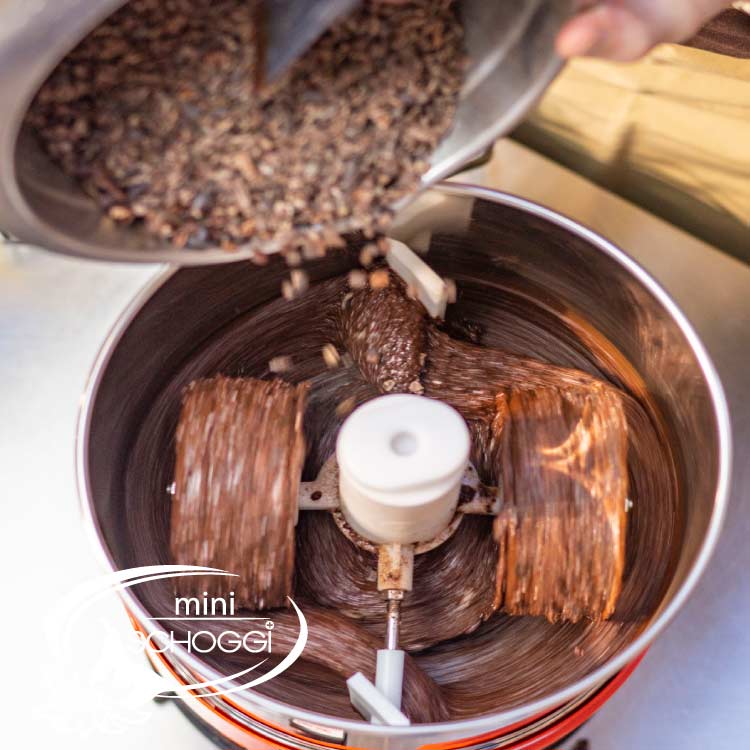
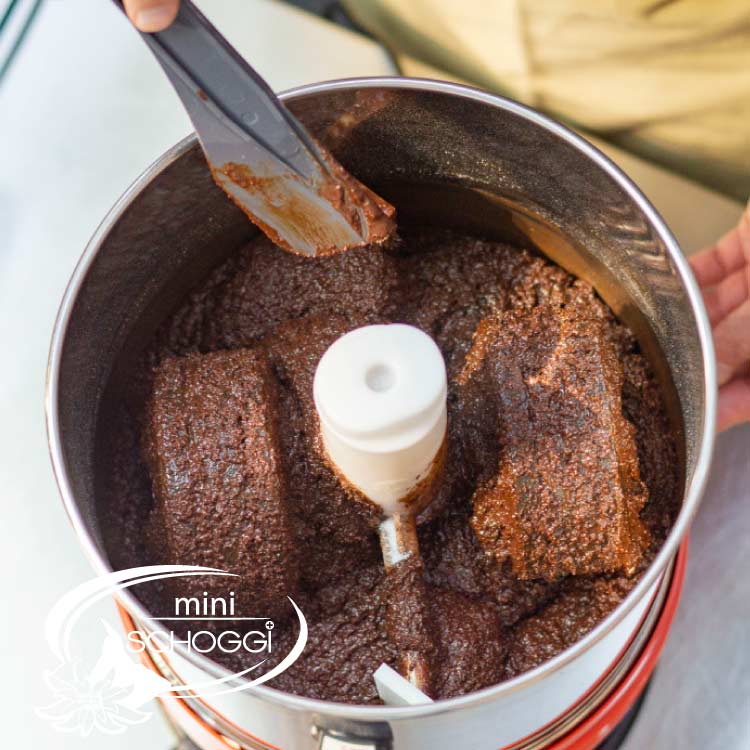
Once all the nibs are in the machine, you can let them grind for about 10 minutes so that the mixture becomes more uniform and smooth. Scrape the stone rollers and other elements with the rubber scraper included with the melangeur. The more often you do this, the less you will lose later, because everything that is coarse-grained will be sorted out at the end. After the 10-minute meal, you can now add the sugar. However, if you are making milk couverture, you must first add the milk powder and malt extract, let it turn for 2 to 3 minutes and then add the sugar. Even then, don't forget to reheat a little at a time so that the mixture stays nice and warm and liquid.
You are completely free in your choice of sugar, but you should be aware that the sugar can have a strong influence on the taste of your chocolate. For an unadulterated cocoa bean flavour, we recommend using normal granulated sugar. If you want to use brown sugar, raw cane sugar or panela, this is of course also possible. Just make sure that the sugar is dry! Coconut blossom sugar is also suitable for production. We would advise against using sugar substitutes such as erythritol and xylitol, as they have a cooling effect, which in turn has a negative impact on the taste and the creamy consistency. If you like this, of course, it works for the production.
We only use sugar from Swiss sugar beet for our Bean to Bar couverture. This prevents long transport routes and at the same time supports our local farmers.
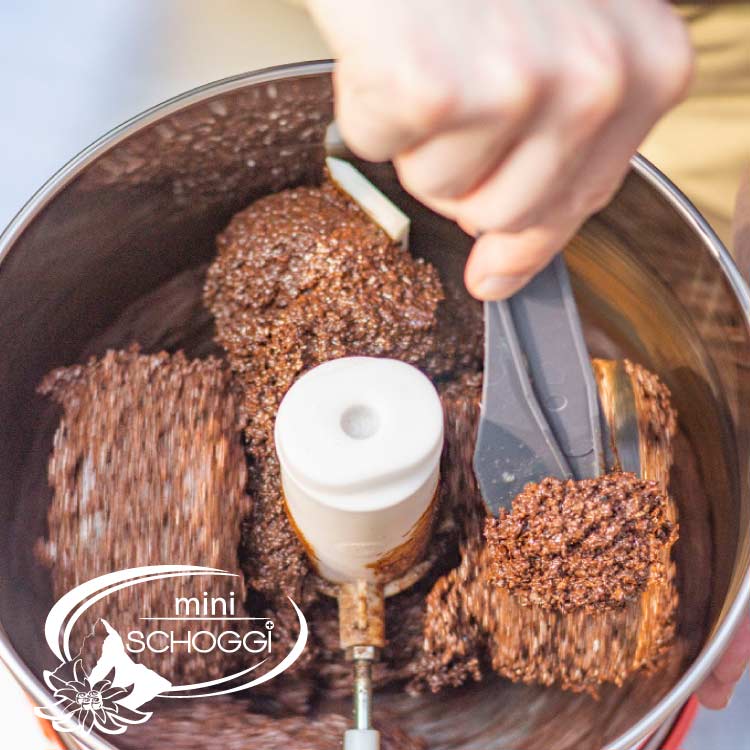
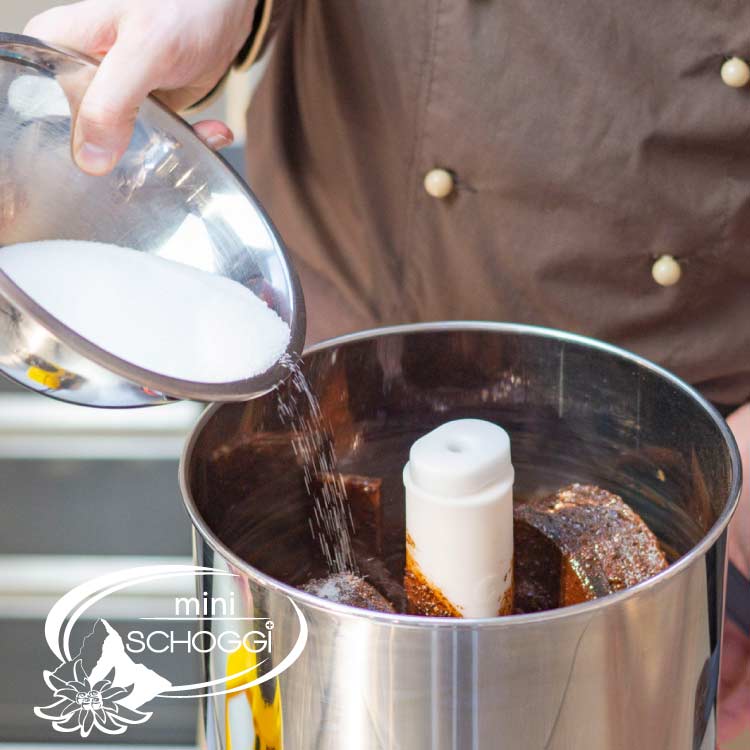
Scrape the edges, the rollers and the other elements of the melangeur again with the rubber scraper so that everything is ground evenly. You now have a coarse, granular cocoa mass. Now you can let the melangeur run for at least 24 hours.
Depending on the type of bean, you can now decide whether to leave the lid off the melangeur or leave it on. The idea behind this is to get the bitter substances out of the chocolate. For example, if you have used a bean that is quite sour and bitter and you don't want these flavours in your chocolate, then conch the chocolate with the lid off. You may know that you once drove past a larger chocolate factory and smelled the wonderful aroma of chocolate and cocoa in the air? Well these factories do nothing but conch the couverture with an "open lid". Even if it is bitter, it is still the smell of chocolate.
If you have used a rather fruity and mild bean, you can leave the lid on without any problem.
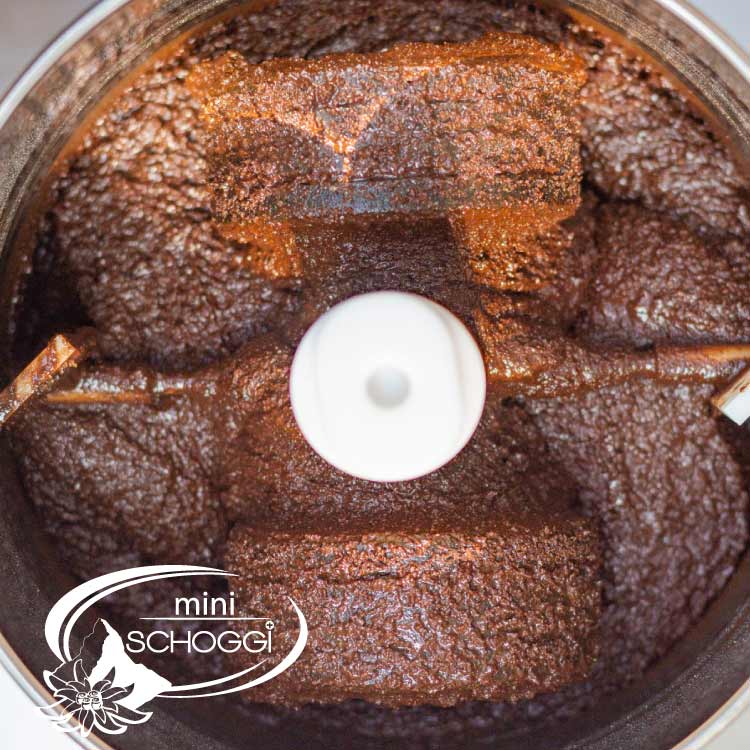
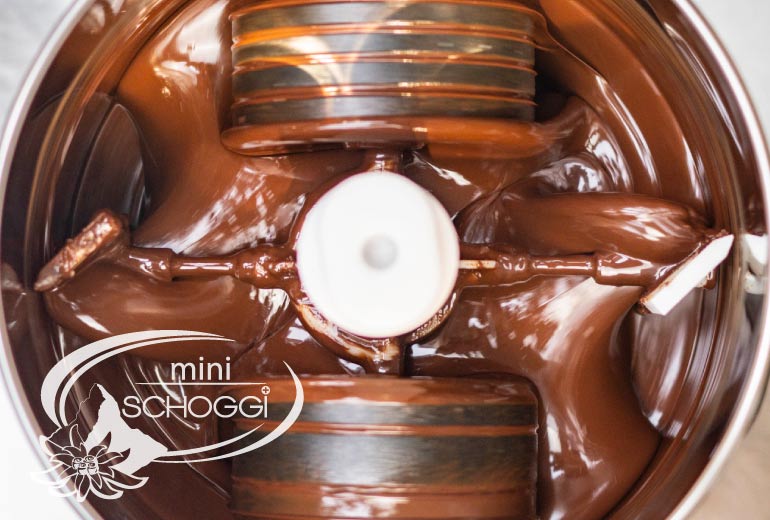
After 24 hours (you can let the couverture run for longer, but with this amount, 24 hours is quite enough for a velvety soft couverture), the chocolate should now look like the photo. The couverture is nice and smooth. Be sure to try the liquid couverture. Now you can decide whether you want to add vanilla seeds or not. The vanilla note can sometimes support and strengthen the chocolate note, but you have to decide for yourself. For a dark couverture with a high bean quality we tend to advise against it, for a milk chocolate we find it complements very well. If the couverture is too thick, you can add a small amount of soya lecithin. Start with about 4 g and add more if necessary. You can add up to 15 g to the couverture. Then let the chocolate mix briefly for another 2 to 3 minutes and then you can turn off the melangeur.
Push down the levers on the side of the melangeur and tilt it to pour the liquid couverture into a bowl. Carefully scrape the chocolate residue out of the melangeur. You may still have small sandy pieces around the grinding tools. Make sure that you do not pour this part of the chocolate into the bowl, but only the part that is completely liquid and finely ground. You can put the leftovers, which are still minimally sandy, into an extra container and use them perfectly for baking or hot chocolate.
Then remove the cover of the grinder, lift it out and scrape off some chocolate from there as well. Put this part of the chocolate into the extra container. You can now also remove the metal bowl of the melangeur and then, once it is well scraped, wash it out with hot water and a little washing-up liquid.
You now have to process the liquid couverture. To do this, you need to temper the couverture. In the case of homemade chocolate, this can only be done with the tabling method, as there are no perfectly tempered drops with which you can inoculate them. You can find out how to temper the chocolate in our couverture tempering course or in our bean to bar course. There you will also learn a lot of useful and exciting knowledge about cocoa. We really recommend this course for everyone who is interested in making their own chocolate.
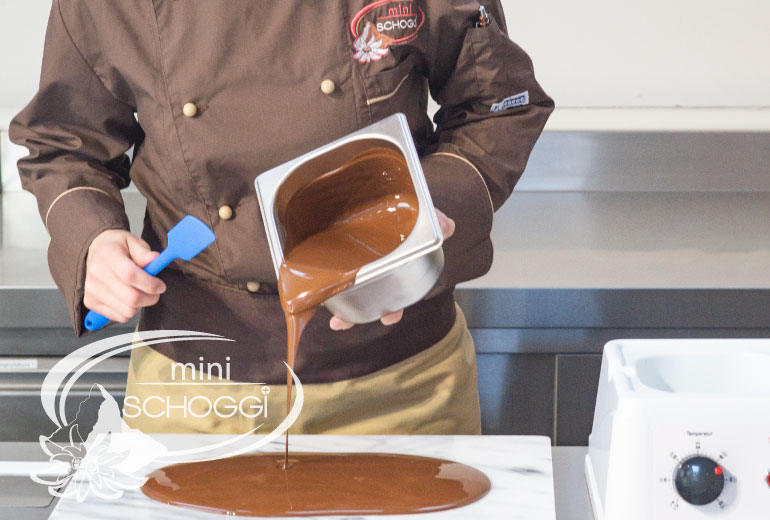
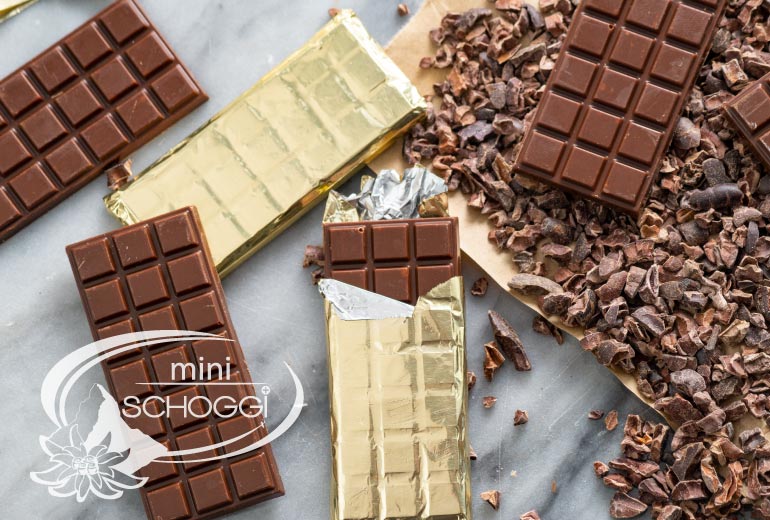
You can then use the tempered couverture to mould small and large bars, make your own chocolates or break chocolate. Refine it with high-quality ingredients or leave it as it is. It's your own chocolate and you decide what happens to it. The main thing is that you enjoy it!
The finished couverture can be stored for up to one year. Dark couverture can easily be stored for up to two years or even longer if stored optimally.
It is best to store the couverture in a cool place away from sunlight and light. The chocolate should be packed as airtight as possible.
 Casting your own chocolate Easter bunnies
 Make your own decor roulade
 Cinnamon star recipe
 Correctly temper couverture and chocolate
 Making Halloween chocolates
Leave a comment