Ready-to-ship quantity: more than 20 pieces20+ in stock
Price:CHF22.90

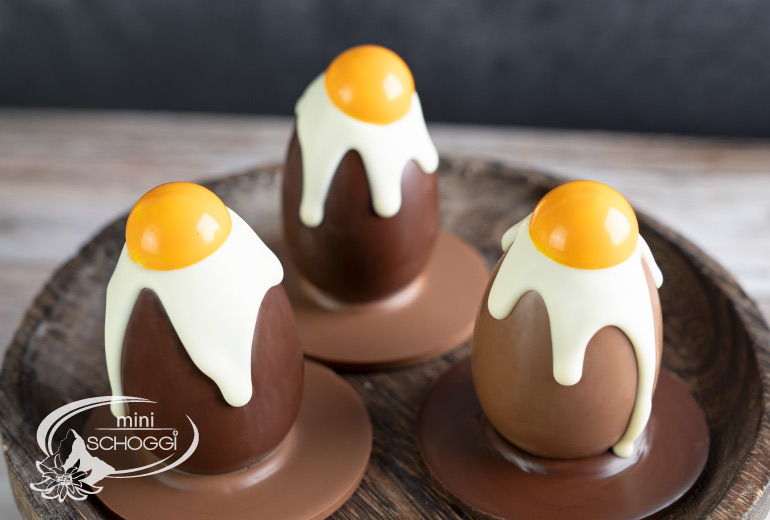
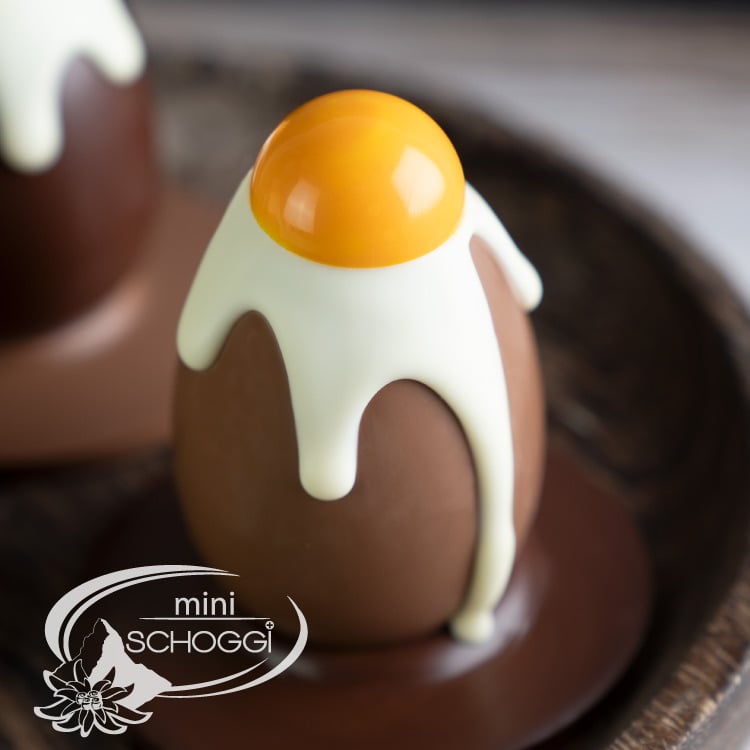
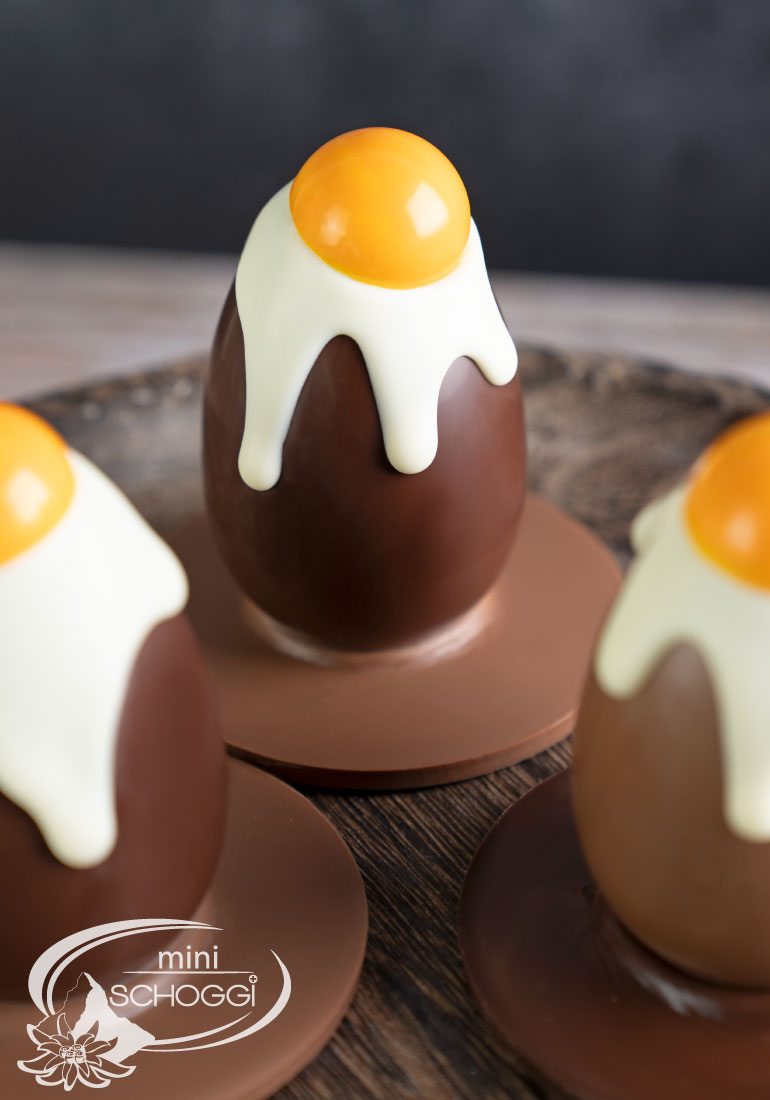
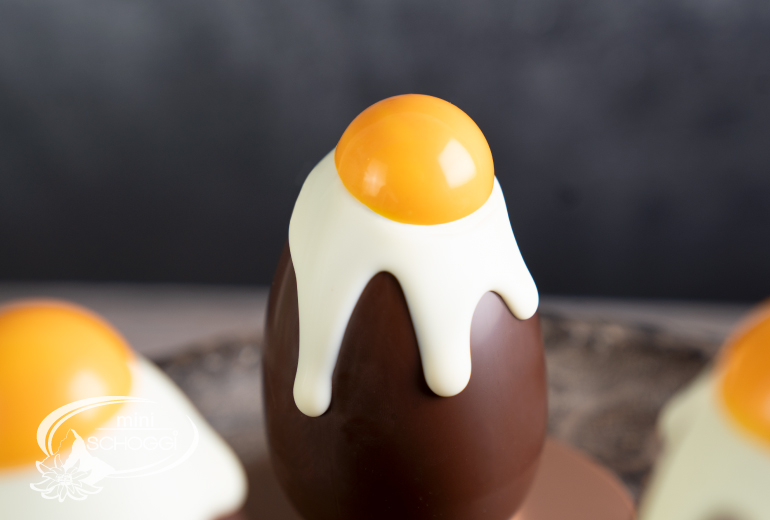
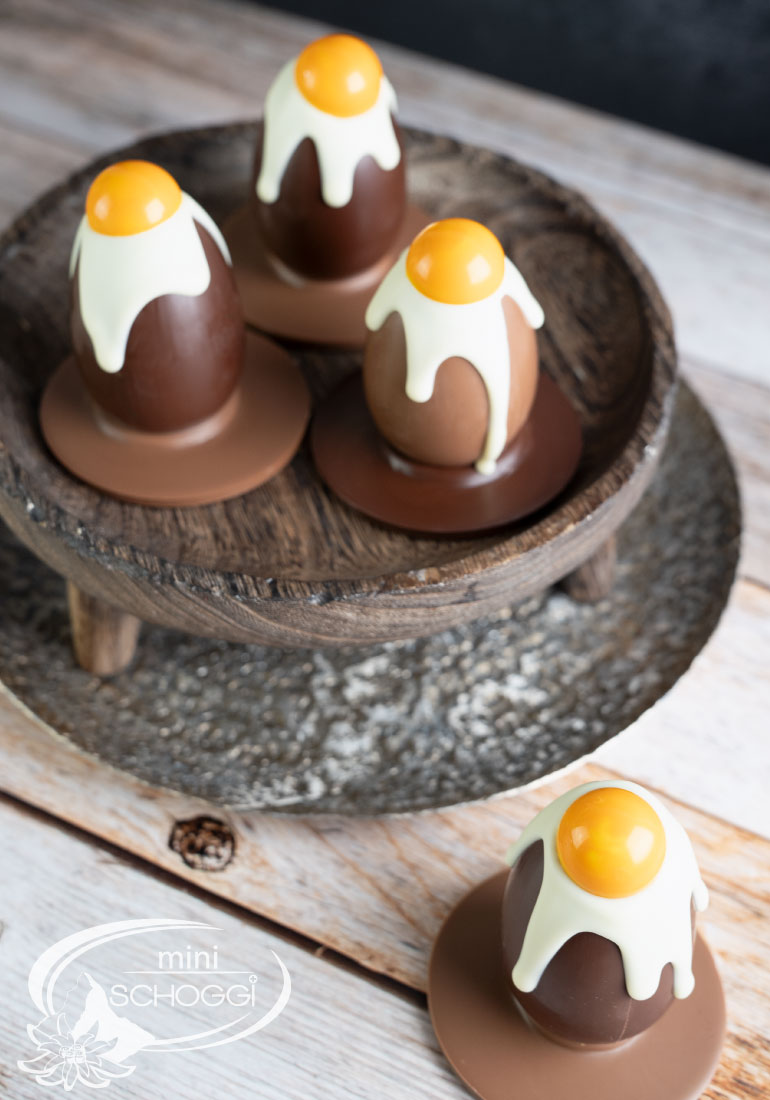
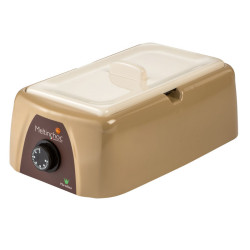
Don’t these overflowing chocolate breakfast eggs look absolutely brilliant? Yes? We think so too! Plus, it’s something completely new for a change! I’m sure none of your loved ones have ever received such a fantastic chocolate breakfast egg before. Making these eggs is really very simple, and they’re ready in no time at all! So what are you waiting for? Off to the kitchen – switch on your tempering machine and get making! Your loved ones will be delighted!

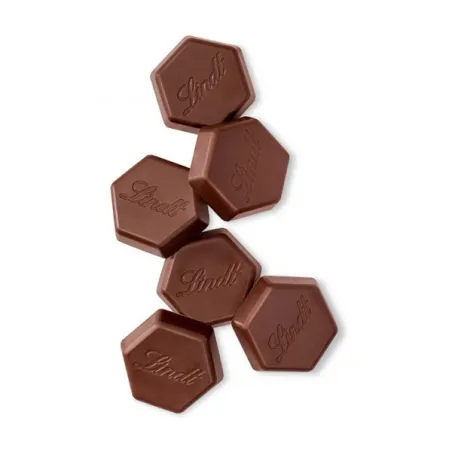
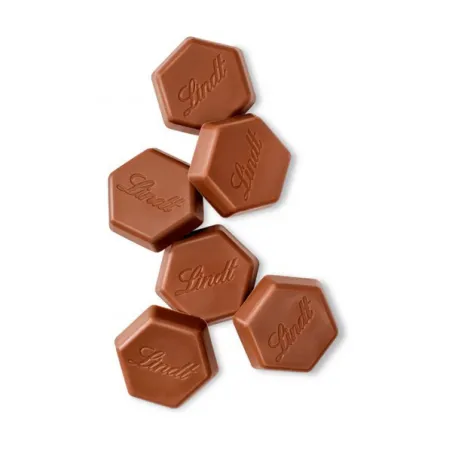
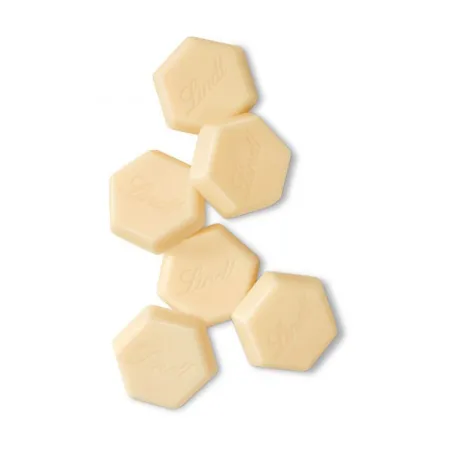
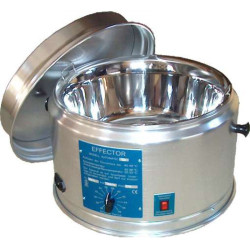
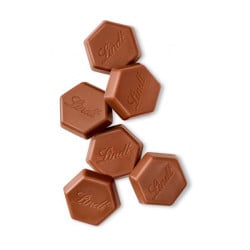
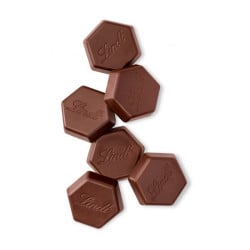
Tempered couverture
Milk, dark and white
Cocoa butter colour
Polycarbonate mould
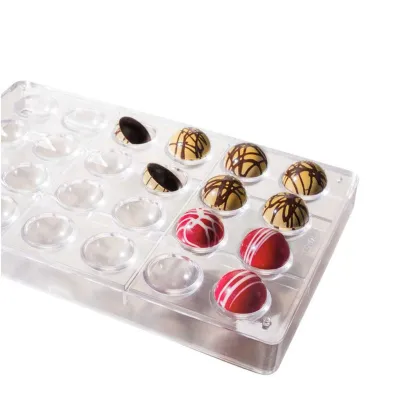
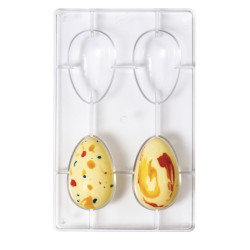
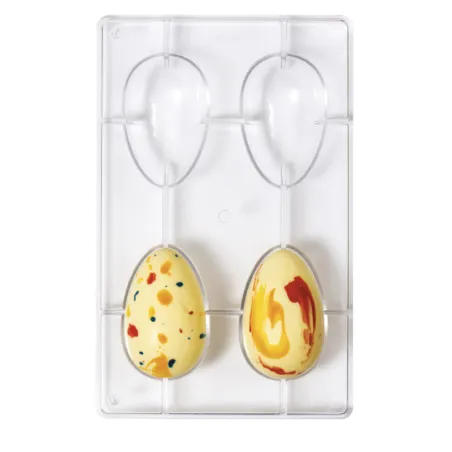
Goose eggs | Hemispheres 3 ø
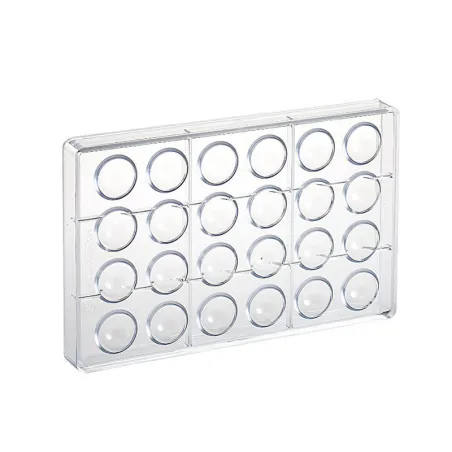
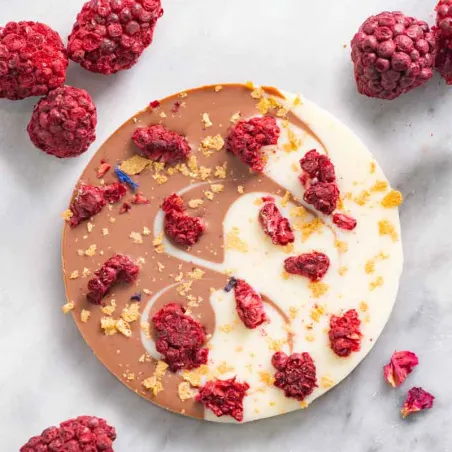
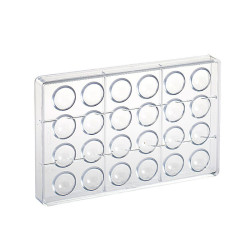
Round chocolate bar mould


We used the ‘Goose Egg’ chocolate mould for our chocolate egg. Of course, you can use other moulds too, but we’d recommend sticking to larger ones, as the effect isn’t quite as impressive with moulds smaller than the ‘Goose Egg’.
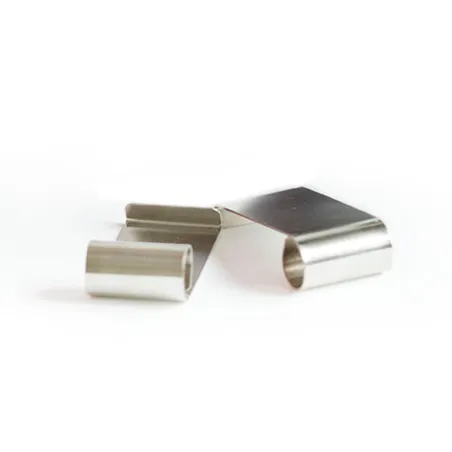
Wipe the mould thoroughly with kitchen paper, then fill it with tempered dark couverture to about 1 cm below the rim. Place a second mould on top and secure it with chocolate clamps. Make sure they are really tight.
Then start swirling the mould gently and evenly (for about 1 minute) to fill it completely with the chocolate. Once everything is perfectly covered with the couverture, you should continue swirling it for about another minute to ensure the chocolate layer is as even as possible. Then place the mould in the fridge for 5 minutes.
Take it out, remove the clips and put it back in the fridge for a further 20 to 30 minutes. In the meantime, prepare the egg yolks.
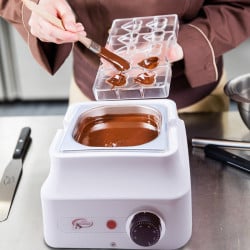
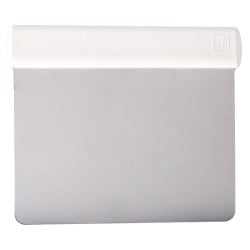
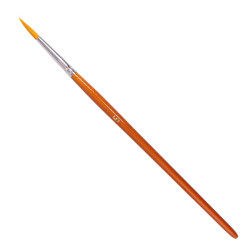
Prepare the hemispherical mould by polishing it thoroughly with kitchen paper and then brushing it with cocoa butter colouring (mandarin orange). Then clean the mould with a metal scraper and leave the cocoa butter to set for about 10 minutes at room temperature.
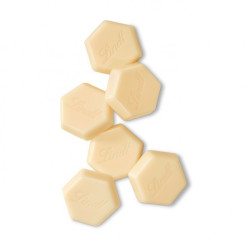
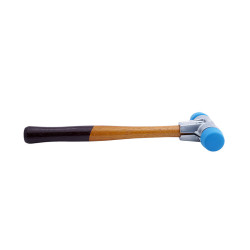
Once the cocoa butter has set, you can put some white tempered couverture into a piping bag and fill the hemisphere mould completely with the chocolate. Leave it to set for about 1 minute, then pour the couverture back into your tempering machine. As you do so, gently swirl the mould in your hand and tap it with a chocolate hammer to ensure the chocolate layer is as even as possible.
Next, clean the mould with a metal scraper (running it once over the surface) and place the chocolate shells in the fridge for about 15 minutes.

Wipe the round mould with a kitchen towel and then pour in the tempered milk couverture. Tap the mould gently on the work surface to allow any air bubbles to escape and rise to the top. Then leave the couverture to set at room temperature.
In the meantime, take both the eggs and the egg yolks out of the fridge. Remove the top from the eggs and carefully take them out of the mould. They should come out really easily. As soon as you see that the poured base is just about to set, you can place the chocolate egg in the centre of the chocolate. Then put the mould in the fridge for about 5 minutes.
Put tempered white couverture into a piping bag and cut a small hole in it. Take the egg out of the fridge. As soon as you notice that the white couverture is starting to set slightly, you can lightly drizzle it over the egg to create that overflowing egg white effect. Don’t pour too much chocolate on at once, otherwise it will run down too much.
Finally, remove the egg yolk from the mould and place it on top of the white couverture. Put it back in the fridge for about 5 minutes, and then you can wrap up this lovely chocolate figure.
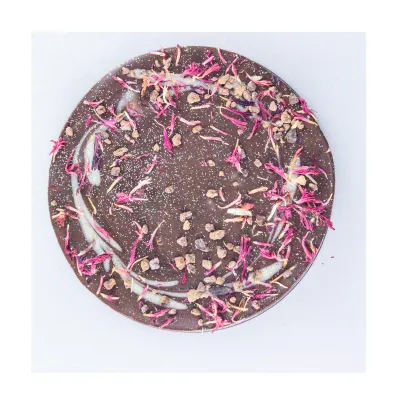
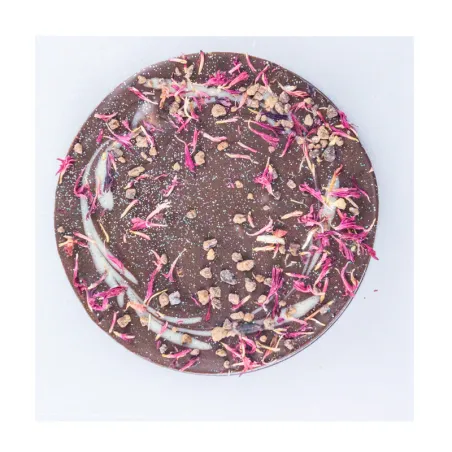
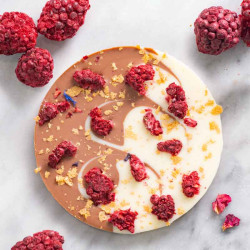
We’ve now filled the egg with dark couverture and the base with milk couverture. Of course, you’re completely free to choose how you fill each part. You can also paint, sprinkle or airbrush the egg with different colours of cocoa butter and then pour white couverture over it (this creates the greatest effect). What’s more, you can also enhance the base with all sorts of ingredients. Simply mix the ingredients of your choice (z.B.: freeze-dried raspberries, cocoa nibs, Hüppen flakes, etc.) with the couverture of your choice and then pour the mixture into the mould. There are no limits to your creativity.
Do feel free to share your results with us on Instagram! :)
If you mould the figure entirely from couverture chocolate, it will keep for at least 6 months. If you add any extra ingredients such as nuts or fruit, the shelf life may be reduced to around 3 to 4 months. It is best to store it at room temperature (18 ºC).

Make your own chocolate Easter bunnies
Make your own decorative Swiss roll
Cinnamon Star Biscuits Recipe
Tempering couverture and chocolate correctly
Make your own chocolate pumpkin pralines