
Chocolate Chip Cookies – chewy and chocolatey
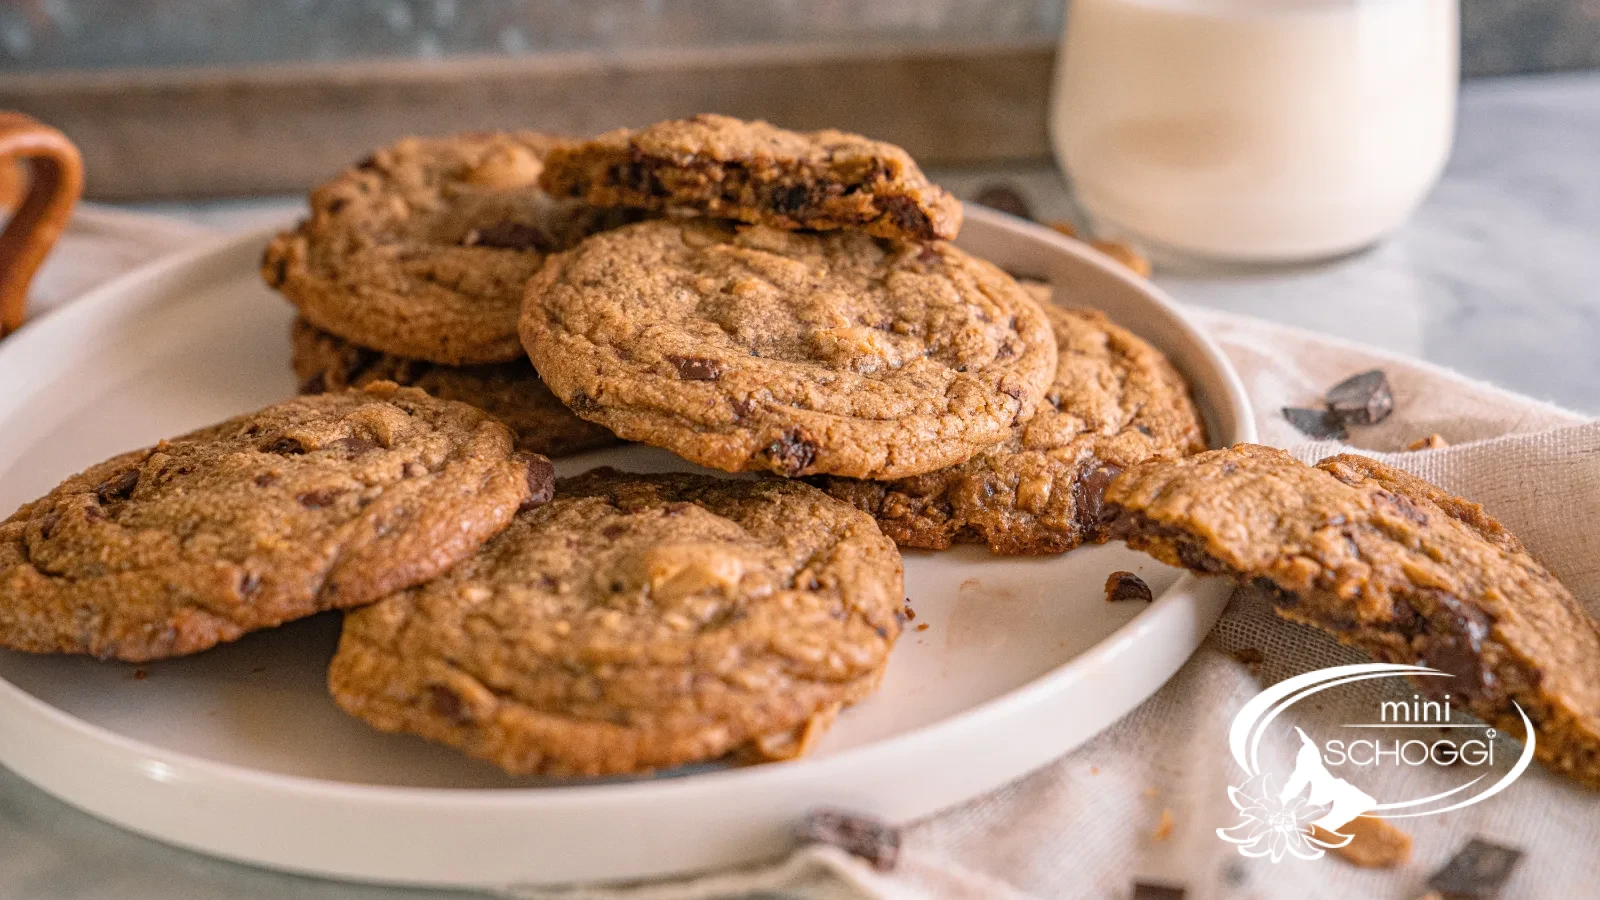
Crisp on the outside, chewy on the inside – with muscovado and coarsely chopped couverture
Quantityapprox. 12 pieces
Active timeapprox. 20 min.
Total timeapprox. 1 hr 15 min. (incl. 30 min. dough resting and cooling)
contains eggcontains milkcontains glutenmay contain soy
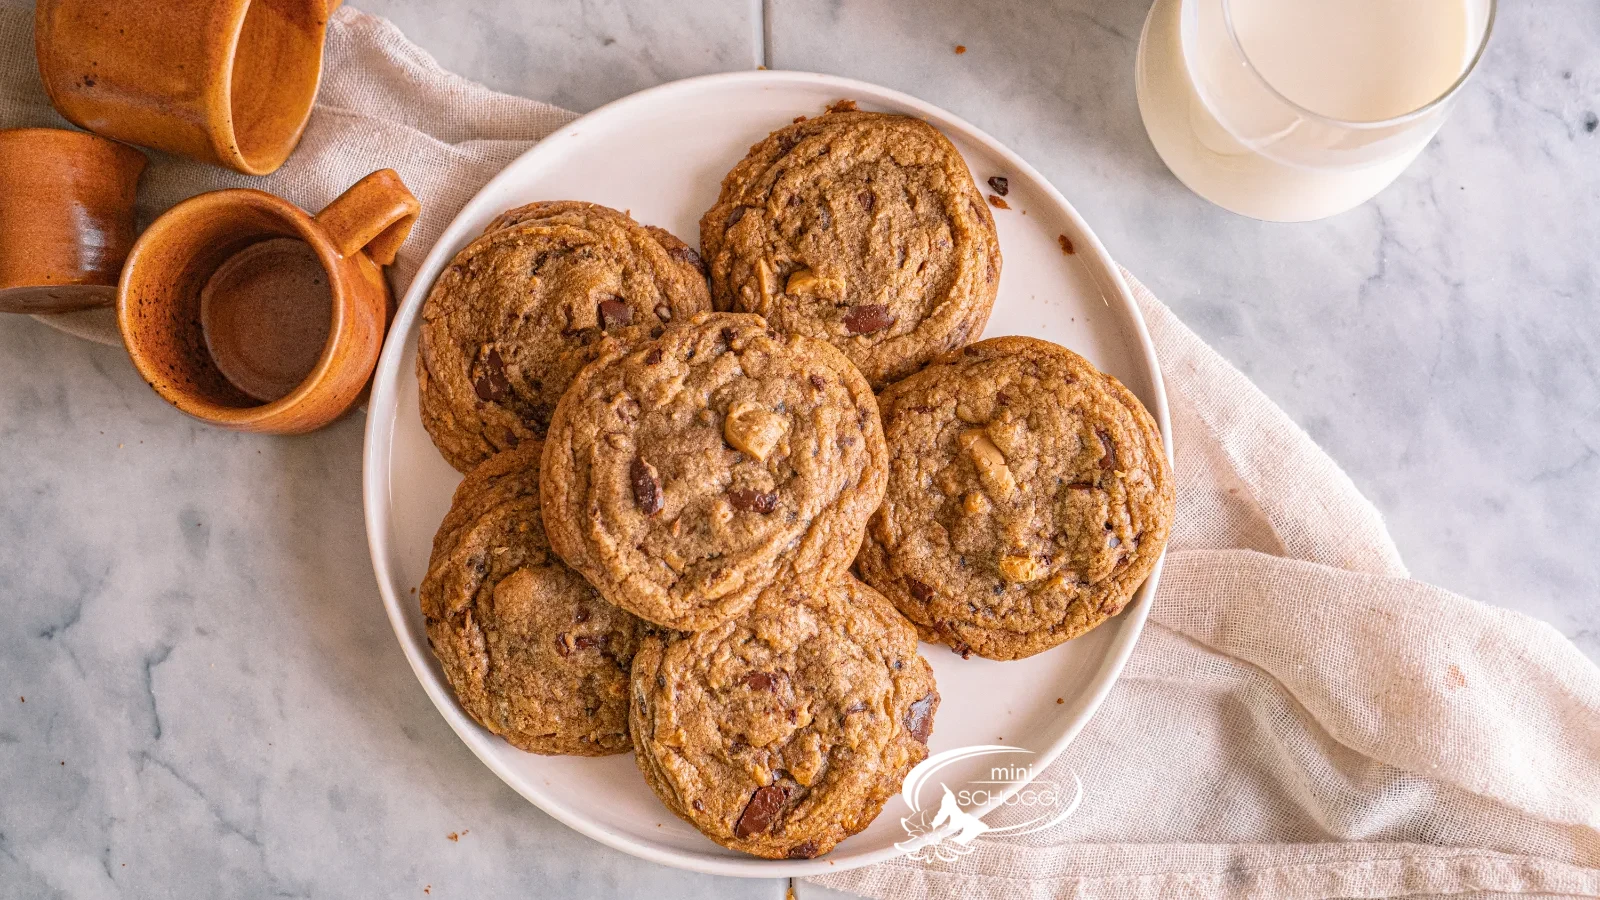
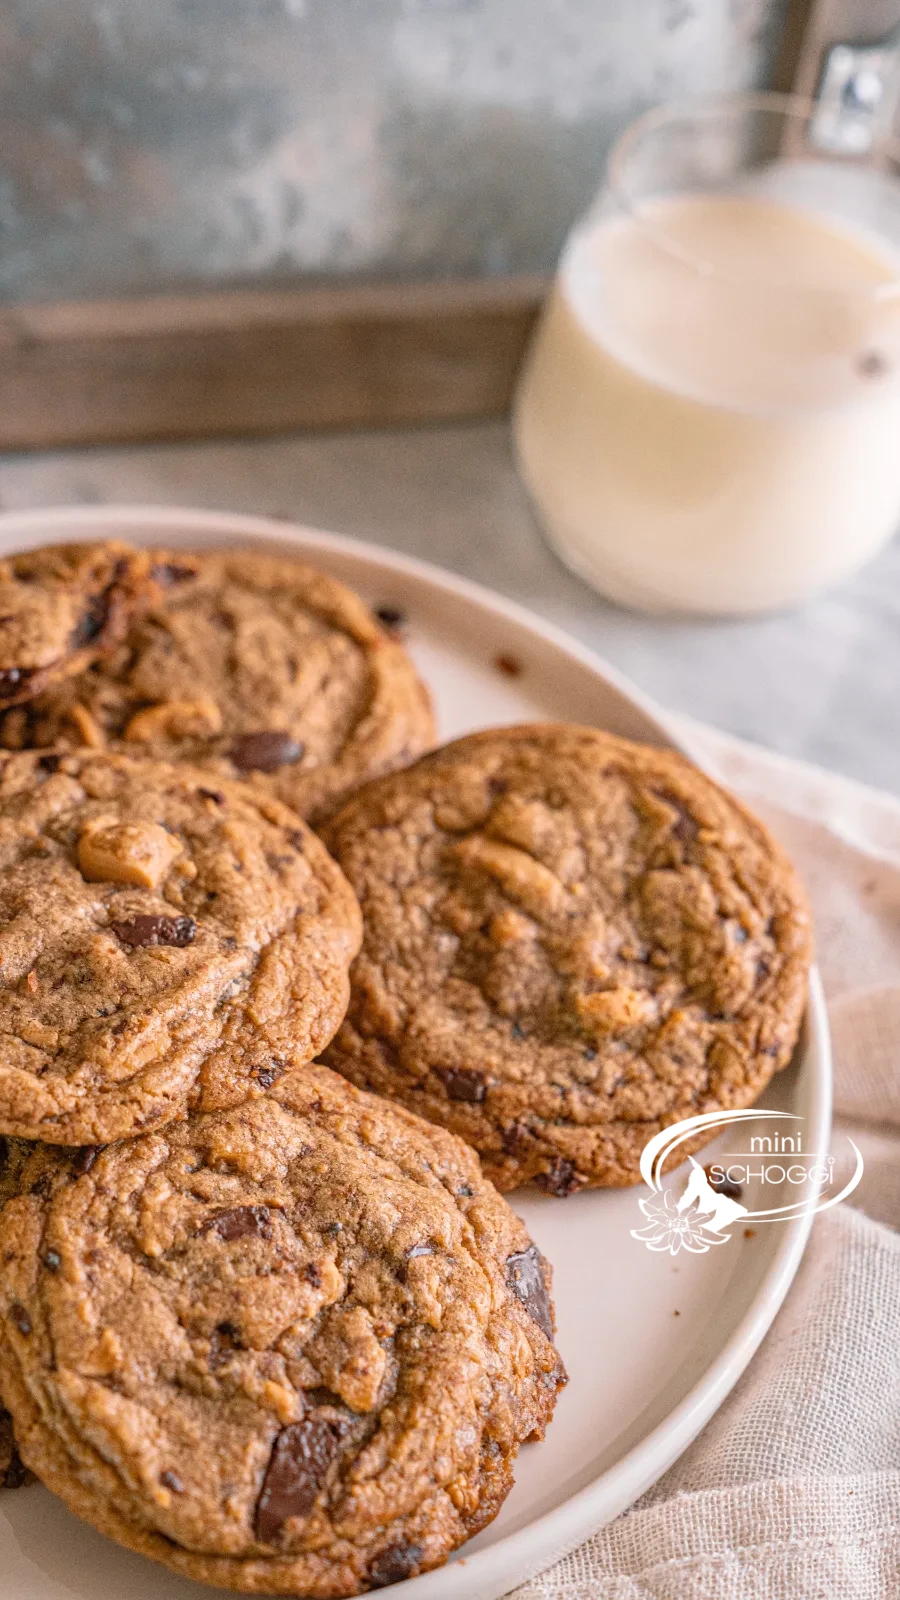
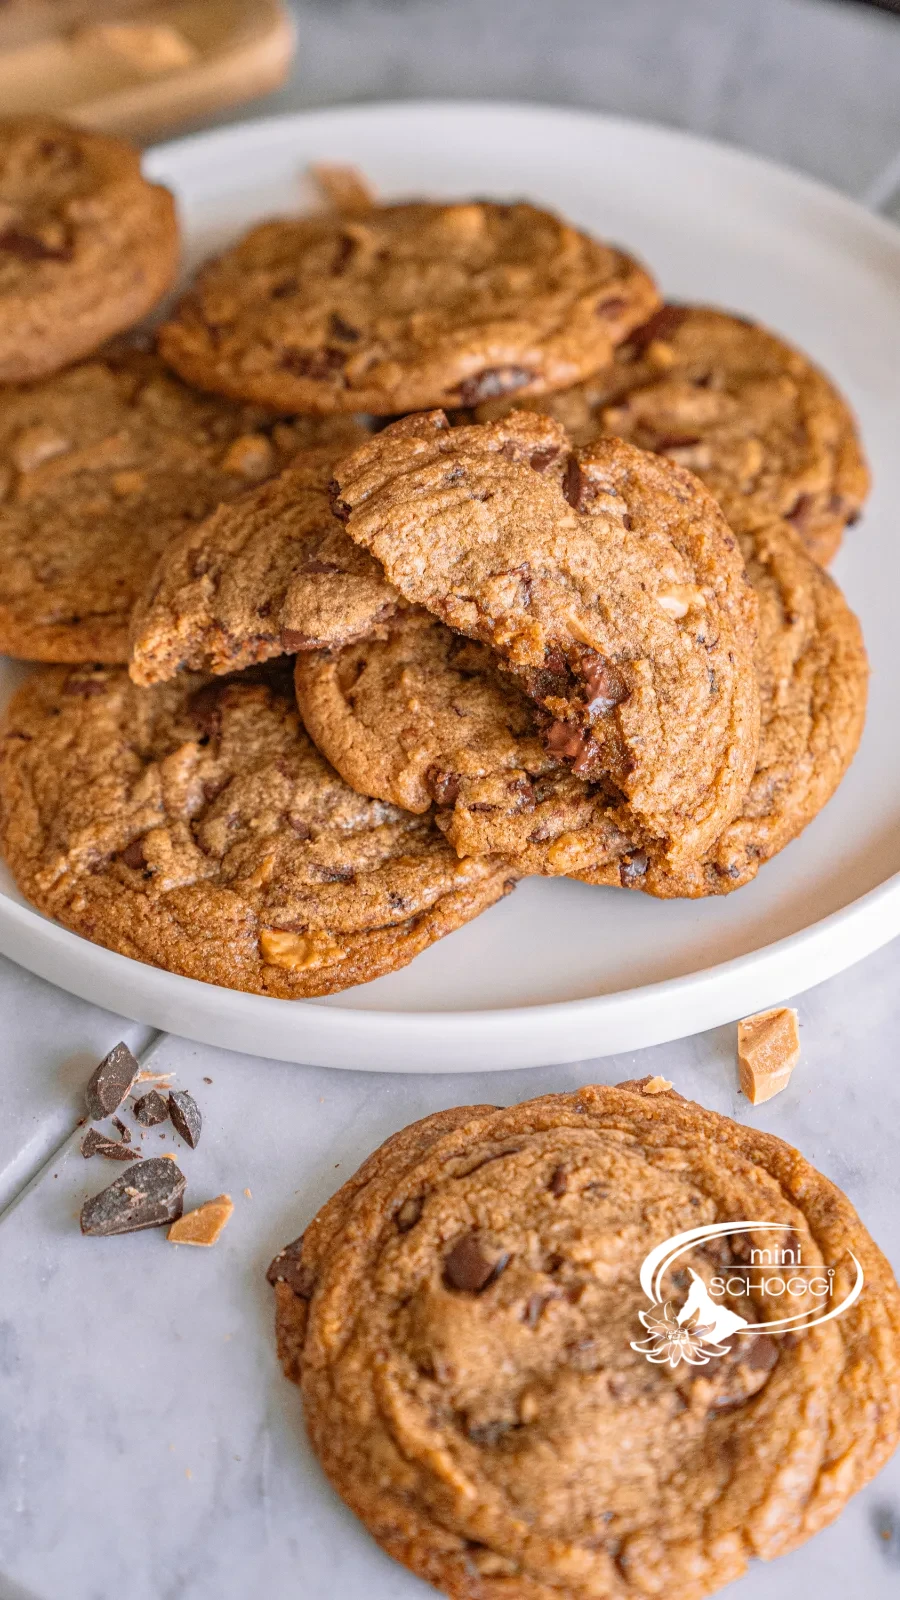
An American chocolate chips cookies is not a biscuit that bakes through evenly. It should be crisp at the edge and stay soft in the middle – "chewy", as they say in English. That's exactly what makes it harder than it looks: everything about the recipe is designed so that the cookies spread and come out of the oven early.
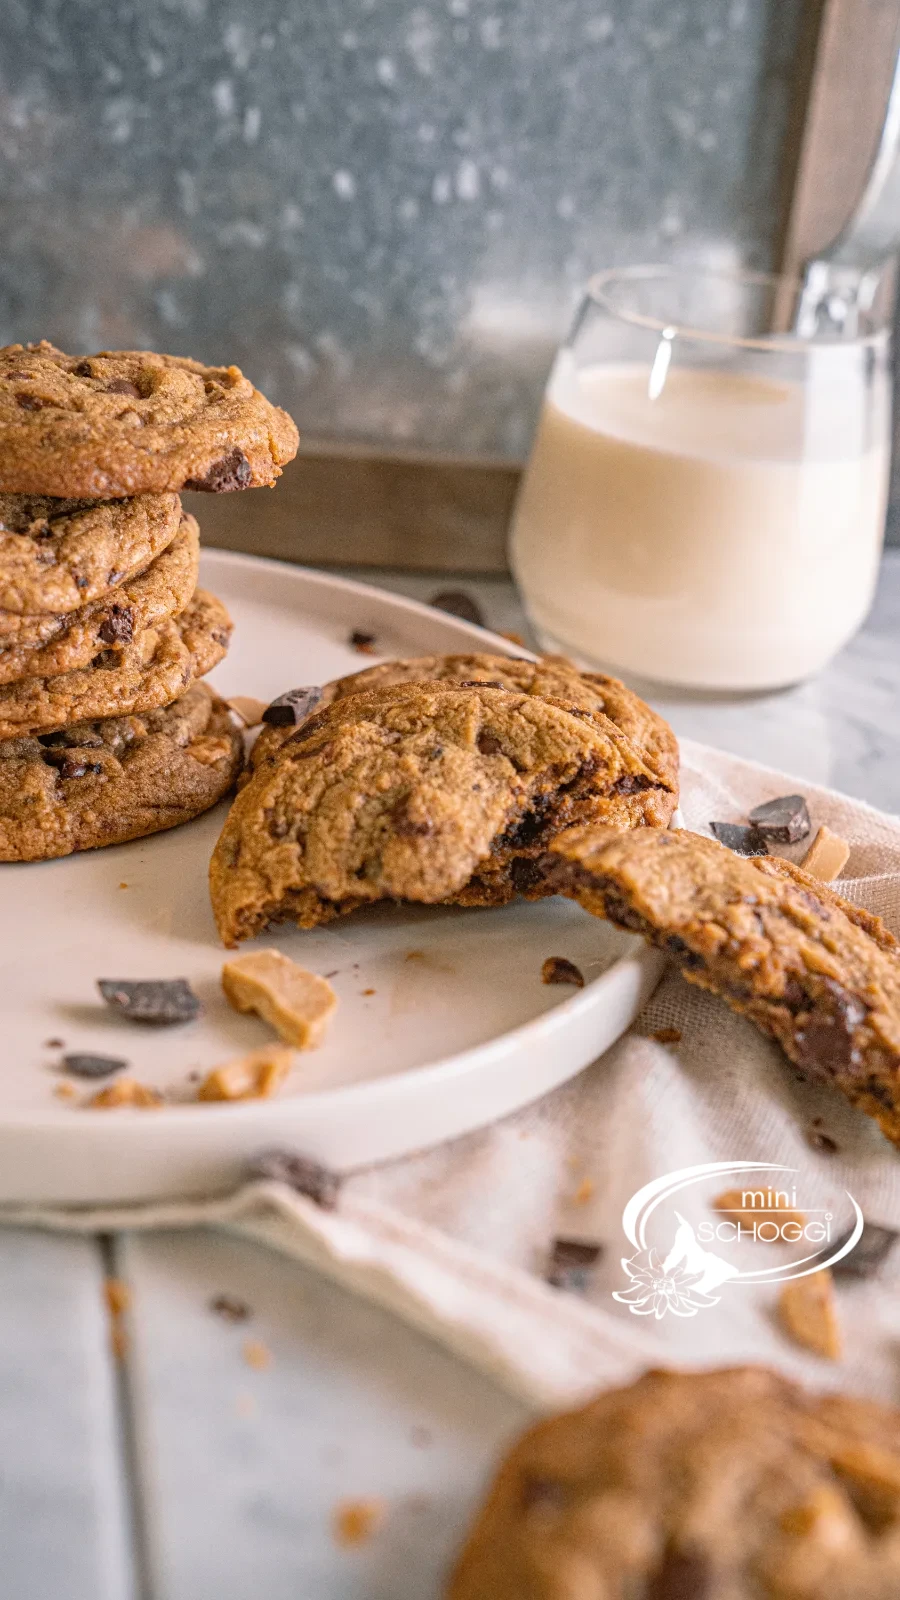
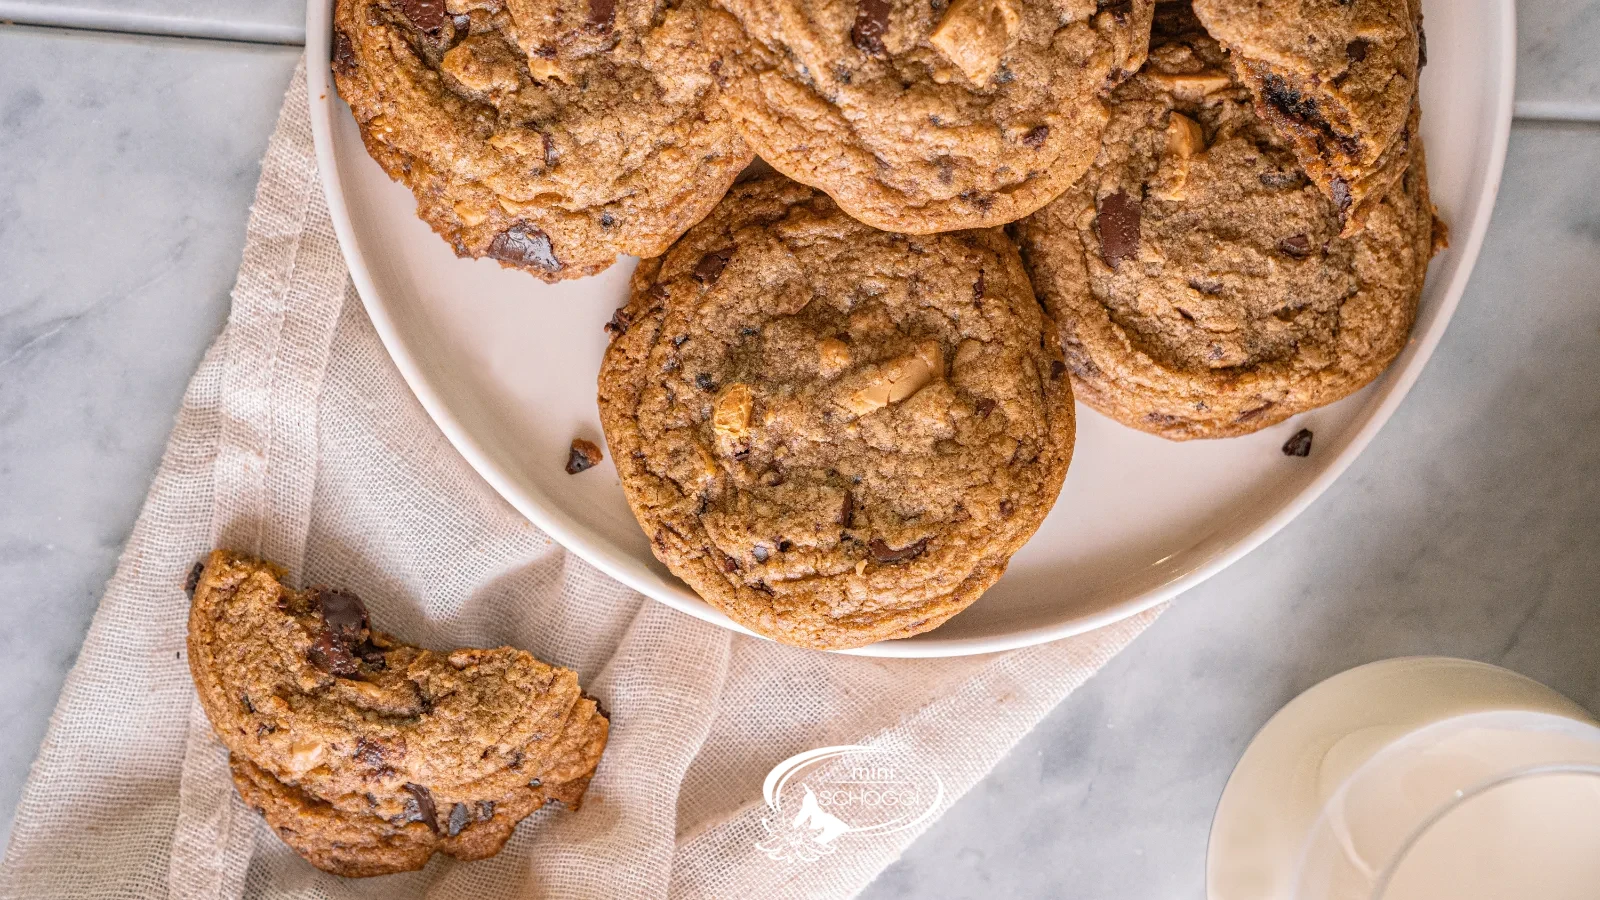
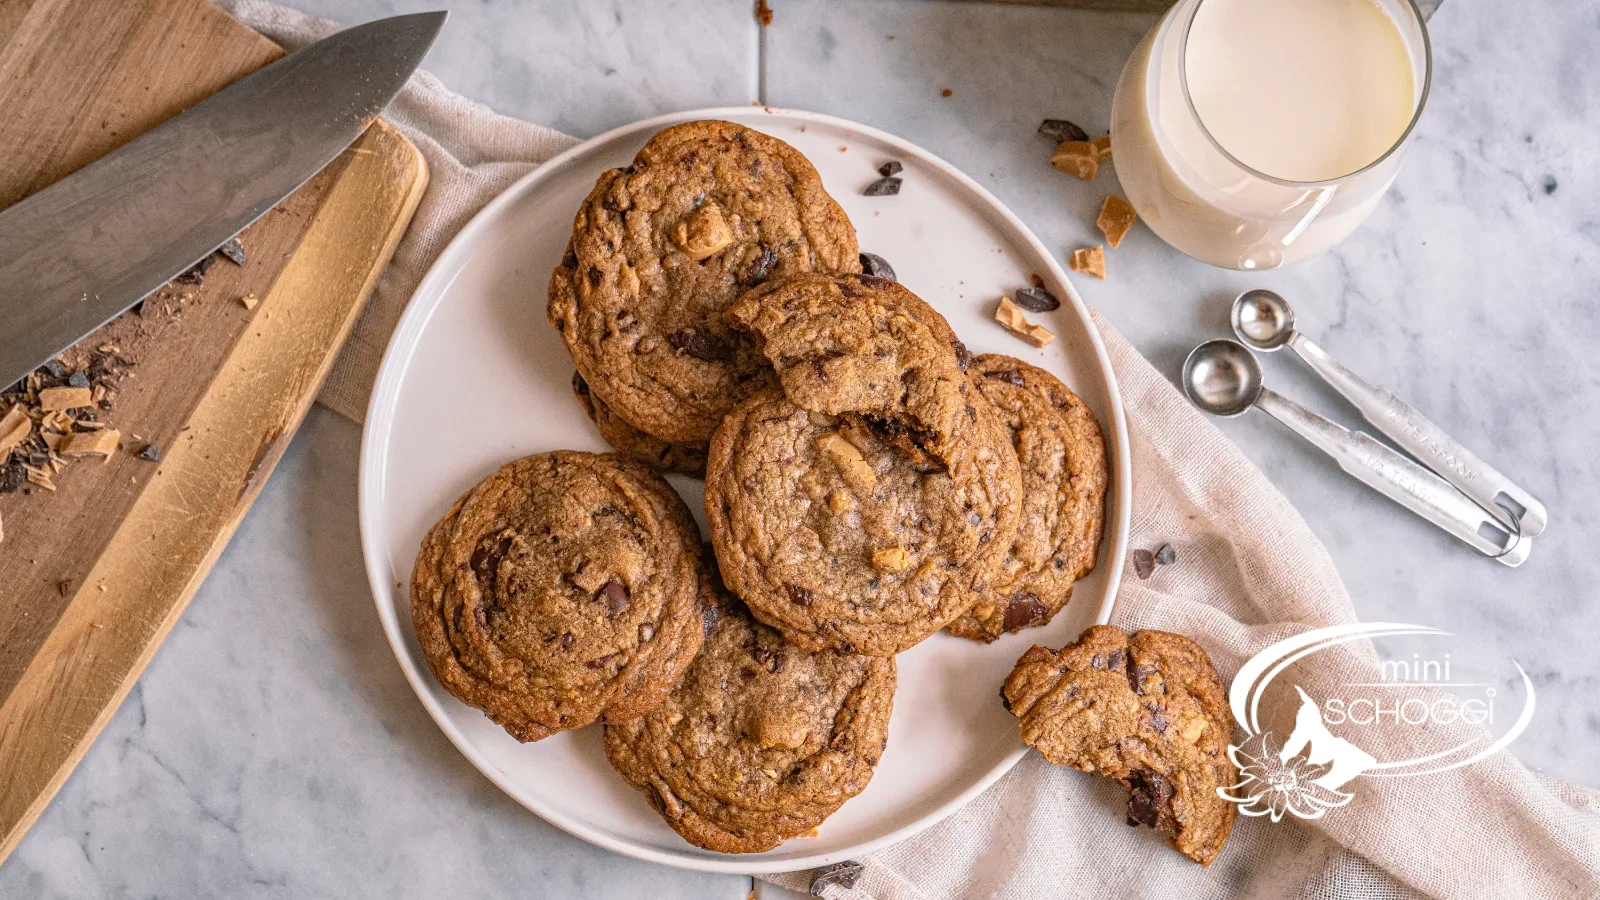
The flavour comes from the muscovado sugar. It's dark, moist and tastes of caramel and molasses – it brings more than just sweetness to the dough, and it keeps the cookies soft. Together with coarsely chopped couverture instead of ready-made drops, this creates the veins of chocolate that become visible when you break them apart.
Two things decide the result. The dough has to rest for half an hour, otherwise the cookies run away in the oven. And you take them out of the oven when only the edge has colour and the middle still looks as though it isn't done – that's exactly when it is. Straight out of the oven the cookies are so soft that they break when you lift them; on the tray they firm up within ten minutes.
If you want even more chocolate, take a look at The best brownie recipe afterwards – the same principle, just baked in a tin.
Ingredients
Quantity:
Cookie dough
115 gButter, melted
80 gGranulated sugar
160 gMuscovado sugar
1 pc.Whole egg, beaten (approx. 50 g)
1 pinchVanilla seeds
155 gWhite flour
1/2 tspBaking powder
1 pinchSalt
Step by step
If you're in a hurry: the compact recipe card further down sums everything up.
Cookie dough
1
Melt the butter, mix the sugar
Melt the butter on a low setting in a small pan – it should become liquid, but not brown. In a large Bowl, mix the granulated sugar with the Muscovado sugar.
Muscovado is moist and tends to clump. Press the clumps apart with your fingers or the Whisk before adding the butter – later in the dough they won't dissolve any more.
2
Beat butter, sugar, vanilla and egg until creamy
Pour the liquid butter over the two types of sugar and stir everything together. Add a pinch of vanilla – seeds or extract, either works – and stir in the beaten whole egg.
Work with the Whisk until the mixture is slightly creamy and flows thickly from the whisk. By hand this takes two to three minutes; with the Hand mixer it goes faster, but it isn't necessary.
3
Fold in flour, Baking powder and salt
Add the White flour, the Baking powder and a pinch of salt to the sugar mixture and work everything into a dough with the Rubber scraper. Stir only until no dry flour is visible any more – the less you work the dough, the more tender the cookie stays.
4
Chop the couverture, fold it in, rest for 30 minutes
Chop the couverture coarsely – not finely. Unevenly sized pieces are expressly wanted here: the small ones melt and draw veins of chocolate through the dough, the large ones stay intact as chunks. That's exactly why we use chopped couverture and not ready-made drops. We used Dulcey and Maracaibo, but any couverture you like will do.
Fold in the chocolate with the Rubber scraper, cover the Bowl with cling film and let the dough rest for at least half an hour. This half hour is not a suggestion: cold butter spreads more slowly in the oven, and only then do the cookies stay thick enough to be soft in the middle.
During this time, preheat the oven to 180 °C fan.
Shaping and baking
1
Portion – only six per tray
Line two Baking trays with baking paper. Portion the dough with an Ice cream scoop – this makes all the cookies the same size so they bake at the same rate. Without a scoop, form balls of about 55 g.
Place only six cookies on a tray, with plenty of space. They spread noticeably while baking; if they lie too close together, two cookies become one.
2
Bake and let cool on the tray
Slide one tray into the preheated oven. The baking time is 12 to 15 minutes – but stay close from minute 9 on, because every oven is different and with these cookies the change from "just right" to "too crisp" takes less than two minutes.
The crucial point: the cookies must not turn golden brown all over. Only the edge should take on colour, the middle stays pale and doesn't look finished yet. As soon as the edge darkens, the tray comes out.
Let the cookies cool on the tray – straight out of the oven they're so soft and buttery that they break when lifted. As they cool they firm up: the edge becomes crisp, the middle stays chewy. That's exactly the point.
Compact · printable
Chocolate Chips Cookies
Ingredients
Quantity:
Cookie dough
CHOCOLATE
Preparation
- Butter: Melt 115 g butter, mix granulated and muscovado sugar.
- Stir: Beat butter, sugar, vanilla and egg until creamy and flowing thickly off the whisk.
- Dry ingredients: Fold in 155 g flour, ½ tsp baking powder and salt with the rubber scraper.
- Chocolate: Coarsely chop 220 g couverture and fold in.
- Rest: Cover and rest for 30 min., preheat the oven to 180 °C fan.
- Portion: Using the ice cream scoop, place 6 cookies per tray, well spaced apart.
- Bake: 12–15 min. – only the edges should take on colour. Let cool on the tray.
Nutritional values per 100 g
484kcal
22.3 gFat
66.6 gCarbohydrates
4.1 gProtein
Storage & shelf life
The cookies are best fresh. Well sealed in a cookie tin they keep for a week, though – they get a little crunchier and drier with each day and lose their soft centre in the process. If you want to keep them longer, it's better to freeze the raw dough: portioned into balls, baked straight from frozen onto the tray, two minutes longer. Then you always have fresh cookies instead of stale ones.
Everything for this recipe
Recommended from our bakery — exactly the sizes the recipe was tested with.
Ingredients
Lindt Couverture Milk 0.5 kg
Lindt Couverture Dark 0.5 kg
White flour, 1 kg
Bourbon vanilla seeds, 5 g
Natural extract, 50 ml
Valrhona dark couverture, Guanaja 70%, 1 kg
Valrhona Blond couverture, Dulcey 35%, 1 kg
Muscovado sugar, 200 g
FunCakes Baking powder, 80 g
Accessories
Rubber scraper black, large
Whisk small 21.5 cm
Delivery in 1–2 working days · Free shipping from CHF 100
Nice to go with it
Not needed for the recipe — but it fits.
Felchlin Couverture Grand Cru Maracaibo 65 % 0.5 kg
Domori Milk couverture, Criollo 38%, 1 kg
Domori Dark couverture, Peru 72%, 0.5 kg
Domori Dark couverture, Tanzania 68%, 0.5 kg
So they turn out perfectly every time
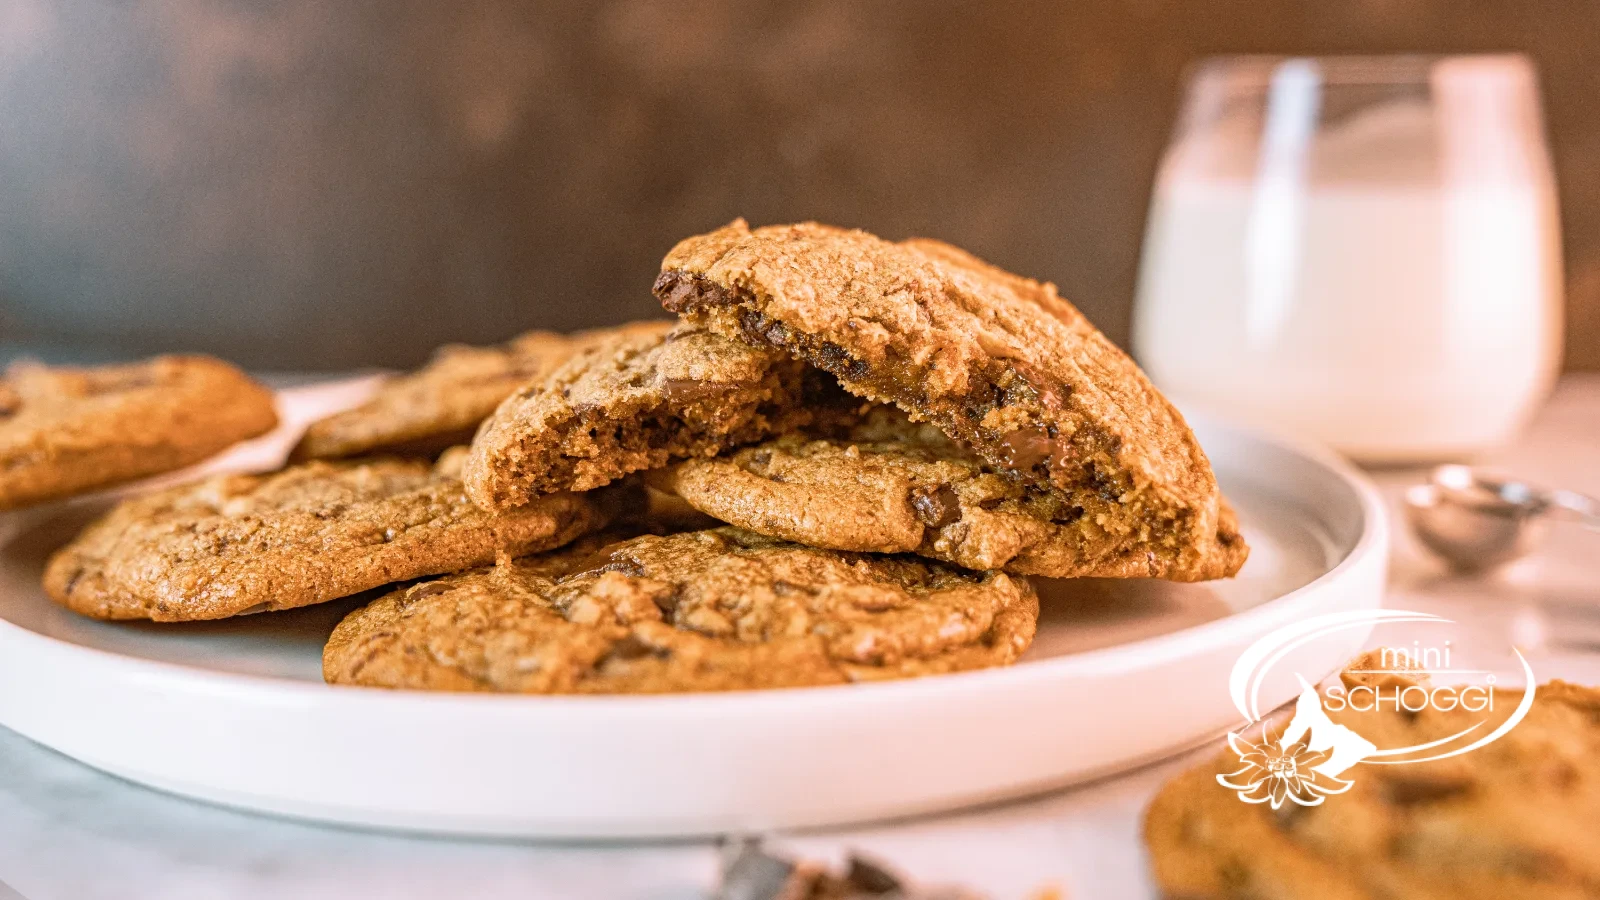
The centre has to look as if it isn't done yet
This is the only truly tricky point in the recipe. Wait until the whole cookie is golden brown and you've baked a crunchy biscuit – nice, but not a chewy cookie. Take the tray out as soon as the edge takes on colour and the centre still looks pale and soft. It finishes cooking on the hot tray.
Stand by from minute 9
12 to 15 minutes is a guideline for our oven. A reader wrote to us that even 12 minutes were too much in his oven – and he's right: with such flat bakes, two minutes make the difference. The first time, it's best to stand by the oven from minute 9 and watch how the edge changes colour. After that you'll know what your oven needs.
Chop coarsely instead of buying chips
Ready-made chocolate chips are made to keep their shape – they're deliberately made to melt poorly. Coarsely chopped couverture does the opposite: the chocolate dust spreads through the dough, the medium pieces draw veins and the large ones stay as chunks. Unevenly chopped is better here than evenly chopped.
Frequently asked questions
Probably nothing. These cookies turn out flat, that's part of the American original. More Baking powder won't help, it won't make them rise higher. If they're too flat for you: chill the dough longer (an hour instead of half an hour), or shape the dough balls taller instead of pressing them flat onto the tray.
It's what makes this cookie – dark, moist, caramelly – and it keeps the crumb soft. If you don't have any to hand, use dark cane sugar or wholecane sugar. The cookie will then be lighter and less caramelly, but it will still work. Plain white sugar on its own makes it dry and flat.
Yes, and it's even better that way. Covered in the fridge it keeps for two days and becomes more flavourful in the process. Portioned and frozen it keeps for three months – then you bake the balls frozen, allowing two minutes more time.
Print recipe
Choose what should appear on the printout.
Related products
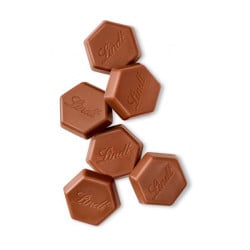
Lindt couverture milk 0.5 kg
Price: CHF17.90
Rated out of 5 stars based on
review(s)
Vous devez être connecté à votre compte client
Finest ingredients, transparency and sustainability. This is what the...
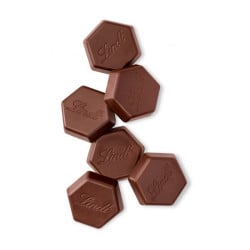
Lindt Couverture Dark 0.5 kg
Price: CHF17.50
Rated out of 5 stars based on
review(s)
Vous devez être connecté à votre compte client
The finest ingredients, transparency and sustainability. This is what the...
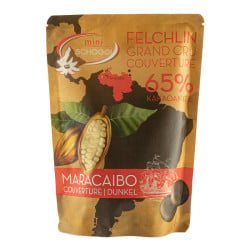
Felchlin Couverture Grand Cru Maracaibo 65 % 0.5 kg
Price: CHF21.90
Rated out of 5 stars based on
review(s)
Vous devez être connecté à votre compte client
Swiss biodiversity paired with the finest cocoa varieties in the world. That...
White flour, 1 kg
Price: CHF4.50
Rated out of 5 stars based on
review(s)
Vous devez être connecté à votre compte client
White flour is suitable for pastries of all kinds, from bread to cakes to...
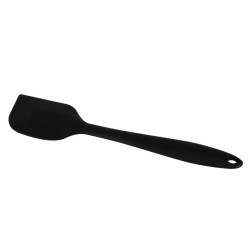
Rubber scraper Black, large
Price: CHF9.90
Rated out of 5 stars based on
review(s)
Vous devez être connecté à votre compte client
The rubber scraper black is made of silicone, which protects pots and bowls...
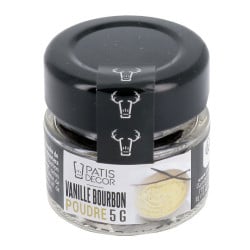
Bourbon vanilla seeds, 5 g
Price: CHF12.50
Rated out of 5 stars based on
review(s)
Vous devez être connecté à votre compte client
Vanilla seeds are very popular because of their natural and intense flavor....
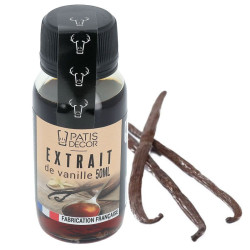
Vanilla extract, 50 ml
Price: CHF16.50
Rated out of 5 stars based on
review(s)
Vous devez être connecté à votre compte client
The vanilla extract is very popular due to its high concentration, because...

Valrhona dark couverture, guanaja 70%, 1 kg
Price: CHF53.90
Rated out of 5 stars based on
review(s)
Vous devez être connecté à votre compte client
With a distinct taste, the sophisticated astringency of chocolate and...

Valrhona Blond Couverture, Dulcey 35%, 1 kg
Price: CHF58.90
Rated out of 5 stars based on
review(s)
Vous devez être connecté à votre compte client
With a distinct flavor reminiscent of caramelized milk, this high-quality...
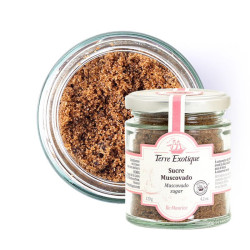
Muscovado sugar, 200 g
Price: CHF9.90
Rated out of 5 stars based on
review(s)
Vous devez être connecté à votre compte client
A complete and unrefined cane sugar with a licorice-like flavor on a crème...
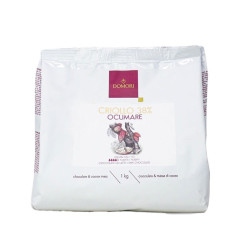
Domori milk couverture, Criollo 38%, 1 kg
Price: CHF46.90
Rated out of 5 stars based on
review(s)
Vous devez être connecté à votre compte client
One of the few milk couvertures made purely with Criollo beans, this creation...
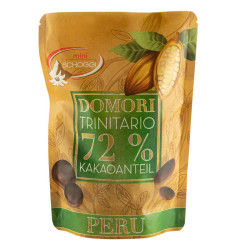
Domori dark couverture, Peru 72%, 0.5 kg
Price: CHF21.90
Rated out of 5 stars based on
review(s)
Vous devez être connecté à votre compte client
A delicate freshness and a moderate acidity enrich the sensory profile of...
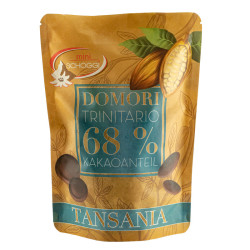
Domori dark couverture, Tanzania 68%, 0.5 kg
Price: CHF29.90
Rated out of 5 stars based on
review(s)
Vous devez être connecté à votre compte client
This dark couverture from Tanzania is made from Trinitario cocoa beans. These...
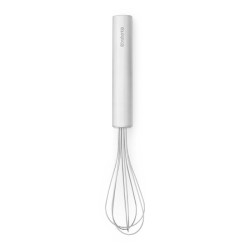
Whisk Small 21.5 cm
Price: CHF15.90
Rated out of 5 stars based on
review(s)
Vous devez être connecté à votre compte client
Every kitchen needs some basic equipment, and this includes a sturdy whisk....
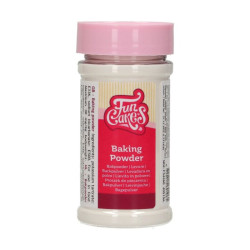
FunCakes baking powder, 80 g
Price: CHF4.10
Rated out of 5 stars based on
review(s)
Vous devez être connecté à votre compte client
FunCakes Baking Powder is a high quality baking powder that contains the...
Bewertungen
Leave a comment
Comments
-
Wenig aufgegangen
By: Roman Sandoz On 2024-04-10Sehr fein geworden, obwohl die Cookies sehr flach ausgefallen waren - im Online-Rezept steht 1/2 TL Backpulver, im PDF unter "Rezept drucken" hingegen 1 TL -> das nächste mal probiere ich mit 1 TL ;-)
In unserem Ofen waren bereits 12 min zu viel - der Rand war da schon eher hart (sehr knusprig), die Mitte trotzdem noch etwas weich. Vielleicht wenn sie mit mehr Backpulver besser aufgehen, trocknen sie auch etwas weniger aus am Rand...?
Trotzdem danke für das feine Rezept.Replied by: Nicholas Burk On 2024-04-11
Related posts
 Make your own chocolate Easter bunnies
You can easily make your own Easter bunnies at home! You can find out how to do it and what you need here. A sweet...
Read more
Make your own decorative Swiss roll
Make your own decor roulade - we'll explain exactly how in this blog, with lots of tips and tricks from our...
Read more
Cinnamon Star Biscuits Recipe
Make your own cinnamon stars with the help of our professionals, with lots of tips & tricks to bake the best...
Read more
How can I convert a cake recipe?
Converting a cake recipe, whether a sponge or a cake filling, is easy with our conversion table.
Read more
Chocolates with mulled wine jelly
A wonderfully wintry Christmas jelly, which is ideal as a praline or macaron filling.
Read more