
The best cheesecake recipe you've ever tried
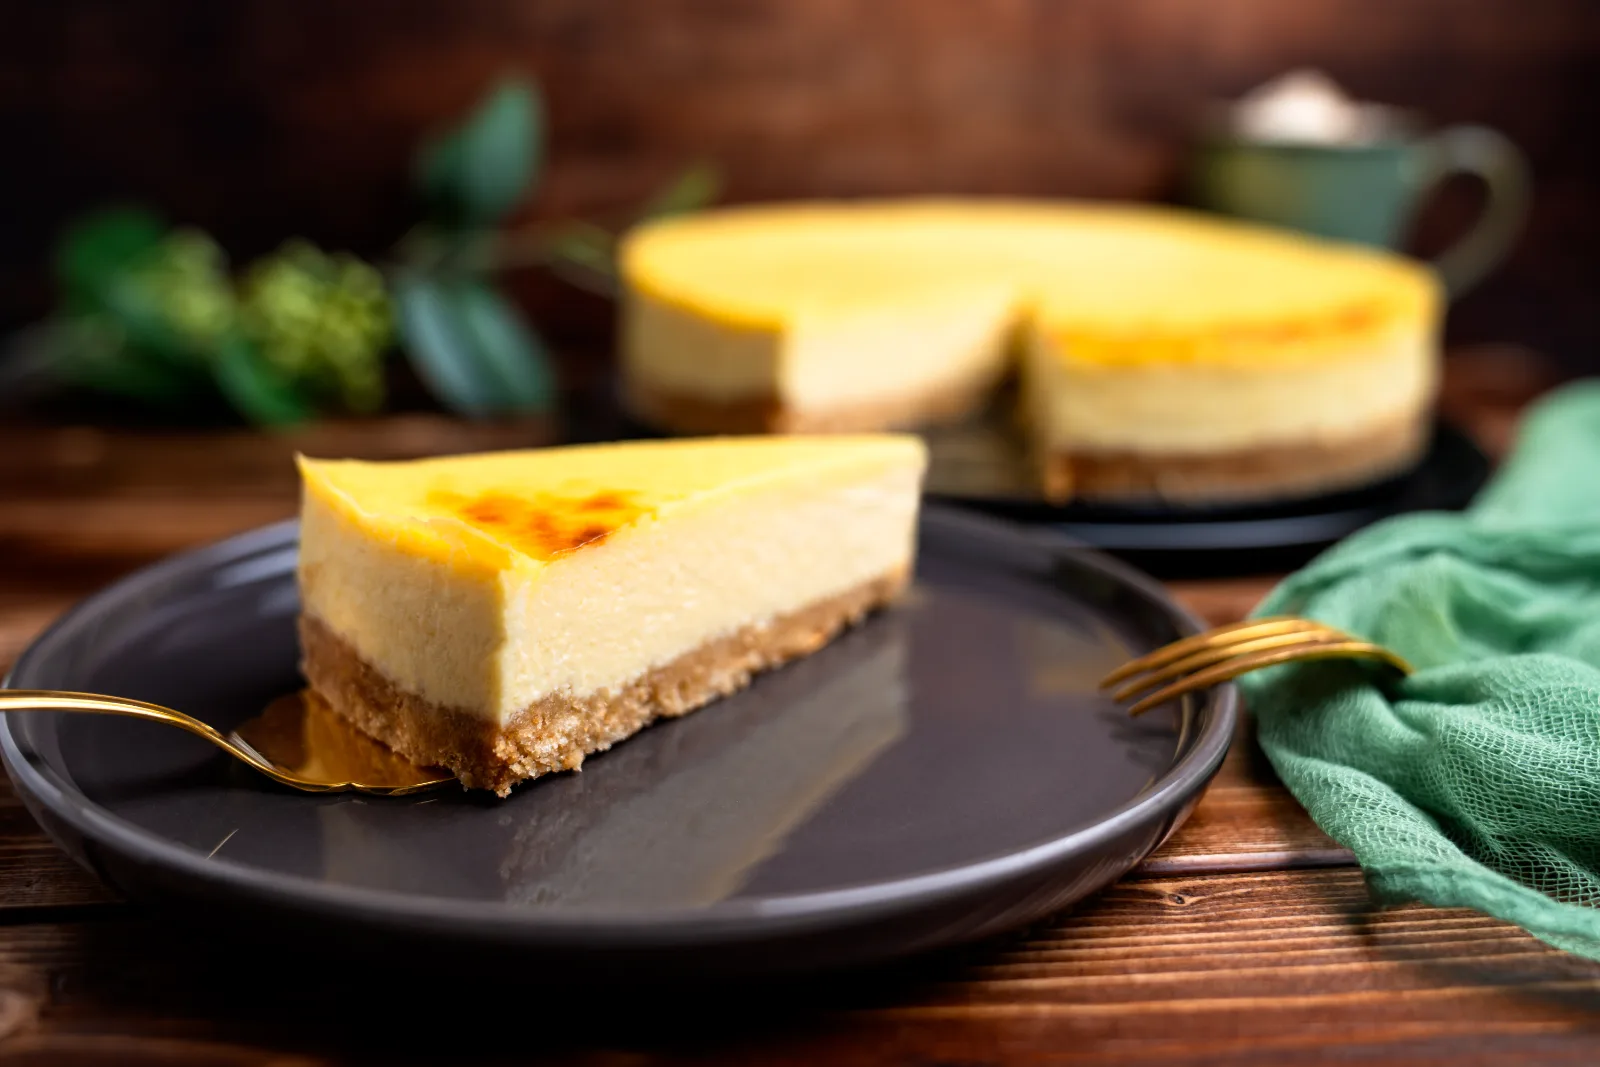
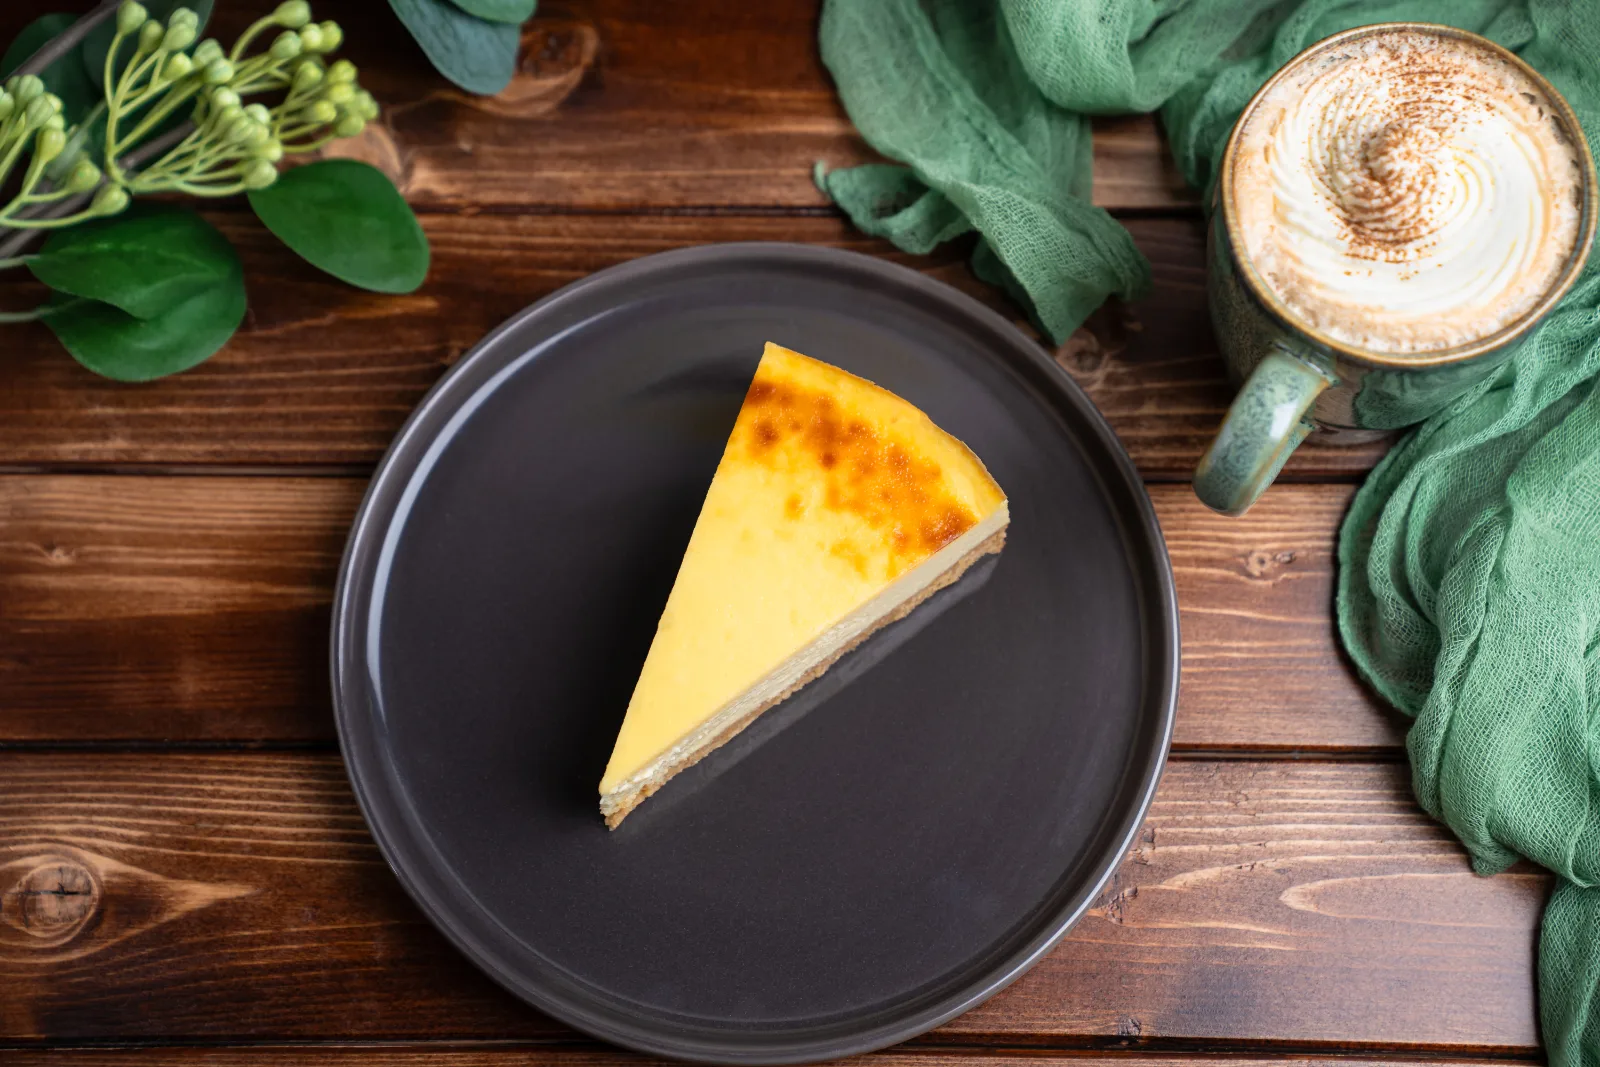
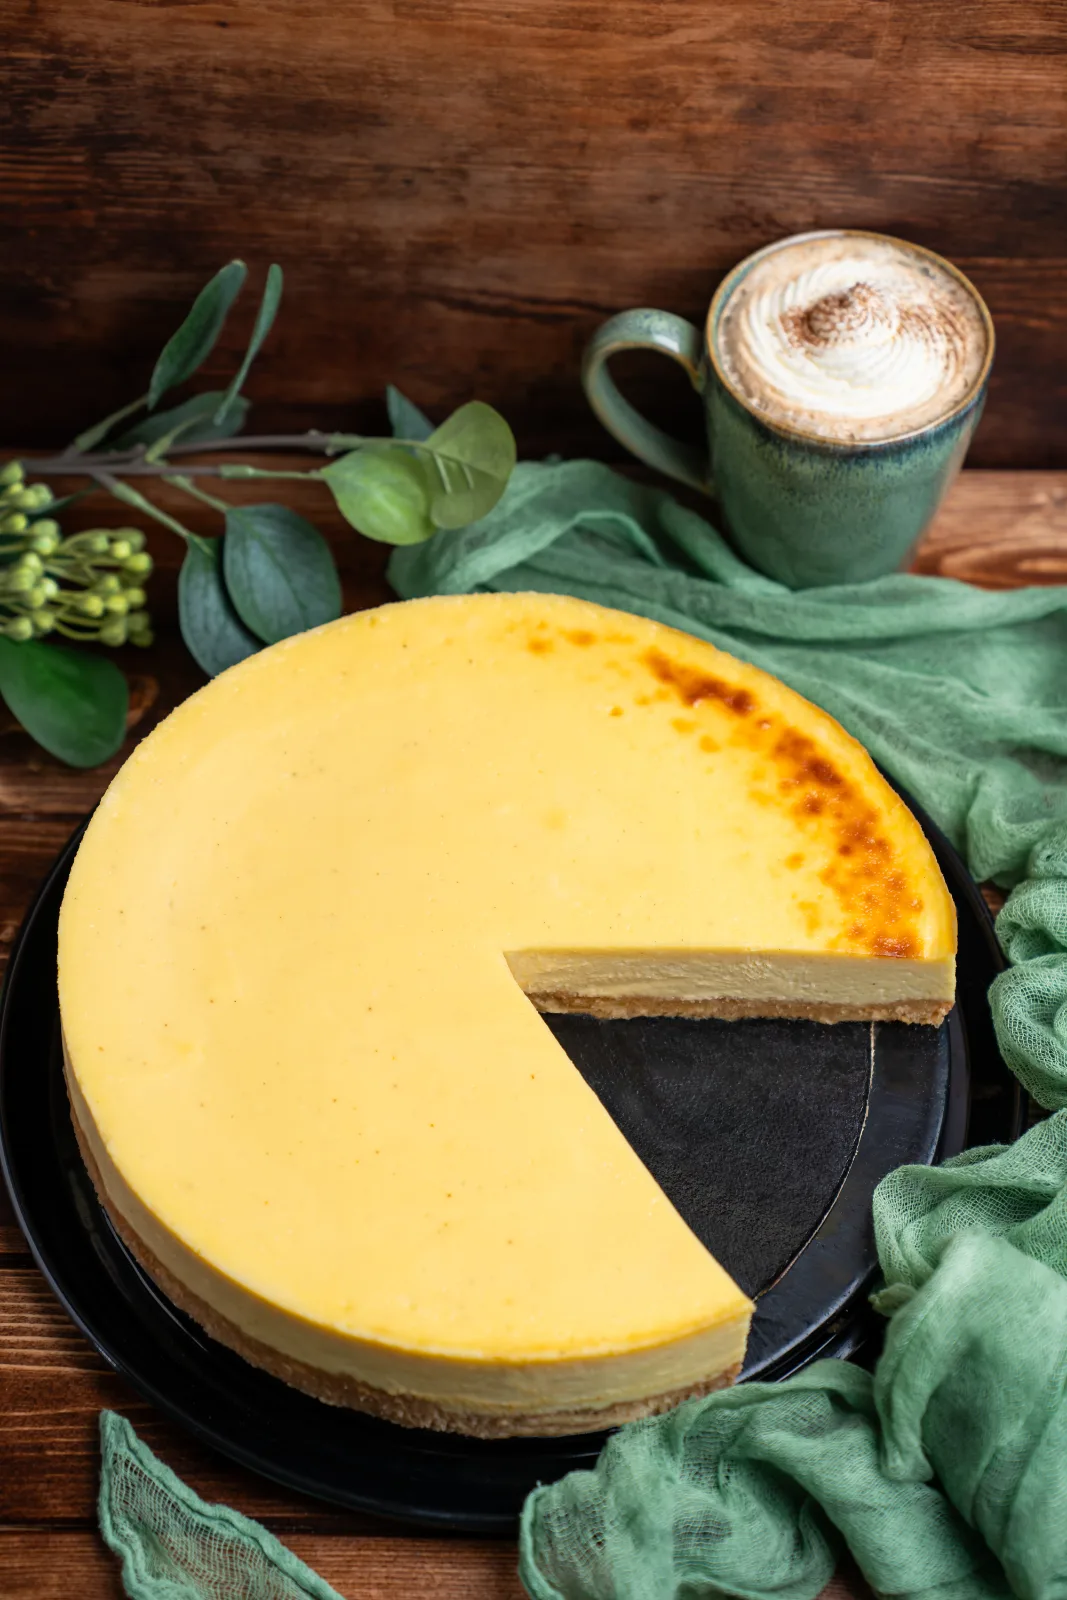
Gently cooked in a water bath – creamy, velvety and without a crack on the surface
Quantity1 cake Ø 24 cm (approx. 12 pieces)
Active timeApprox. 20 minutes
Total timeApprox. 11 hrs (incl. overnight chilling)
contains glutencontains eggcontains lactose
Are you looking for the ultimate cheesecake recipe that draws an enthusiastic "Wow!" from you at the very first bite? Then you've just found it – promise!
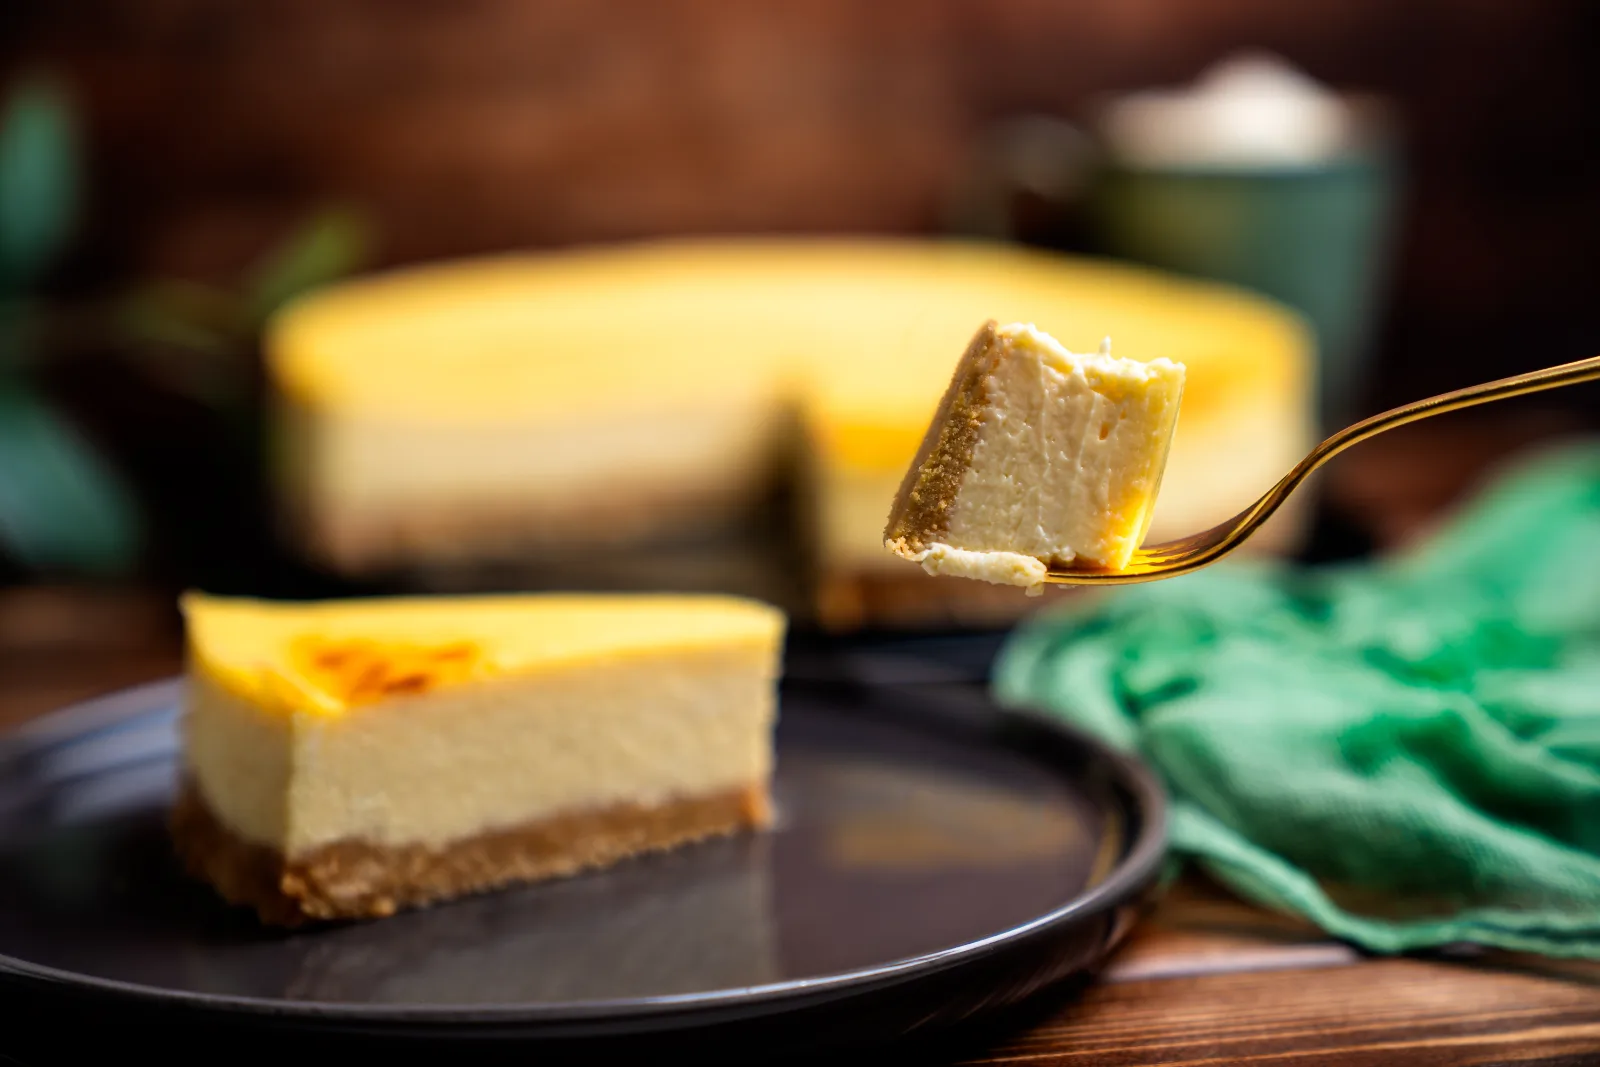
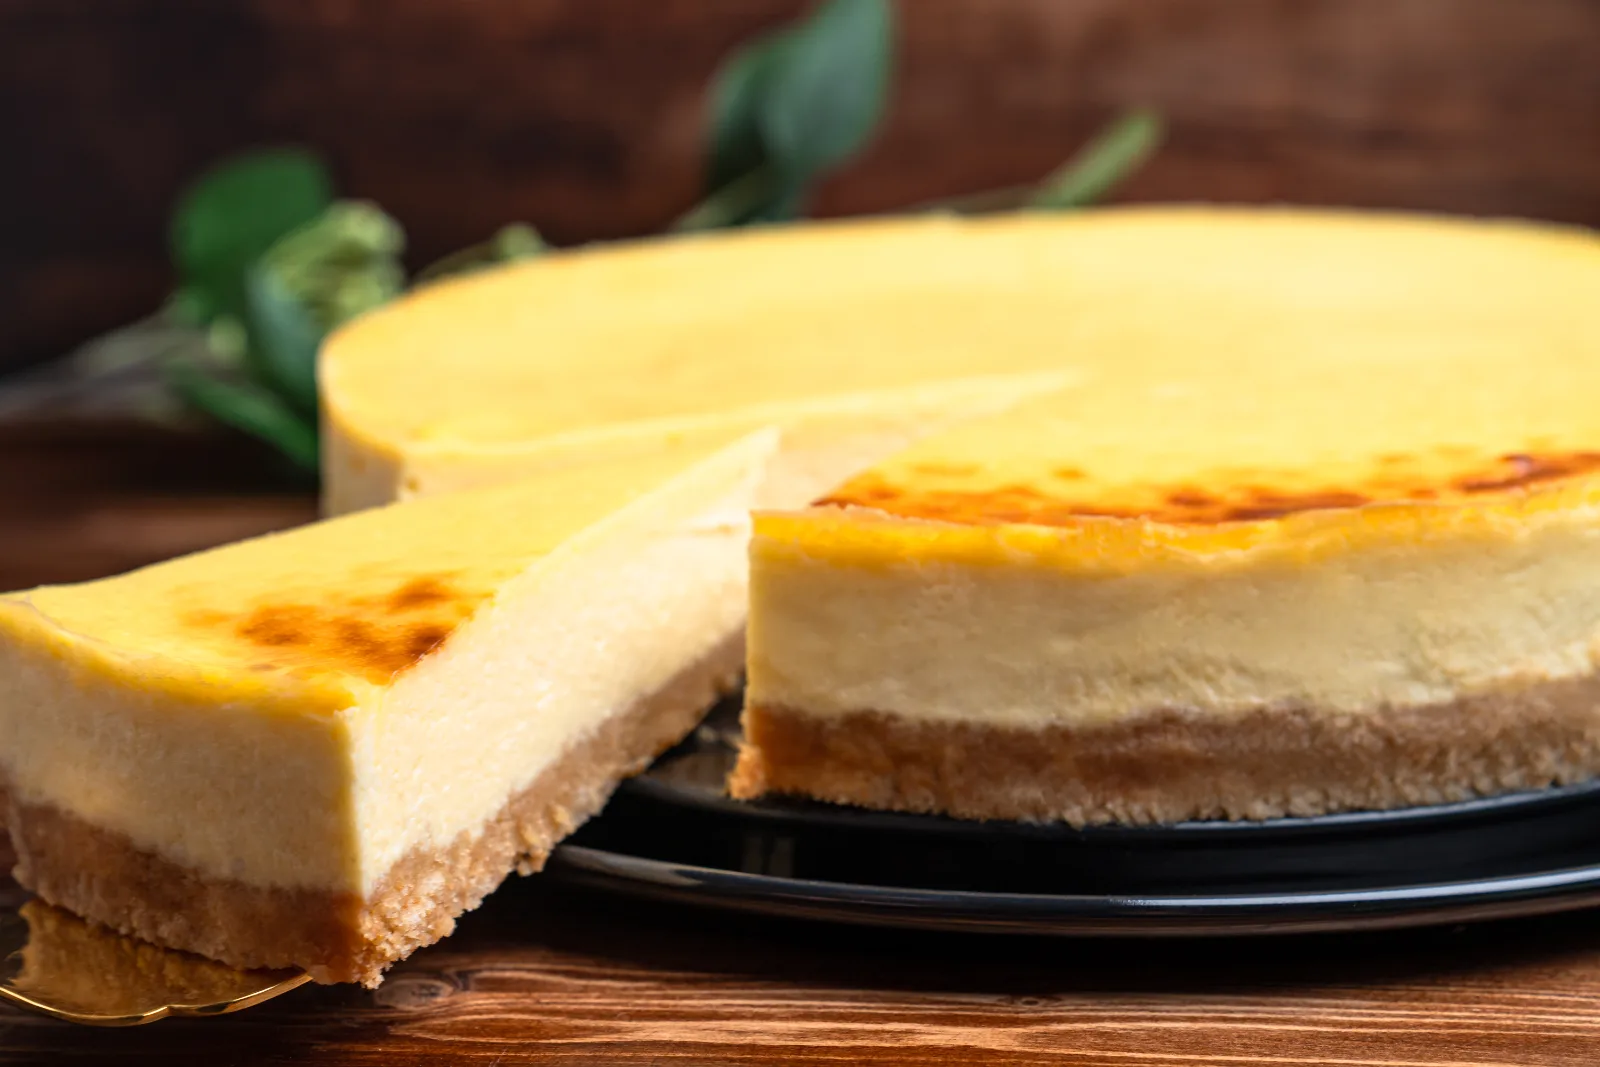
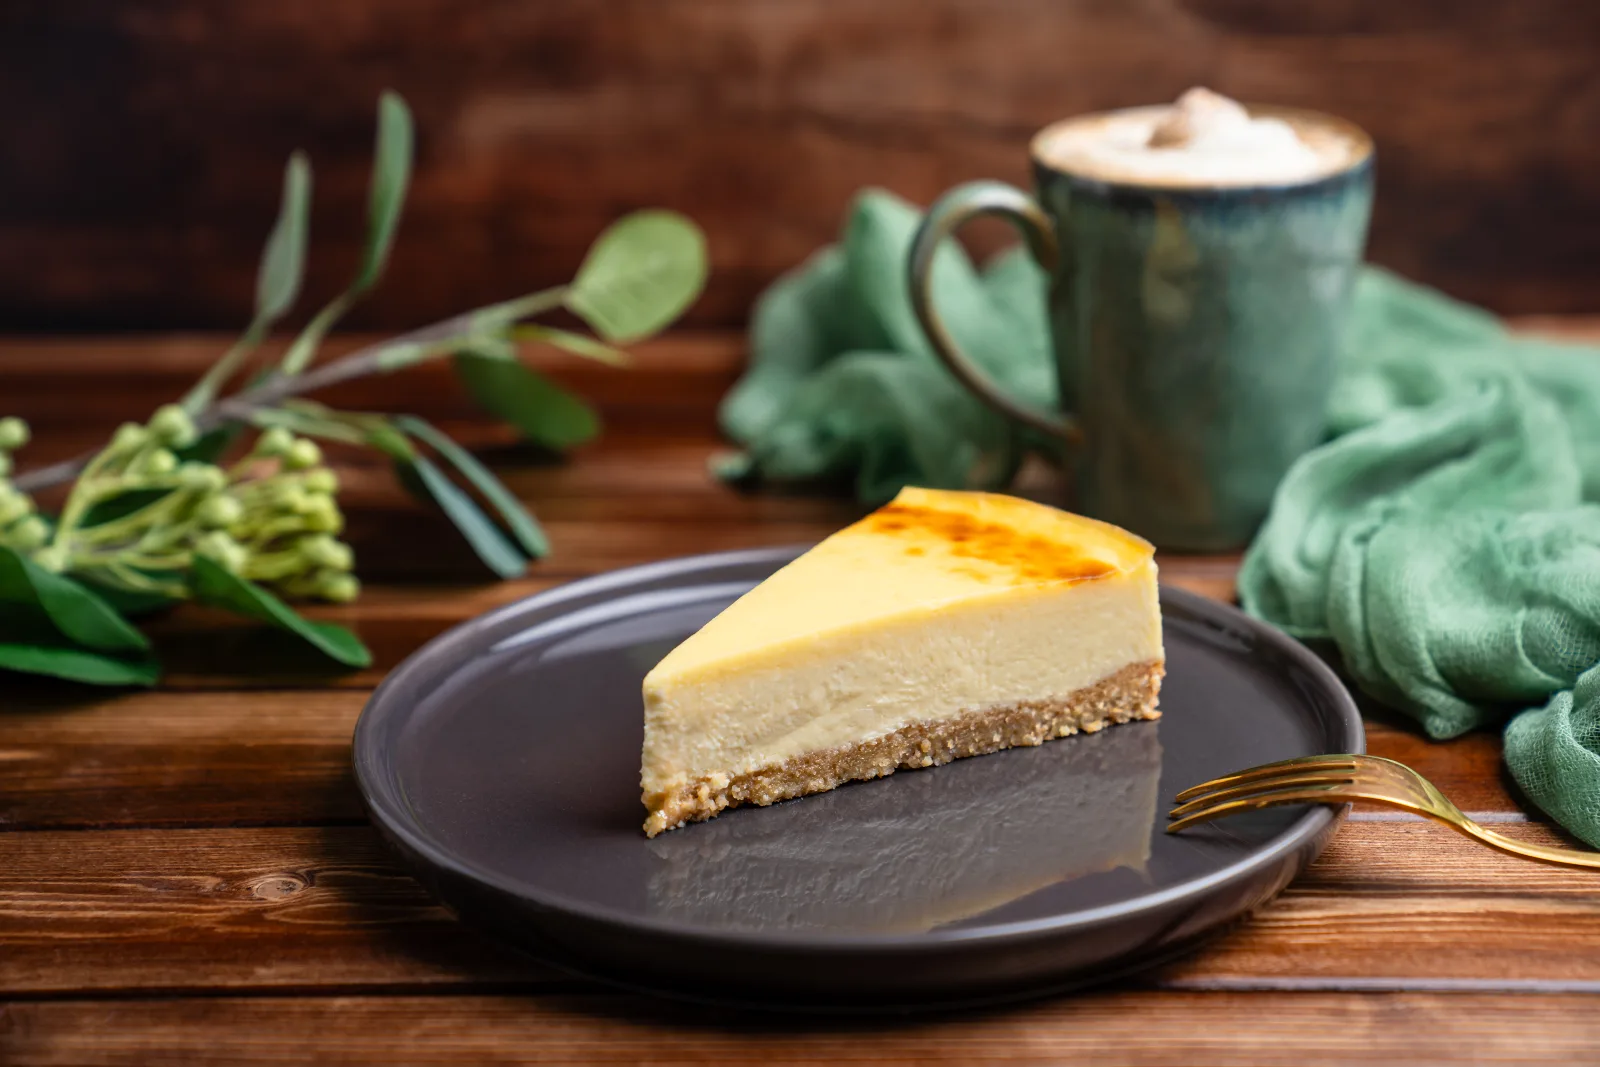
This cheesecake isn't simply baked – it's lovingly cooked in a water bath so the cream stays incredibly tender and velvety. The base of crunchy butter biscuits forms the perfect contrast to the light, airy cream cheese filling. And it's exactly this combination that makes it the best cheesecake recipe you've ever tried.
Sure, there are lots of cheesecakes out there – but this one stands out. No crack on the surface, no dry filling, no complicated fuss. Just pure cheesecake love straight from the oven.
Whether for a birthday, Sunday coffee or simply for yourself – this cake is always the right choice. You can enjoy it plain or dress it up with toppings such as fresh berries, fruit sauces or caramel. So grab your silicone mold, preheat the oven and treat yourself to this classic in perfection. Have fun baking and enjoying!
Ingredients
Quantity:
BASE
200 g Butter biscuits (Petit Beurre)
100 gmelted butter
FILLING
800 gPhiladelphia cream cheese
200 ggranulated sugar
200 gcrème fraîche
30 gstarch
200 geggs (4 pieces, size M)
a little lemon zest (from 1 organic lemon)
a littlenatural extract
Step by step
If you're in a hurry: the compact recipe card further down sums it all up.
Butter biscuit base
1
Preheat the oven and crush the biscuits
Preheat your oven to 175 °C fan.
Start with the base for the cheesecake. For this you'll need butter biscuits (e.g. Petit Beurre or other butter biscuits). Put the biscuits in a plastic bag or freezer bag and crush them using a rolling pin. At the same time, melt the butter in a pan.
What you'll need for this
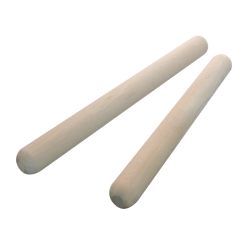
Wooden rolling pin 50 cm
2
Press the base in and pre-bake for 10 minutes
Once the butter has completely melted, you can mix the butter biscuit crumbs together with the melted butter. Spread it all out in a silicone mold and press the buttery crumbs down nice and evenly with a spoon or fork. Please note that for this recipe you absolutely need a silicone mold, as this cheesecake is baked in a water bath at the end. Pre-bake the base at 175 °C fan for 10 minutes – this makes it even crunchier in the end.
What you'll need for this
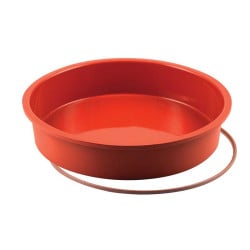
Silicone mold round Ø 24 cm / H 4.2 cm
Cheesecake mixture
1
Beat the cream cheese until smooth
While the base pre-bakes for 10 minutes in the oven, you can already make the cheesecake mixture. For this you'll need a slightly larger bowl. First add the Philadelphia cream cheese and briefly mix it with a hand mixer until it becomes smooth. Careful, don't beat it too long, just until it turns creamy.
2
Work in sugar, crème fraîche, starch and eggs
Next add the granulated sugar together with the crème fraîche and briefly mix these two ingredients into the cream cheese with the hand mixer as well. Then sieve in the starch and mix it into the mixture with a hand whisk. Now gradually add the four eggs (size M or max. 200 g) to the mixture and carefully fold them in with a hand whisk until incorporated. Don't stir in too much air – otherwise the cheesecake will crack while baking.
3
Flavour as you like
Finally, you can now flavour the finished cheesecake mixture to taste, e.g. with the zest of a fresh organic lemon and some natural extract.
What you'll need for this

Natural extract, 20 ml
4
Pour the mixture into the silicone mold
The finished mixture now goes into your prepared silicone mold with the already lightly pre-baked base. Pour in the entire amount and spread it out as evenly as possible. Our quantity is perfect for a silicone mold with a 24 cm diameter – for other sizes you can scale the recipe down or up with our recipe converter.
Bake in a water bath and chill
1
Prepare the water bath and bake for 45 minutes
Place the filled silicone mold into an additional cake tin, onto a baking tray with a high rim or into a large casserole dish. Slide the cheesecake into the oven at 175 °C fan and pour hot water into the outer dish – to about halfway up the silicone mold. Slide everything into the oven very carefully. The cheesecake is now baked at 175 °C for approx. 45 minutes.
What you'll need for this

Cake tin square 30x30 cm / 10 cm high
2
Let it cool in the switched-off oven
Once the 45 minutes of baking time are up, switch off the oven and leave the oven door open a crack using a wooden spoon. Simply leave the cheesecake in the oven. This way it can slowly cool down a little with the help of the water bath.
What you'll need for this
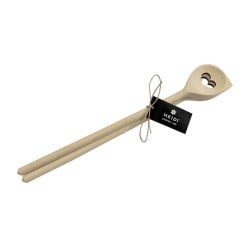
Wooden spoon set Heart
3
Remove from the water bath
After waiting one hour, you can very carefully remove the cheesecake together with the water bath directly from the oven. Careful, the water is still warm/hot. Also avoid moving too quickly so the water can't slosh into the cheesecake. Then carefully lift your cheesecake out of the water bath with the silicone mold and let the cheesecake stand in the silicone mold for at least 1 hour at room temperature.
4
Chill for at least 8 hours and release from the mold
After that you can put the cheesecake directly, still in the silicone mold, into the fridge and let it rest there for at least 8 hours. Once your cheesecake has become nice and cold, you can easily release it from the silicone mold, place it on a cake board and serve. I hope you have lots of fun recreating it.
Compact · printable
Cheesecake in a water bath
Ingredients
Quantity:
BASE
FILLING
Preparation
- Base: Crush the butter biscuits in a bag, mix with melted butter, press flat into the silicone mold and pre-bake for 10 minutes at 175 °C fan.
- Filling: Briefly beat the cream cheese until creamy, mix in sugar and crème fraîche, sieve in the starch, gently fold in the eggs one at a time – not too much air.
- Flavour: Mix in the lemon zest and natural extract, pour the mixture onto the pre-baked base.
- Water bath: Place the silicone mold into a larger dish, pour hot water in the oven up to halfway, bake for 45 minutes at 175 °C.
- Cooling: Switch off the oven, leave the door open a crack with a wooden spoon, let it stand in the oven for 1 hour.
- Resting: Lift out of the water bath, 1 hour at room temperature, then at least 8 hours in the fridge.
- Serving: Release cold from the silicone mold and place on a cake board.
Nutritional values per 100 g
350kcal
29.7 gfat
16.7 gcarbohydrates
5 gprotein
Storage & shelf life
The finished cheesecake keeps in the fridge, well covered, for up to 5 days. It tastes best from the second day, once the base and filling have chilled all the way through.
Everything for this recipe
Recommended from our bakery — exactly the sizes the recipe has been tested with.
Ingredients
Natural extract, 20 ml
Equipment

Cake tin square 25x25 cm / 10 cm high
Cake tin square 30x30 cm / 10 cm high
Silicone mold round Ø 20 cm / H 4 cm
Silicone mold round Ø 22 cm / H 4.2 cm
Silicone mold round Ø 24 cm / H 4.2 cm
Silicone mold round Ø 26 cm / H 5.5 cm
Wooden rolling pin 50 cm
Wooden spoon set Heart
Delivery in 1–2 working days · Free shipping from CHF 100
So it's guaranteed to succeed
Don't stir in too much air
Only mix the cream cheese and eggs until they are incorporated. Every air bubble in the mixture expands during baking – and that's exactly what gives the cheesecake its cracks.
The silicone mold is a must
For this recipe you absolutely need a silicone mold: only this way is it guaranteed that no water gets into the cake in the water bath. A springform pan with a clamp closure is not watertight here.
Leave the oven door open a crack
After baking, switch off the oven and hold the door open a crack with a wooden spoon. The cheesecake cools down slowly instead of in a sudden temperature drop – that's the second reason the surface stays smooth.
Frequently asked questions
The water keeps the temperature around the mold even and moist. This lets the mixture cook gently from all sides, stay velvety and not dry out at the edges – and the surface doesn't crack.
Usually too much air was stirred in or the cake cooled too quickly. Only fold in the eggs until they are incorporated, and after baking leave the cheesecake to stand for one hour in the switched-off oven with the oven door open a crack.
Not for the water bath – a springform pan with a clamp closure isn't watertight, and water in the base makes the biscuit base soggy. If you only have a springform pan, wrap it very carefully in aluminium foil; but only the silicone mold is truly safe.
You might also like

Print recipe
Choose what should appear on the printout.
Related products

Cake baking dish square 25x25 cm / 10 cm high
Price: CHF32.50
Rated out of 5 stars based on
review(s)
bitte einloggen
This cake baking pan with bottom is made of one piece. The bottom can not...

Cake baking pan square 30x30 cm / 10 cm high
Price: CHF42.50
Rated out of 5 stars based on
review(s)
bitte einloggen
This classic cake tin allows you to bake evenly shaped sponges and cakes. A...

Vanilla extract, 20 ml
Price: CHF9.50
Rated out of 5 stars based on
review(s)
bitte einloggen
Extracts usually consist of a complex composition of purely natural flavoring...
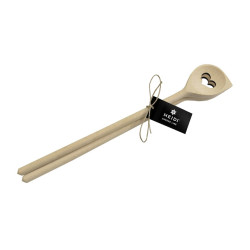
Wooden cellar set heart
Price: CHF19.90
Rated out of 5 stars based on
review(s)
bitte einloggen
Wooden ladles belong in every kitchen! With them you can prepare delicious...
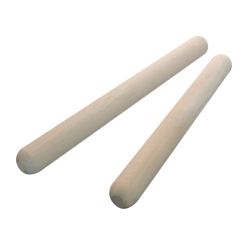
Wooden rolling pin 50 cm
Price: CHF18.50
Rated out of 5 stars based on
review(s)
bitte einloggen
A rolling pin is always a good helper in the kitchen, whether it is for...
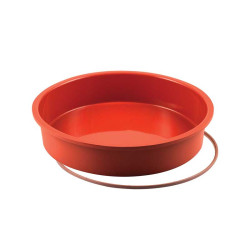
Silicone mold round Ø 20 cm / H 4 cm
Price: CHF17.10
Rated out of 5 stars based on
review(s)
bitte einloggen
A simple round silicone mold is perfect for making cake jellies or cakes...
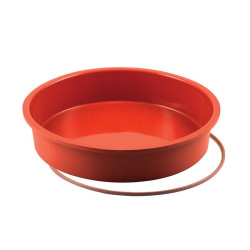
Silicone mold round Ø 22 cm / H 4.2 cm
Price: CHF19.10
Rated out of 5 stars based on
review(s)
bitte einloggen
A simple round silicone mold is perfect for making cake jellies or cakes such...
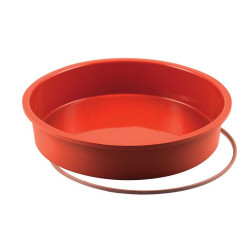
Silicone mold round Ø 24 cm / H 4.2 cm
Price: CHF21.10
Rated out of 5 stars based on
review(s)
bitte einloggen
A simple round silicone mold is perfect for making cake jellies or cakes such...
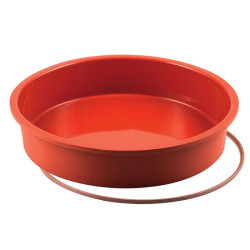
Silicone mold round Ø 26 cm / H 5.5 cm
Price: CHF23.10
Rated out of 5 stars based on
review(s)
bitte einloggen
A simple round silicone mold is perfect for making cake jellies or cakes...
Bewertungen
Leave a comment
Related posts
 Make your own chocolate Easter bunnies
You can easily make your own Easter bunnies at home! You can find out how to do it and what you need here. A sweet...
Read more
Make your own decorative Swiss roll
Make your own decor roulade - we'll explain exactly how in this blog, with lots of tips and tricks from our...
Read more
Cinnamon Star Biscuits Recipe
Make your own cinnamon stars with the help of our professionals, with lots of tips & tricks to bake the best...
Read more
How can I convert a cake recipe?
Converting a cake recipe, whether a sponge or a cake filling, is easy with our conversion table.
Read more
Chocolates with mulled wine jelly
A wonderfully wintry Christmas jelly, which is ideal as a praline or macaron filling.
Read more