
French Toast Toast Recipe – how to make the perfect homemade toast bread
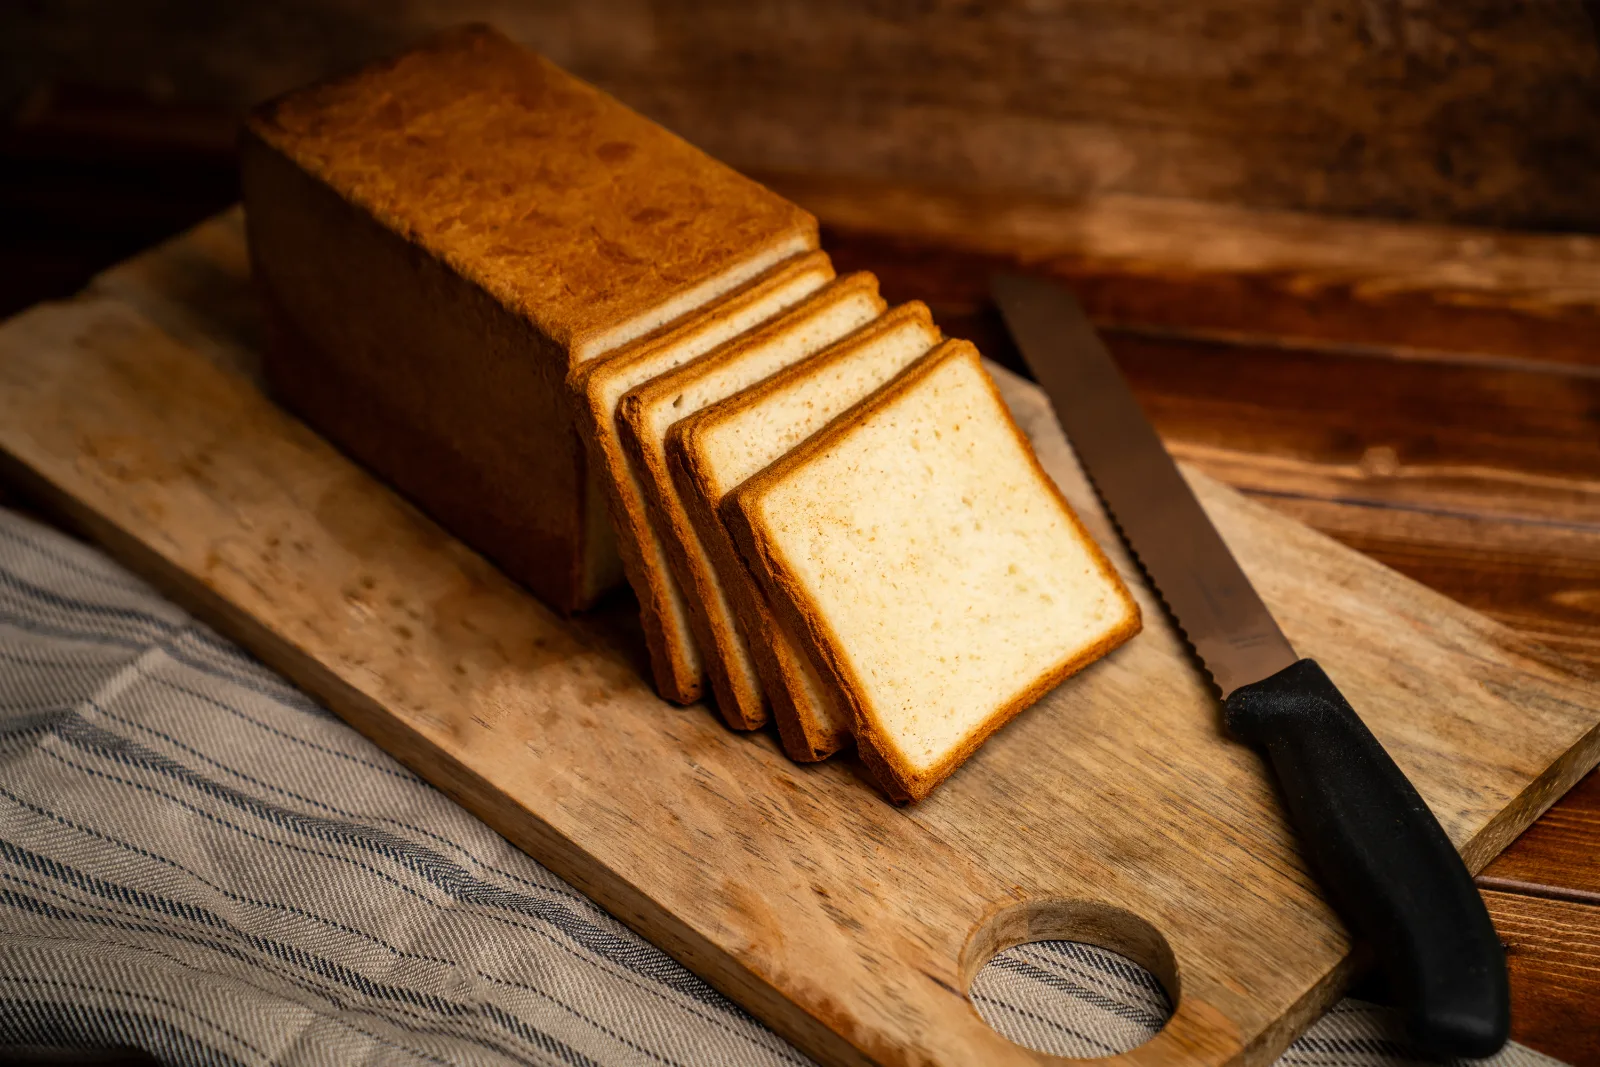
Soft, buttery and just like fresh from the bakery – your toast, homemade
Yield1 toast bread (30 x 9 x 9 cm)
Active time20 min
Total time2 hrs 20 min
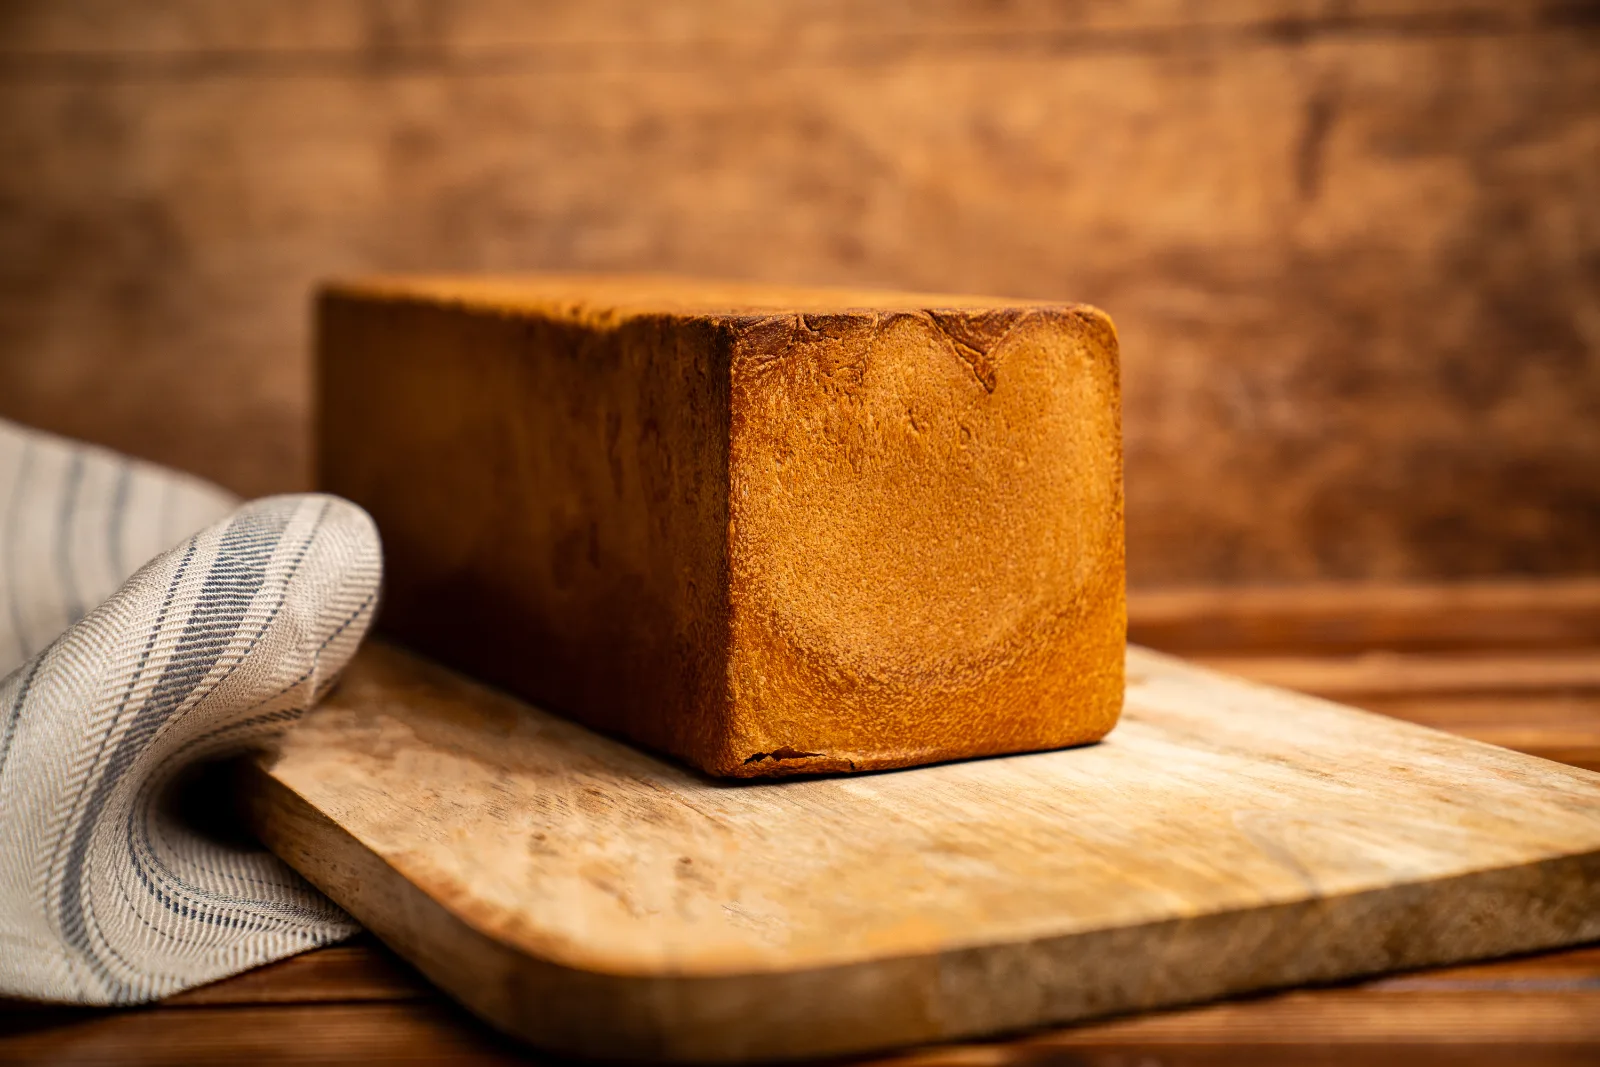
Our french toast toast recipe – soft, buttery and simply irresistible
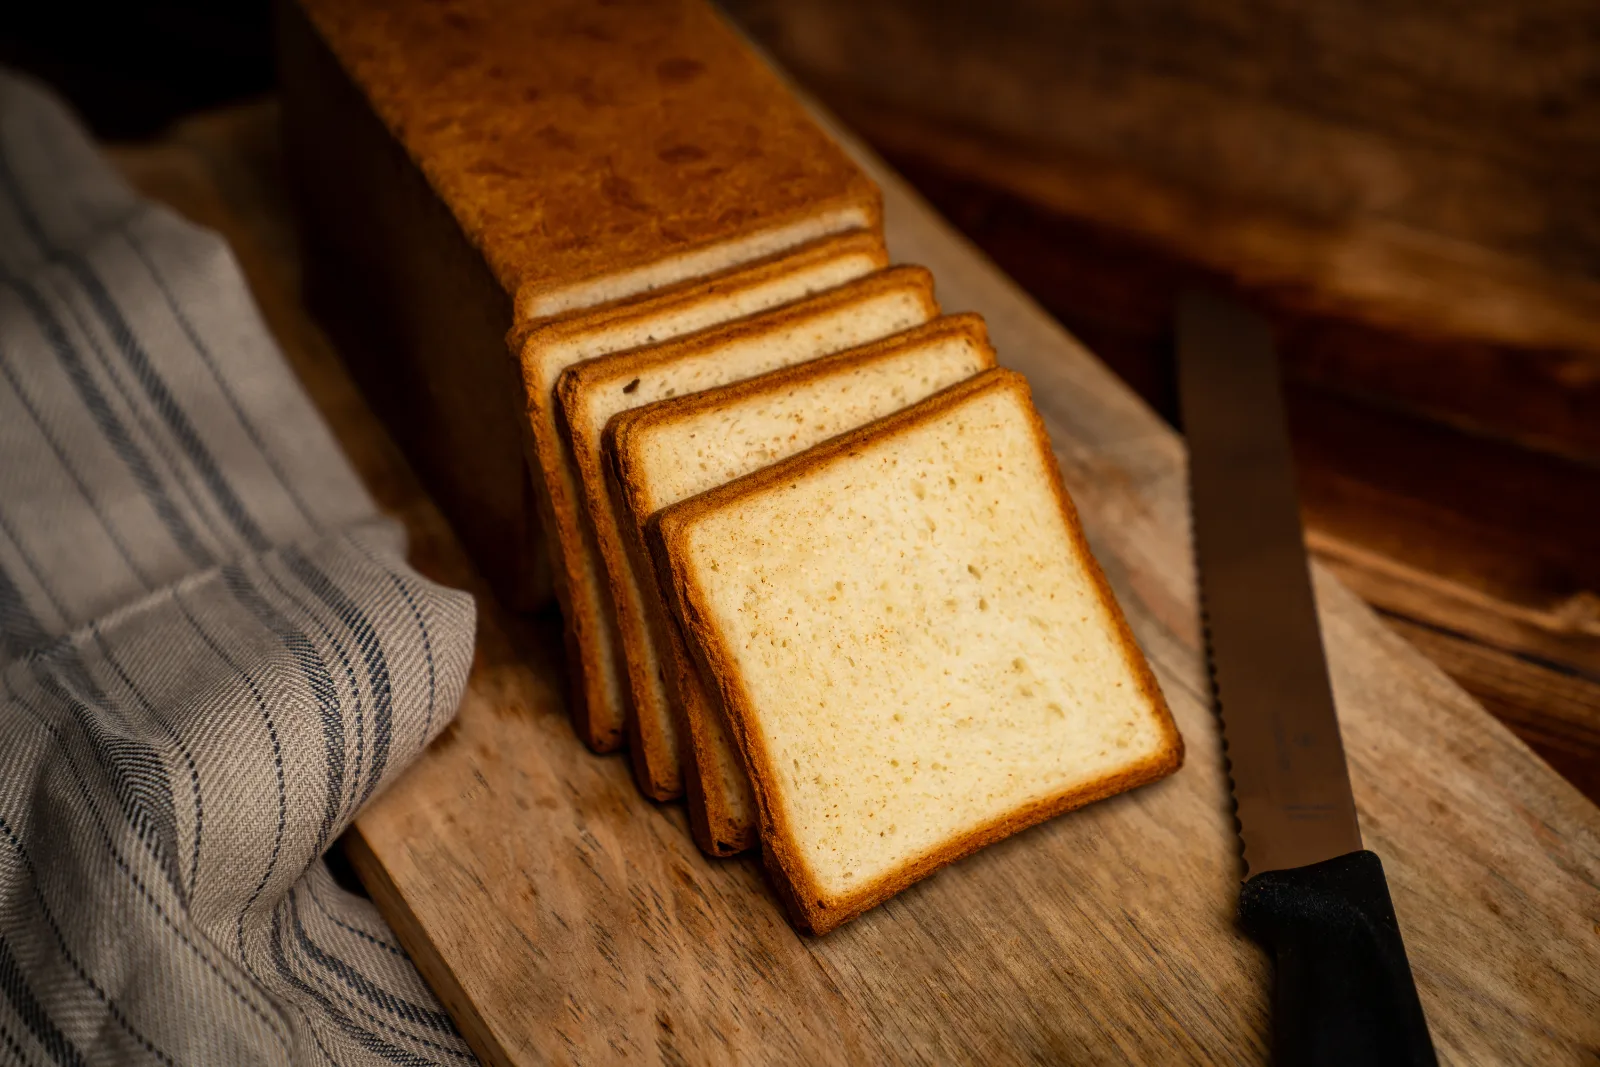
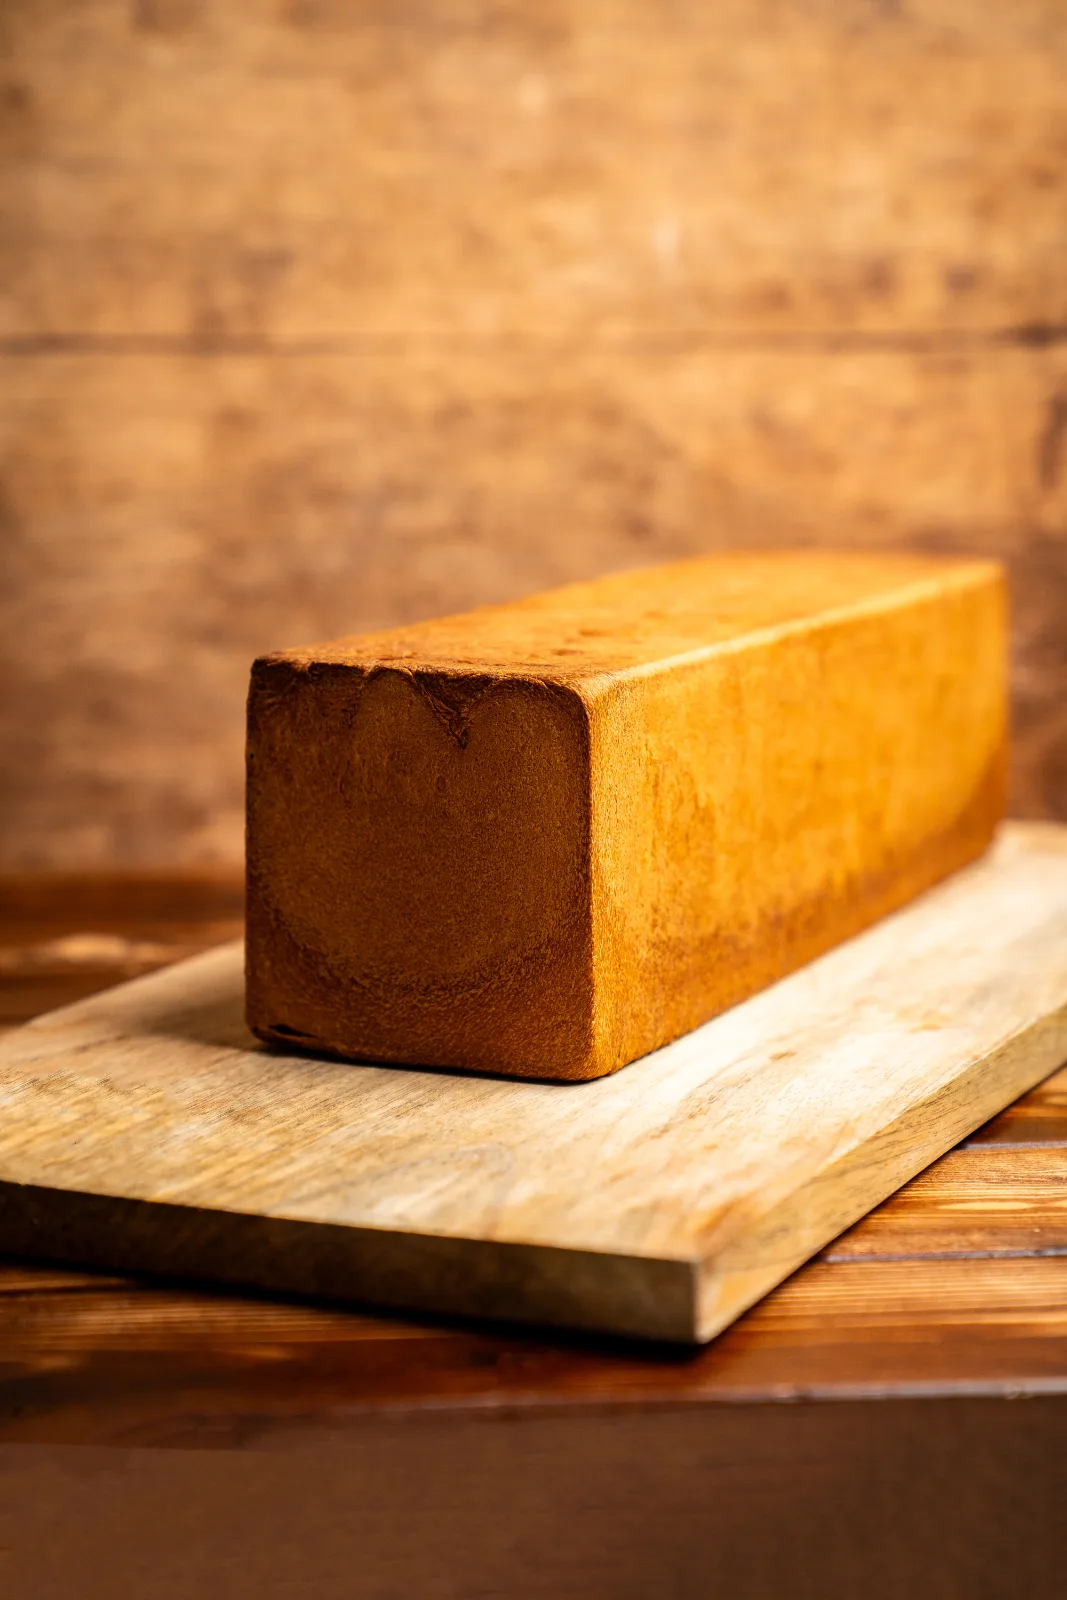
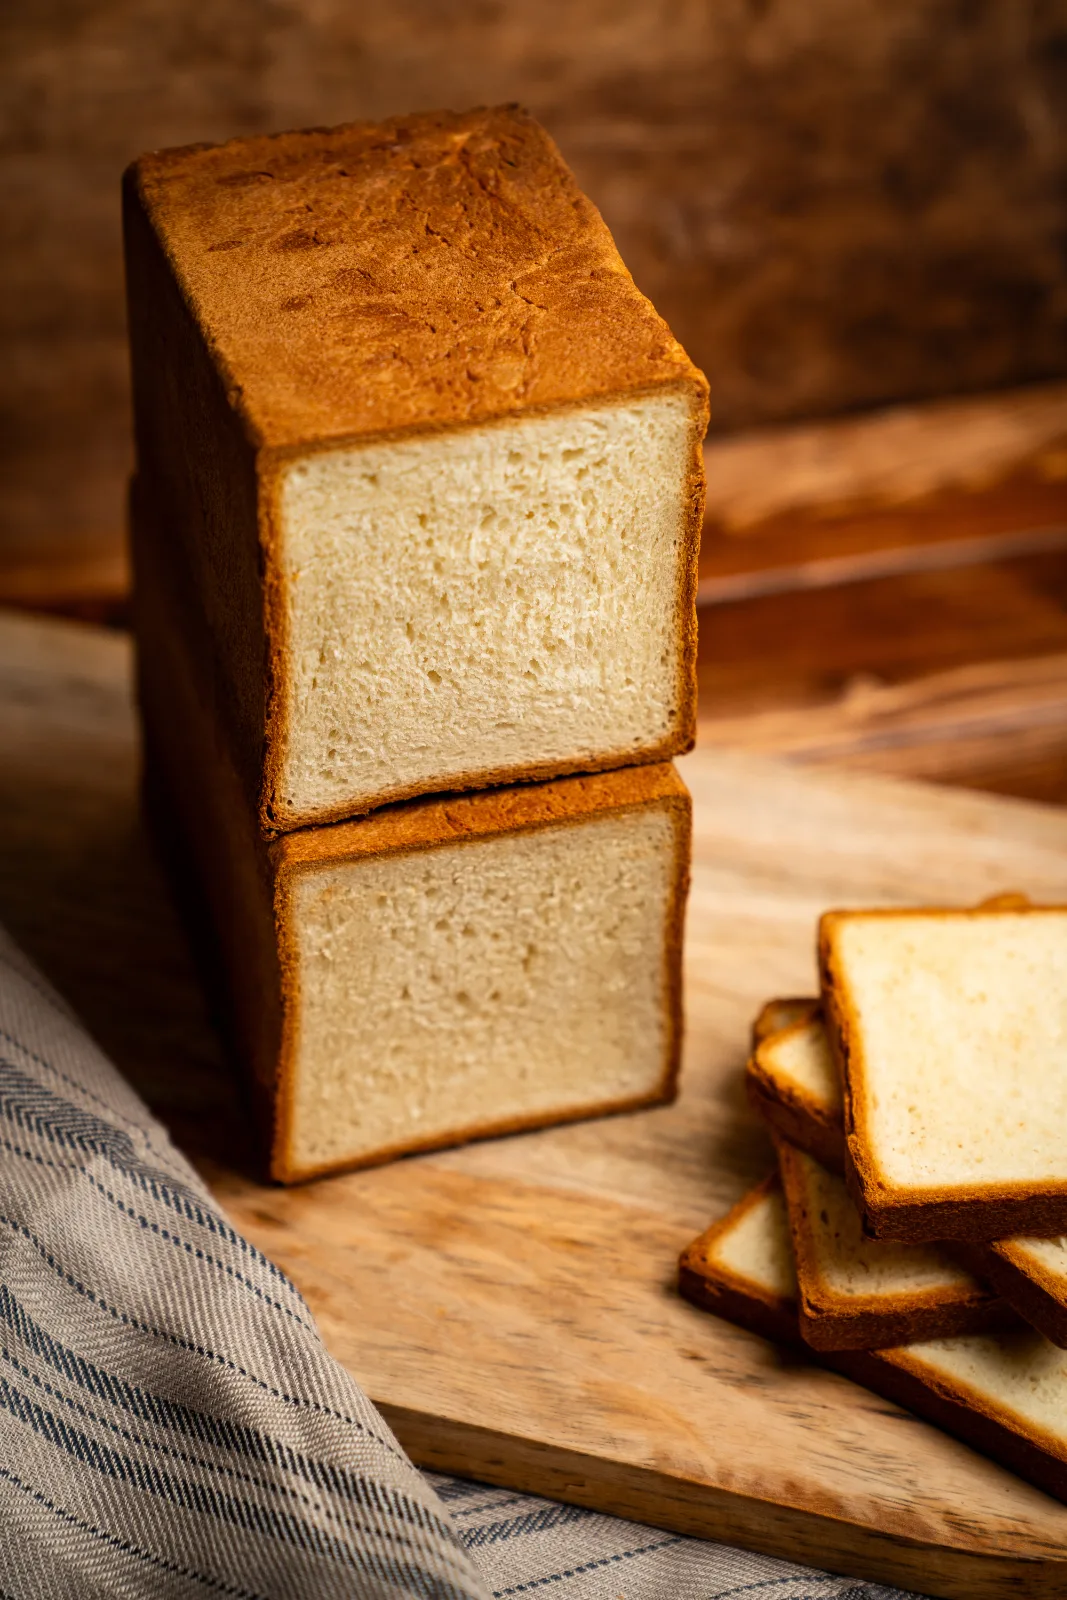
A freshly toasted slice of bread with butter and jam in the morning – is there a better start to the day? With our french toast toast recipe you can make your own toast bread – soft, buttery and with a fine crumb. A homemade toast bread wins you over with a texture that shop-bought box loaves or sandwich bread just can't match. Let the aroma in your kitchen convince you.
Ingredients
Yield:
Step by step
If you're in a hurry: the compact recipe card further down sums it all up.
1
Mix the ingredients
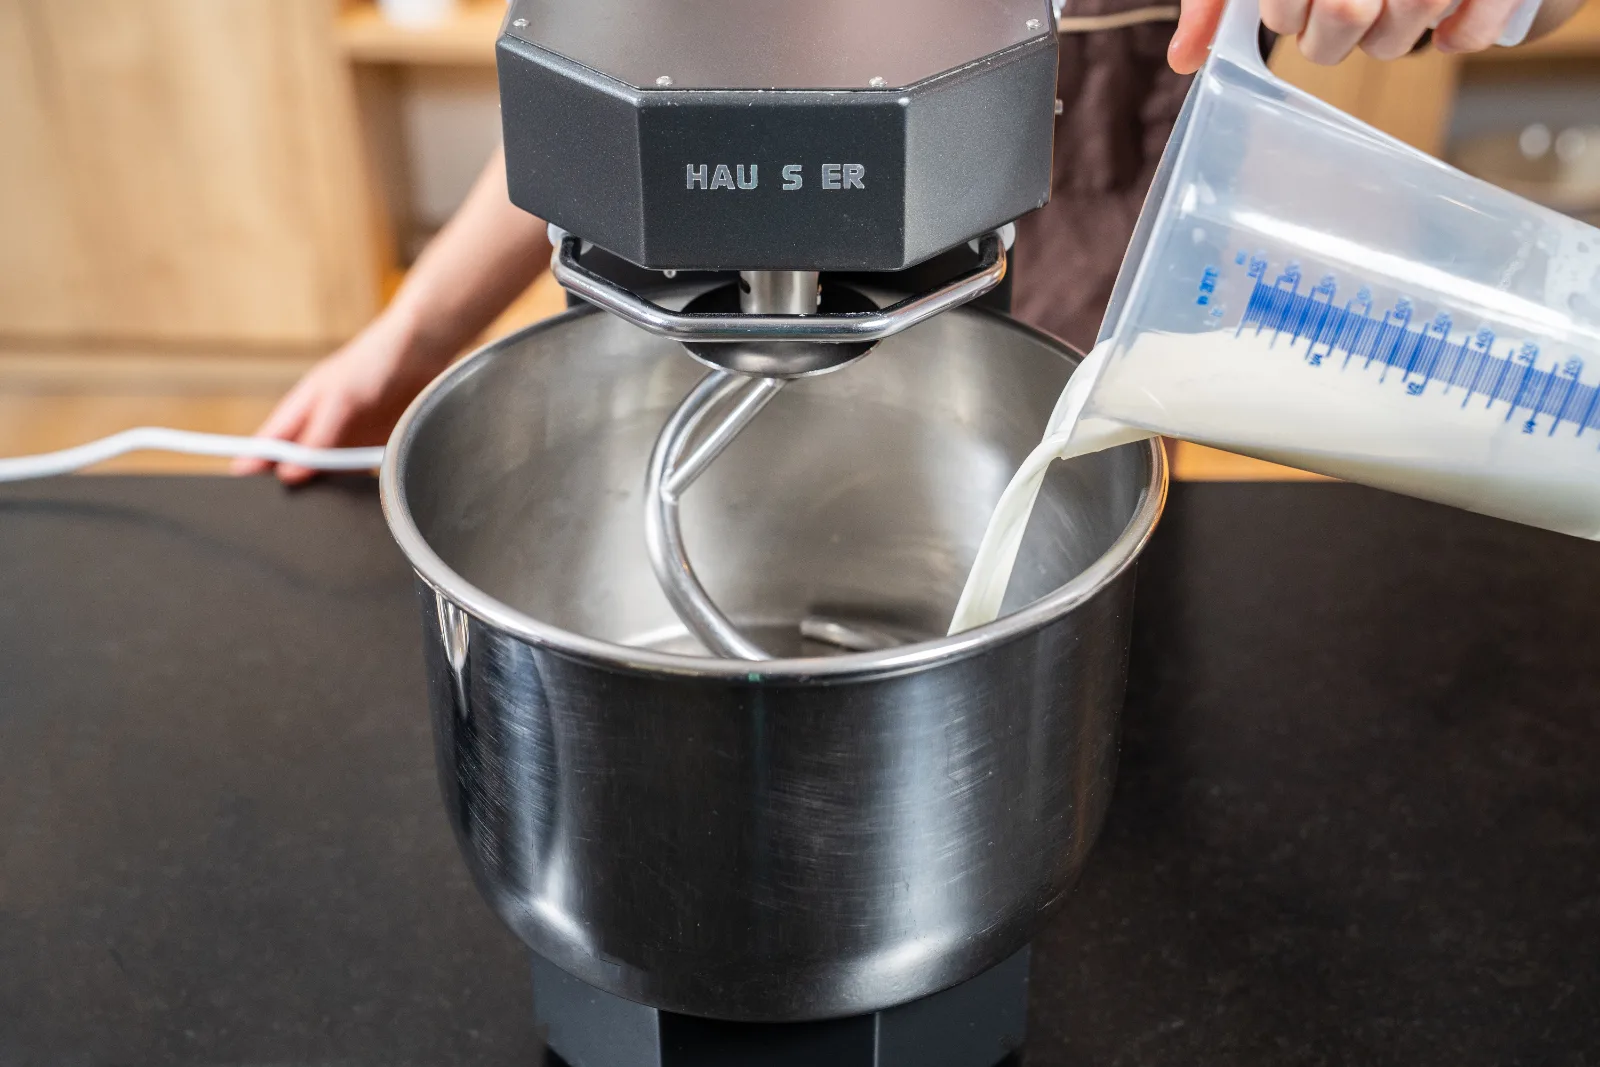
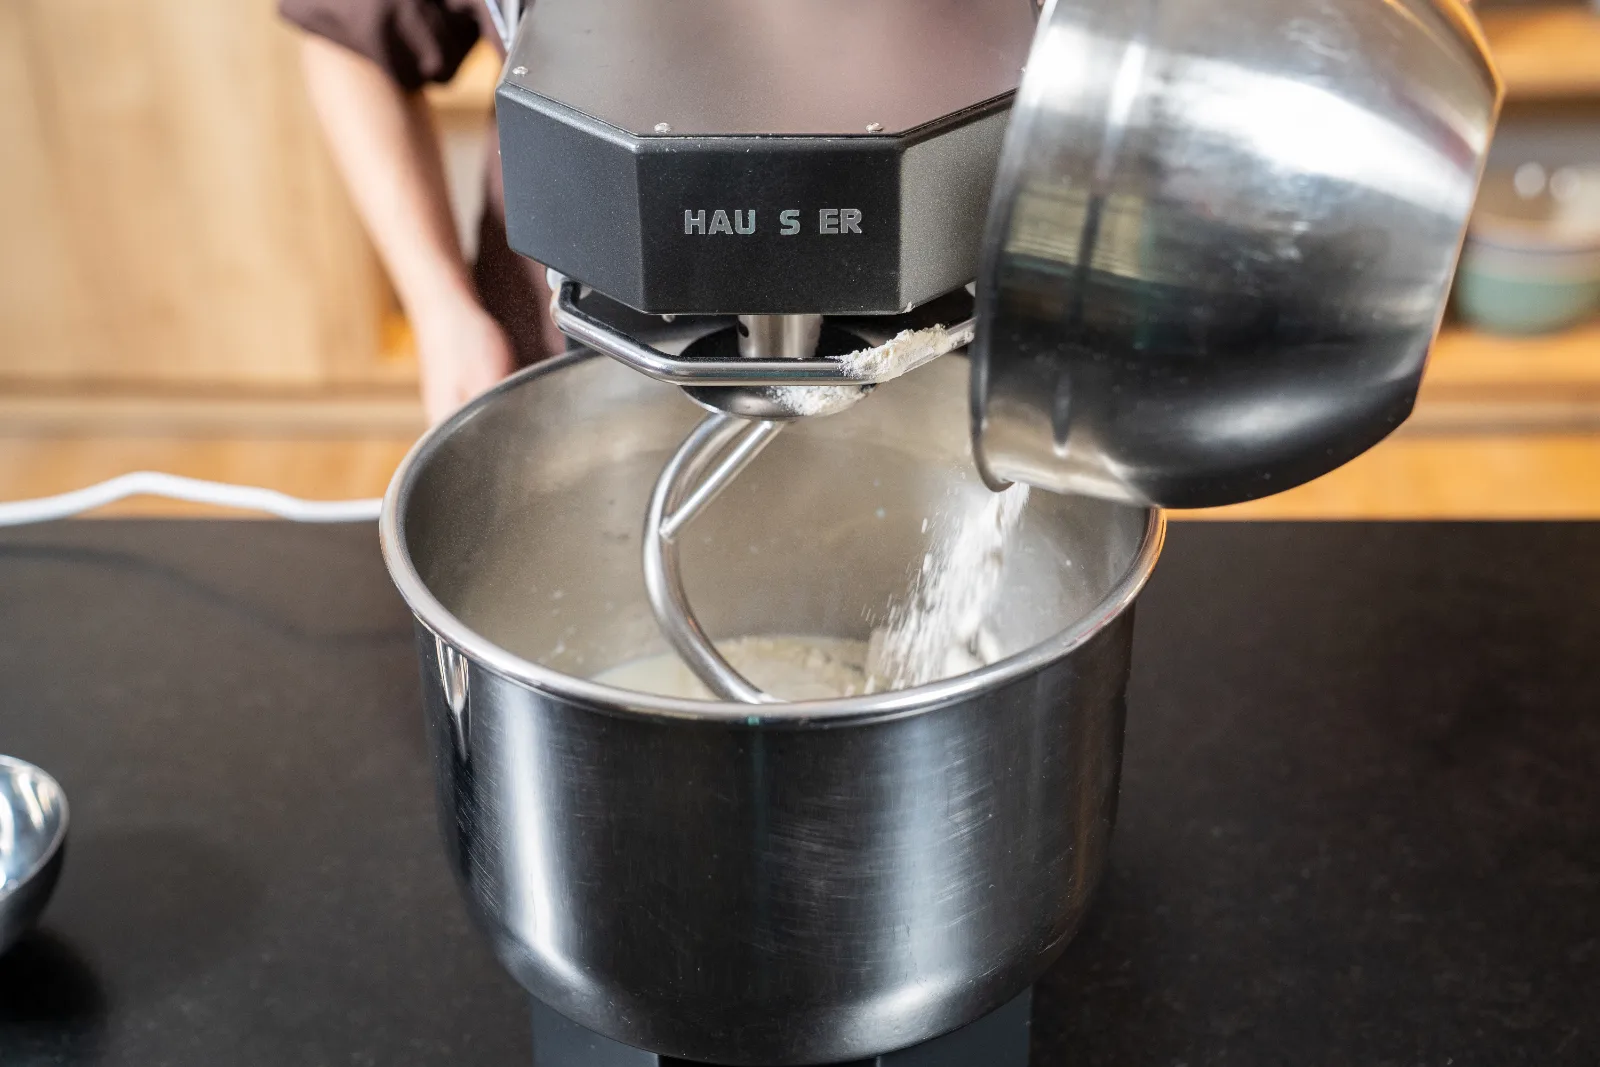
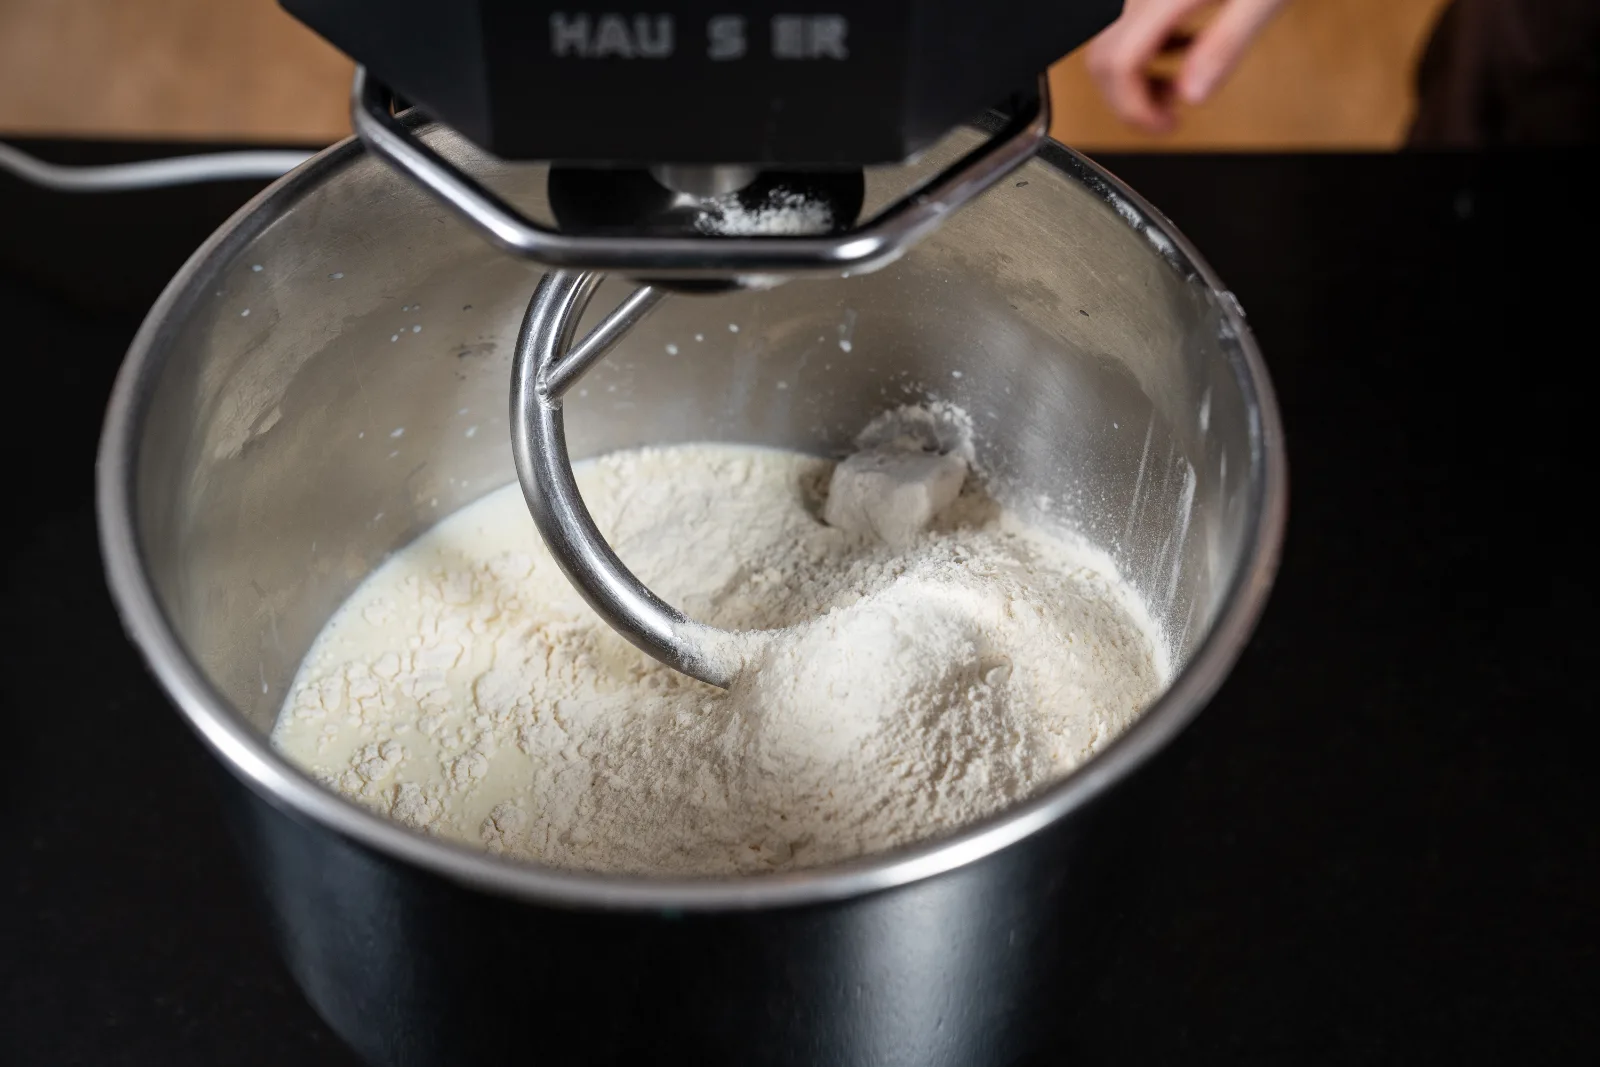
Add the flour, yeast, sugar and milk to the Mixing bowl of your kitchen machine. Mix all ingredients for 3 minutes on speed 1 until an even, still coarse dough mass forms. This first step isn't about developing the dough yet, but simply about combining all the base ingredients and dissolving the yeast optimally in the milk.
What you need for this

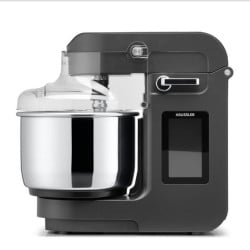
White flour, 1 kg
Dough hook for NOVA Dough mixer
Häussler Dough mixer NOVA anthracite
Plastic pastry cloths
2
Work in the butter, knead the dough and windowpane test
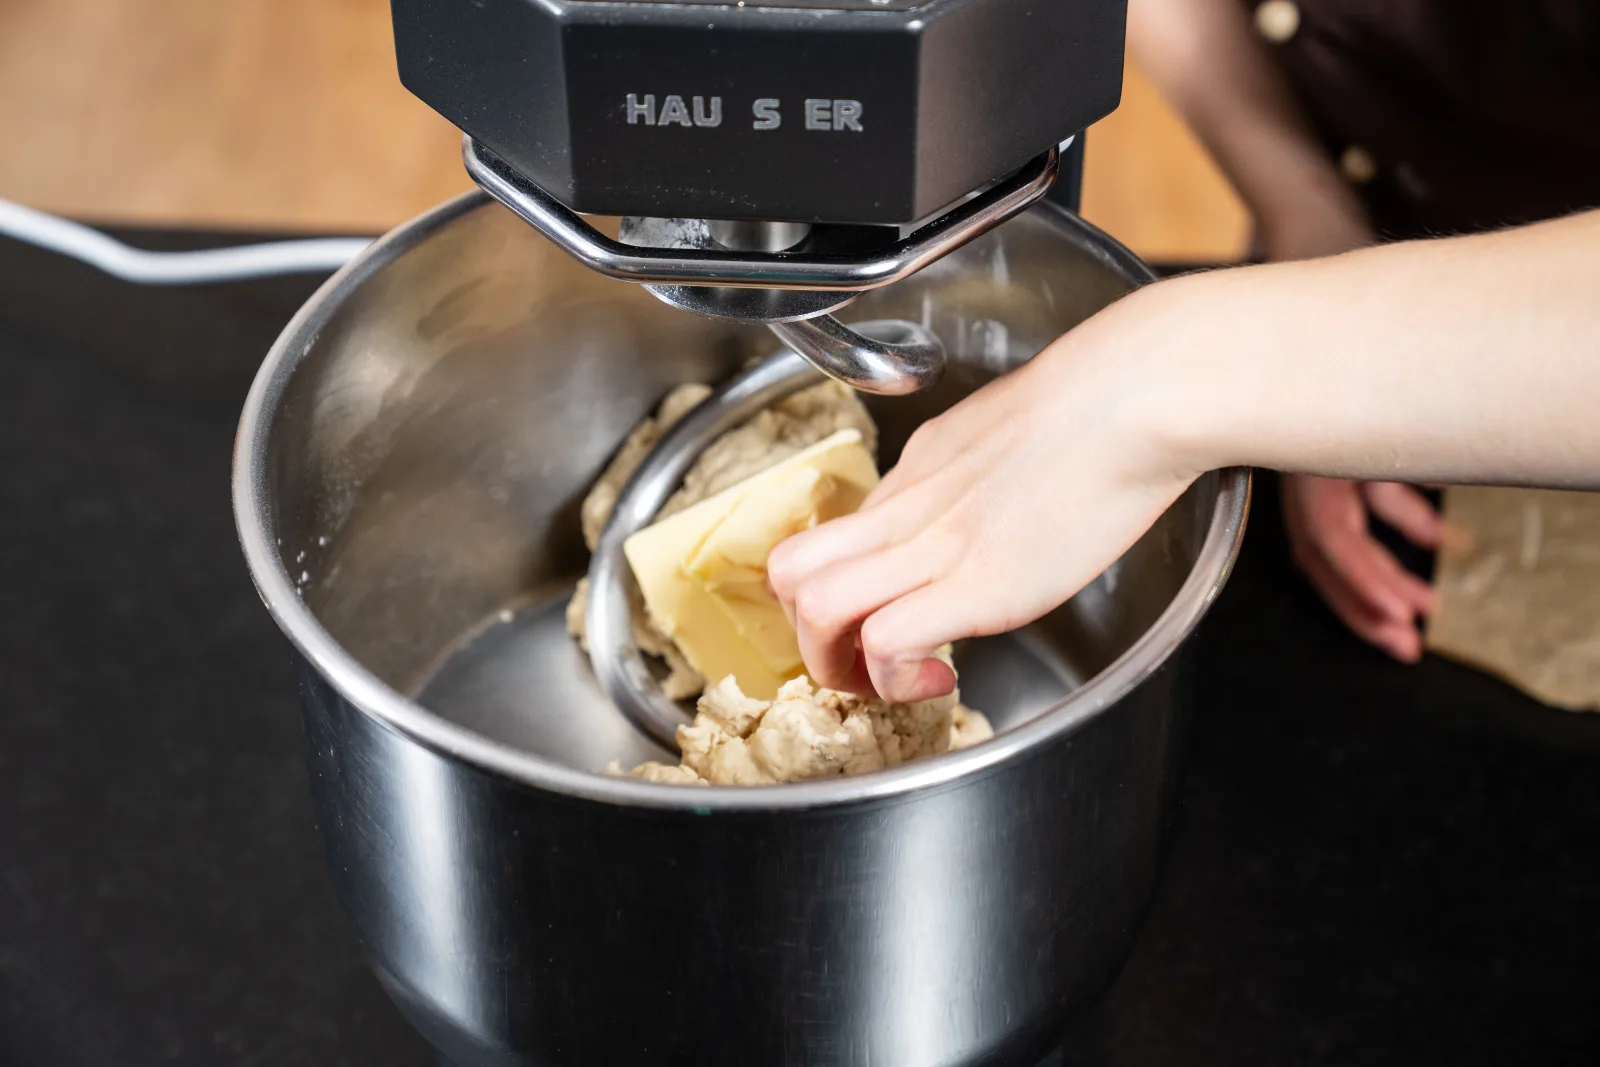
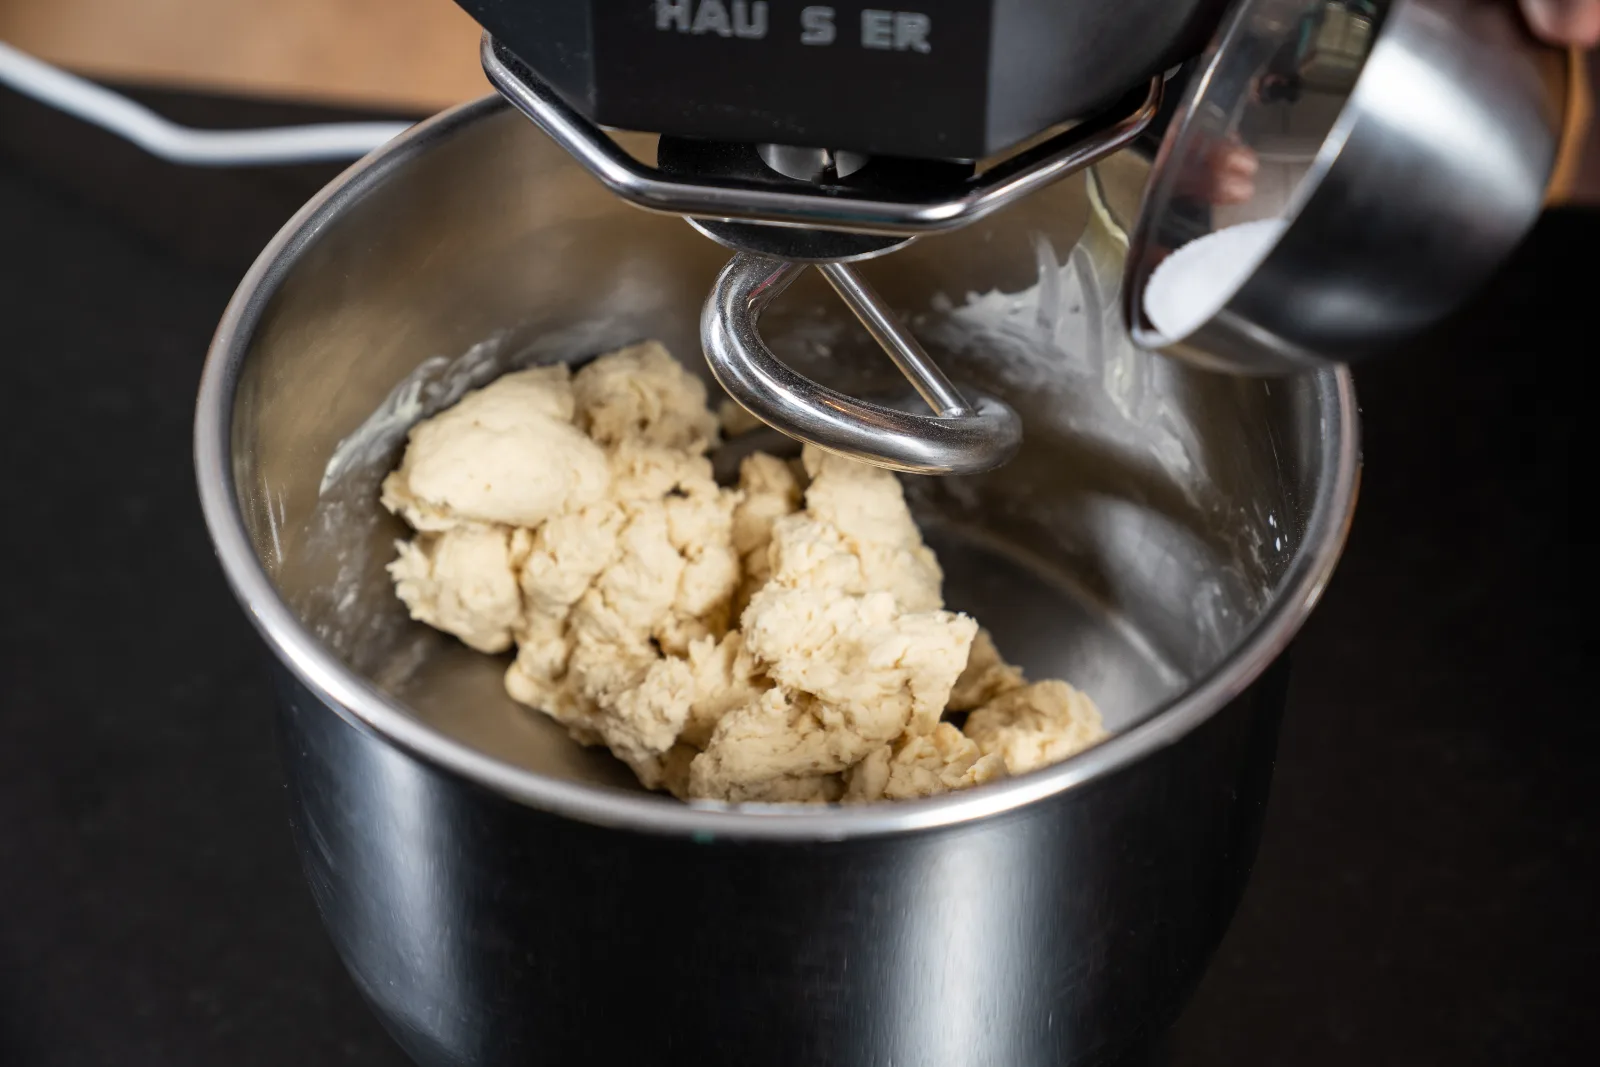
Now add the soft butter and knead for a further 3 minutes on speed 1. The butter gives your toast bread its typically tender, buttery texture and must be worked completely into the dough. Then add the salt and continue kneading for 10 minutes on speed 2 until a smooth, supple and elastic dough forms. The salt is deliberately added only at the end, as it slows the yeast's activity and affects the gluten structure.
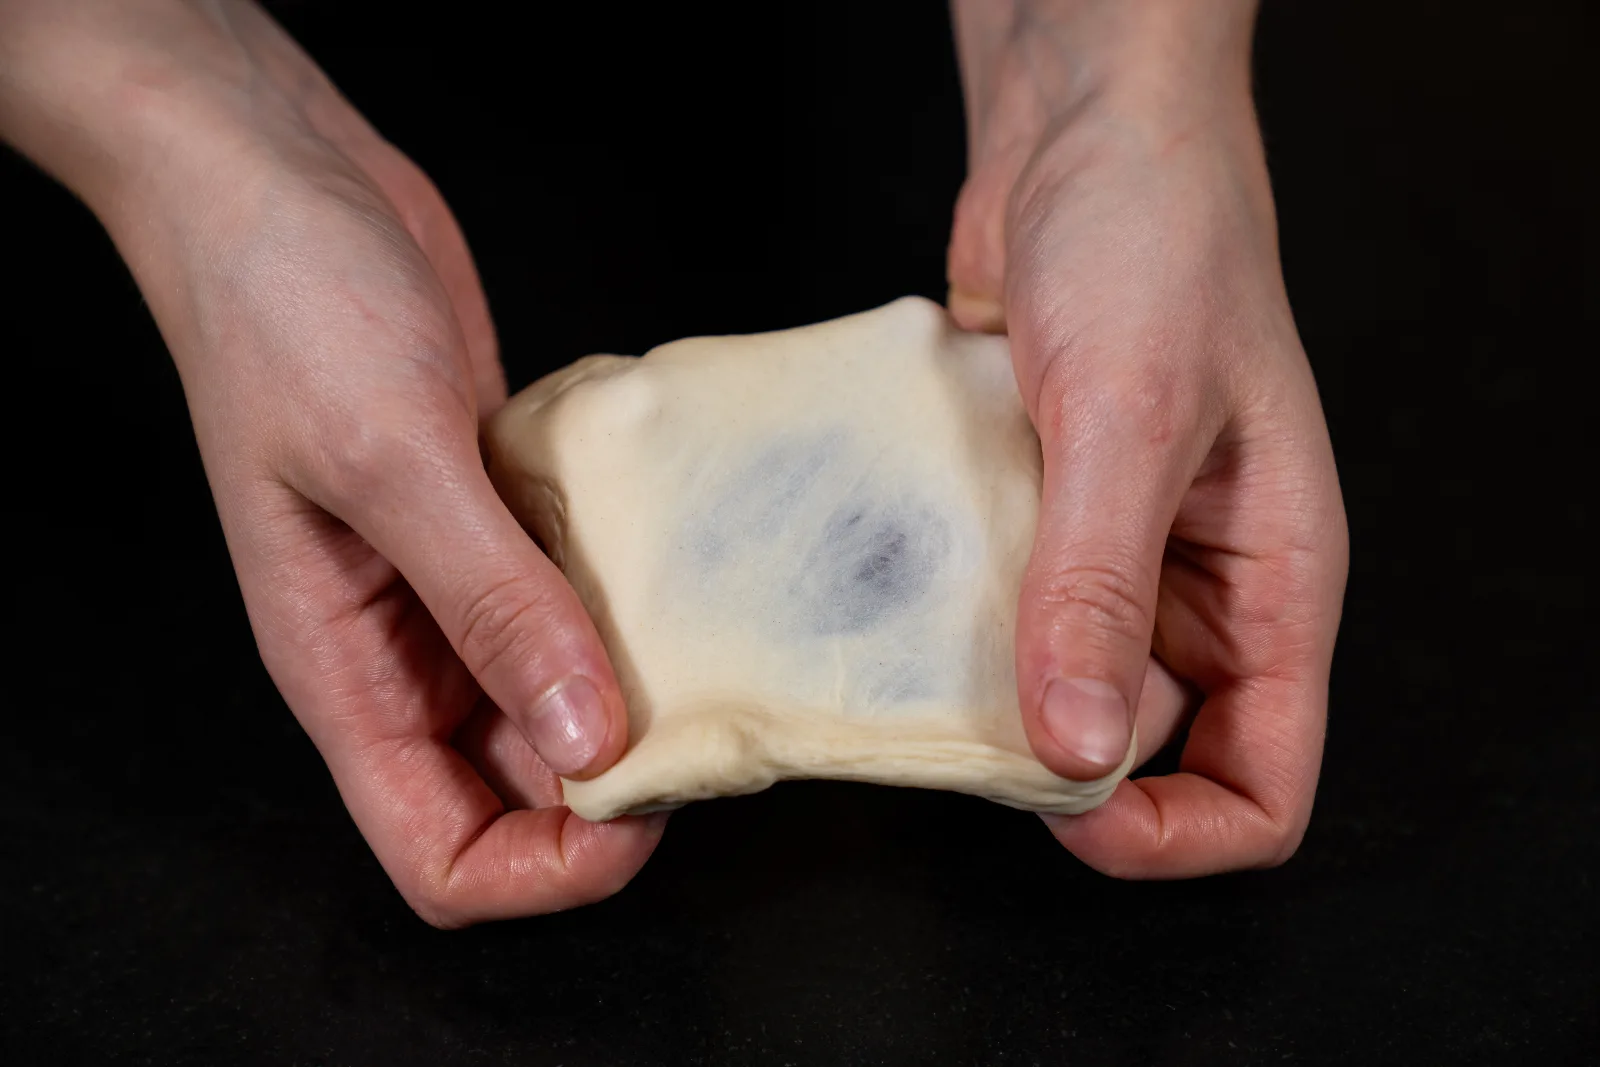
To check whether your dough has been kneaded enough, do the so-called windowpane test: take a small piece of dough (about the size of a walnut) and gently stretch it between your fingers in all directions. If the dough can be pulled paper-thin without tearing, and you can see the light shining through the dough membrane, the gluten structure is perfectly developed. If the dough tears too quickly, knead for another 2–3 minutes and repeat the test.
3
Bulk fermentation
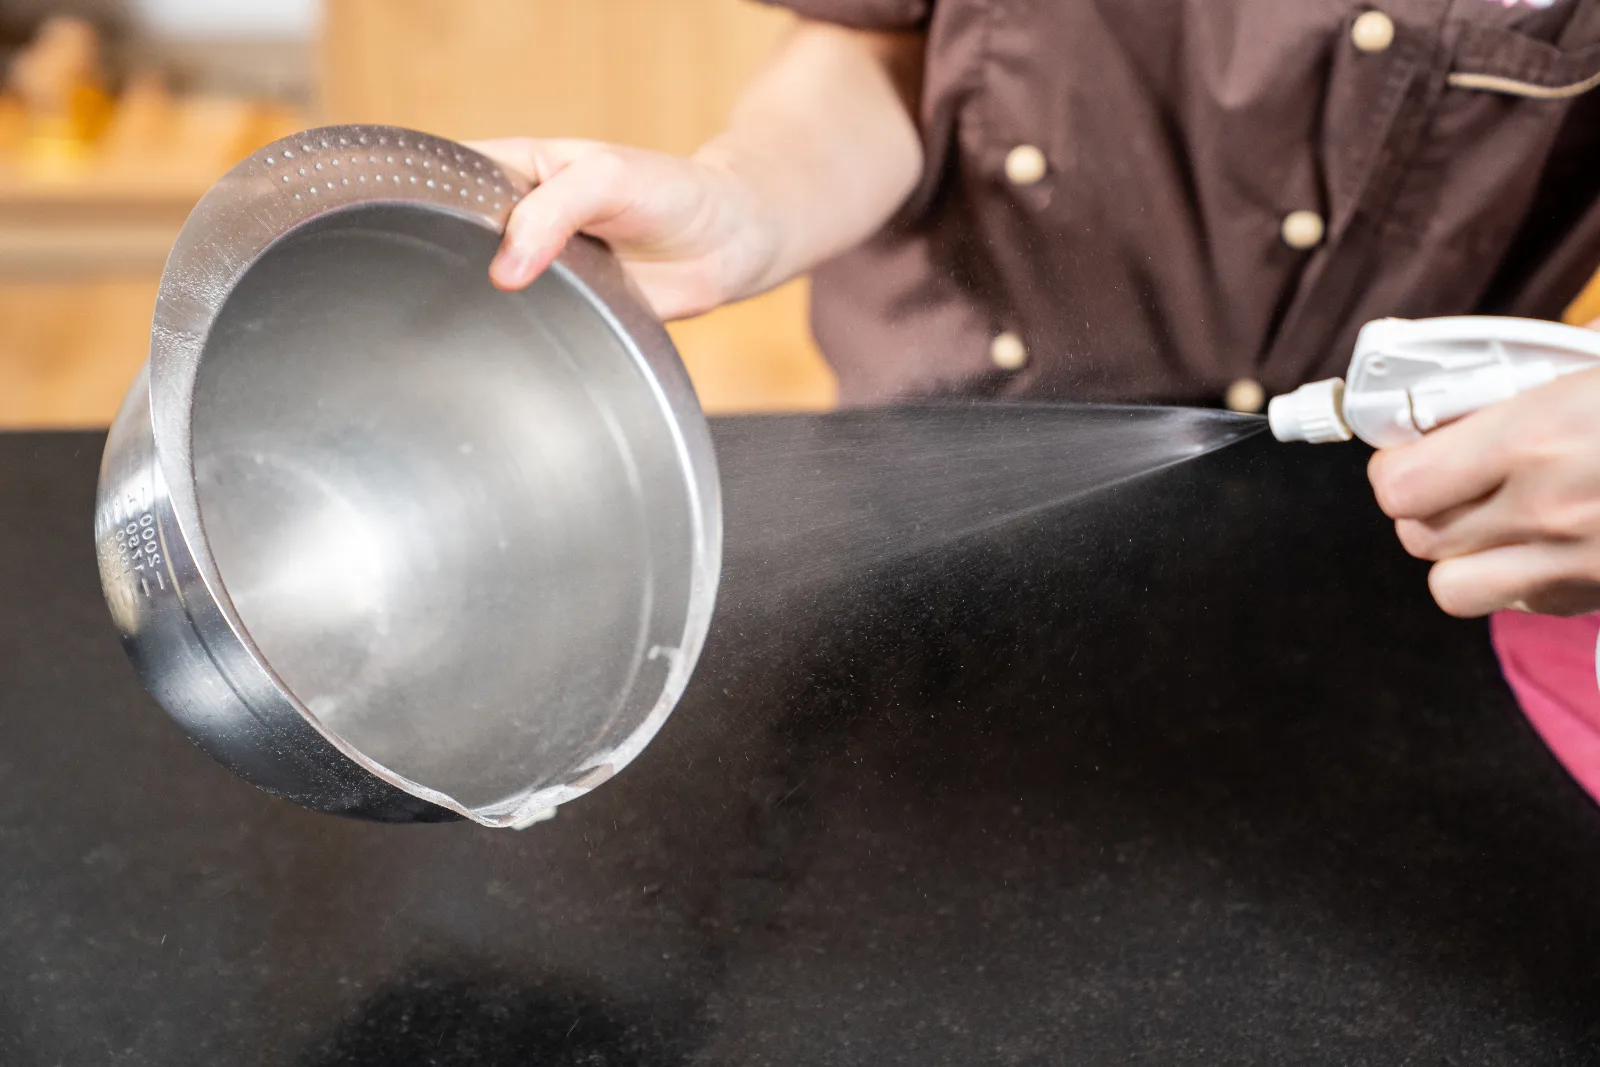
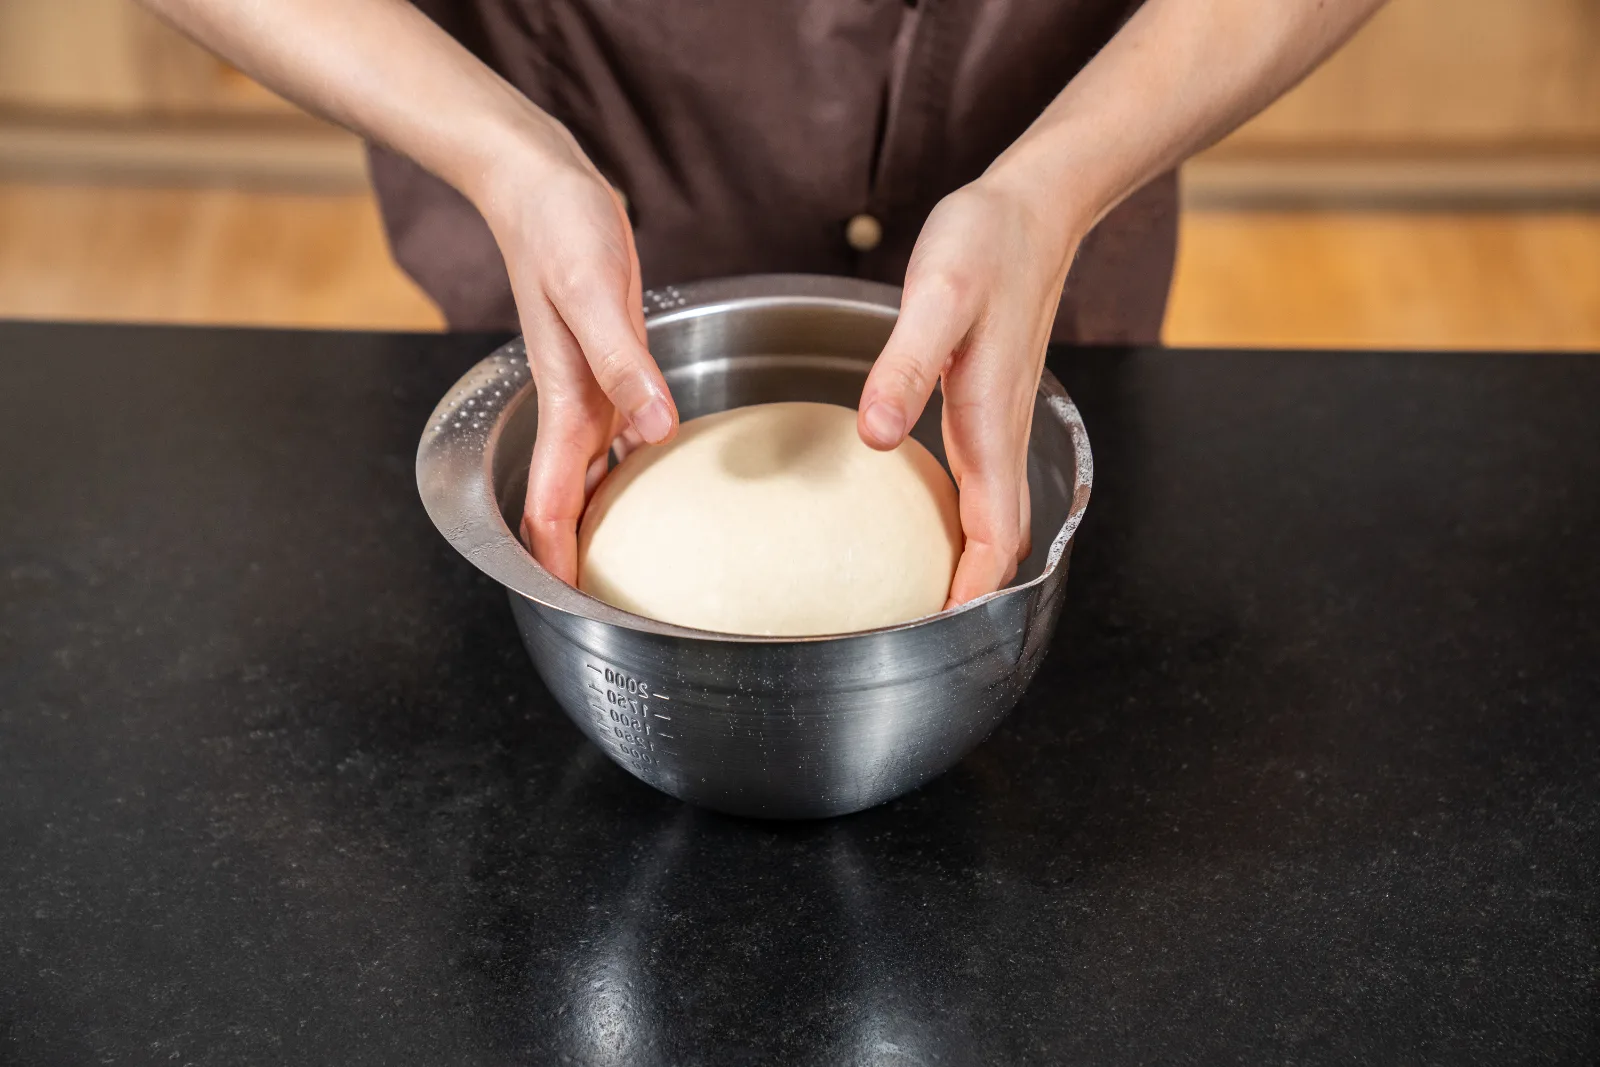
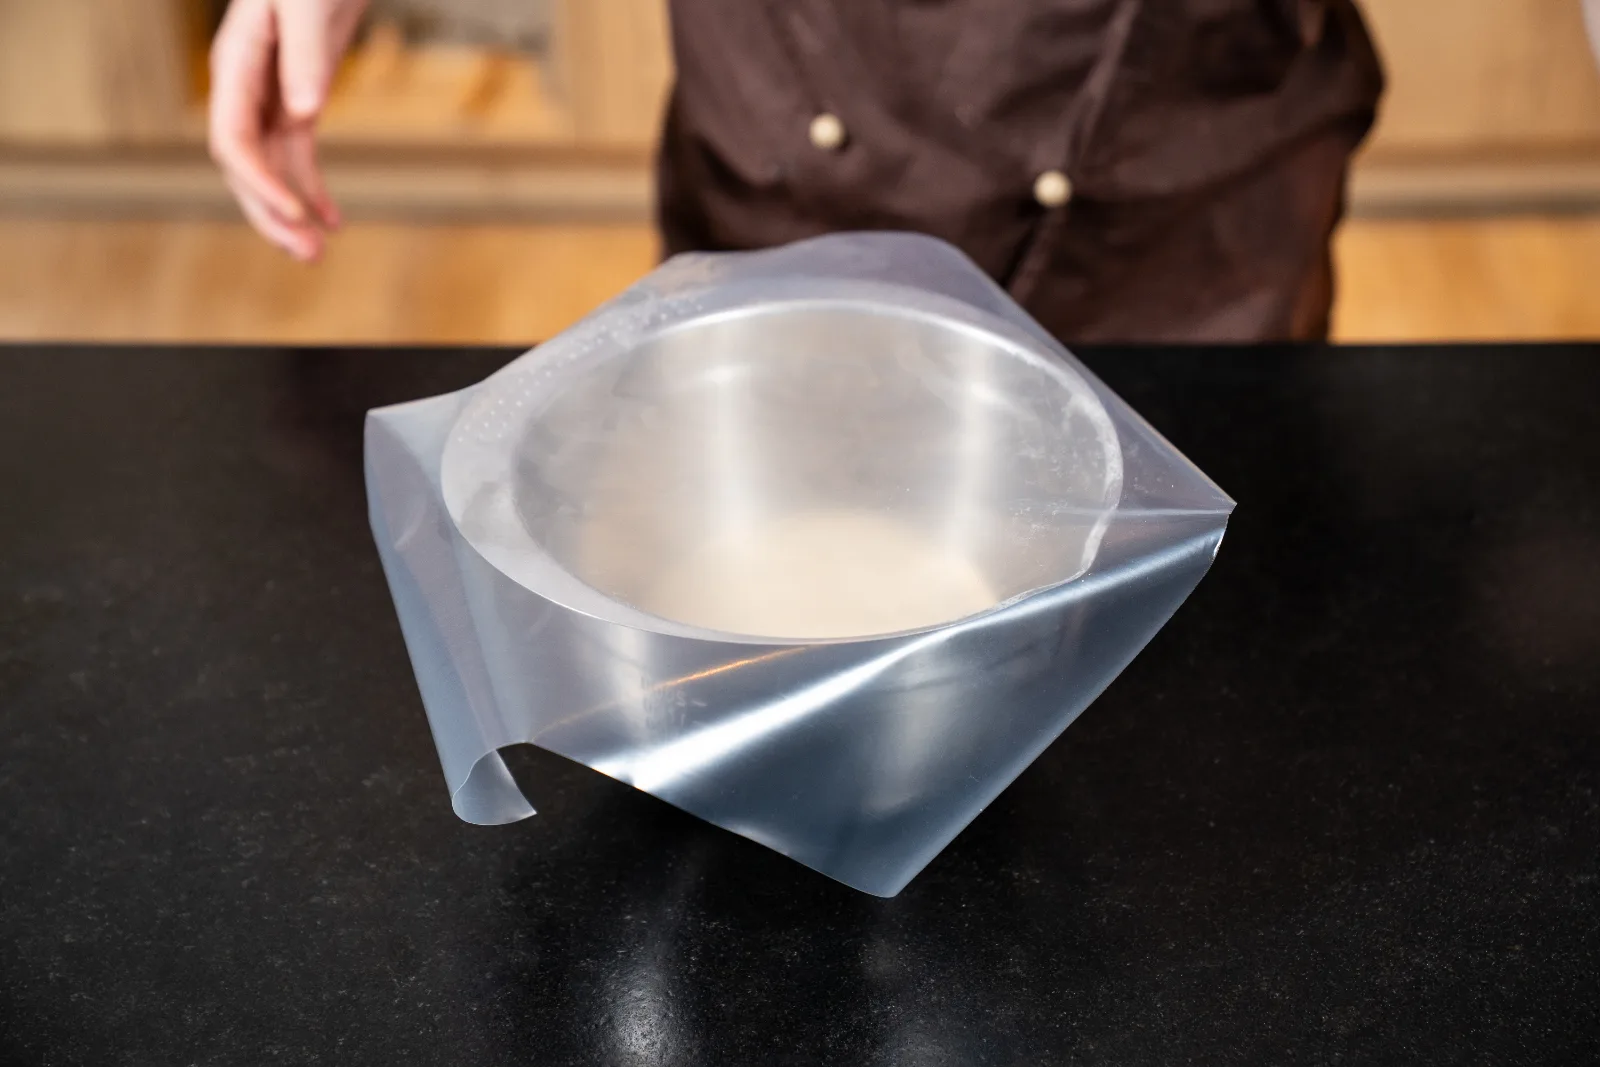
Once the dough is ready, shape it into a ball. Put a little oil into a Bowl, spread it lightly all around and place the dough inside. This keeps the dough supple and lets it come out of the Bowl effortlessly after resting. Cover the Bowl and let the dough rest for 30 minutes at room temperature – during this bulk fermentation the dough develops its aroma and starts to visibly rise.
4
Shape the dough piece
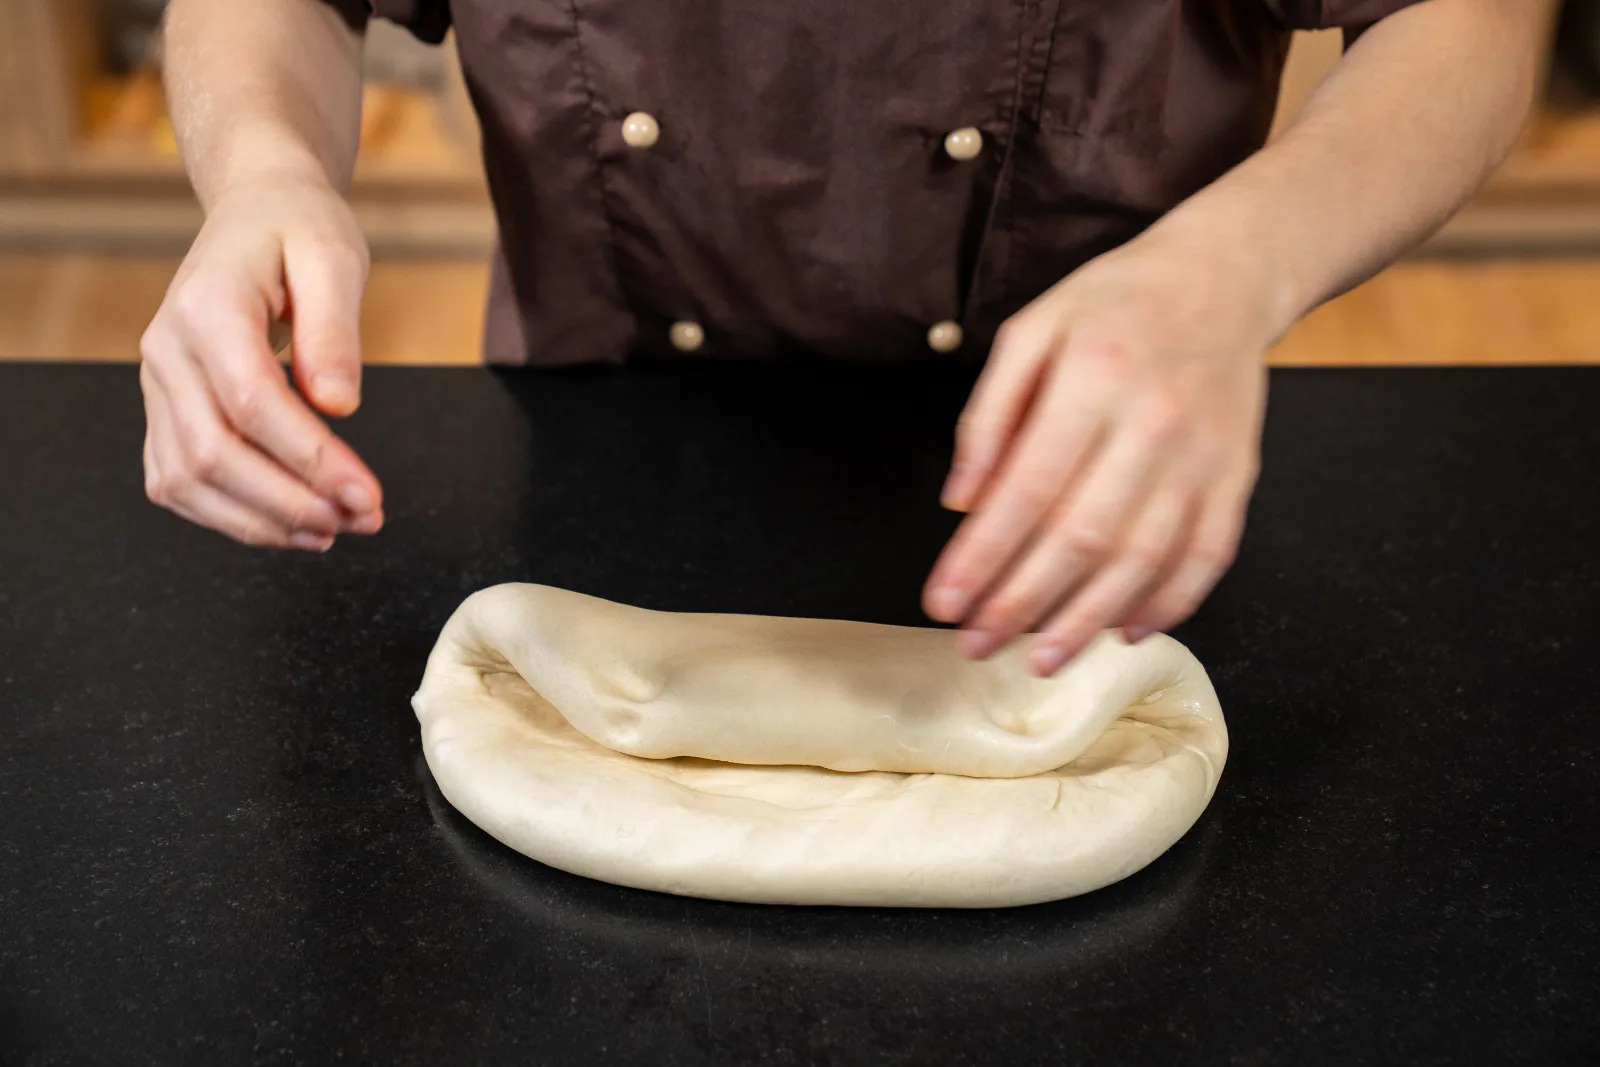
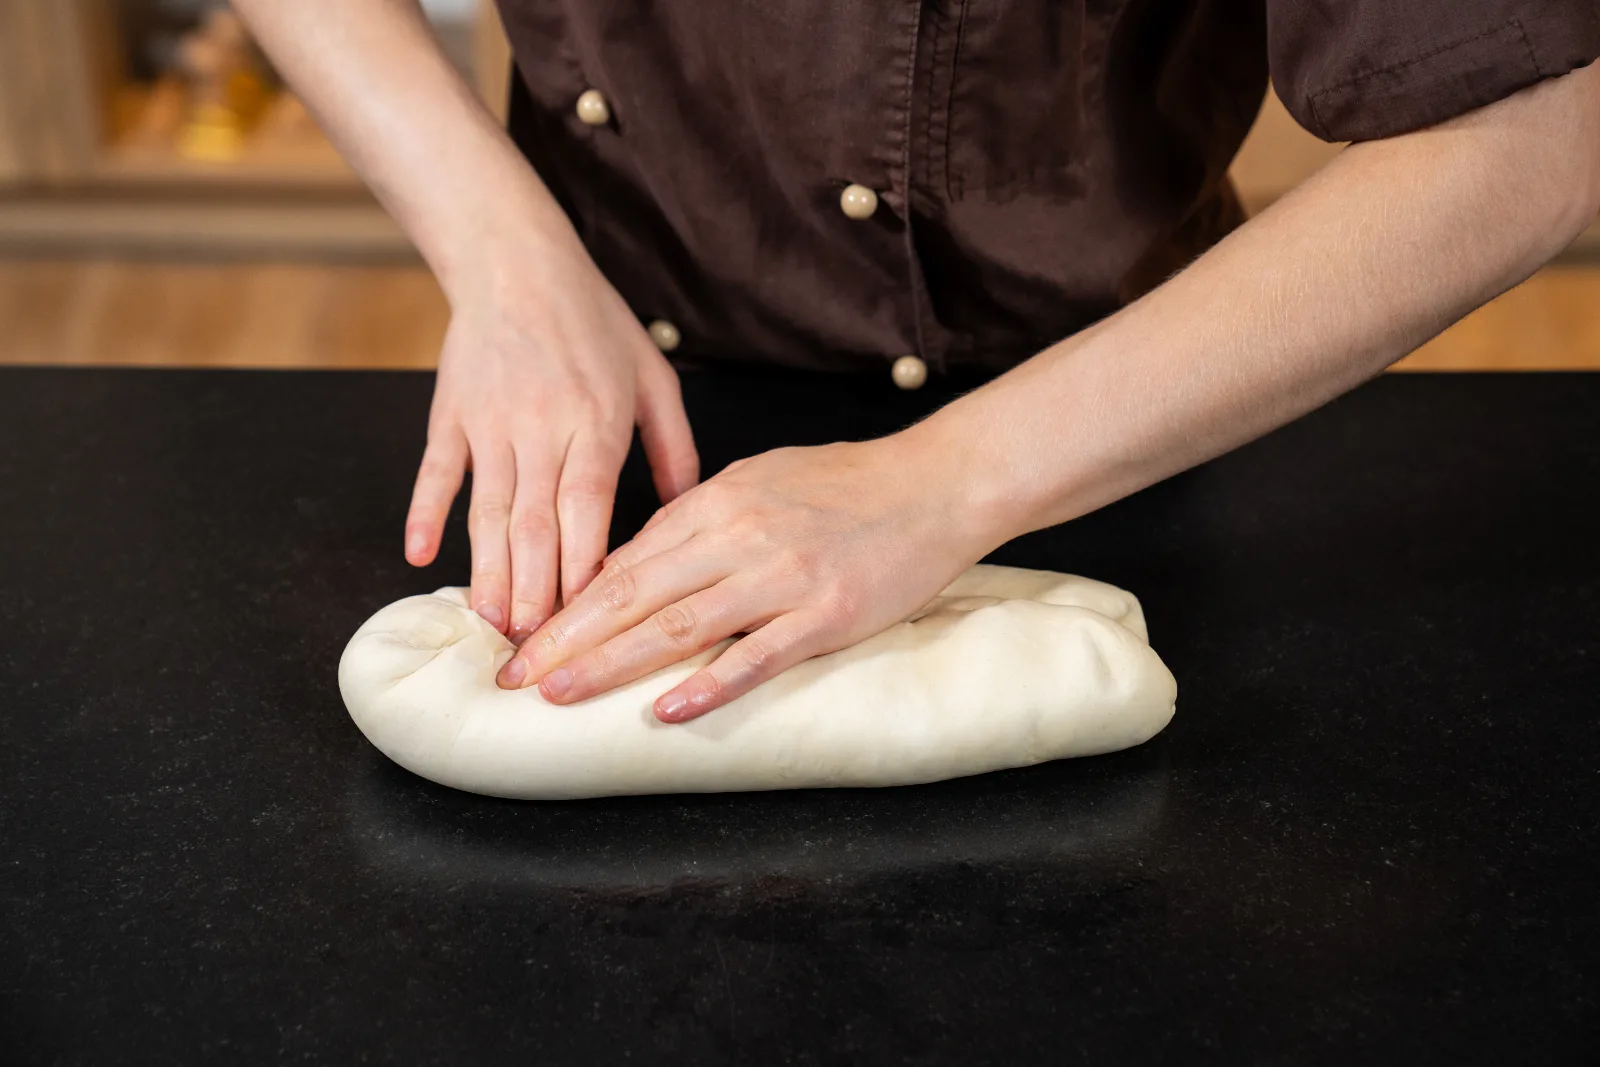
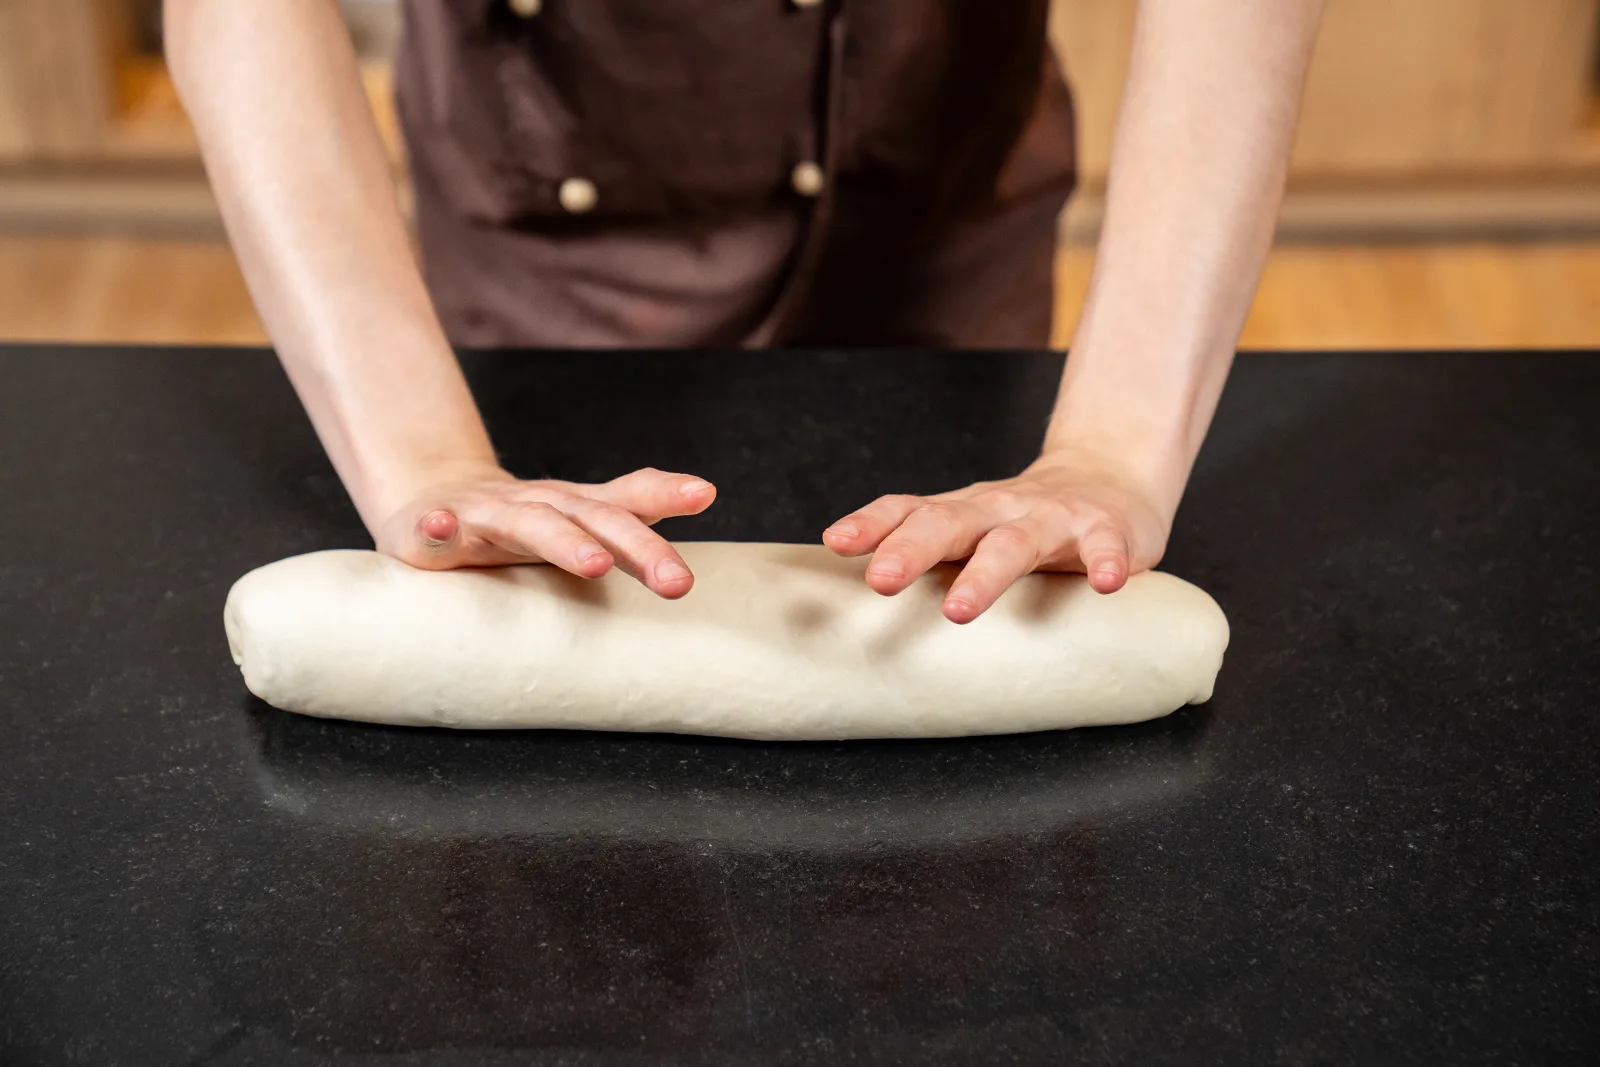
After the bulk fermentation, place the dough on a lightly floured work surface and shape it into an elongated rectangle. To do this, press the edges from the outside towards the middle and then roll the dough up evenly. The dough piece should be about the same length as your Baking tin, so that it later sits neatly in the tin and no folds form.
5
Prepare the baking tin and add the dough
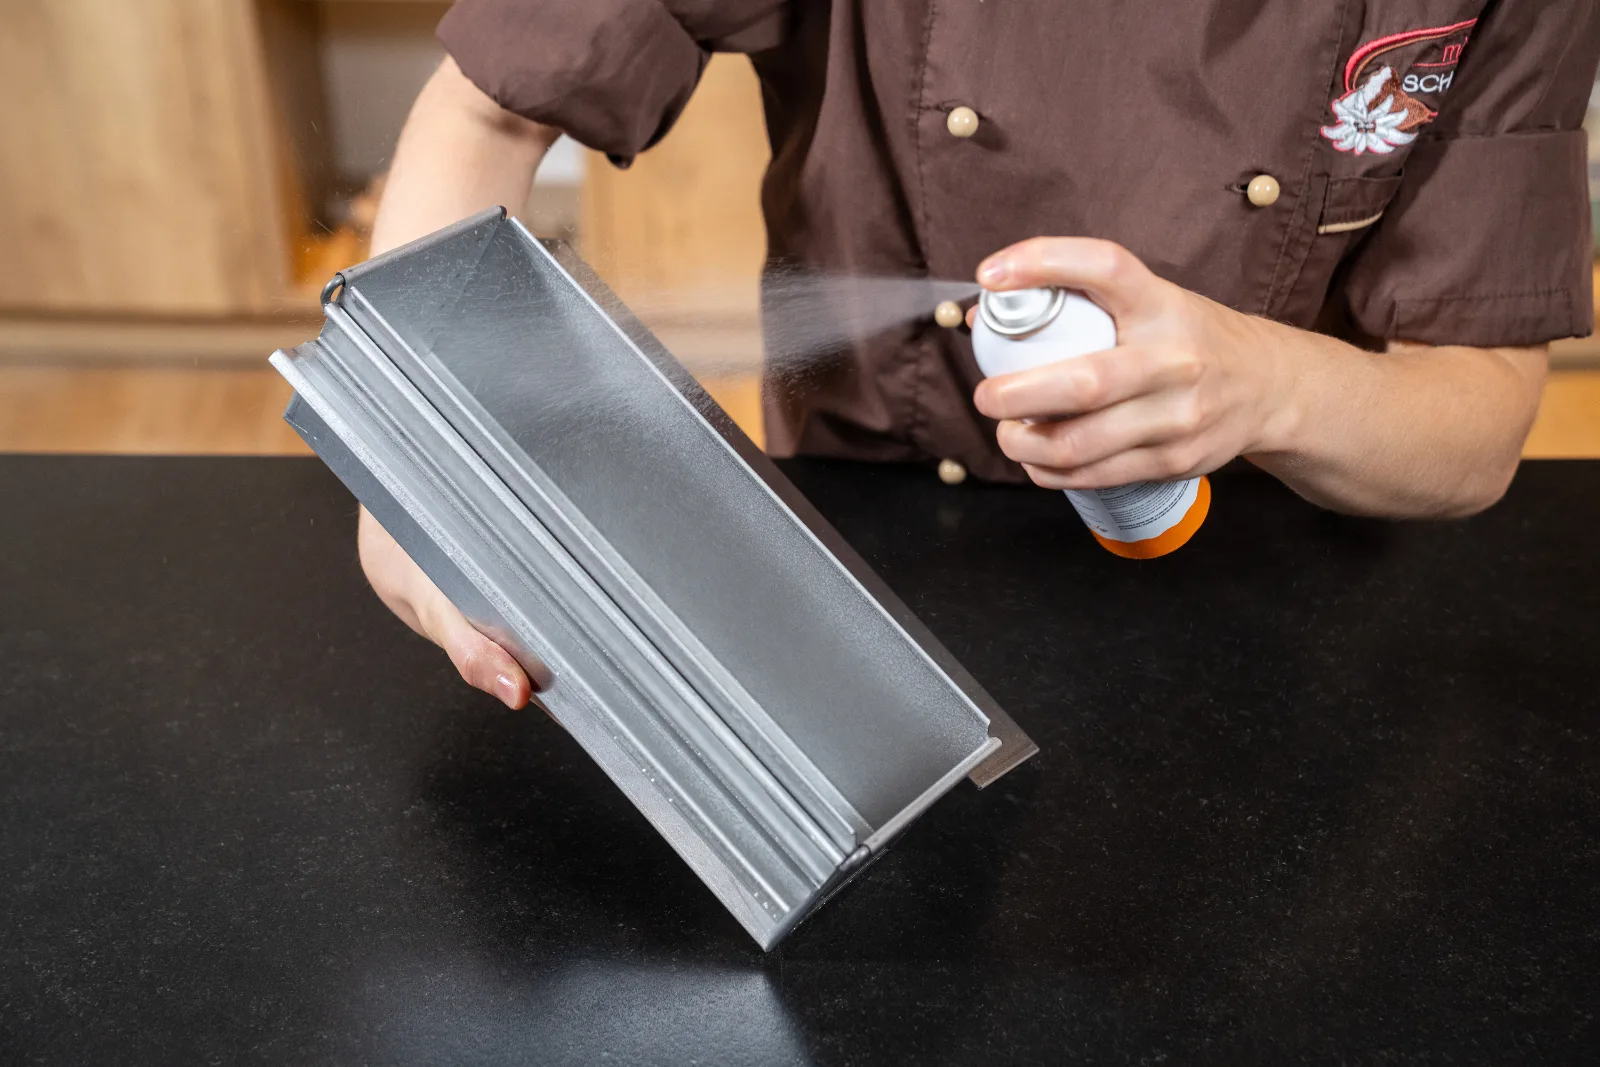
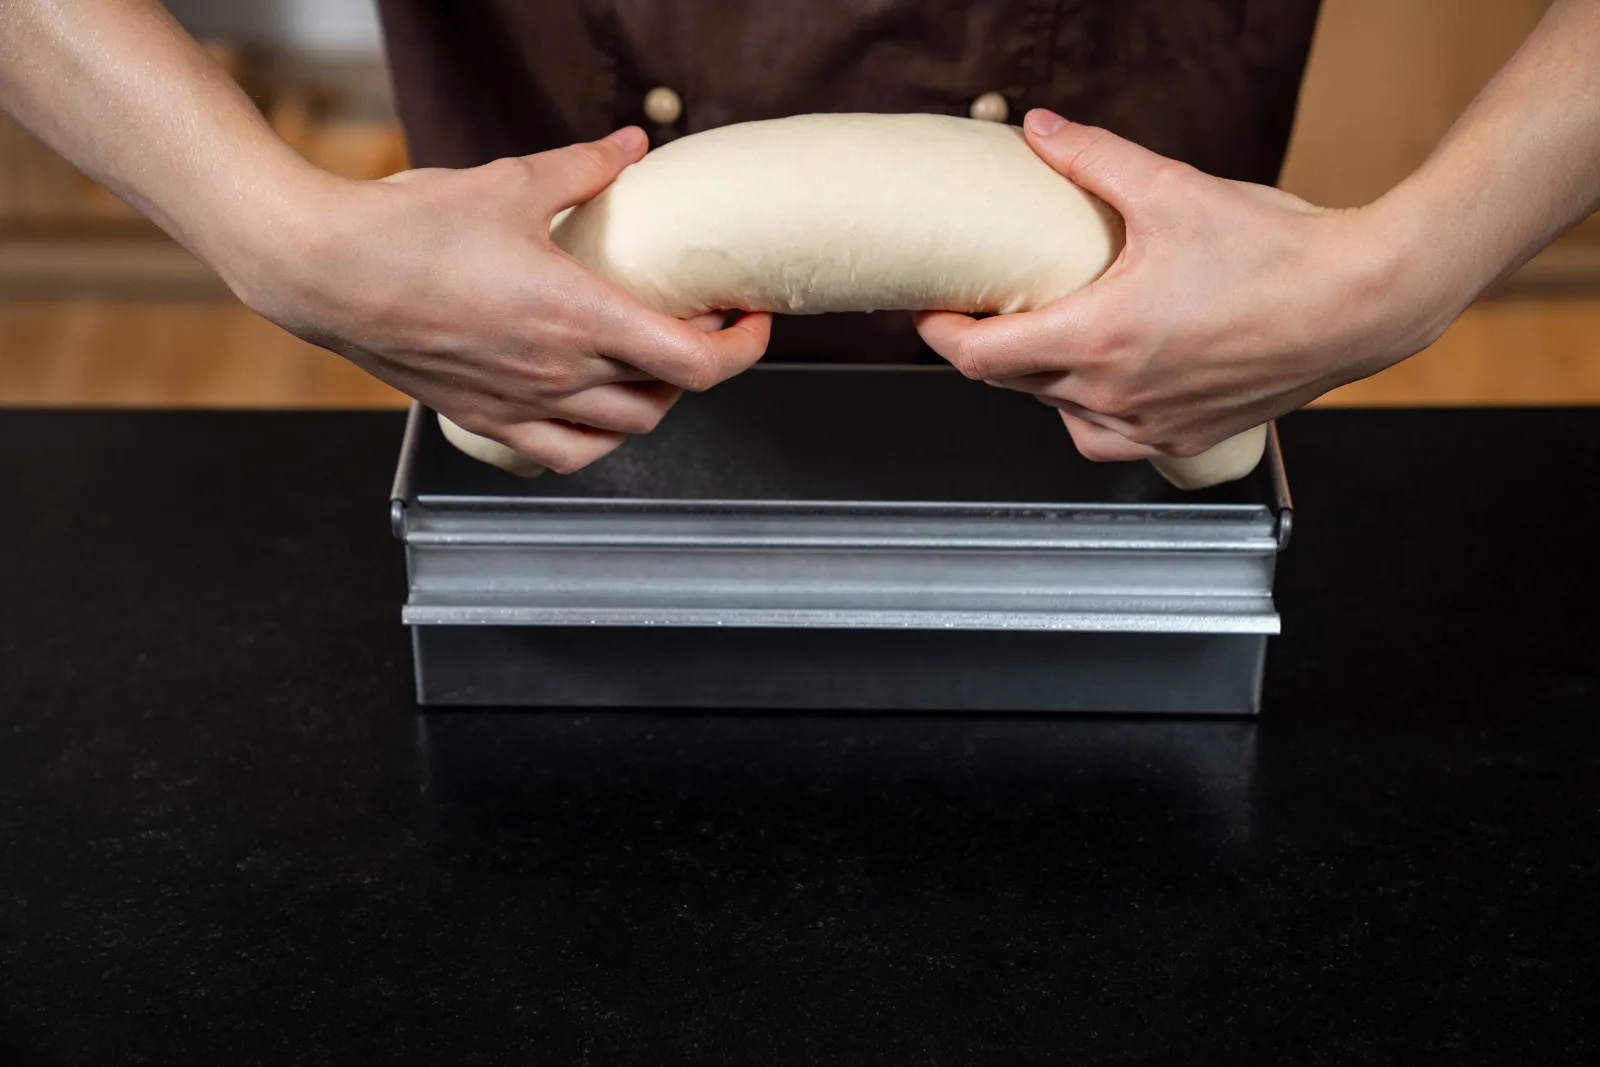
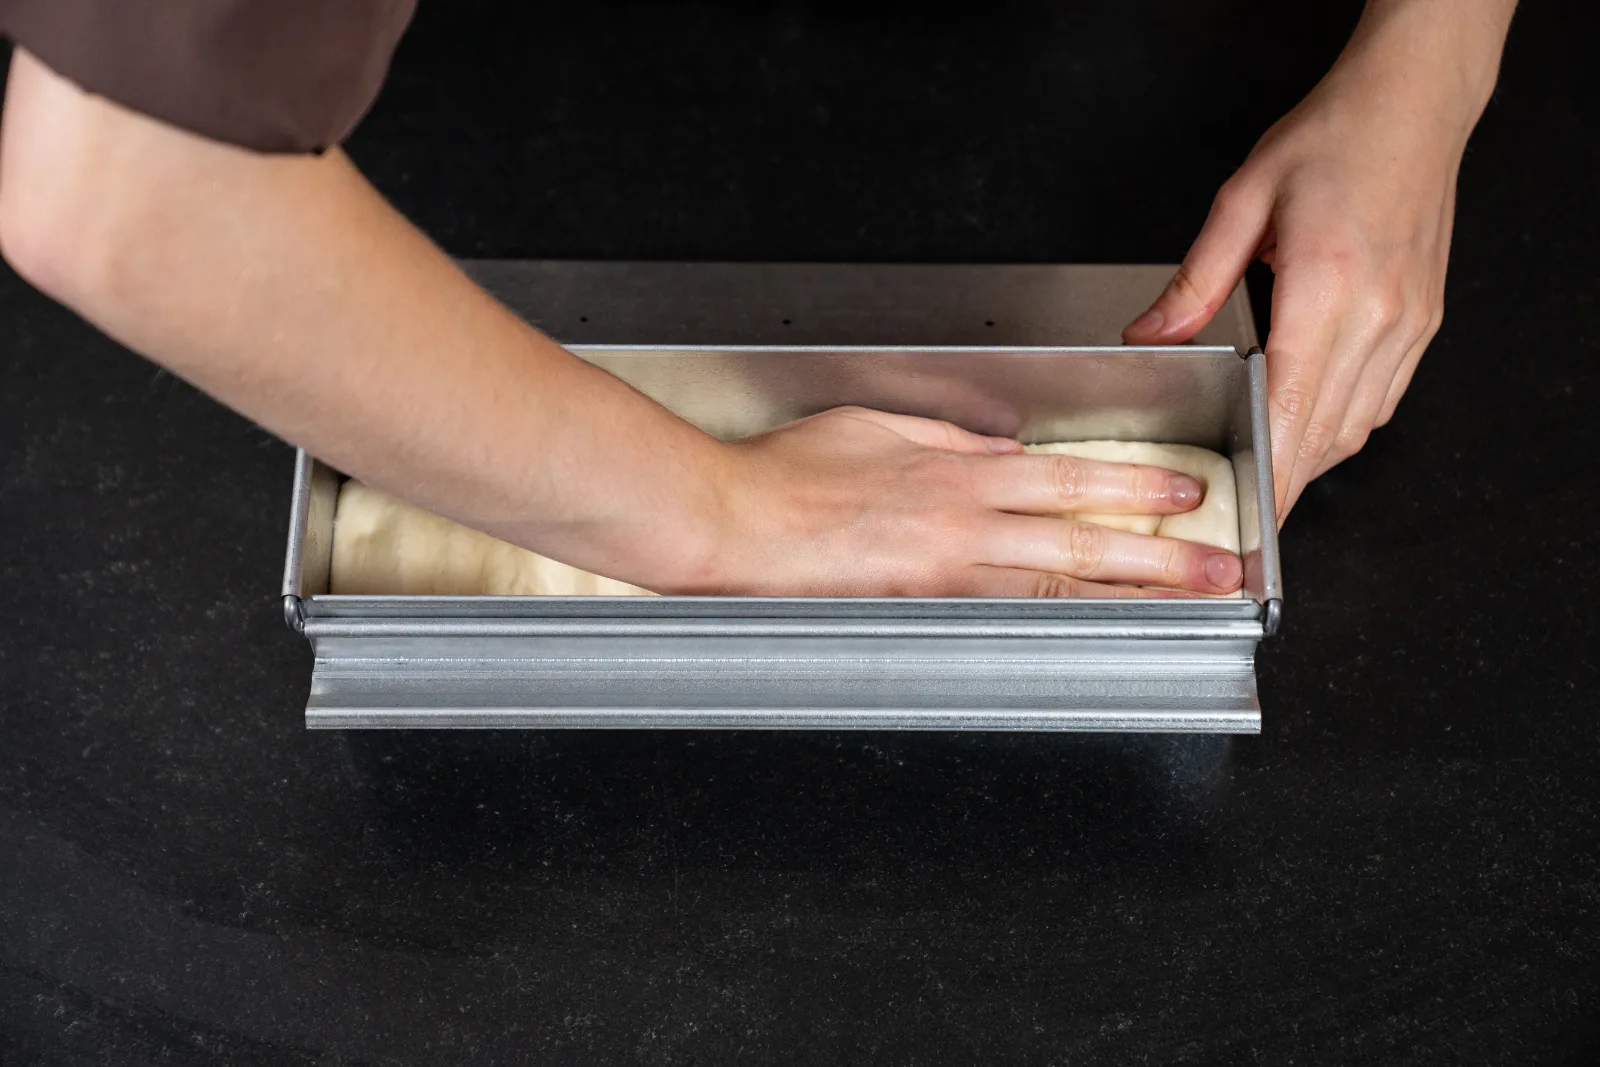
Prepare your toast baking tin: spray it generously all around with the Refrigerant spray for food – the spray reliably prevents the dough from sticking to the tin during baking and ensures clean release. Then place the shaped dough piece into the tin and press it firmly into all the corners with your hands and fingers. This step is crucial: only if the dough is evenly distributed and pressed well into the tin can it fill the tin perfectly as it rises, giving your toast bread its typically even, square structure.
What you need for this

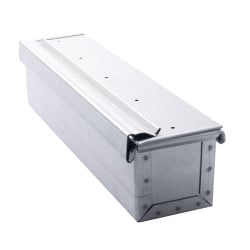
Toast baking tin 30 x 10 x 10 cm
Refrigerant spray for food, 75 ml
Toast baking tin 30 x 9 x 9 cm
Toast baking tin 30 x 7 x 7 cm
6
Final proof
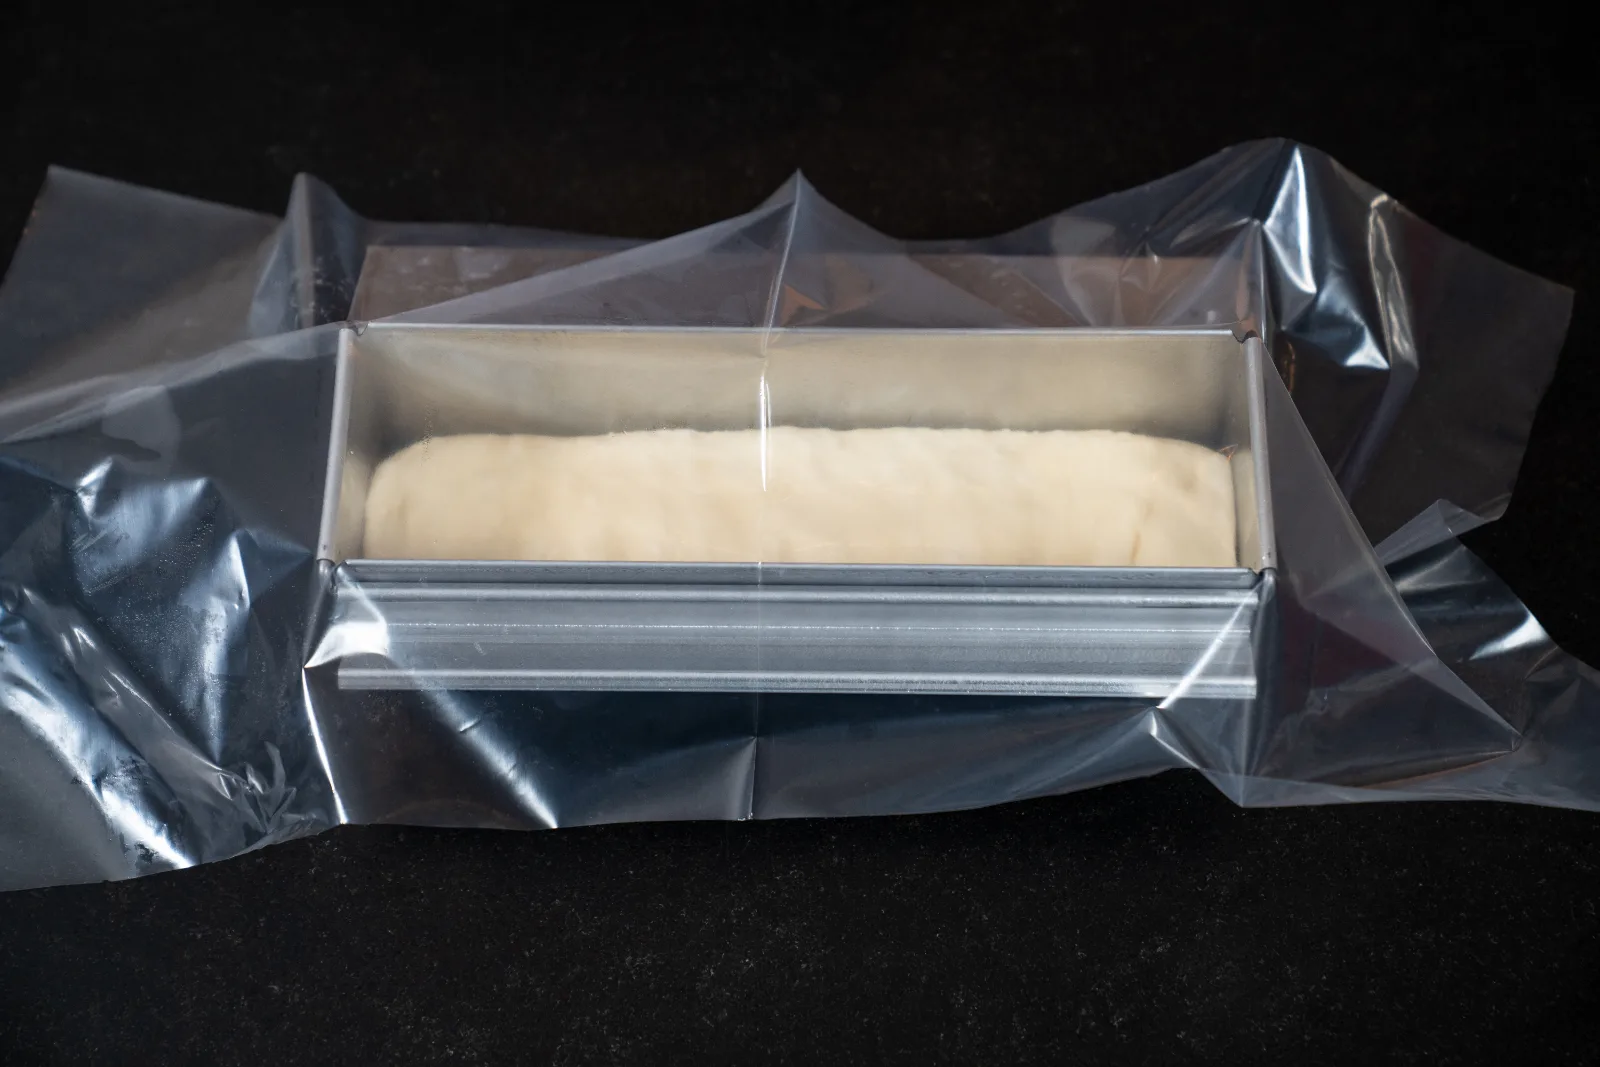
Cover the Baking tin with a plastic pastry cloth – not with the tin's lid! The plastic pastry cloth protects the dough from drying out without hindering its expansion. Now let the dough rise for 40–60 minutes in a warm, draught-free spot. During this time it should visibly rise and come up to about 1 cm below the rim of the tin. Towards the end of the final proof, preheat your oven to 200 °C fan.
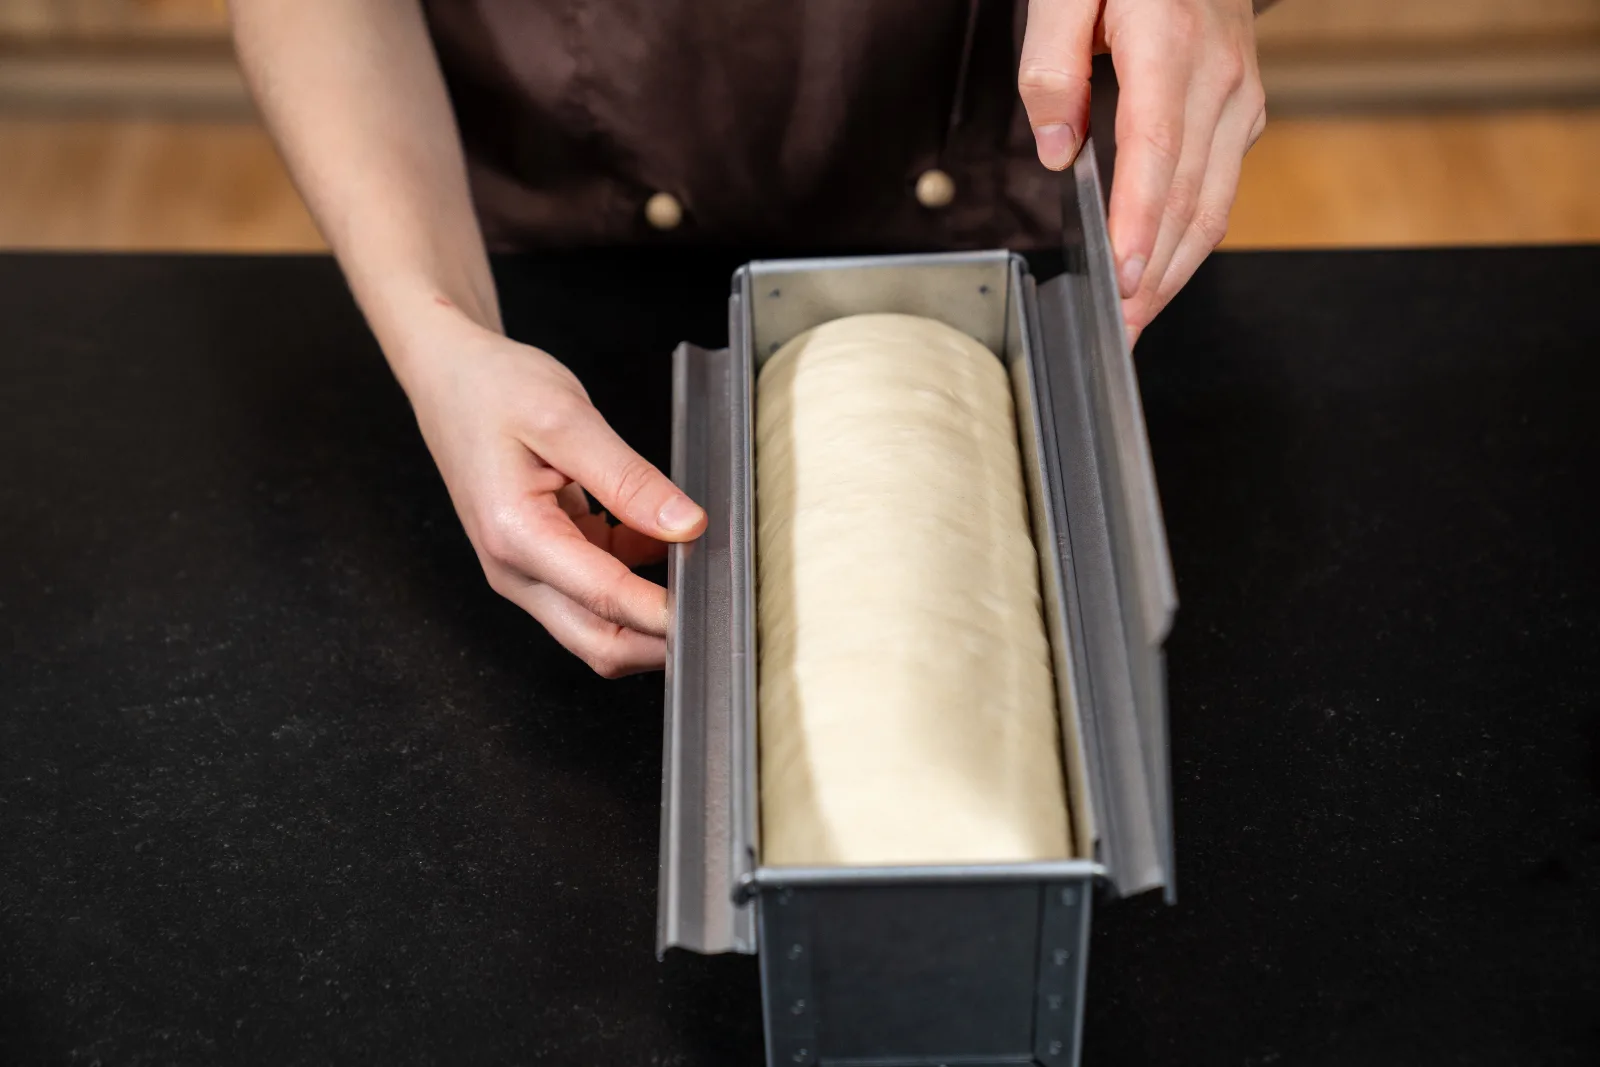
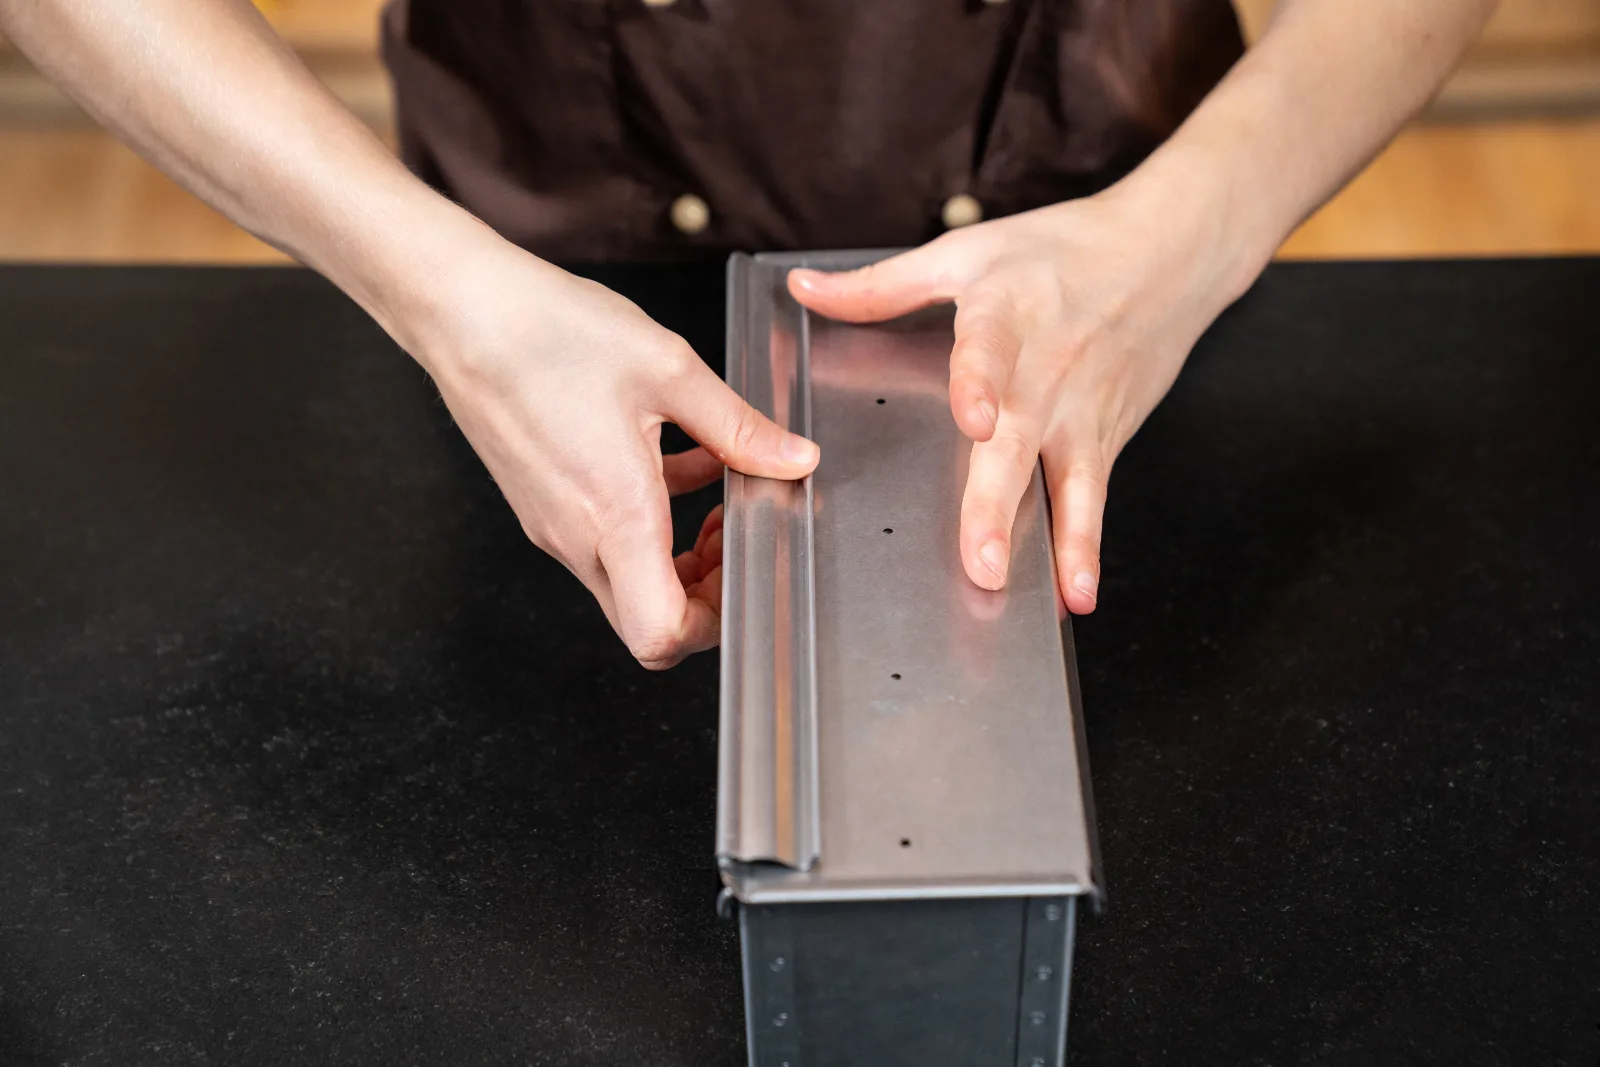
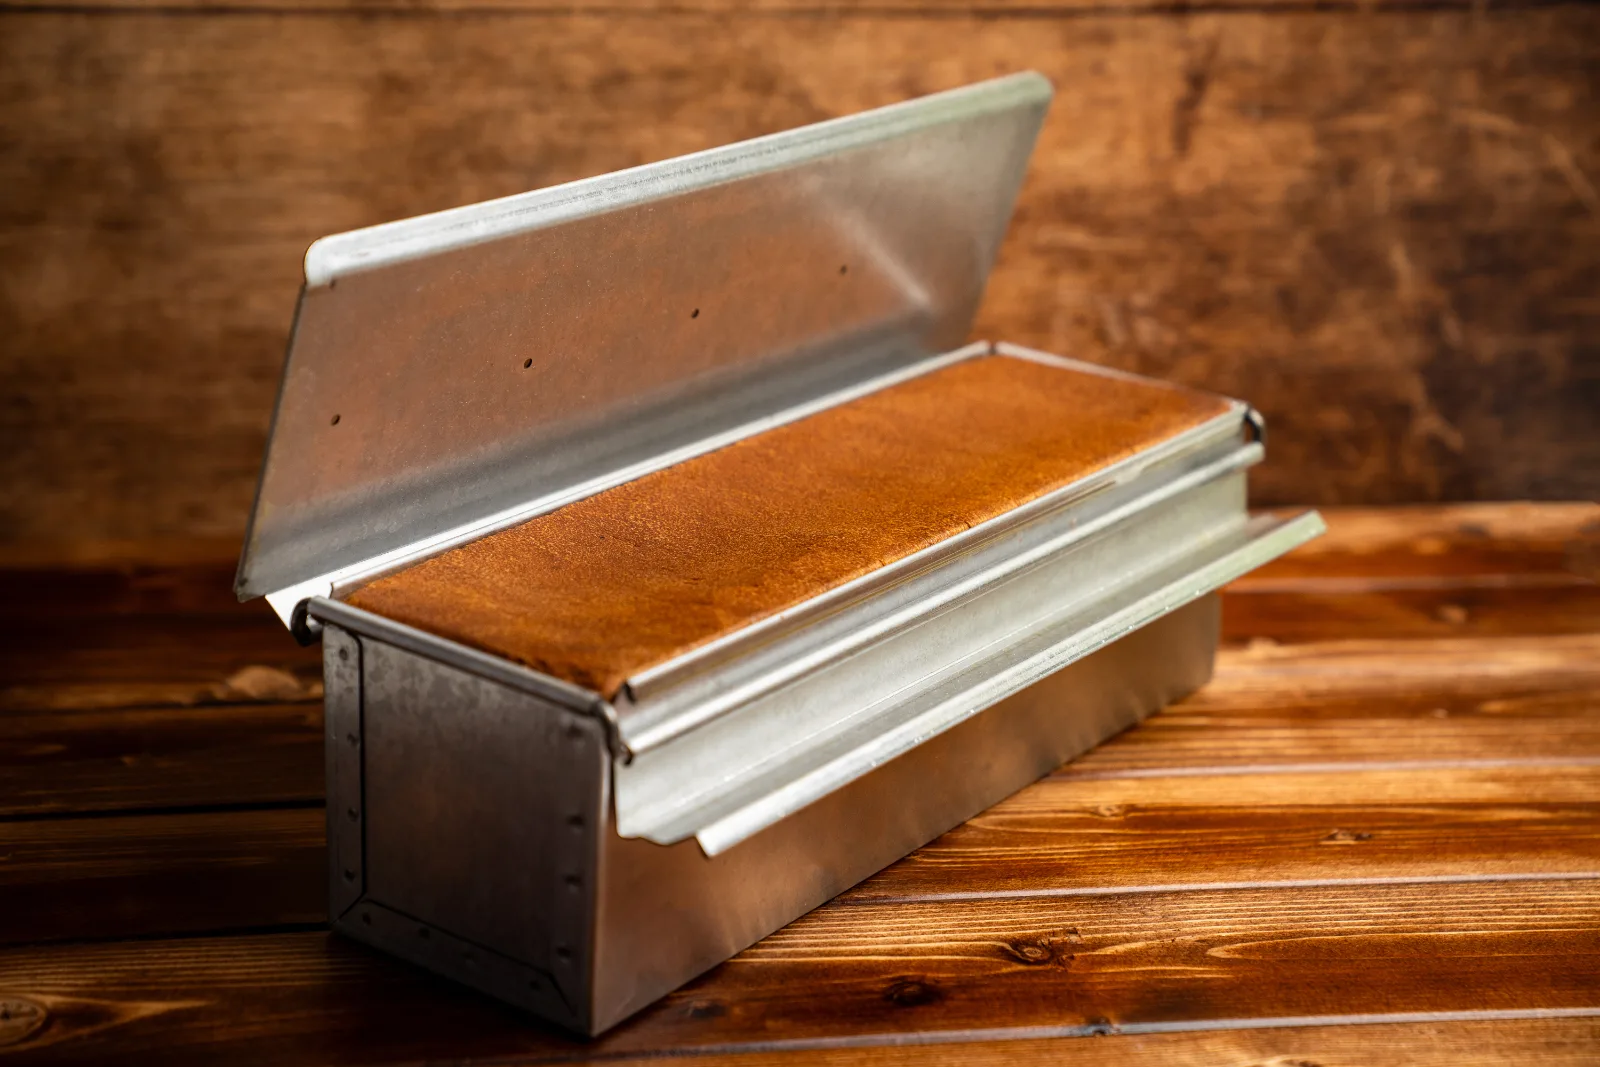
As soon as the dough has reached the right height, remove the plastic pastry cloth and close the Baking tin with its lid. Then slide the tin into the preheated oven.
7
Bake and cool
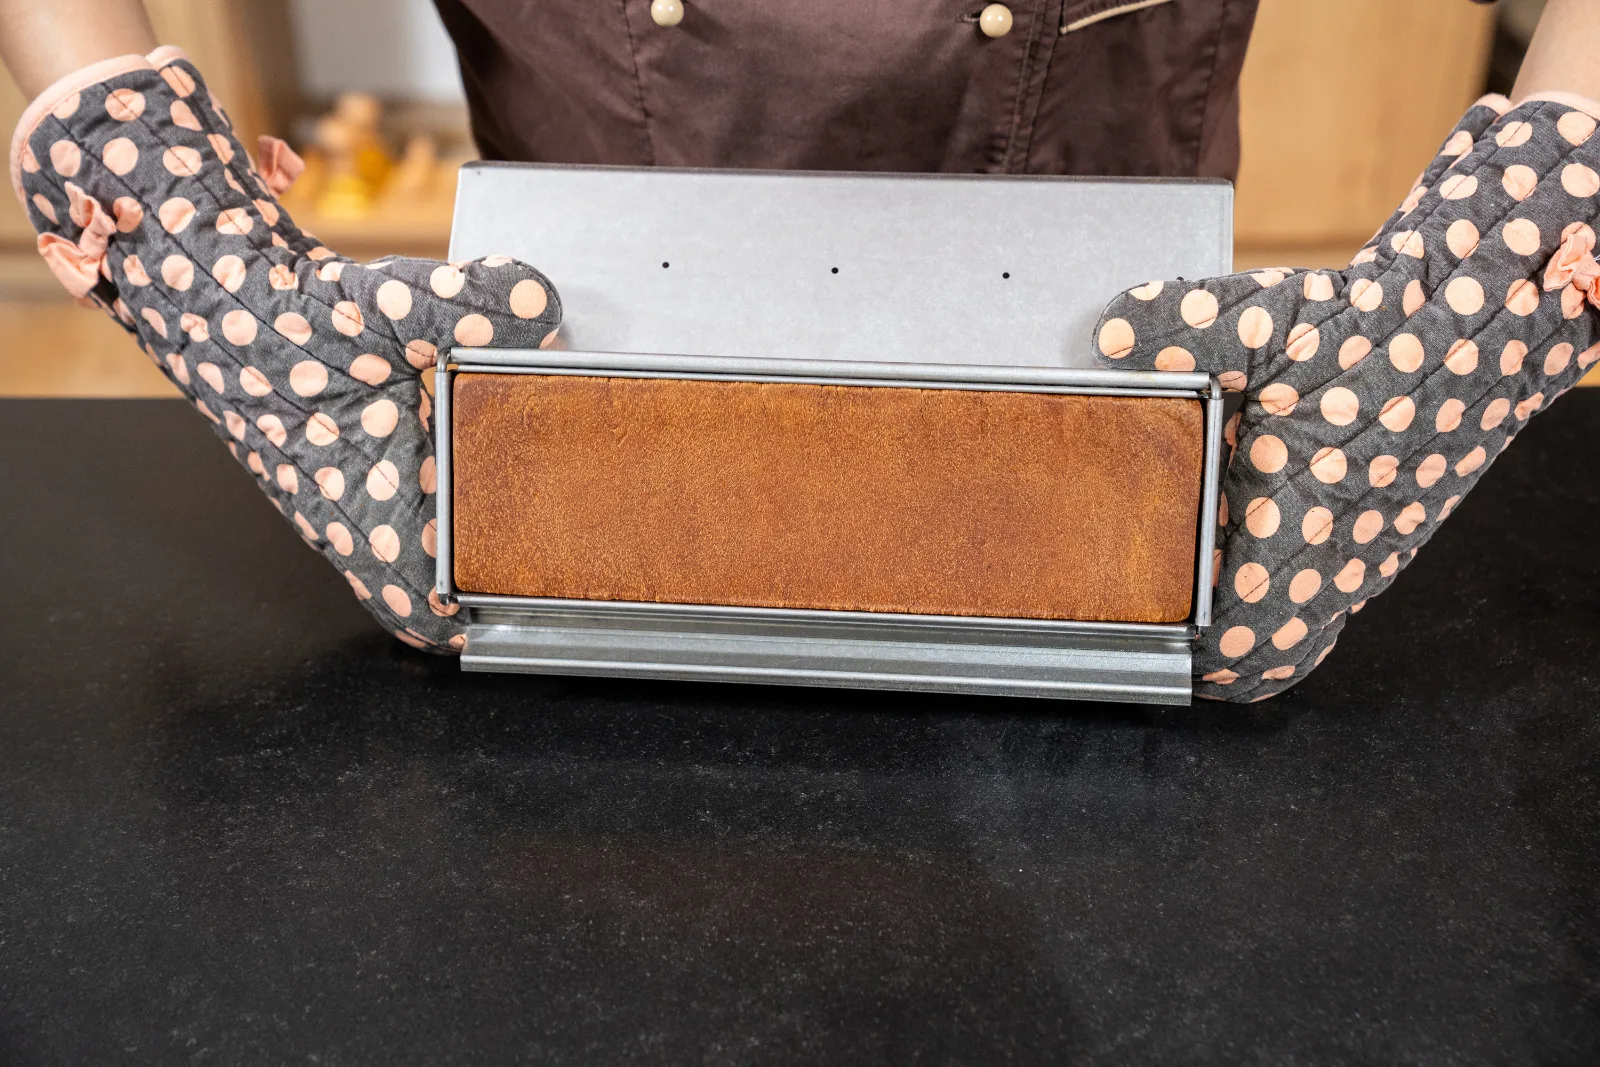
Bake your toast bread at 200 °C fan for 40 minutes. After 30 minutes, open the tin's lid and let the bread finish baking uncovered for the last 10 minutes. This gives the surface its typically fine, golden-brown colour and the characteristic crust.
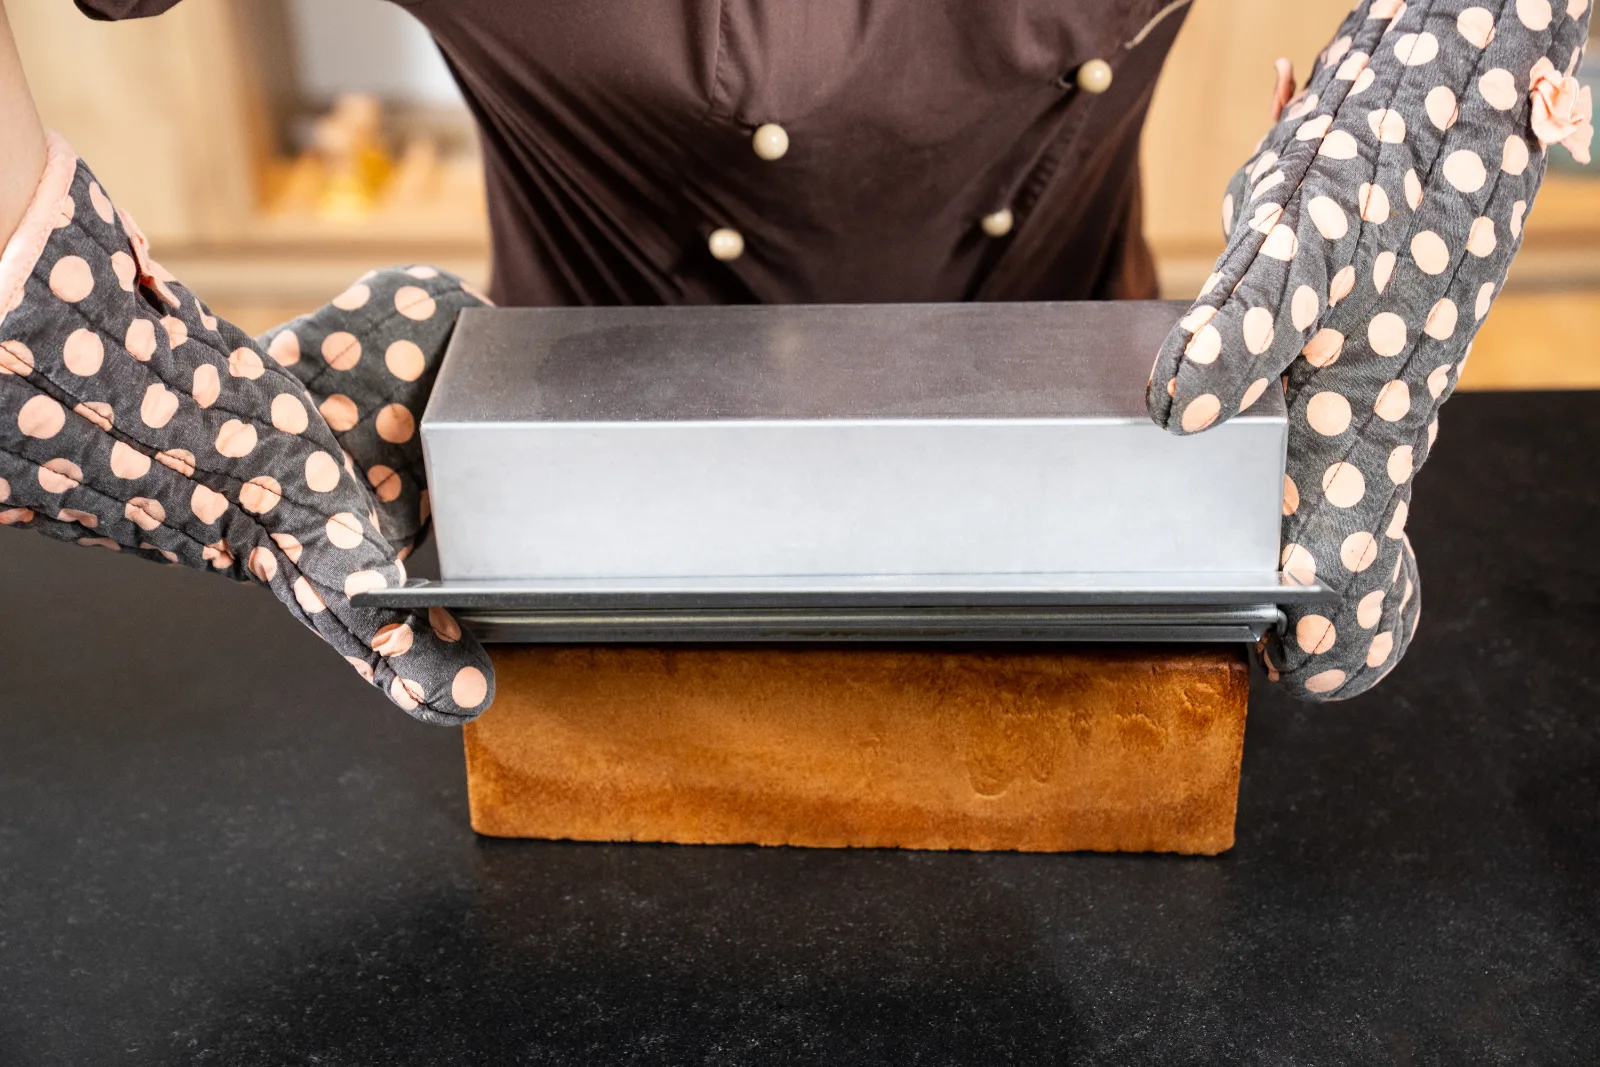
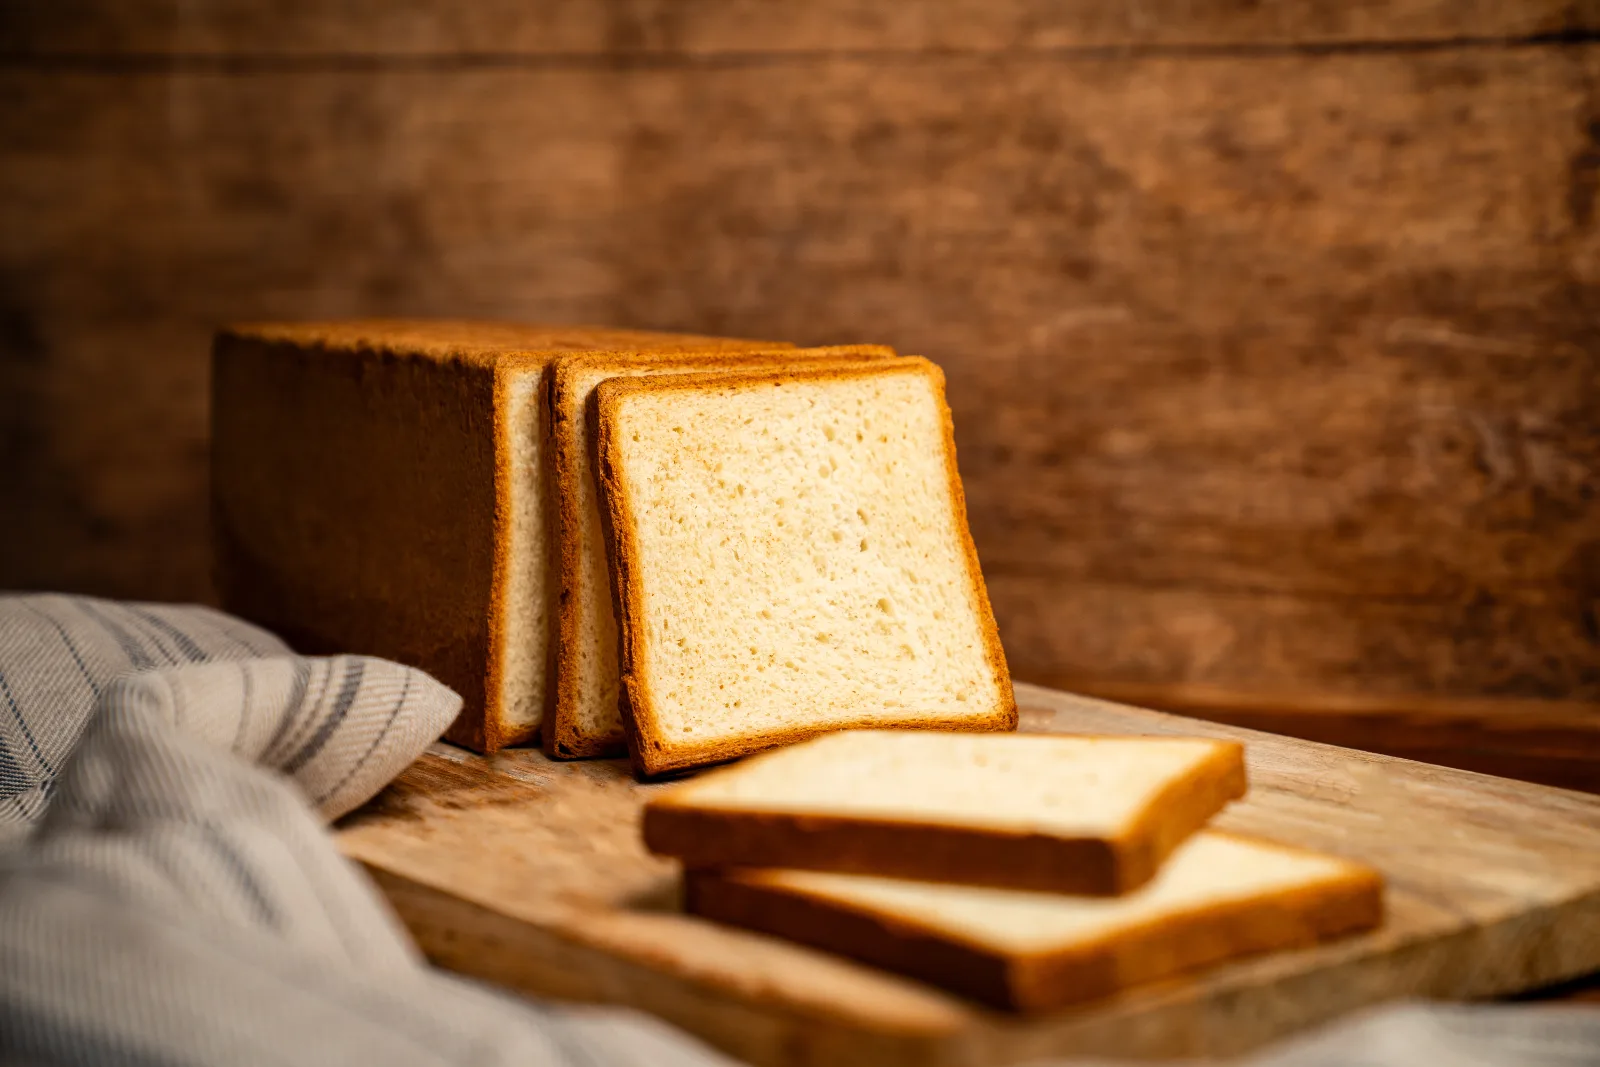
Take the toast bread out of the tin right after baking. Never let it cool in the tin, otherwise condensation forms and the bread bulges at the edges or turns rubbery. Place it on a Cake rack and let it cool completely there before slicing. Only a fully cooled toast bread can be cut cleanly into even slices – and freshly toasted, it tastes simply incomparable.
Compact · printable
Toast bread
Ingredients
Yield:
Preparation
- Knead the dough: Mix all ingredients except the salt for 3 min on speed 1. Add the salt and knead for 10 min on speed 2 into a supple dough.
- Bulk fermentation: Put the dough into an oiled Bowl, cover and let rest for 30 min at room temperature.
- Shaping: Shape the dough into an elongated rectangle and place it in the greased loaf tin. Fold the ends slightly down and press the dough firmly into the tin.
- Final proof: Close the tin with the lid and let rise for 40–60 min until the dough is 1 cm below the rim.
- Baking: Bake at 200 °C fan for 40 min. After 30 min open the lid and finish baking uncovered.
- Cooling: Remove the toast bread from the tin immediately and let it cool completely on a Cake rack.
Nutritional values per 100 g
293kcal
7 gFat
49.2 gCarbohydrates
7 gProtein
Storage & shelf life
Your homemade toast bread stays fresh for 3–4 days at room temperature in a bread bag or an airtight bread box, and once sliced it freezes easily for up to 3 months – you can put the slices straight from the freezer into the toaster.
Everything for this recipe
Recommended from our bakery — exactly the sizes the recipe was tested with.
Ingredients
White flour, 1 kg
Equipment
Toast baking tin 30 x 10 x 10 cm
Metal horn
Rubber scraper black, large
Refrigerant spray for food, 75 ml
Dough hook for NOVA Dough mixer
Häussler Dough mixer NOVA anthracite
Plastic pastry cloths
Toast baking tin 30 x 9 x 9 cm
Toast baking tin 30 x 7 x 7 cm
Delivery in 1–2 working days · Free shipping from CHF 100
To make sure it succeeds every time
Adjust the butter amount for a nicer shape
If you want a perfectly square toast bread, you can reduce the butter to about 40 g. That way the edges curl inwards less after baking. In return the flavour becomes a little less buttery – a small compromise between shape and aroma.
Keep the lid closed during the final proof
For your toast bread to get its typical square shape, the lid of the loaf tin must stay closed during the final proof and for the first 30 minutes in the oven. Before baking, the dough should have risen to about 1 cm below the rim – that way it fills the tin perfectly while baking.
Remove from the tin immediately after baking
Take the toast bread out of the tin right after baking. If it stays in the loaf tin, condensation forms at the edges and the bread bulges strongly. On a Cake rack it can cool evenly and the crumb stays nicely airy.
FAQ
Yes, homemade toast bread freezes very well. It's best to cut it into slices and freeze them in portions in a freezer bag. That way you can put individual slices straight from the freezer into the toaster – no thawing needed. Frozen, the toast bread keeps for up to 3 months.
You can also use a normal loaf tin and cover it with a suitable Baking tray or a second, upturned loaf tin. What matters is that the tin stays closed during the final proof and for the first 30 minutes in the oven – only then does your toast bread get its typically square shape.
Kept in a bread bag or an airtight box, your toast bread stays fresh for 3–4 days. After a few days it gets a little drier – but toasted it still tastes excellent. For longer storage we recommend freezing it in slices.
You might also like


Print recipe
Choose what should appear on the printout.
Related products
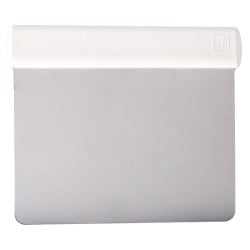
Metal horn
Price: CHF14.90
Rated out of 5 stars based on
review(s)
bitte einloggen
A metal horn is essential for creating your own hollow praline molds, for...
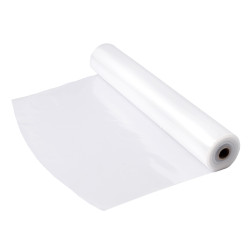
Plastic dough towels
Price: CHF19.90
Rated out of 5 stars based on
review(s)
bitte einloggen
Are you tired of constantly having to scrape your dough pieces off the...
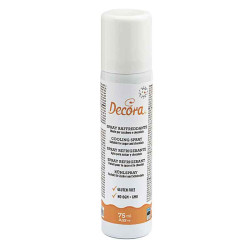
Ice spray for food, 75 ml
Price: CHF14.50
Rated out of 5 stars based on
review(s)
bitte einloggen
Fix your chocolate and sugar works with the ice spray. The ice spray cools...
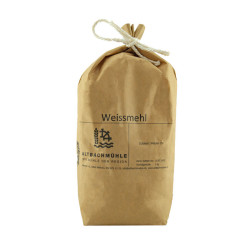
White flour, 1 kg
Price: CHF4.50
Rated out of 5 stars based on
review(s)
bitte einloggen
White flour is suitable for pastries of all kinds, from bread to cakes to...
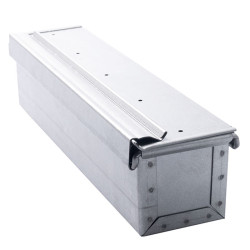
Toast baking dish 30 x 10 x 10 cm
Price: CHF59.90
Rated out of 5 stars based on
review(s)
bitte einloggen
With this professional toast baking dish, the toast also succeeds in its...
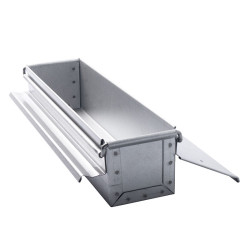
Toast baking dish 30 x 7 x 7 cm
Price: CHF55.90
Rated out of 5 stars based on
review(s)
bitte einloggen
With this professional toast baking dish, the toast also succeeds in its...
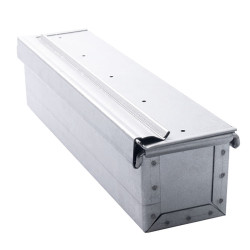
Toast baking dish 30 x 9 x 9 cm
Price: CHF57.90
Rated out of 5 stars based on
review(s)
bitte einloggen
With this professional toast baking dish, the toast also succeeds in its...
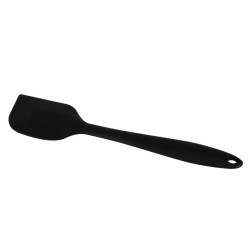
Rubber scraper Black, large
Price: CHF9.90
Rated out of 5 stars based on
review(s)
bitte einloggen
The rubber scraper black is made of silicone, which protects pots and bowls...
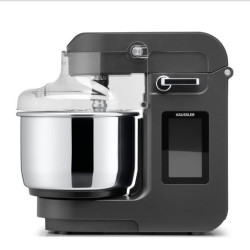
Häussler dough kneading machine NOVA Anthracite
Price: CHF1,990.00
Rated out of 5 stars based on
review(s)
bitte einloggen
A professional kneading machine in compact format: The new Nova dough...
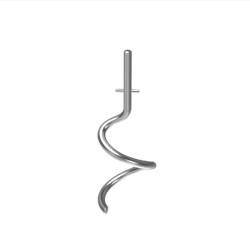
Dough hook for NOVA dough kneading machine
Price: CHF75.00
Rated out of 5 stars based on
review(s)
bitte einloggen
We turn hobby bakers into absolute professionals! A professional dough hook...
Bewertungen
Leave a comment
Related posts
 Pumpkin bruschetta
A delicious recipe for making an autumnal pumpkin bruschetta. A few steps to a real treat for the palate.
Read more
Lace stars
Have you always wanted to make pretzel pastries at home? We'll show you how to bake delicious pretzel star-shaped...
Read more
The three best burger recipes
Learn how to make delicious brioche burger buns and our three different flavour recommendations in this blog post. As...
Read more
Wild Garlic and Asparagus Bruschetta
This delicious bruschetta is anything but classic. We took a look around in nature and found wild garlic! This...
Read more
Dinnete with a wild garlic and cheese topping
Wild garlic not only looks good in soups or bruschetta, the plant also comes into its own on dinnetes. The pizza-like...
Read more