
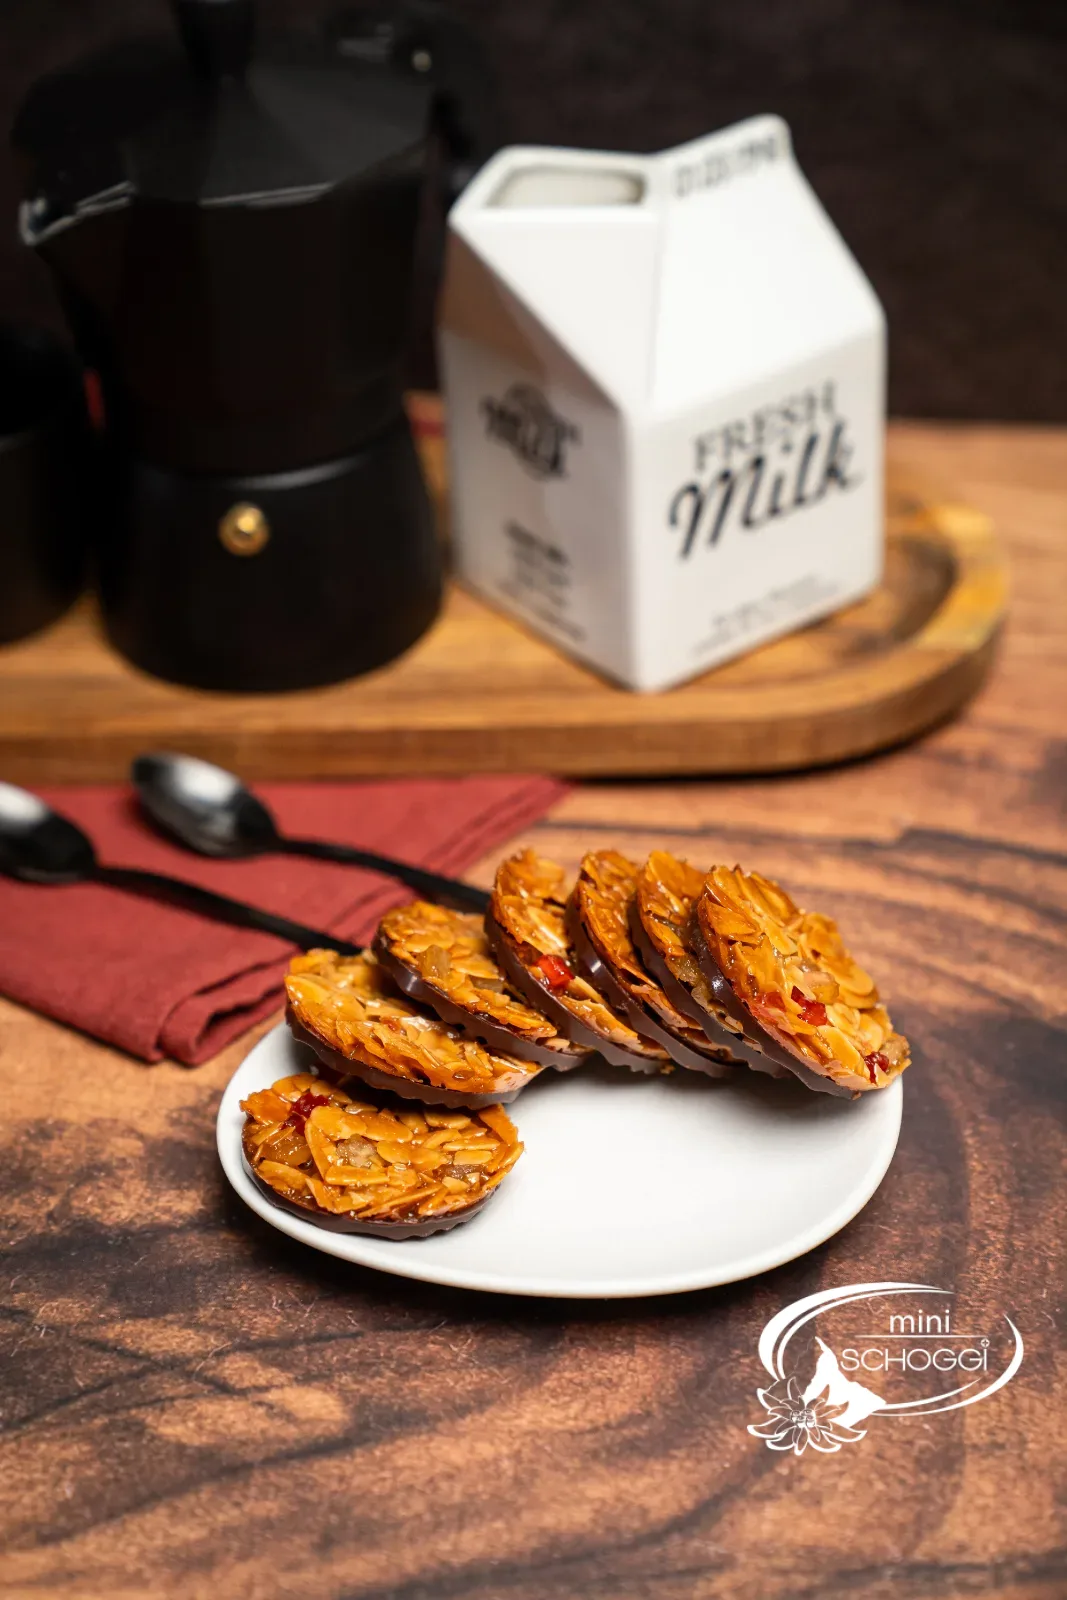
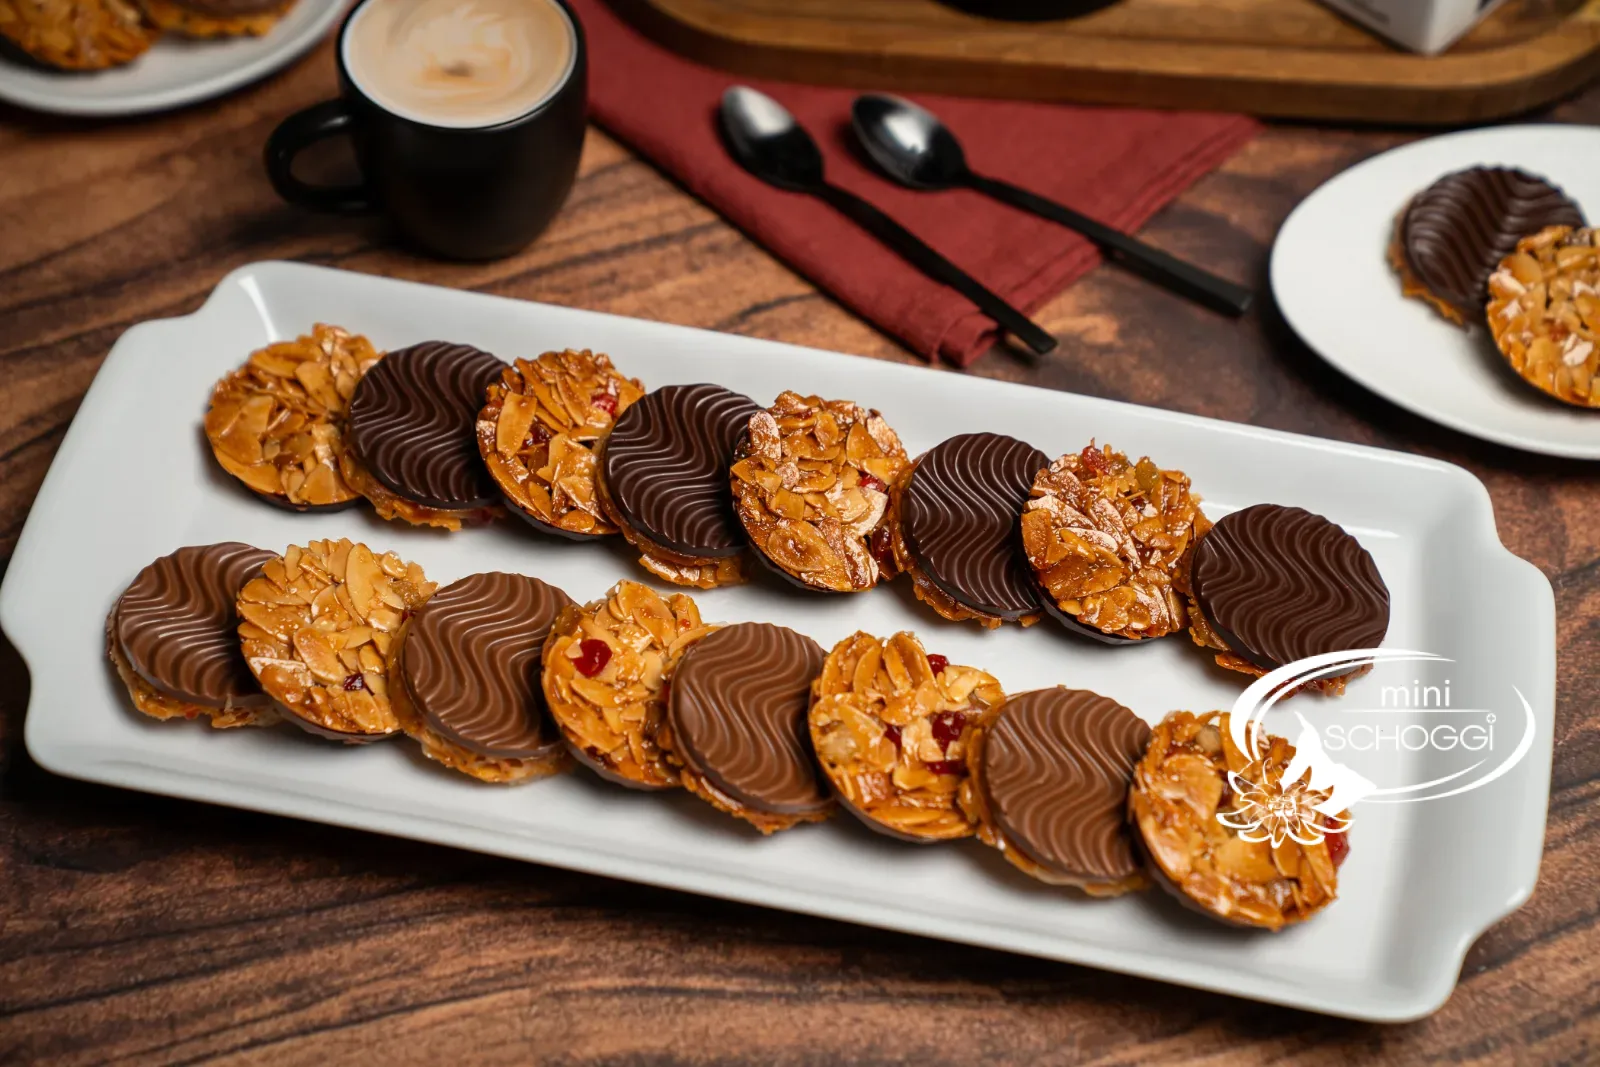
Florentines with a chocolate base — crisp and fine
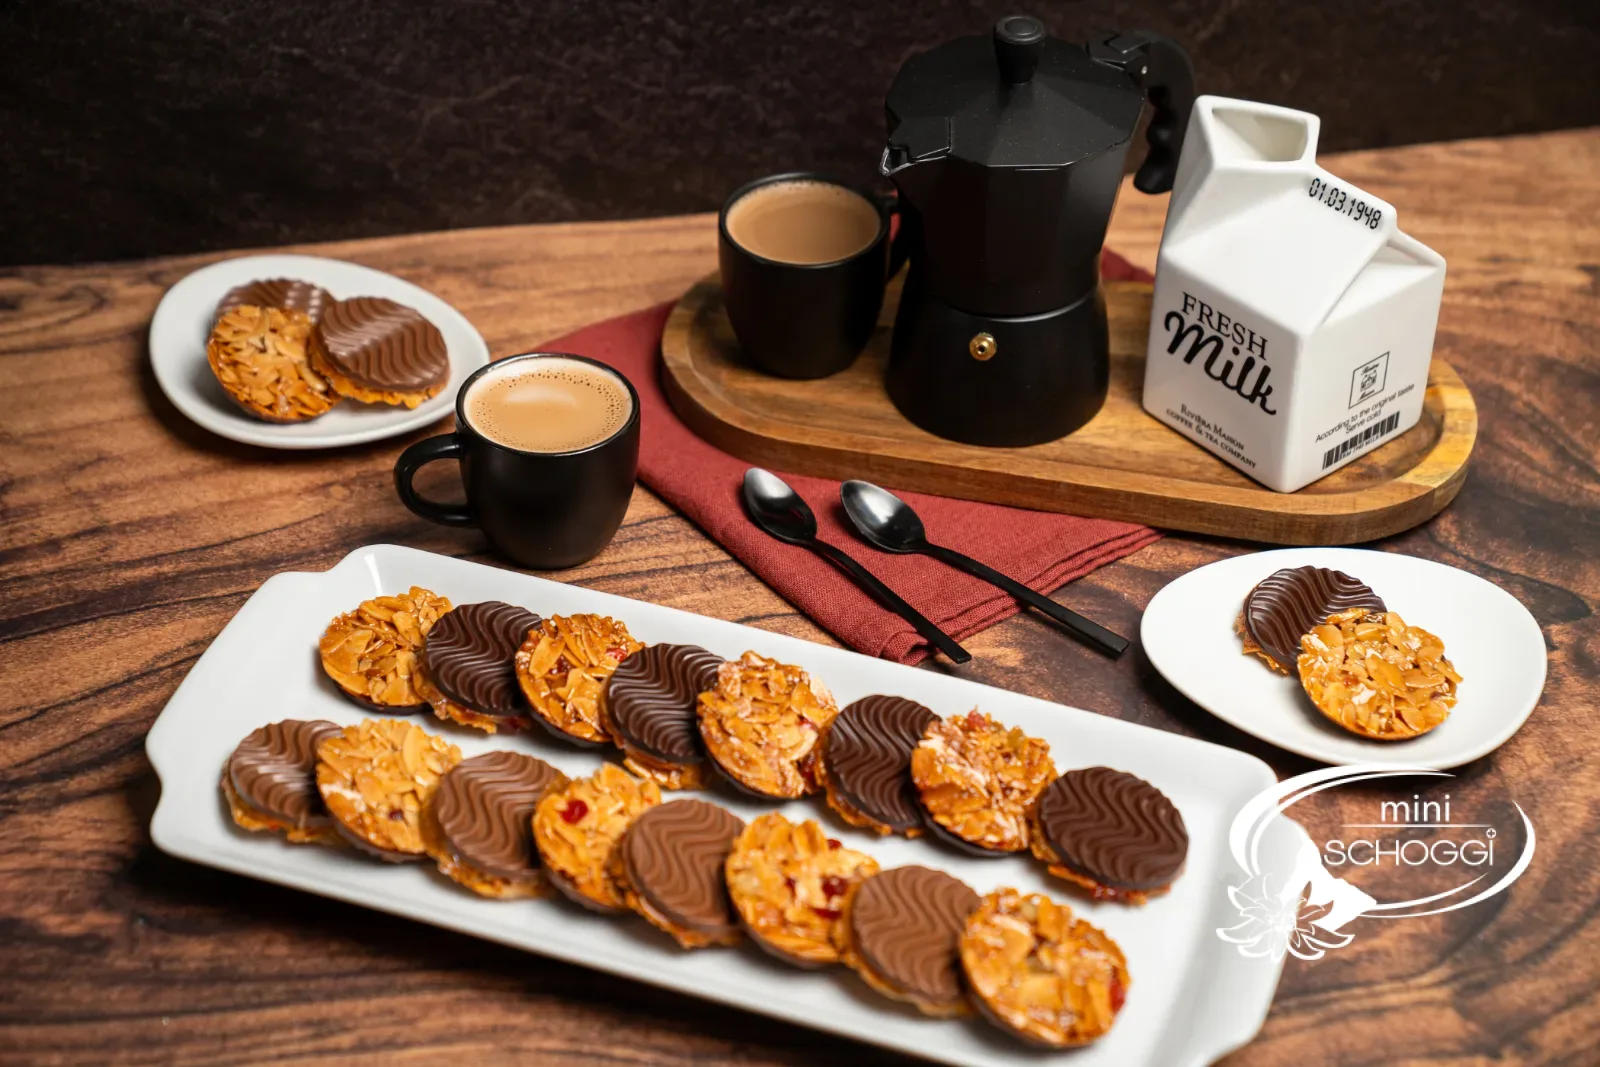
Almond mixture to 110 °C, base from tempered couverture
Quantityapprox. 45 pieces (3 moulds of 15)
Active timeapprox. 45 min.
Total timeapprox. 1 hr. 30 min. (incl. cooling and setting of the couverture)
contains milkcontains almondsmay contain traces of nuts
A florentine is essentially caramelised sugar that holds the almonds together — and that is exactly why everything comes down to a single number: 110 °C. Below that the mixture stays soft and later draws moisture, above it turns hard and bitter. A thermometer here is not a luxury but the actual key tool.
We don't bake the mixture as one large sheet but in the mould. This has two advantages: every disc comes out the same size, and the chocolate base fits exactly on top afterwards. For the base we show two ways — with the brush and with the piping bag. Both work; they differ only in how well they avoid air bubbles.
If you don't like candied fruit, simply replace it with the same amount of almonds or dried fruit. This doesn't change the ratio of sugar mixture to filling.
Ingredients
Quantity:
Florentine mixture
80 gfull cream
90 ggranulated sugar
40 gGlucose syrup
30 gbutter
10 ghoney, liquid
130 galmonds, flaked
40 gcandied cherries, chopped
20 gcandied orange peel
20 gcandied lemon peel
Step by step
If you're in a hurry: the compact recipe card further down sums it all up.
Florentine mixture
1
Everything into the pan together
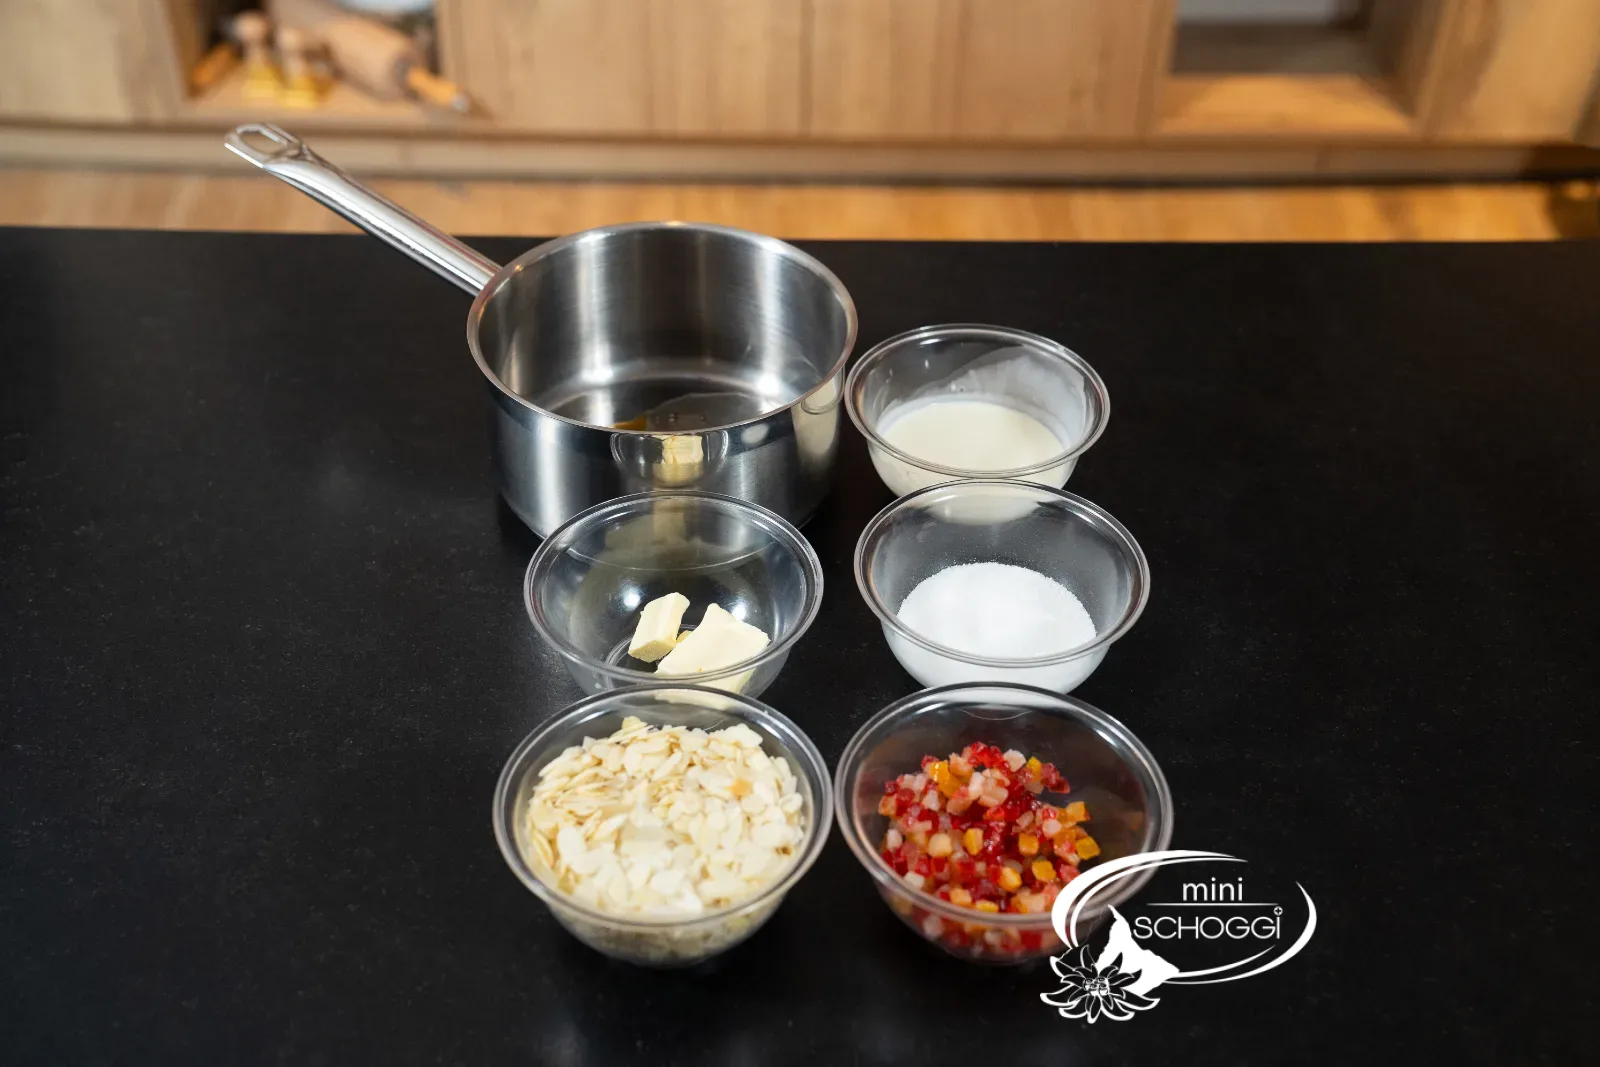
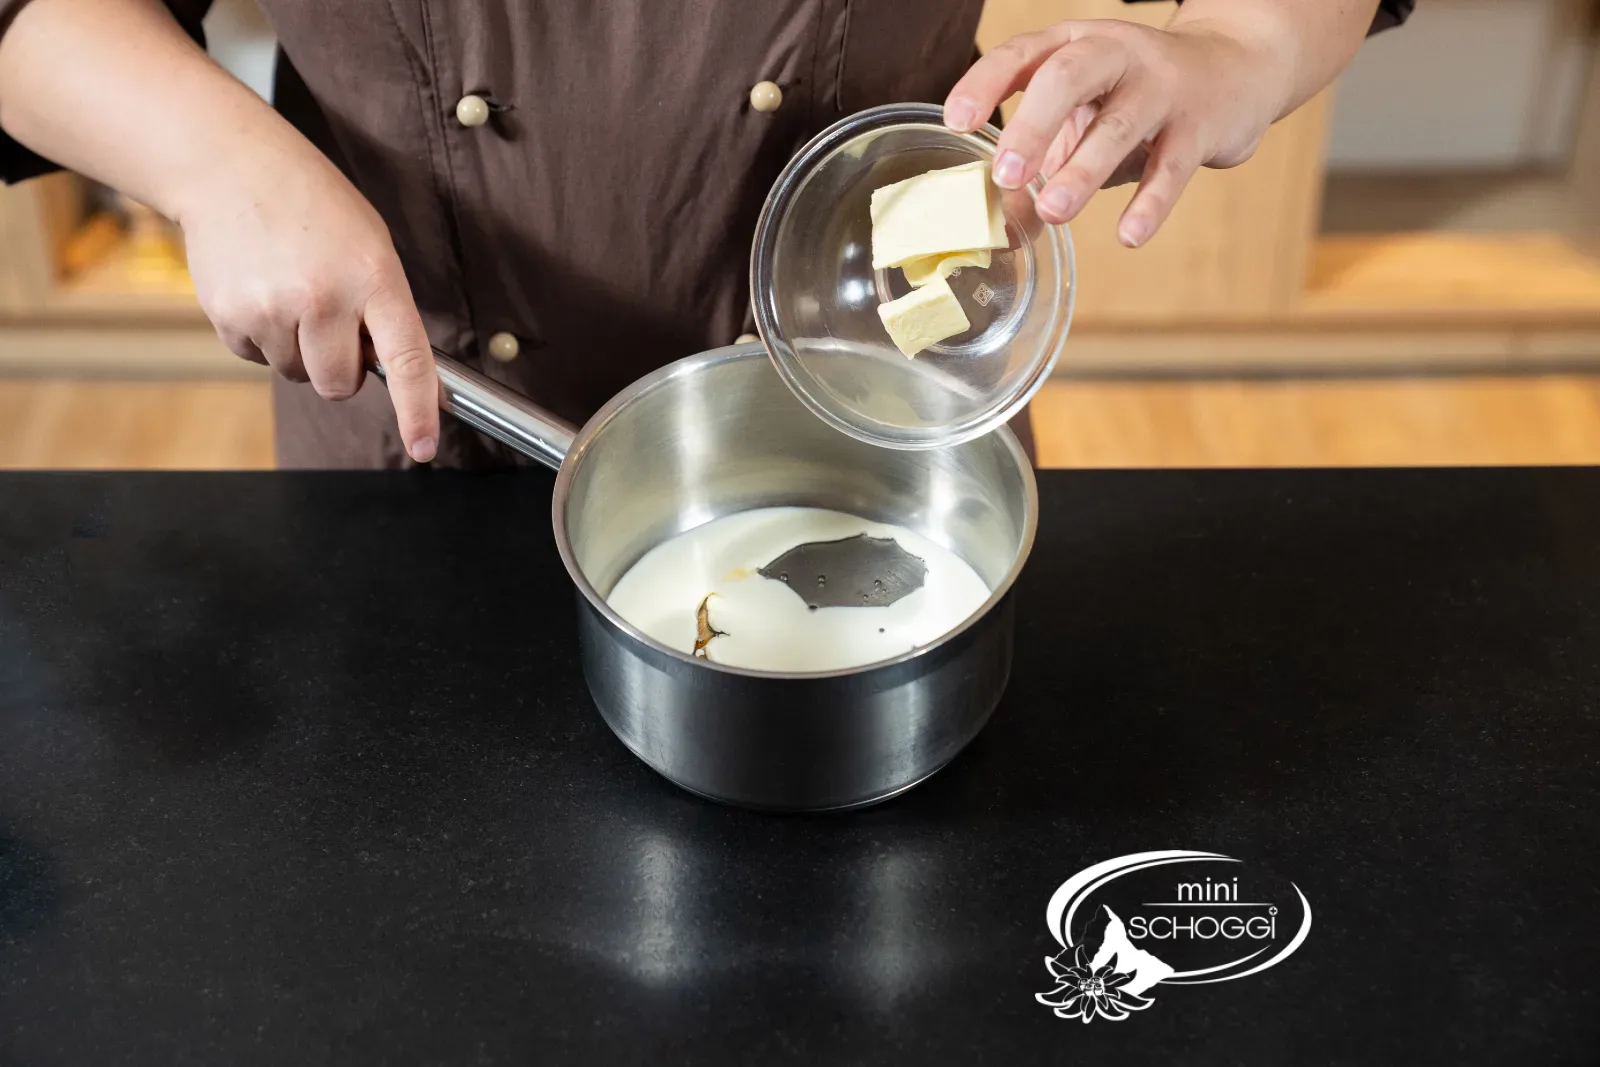
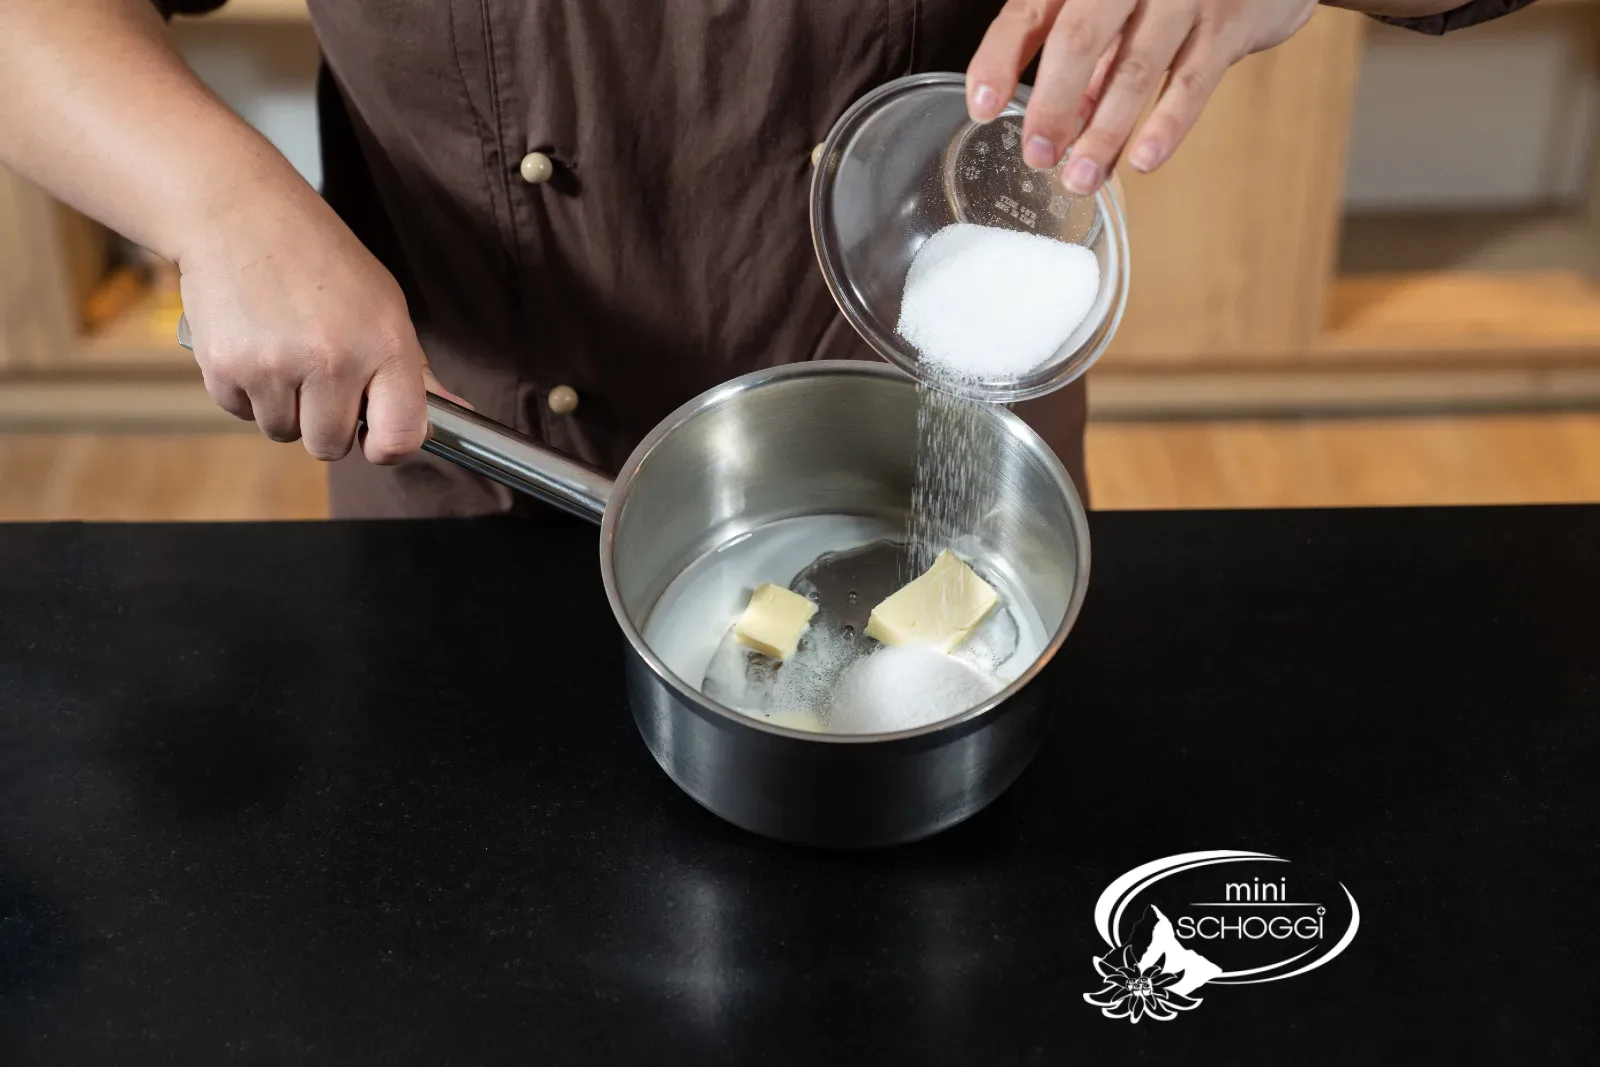
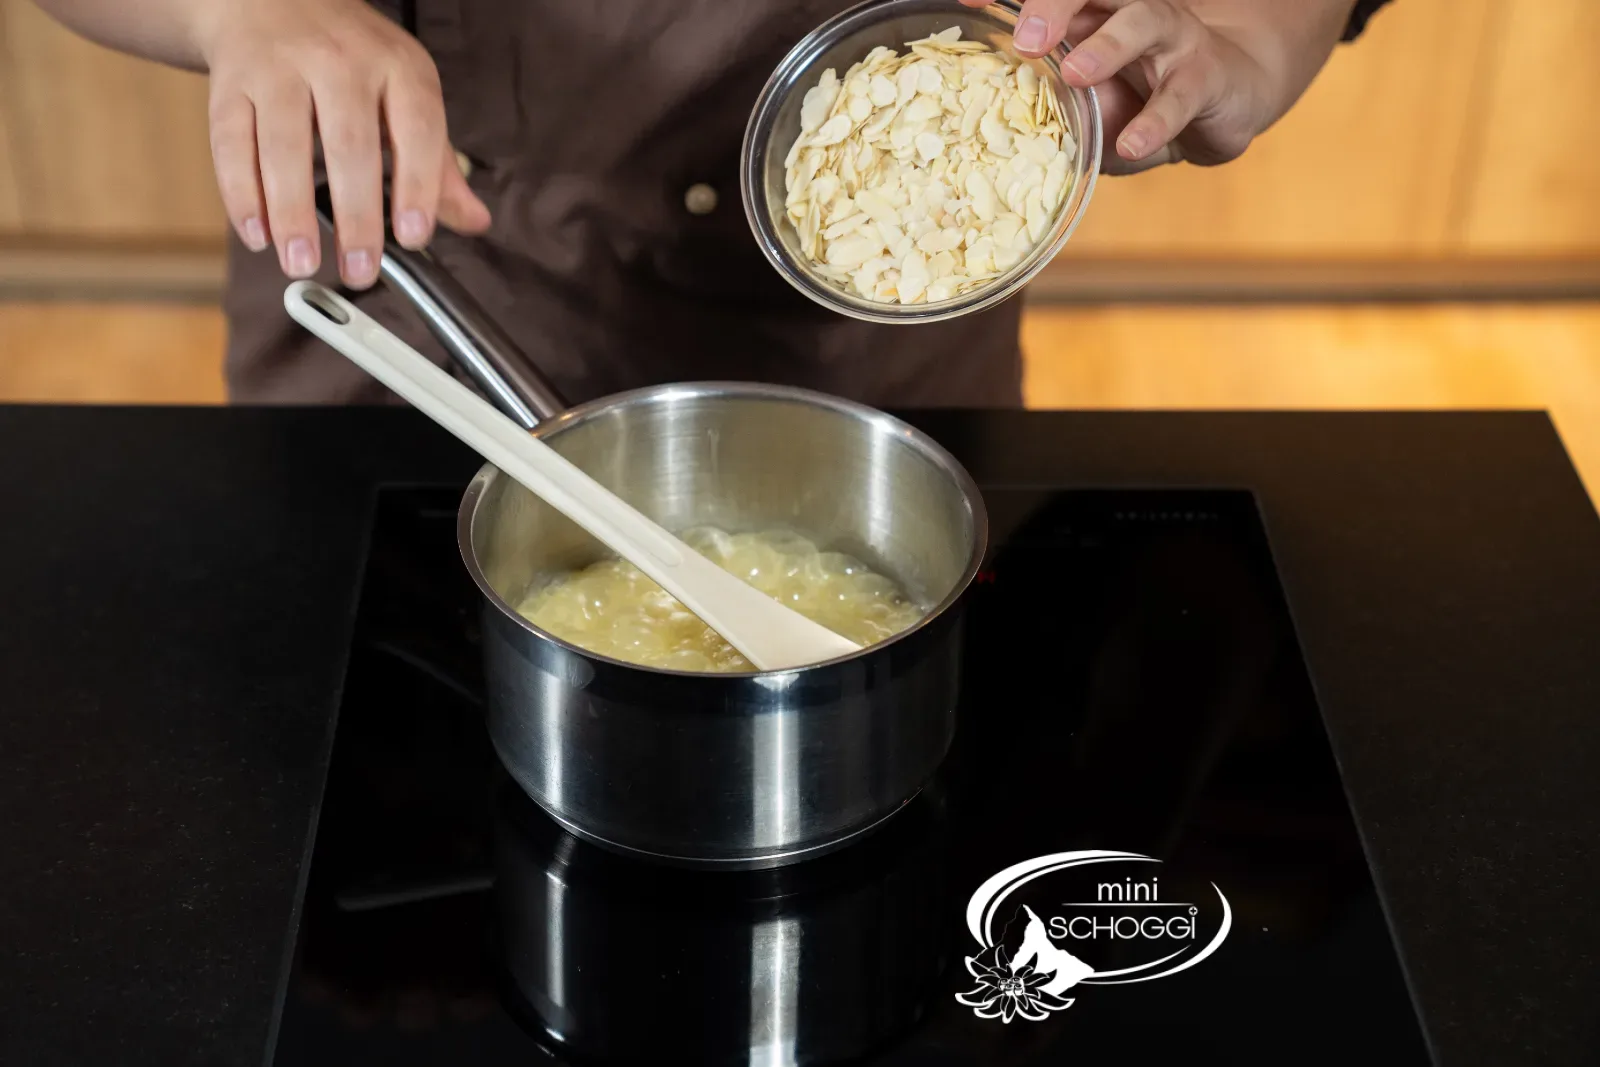
Put the butter, cream, sugar, glucose syrup and honey together in a pan. The order doesn't matter — everything goes on the stove at the same time.
2
Bring to the boil at exactly 110 °C
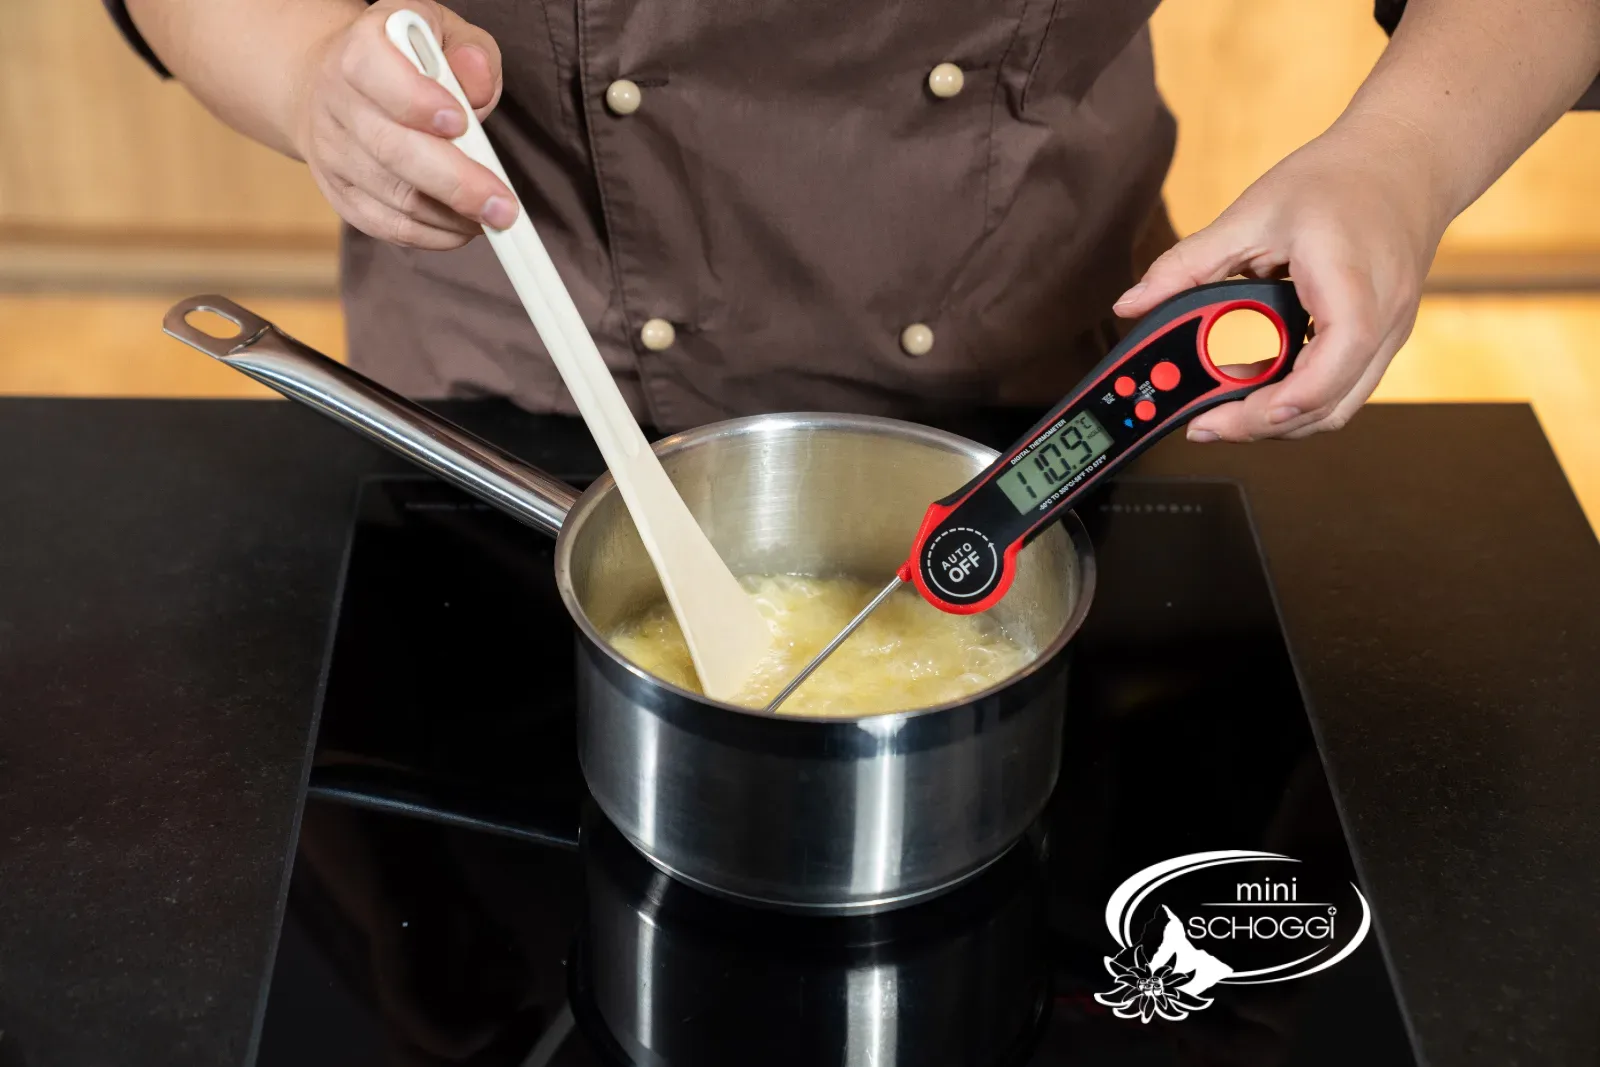
Bring the mixture to the boil while stirring and take it to 110 °C with the thermometer. That number is the whole trick: below it, the mixture stays soft and the finished Florentines turn chewy over time; above it, the sugar caramelises too far and turns bitter. Use the thermometer, don't guess.
3
Fold in almonds and candied fruit
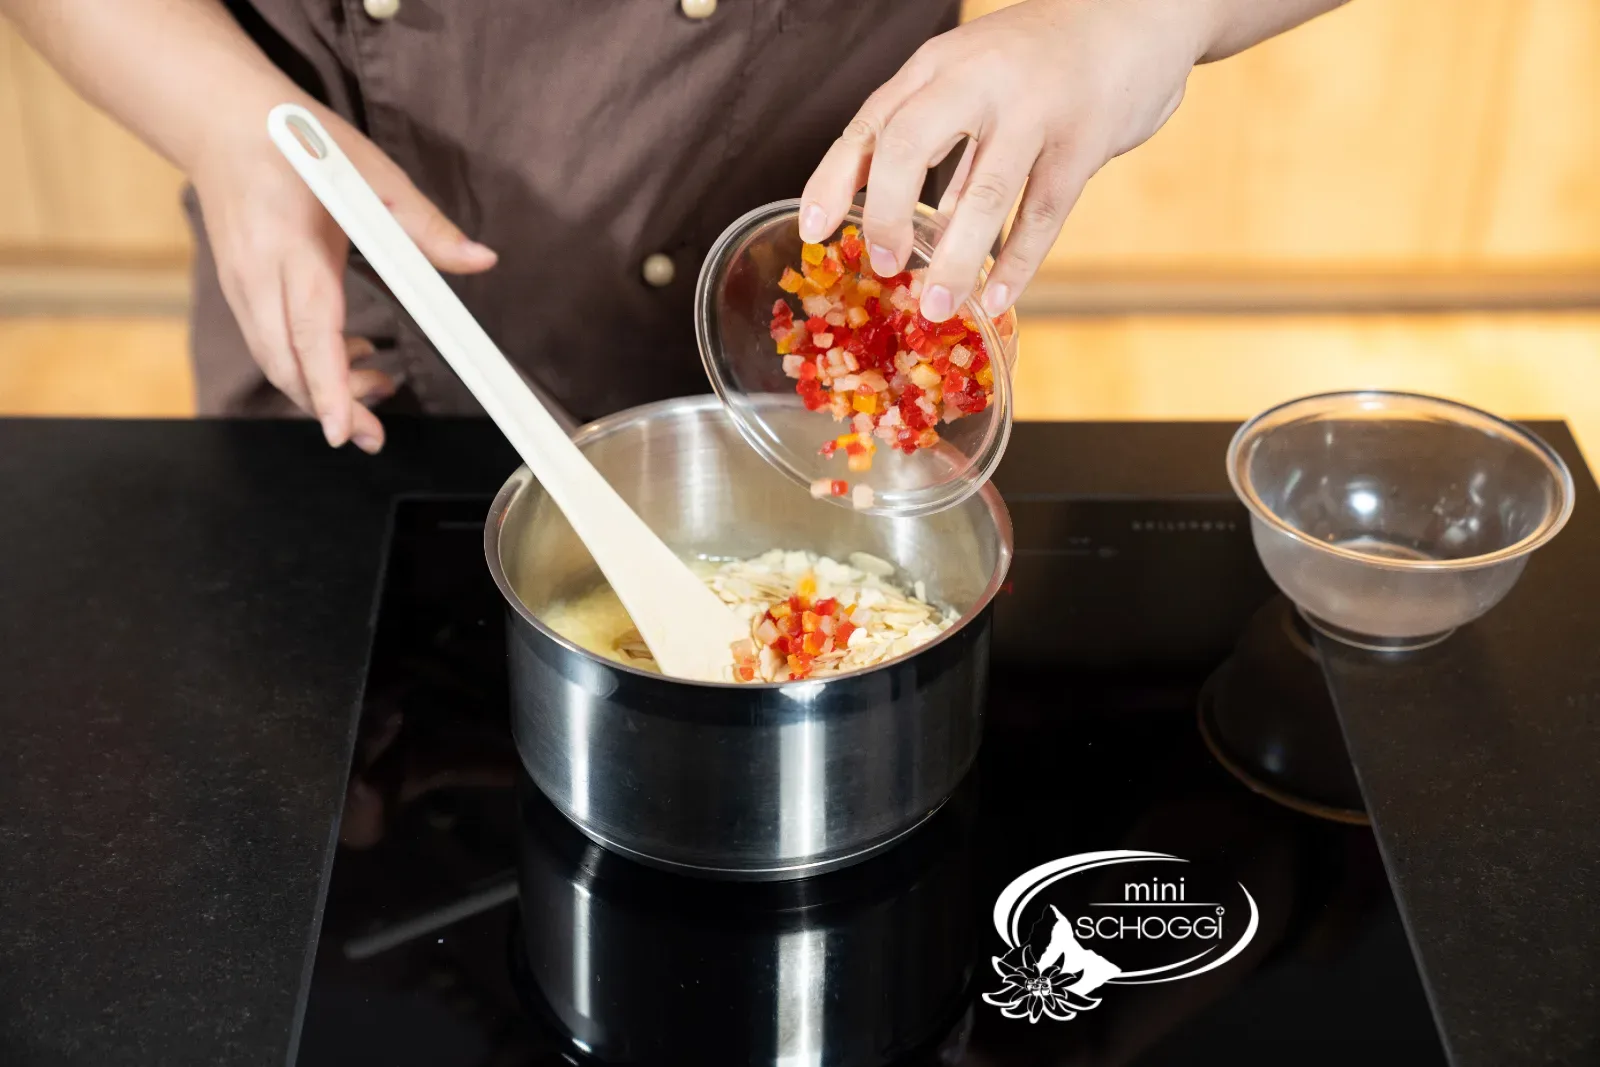
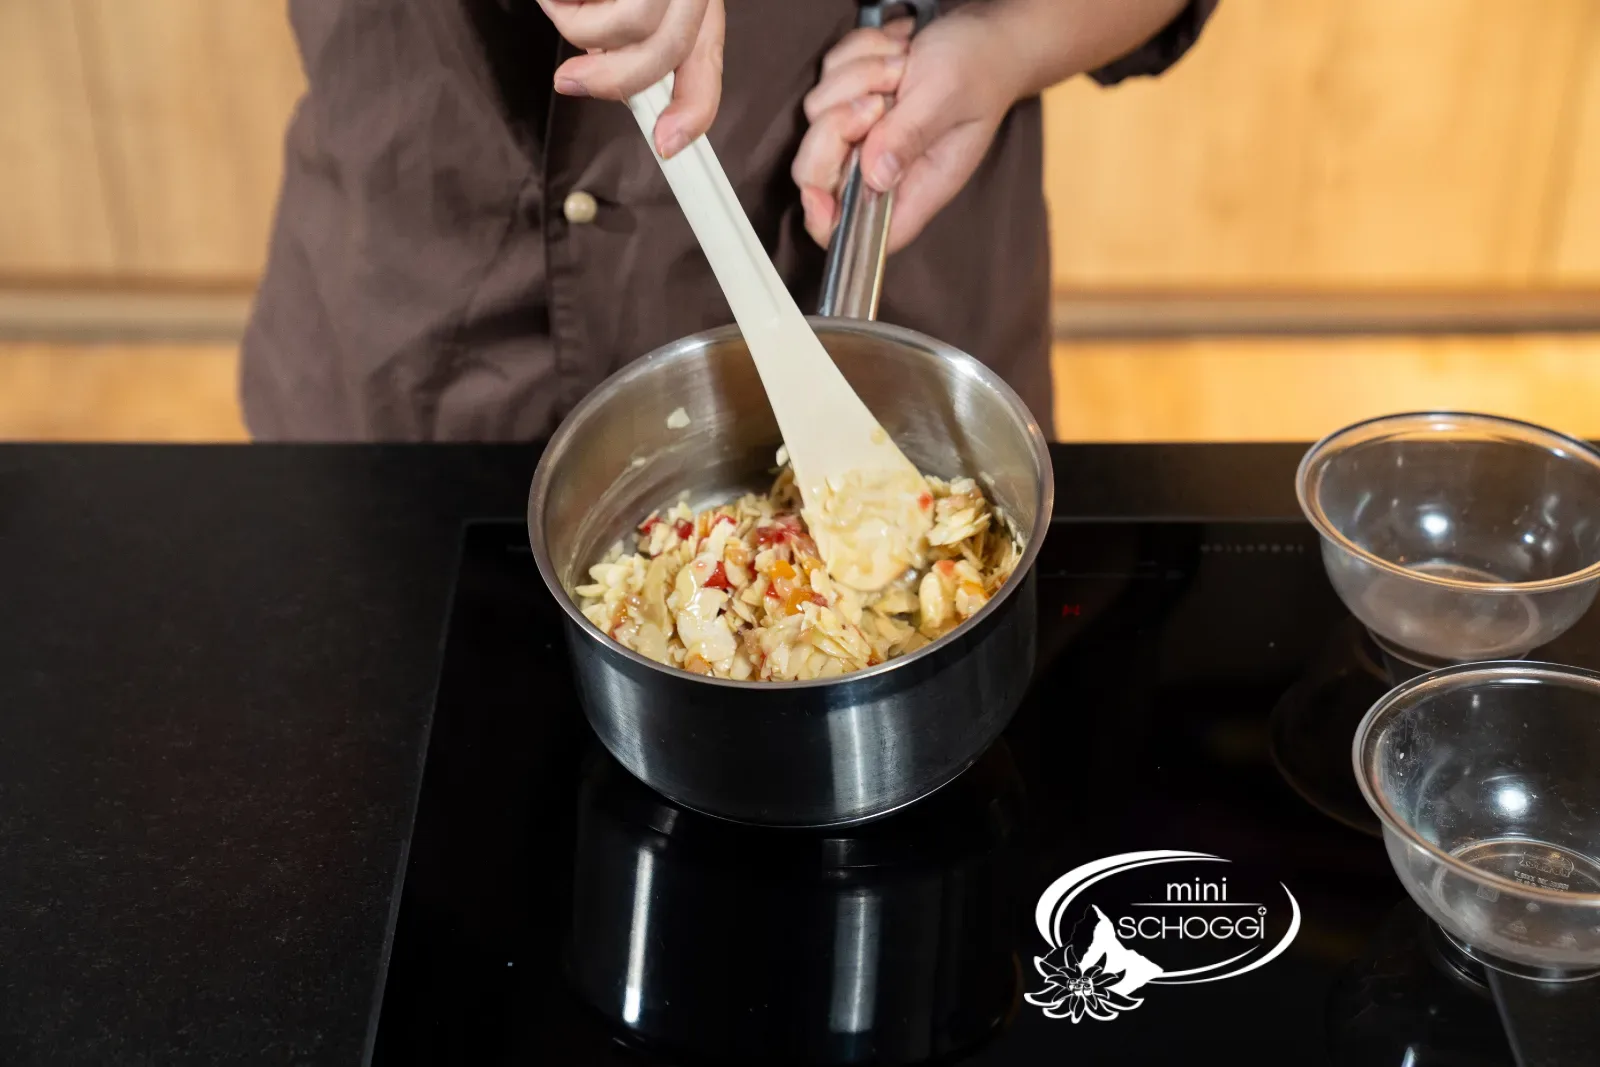
As soon as it reaches 110 °C, take the pan off the heat and add the flaked almonds. Mix well until every almond is coated with the sugar mixture.
Add the candied orange peel, candied lemon peel and the chopped candied cherries and combine everything well. If you don't like candied fruit, use the same amount of almonds or dried fruit — it won't change the mixture.
4
Let it cool briefly
Transfer the mixture to a bowl and let it cool down briefly — just enough that you can touch it with your fingers. It mustn't cool completely, otherwise you can no longer press it into the mold.
Baking
1
Press into the mold with wet fingers
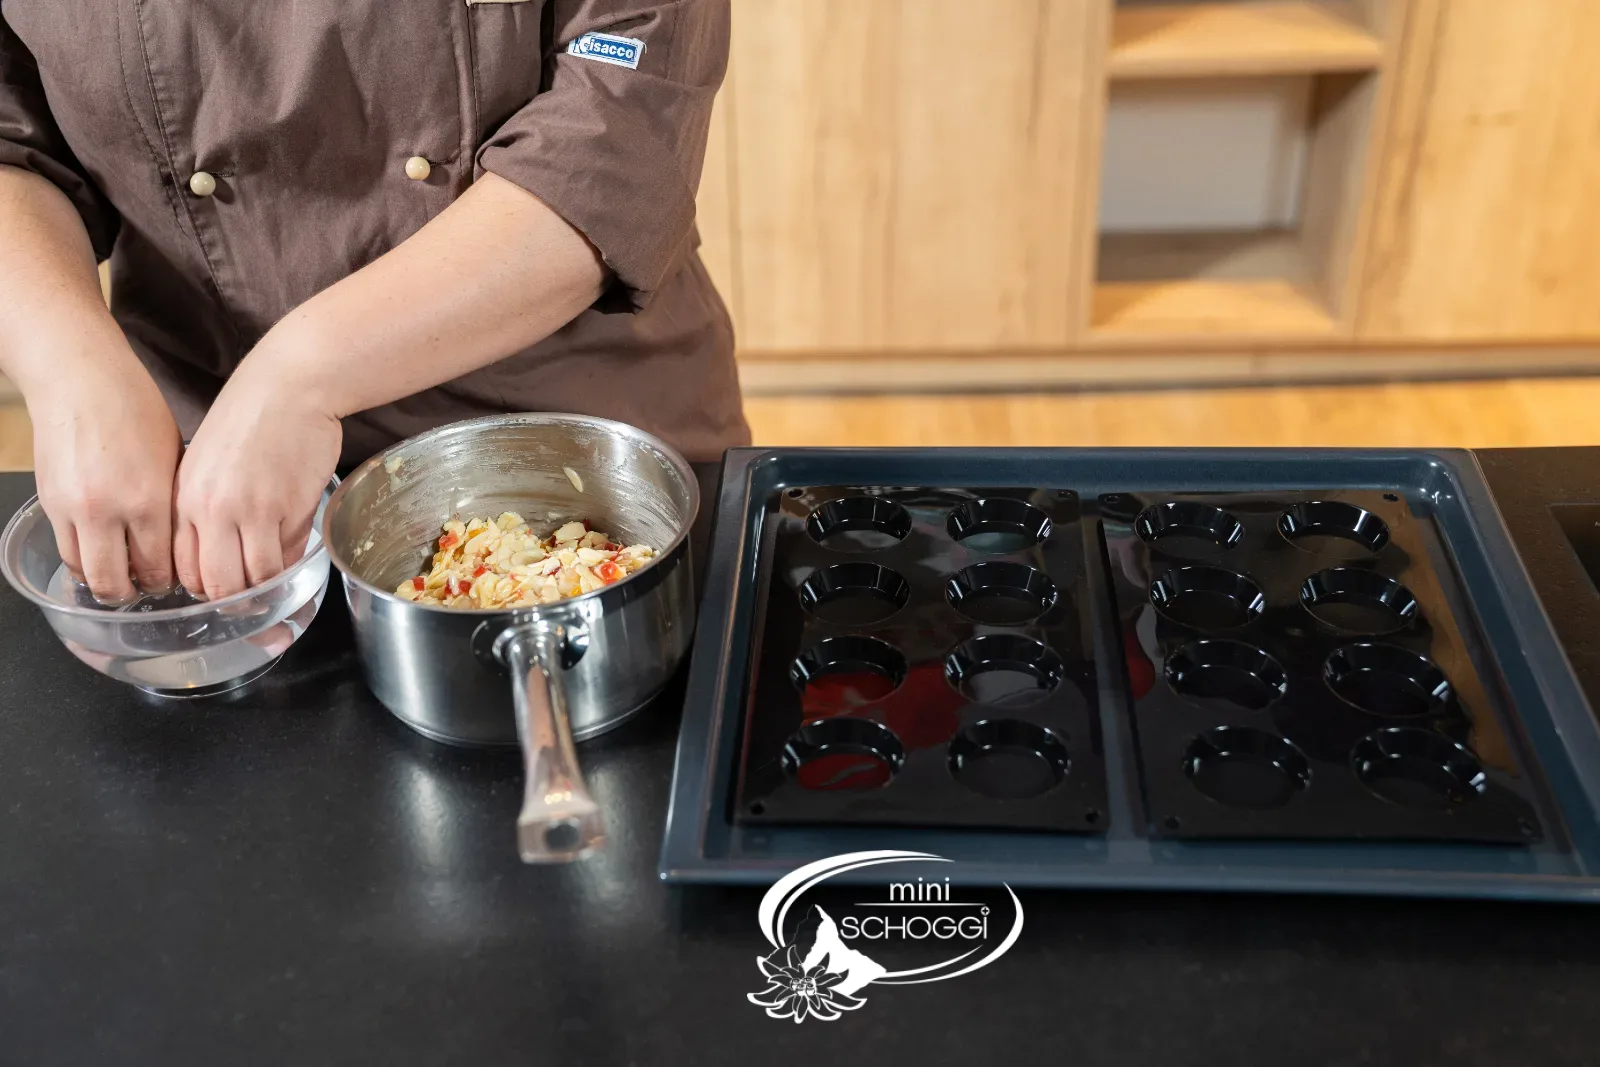
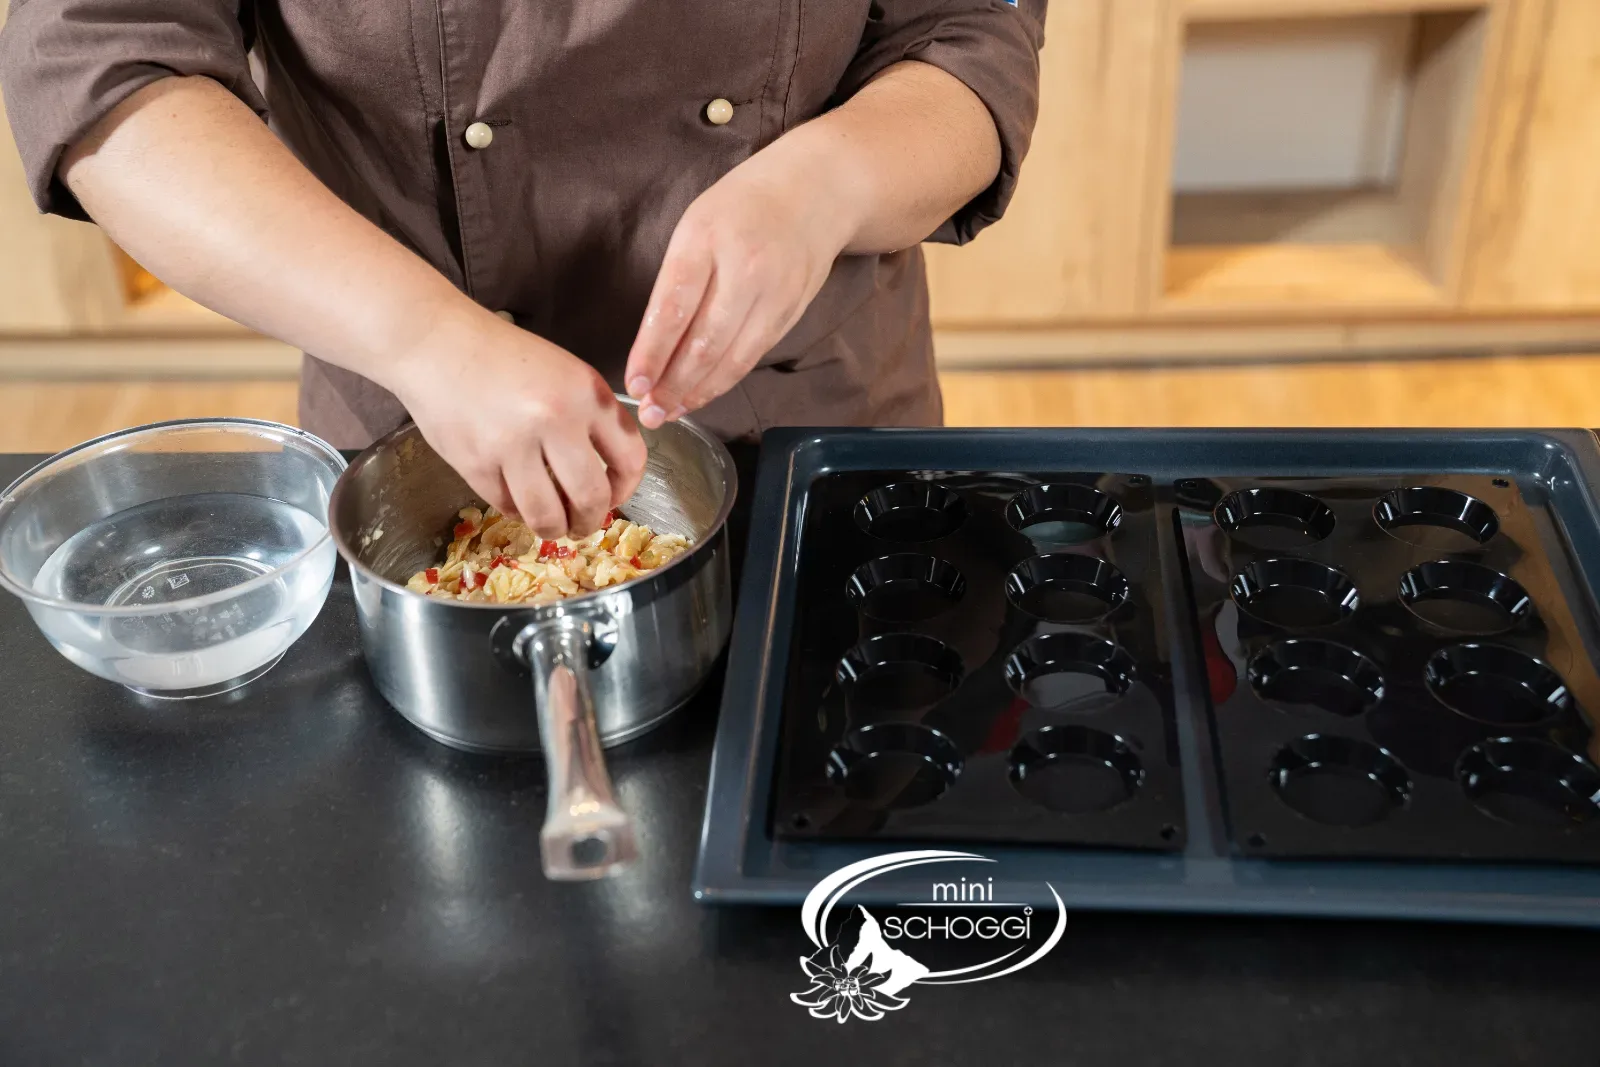
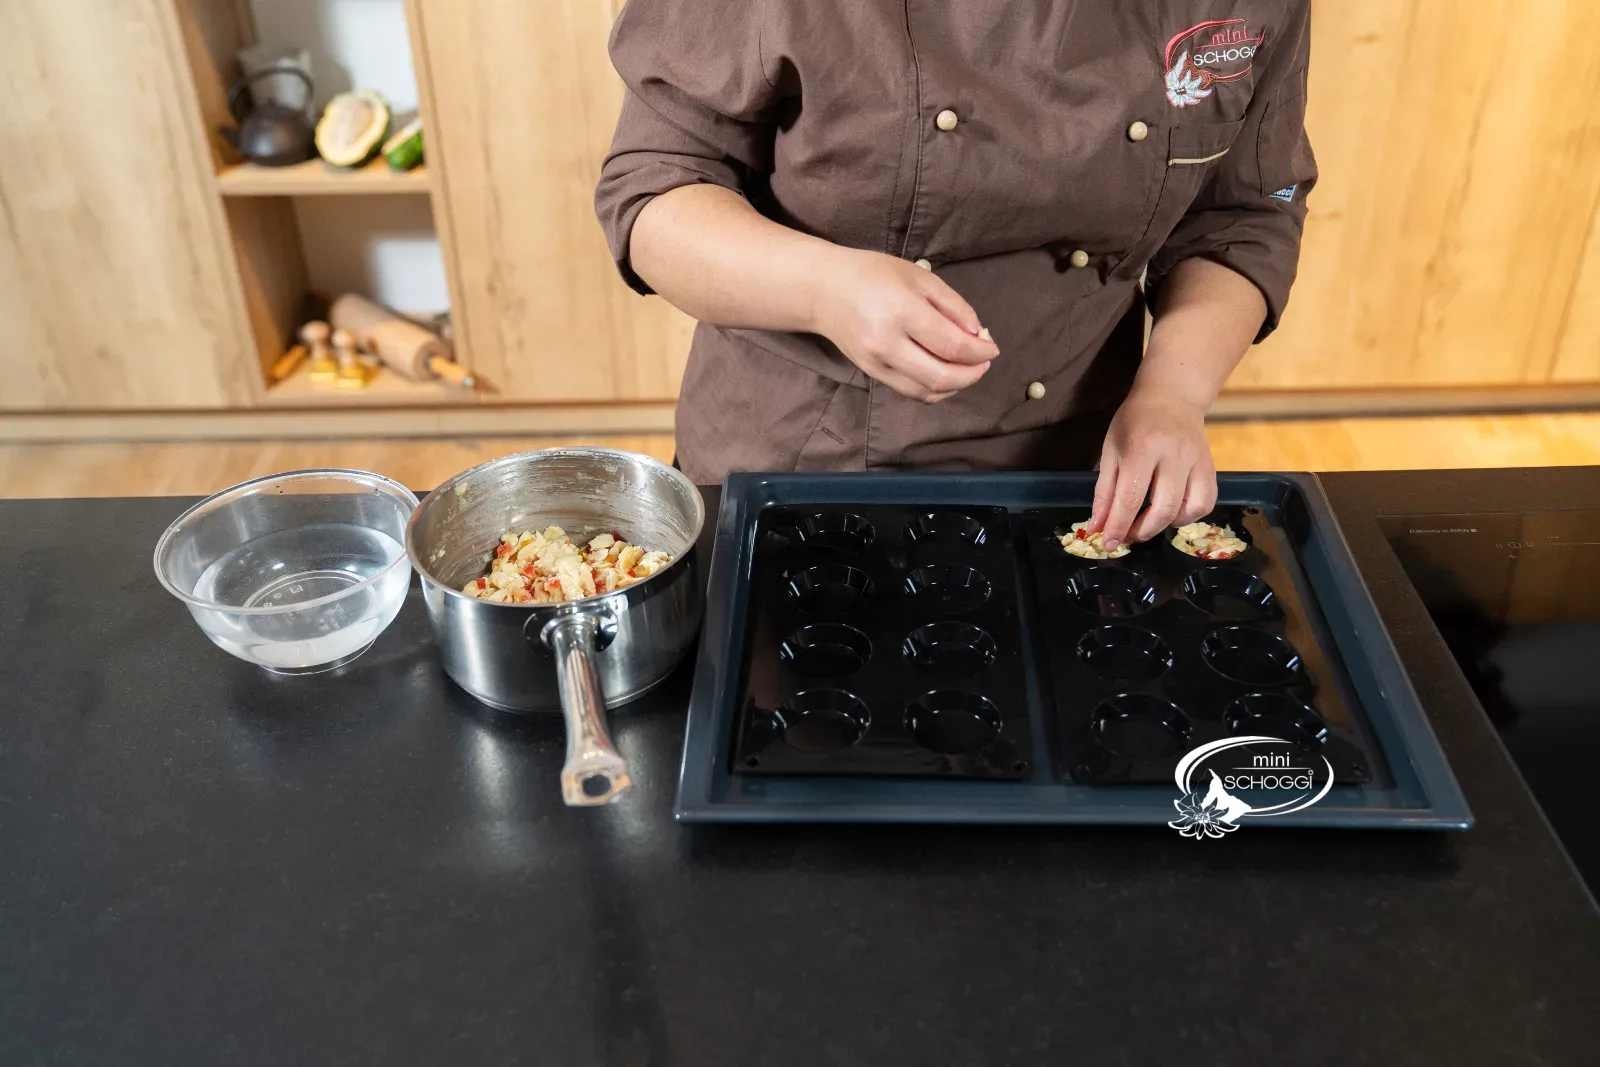
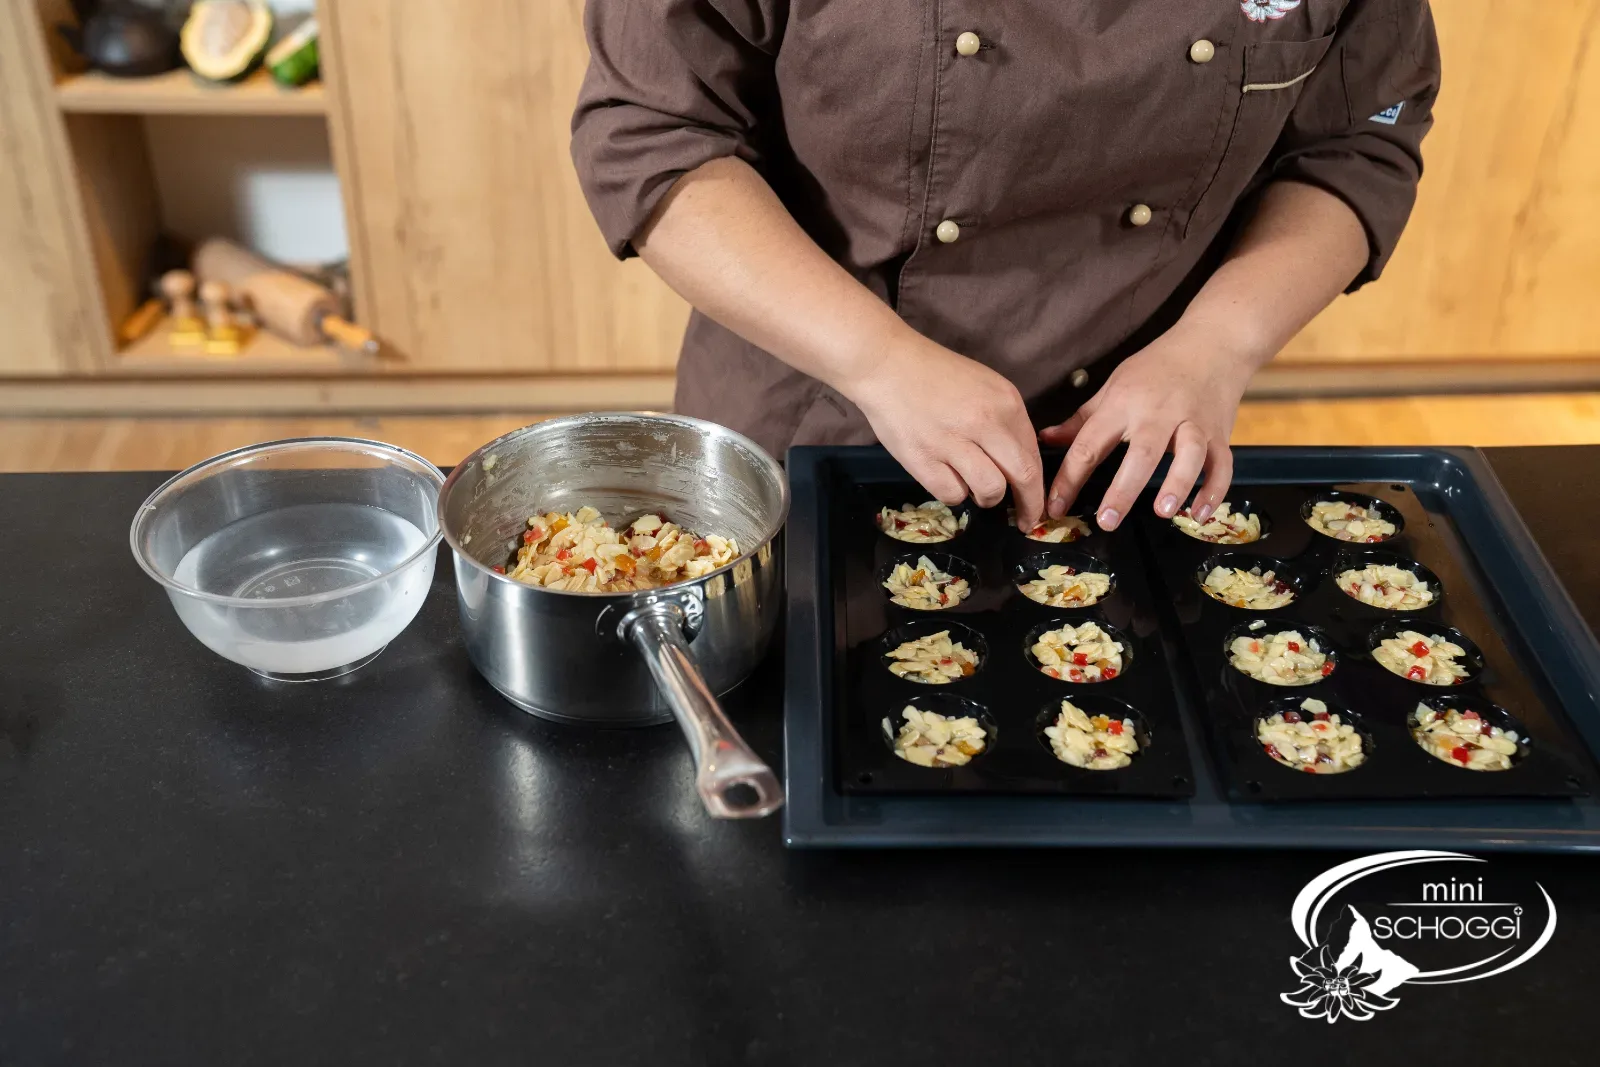
Dip your fingers in cold water and press about 10 g of the mixture flat into the silicone mold for each one. The water is important: the mixture sticks to dry fingers. Press it flat, don't heap it — the mixture spreads a little more anyway while baking.
2
170 °C fan, about 13 minutes
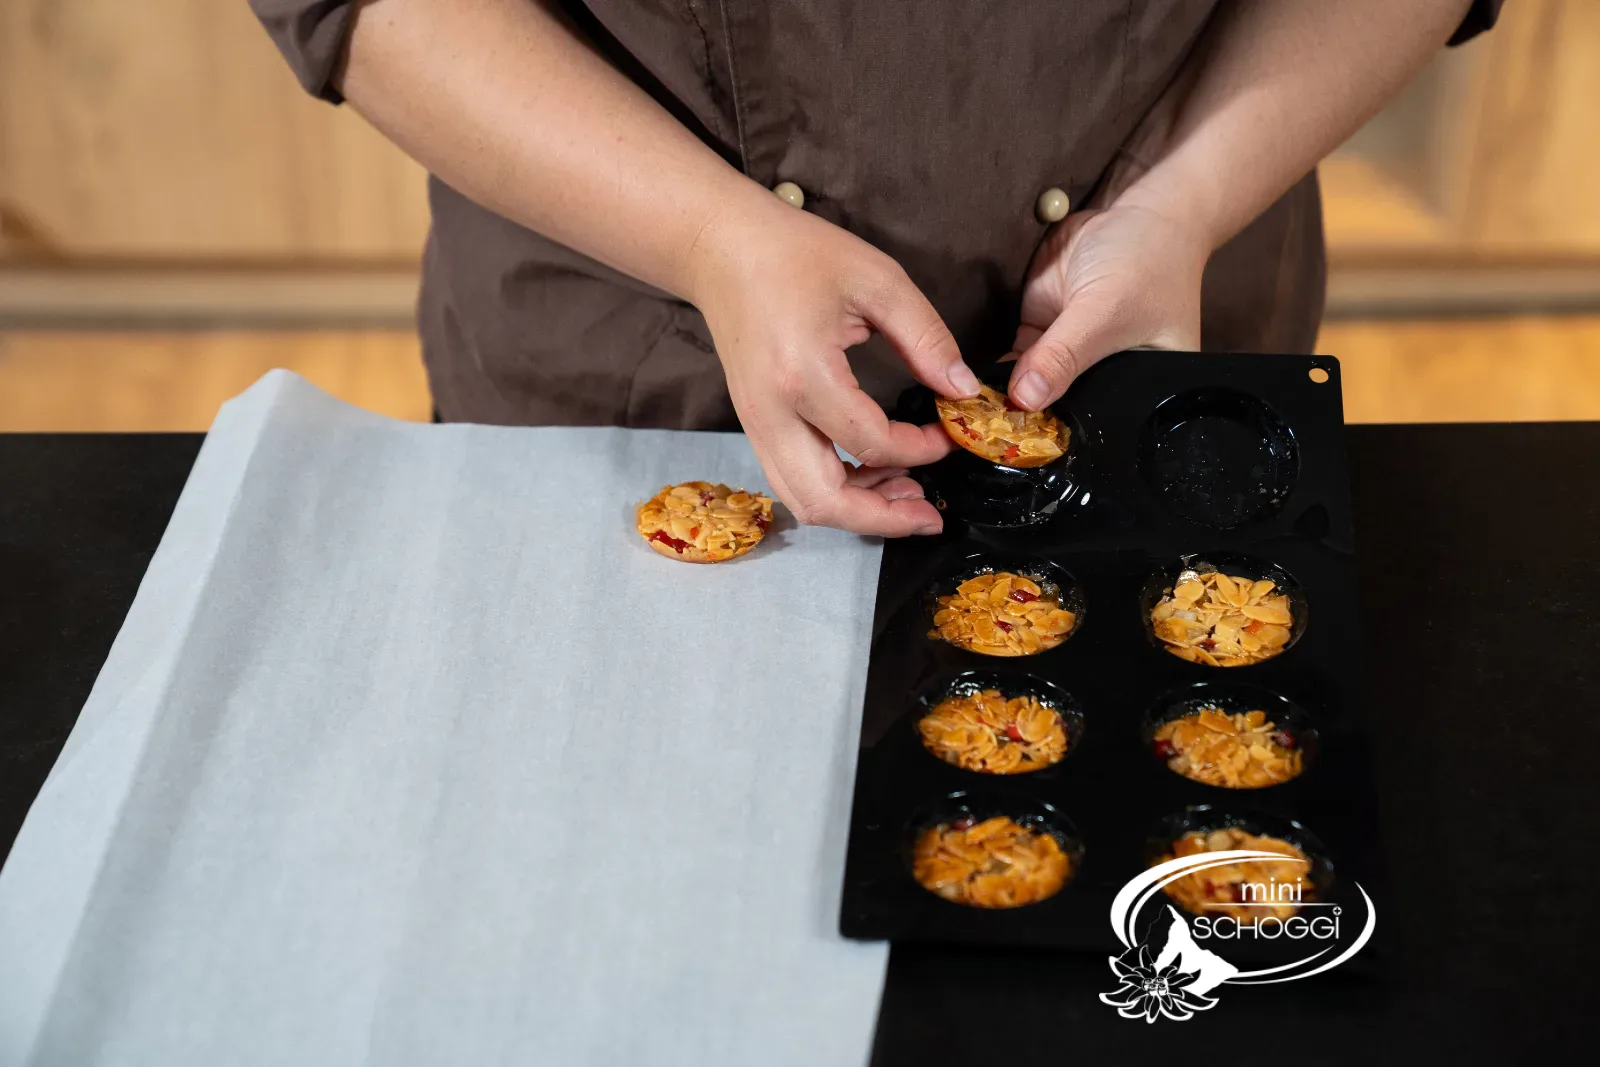
Carefully press the Florentines out of the mold and let them cool completely. While warm they're still pliable and break easily; once cooled they're crisp and can be placed neatly onto the chocolate base.
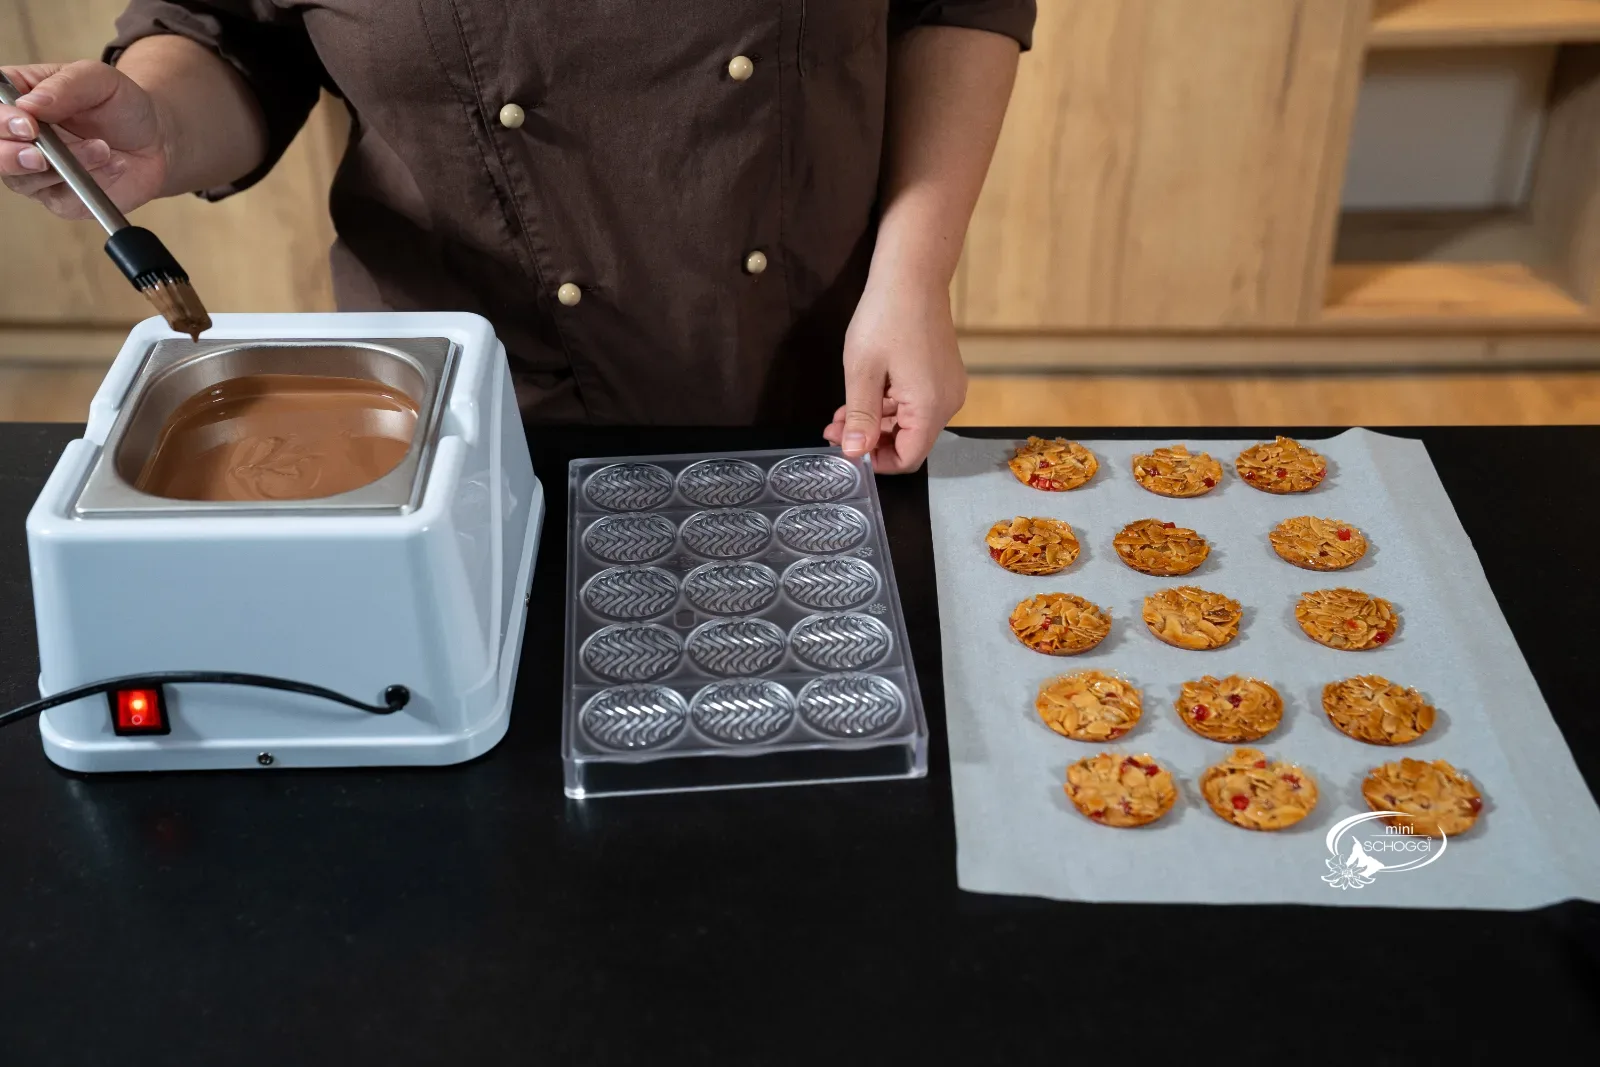
Chocolate base
1
Temper the couverture
Temper the couverture — dark or milk, both work well. Without tempering, the base turns grey and soft instead of glossy and crisp, and it won't release cleanly from the mold either. You'll find a step-by-step guide in Tempering couverture and chocolate correctly.
2
Two ways to fill the mold
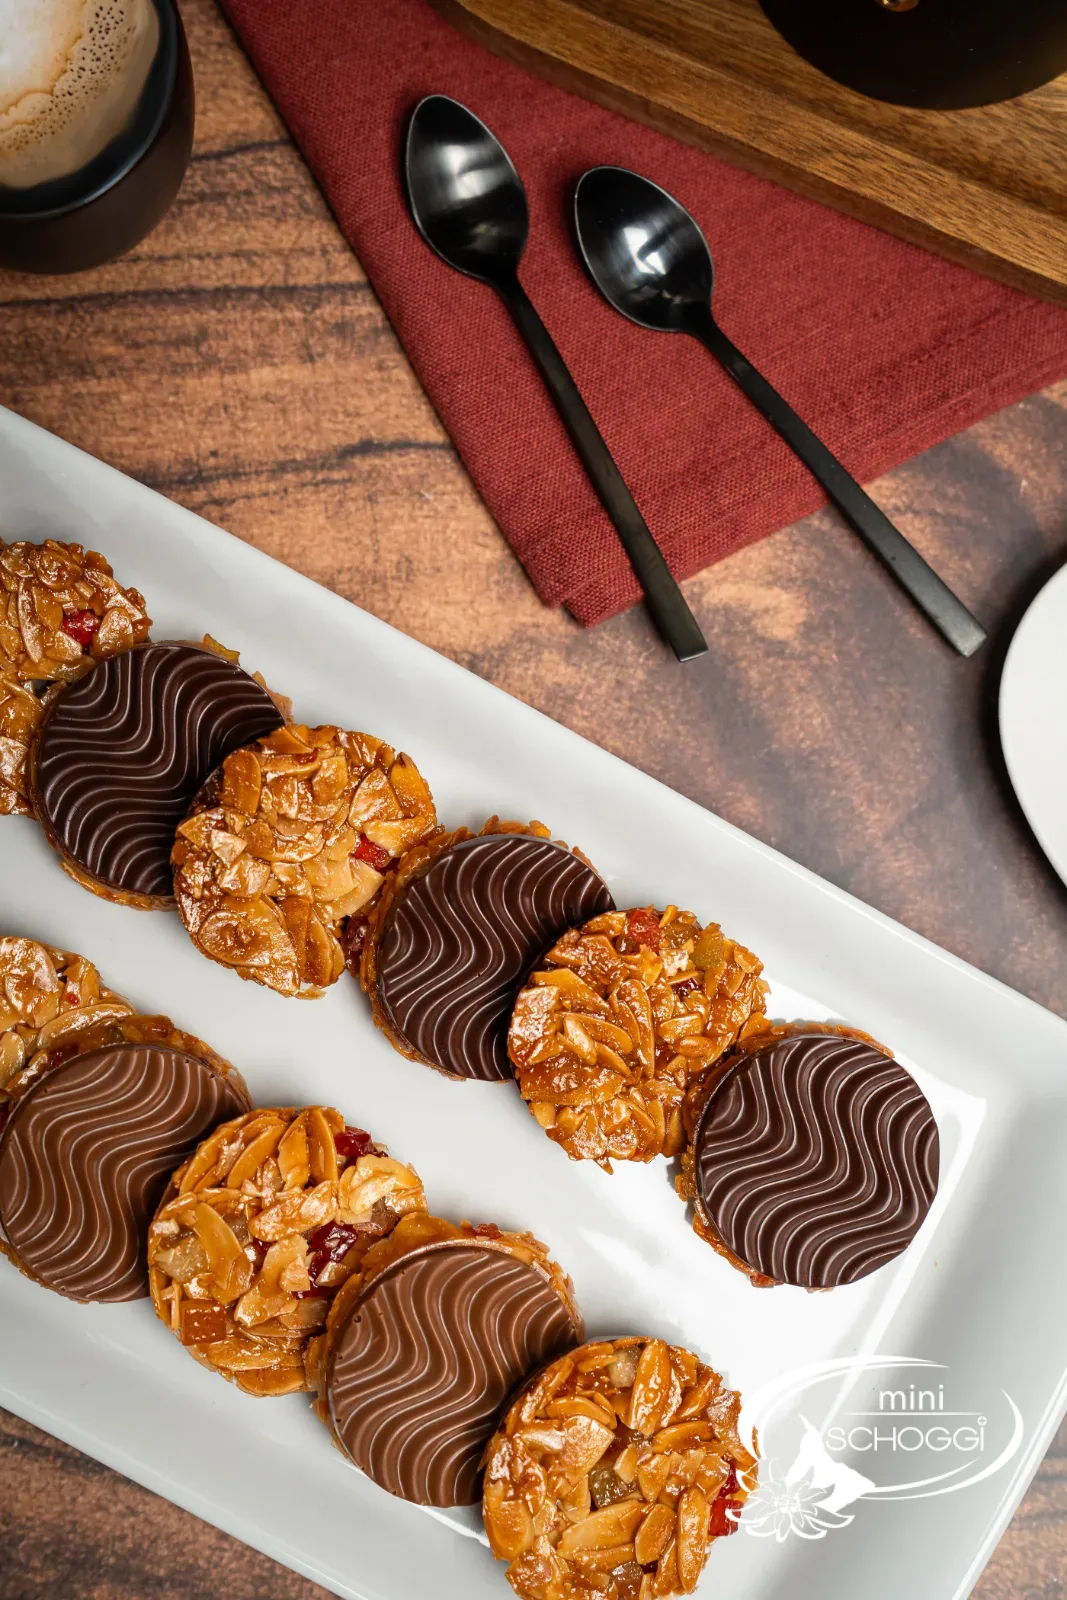
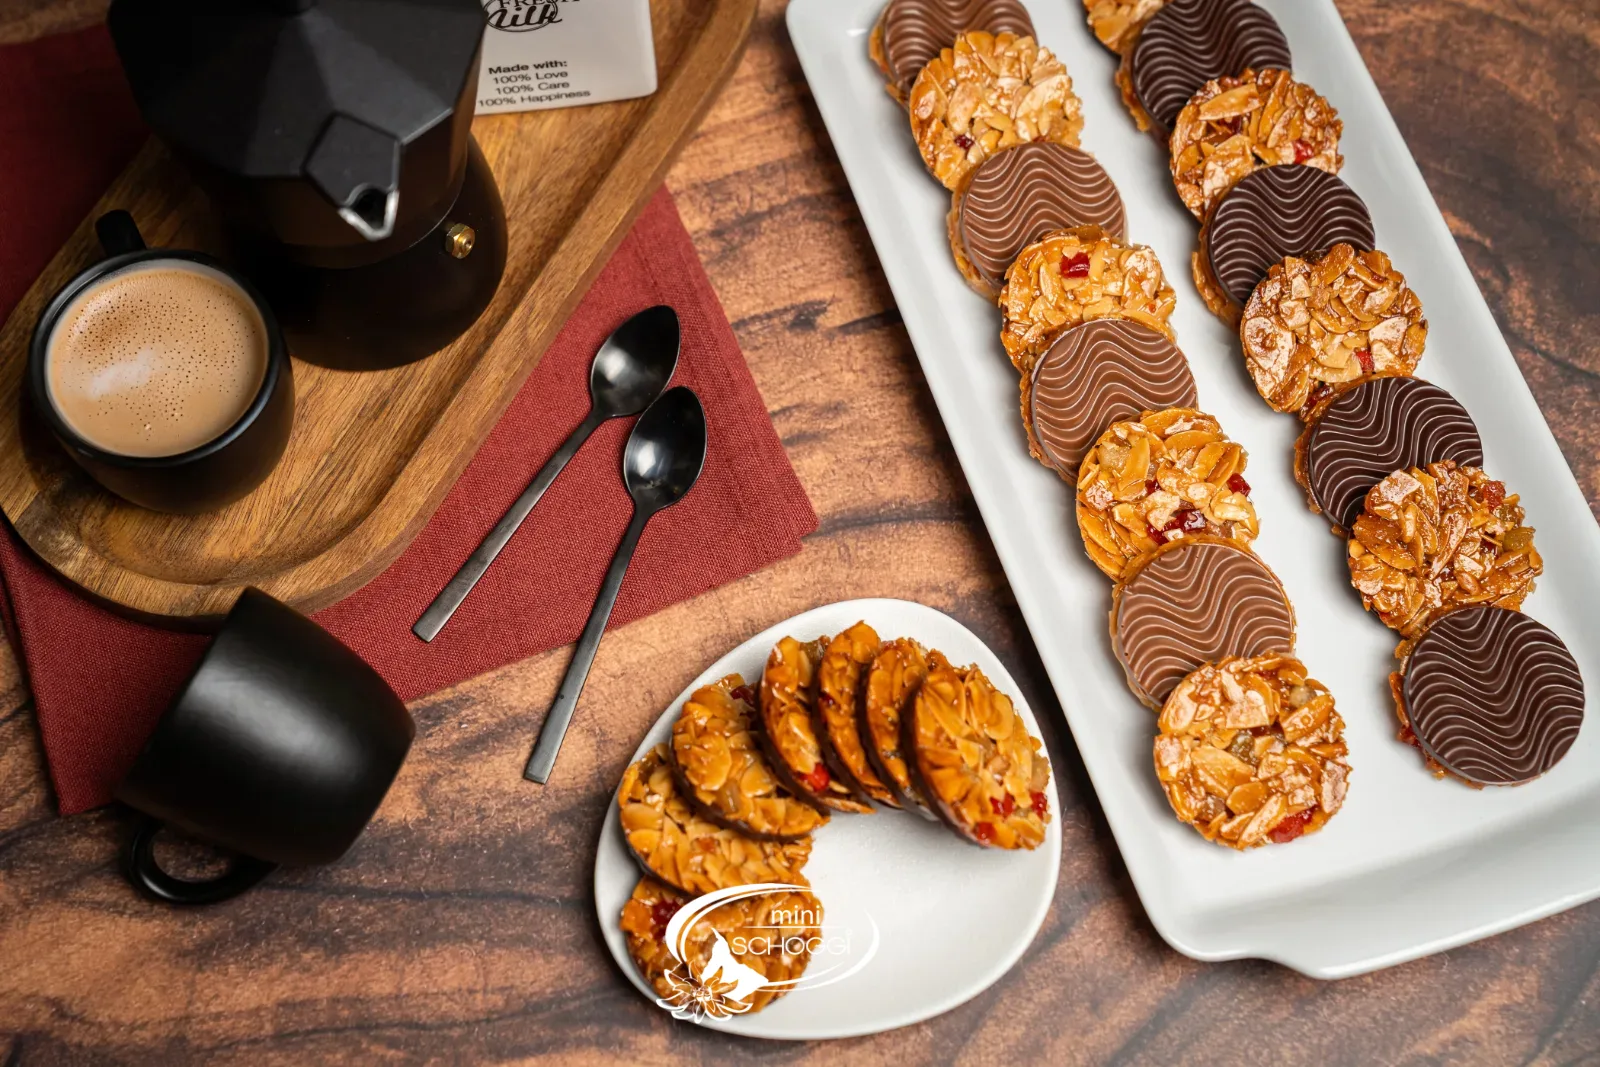
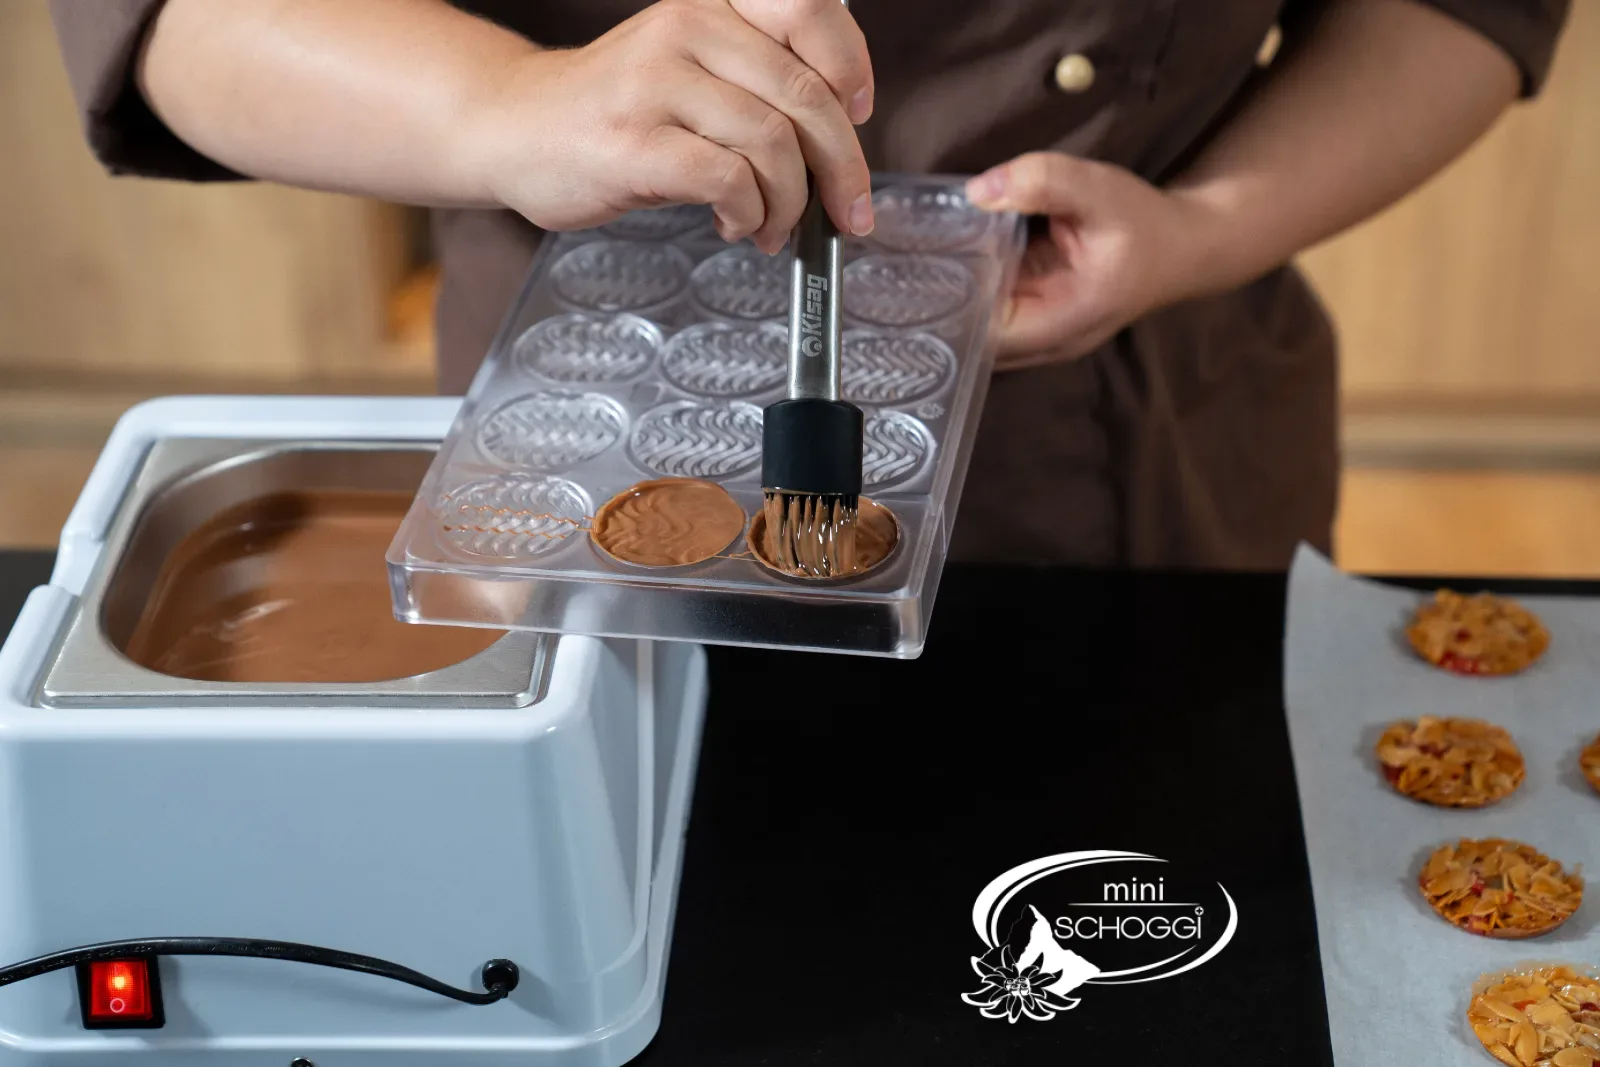
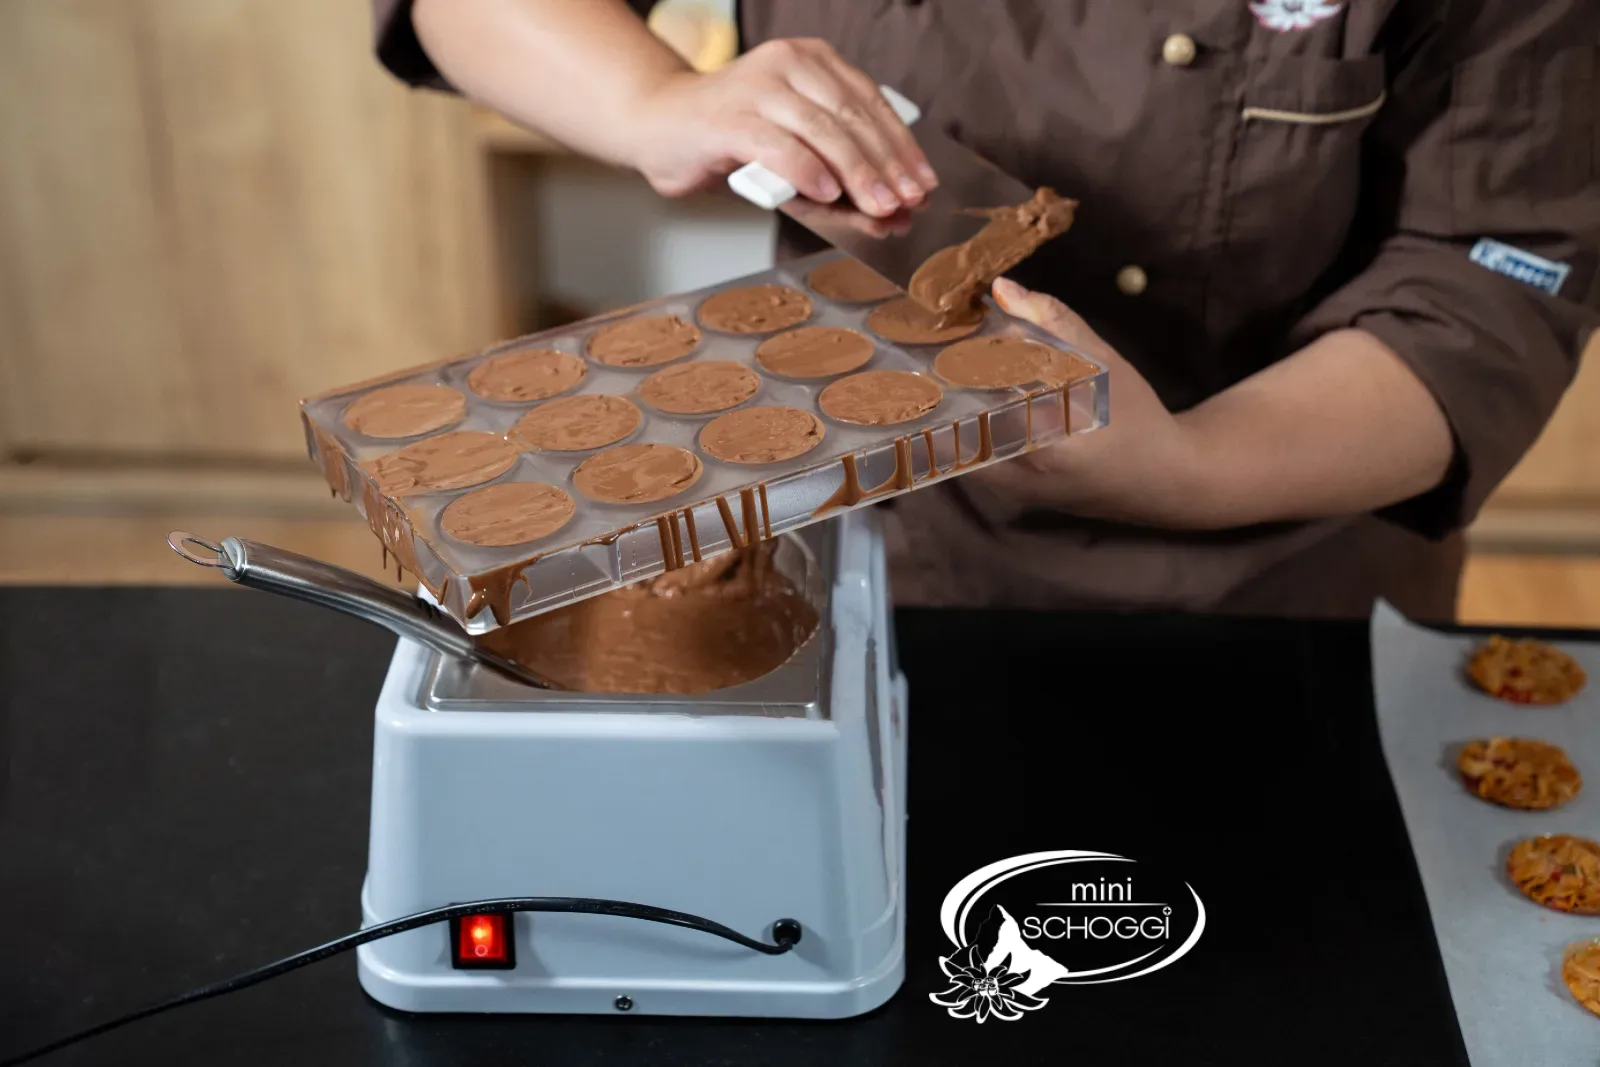
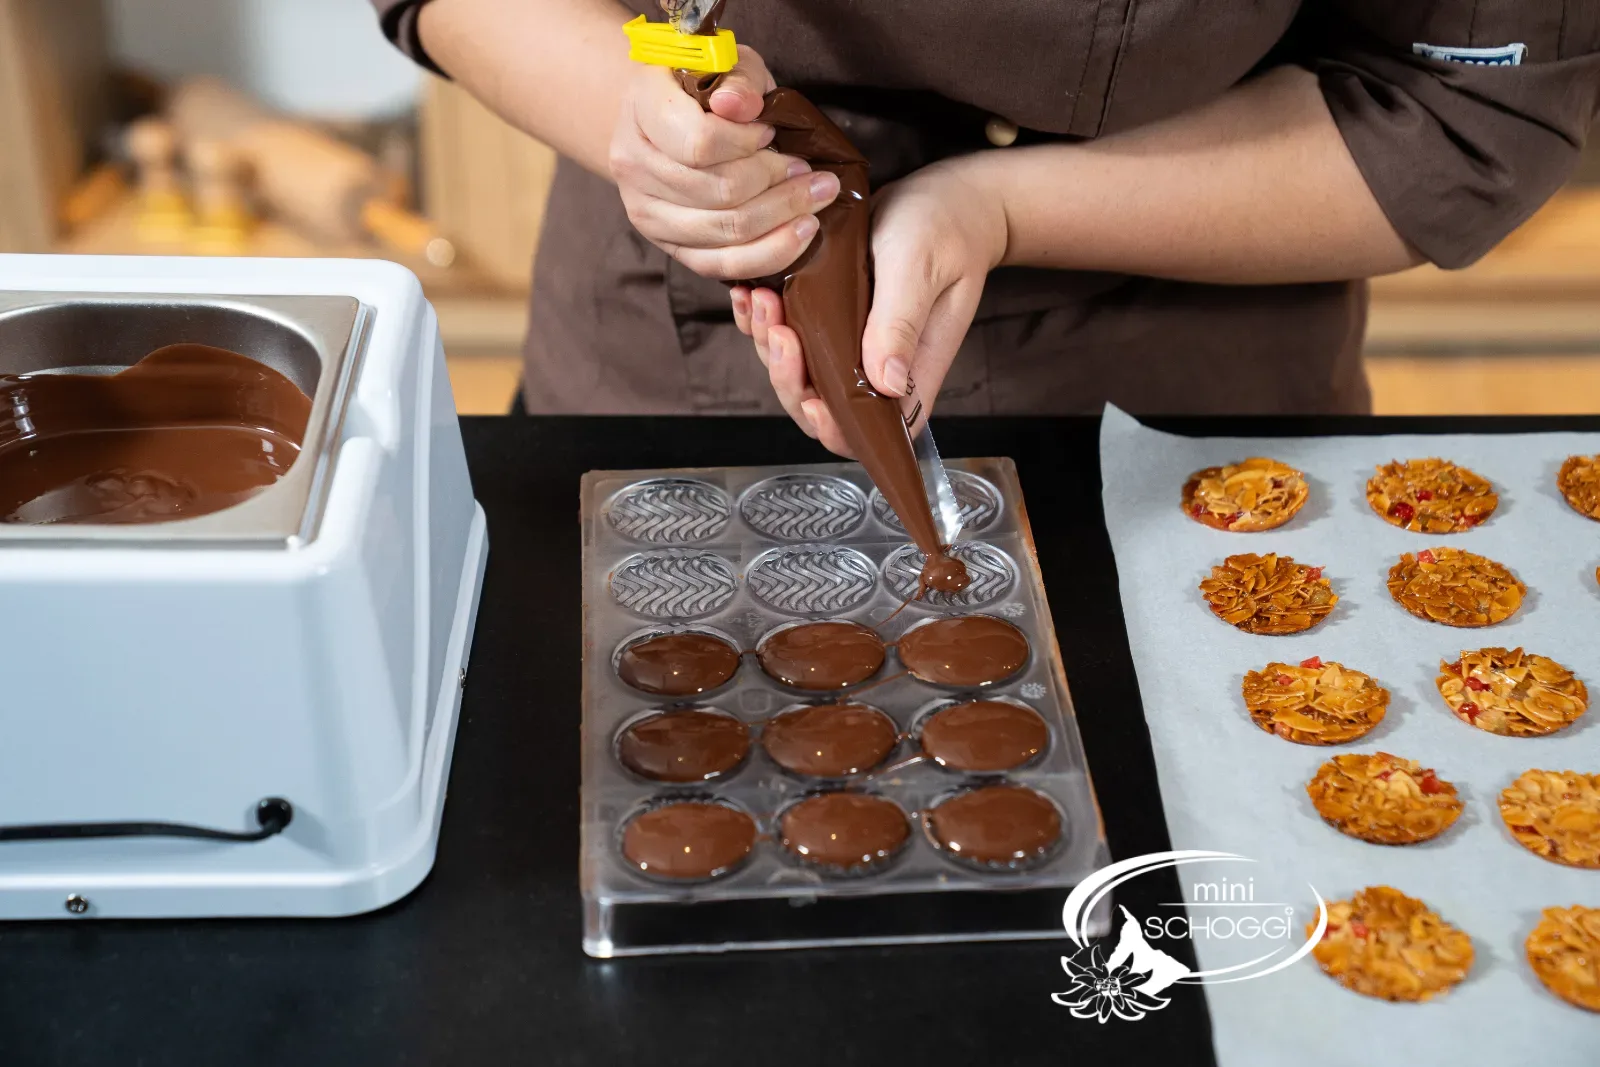
You'll need about 90 g of couverture per mold. There are two ways, and we show both — we tried them side by side: With the brush (which we used for the Milk couverture): brush the couverture into the cavities. It's quick and easy to dose. With the Piping bag (which we used for the dark): fill the couverture into a Piping bag and pipe it into each cavity. This uses a bit more material, but hardly any air bubbles form — and air bubbles show up on the finished base as small craters.
3
Place the Florentines and press down
Place the cooled Florentines onto the still-liquid couverture and press down lightly until they sit snugly. Not too firmly: the couverture should rise at the edges but not overflow.
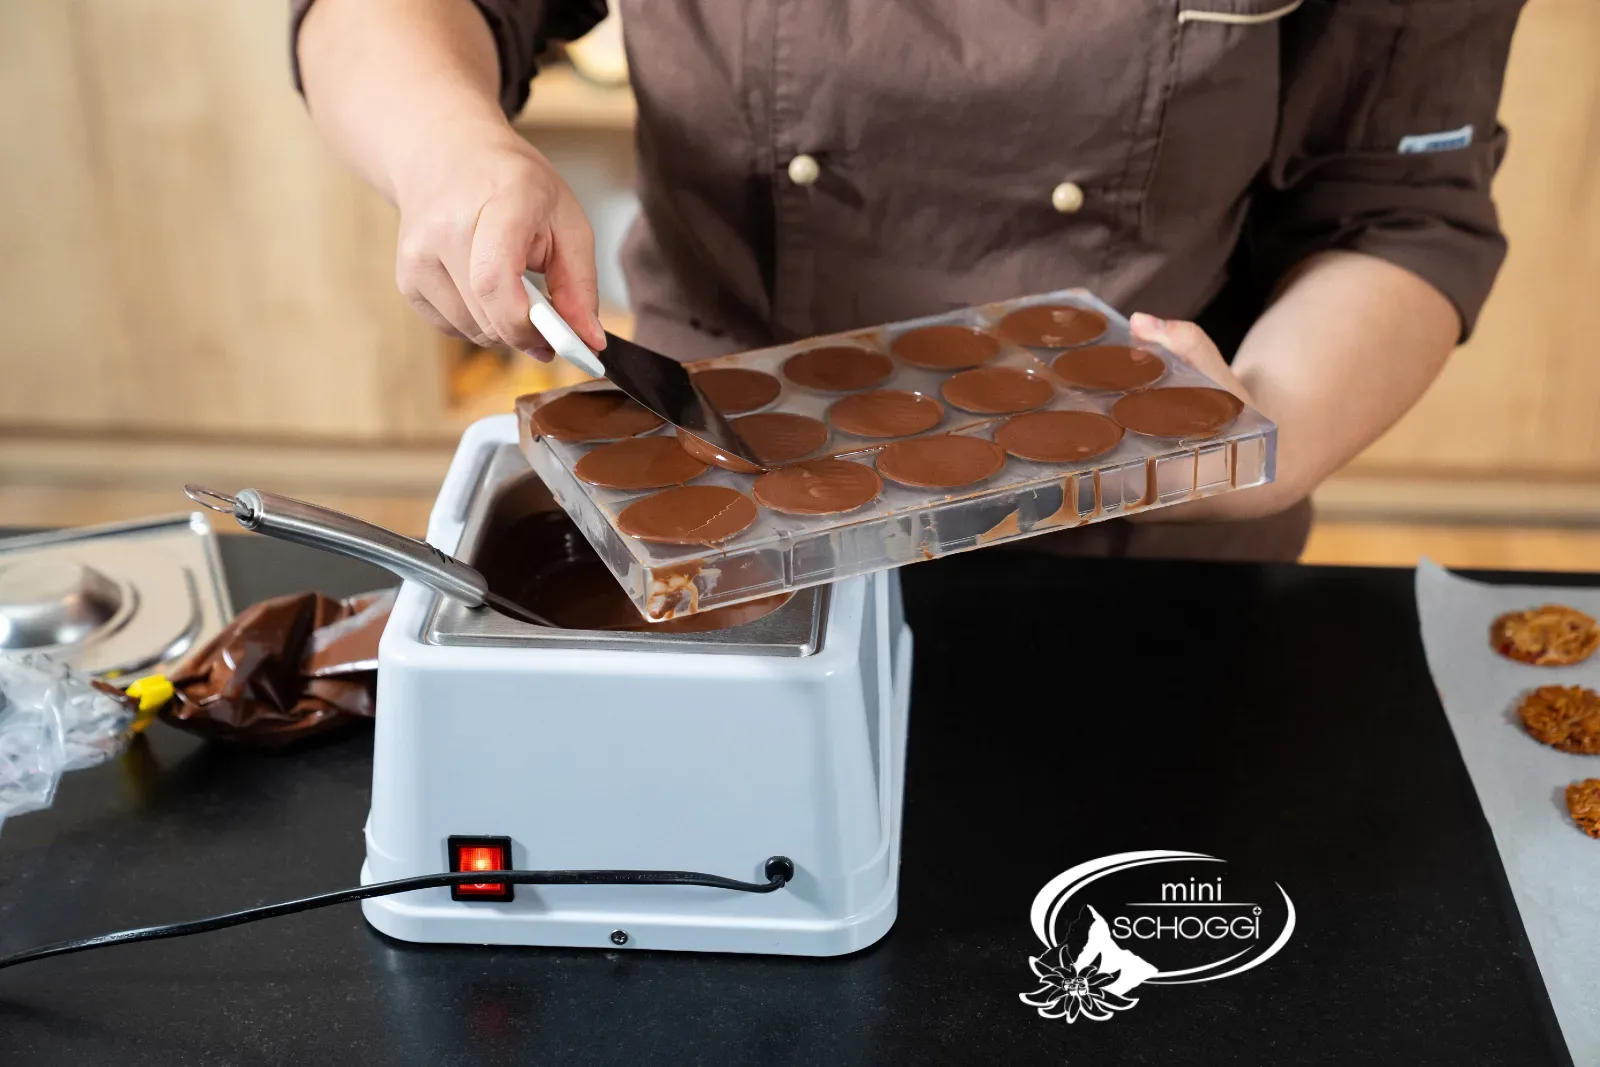
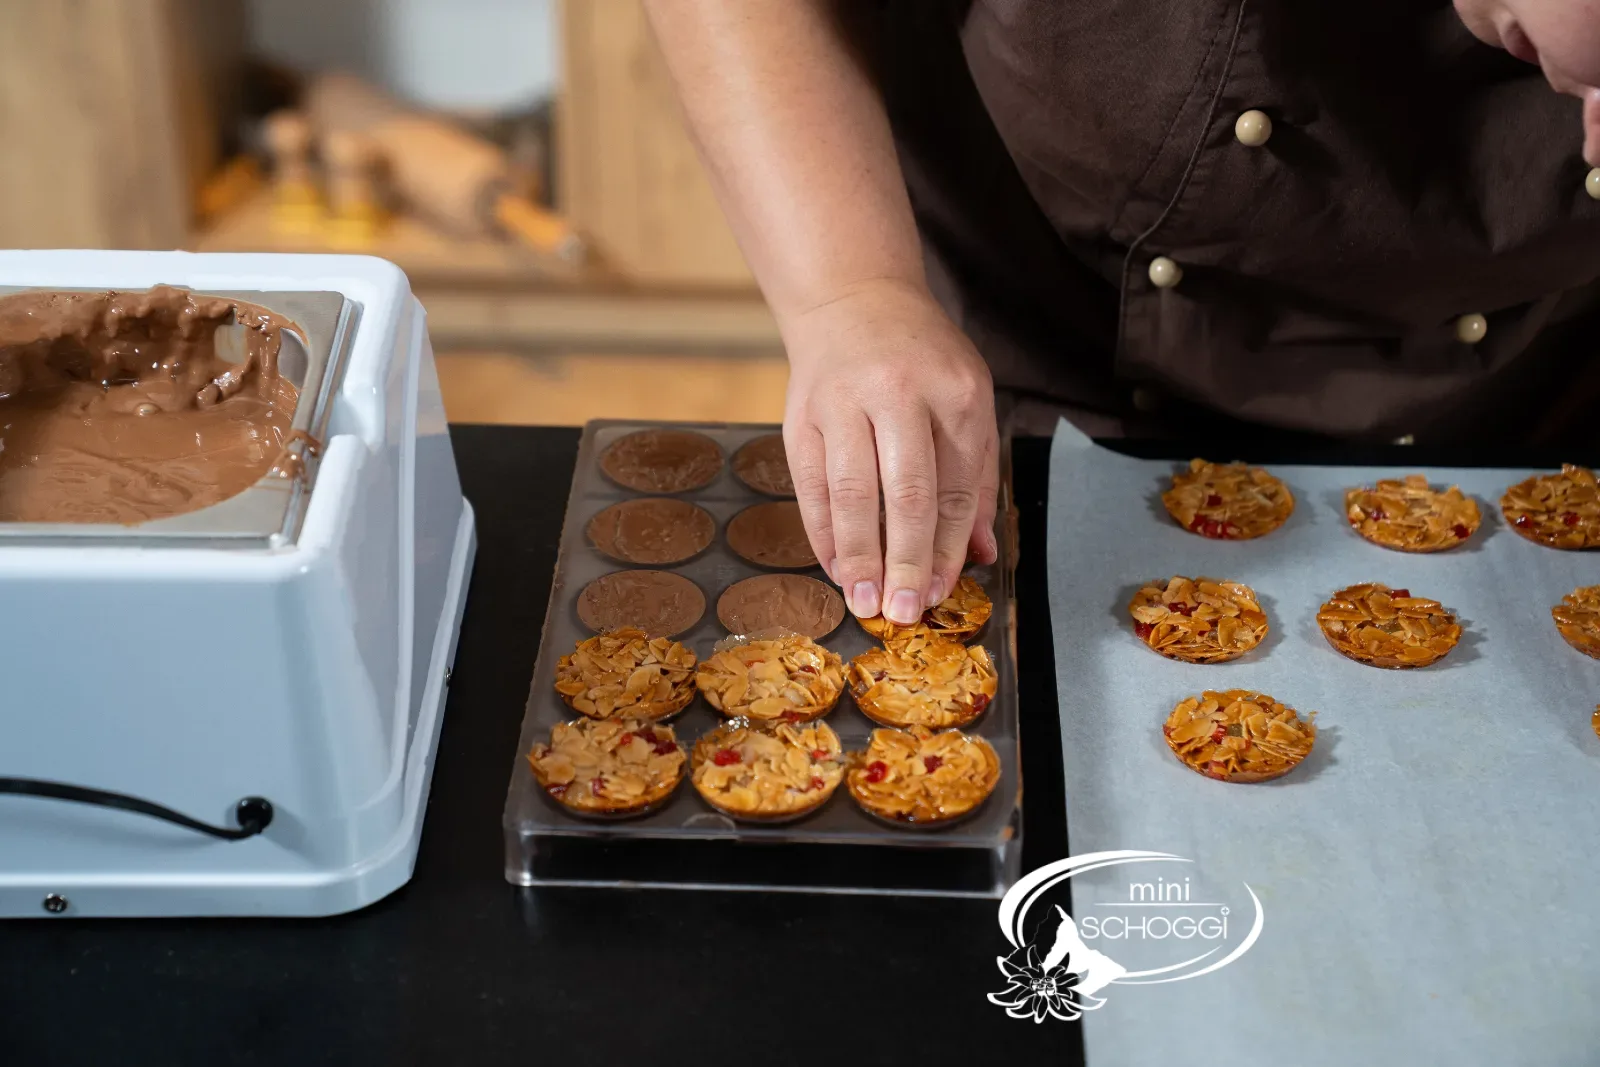
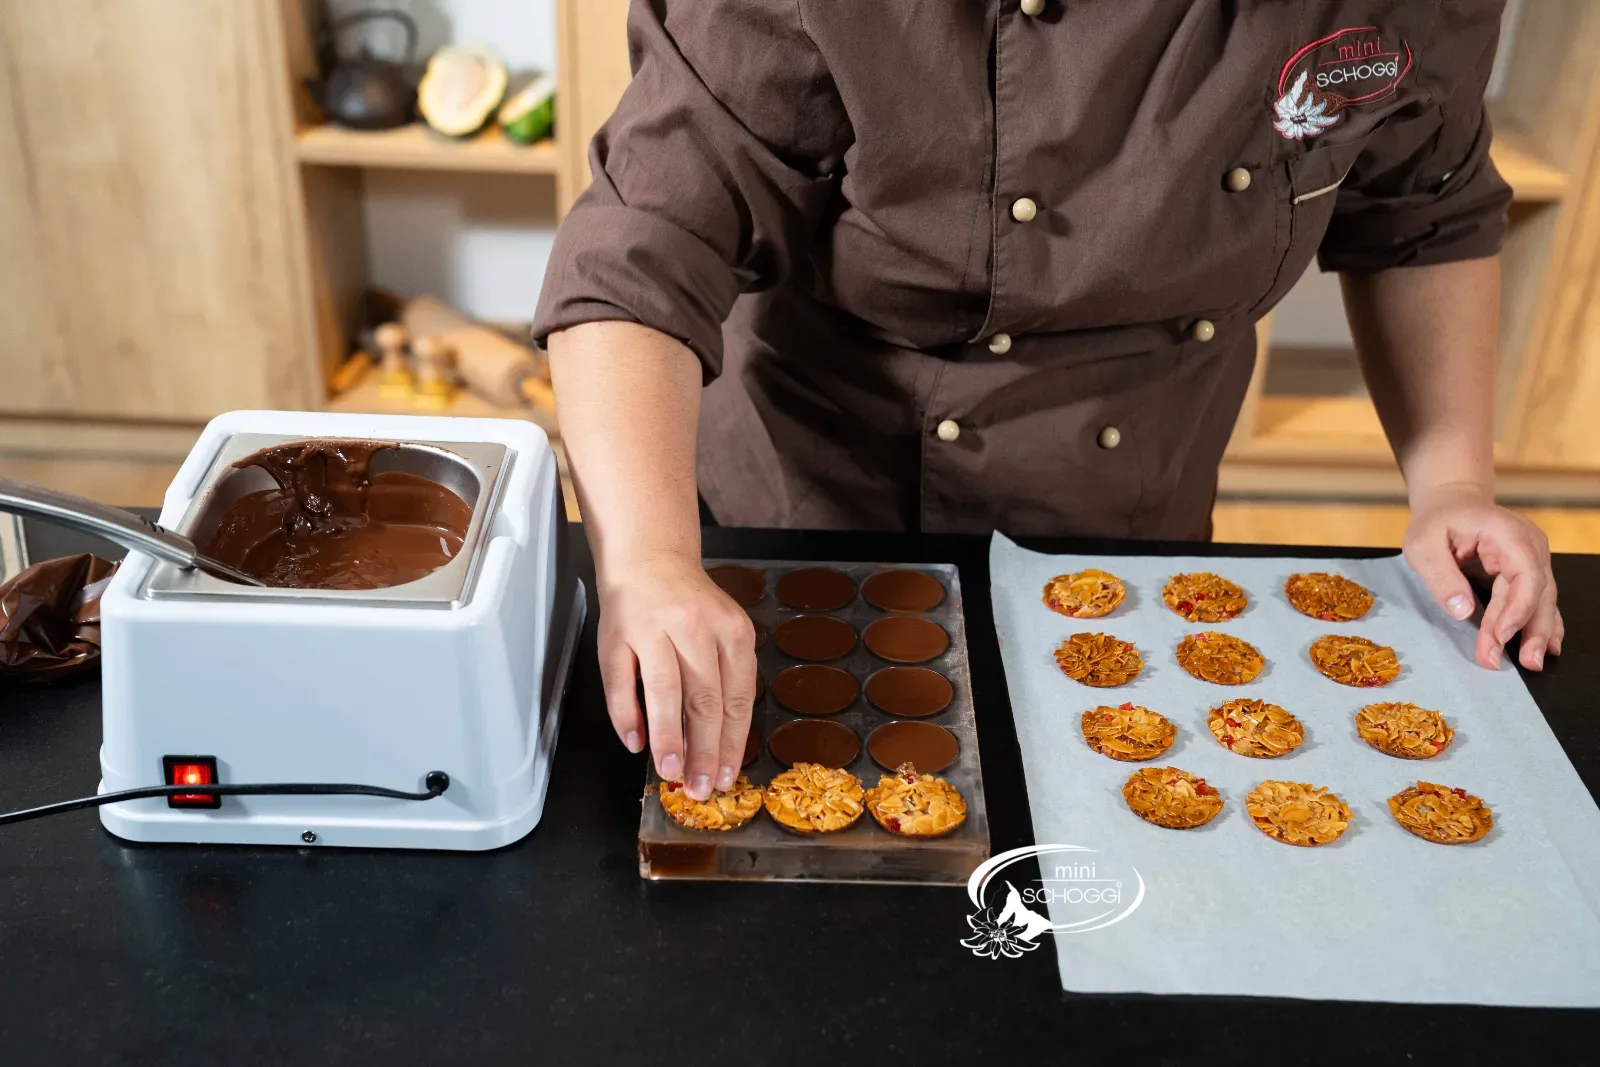
4
Let it set and unmold
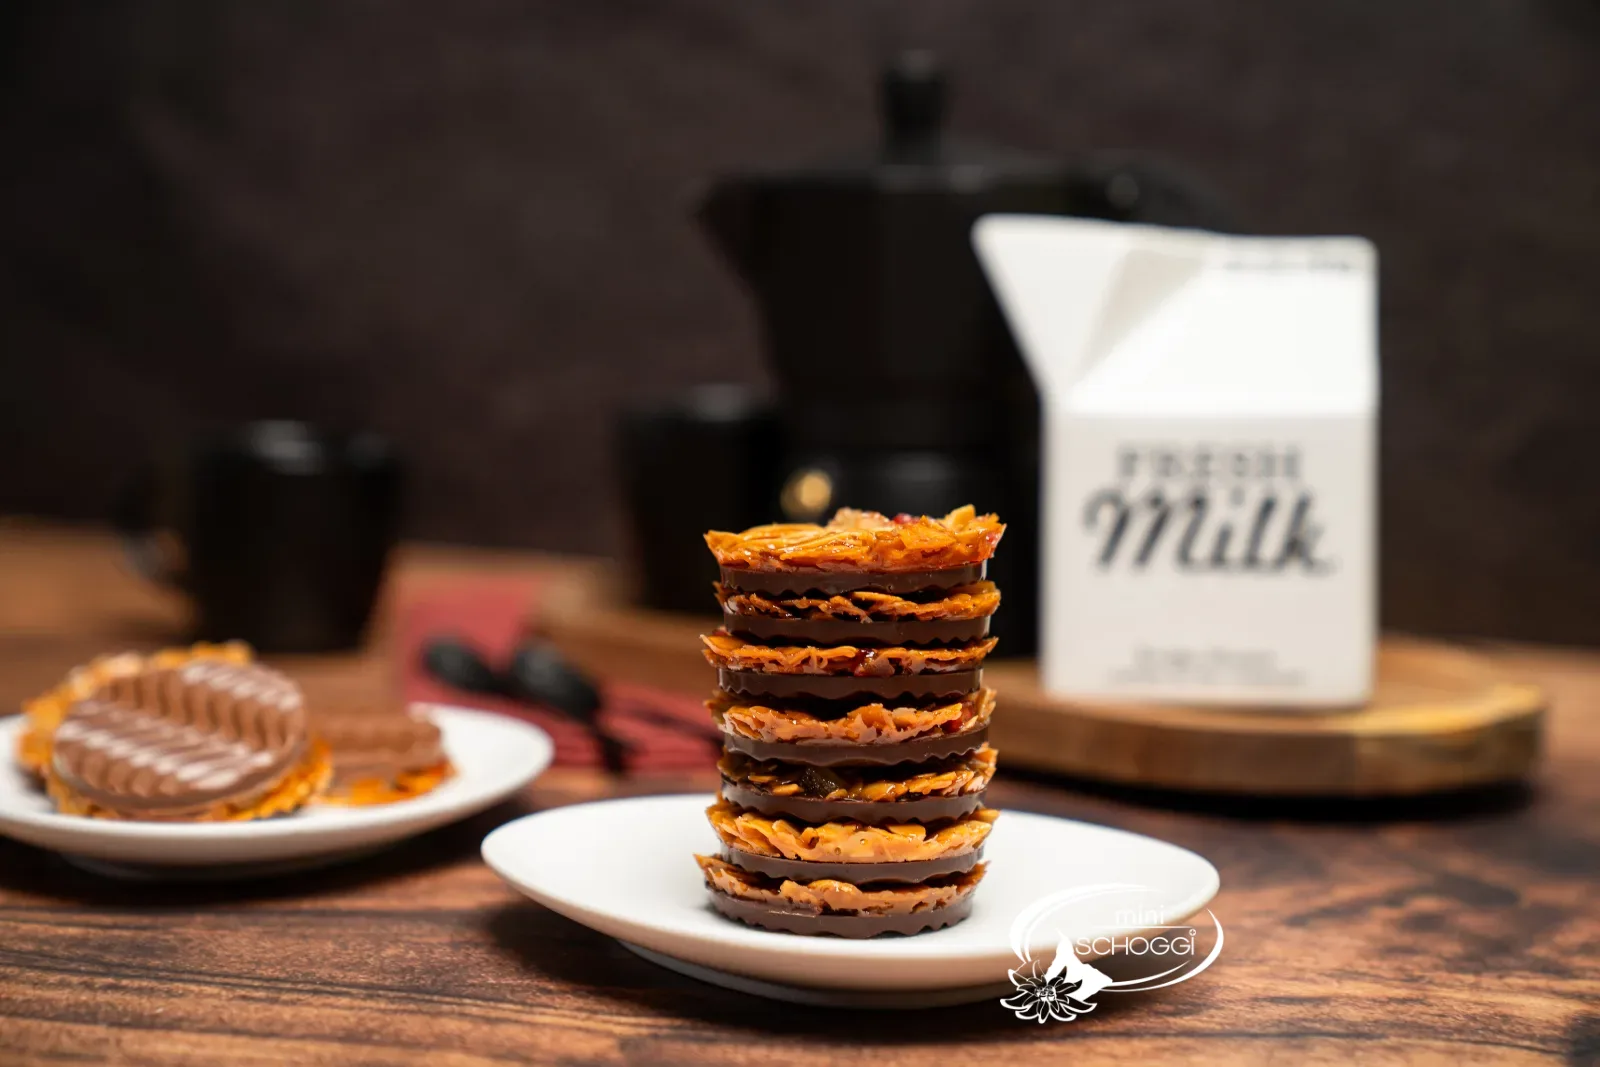
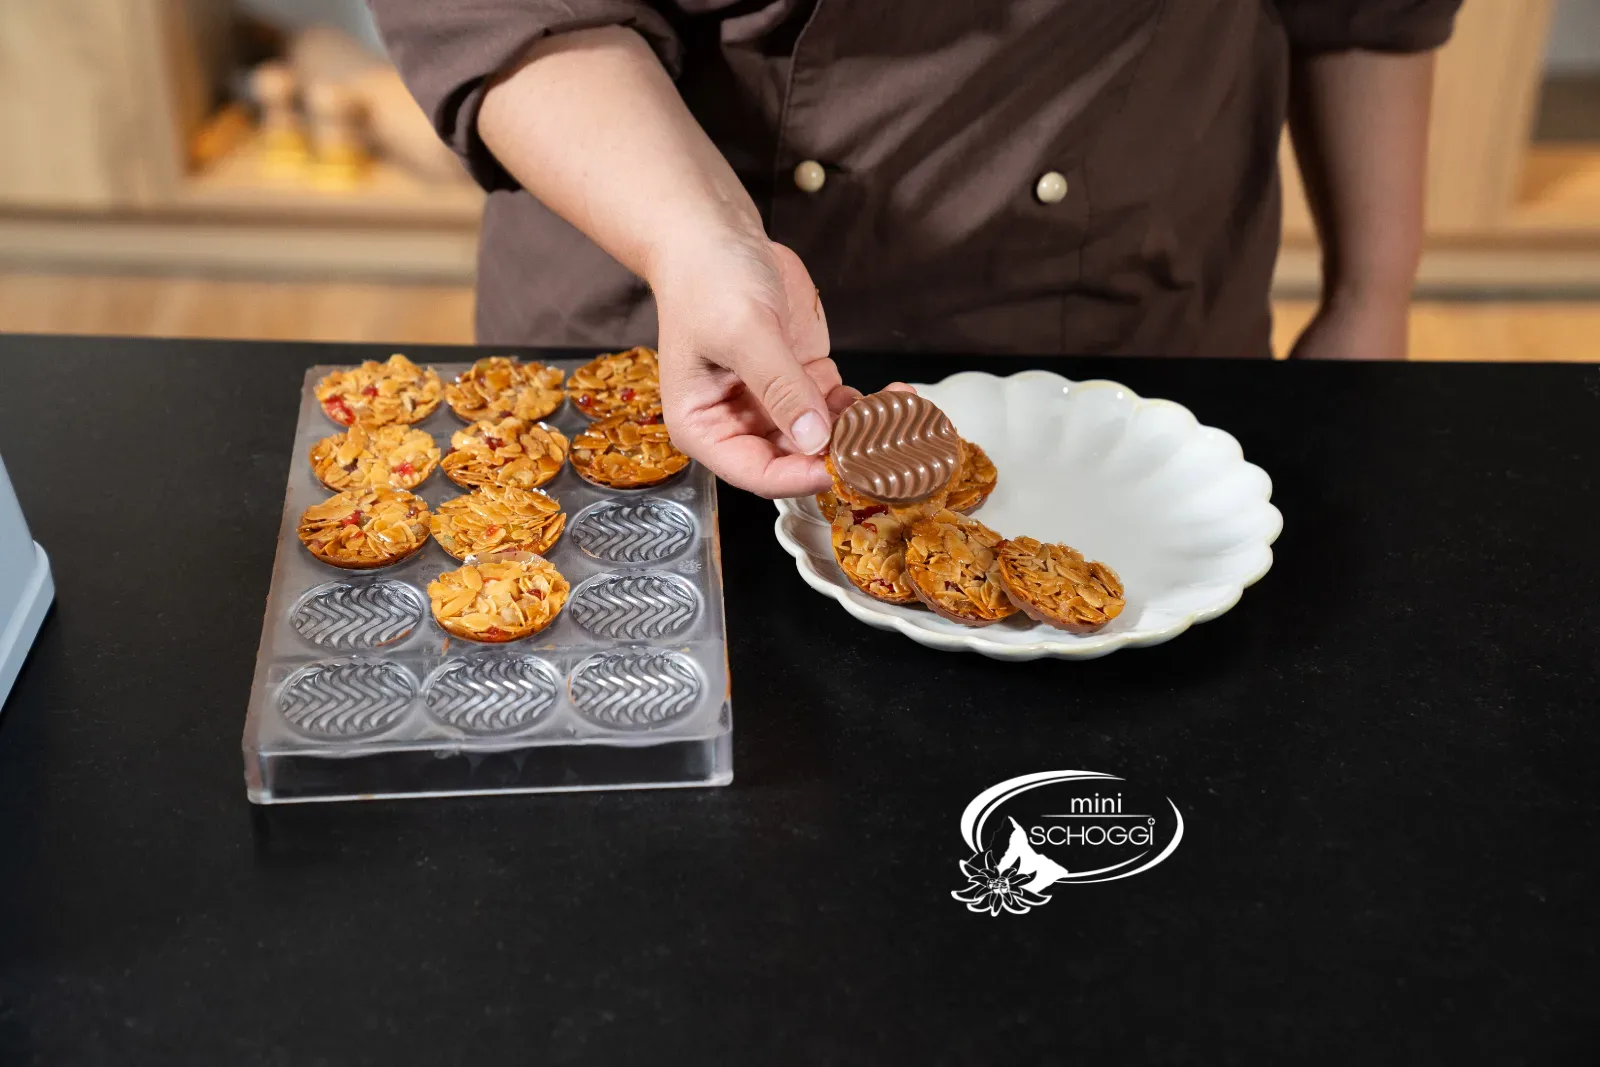
Put the mold in a cool place until the couverture has fully set — when properly tempered it contracts, and the pieces almost fall out of the mold on their own. Then unmold and enjoy.
Compact · printable
Florentine with a chocolate base
Ingredients
Quantity:
Florentine mixture
Chocolate base
Preparation
- Bring to a boil: Bring the butter, cream, sugar, Glucose syrup and honey to a boil at exactly 110 °C.
- Almonds: Remove from the heat, stir in the flaked almonds.
- Fruit: Add the candied orange peel, candied lemon peel and chopped cherries, mix well.
- Cool: Transfer to a Bowl, let cool down briefly.
- Shape: Wet your fingers, press about 10 g flat into the Silicone mold for each.
- Bake: 170 °C fan, bake for approx. 13 min. until golden brown, unmold, cool.
- Base: Temper the couverture, fill about 90 g into each mold with a brush or Piping bag.
- Assemble: Place the Florentines on top, press down, let set, unmold.
Nutrition per 100 g
517kcal
32.4 gFat
50.3 gCarbohydrates
7 gProtein
Storage & shelf life
Kept airtight and protected from light in a cool place, the Florentines will keep for up to a month. They taste best fresh: over time the almond mixture draws in moisture, loses its crunch and becomes slightly chewy. Do not put them in the fridge — there, moisture condenses on the couverture when you take them out and the base turns grey and dull.
Everything for this recipe
Recommended from our bakery — exactly the sizes the recipe was tested with.
Ingredients
Glucose syrup, 350g
Lindt Dark Couverture 0.5 kg
Lindt Milk Couverture 0.5 kg
Accessories
Digital insertion thermometer
Silicone mold Florentine Ø 4.8 - 6 cm, 8 pieces
Chocolate bar mold Florentine Ø 4,8 cm, 15 pieces
miniSchoggi tempering device for couverture and chocolate
Silicone brush, 20 cm
Disposable piping bag milky, 10 pieces
Delivery in 1–2 working days · Free shipping from CHF 100
A nice touch
Not needed for the recipe — but it fits.
Florentine Baking tin
Silicone mold Florentine Ø 3.5 cm 24 pieces
Chocolate bar mold Florentine Ø 9 cm, 5 pieces
Florentine recipe booklet
So they turn out perfectly, guaranteed
110 °C is not a rough guide
This is the one number on which this recipe stands or falls. Cooked at too low a temperature, the mixture stays soft, draws moisture and turns tough after two days. Too hot, and the sugar caramelises too far: the Florentines turn dark and taste bitter. An Insertion thermometer costs little and replaces all experience here.
Wet fingers, otherwise everything sticks
The still-warm mixture sticks to dry fingers and pulls into threads. Set a bowl of cold water next to the tin and briefly dip your fingers before each little disc. And work quickly: once the mixture cools completely, it can no longer be pressed flat.
The Piping bag gives the cleaner base
Both ways work, but they are not the same. The brush is faster and uses less couverture; but small air bubbles tend to stay in the corners of the mould, and you see them on the finished base as craters. With the Piping bag you fill the recess from the bottom up, the air escapes upwards, and the base comes out evenly smooth.
Frequently asked questions
Yes, that is the easier way: Cake icing does not need tempering. The difference is in the result — couverture breaks with a clear snap, shines and melts in your mouth; icing stays more matte and softer. The recipe in the course booklet called for icing, but here we use tempered couverture.
Replace it with the same amount of shaved almonds or dried fruit. All that matters is the total amount of filling: too little, and the discs fall apart; too much, and the sugar mixture no longer holds them together.
Then the mixture wasn't hot enough. Below 110 °C too much water stays in it, and over time this softens the almond mixture. The second factor is storage: airtight and cool, never in the fridge.
Print recipe
Choose what should appear on the printout.
Related products
Lindt couverture milk 0.5 kg
Price: CHF17.90
Valutato su 5 stelle in base a
recensione/i
Devi essere autenticato
Finest ingredients, transparency and sustainability. This is what the...
Lindt Couverture Dark 0.5 kg
Price: CHF17.50
Valutato su 5 stelle in base a
recensione/i
Devi essere autenticato
The finest ingredients, transparency and sustainability. This is what the...
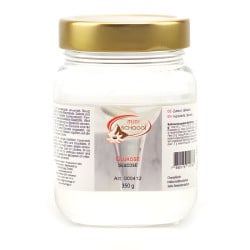
Glucose, 350g
Price: CHF8.90
Valutato su 5 stelle in base a
recensione/i
Devi essere autenticato
Glucose is a sticky, viscous sugar mixture used in a wide variety of...
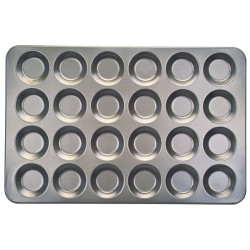
Florentine baking dish
Price: CHF29.90
Valutato su 5 stelle in base a
recensione/i
Devi essere autenticato
This premium baking tin with non-stick coating allows you to bake 24...

Silicone mold Florentine Ø 3.5 cm 24 pieces
Price: CHF19.90
Valutato su 5 stelle in base a
recensione/i
Devi essere autenticato
Baked, frozen and flexible. This can only be a silicone mold! Ice cream...

Silicone brush, 20 cm
Price: CHF16.90
Valutato su 5 stelle in base a
recensione/i
Devi essere autenticato
This silicone brush should not be missing in any kitchen. It is heat...
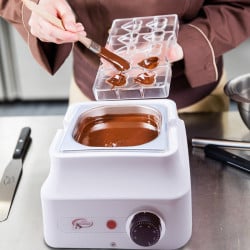
miniSchoggi tempering device for couverture and chocolate
Price: CHF99.00
Valutato su 5 stelle in base a
recensione/i
Devi essere autenticato
With a tempering device, tempering couverture is very easy and nothing...

Insertion thermometer digital
Price: CHF22.50
Valutato su 5 stelle in base a
recensione/i
Devi essere autenticato
For many treats, maintaining a certain temperature is essential. In a...
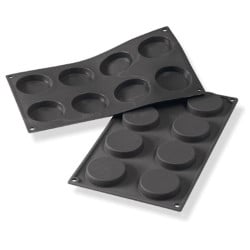
Silicone mold Florentine Ø 4.8 - 6 cm, 8 pieces
Price: CHF19.90
Valutato su 5 stelle in base a
recensione/i
Devi essere autenticato
With this silicone mold you can bake noble florentines or make the...
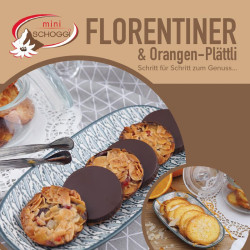
Florentine recipe booklet
Price: CHF9.50
Valutato su 5 stelle in base a
recensione/i
Devi essere autenticato
You love Florentines, but do not know how they are made? No problem!...

Disposable piping bag milky, 10 pieces
Price: CHF3.90
Valutato su 5 stelle in base a
recensione/i
Devi essere autenticato
The disposable piping bag is versatile and ideal for filling various...
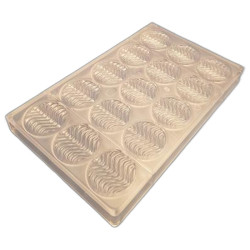
Giessform Florentiner Ø 4,8 cm, 15 Stück
Price: CHF32.90
Valutato su 5 stelle in base a
recensione/i
Devi essere autenticato
Florentines consist of two parts that go perfectly together: a round...
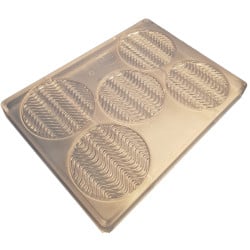
Giessform Florentiner Ø 4,8 cm, 15 Stück
Price: CHF32.90
Valutato su 5 stelle in base a
recensione/i
Devi essere autenticato
Florentines consist of two parts that go perfectly together: a round...
Bewertungen
Leave a comment
Related posts
 Make your own chocolate Easter bunnies
You can easily make your own Easter bunnies at home! You can find out how to do it and what you need here. A sweet...
Read more
Make your own decorative Swiss roll
Make your own decor roulade - we'll explain exactly how in this blog, with lots of tips and tricks from our...
Read more
Cinnamon Star Biscuits Recipe
Make your own cinnamon stars with the help of our professionals, with lots of tips & tricks to bake the best...
Read more
Tempering couverture and chocolate correctly
Melt, seed, reheat: the seeding method step by step, with the temperatures for every type of couverture and the test...
Read more
Make your own chocolate pumpkin pralines
Make your own 3D chocolate pumpkin pralines - here you get detailed instructions with lots of tips and tricks...
Read more