
Milanederli – Our Favourite Milanederli Recipe
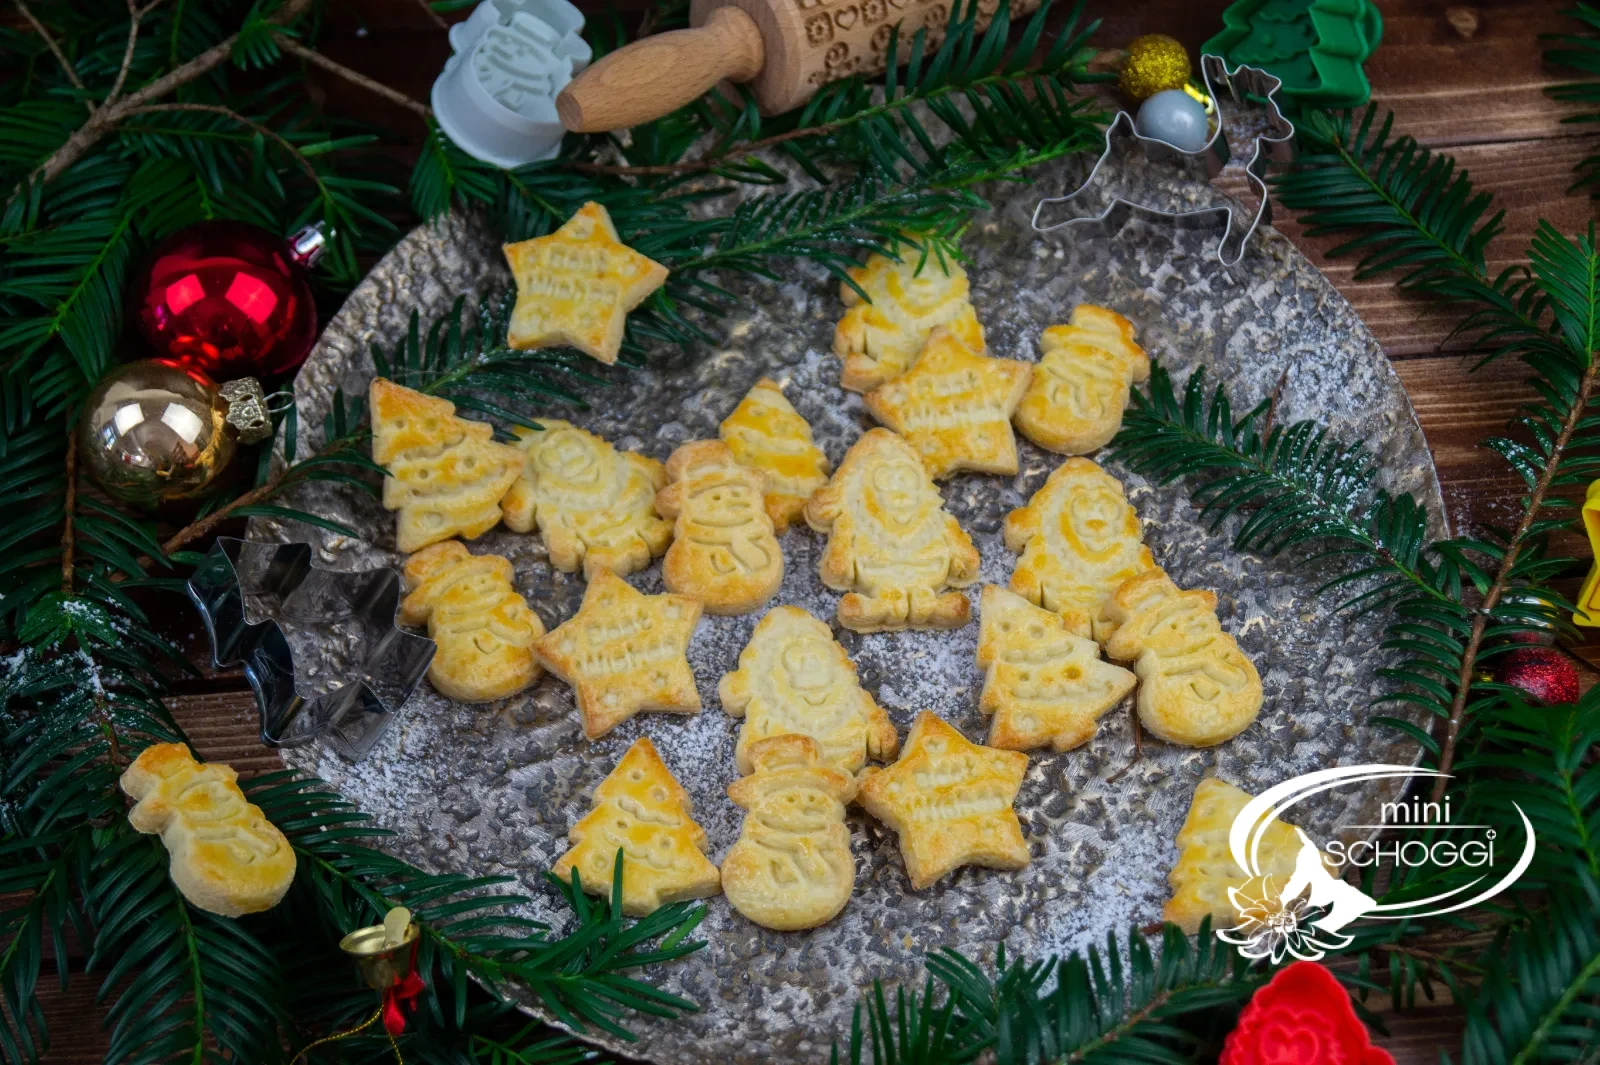
The butter biscuit that no cookie tin should be without
Quantity60 pieces
Active time40 minutes
Total time2 hours
contains glutencontains eggcontains milk
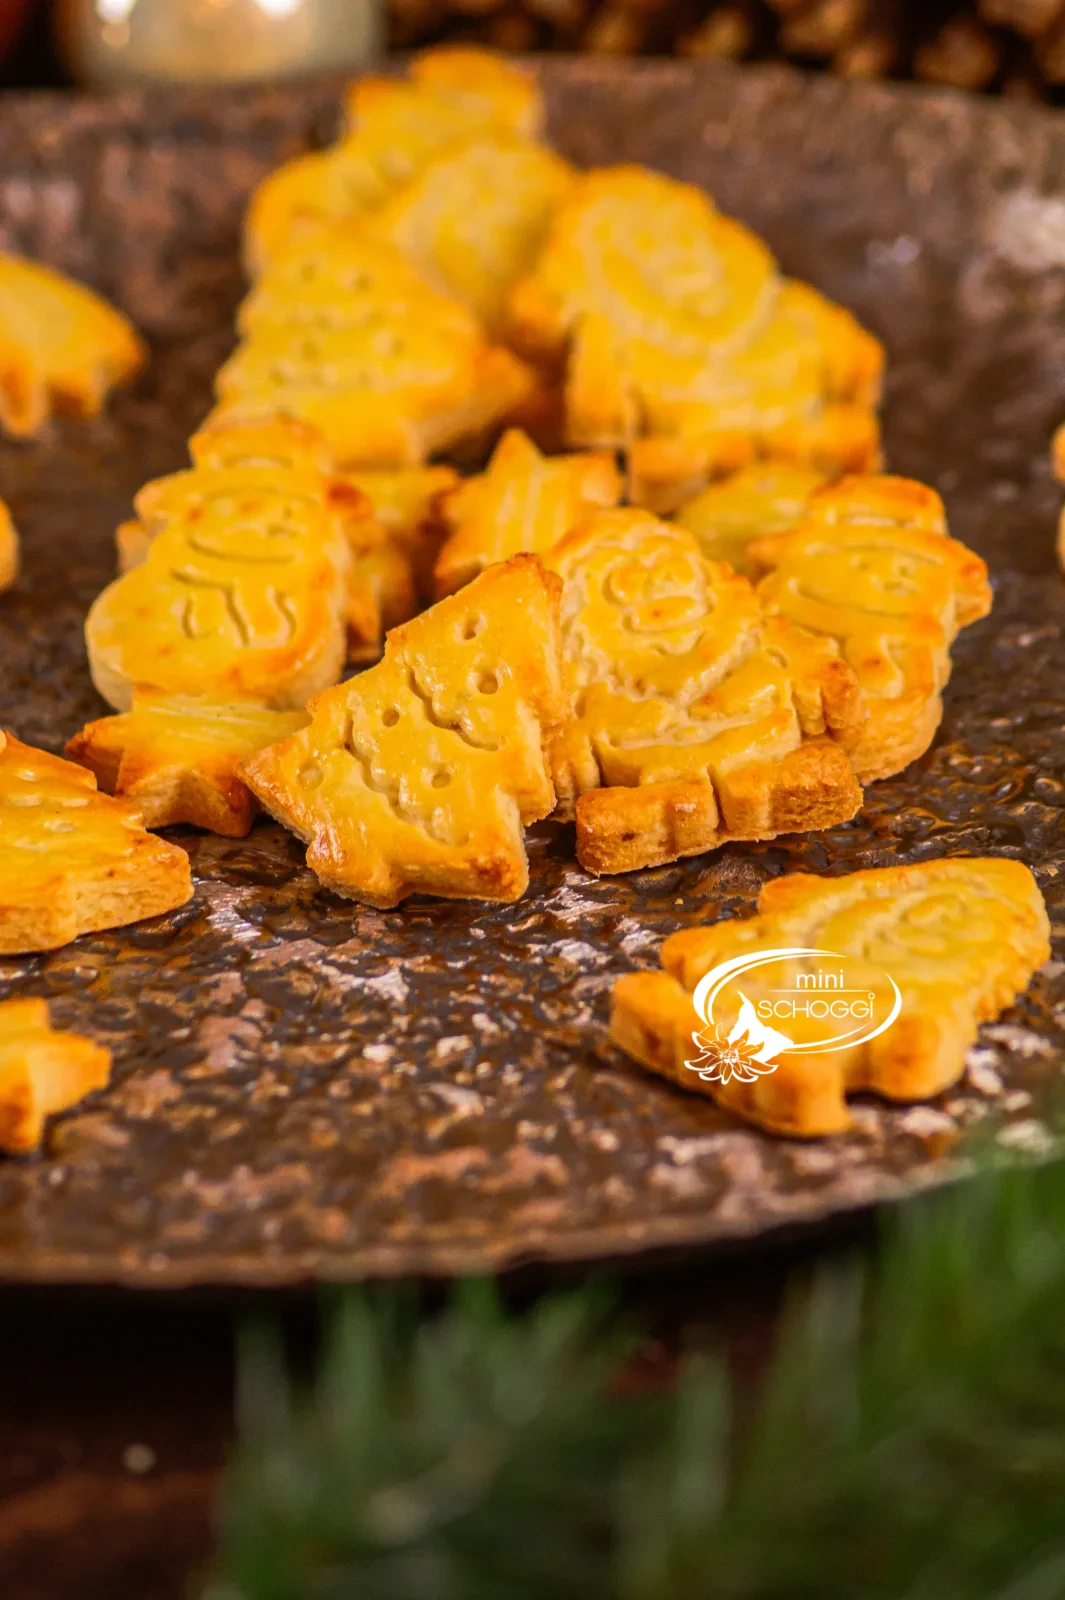
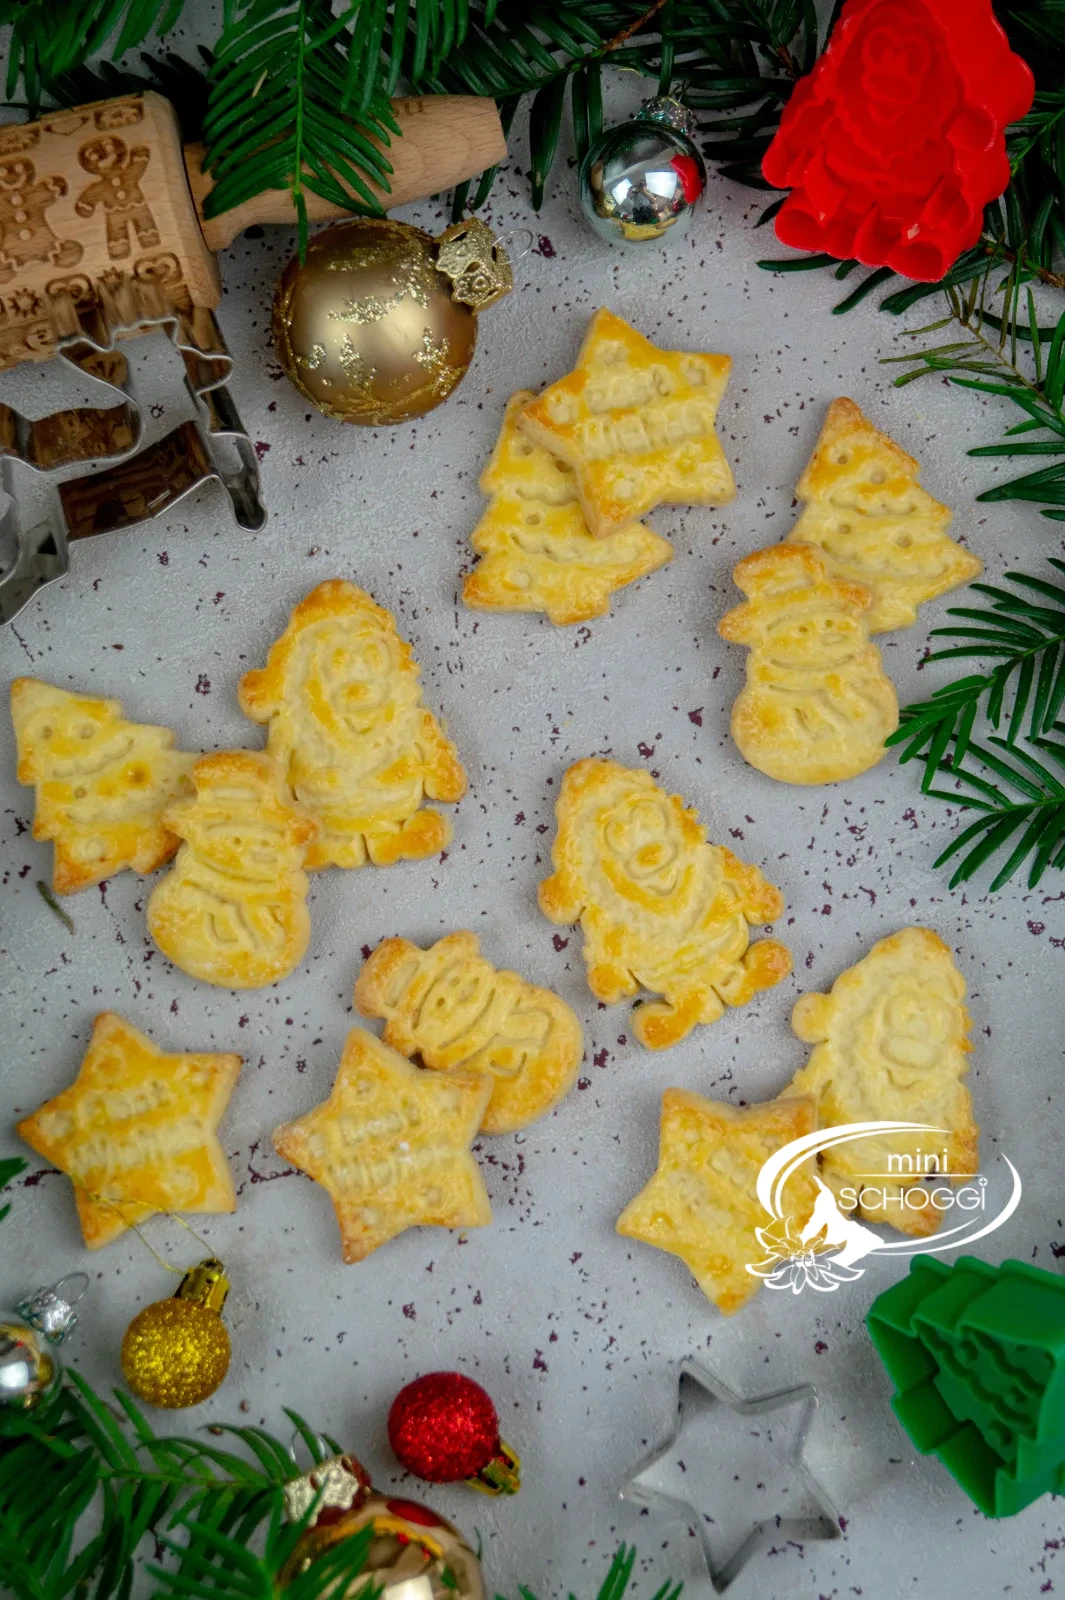
Still looking for the perfect milanederli recipe? Then it's a good thing you landed on our blog: we're sharing our classic milanederli recipe with you. These fine butter biscuits really should not be missing from any cookie tin. The great thing about these biscuits is that you can decorate them entirely to your heart's content. With our cookie cutters you give the butter biscuits a very special look – and after baking you use the embossing as guide lines to decorate the biscuits with royal icing. But you can just as easily decorate them simply with chocolate or icing sugar, or leave them completely plain. Because the best thing about milanederli is: they taste absolutely delicious in every variation.

Ingredients
Quantity:
MILANEDERLI DOUGH
180 gButter, soft
180 gGranulated sugar
4 pinchesVanilla seeds
72 gWhole egg, beaten
1/2 pc Lemon zest, organic
360 gWhite flour
FOR BRUSHING
1 pcWhole egg, beaten
Step by step
If you're in a hurry: the compact recipe card further down sums it all up.
Making the milanederli
1
Make the dough and chill
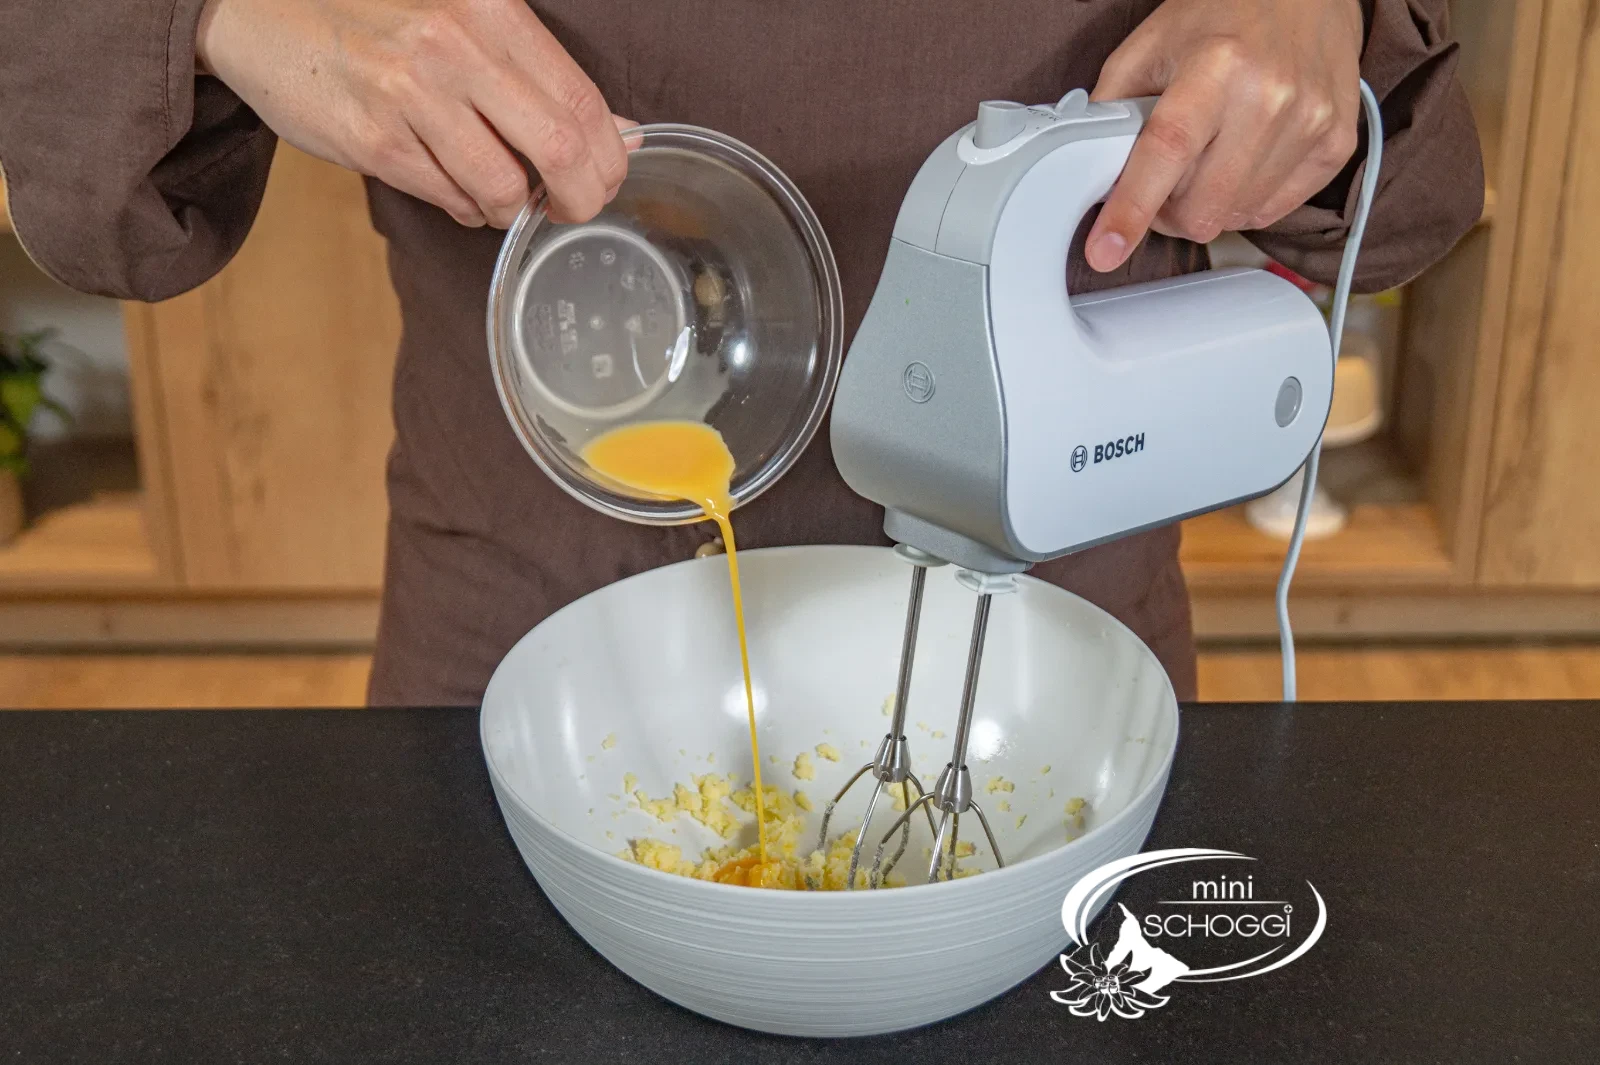
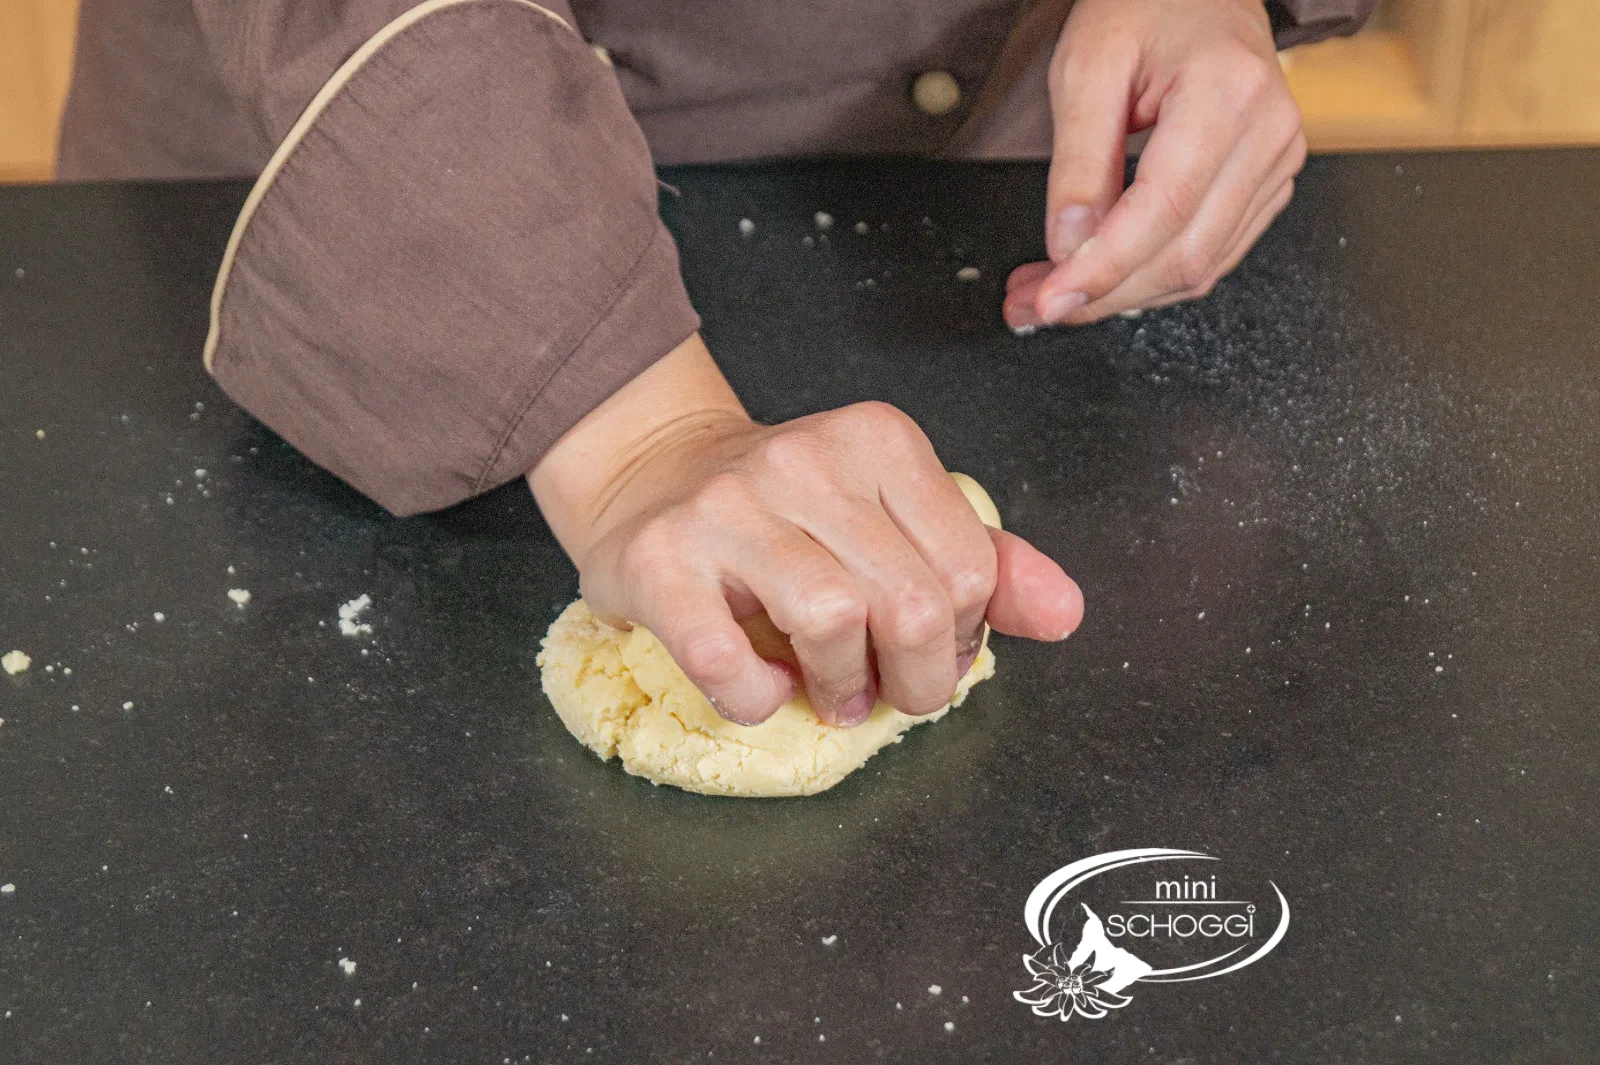
Beat the soft butter together with the sugar and the vanilla seeds until fluffy, then slowly stir in the whole egg. As soon as you have a creamy mixture, add the zest of half an organic lemon and the white flour. Once everything slowly comes together, knead the mixture fully into a dough on the work surface. Press it flat, wrap it in cling film and put it in the fridge for about 1 hour.
What you need for this


White flour, 1 kg
Bourbon vanilla seeds, 5 g
Hand mixer Clever Mix
2
Roll out the dough 5 to 8 mm thick
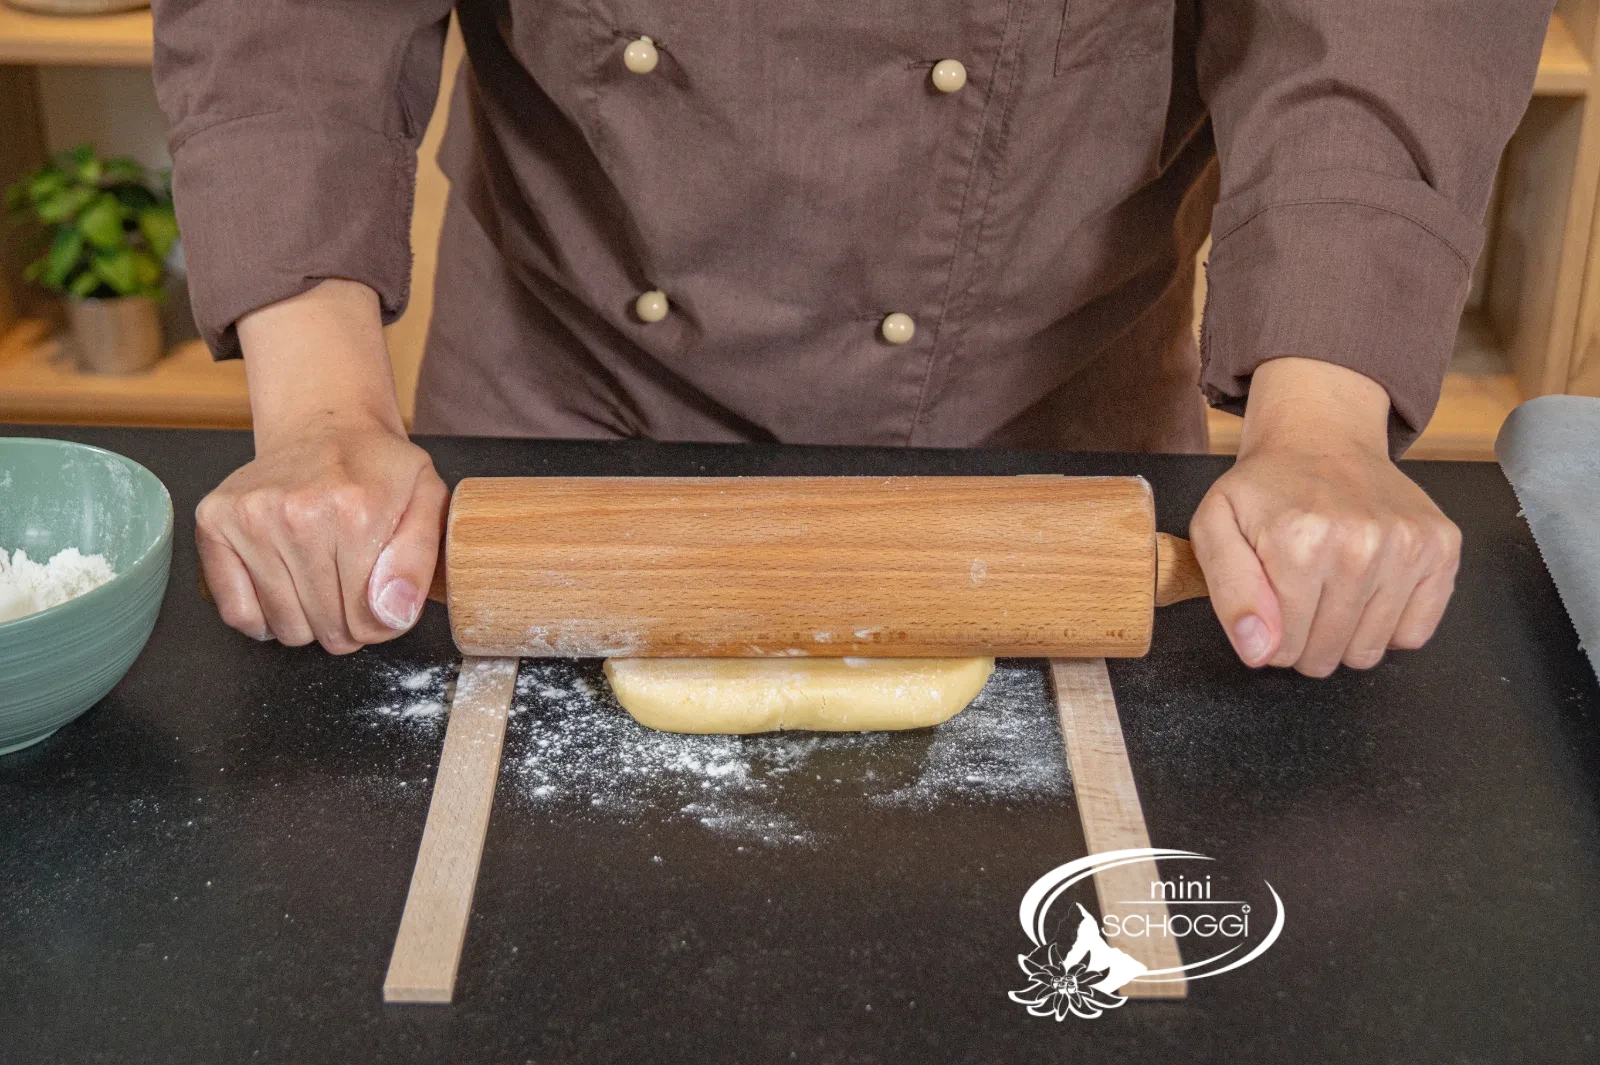
Preheat the oven to 200 °C fan. Take the dough out of the fridge, sprinkle some white flour onto the work surface and roll the dough out to a thickness of 5 to 8 mm using rolling guides — with the guides the thickness is even everywhere, and all the biscuits bake uniformly.
What you need for this


Professional rolling pin 40 cm
Professional rolling guides set, 3 sizes
3
Cut out and emboss as you like
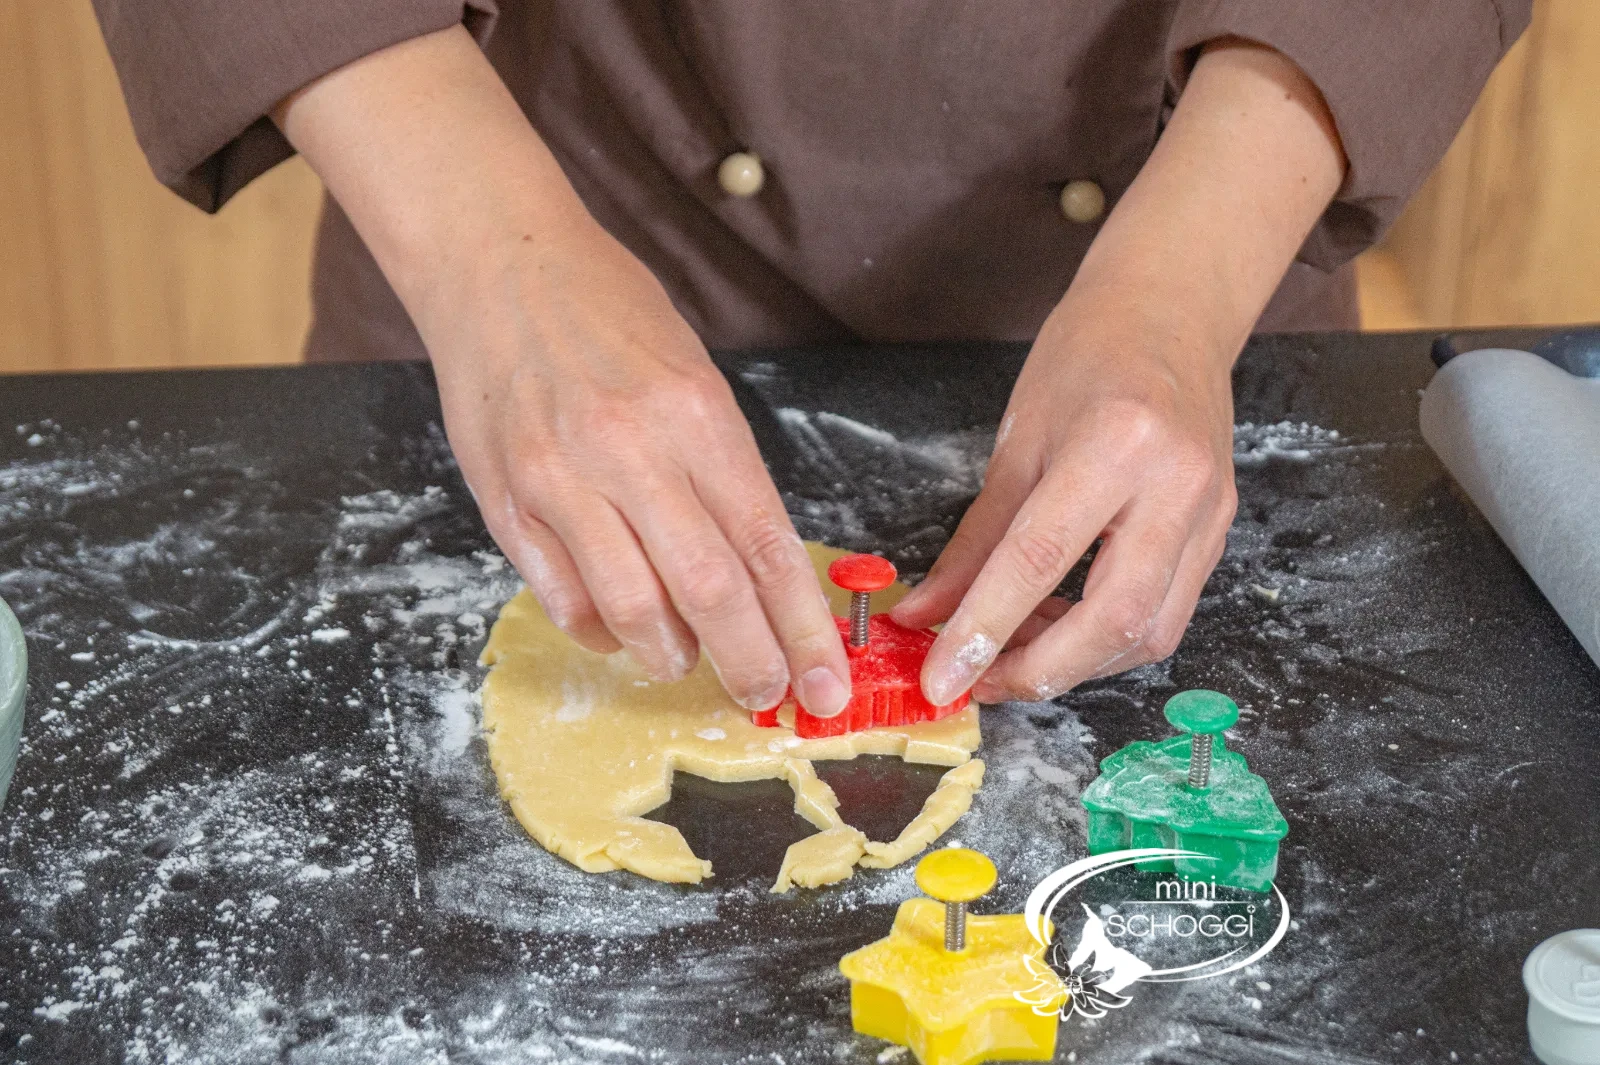
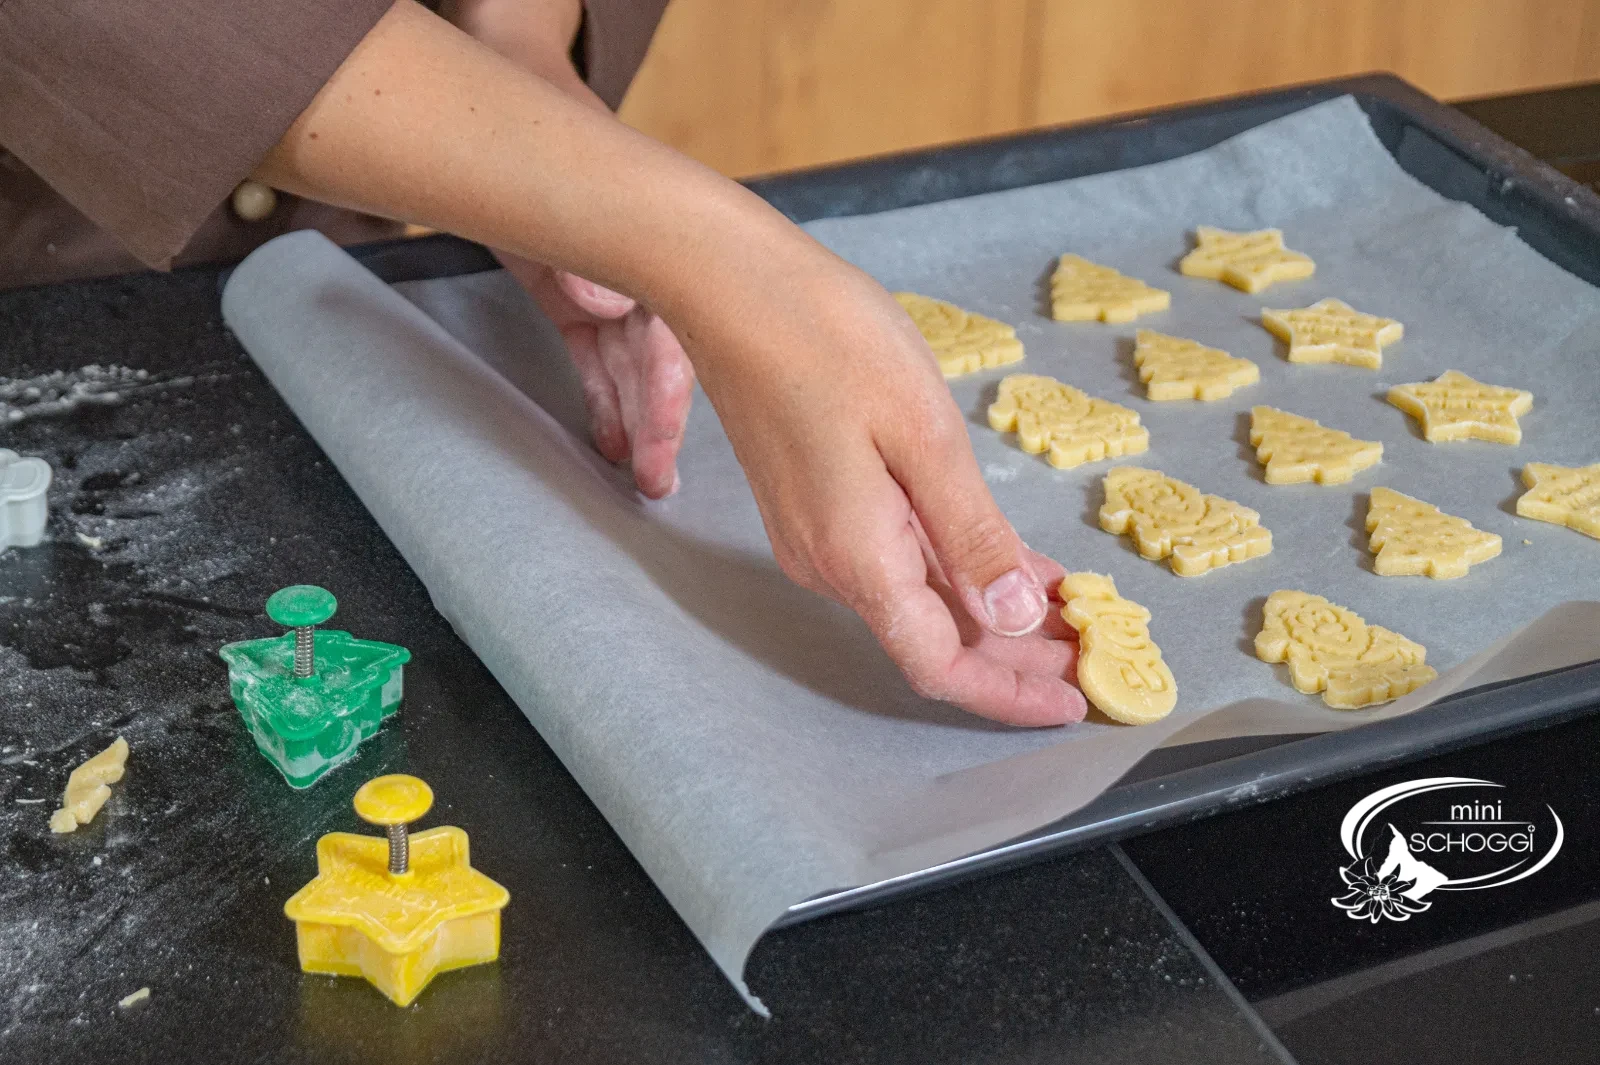
Cut out the biscuits with cookie cutters of your choice. If you use our cookie cutters, you can emboss the biscuits with a lovely motif right after cutting them out: simply press the cutter's lever down briefly while the biscuit is still on the work surface. Then release the biscuit from the ejector by pressing the lever down in the air, and place the milanederli on a tray lined with baking paper.
What you need for this


Cookie cutter with ejector Santa Claus
Cookie cutter with ejector Best Wishes
Cookie cutter with ejector Christmas tree
Cookie cutter with ejector snowman
4
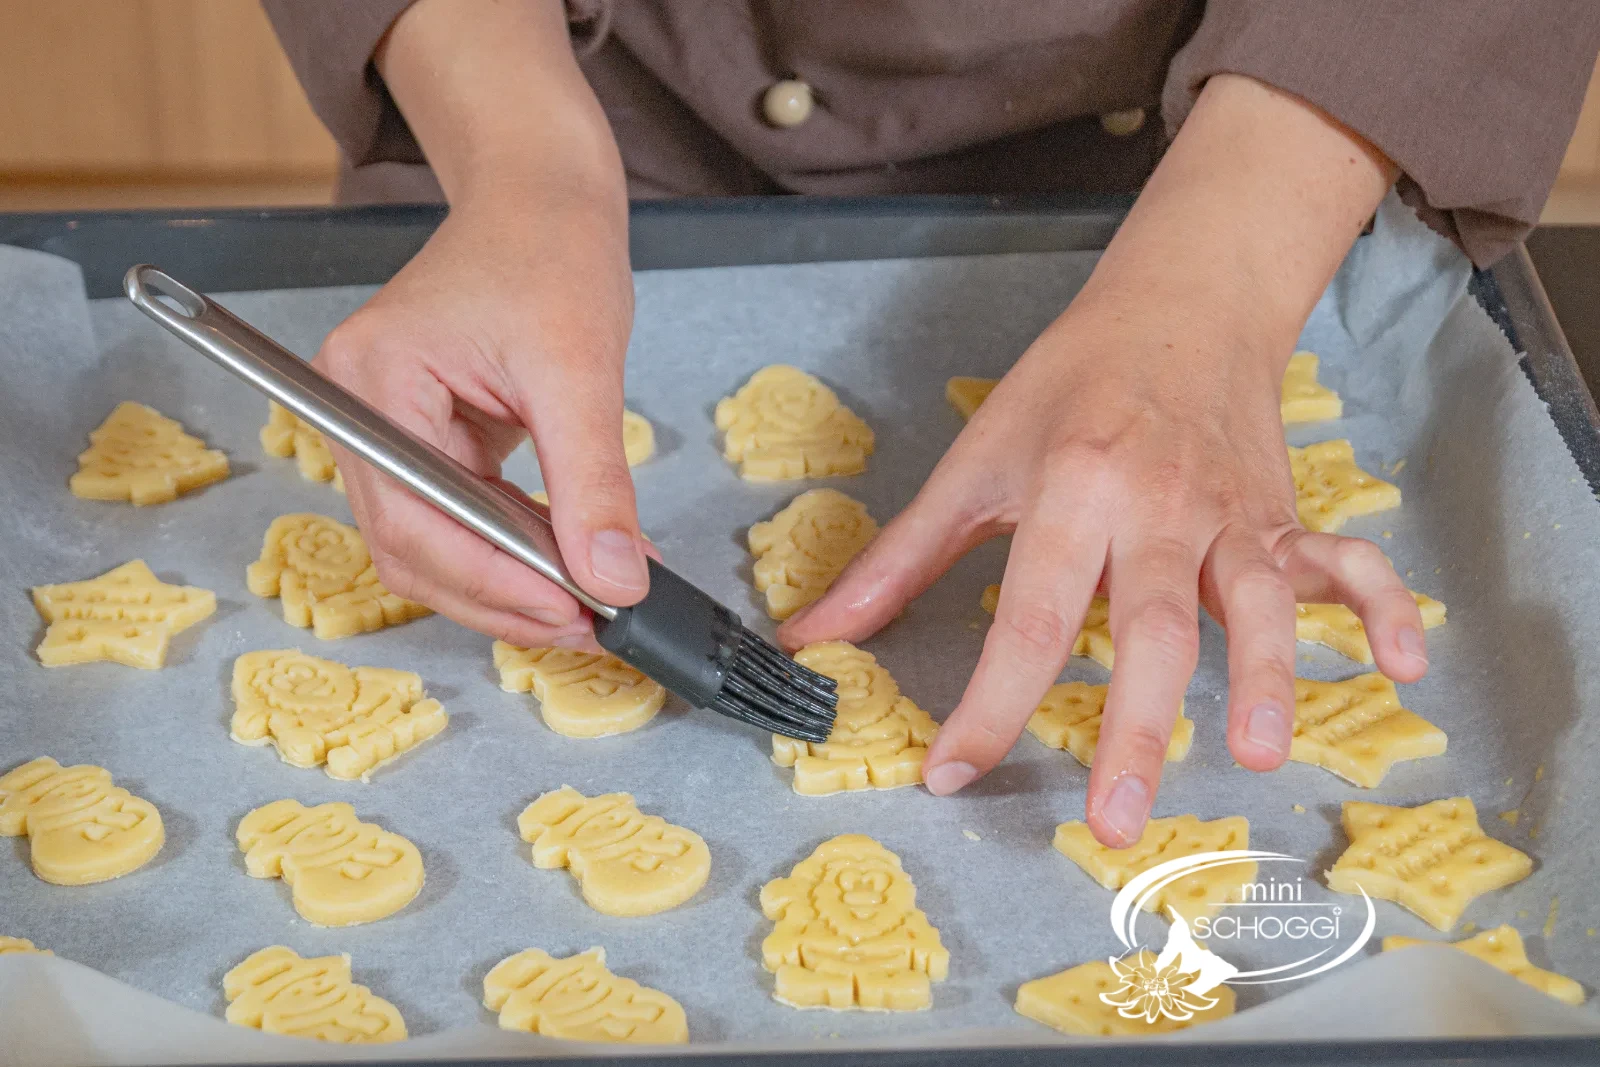
Brush with whole egg and bake until golden
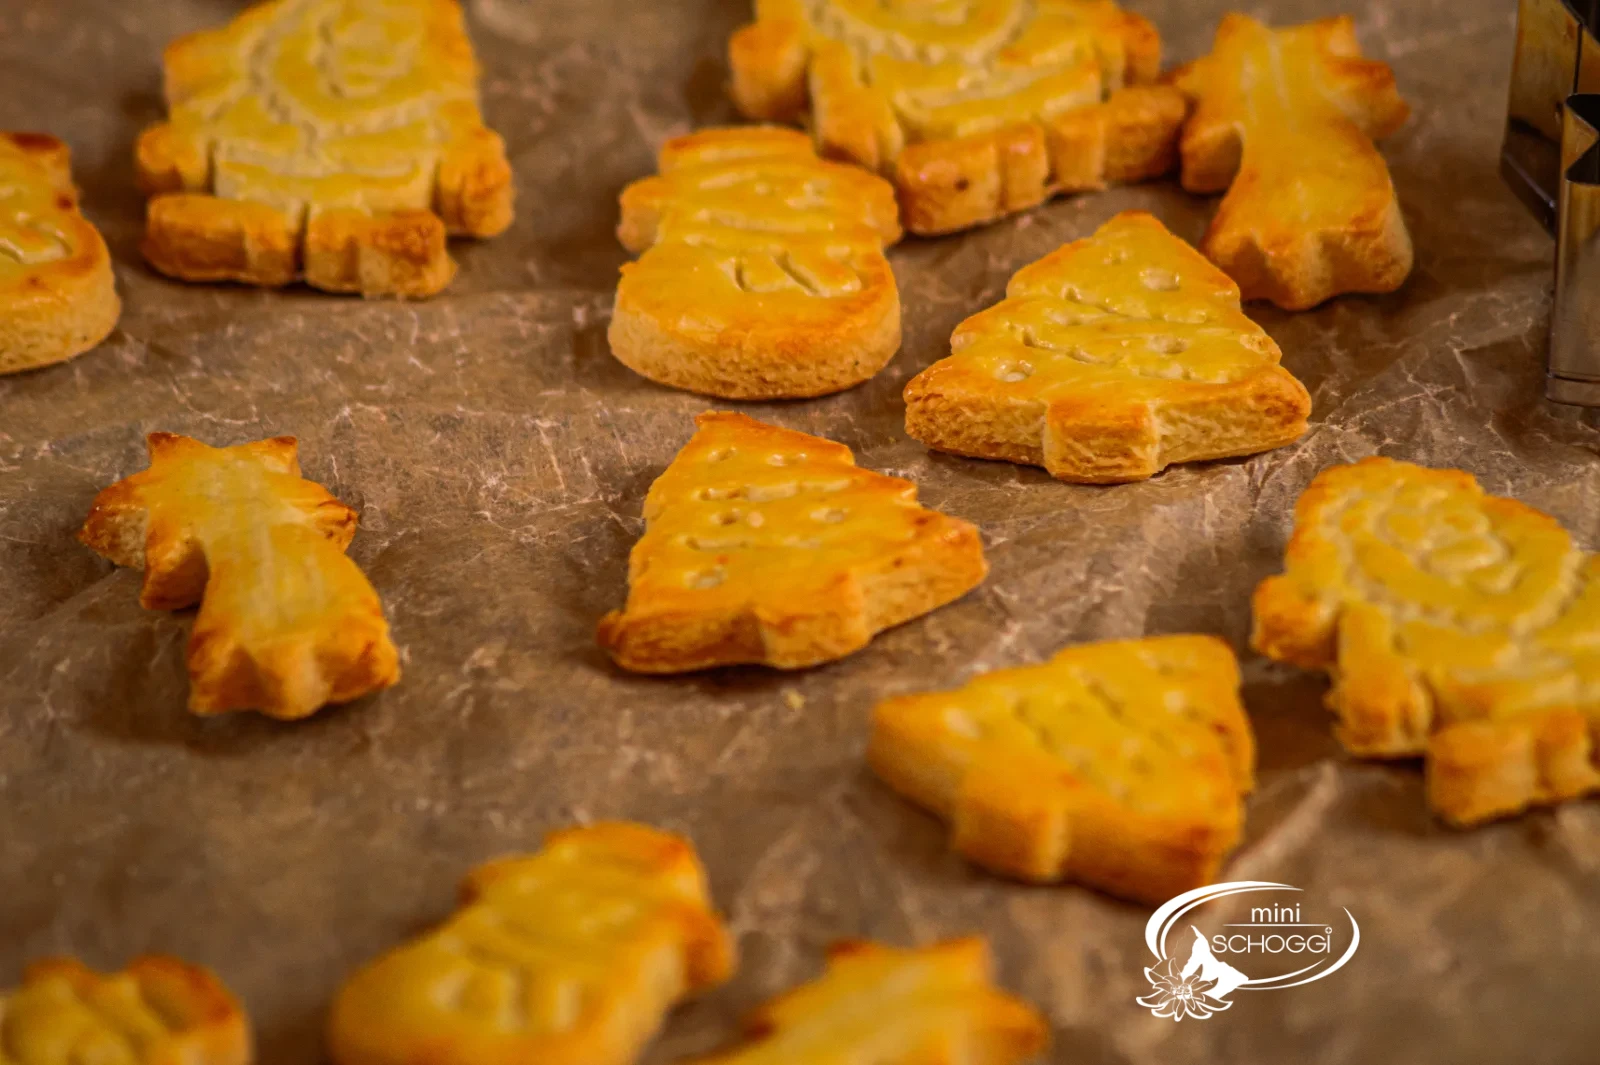
Brush the biscuits with a little beaten whole egg — this gives them the typical golden-yellow sheen when baked. Then bake the milanederli for 8 to 10 minutes in the oven preheated to 200 °C fan, and afterwards let them cool on the tray.
Compact · printable
Milanederli
Ingredients
Quantity:
MILANEDERLI DOUGH
FOR BRUSHING
Preparation
- Dough: Beat 180 g butter, 180 g sugar and vanilla until fluffy, stir in 72 g whole egg, add lemon zest and 360 g flour — chill for 1 hr.
- Roll out: 5–8 mm thick on a floured surface, preheat the oven to 200 °C fan.
- Cut out: Cut out shapes of your choice, emboss directly with the cookie cutter.
- Brush: Brush with beaten whole egg — this gives the sheen.
- Bake: Bake 8–10 min until golden, let cool on the tray.
Nutritional values per 100 g
432kcal
19.7 gFat
57.5 gCarbohydrates
5.9 gProtein
Storage & shelf life
The milanederli keep for up to a month when stored airtight in a cookie tin. Store them at room temperature – and only put decorated biscuits in the tin once the royal icing or chocolate has completely dried.
Everything for this recipe
Recommended from our bakery — exactly the sizes the recipe was tested with.
Ingredients
White flour, 1 kg
Bourbon vanilla seeds, 5 g
Vanilla powder from Madagascar, 20 g
Accessories
Cookie cutter heart
Star with ejector cookie cutter, 4 cm
Silicone rolling pin red 25 cm
Birthday card Roast Mice
Cookie cutter with ejector Santa Claus
Linzer outer ring cookie cutter, 4.8 cm
Cookie cutter comet
Cookie cutter with ejector Best Wishes
Cookie cutter with ejector Christmas tree
Cookie cutter ice crystal, 8 cm
Cookie cutter with ejector snowman
Professional rolling pin 40 cm
Baking paper 42 x 33 cm, 25 sheets
Hand mixer Clever Mix
Cookie cutter with ejector Gingerbread man
Cookie cutter with ejector Wavy Star
Professional rolling guides set, 3 sizes
Delivery in 1–2 working days · Free shipping from CHF 100*

So they turn out perfectly, guaranteed
The embossing is your decorating stencil
Emboss the biscuits right after cutting them out, while they're still on the work surface. After baking the lines remain visible — and that's exactly the trick: they are the guide lines for the royal icing. You simply trace over the embossing, and the decoration looks like it was done by a pro.
No egg wash, no sheen
The typical golden-yellow glaze of milanederli doesn't come from the dough, but from the beaten whole egg you brush on before baking. Brush thinly and evenly and don't let anything drip down the edges — there the egg would bake onto the tray.
Only one dough thickness per tray
Whether you roll to 5 or 8 mm is a matter of taste — thinner becomes crunchier, thicker stays more crumbly. The only important thing is: don't bake thin and thick biscuits on the same tray, otherwise some will already be dark while the others are still pale. The rolling guides automatically make the thickness even.
FAQ
Entirely to your heart's content: classically with royal icing along the embossed lines, with melted chocolate or simply with icing sugar. They taste just as good plain — the egg wash gives them a lovely golden-yellow surface even undecorated. Only decorate once the biscuits have completely cooled.
Yes. Wrapped in cling film, the dough keeps in the fridge for two to three days — take it out in portions and knead it briefly before rolling out. You can also press it flat and freeze it, then let it thaw overnight in the fridge.
Yes: only butter, sugar, vanilla, egg, lemon zest and white flour — no nuts and no almonds. That makes them the ideal biscuit for Christmas plates that children with a nut allergy can also enjoy. Gluten, egg and milk are in them, however.
Print recipe
Choose what should appear on the printout.
Related products
Cookie cutter heart
Price: CHF 3.50
Rated out of 5 stars based on
review(s)
bitte einloggen
Hearts belong in every bakery. For your loved ones, this cookie cutter should...
Star with ejector cookie cutter, 4 cm
Price: CHF 8.50
Rated out of 5 stars based on
review(s)
bitte einloggen
With this cookie cutter with ejector you create perfect Spitzbuben or simply...
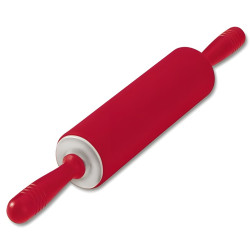
Rolling pin silicone red 25 cm
Price: CHF 44.80
Rated out of 5 stars based on
review(s)
bitte einloggen
The rolling pin must not be missing in any kitchen. Because rolling out a...
Birthday card Brat Mice
Price: CHF 3.50
Rated out of 5 stars based on
review(s)
bitte einloggen
Today is a special day! Someone in your life is celebrating their birthday...

Cookie cutter with ejector Santa Claus
Price: CHF 3.90
Rated out of 5 stars based on
review(s)
bitte einloggen
The sturdy cookie cutters with ejector allow you to make delicious...
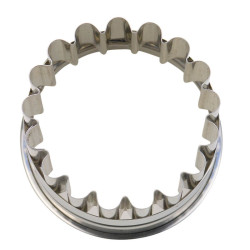
Linz outer ring cookie cutter, 4.8 cm
Price: CHF 6.90
Rated out of 5 stars based on
review(s)
bitte einloggen
With this cookie cutter you create perfect Spitzbuben, Linzertörtchen or...
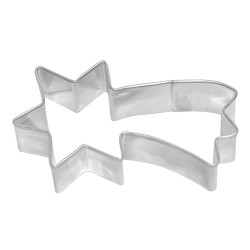
Cookie cutter comet
Price: CHF 3.00
Rated out of 5 stars based on
review(s)
bitte einloggen
The comet shines beautifully on your cookie plate. The cookie cutter is...
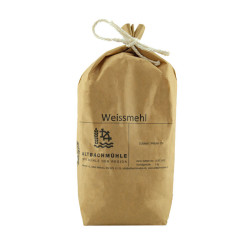
White flour, 1 kg
Price: CHF 4.50
Rated out of 5 stars based on
review(s)
bitte einloggen
White flour is suitable for pastries of all kinds, from bread to cakes to...

Cookie cutter with ejector Best Wishes
Price: CHF 3.90
Rated out of 5 stars based on
review(s)
bitte einloggen
The sturdy cookie cutters with ejector allow you to make delicious...
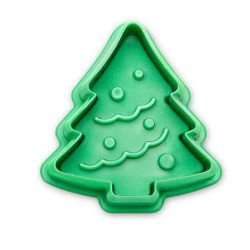
Cookie cutter with ejector fir tree
Price: CHF 3.90
Rated out of 5 stars based on
review(s)
bitte einloggen
The sturdy cookie cutters with ejector allow you to make delicious...

Ice crystal cookie cutter, 8 cm
Price: CHF 5.90
Rated out of 5 stars based on
review(s)
bitte einloggen
With this cookie cutter, you can quickly conjure up a quick and delicious...
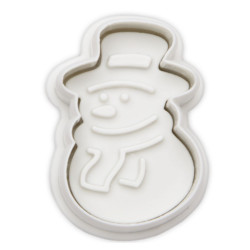
Cookie cutter with ejector snowman
Price: CHF 3.90
Rated out of 5 stars based on
review(s)
bitte einloggen
The sturdy cookie cutters with ejector allow you to make delicious...
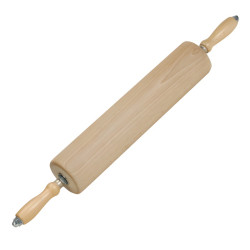
Professional rolling pin 40 cm
Price: CHF 89.90
Rated out of 5 stars based on
review(s)
bitte einloggen
A rolling pin is always a good helper in the kitchen, whether it's for...
Baking paper 42 x 33 cm, 25 pieces
Price: CHF 4.95
Rated out of 5 stars based on
review(s)
bitte einloggen
With these baking paper sheets your pastries rise evenly and are baked...
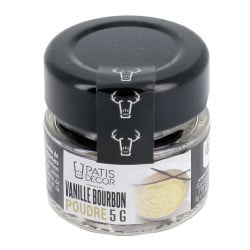
Bourbon vanilla seeds, 5 g
Price: CHF 12.50
Rated out of 5 stars based on
review(s)
bitte einloggen
Vanilla seeds are very popular because of their natural and intense flavor....
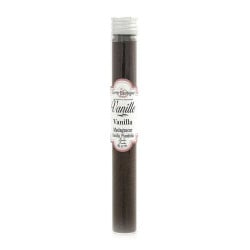
Vanilla powder from Madagascar, 20 g
Price: CHF 24.90
Rated out of 5 stars based on
review(s)
bitte einloggen
Easy to use, soft and warm vanilla powder is a culinary gem. Add it to all...
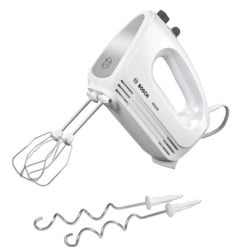
Hand mixer Clever Mix
Price: CHF 94.90
Rated out of 5 stars based on
review(s)
bitte einloggen
Constant stirring with a whisk is a real pain in the arms. An egg white foam,...
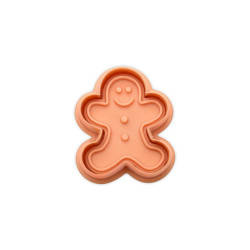
Cookie cutter with ejector gingerbread man
Price: CHF 3.90
Rated out of 5 stars based on
review(s)
bitte einloggen
The sturdy cookie cutters with ejector allow you to make delicious...

Cookie cutter with ejector star Corrugated
Price: CHF 4.90
Rated out of 5 stars based on
review(s)
bitte einloggen
The sturdy cookie cutters with ejector allow you to make delicious...
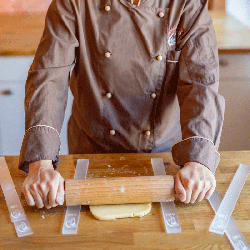
Professional rolling pin set, 3 sizes
Price: CHF 14.90
Rated out of 5 stars based on
review(s)
bitte einloggen
If you want your dough to always have the same height or thickness, this...
Bewertungen
Leave a comment
Related posts
 Make your own chocolate Easter bunnies
You can easily make your own Easter bunnies at home! You can find out how to do it and what you need here. A sweet...
Read more
Make your own decorative Swiss roll
Make your own decor roulade - we'll explain exactly how in this blog, with lots of tips and tricks from our...
Read more
Cinnamon stars with almonds and egg white icing
Moist cinnamon stars made from almonds, sugar and cinnamon with snow-white egg white icing. No flour, with the icing...
Read more
How can I convert a cake recipe?
Converting a cake recipe, whether a sponge or a cake filling, is easy with our conversion table.
Read more
Chocolates with mulled wine jelly
A wonderfully wintry Christmas jelly, which is ideal as a praline or macaron filling.
Read more