
Sponge Cake Base – Our Foolproof Basic Recipe
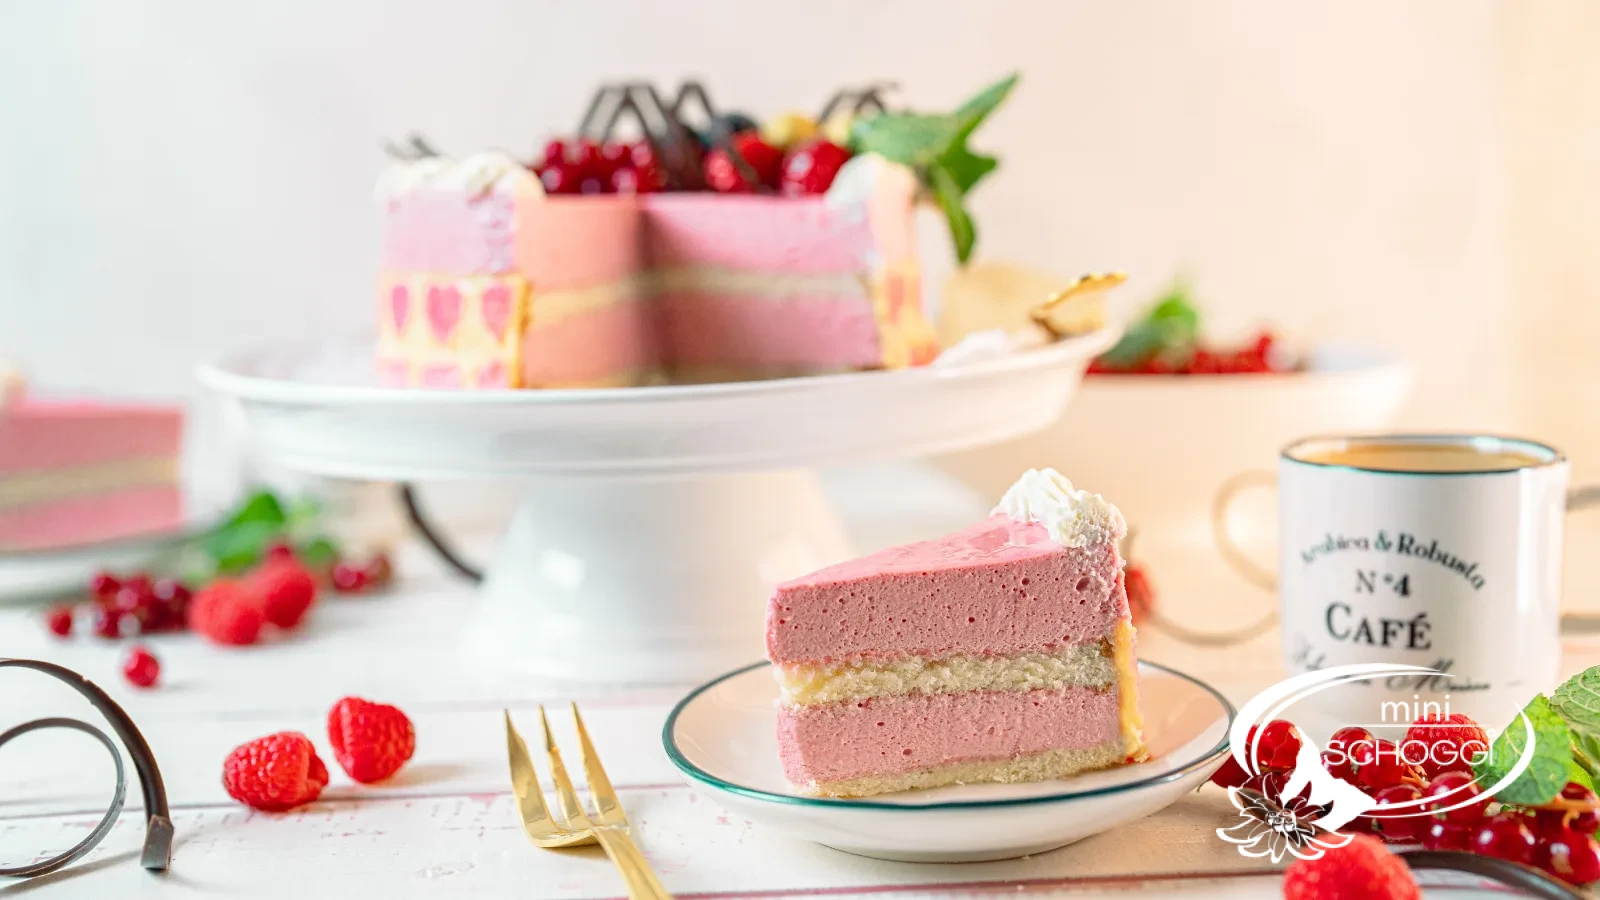
Airy, moist and sturdy – the base for almost any cake
Quantity1 sponge Ø 24 cm
Active time20 minutes
Total timeApprox. 1 hr 30 min.
contains glutencontains egg
The basic recipe for a moist sponge cake base really shouldn't be missing from any household. Because a classic sponge like this is the base for many cakes and fruit flans. There are countless sponge recipes and presumably all of them are good and correct – but of ours we can claim with rock-solid confidence that it is simple, quick, moist, delicious and, above all, absolutely foolproof. Sponge cake bases are ideal for tiered cakes, fruit flans or slices: they are airy and still bring a certain sturdiness. And this basic recipe for our white sponge can also be coloured beautifully with gel food color.
Ingredients
Quantity:
SPONGE BATTER
175 gGranulated sugar
295 gWhole egg, beaten
145 gWhite flour
40 gStarch (wheat or corn starch)
Step by step
If you're in a hurry: the compact recipe card further down sums it all up.
Making the sponge batter
1
Warm sugar and whole egg to 35 °C
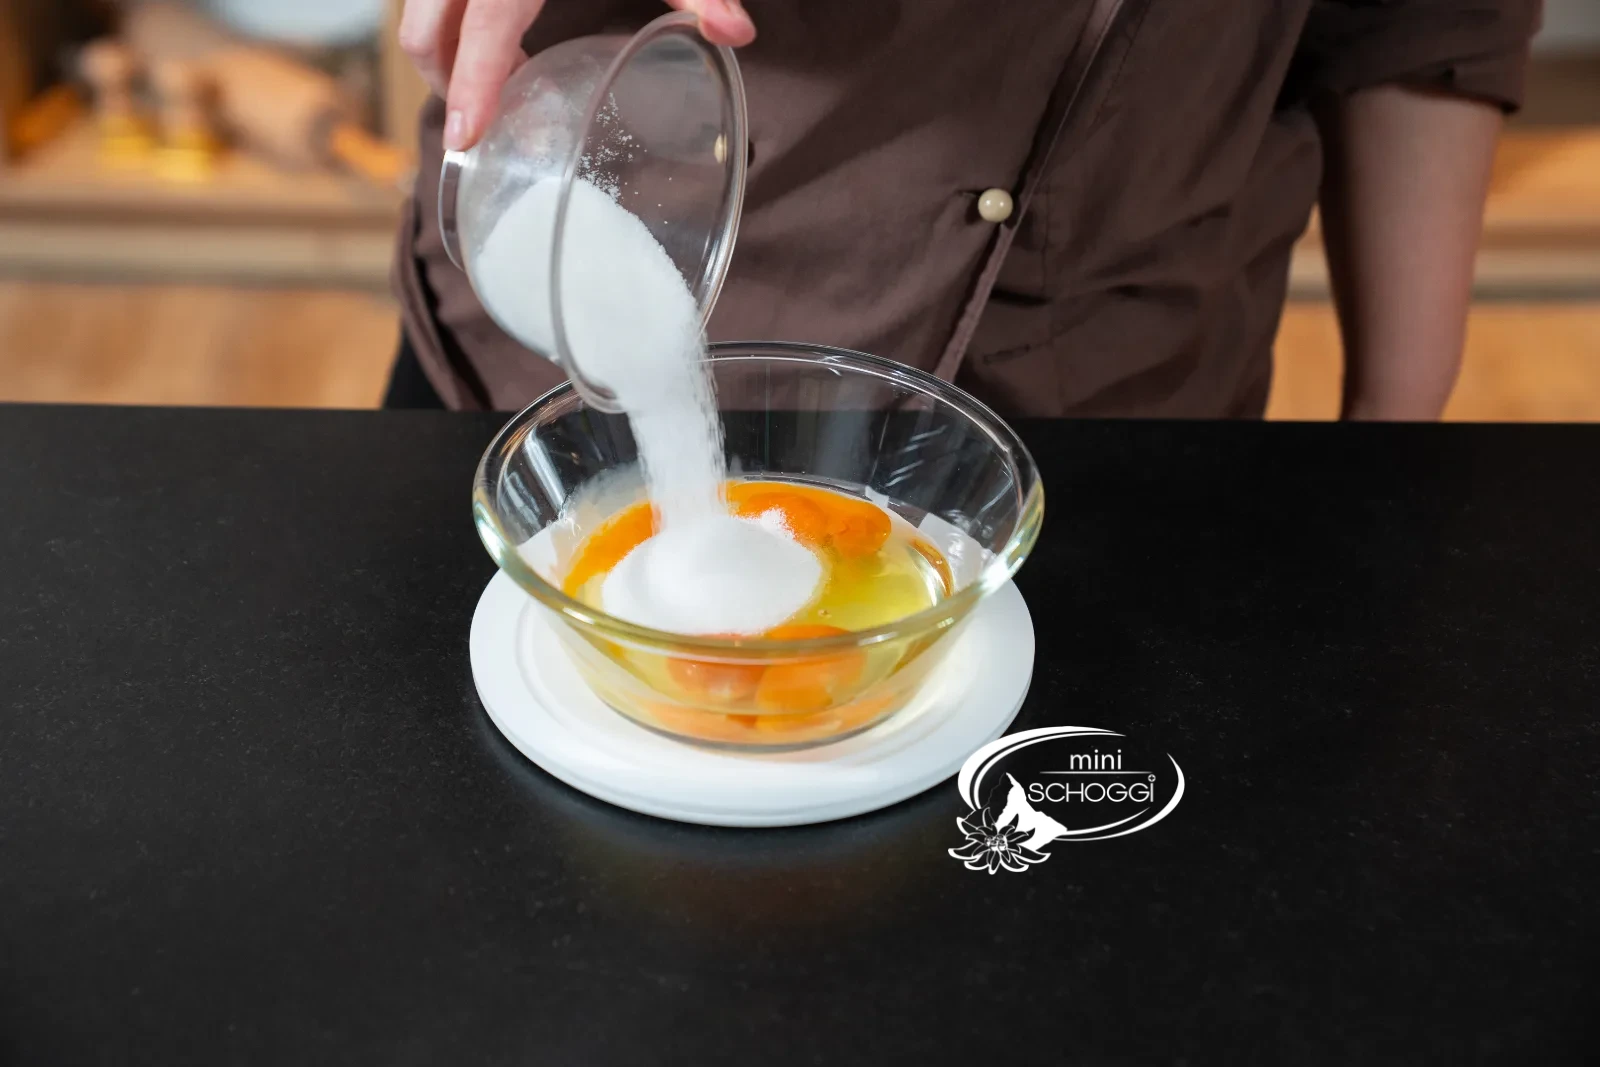
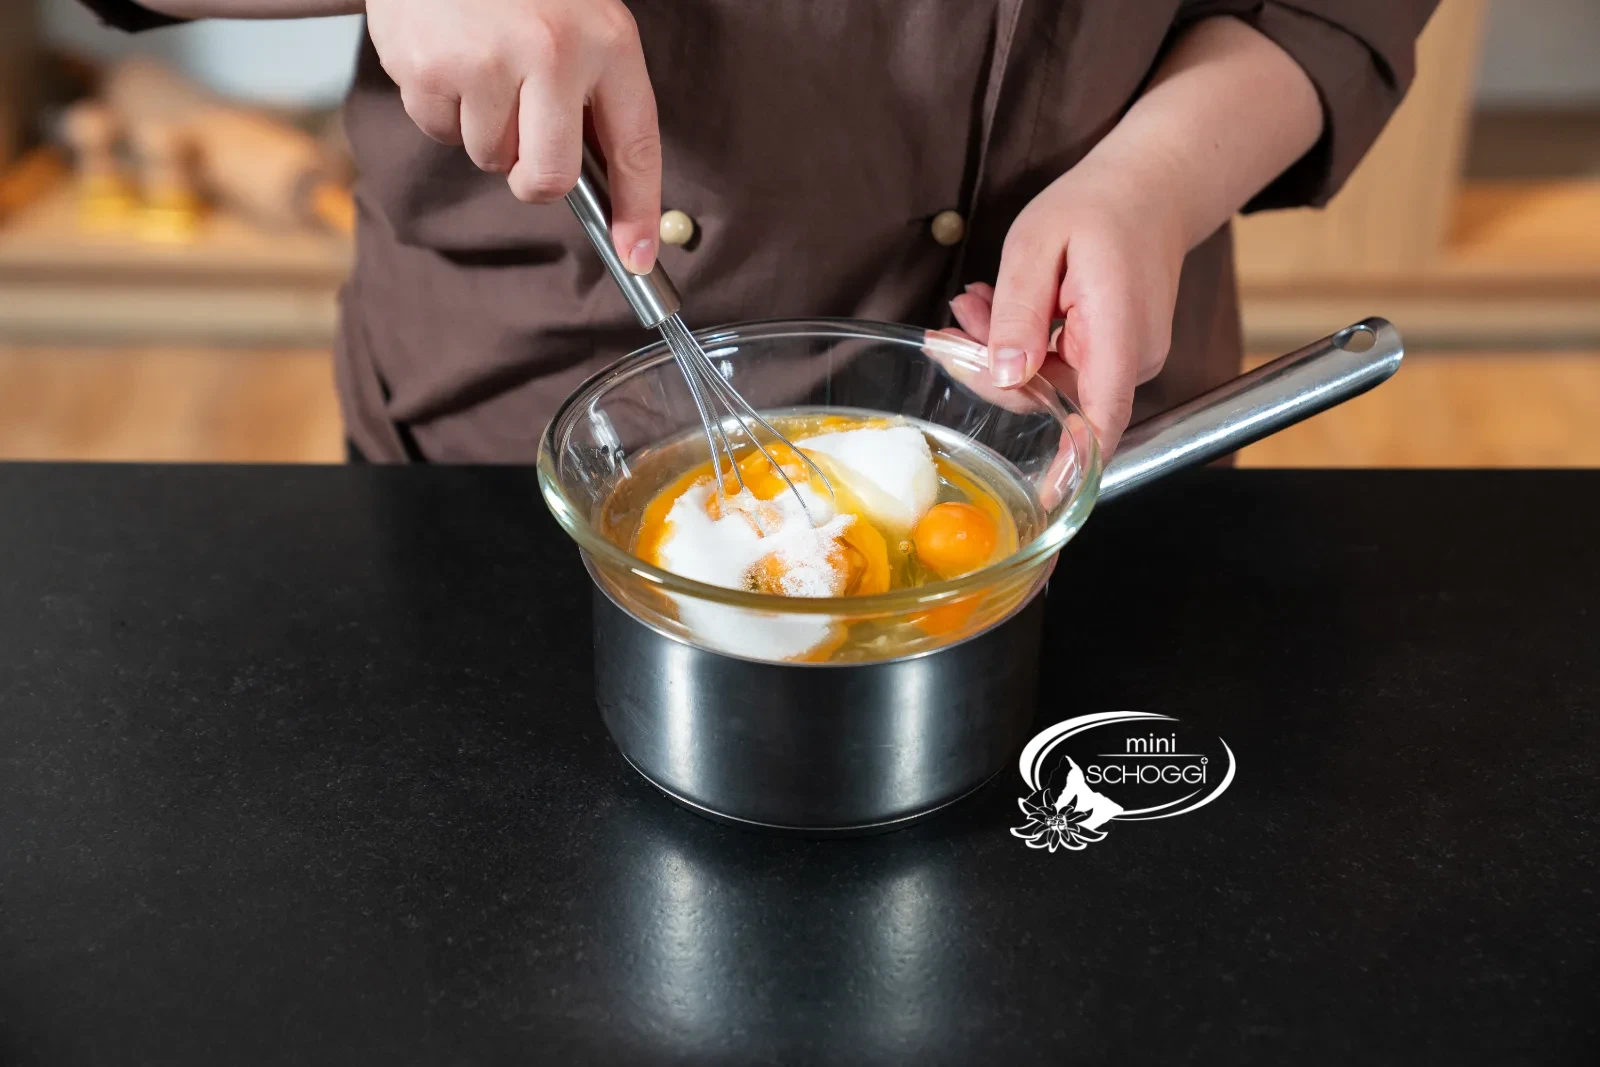
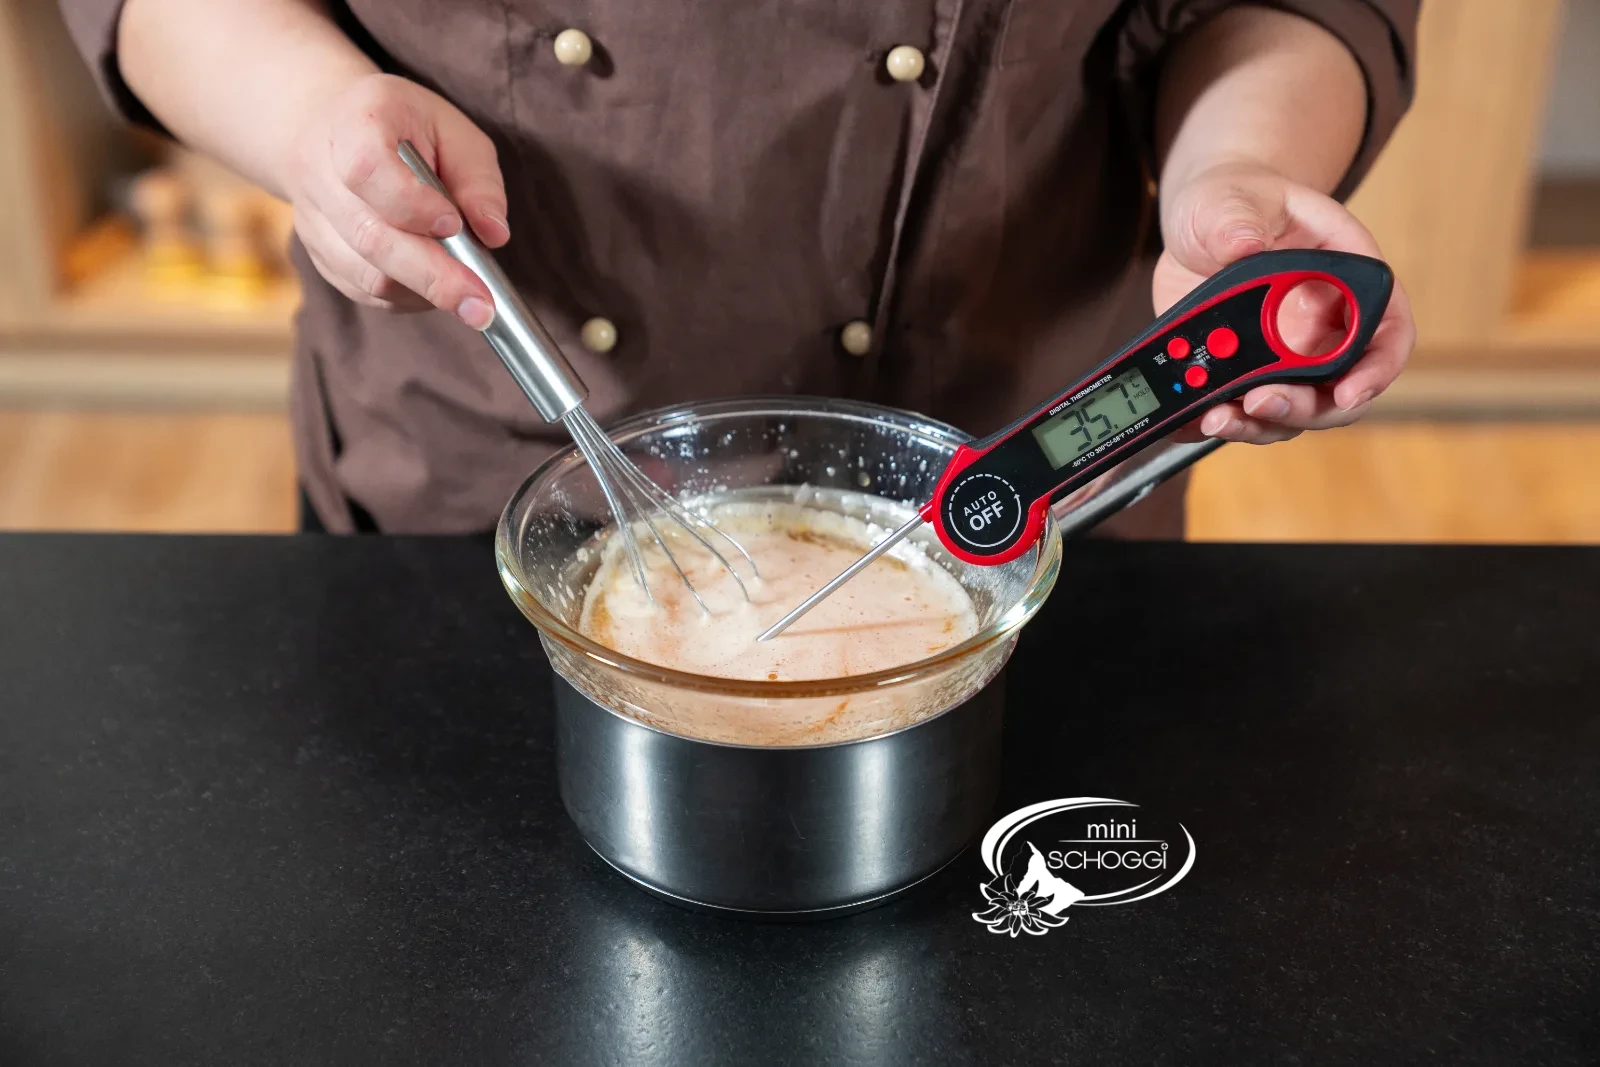
Preheat the oven to 200 °C fan. Put the sugar and whole egg into a stainless steel bowl and stir the mixture over a warm water bath with the Whisk until it turns lighter and reaches 35 °C. Finger test: pleasantly warm, and no more sugar crystals are noticeable. Make sure the mixture stays in constant motion and doesn't burn.
What you need for this


Whisk 25 cm
Digital thermometer, waterproof and foldable
2
Whip airy for 10 to 15 minutes
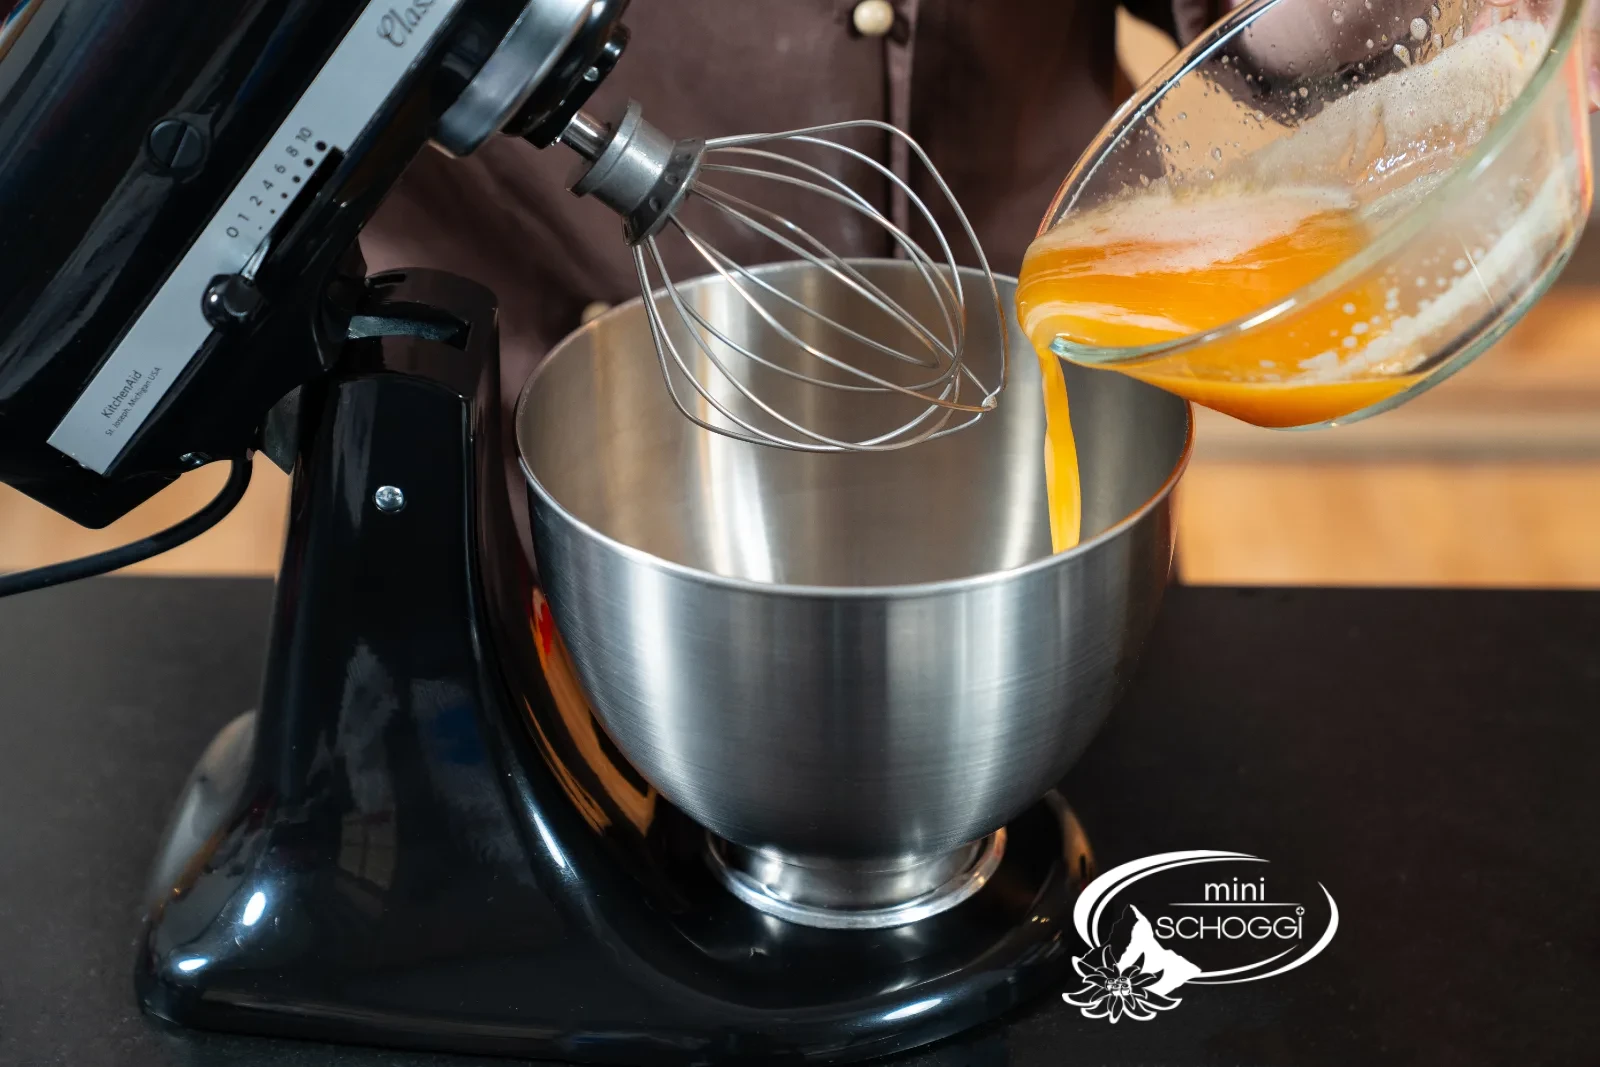
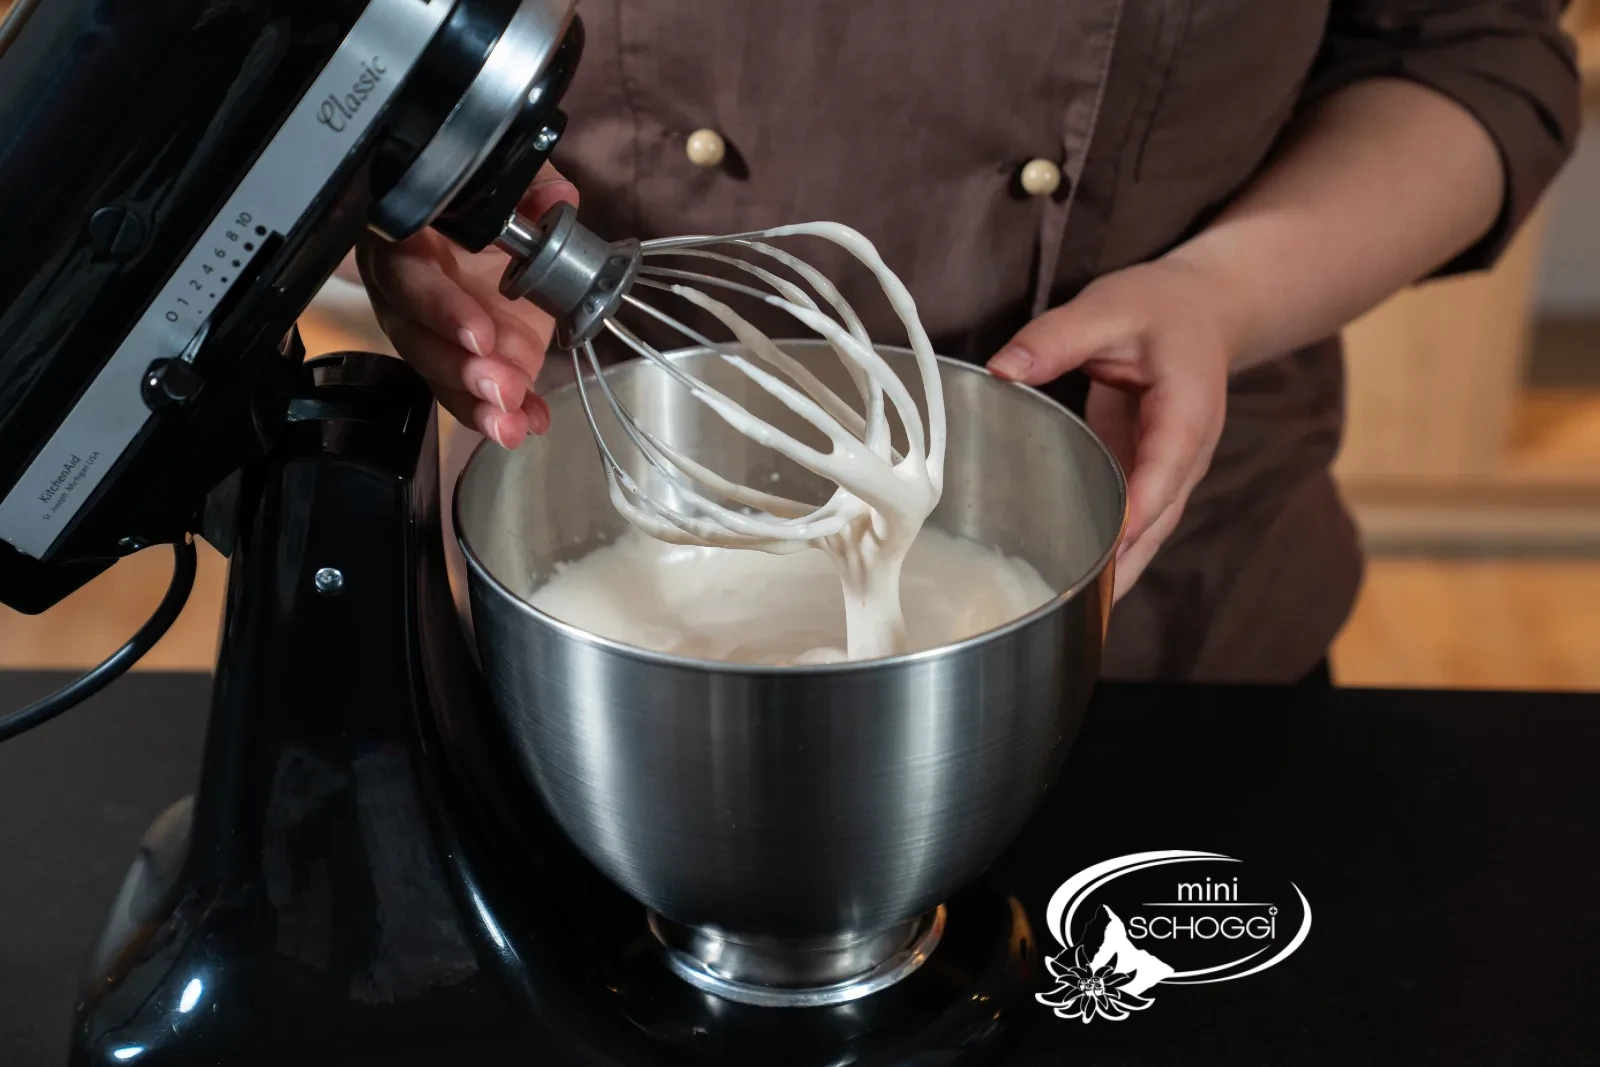
Once the mixture has reached 35 °C, take it off the water bath and whip it with the hand mixer or the stand mixer until it becomes airy and even lighter. Depending on the amount, this can easily take 10 to 15 minutes — don't let the time put you off, it's the whole trick to this sponge.
What you need for this

Hand mixer Styline
3
Fold in flour and starch
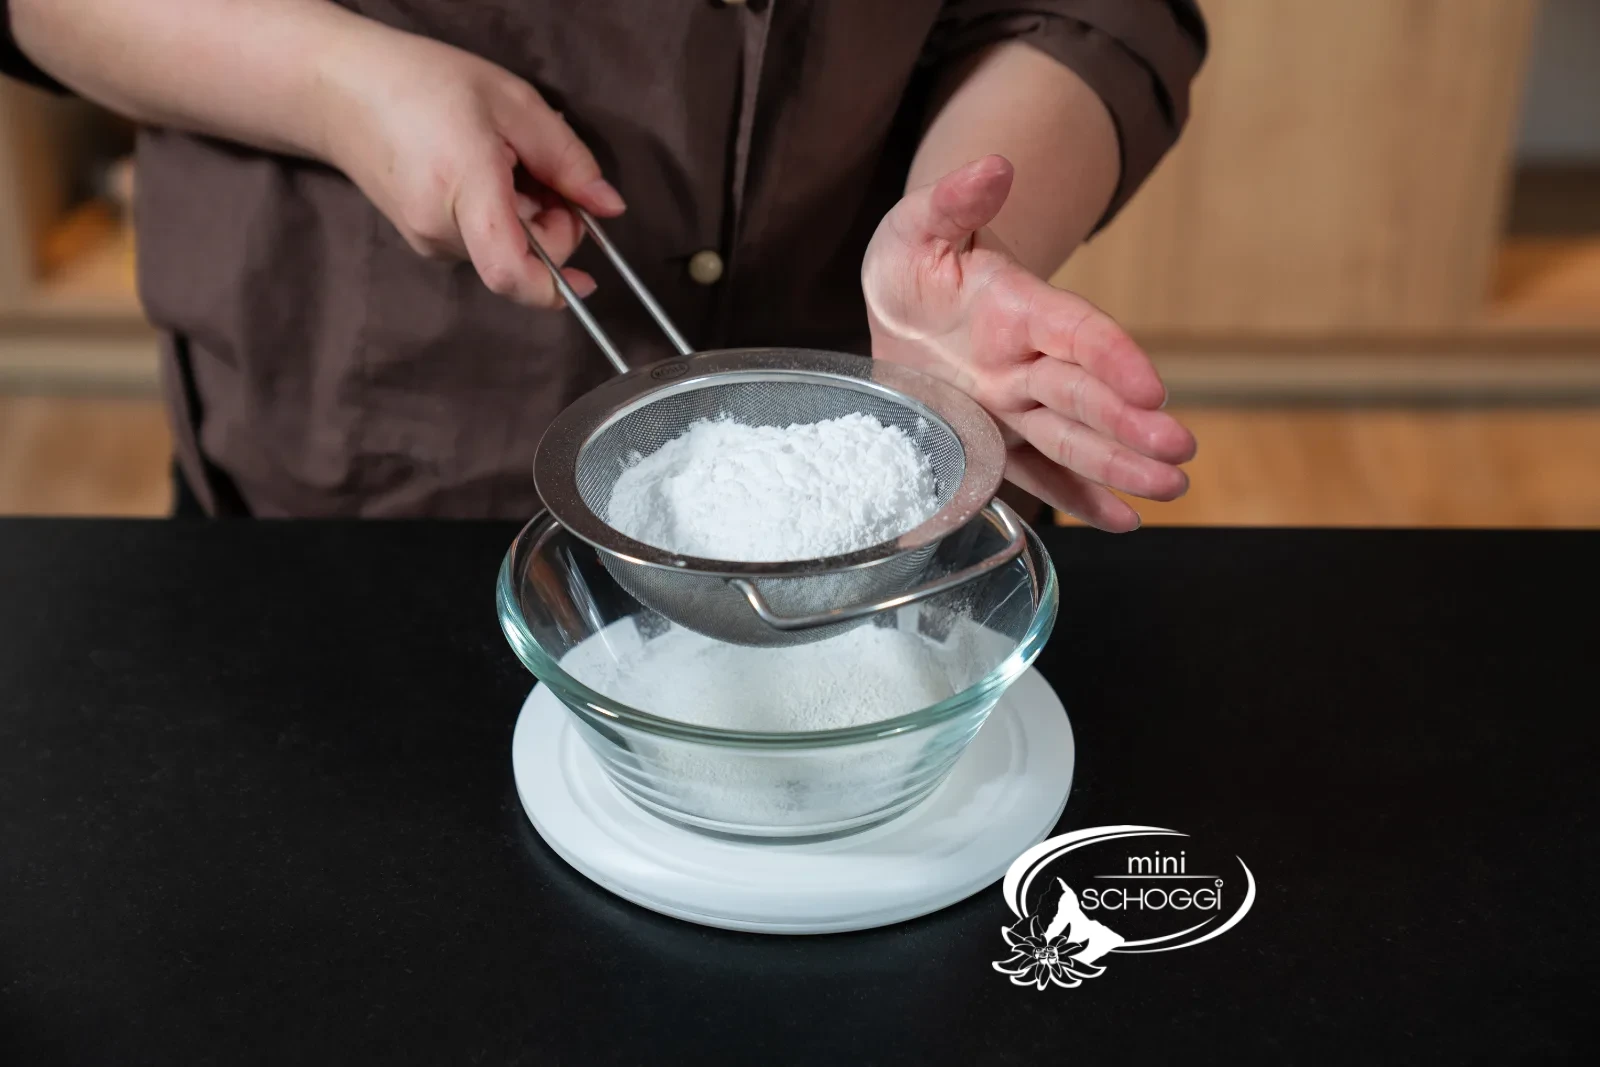
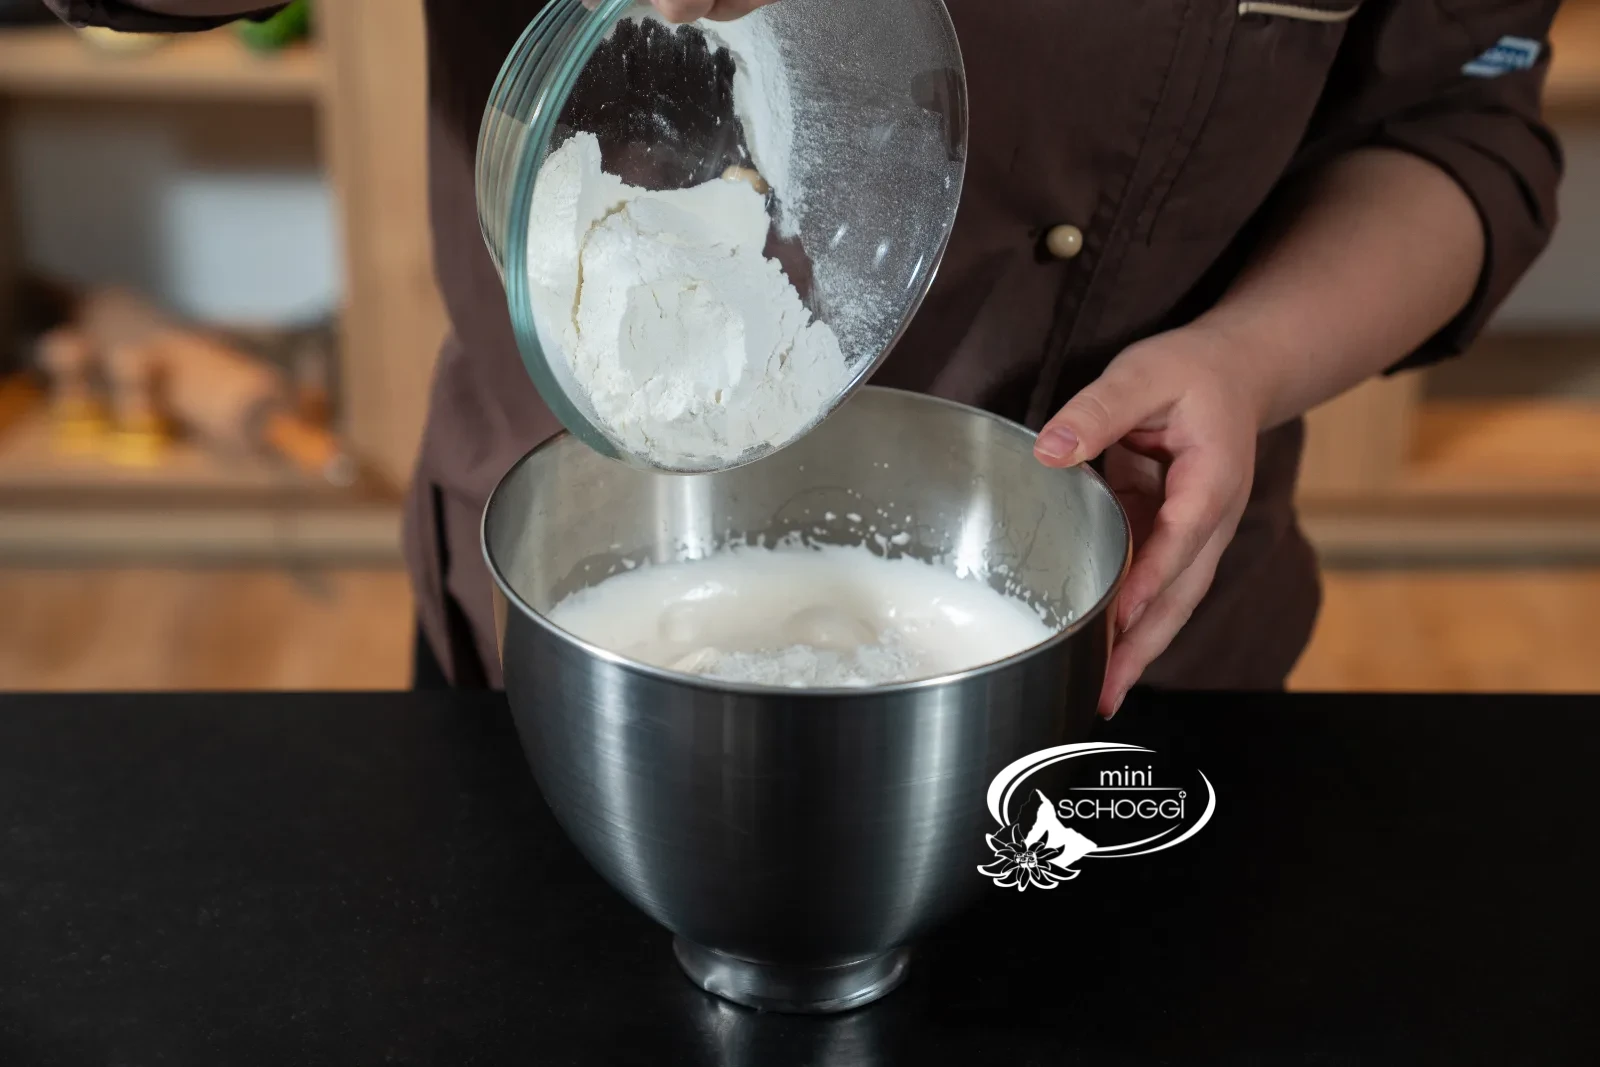
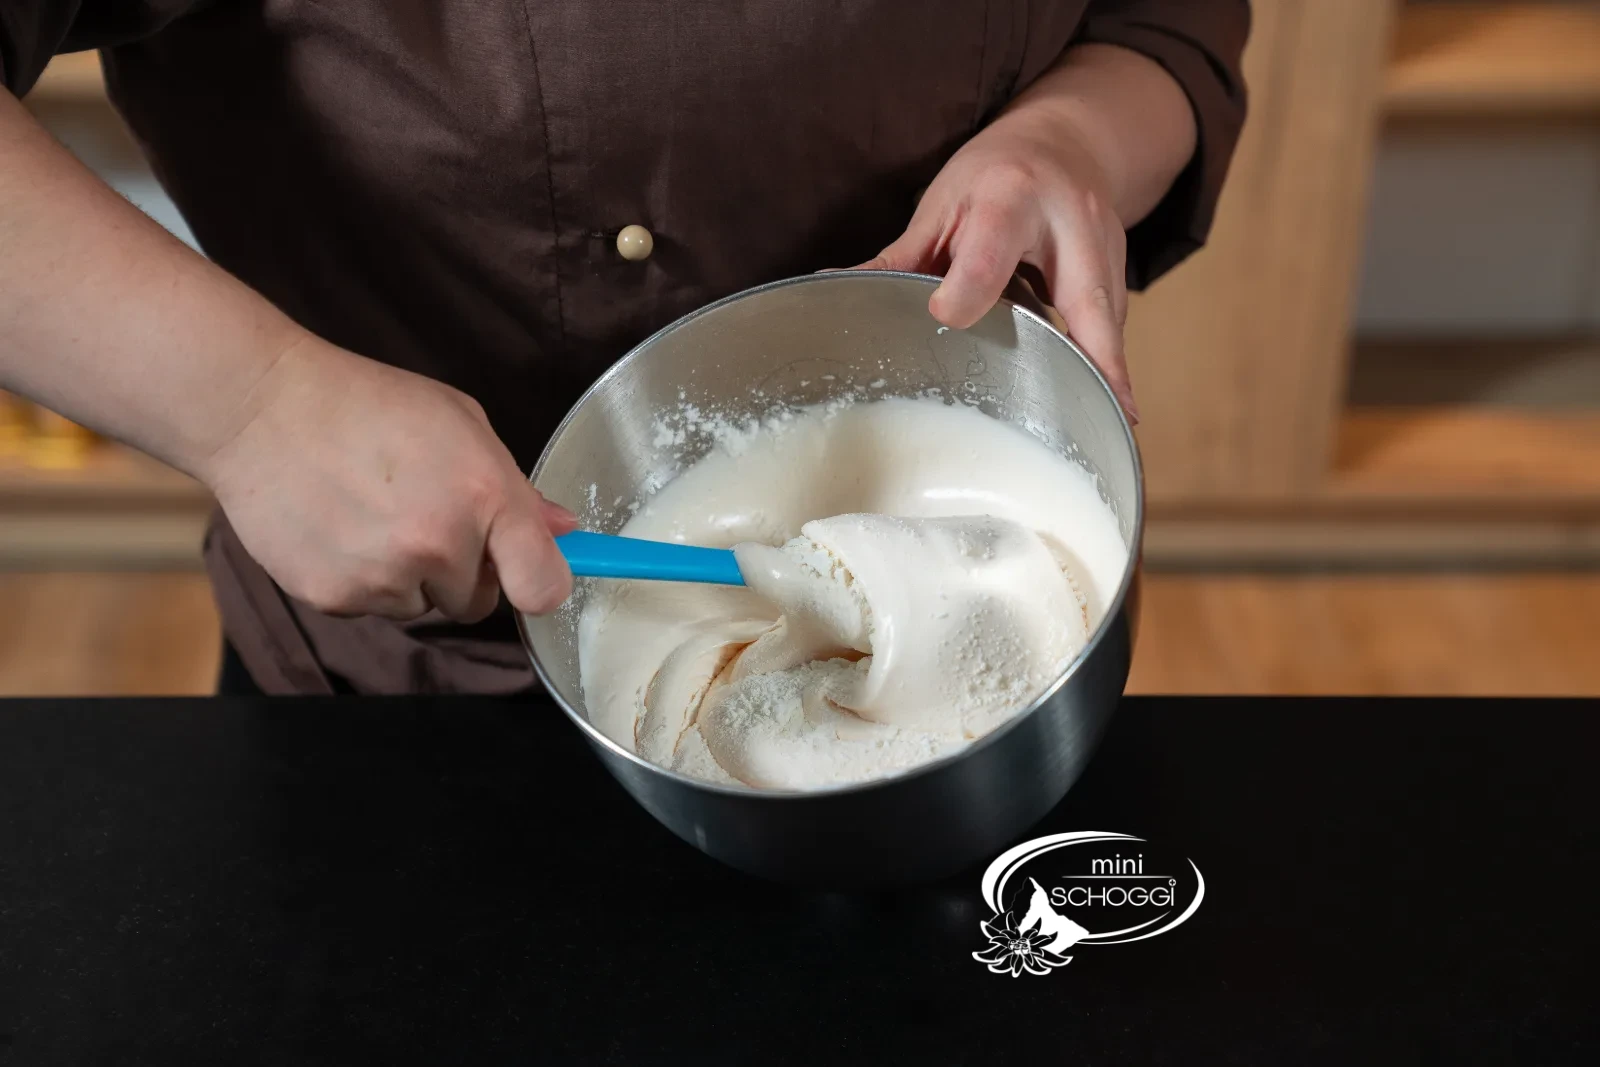
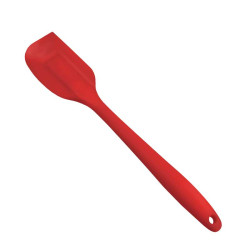
The mixture is whipped enough as soon as the whisk pattern stays on the surface and doesn't sink in. Mix White flour and starch and sieve both into the egg mixture. Carefully fold the sieved flour in by hand with a Rubber scraper. The mixture becomes thicker and collapses a little — that is normal. If you want to turn the sponge into an eye-catcher, add gel or oil-based dye now. Note: Metallic food paint and Powder color are not suitable.
What you need for this


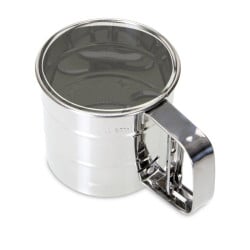
One-hand Flour sieve
Rubber scraper Red, large
4
Pour into the Cake ring and bake
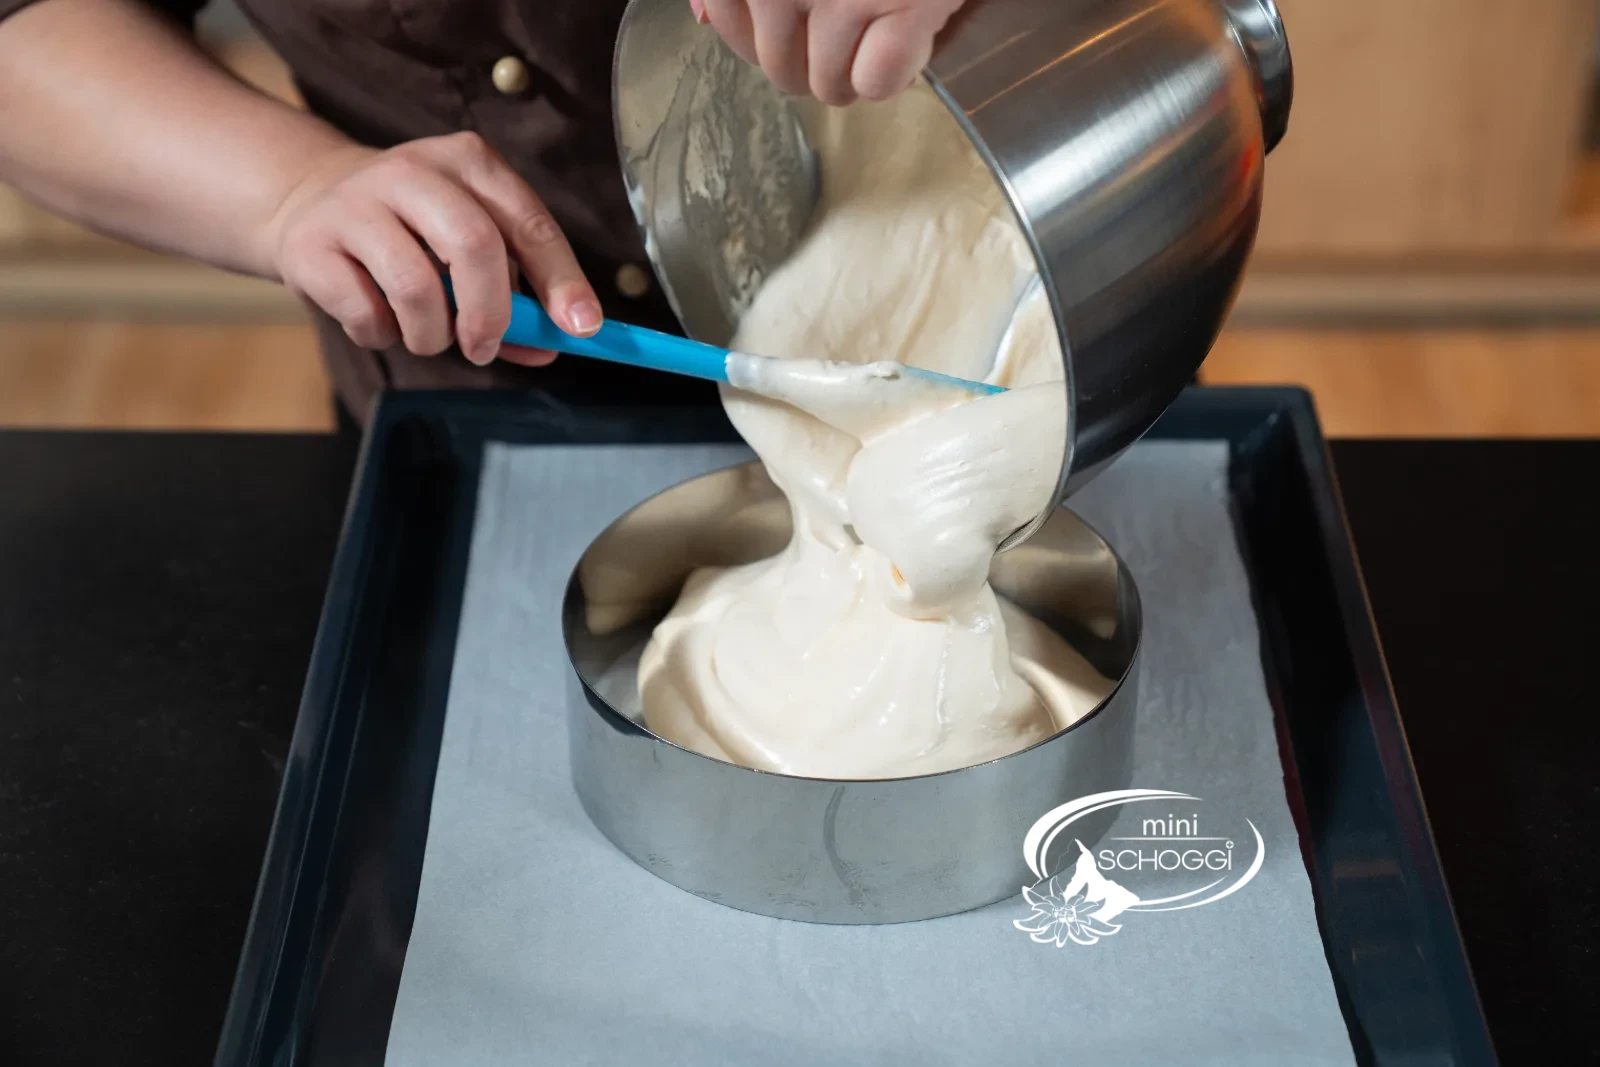
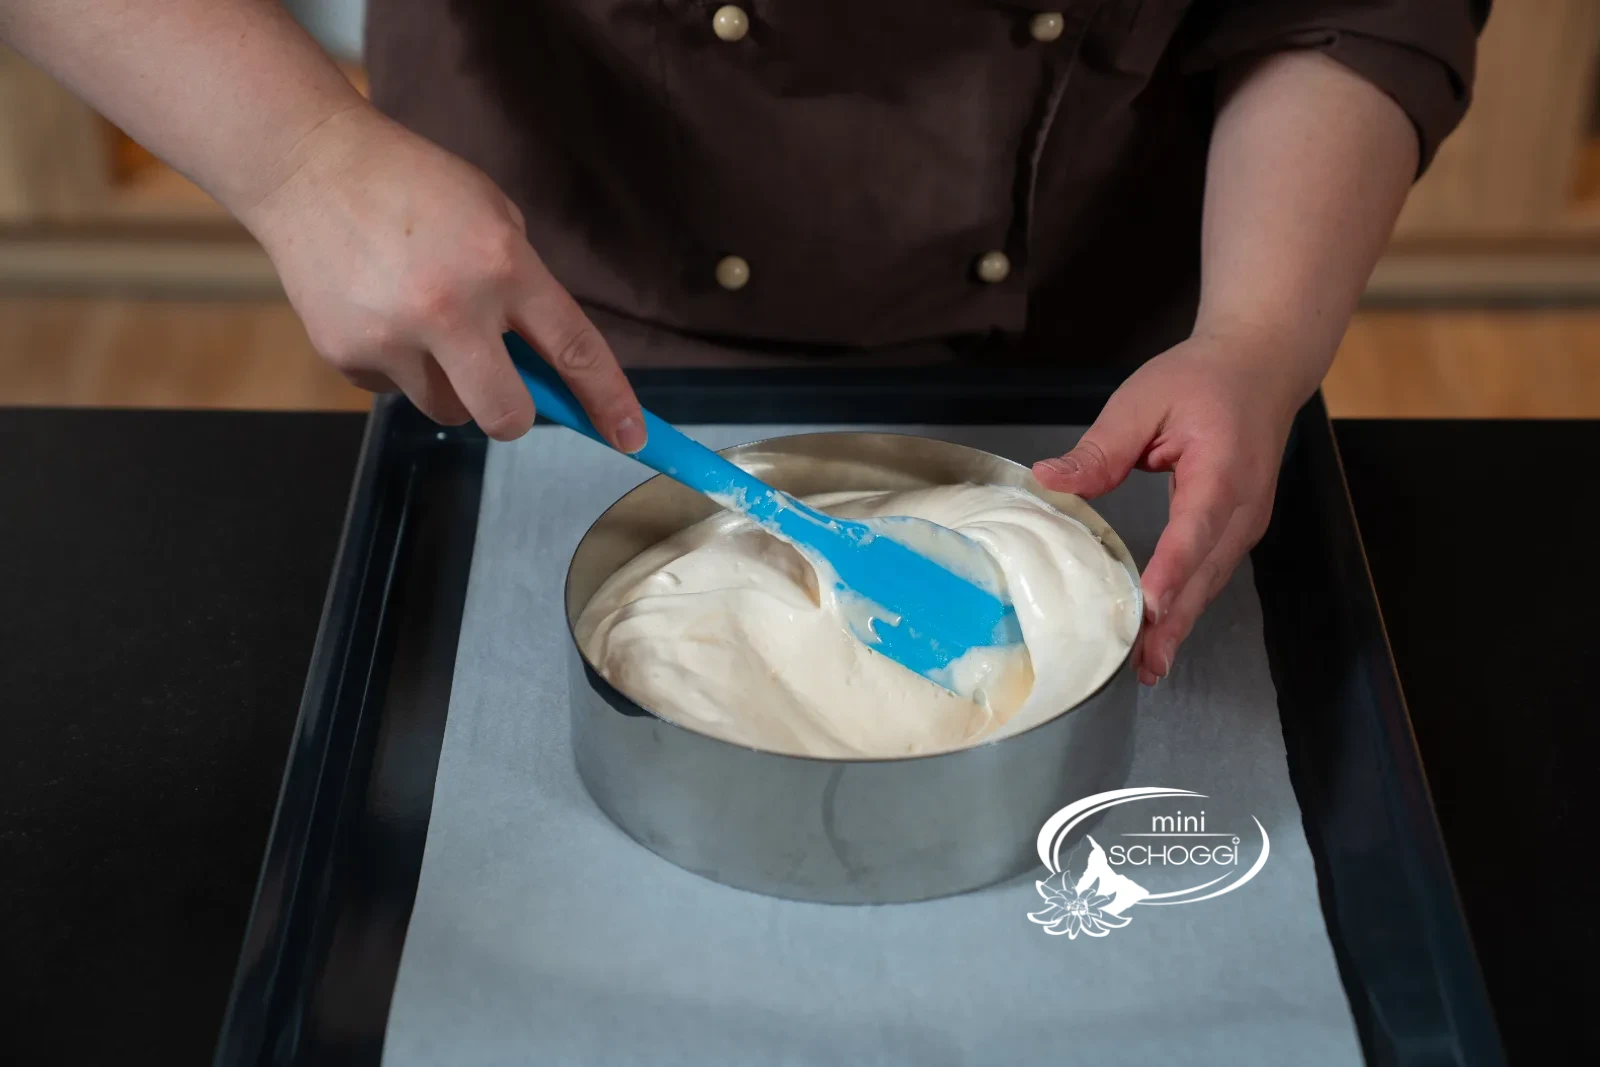
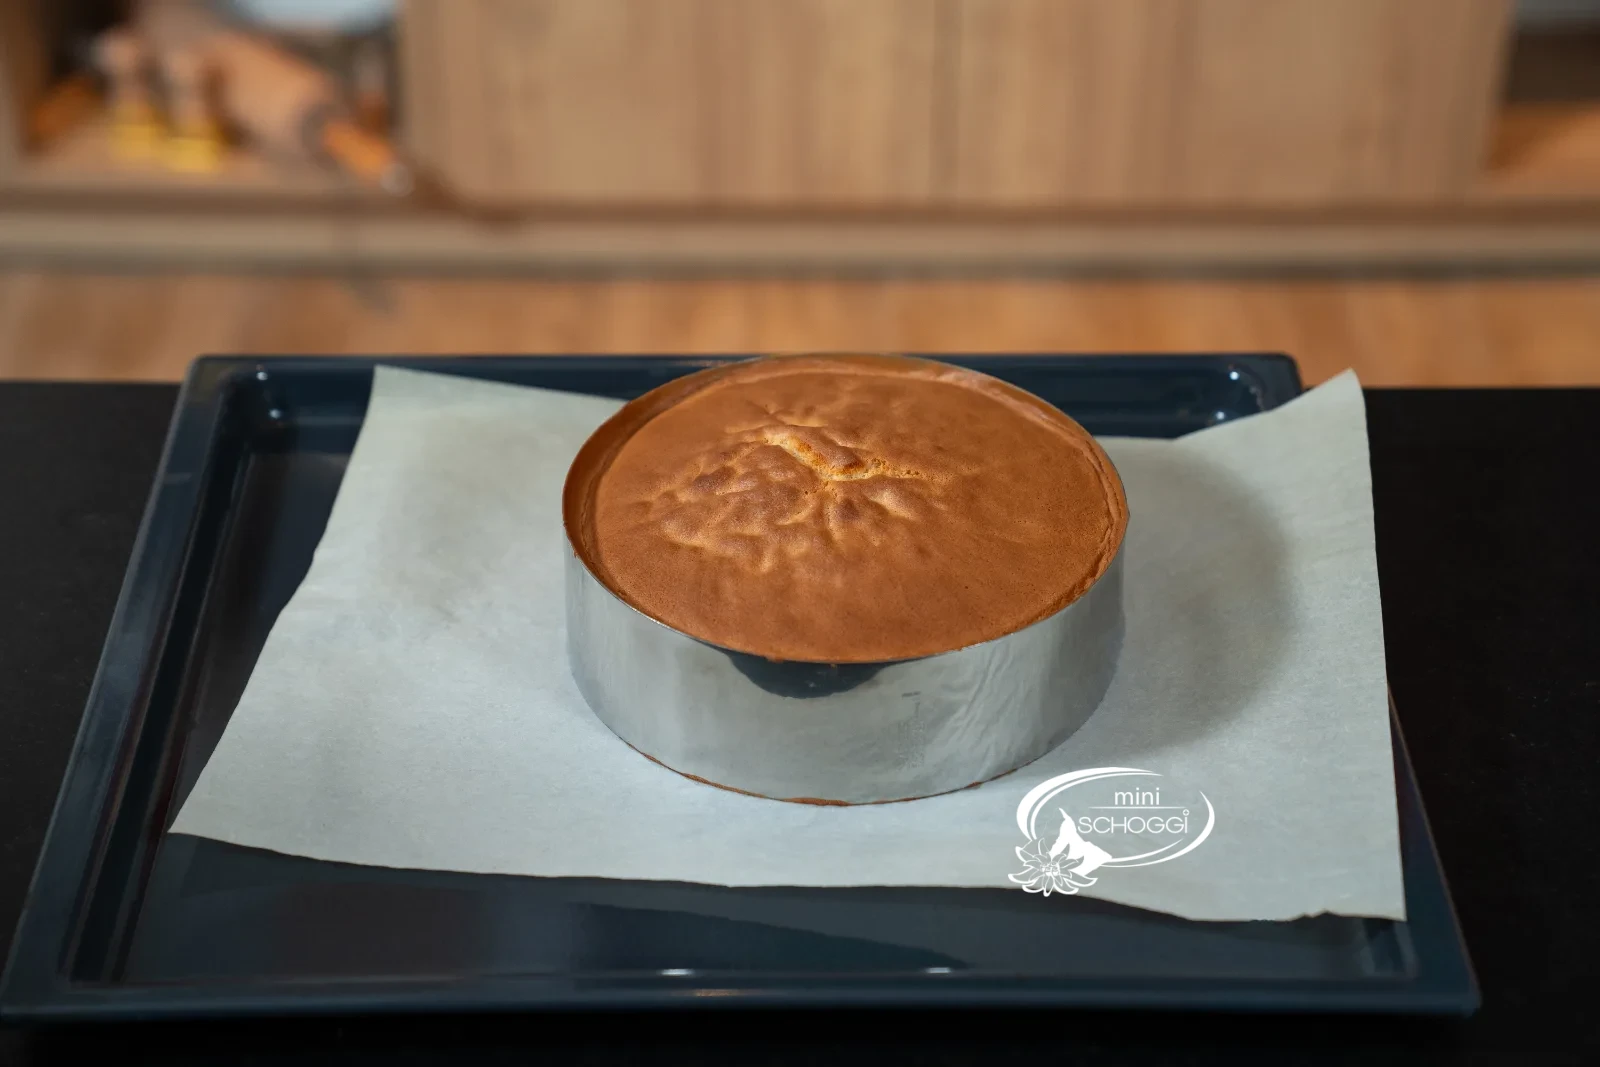
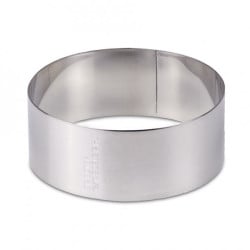
Place a Cake ring on the prepared Baking tray lined with baking paper and pour in the mixture. The Cake ring has no base and doesn't need to be greased; conventional Springform pans, on the other hand, always have to be greased and floured. Slide the sponge into the preheated oven immediately after filling and bake it at 200 °C for approx. 26 minutes. It's done as soon as you can gently press it down in the centre and it no longer "crackles".
What you need for this

Cake ring Ø 24 cm x 6 cm
Rubber scraper Red, large
5
Turn out, cool, release from the ring
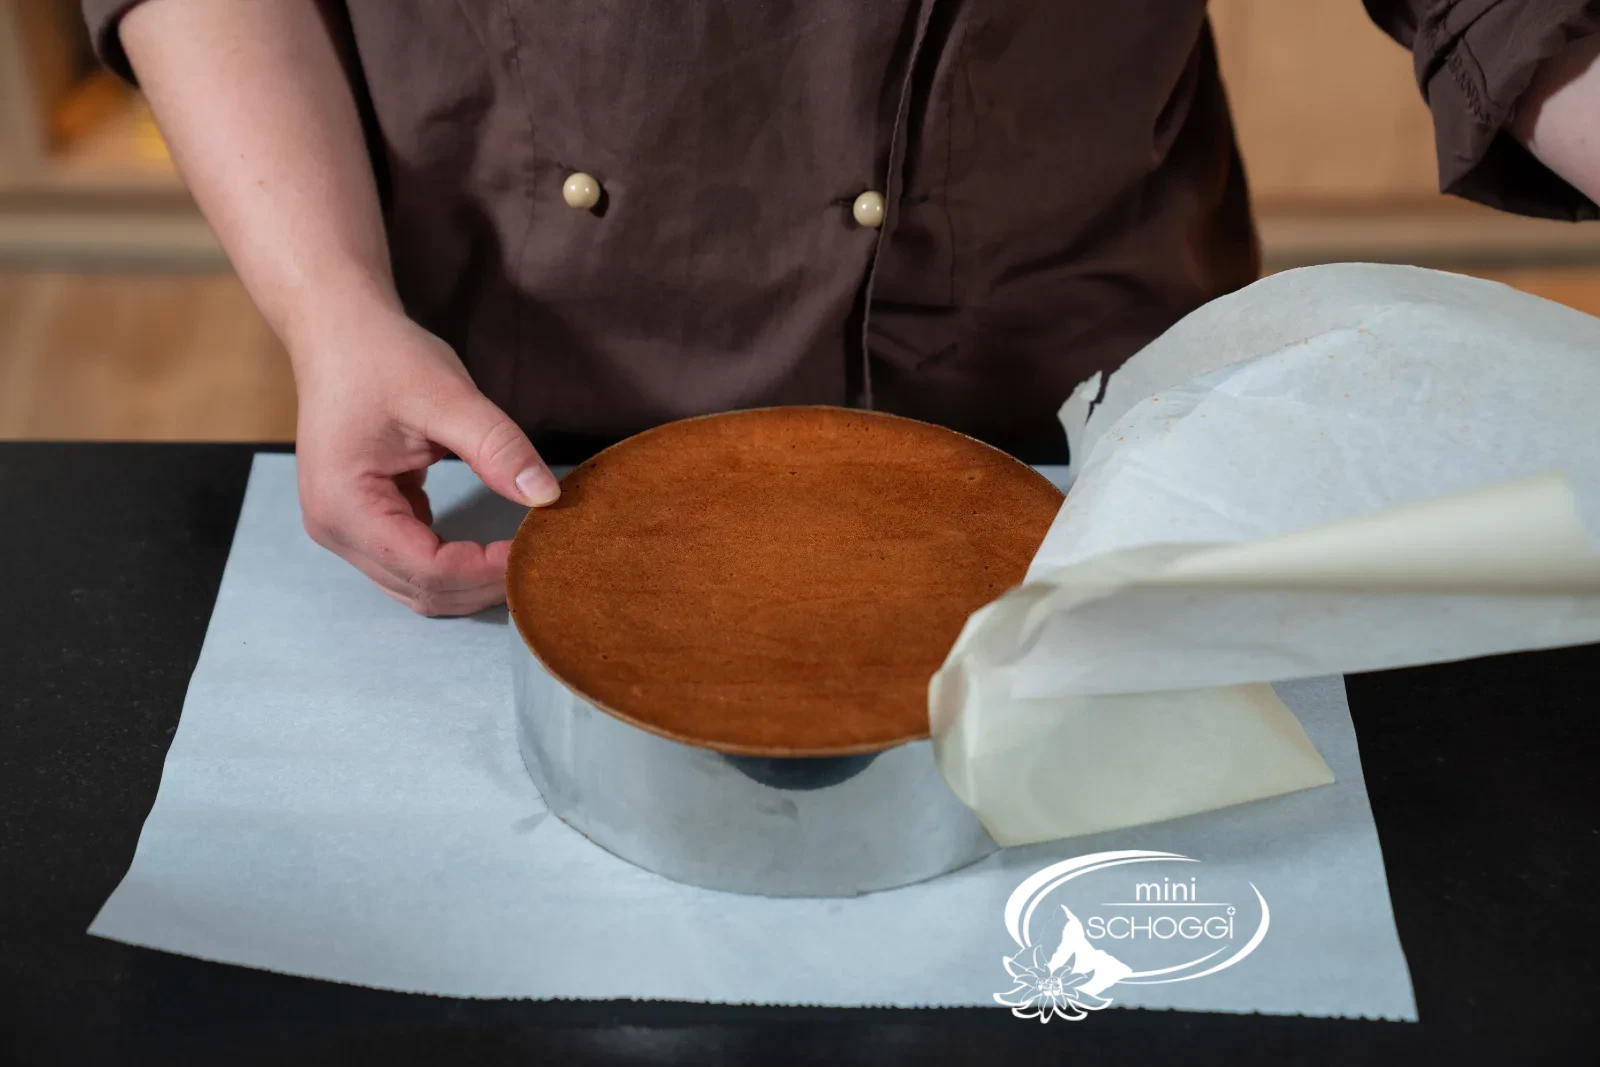
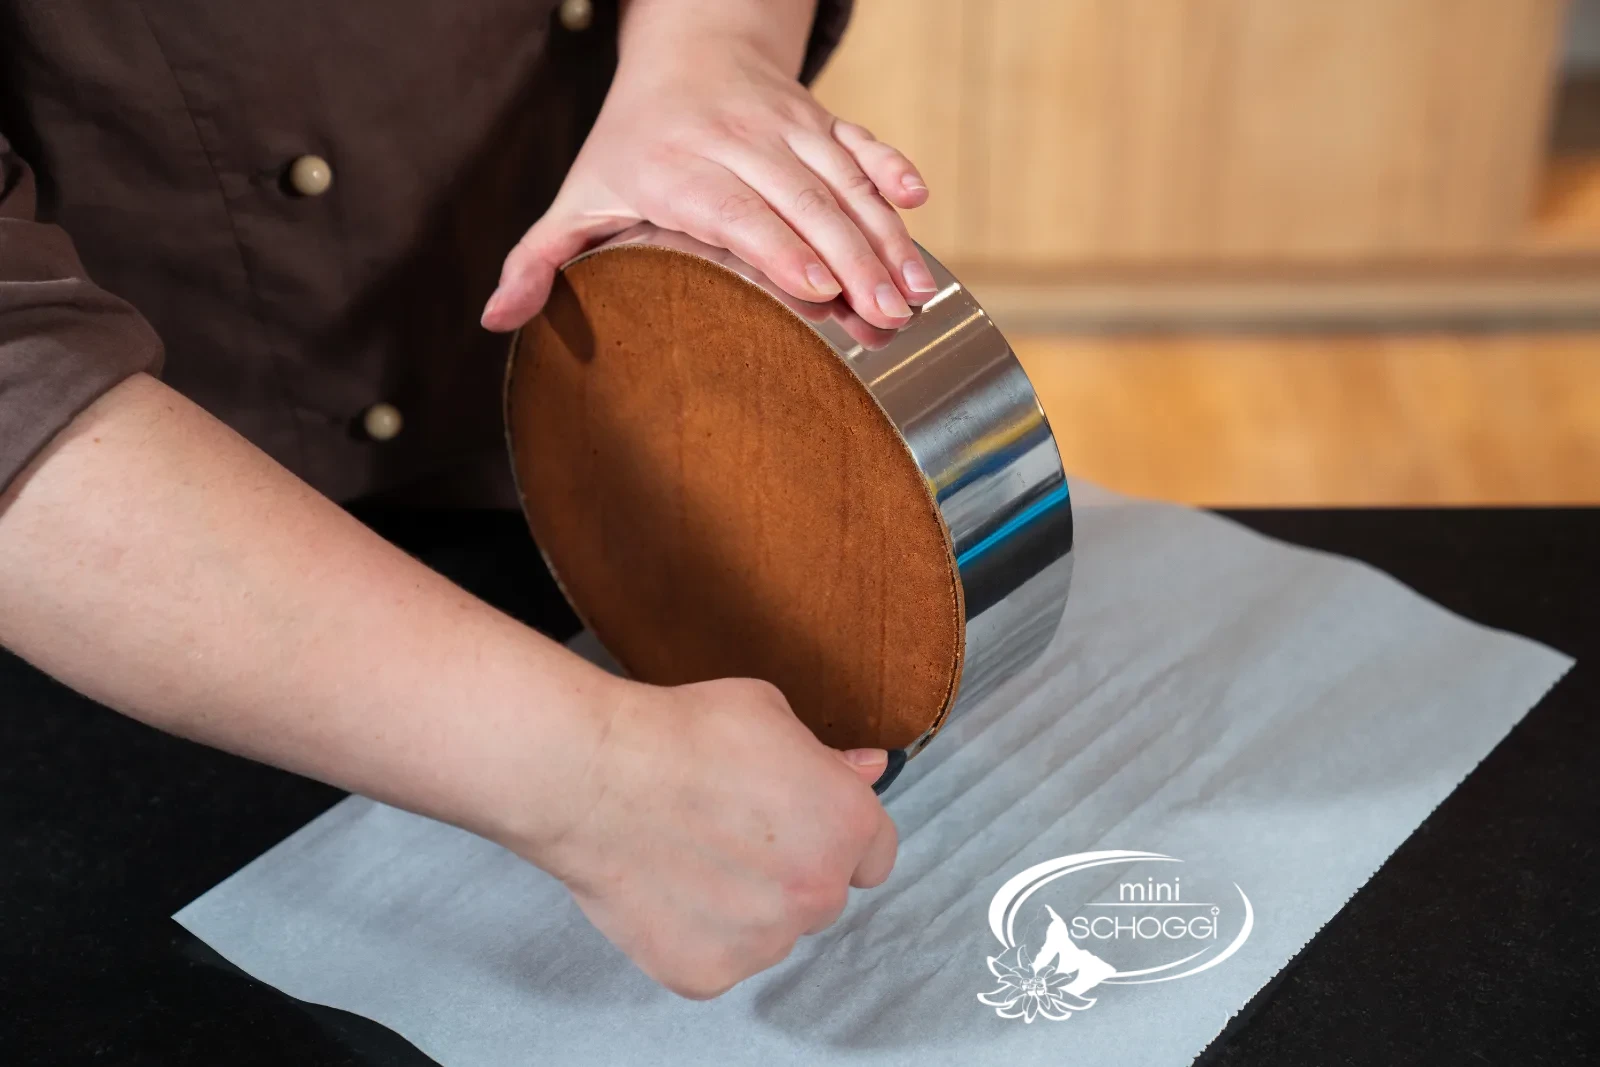
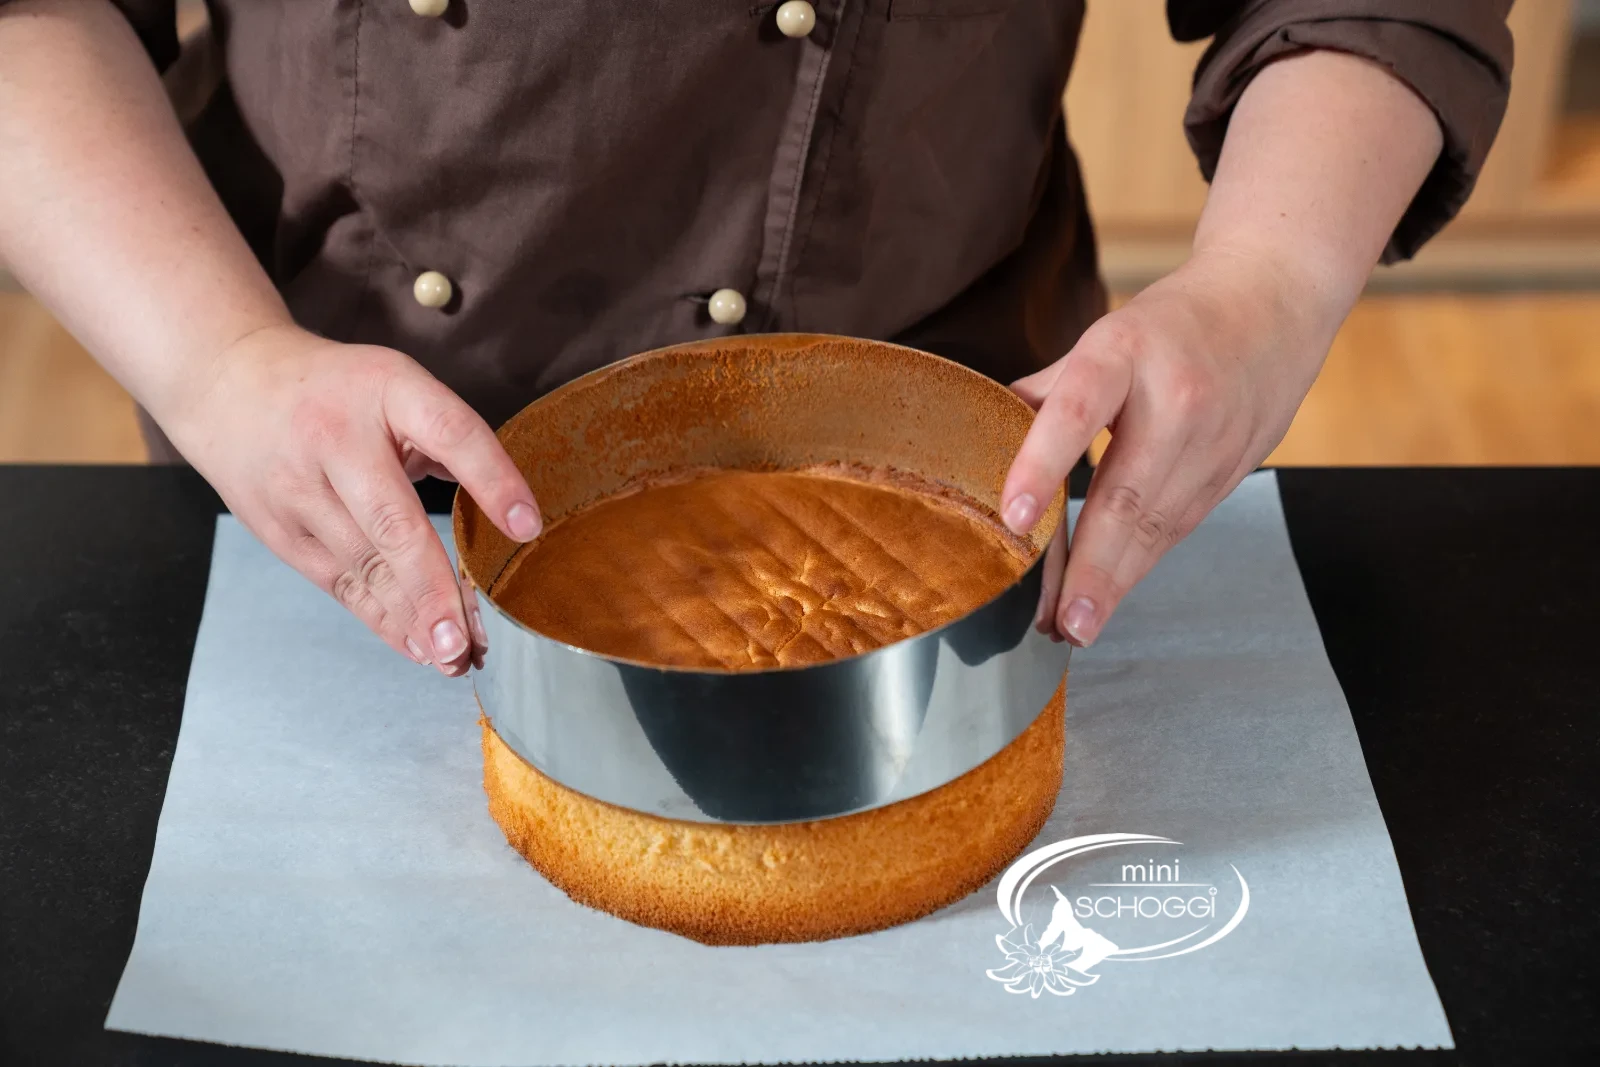
Take the sponge out of the oven and turn it out onto a sheet of baking paper — this way it stays nicely flat on top and bottom and doesn't bulge on one side. Then let it cool in the ring. Once it has cooled, run a Spatula or a cake ring knife along the ring and release it. The ring can be used again straight away for baking or put into the dishwasher.
6
Cut into slices the next day
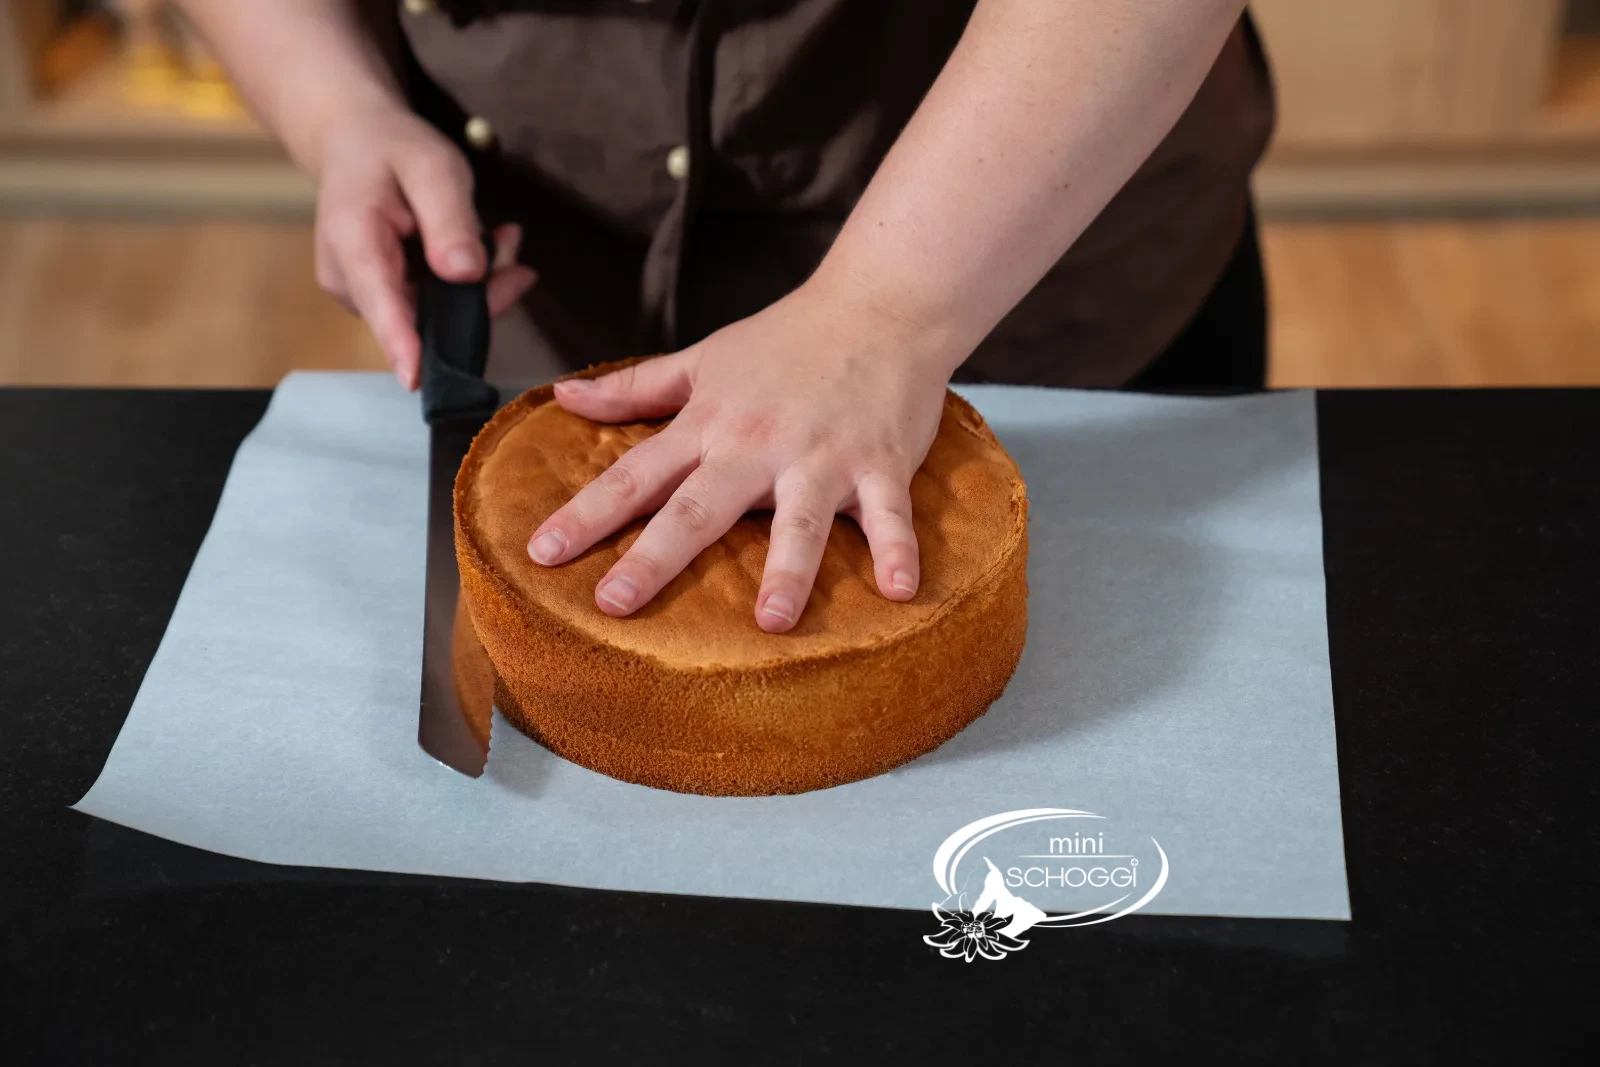
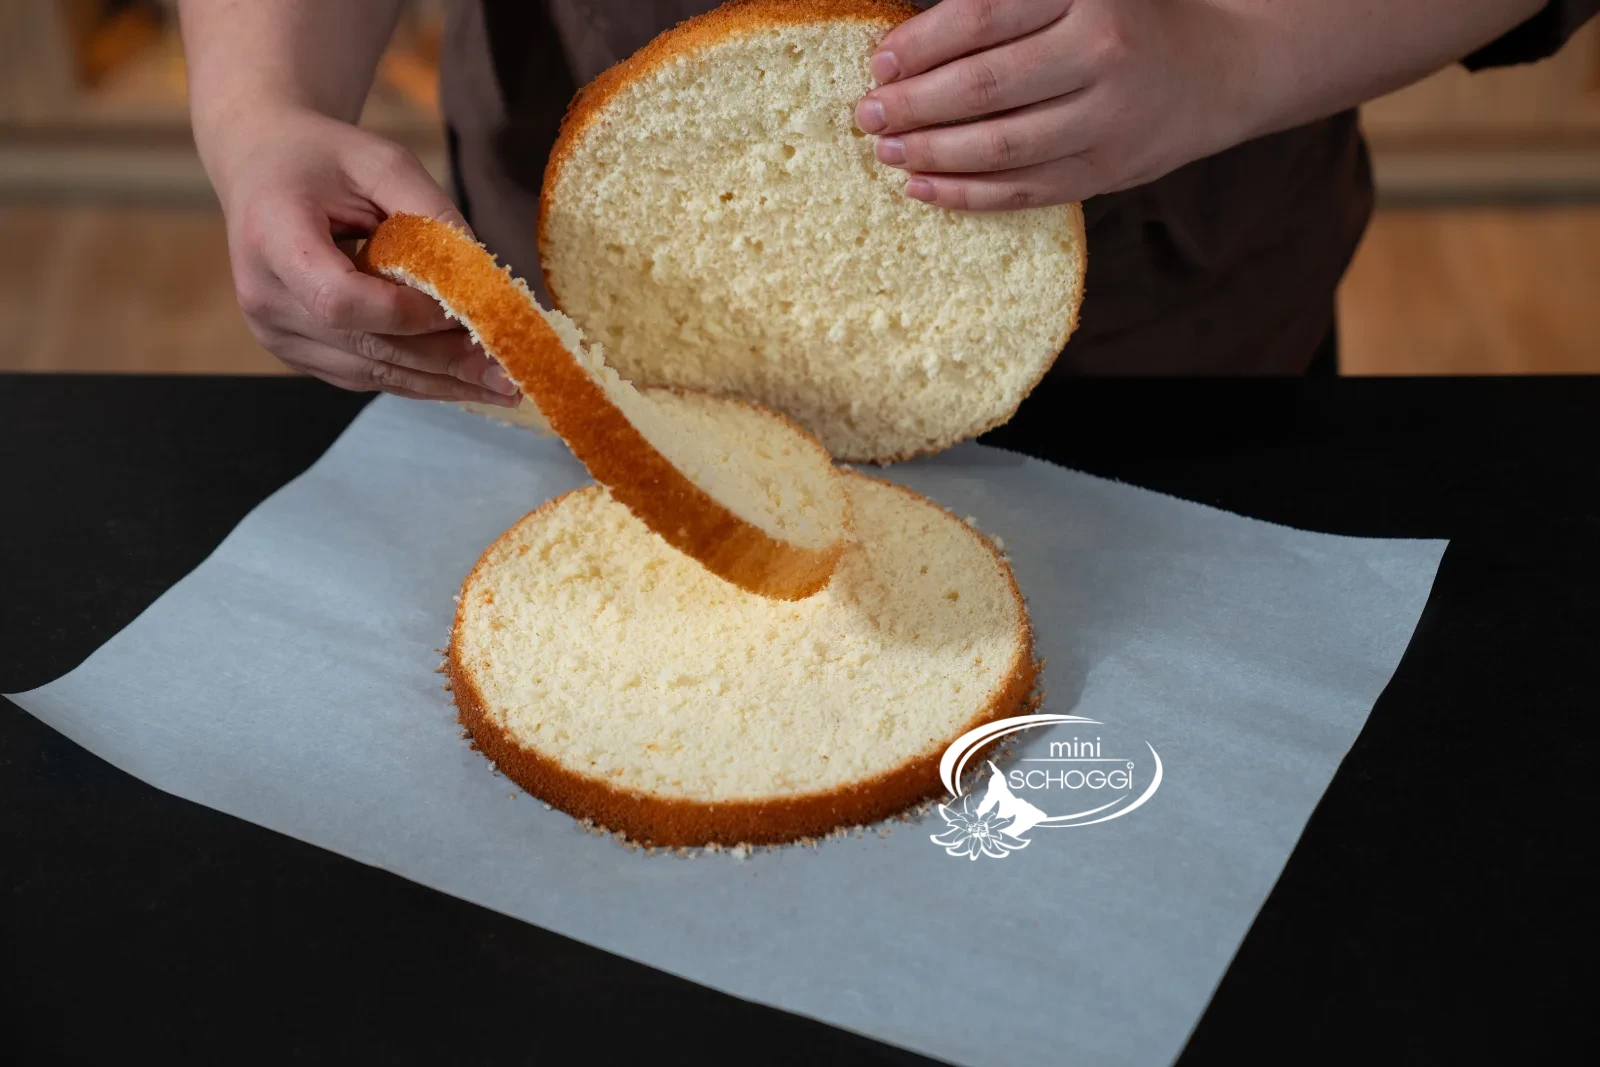
The sponge is much easier to cut a day later — fresh, it is still too soft for that. The easiest way is to divide it into slices of equal thickness with a Biscuit cutter. You can process the bases straight away or, wrapped in cling film, freeze them for up to 3 months.
Compact · printable
Sponge cake base
Ingredients
Quantity:
SPONGE BATTER
Preparation
- Warm: Stir 175 g sugar and 295 g whole egg over the water bath to 35 °C.
- Whip: Take off the water bath, whip light and airy for 10–15 min.
- Fold in: Sieve in 145 g flour with 40 g starch and fold in by hand.
- Bake: Pour into the Cake ring Ø 24 cm, approx. 26 min. at 200 °C fan.
- Turn out: Turn out onto baking paper, cool in the ring, then release.
- Cut: The next day, divide into slices of equal thickness.
Nutritional values per 100 g
275kcal
4.5 gFat
49.4 gCarbohydrates
8.1 gProtein
Storage & shelf life
Well wrapped in cling film, the finished sponge keeps for up to a week in the fridge. At room temperature it works too, but in the fridge it stays moist longer. It can be frozen for up to 3 months — just always make sure it's well wrapped in film.
Everything for this recipe
Recommended from our bakery — exactly the sizes the recipe was tested with.
Ingredients
White flour, 1 kg
Equipment
Cake ring Ø 24 cm x 6 cm
Whisk 25 cm
Hand mixer Styline
One-hand Flour sieve
Rubber scraper Red, large
Digital thermometer, waterproof and foldable
Delivery in 1–2 working days · Free shipping from CHF 100
Nice with it
Not needed for the recipe — but it goes well.
Cake ring Ø 14 cm x 6 cm
Cake ring Ø 16 cm x 6 cm
Cake ring Ø 18 cm x 6 cm
Cake ring Ø 20 cm x 6 cm
Cake ring Ø 22 cm x 6 cm
Cake ring Ø 26 cm x 6 cm
Cake ring Ø 28 cm x 6 cm
So it turns out perfectly every time
The Whisk pattern is the test
Whether the sponge turns out airy is decided before the flour: pull out the Whisk and look at the surface. If the pattern stays put and doesn't sink in, the mixture is whipped enough. If it collapses, keep whipping — the 10 to 15 minutes are really necessary.
A different size? The cake converter does the maths
Don't have a round pan in Ø 24 cm or need a different size? Then use our cake converter: you enter all the ingredients with their amounts, and it converts them to the size you specify.
295 g whole egg — on the scale, not by counting pieces
The amount is given in grams because eggs vary in size. As a guide: an egg without its shell weighs around 50 g, so for 295 g you need about six. Beat them and weigh — with the sponge, the ratio of egg to flour is the whole difference between airy and flat.
Frequently asked questions
Because a warm egg mixture takes up much more air. At 35 °C the sugar crystals dissolve completely, and the mixture can then be whipped into a stable, light foam. Whipped cold, the sponge stays flatter and denser.
Yes, and it's particularly well suited for it because it's naturally light. Add the colour after folding in the flour and use **gel or oil-based dye**. Metallic food paints and Powder colors are not suitable: the one brings too much water into the mixture, the other doesn't dissolve properly.
Both work, but they are prepared differently. The Cake ring has no base and doesn't need to be greased — the batter clings to the wall and rises up nicely. A conventional Springform pan always has to be greased and floured.
Print recipe
Choose what should appear on the printout.
Related products
Cake ring Ø 14 cm x 6 cm
Price: CHF18.90
Rated out of 5 stars based on
review(s)
bitte einloggen
Become a professional pastry chef in your kitchen! The cake ring Ø 14 x 6 cm...
Cake ring Ø 16 cm x 6 cm
Price: CHF19.90
Rated out of 5 stars based on
review(s)
bitte einloggen
Become a professional pastry chef in your kitchen! A cake ring is perfect for...
Cake ring Ø 18 cm x 6 cm
Price: CHF20.90
Rated out of 5 stars based on
review(s)
bitte einloggen
Become a professional pastry chef in your kitchen! The cake ring Ø 18 x 6 cm...
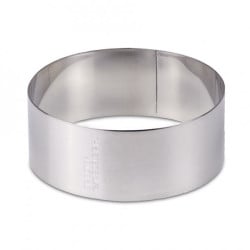
Cake ring Ø 20 cm x 6 cm
Price: CHF21.90
Rated out of 5 stars based on
review(s)
bitte einloggen
Become a professional pastry chef in your kitchen! The cake ring Ø 20 x 6 cm...
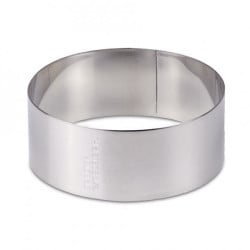
Cake ring Ø 22 cm x 6 cm
Price: CHF22.90
Rated out of 5 stars based on
review(s)
bitte einloggen
Become a professional pastry chef in your kitchen! The cake ring Ø 22 x 6 cm...
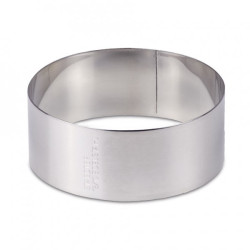
Cake ring Ø 24 cm x 6 cm
Price: CHF23.90
Rated out of 5 stars based on
review(s)
bitte einloggen
Become a professional pastry chef in your kitchen! The cake ring Ø 24 x 6 cm...
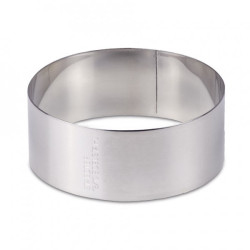
Cake ring Ø 26 cm x 6 cm
Price: CHF25.90
Rated out of 5 stars based on
review(s)
bitte einloggen
Become a professional pastry chef in your kitchen! The cake ring Ø 26 x 6 cm...
Cake ring Ø 28 cm x 6 cm
Price: CHF26.90
Rated out of 5 stars based on
review(s)
bitte einloggen
Become a professional pastry chef in your kitchen! The cake ring Ø 28 x 6 cm...
Single Hand Flour Sifter
Price: CHF14.90
Rated out of 5 stars based on
review(s)
bitte einloggen
With the one-hand flour sifter, you sift loosely from the wrist and have...
White flour, 1 kg
Price: CHF4.50
Rated out of 5 stars based on
review(s)
bitte einloggen
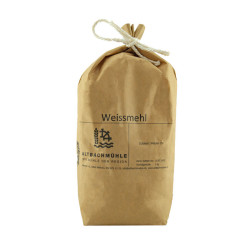
White flour is suitable for pastries of all kinds, from bread to cakes to...

Whisk 25 cm
Price: CHF8.90
Rated out of 5 stars based on
review(s)
bitte einloggen
Every kitchen needs some basic equipment, and this includes a sturdy whisk....
Rubber scraper Red, large
Price: CHF9.90
Rated out of 5 stars based on
review(s)
bitte einloggen
The rubber scraper red is made of silicone, which protects pots and bowls...
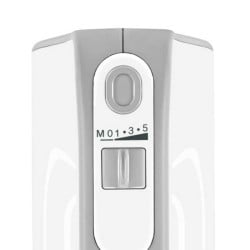
Hand mixer Styline
Price: CHF108.90
Rated out of 5 stars based on
review(s)
bitte einloggen
Constant stirring with a whisk is a real pain in the arms. An egg white foam,...
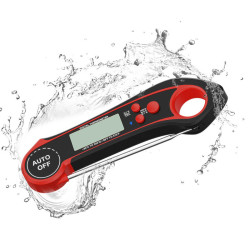
Digital thermometer, waterproof as well as foldable
Price: CHF29.50
Rated out of 5 stars based on
review(s)
bitte einloggen
For many treats, maintaining a certain temperature is essential. In a...
Bewertungen
Leave a comment
Comments
-
Verständliche Erklärung
By: Jonas On 2025-03-07Dieses Rezept ist super verständlich und gut detailliert erklärt. Das Biskuit ist mir als Anfänger gut gelungen und ist sehr luftig und lecker!
Related posts
 Make your own chocolate Easter bunnies
You can easily make your own Easter bunnies at home! You can find out how to do it and what you need here. A sweet...
Read more
Make your own decorative Swiss roll
Make your own decor roulade - we'll explain exactly how in this blog, with lots of tips and tricks from our...
Read more
Cinnamon Star Biscuits Recipe
Make your own cinnamon stars with the help of our professionals, with lots of tips & tricks to bake the best...
Read more
How can I convert a cake recipe?
Converting a cake recipe, whether a sponge or a cake filling, is easy with our conversion table.
Read more
Chocolates with mulled wine jelly
A wonderfully wintry Christmas jelly, which is ideal as a praline or macaron filling.
Read more