
Walnut Pralines with Nut Ganache
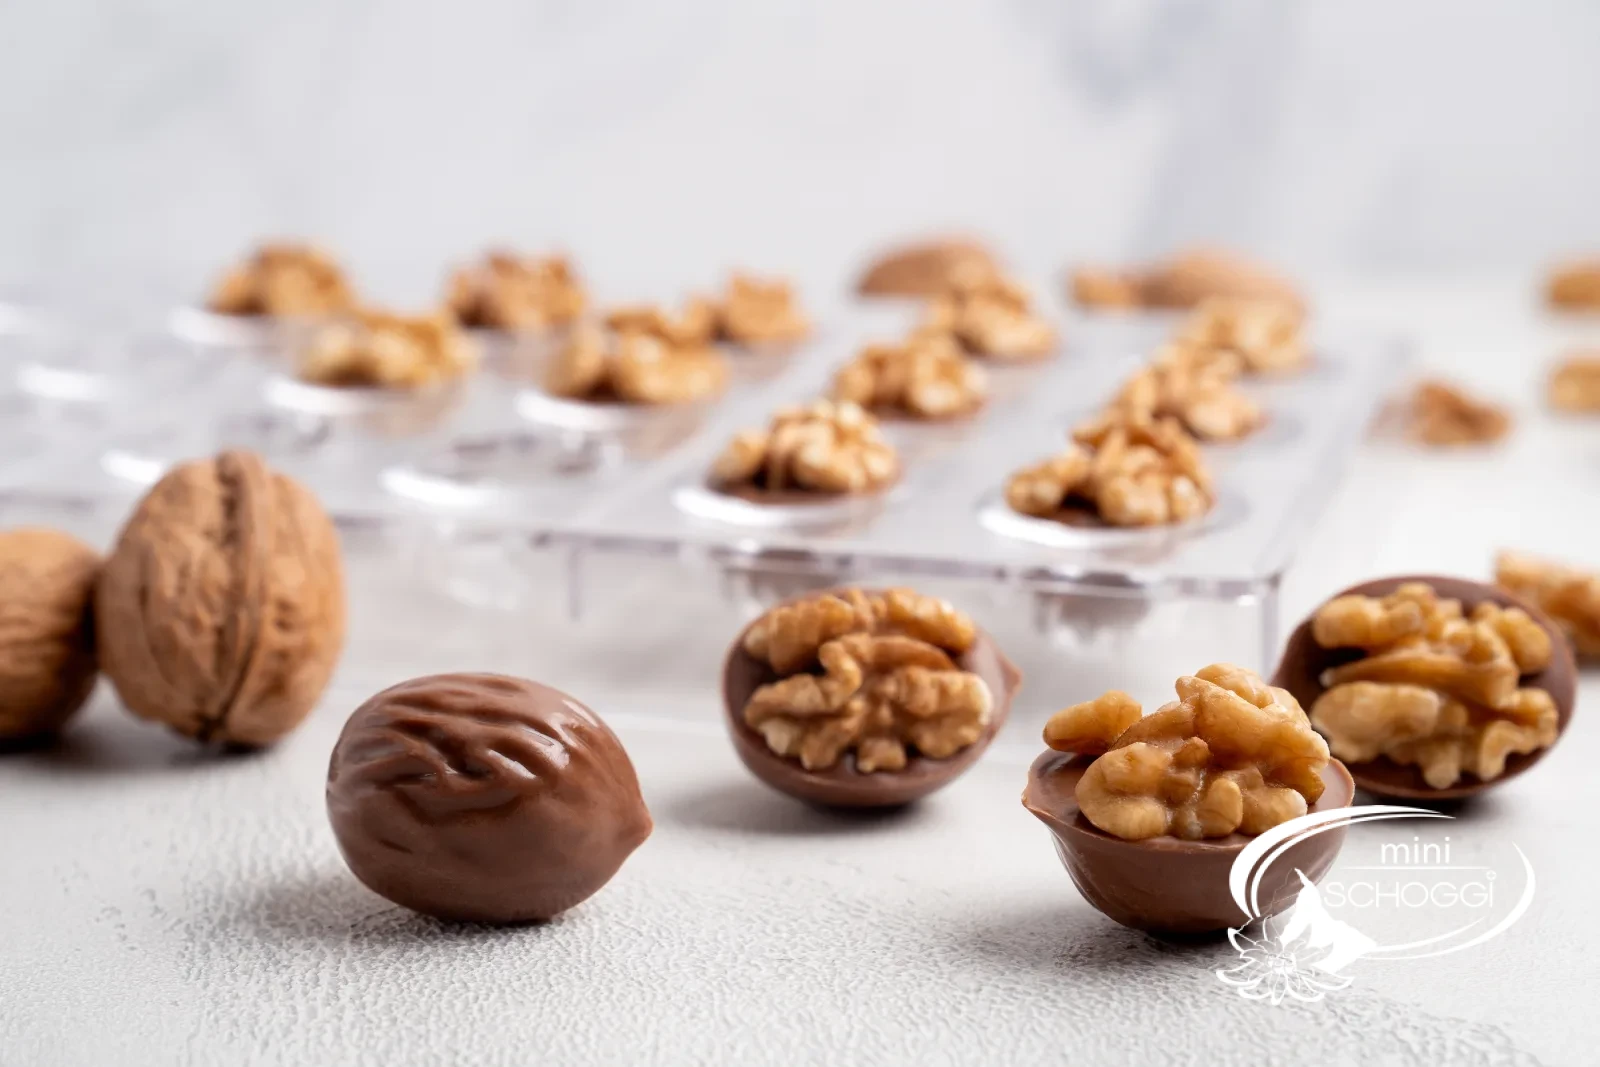
Nutty indulgence in an elegant form – cast, filled and crowned with half a walnut
Quantity36 pralines (2 molds of 18)
Active timeApprox. 75 minutes
Total timeApprox. 3 hrs (incl. chilling and waiting times)
contains nutscontains lactosegluten-free
When the days grow shorter and the leaves turn golden, the season of sweet little treats begins for me. My kitchen then often smells of roasted nuts and melted chocolate – a heavenly combination! Today I'm sharing a very special praline recipe with you: walnut pralines that are a real eye-catcher, both in taste and appearance.
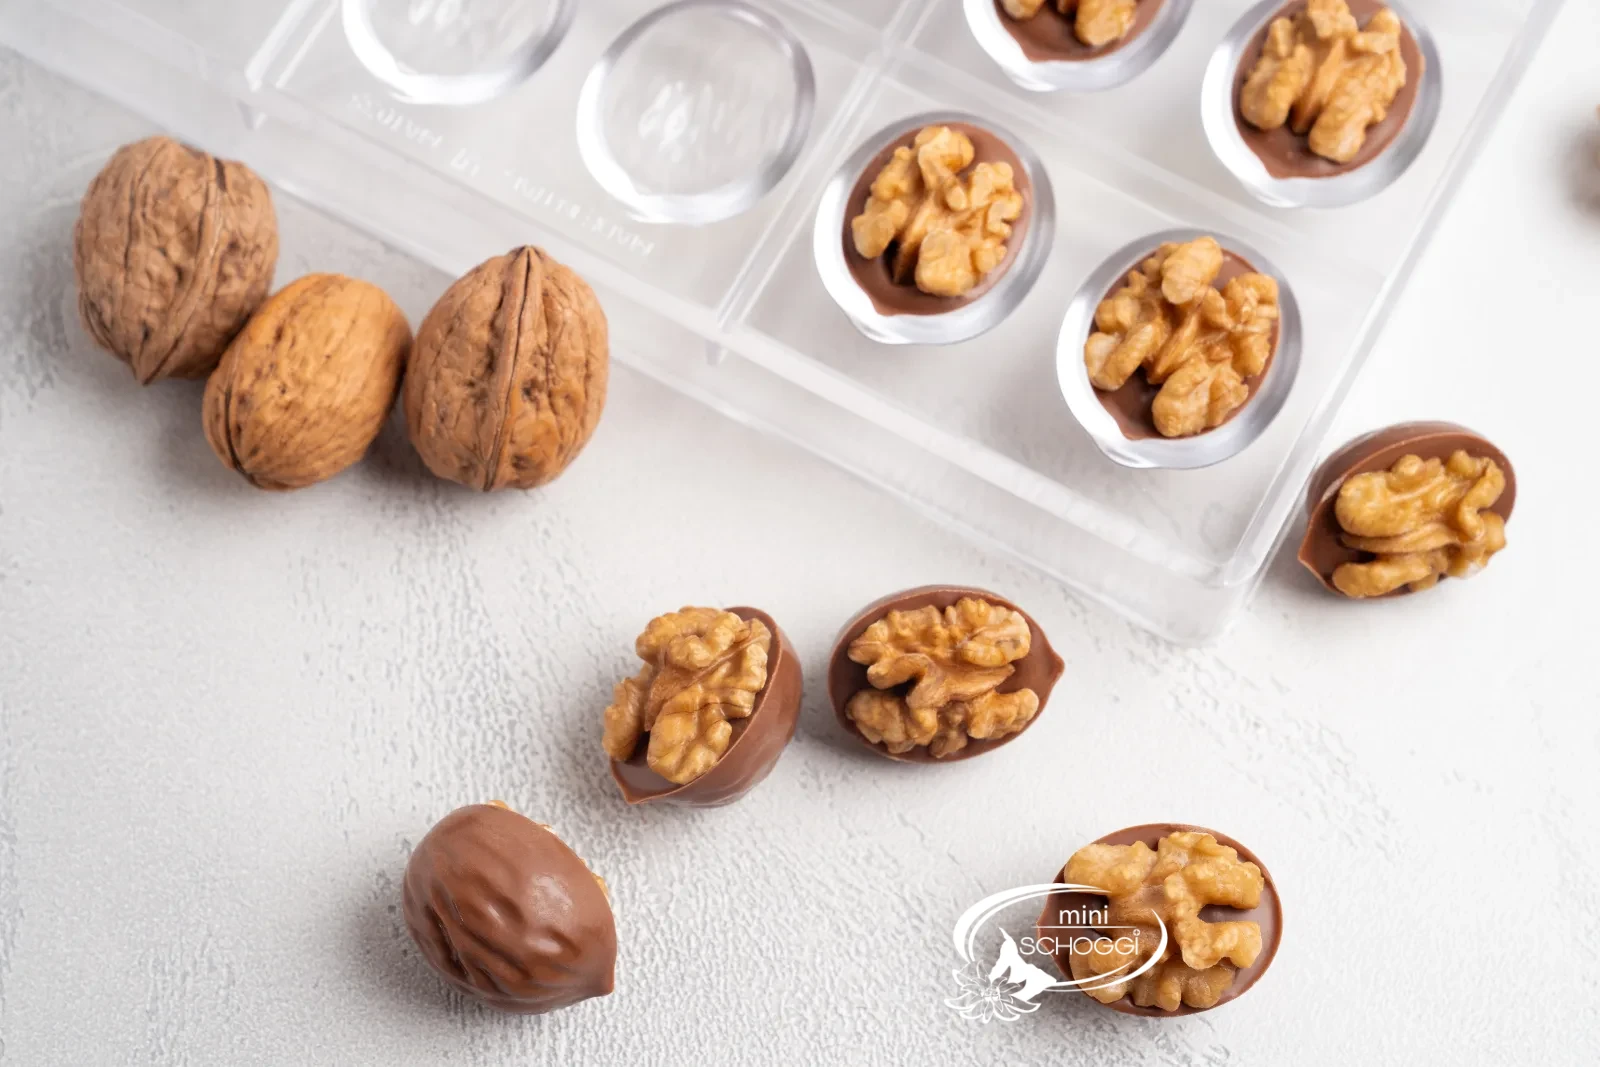
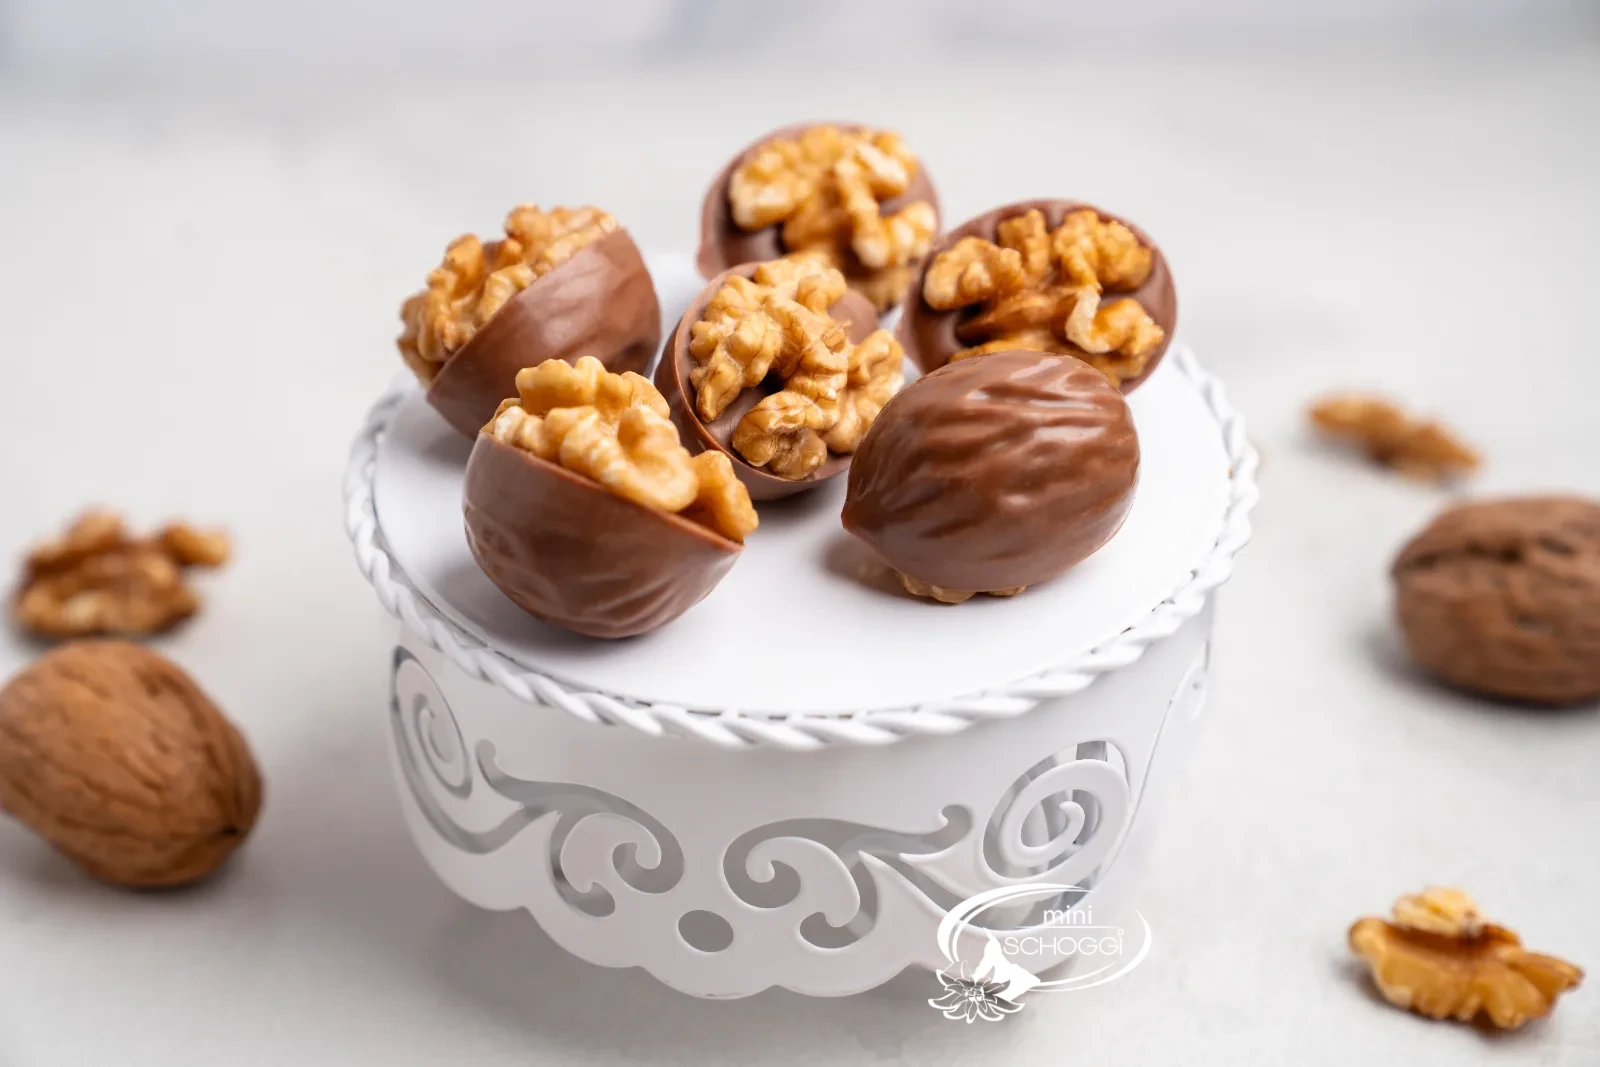
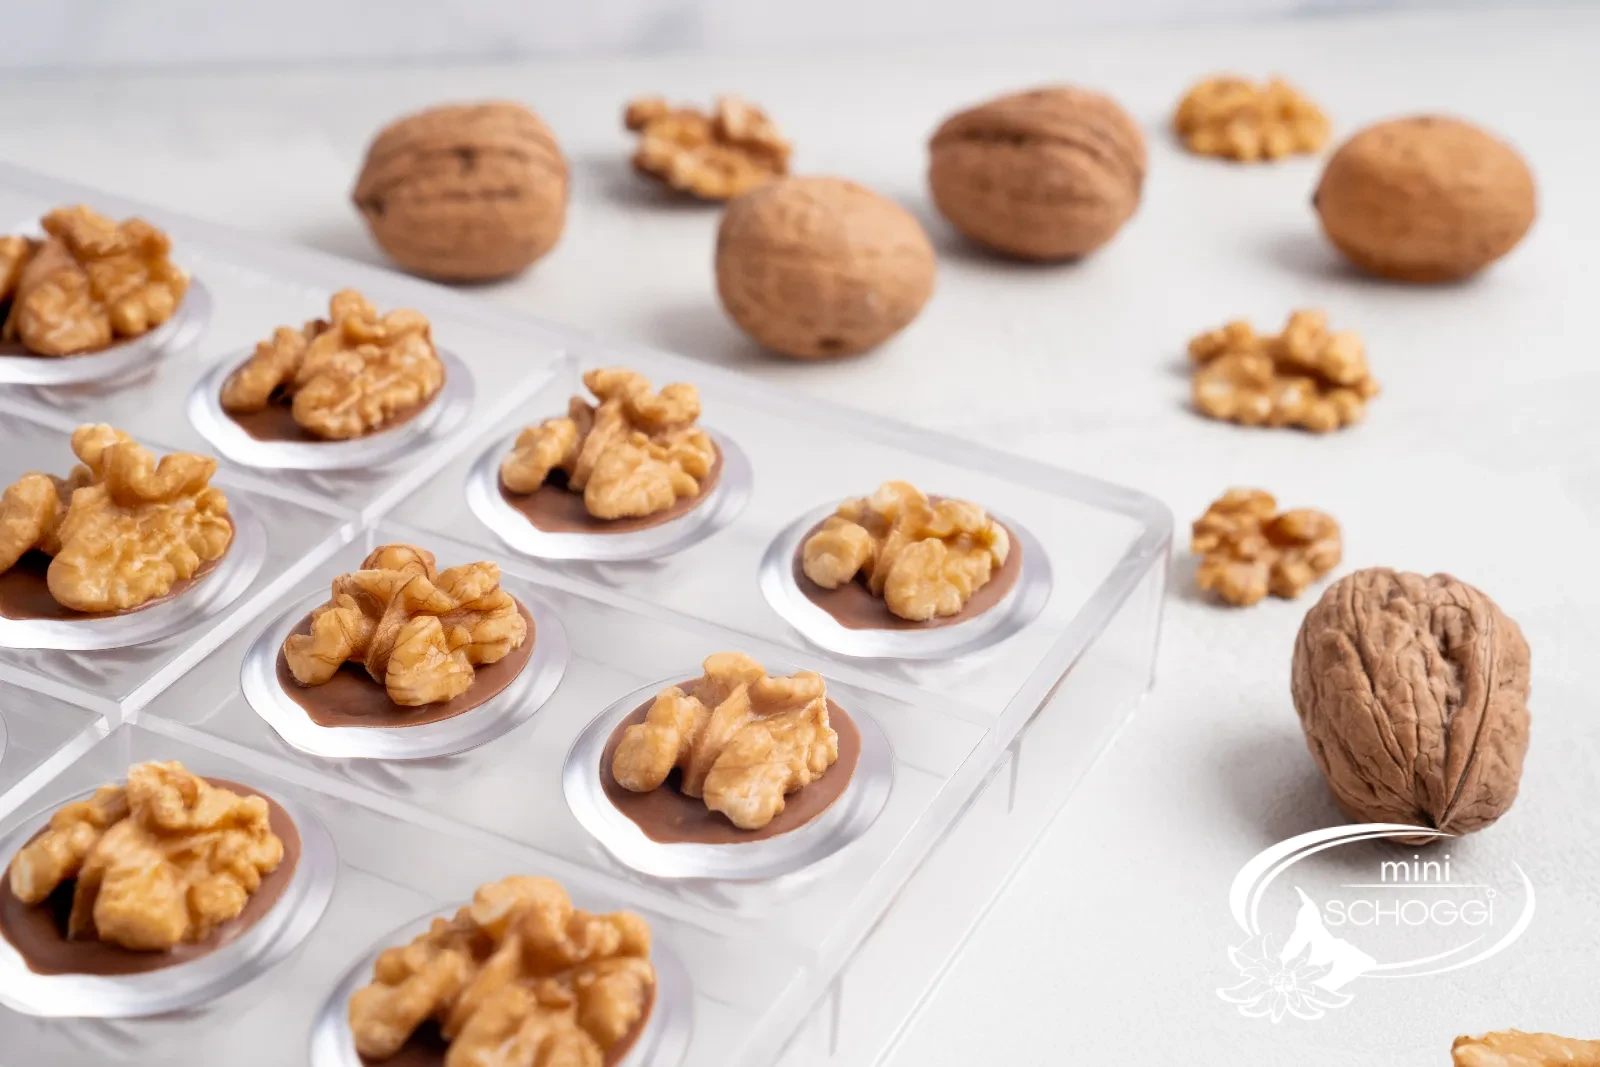
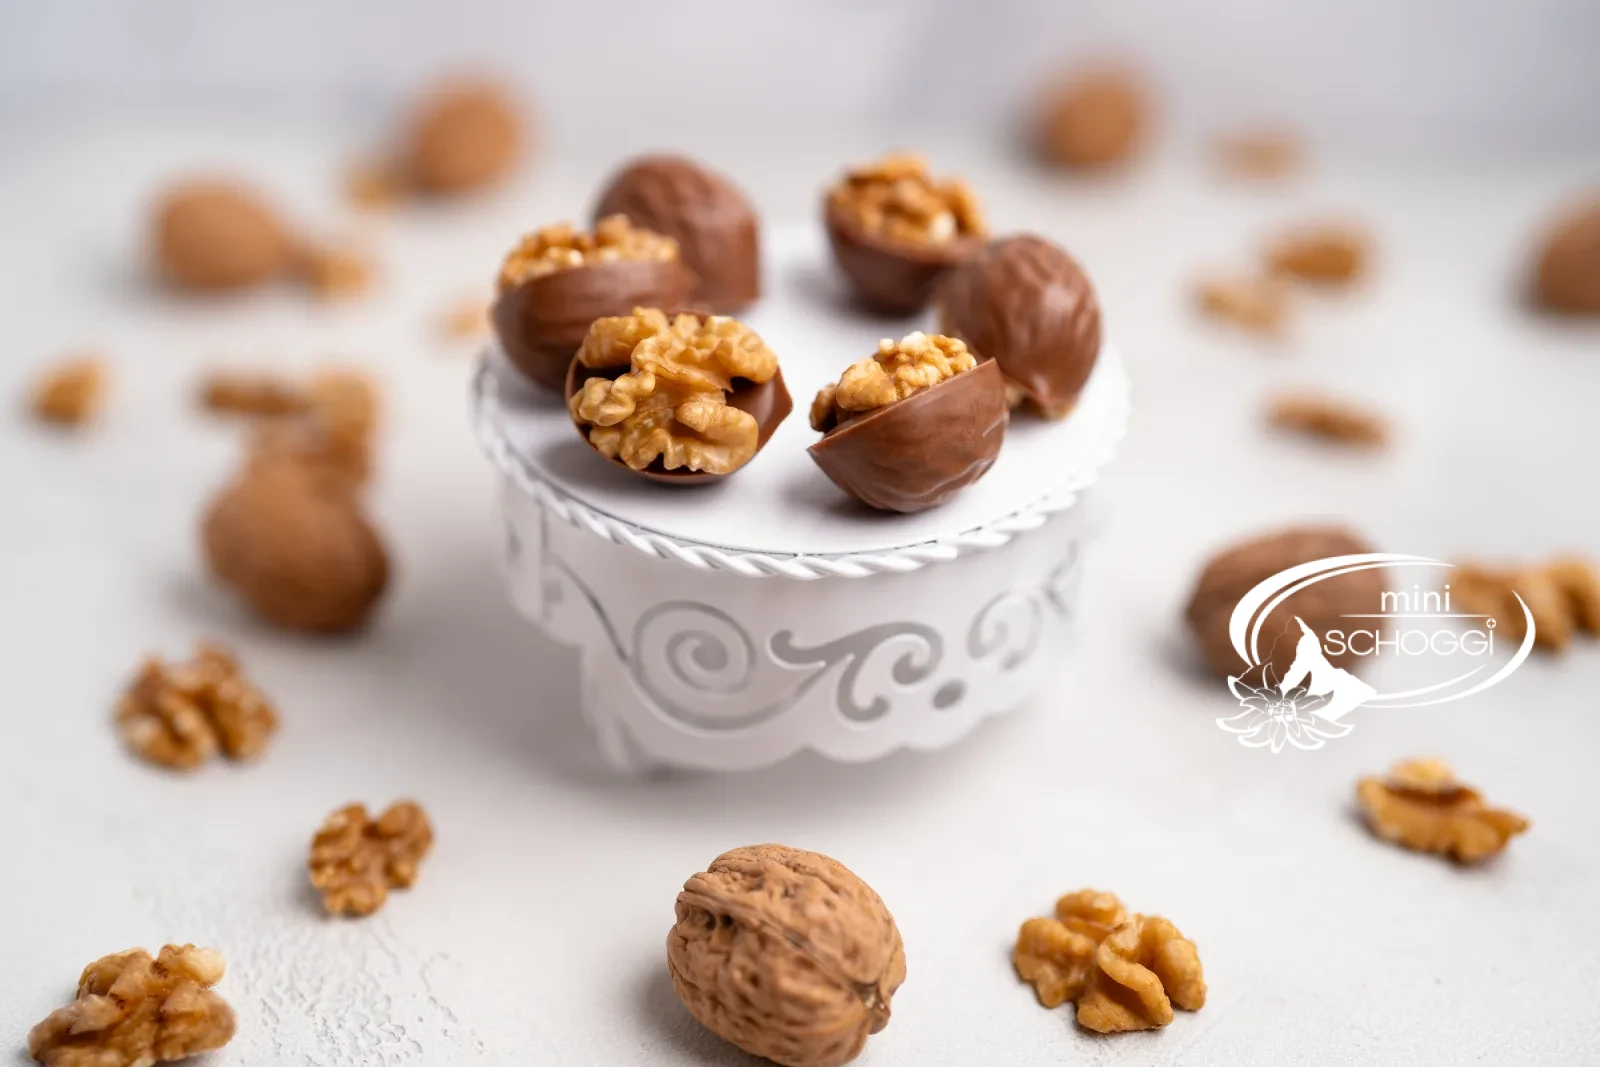
These pralines are not just any pralines. They are little works of art – cast in a mold that looks like a real, halved walnut. Filled with a velvety walnut ganache and coated with fine milk chocolate. As the crowning touch, half a perfect-looking walnut sits enthroned on every praline, rounding the whole thing off – both in taste and aesthetics.
The combination of creamy chocolate, nutty filling and the elegant look makes these pralines ideal as a gift or as the highlight with a cup of coffee. The slightly bitter note of the walnuts harmonises wonderfully with the sweetness of the milk chocolate – an irresistible pairing!
Whether at Christmas, as an autumnal gift to bring along, or simply as a little reward in between – these pralines make an impression. And the best part: you can easily make them yourself!
Ingredients
Quantity:
Walnut paste
70 gGranulated sugar
140 gWalnuts
Walnut ganache
50 gFull cream
10 gGlucose syrup
100 gMilk couverture
30 gWalnut paste (see recipe above)
PRALINE SHELL AND DECORATION
36 pcsnice walnut halves for decoration
Step by step
If you're in a hurry: the compact recipe card further down sums everything up.
Roast and caramelise the walnuts
1
Roast the walnuts
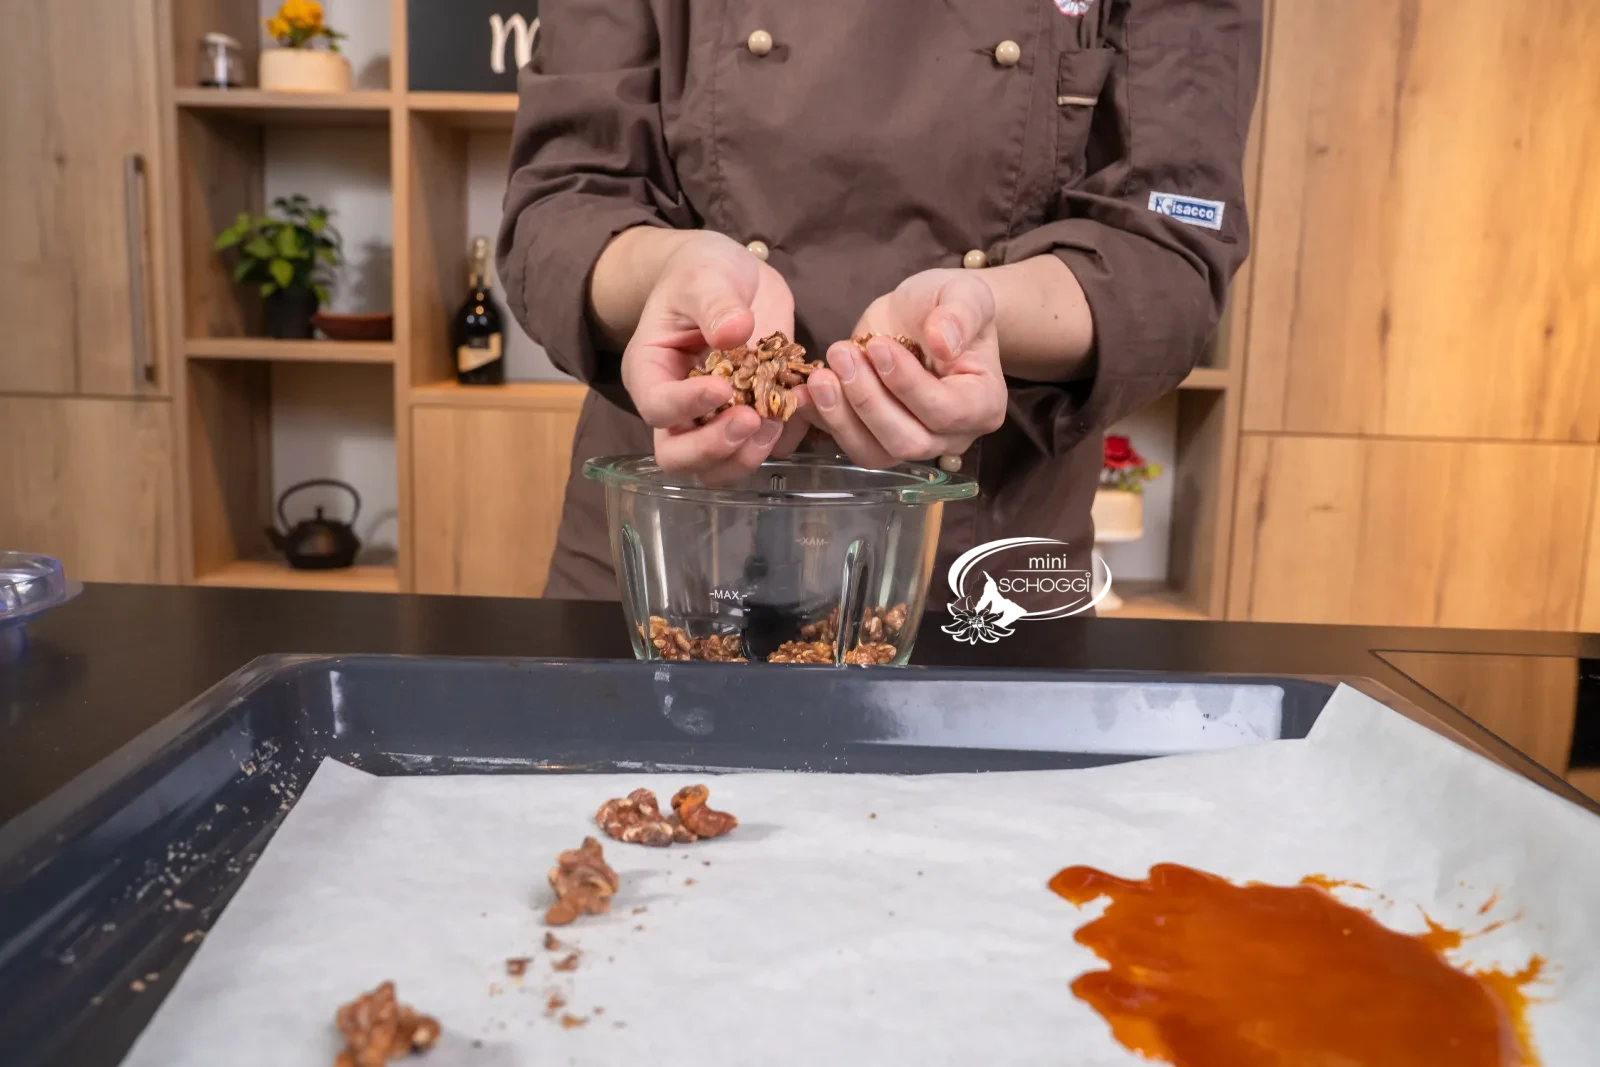
Preheat the oven to 170 °C fan. Once the oven has reached temperature, spread the walnuts on a baking tray lined with baking paper and roast them in the oven for 10 minutes. This gives the walnuts a more intense flavour. Then let the walnuts cool on the tray for 20 minutes.
2
Start the caramel
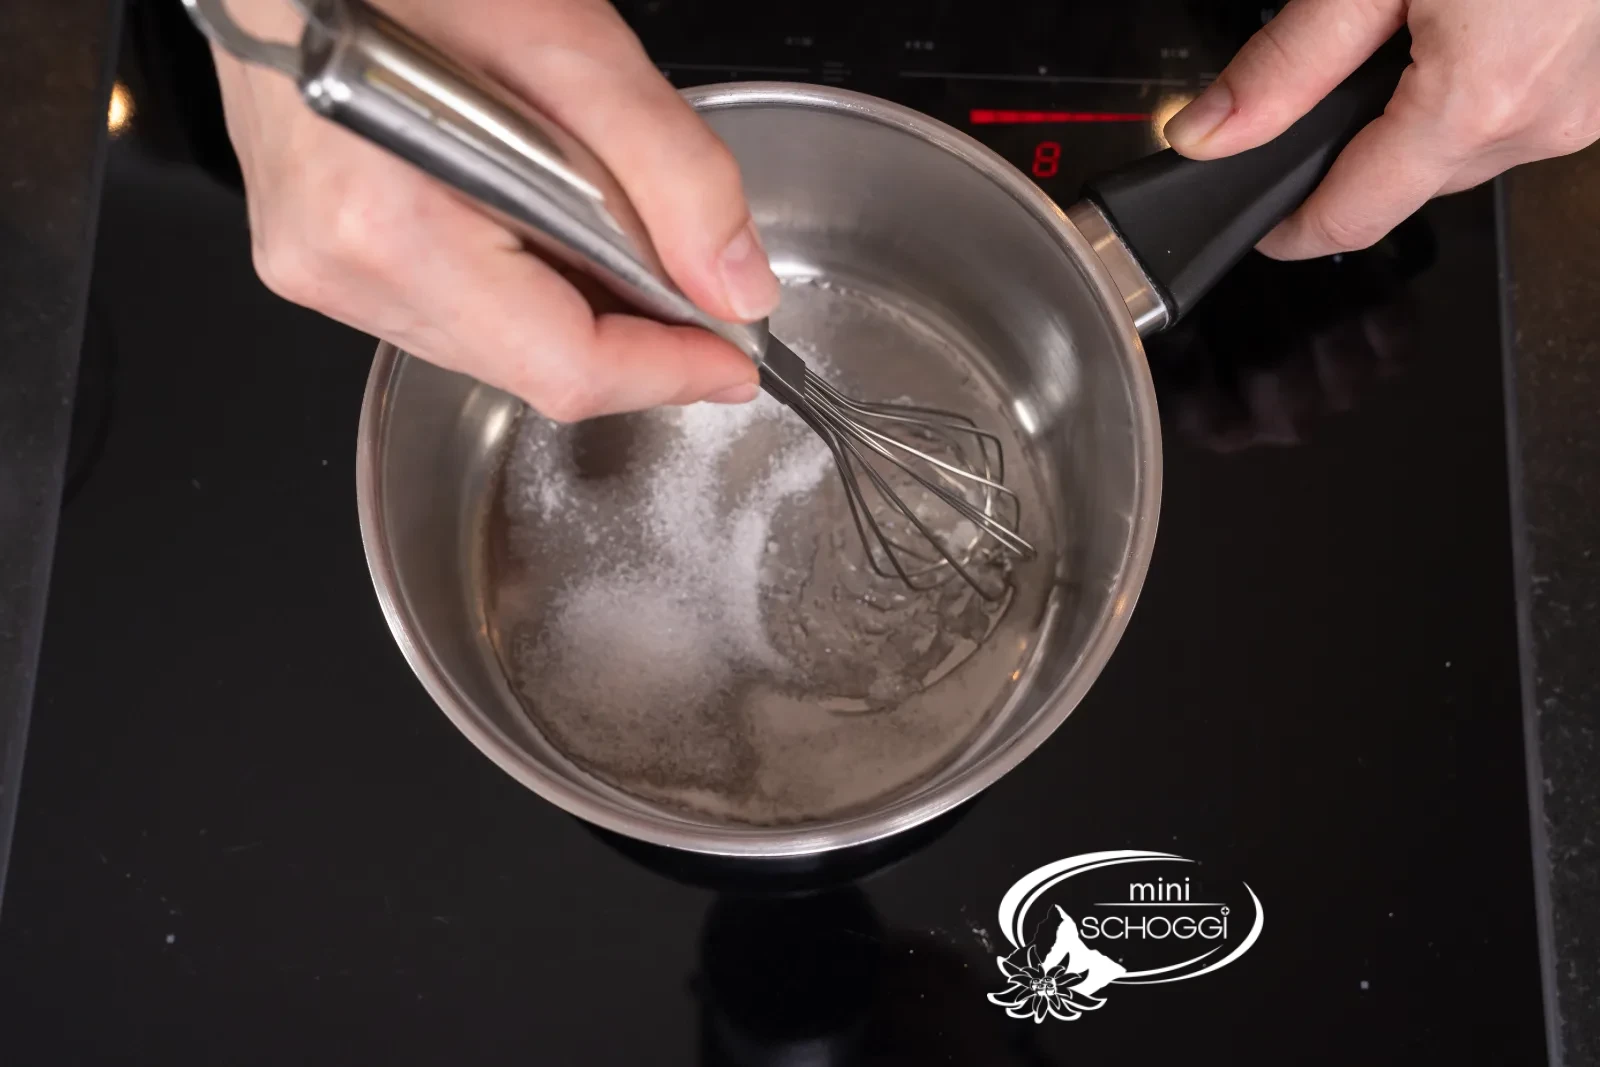
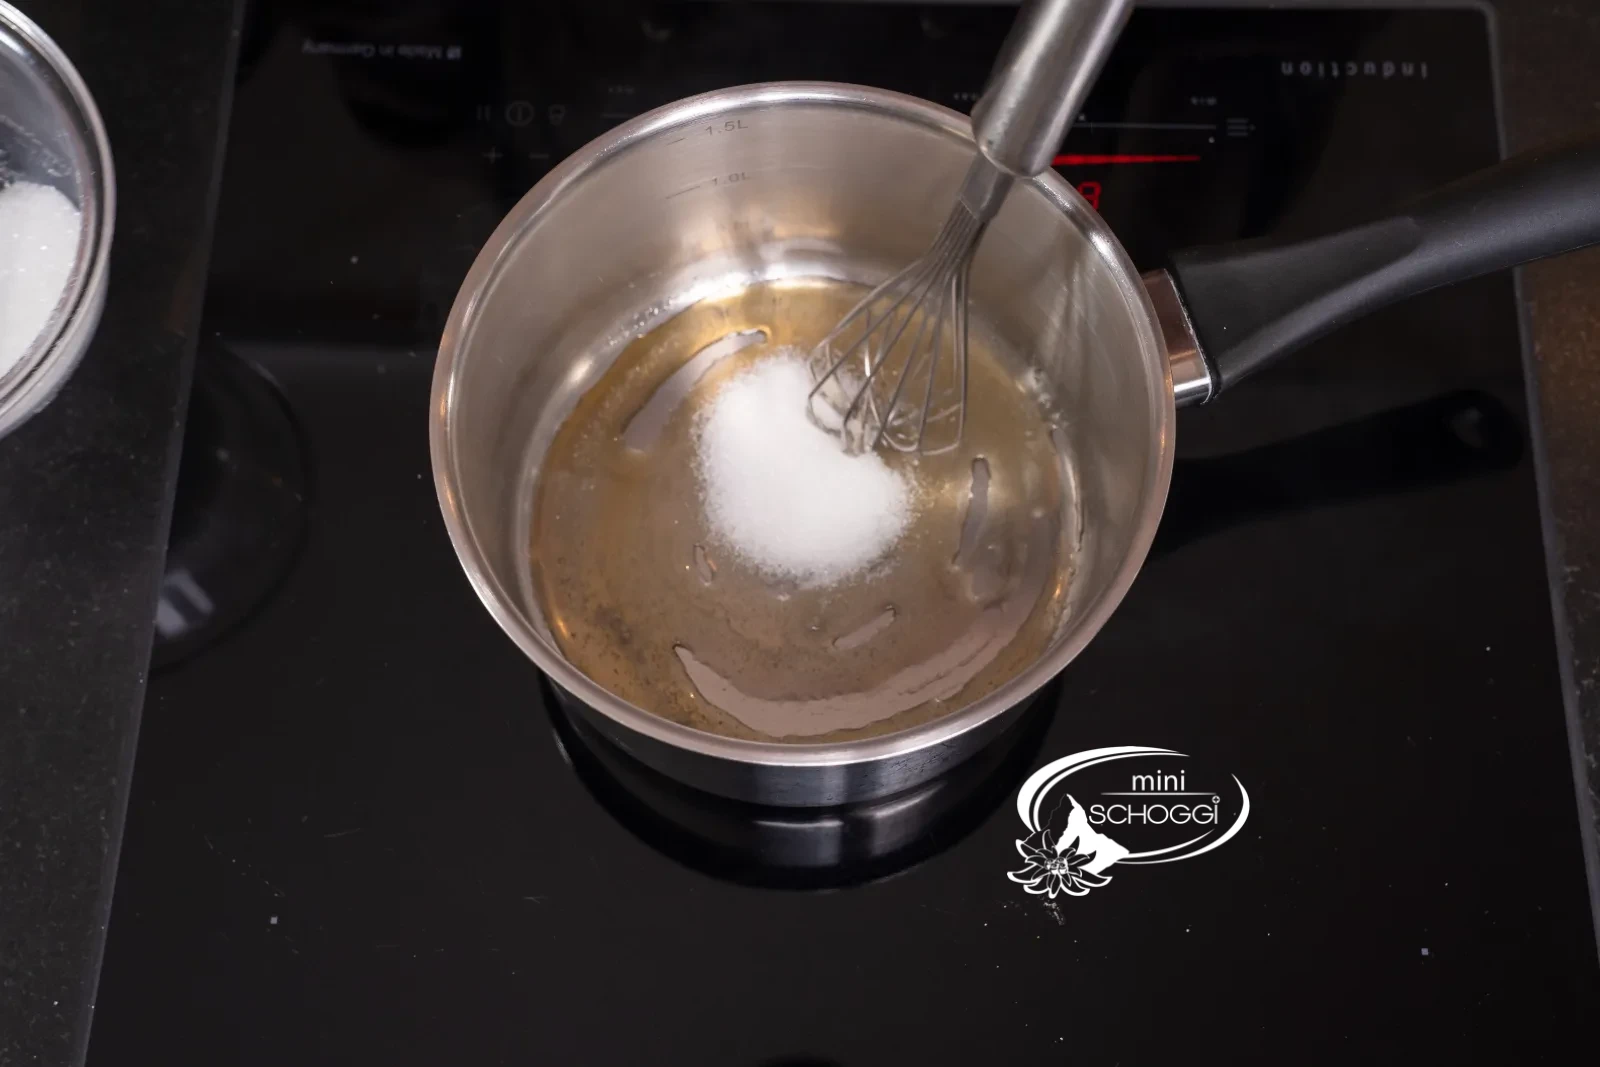
Put 70 g of granulated sugar into a bowl. Now you need a pan and a whisk. Place the pan on the stove. Then add a little granulated sugar to the pan; there should only be a thin layer of sugar spread over the entire bottom of the pan. Set the stove to level 8 and wait until the sugar begins to turn translucent. Only then do you start stirring with the whisk.
What you need for this

Flat whisk 25 cm
3
Work in the remaining sugar
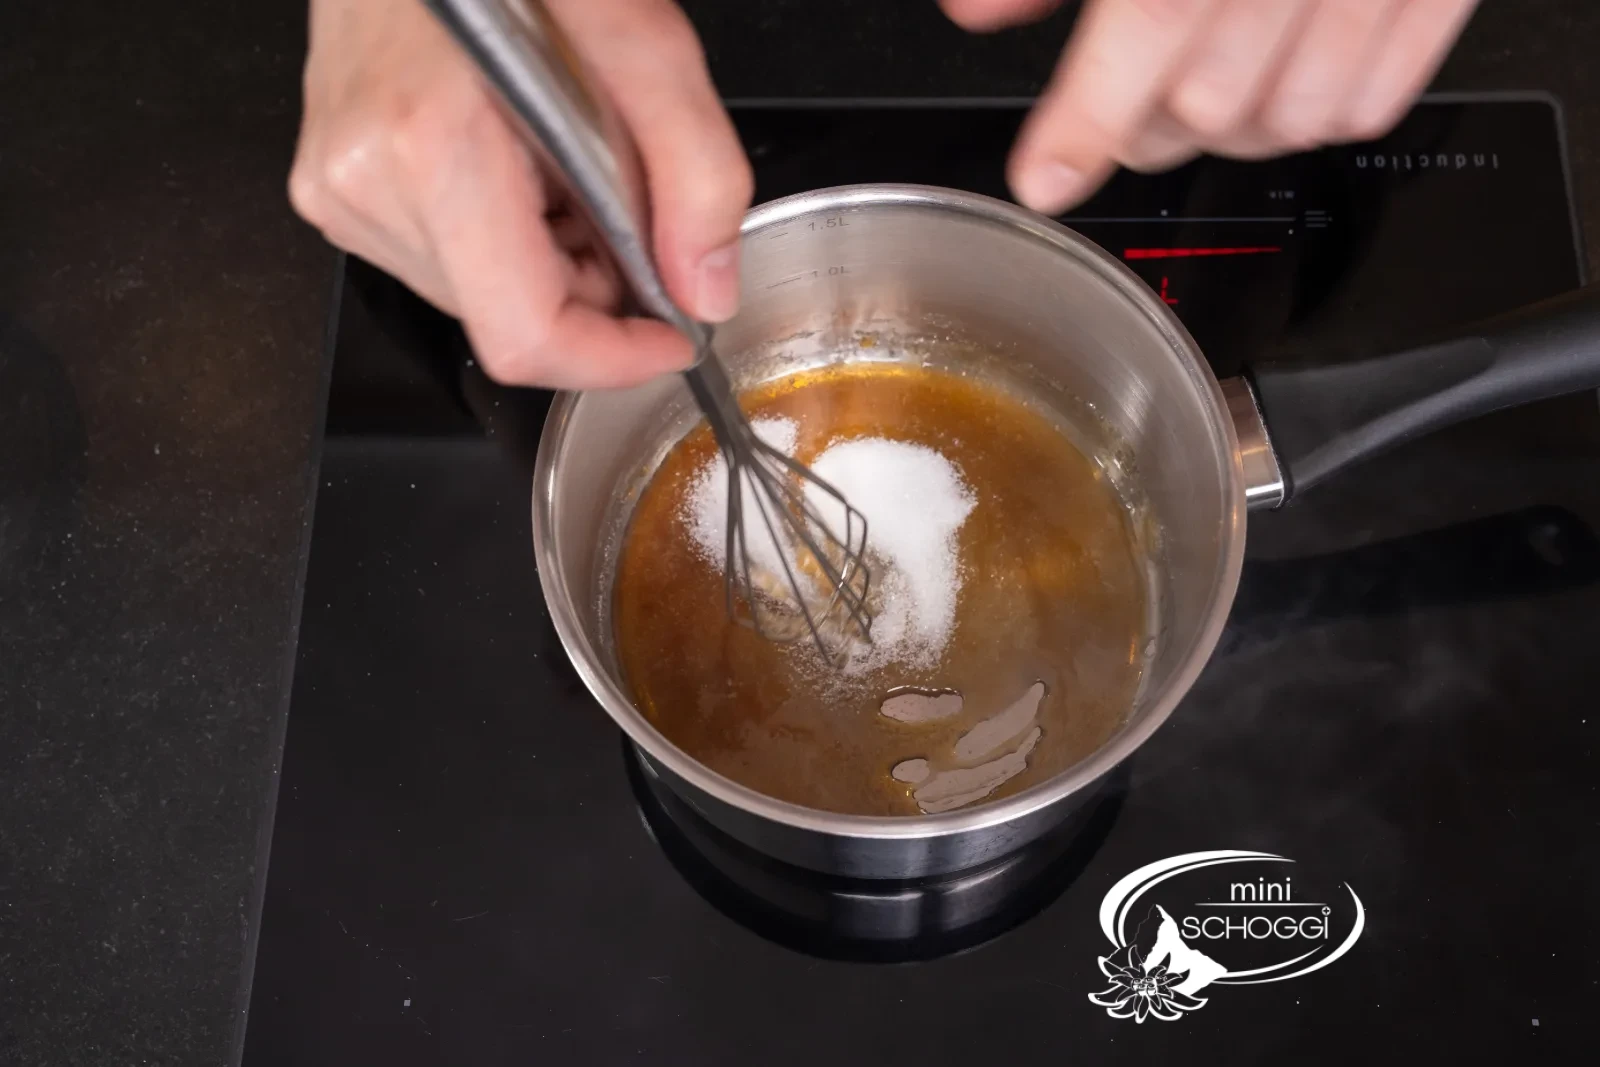
Once almost all of the granulated sugar has dissolved and turns a golden colour, you can add another small amount of granulated sugar and stir it in. If the sugar turns too dark too quickly, turn the stove down a little.
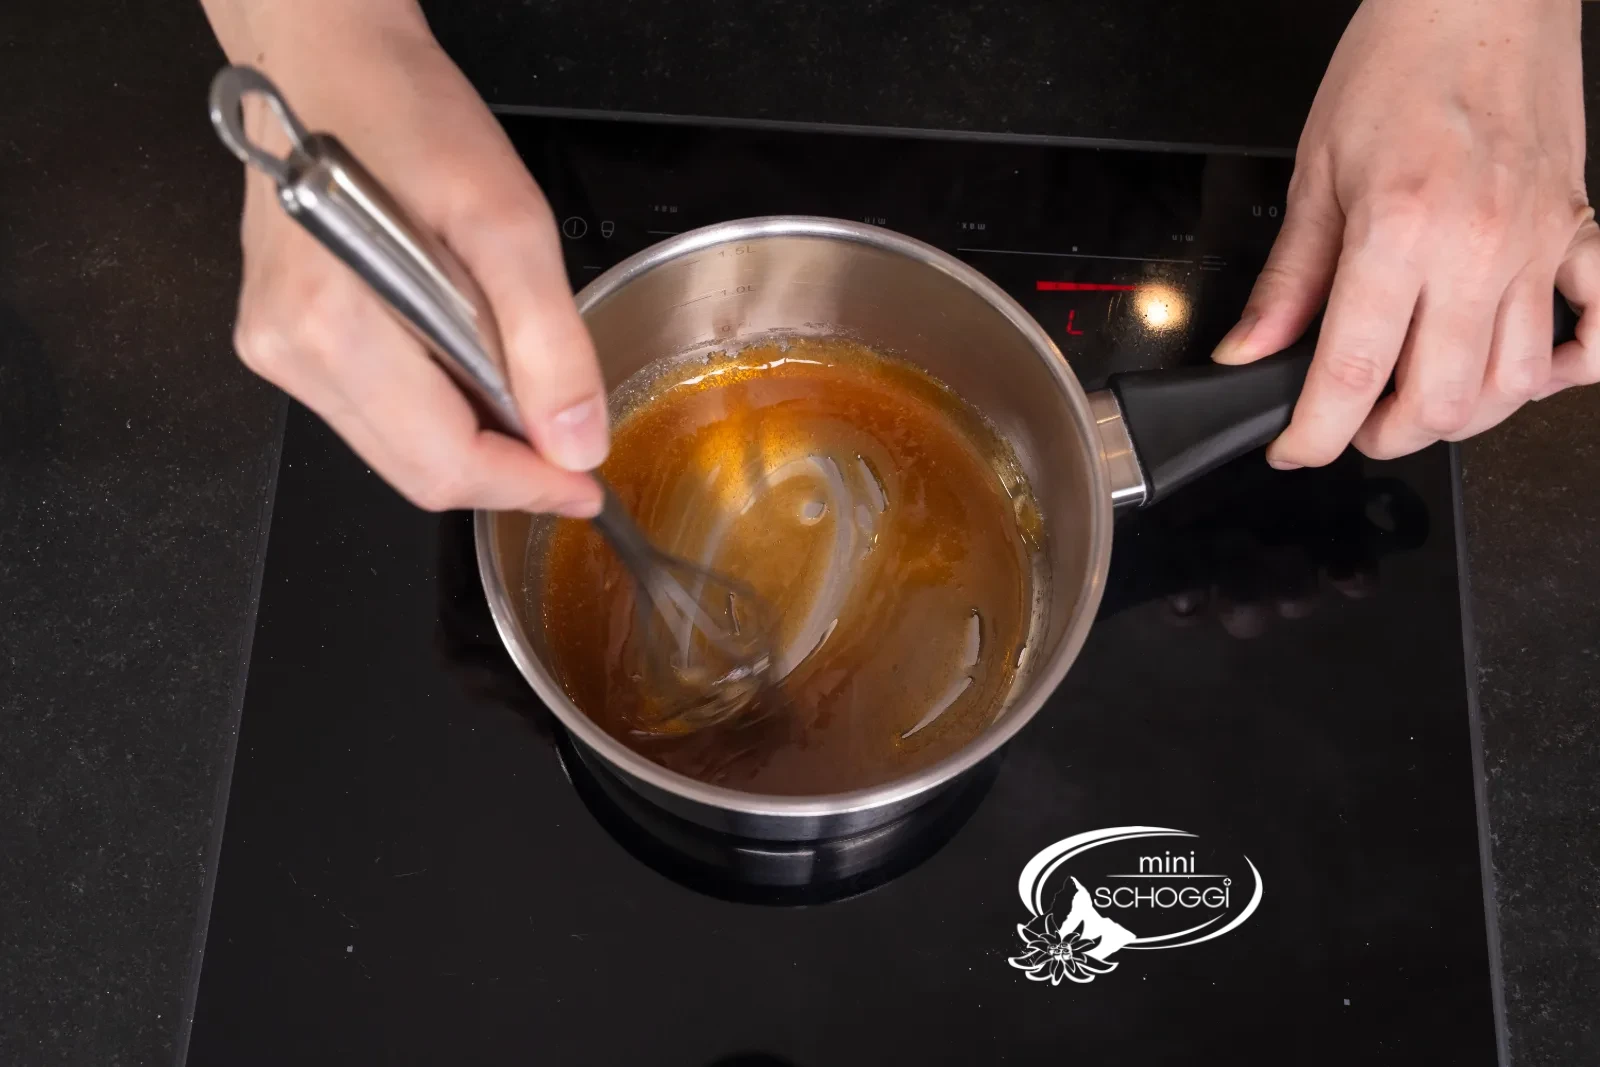
Gradually add the remaining granulated sugar to the pan. In the end, all the sugar crystals should be completely dissolved and you get a nice golden-brown caramel.
4
Pour out the caramel and let it cool
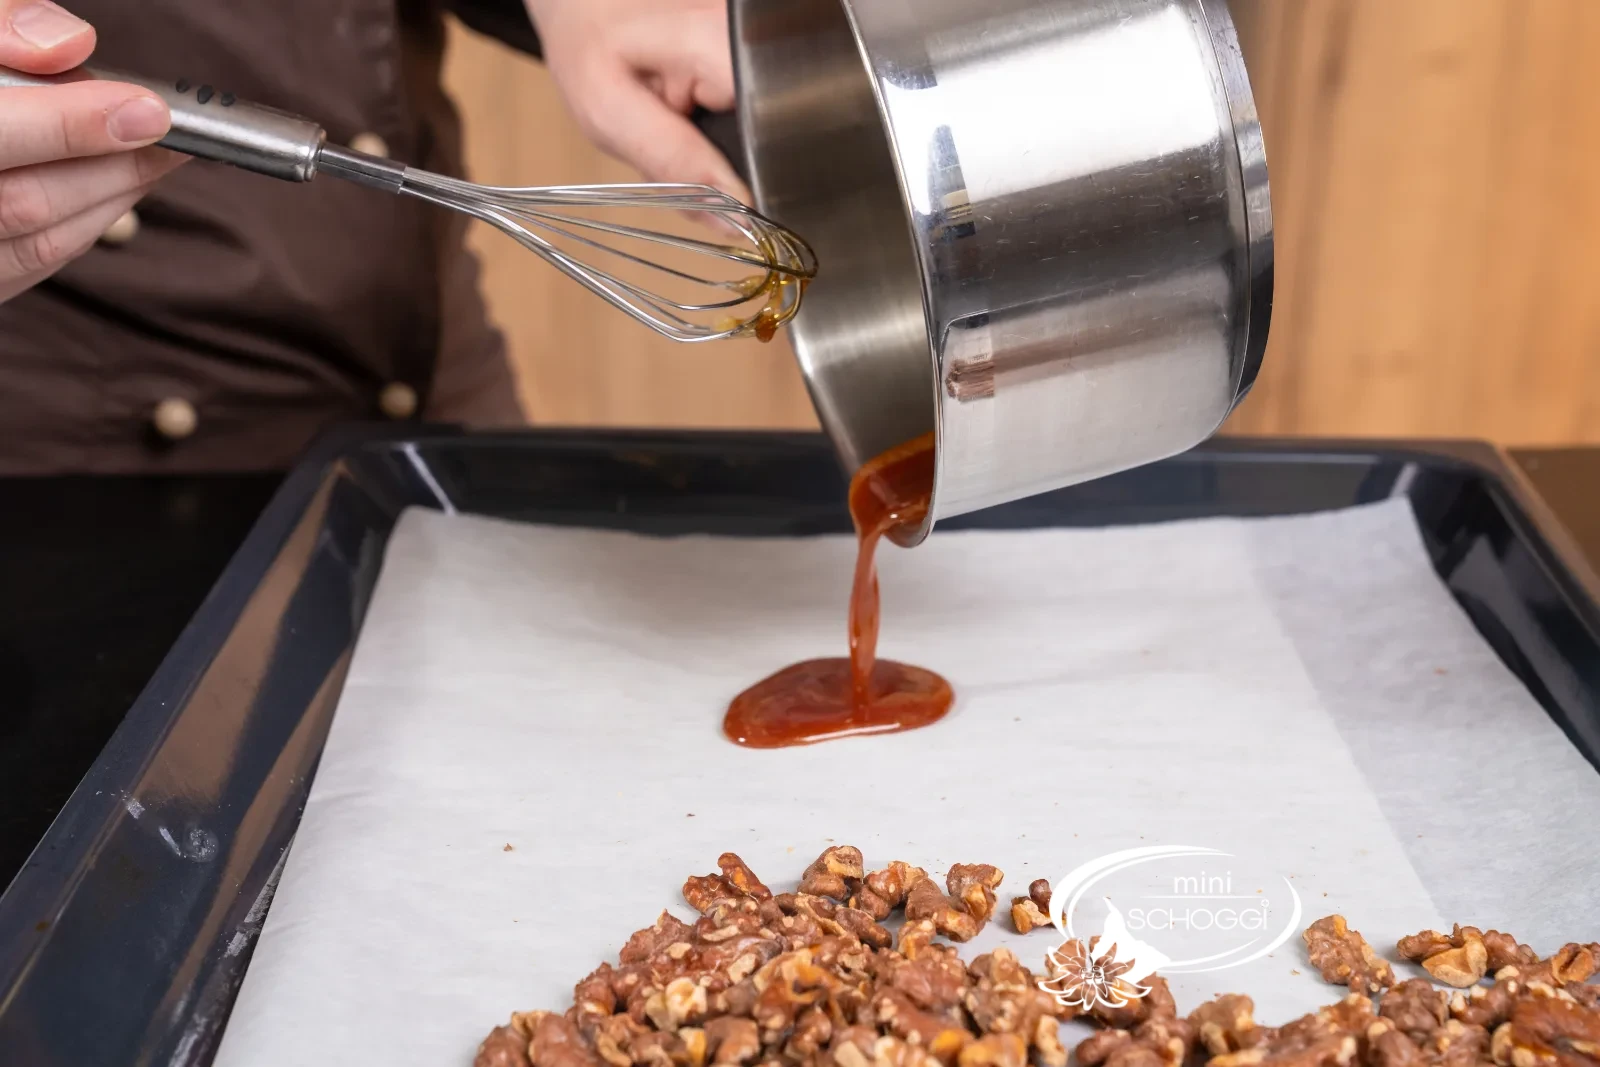
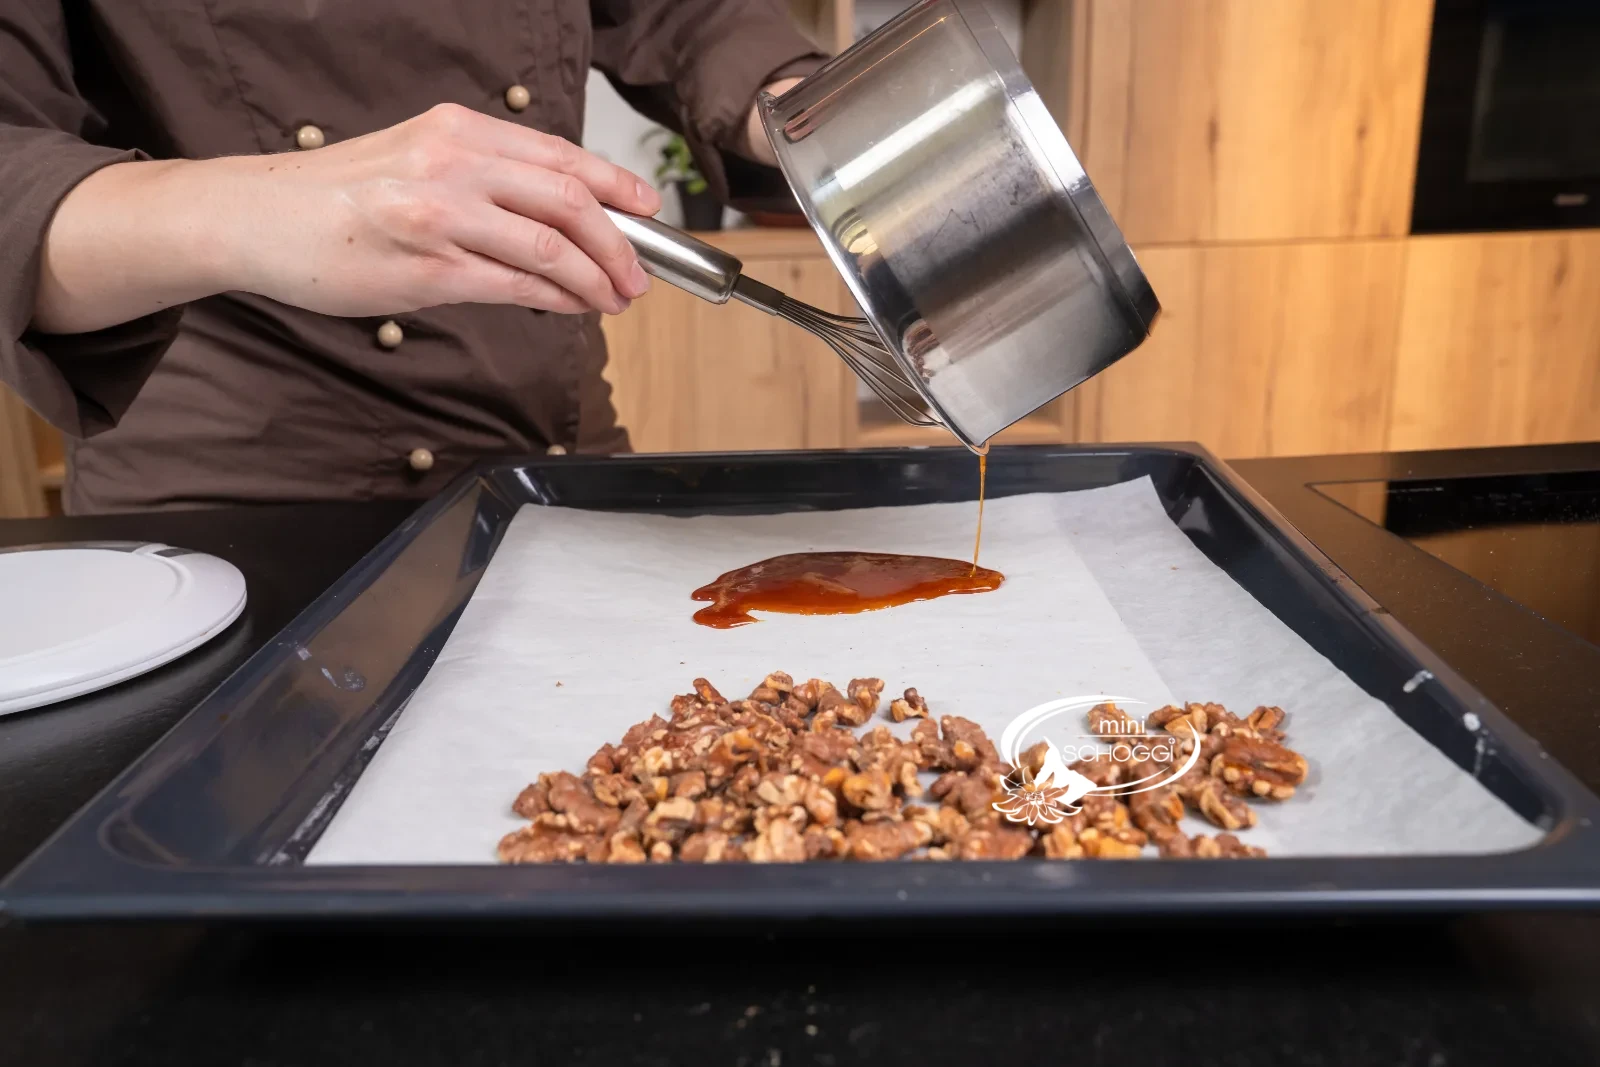
Pour the finished, still very hot caramel onto a sheet of baking paper. I put the caramel straight onto the same tray as my previously roasted walnuts. Let both (caramel and walnuts) cool at room temperature for at least 20 minutes.
Cast the praline shells
1
Wash and polish the mold
In the meantime, you can already start casting your walnut praline mold. First wash your walnut praline mold by hand under lukewarm water and then dry the mold well with a kitchen towel. Then take a piece of cotton wool and polish out each individual praline with it. The better the praline mold is polished, the more shine your praline will have in the end.
What you need for this

Walnut praline mold 18 pralines
2
Temper the milk couverture
Next you need tempered milk couverture. If you've never tempered a couverture or chocolate before: in our post on tempering you'll find everything worth knowing and a detailed step-by-step guide.
What you need for this

Felchlin Couverture Grand Cru Grenada 38 % 0.5 kg
3
Brush the mold
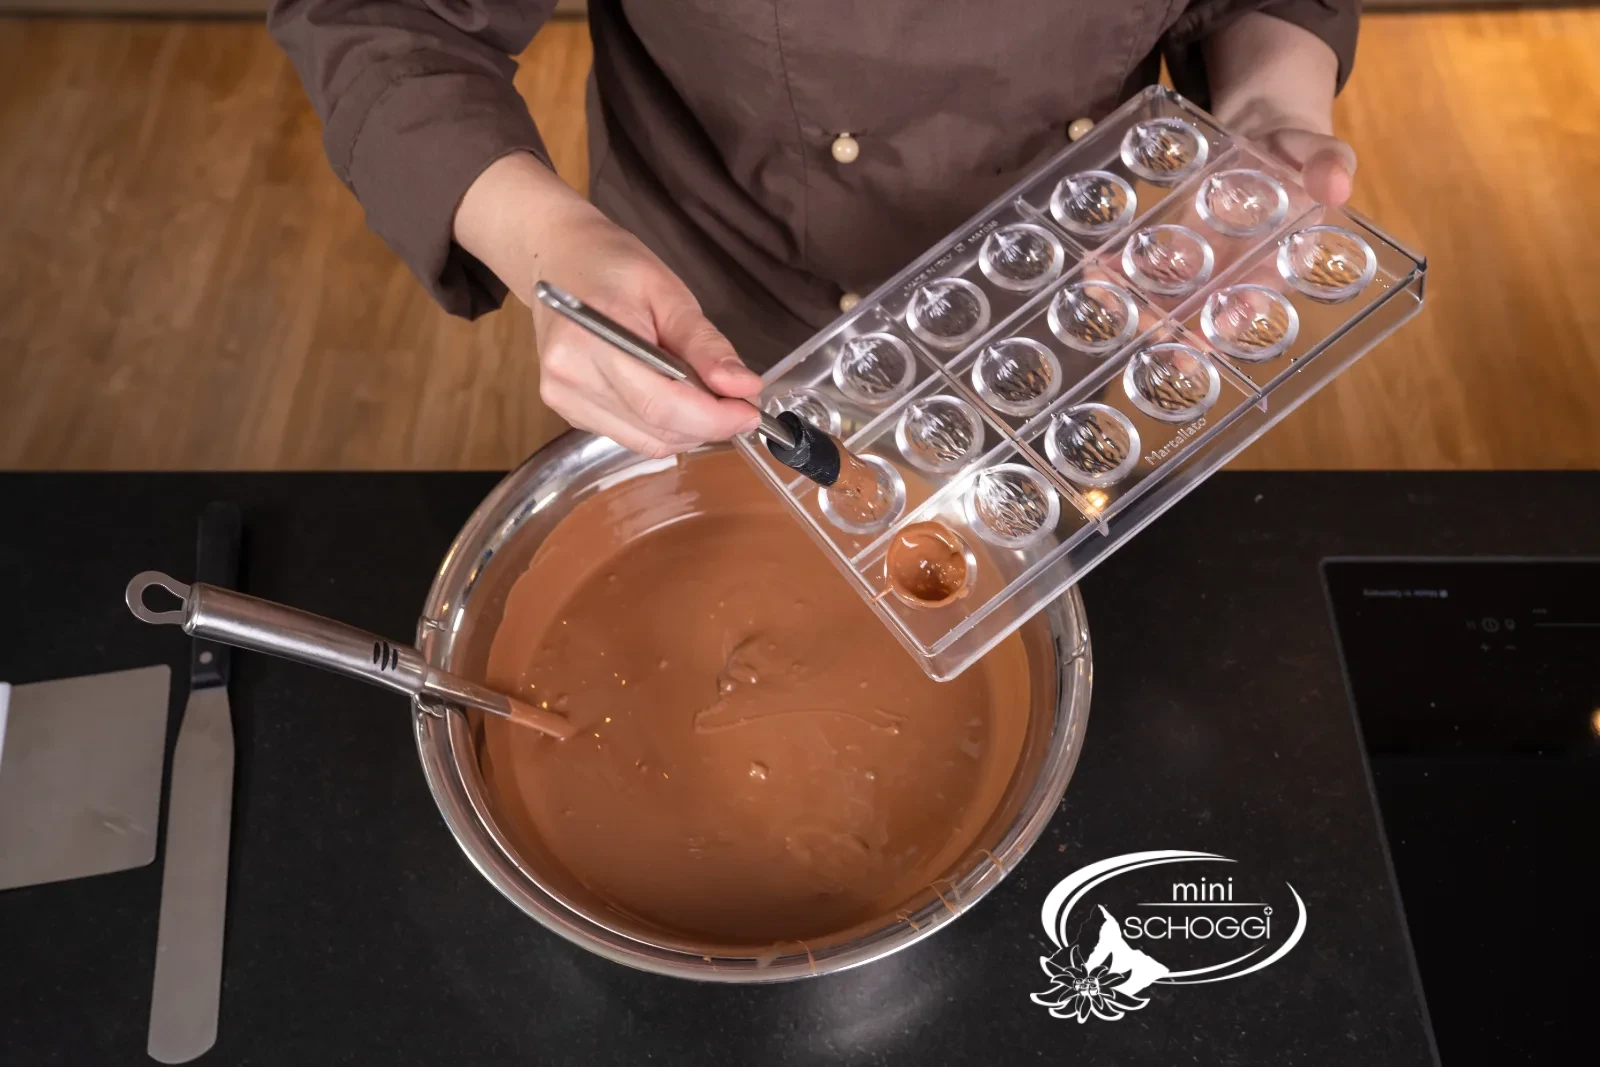
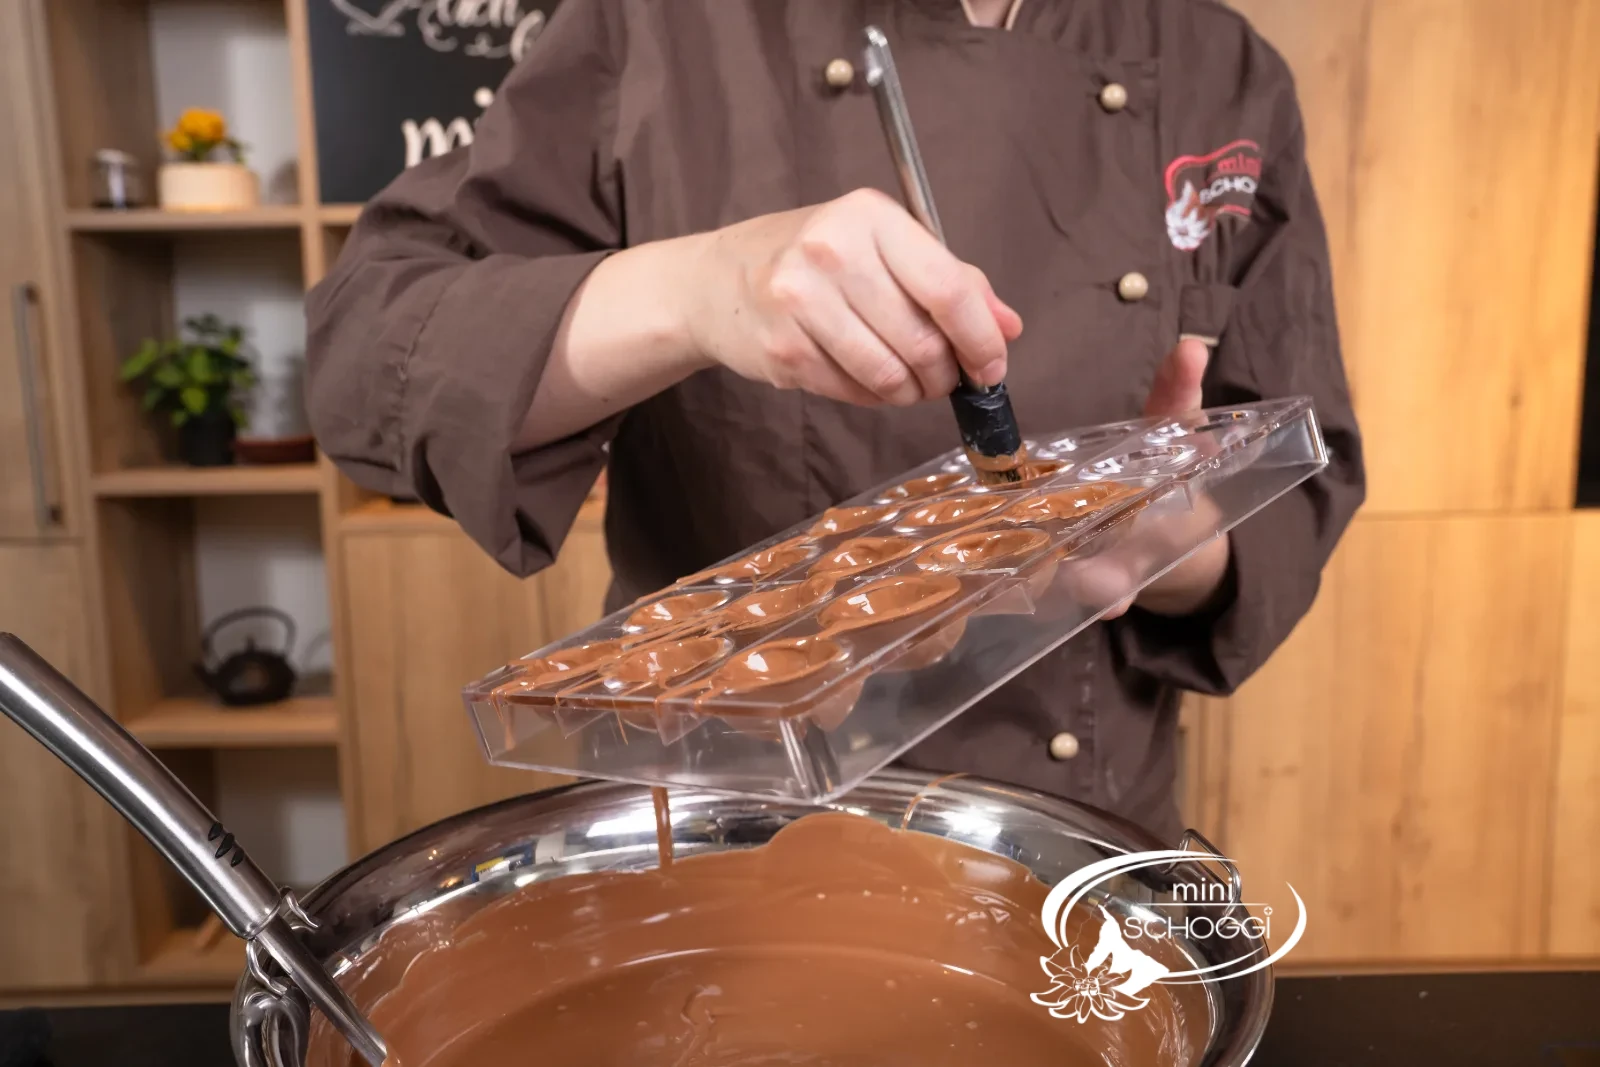
Once your milk couverture is fully tempered, you can brush your walnut praline mold with it. Each individual praline needs a thin layer of chocolate. In addition, brushing helps to make sure you don't later have air holes in the praline shell.
What you need for this

Walnut praline mold 18 pralines
Felchlin Couverture Grand Cru Grenada 38 % 0.5 kg
Silicone brush, 20 cm
4
Fill to the brim with couverture
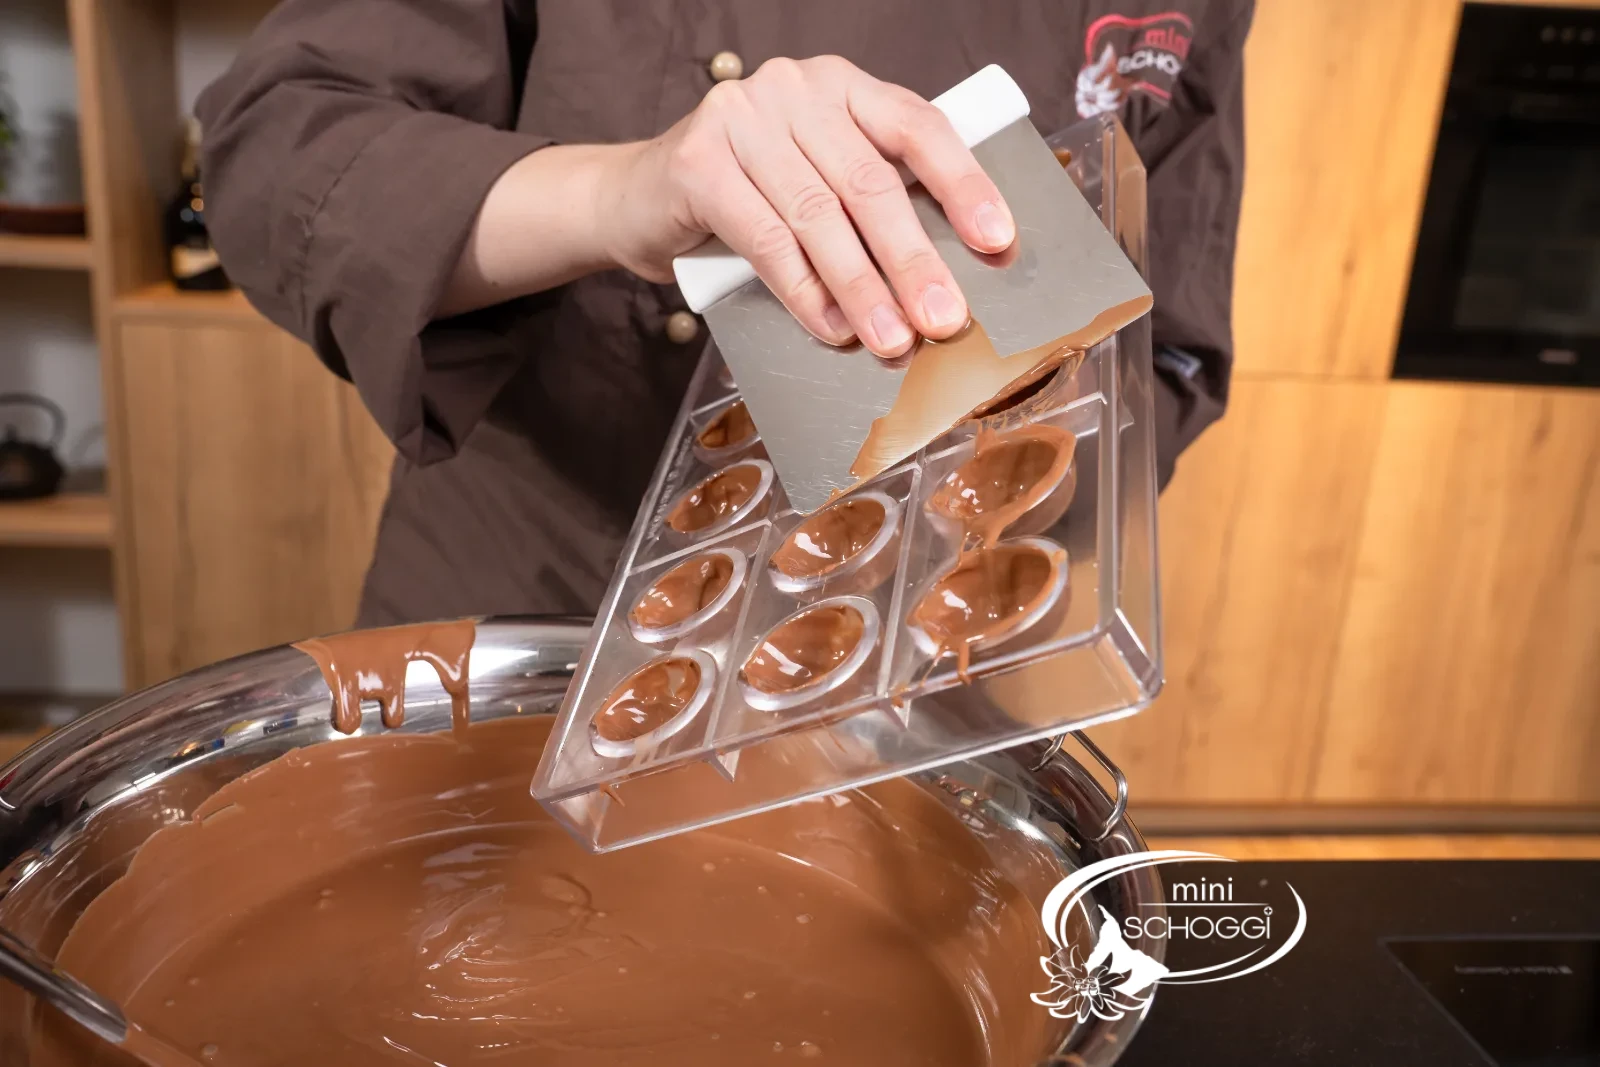
Once you've brushed all the walnut pralines with a thin layer of chocolate, you can now use a metal horn to scrape off the excess chocolate on the praline mold.
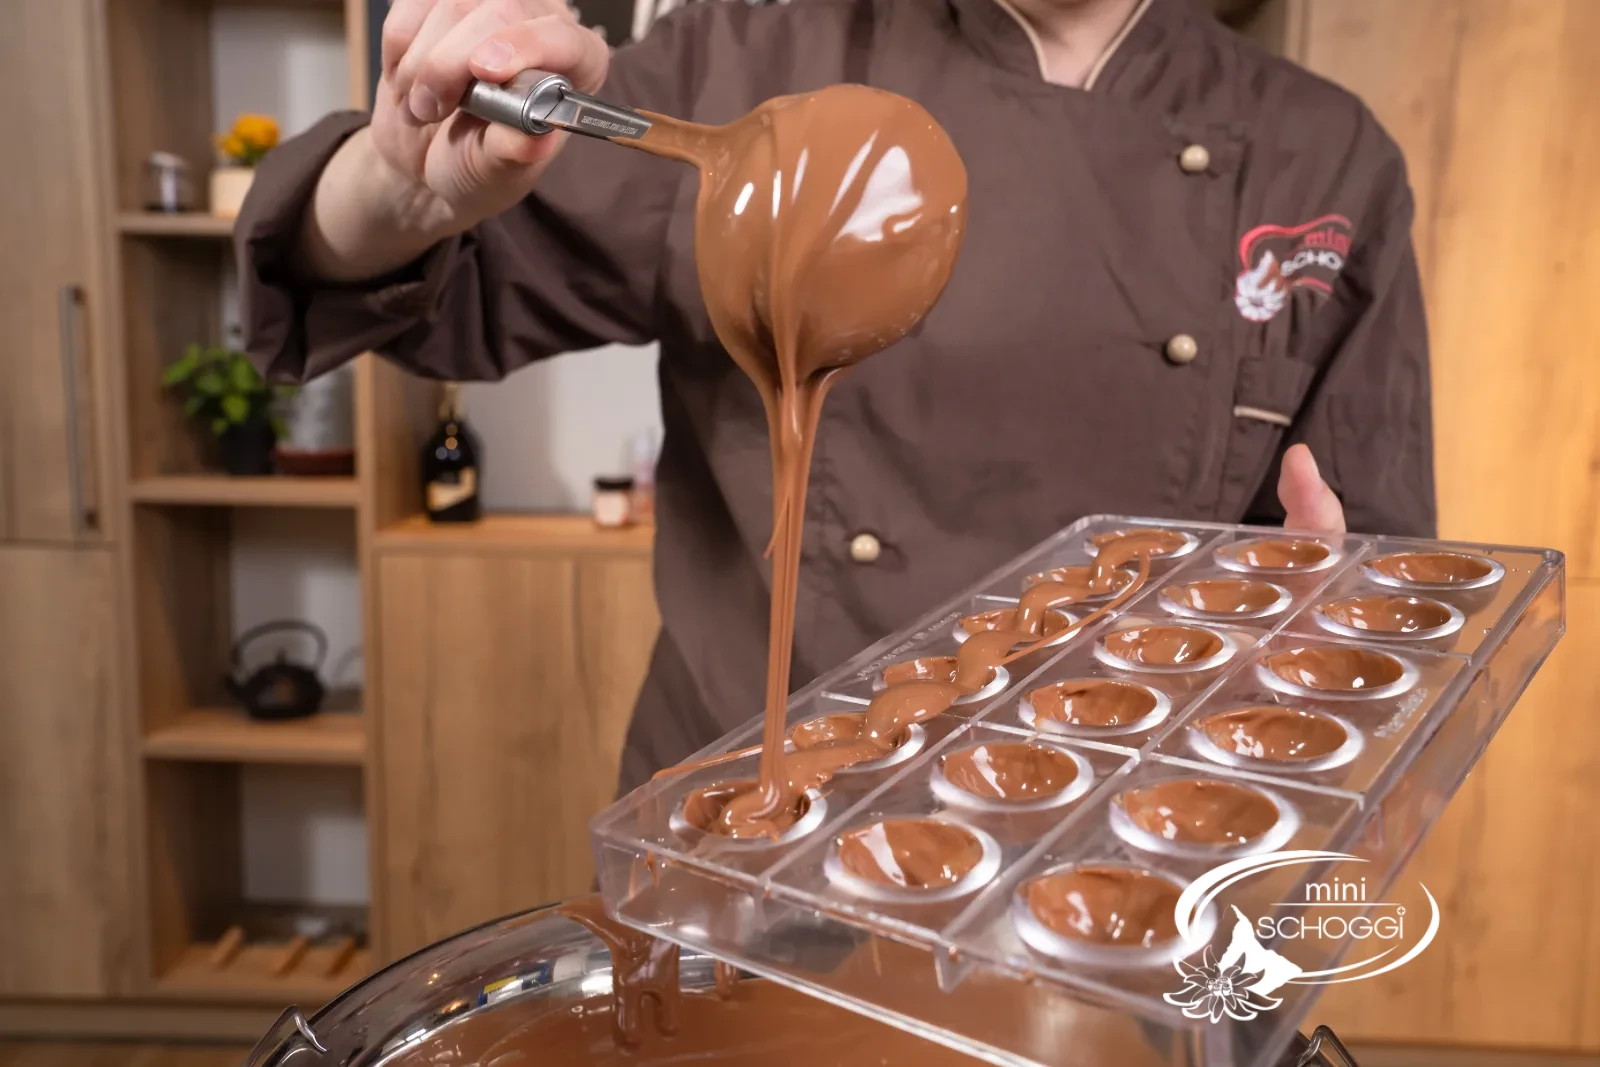
Then use a ladle to fill all your pralines to the brim with chocolate.
What you need for this

Metal horn
5
Tap and pour out again
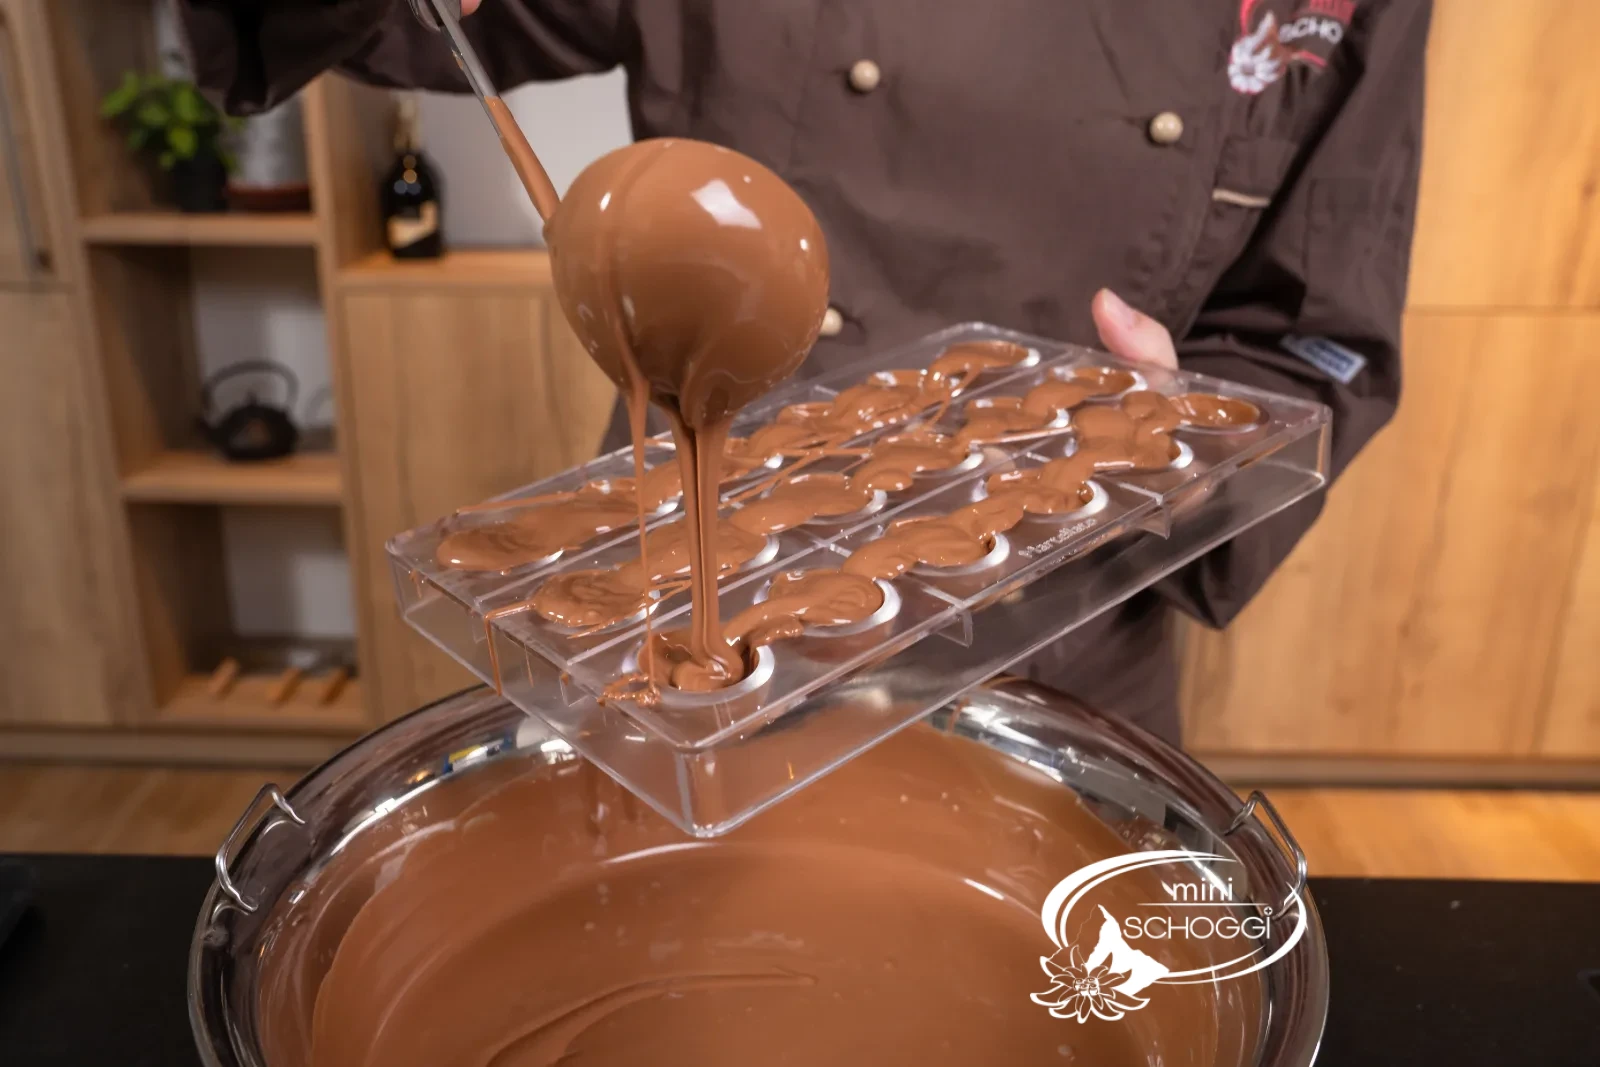
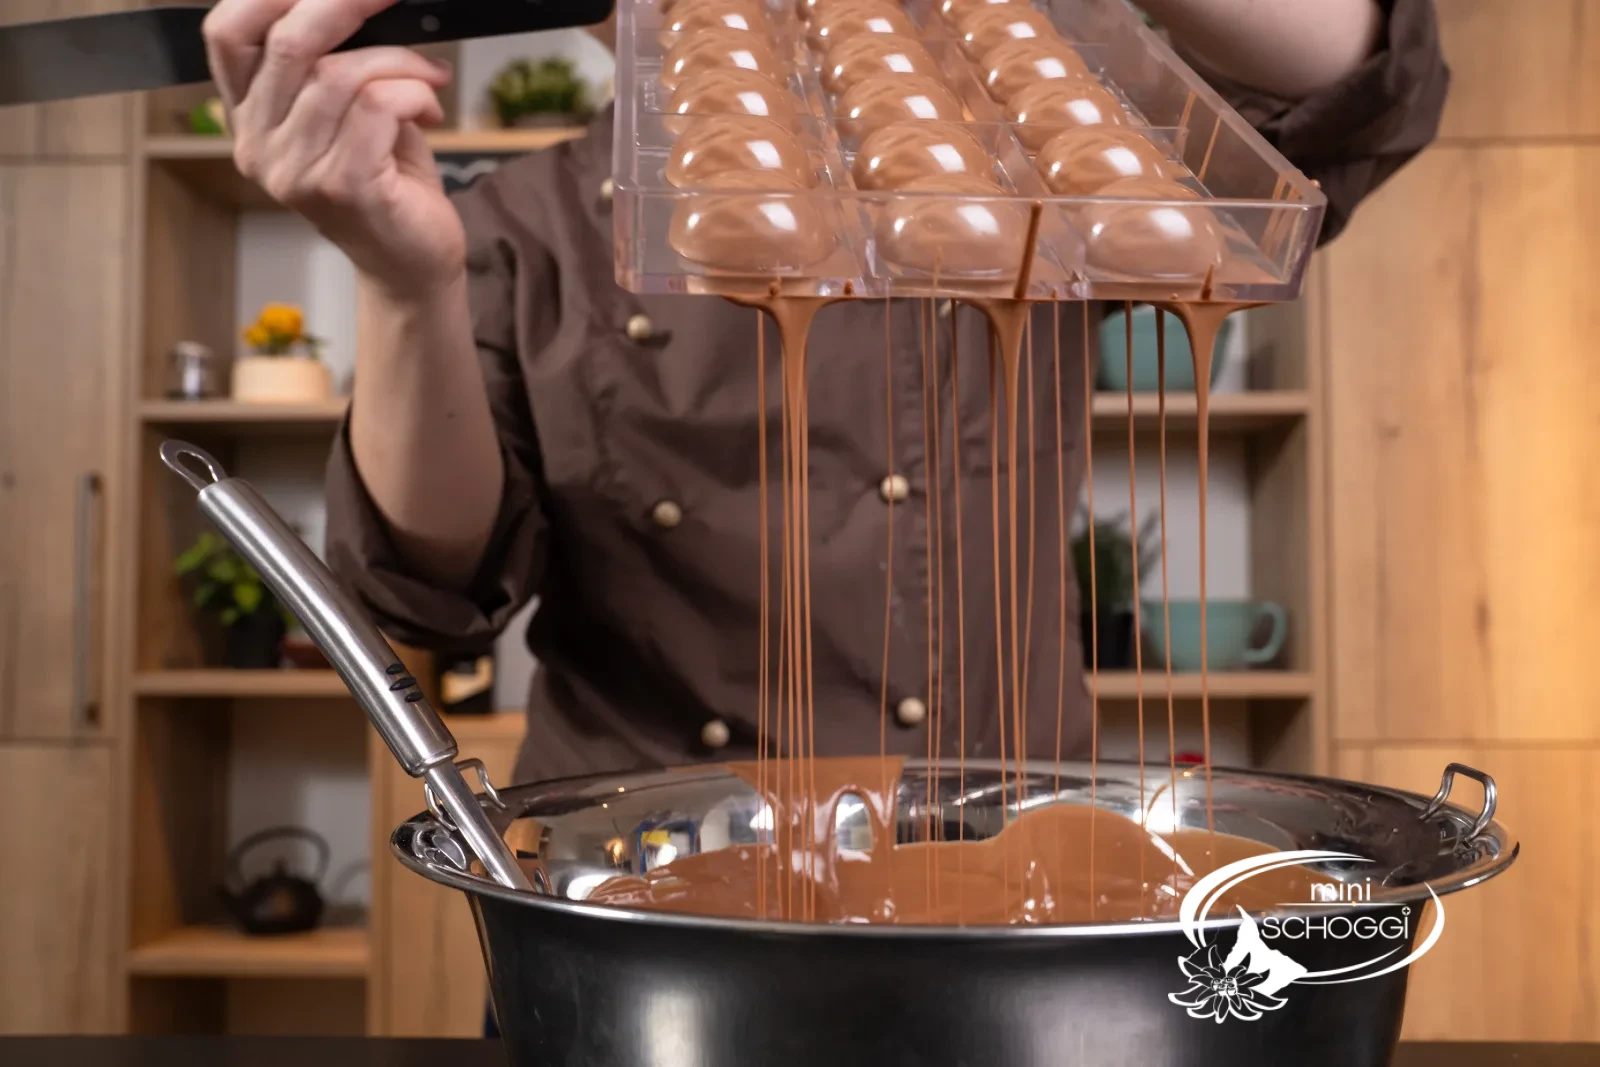
In the next step, tap your praline mold using a rubber mallet or the back of a spatula so that the couverture can spread evenly everywhere. Then turn your praline mold 180° and pour the excess chocolate back out of the mold. In the end there should only be a thin rim of chocolate.
6
Clean the surface and chill
Scrape off the excess couverture with a spatula. Then turn your walnut praline mold over again and use a metal horn to make the praline surface as clean as possible. Then put the finished cast praline mold in the fridge for 5–10 minutes.
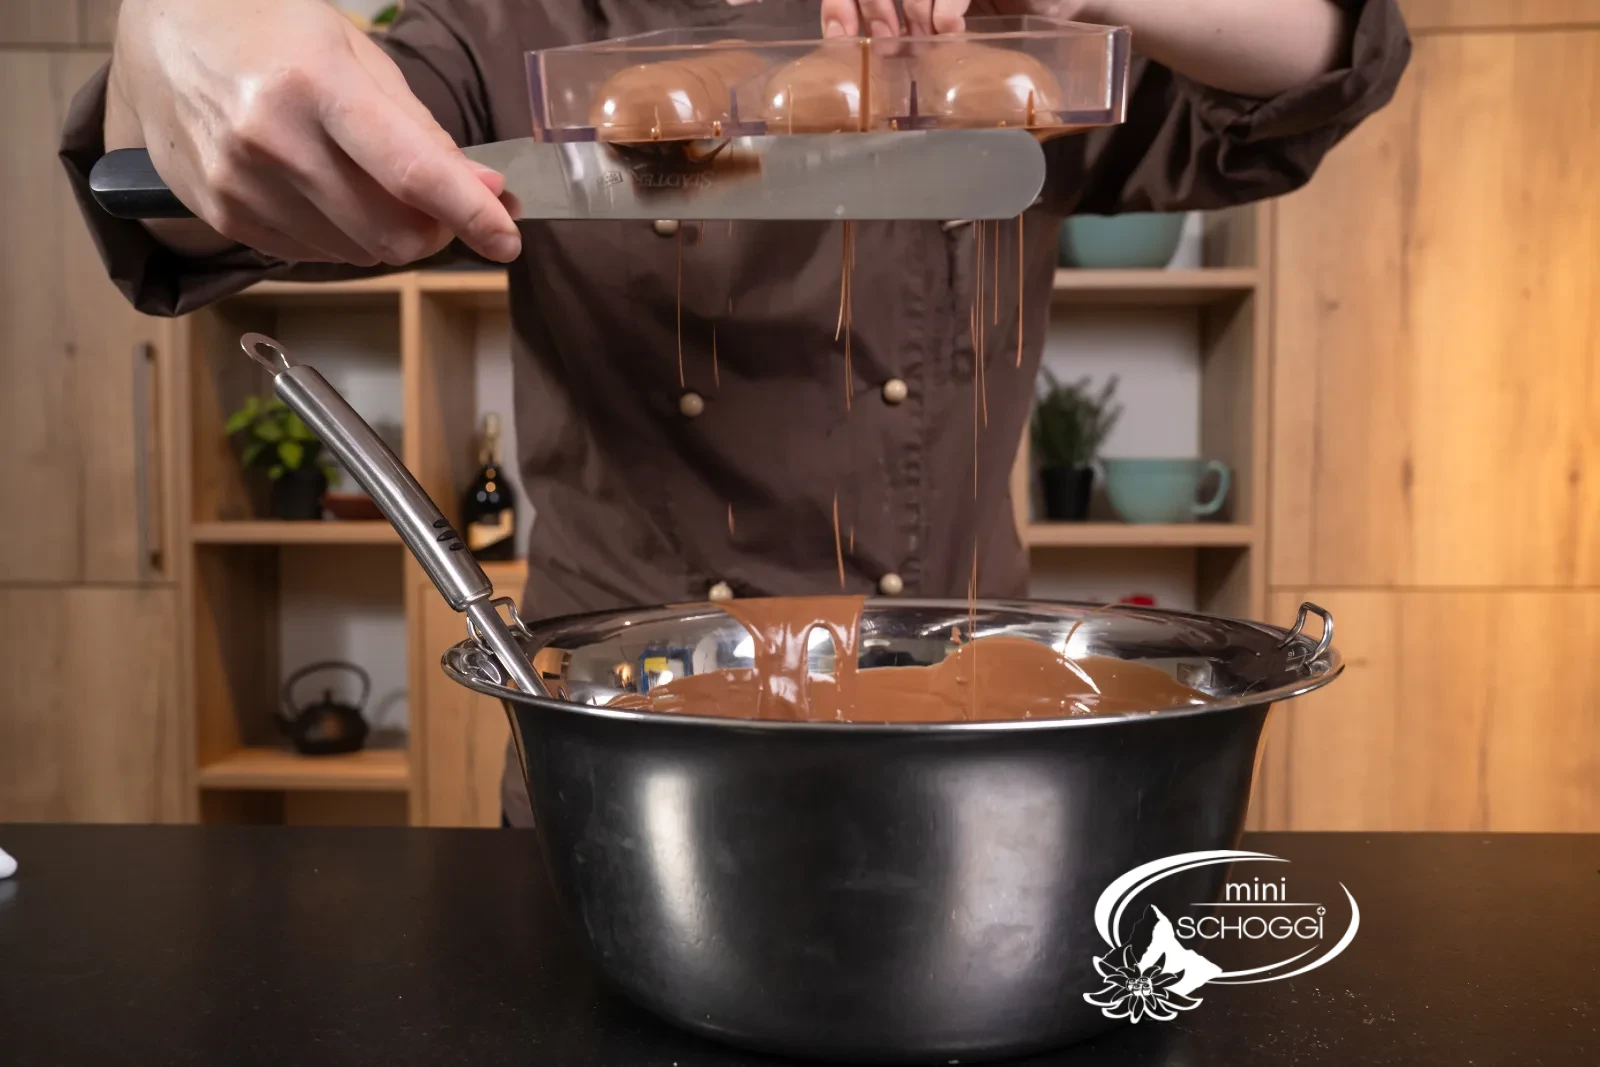
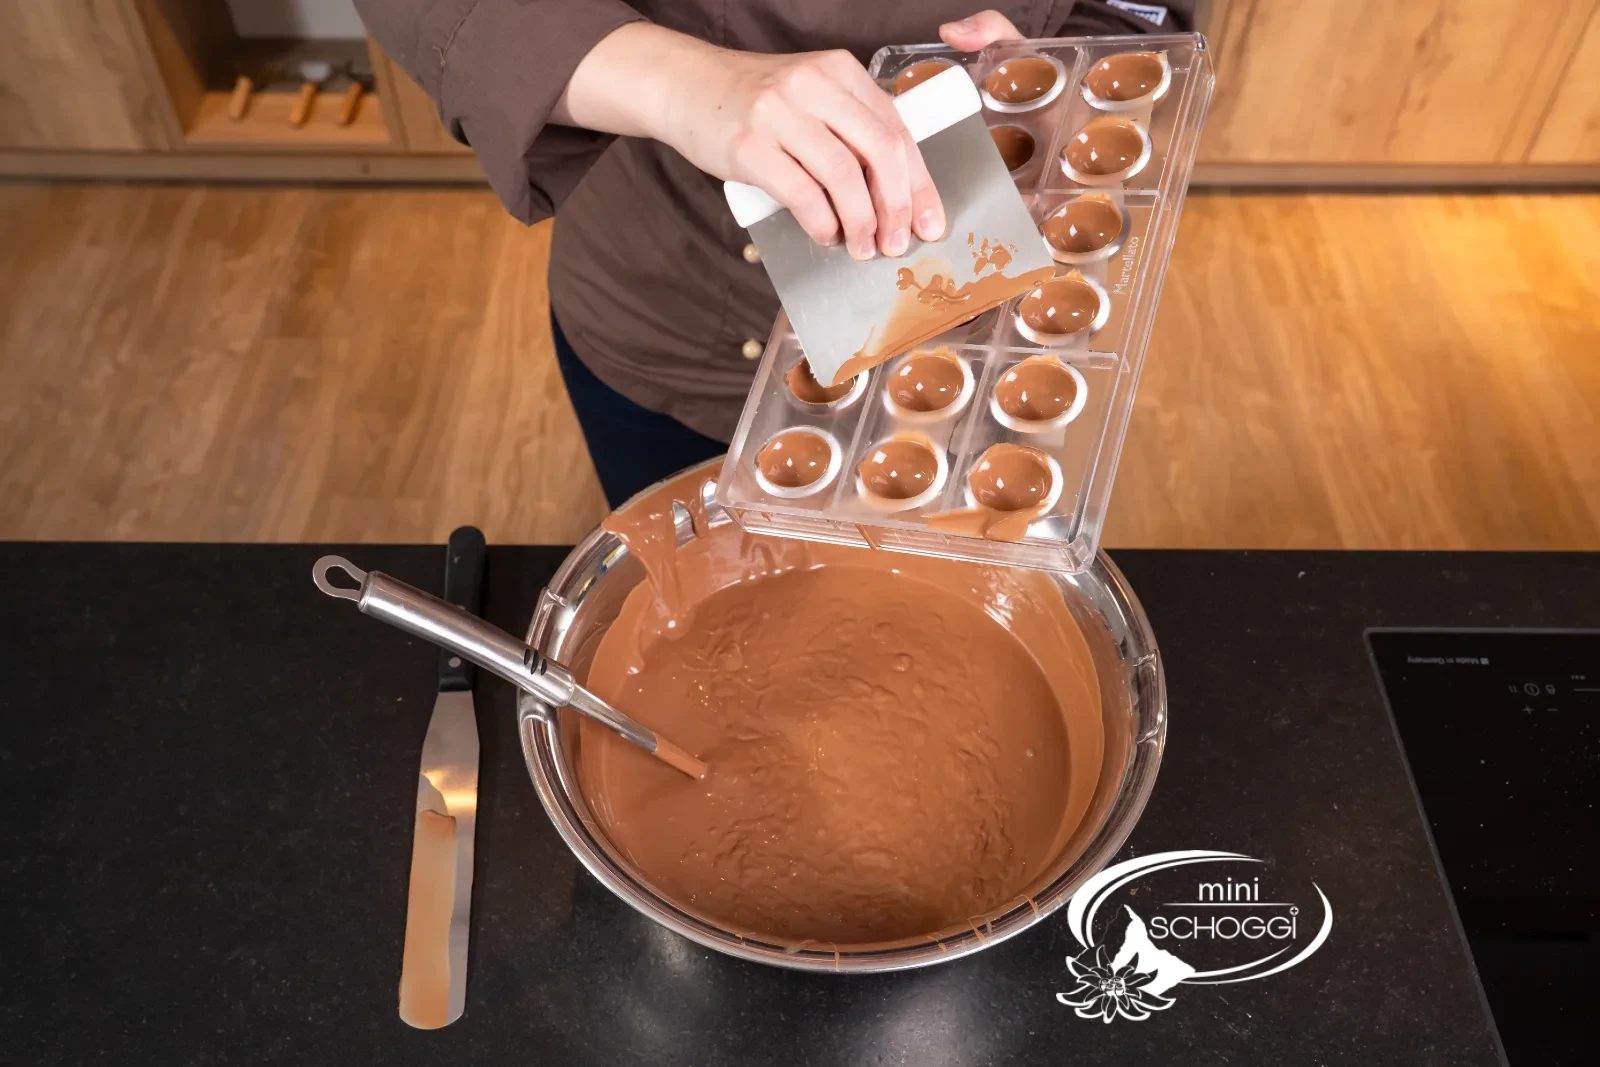
What you need for this

Metal horn
Spatula Medium
Make the walnut paste yourself
1
Nuts and caramel into the blender
While your praline mold is in the fridge, in the meantime already prepare the walnut paste.
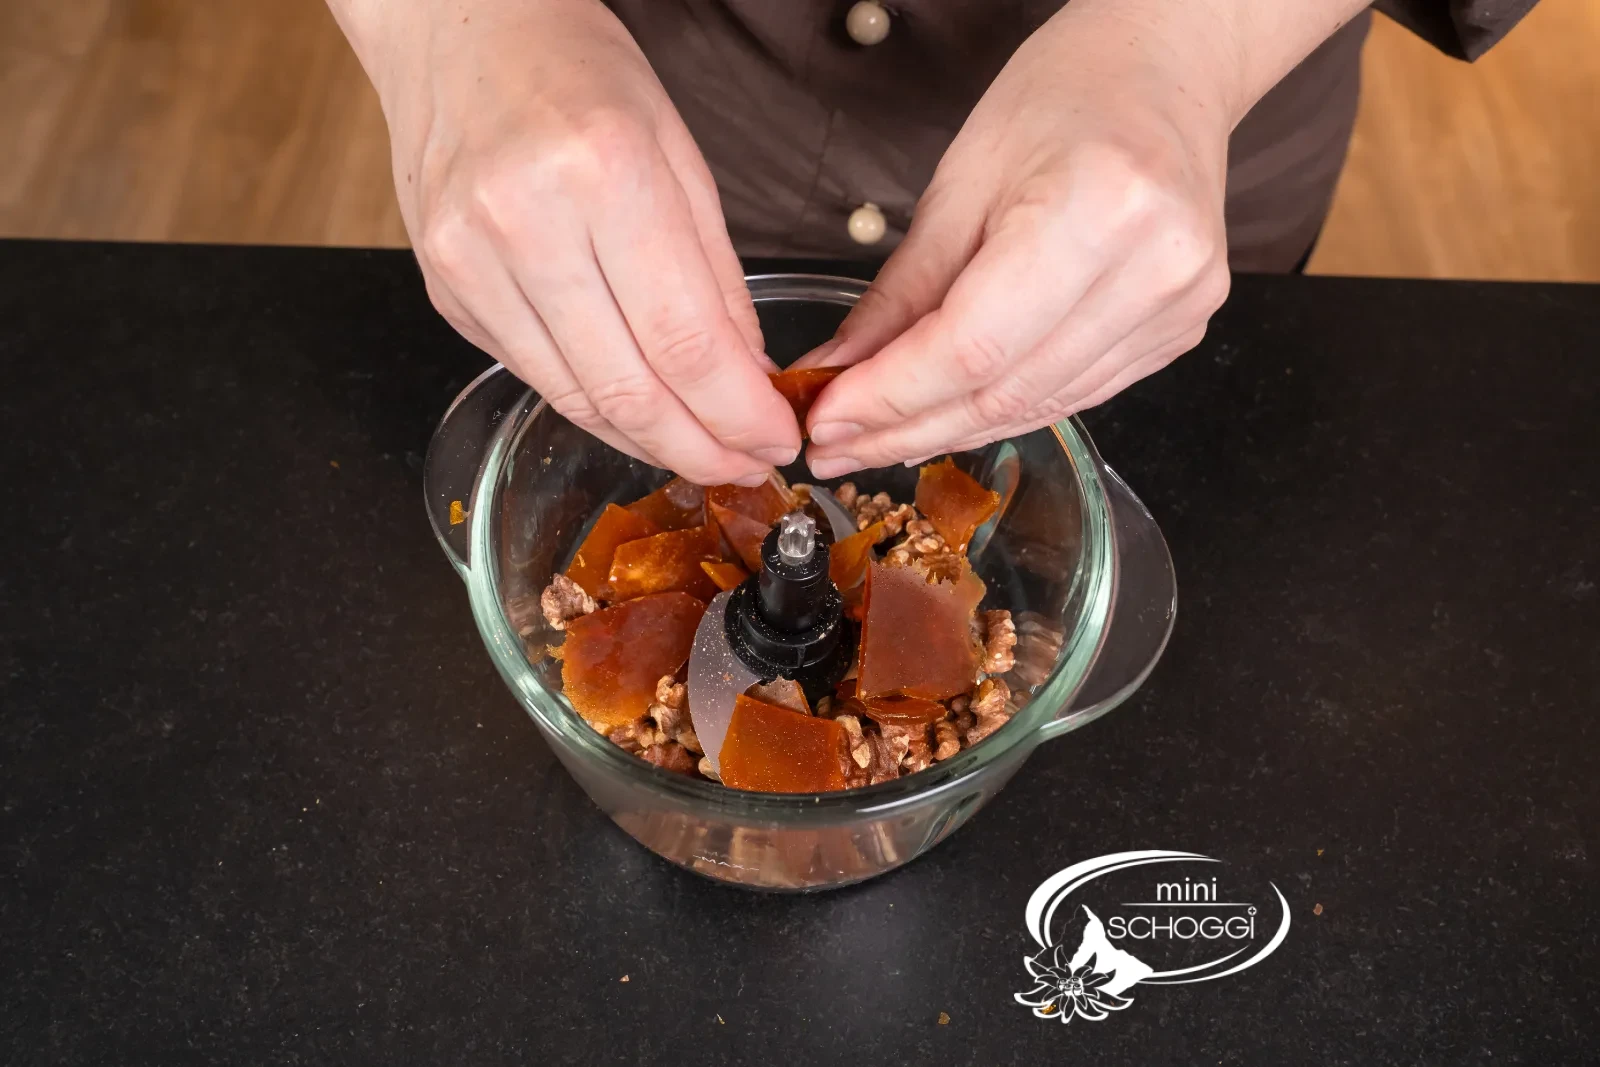
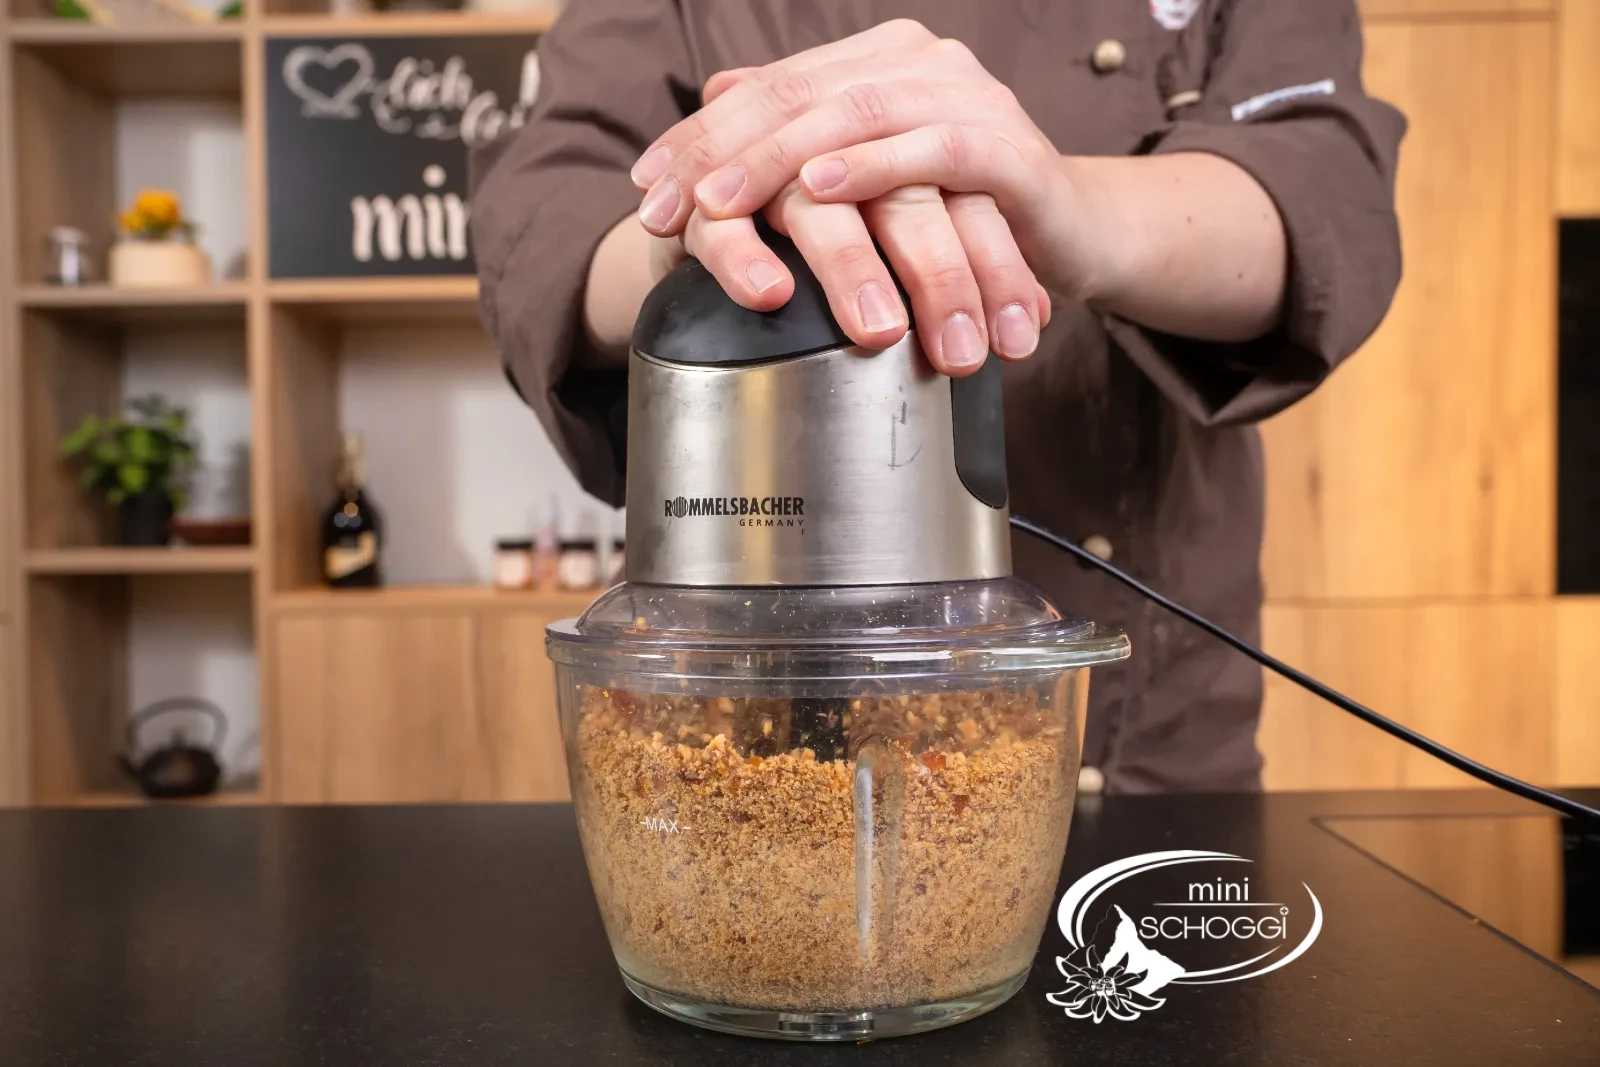
For this you need a powerful blender. Put all your roasted walnuts into the blender. Then add the caramel that has hardened in the meantime. Break the caramel into small pieces so that it blends more easily. Now blend everything for a few seconds.
2
Blend until a paste forms
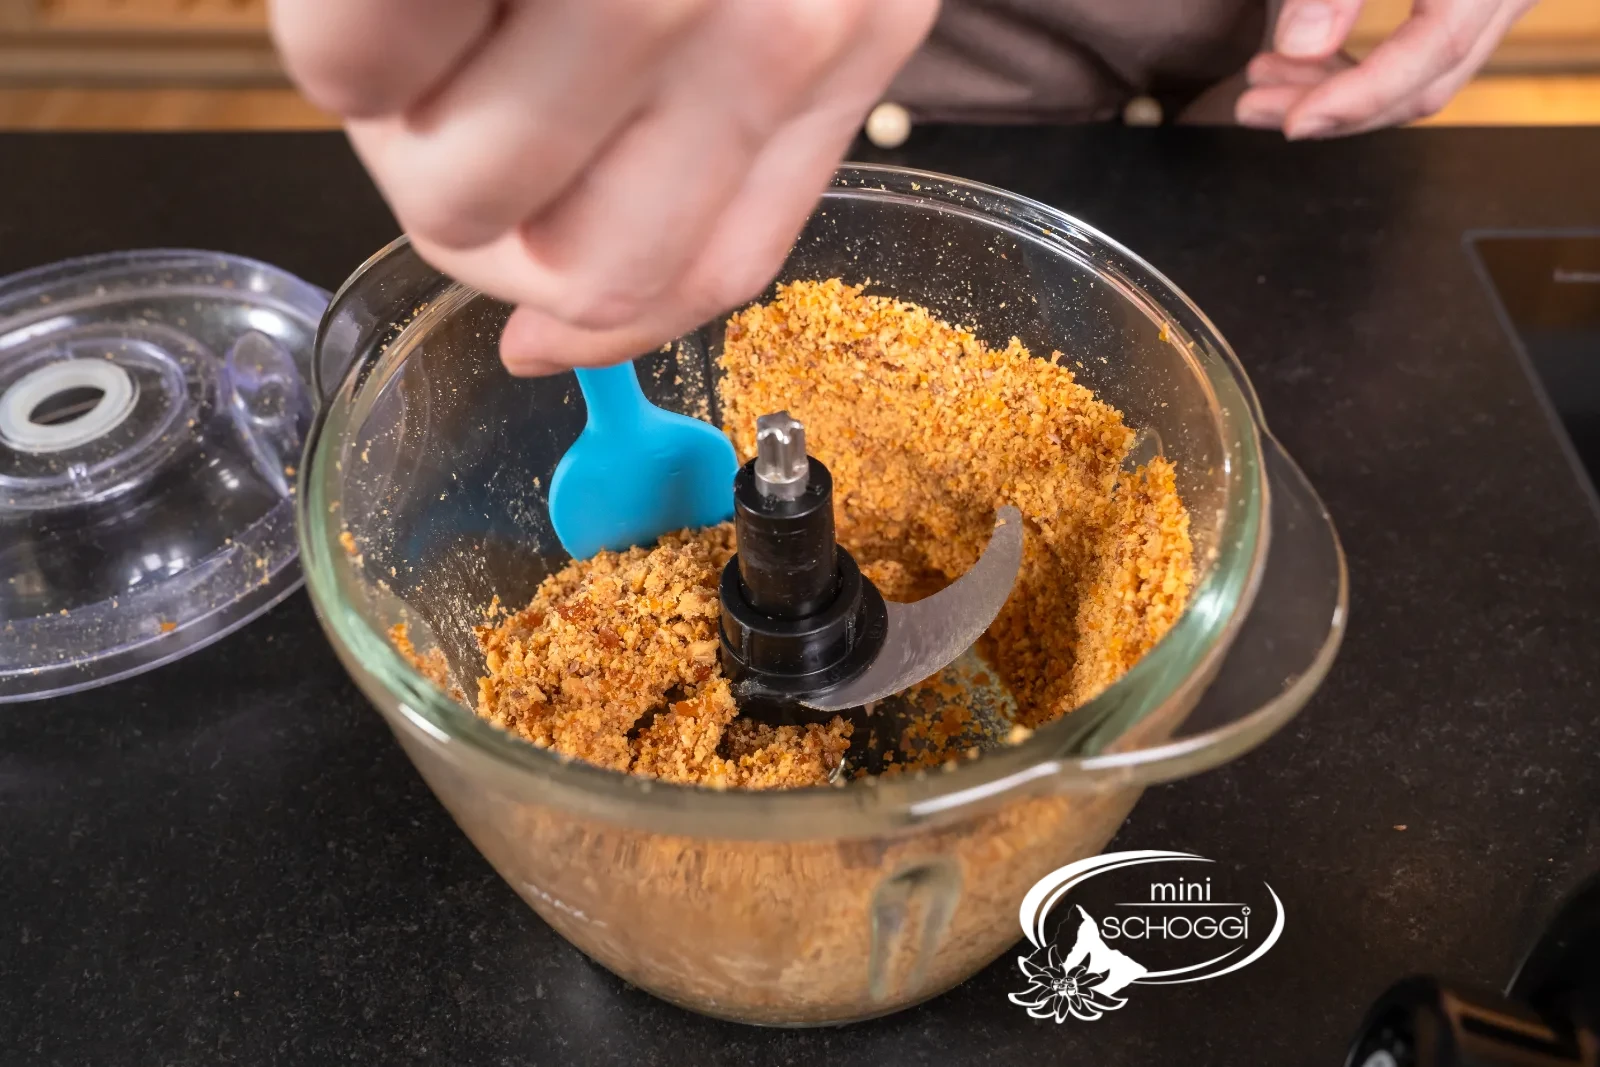
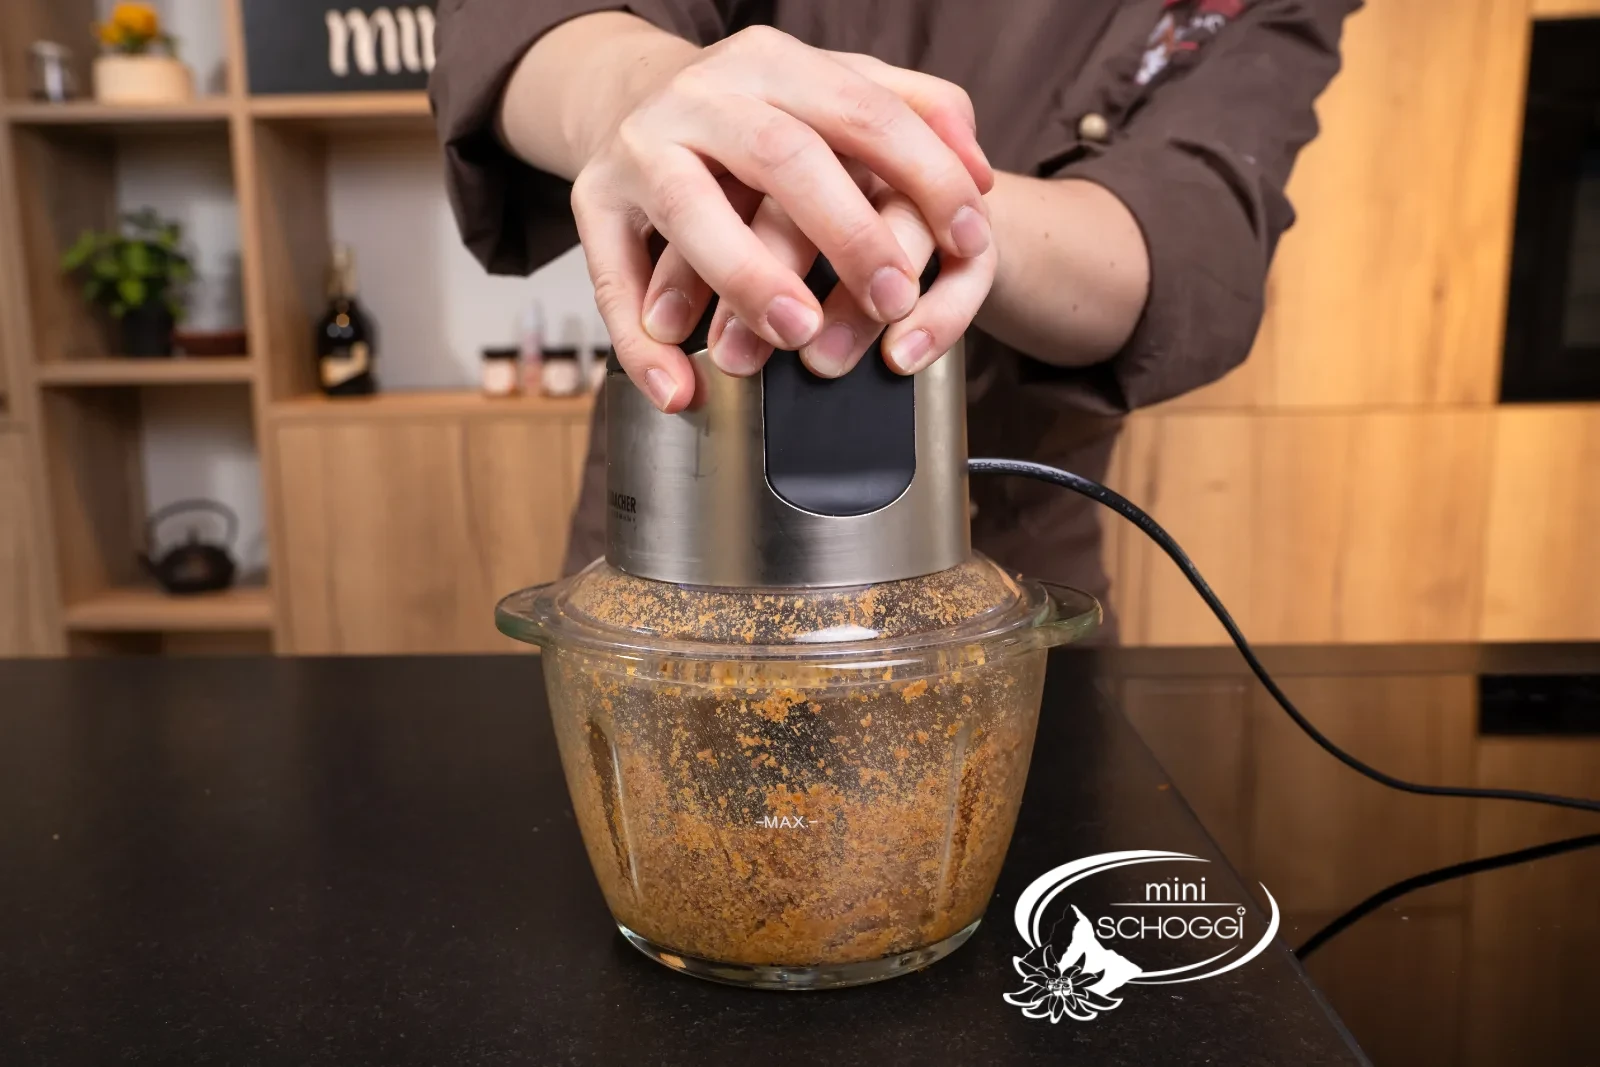
After a few seconds you can already briefly push everything away from the edge with a rubber scraper and keep blending (repeat this step several times). At first you'll get a very dry mass. The longer you blend your walnut paste, however, the more viscous it becomes, and in the end you get a lovely walnut paste. Here it really is crucial that you have a sufficiently powerful blender. If your walnut paste is still too dry or crumbly in the end, you can also add a little sunflower oil to the mass.
What you need for this

Rubber scraper Black, small long
3
Fill off the paste
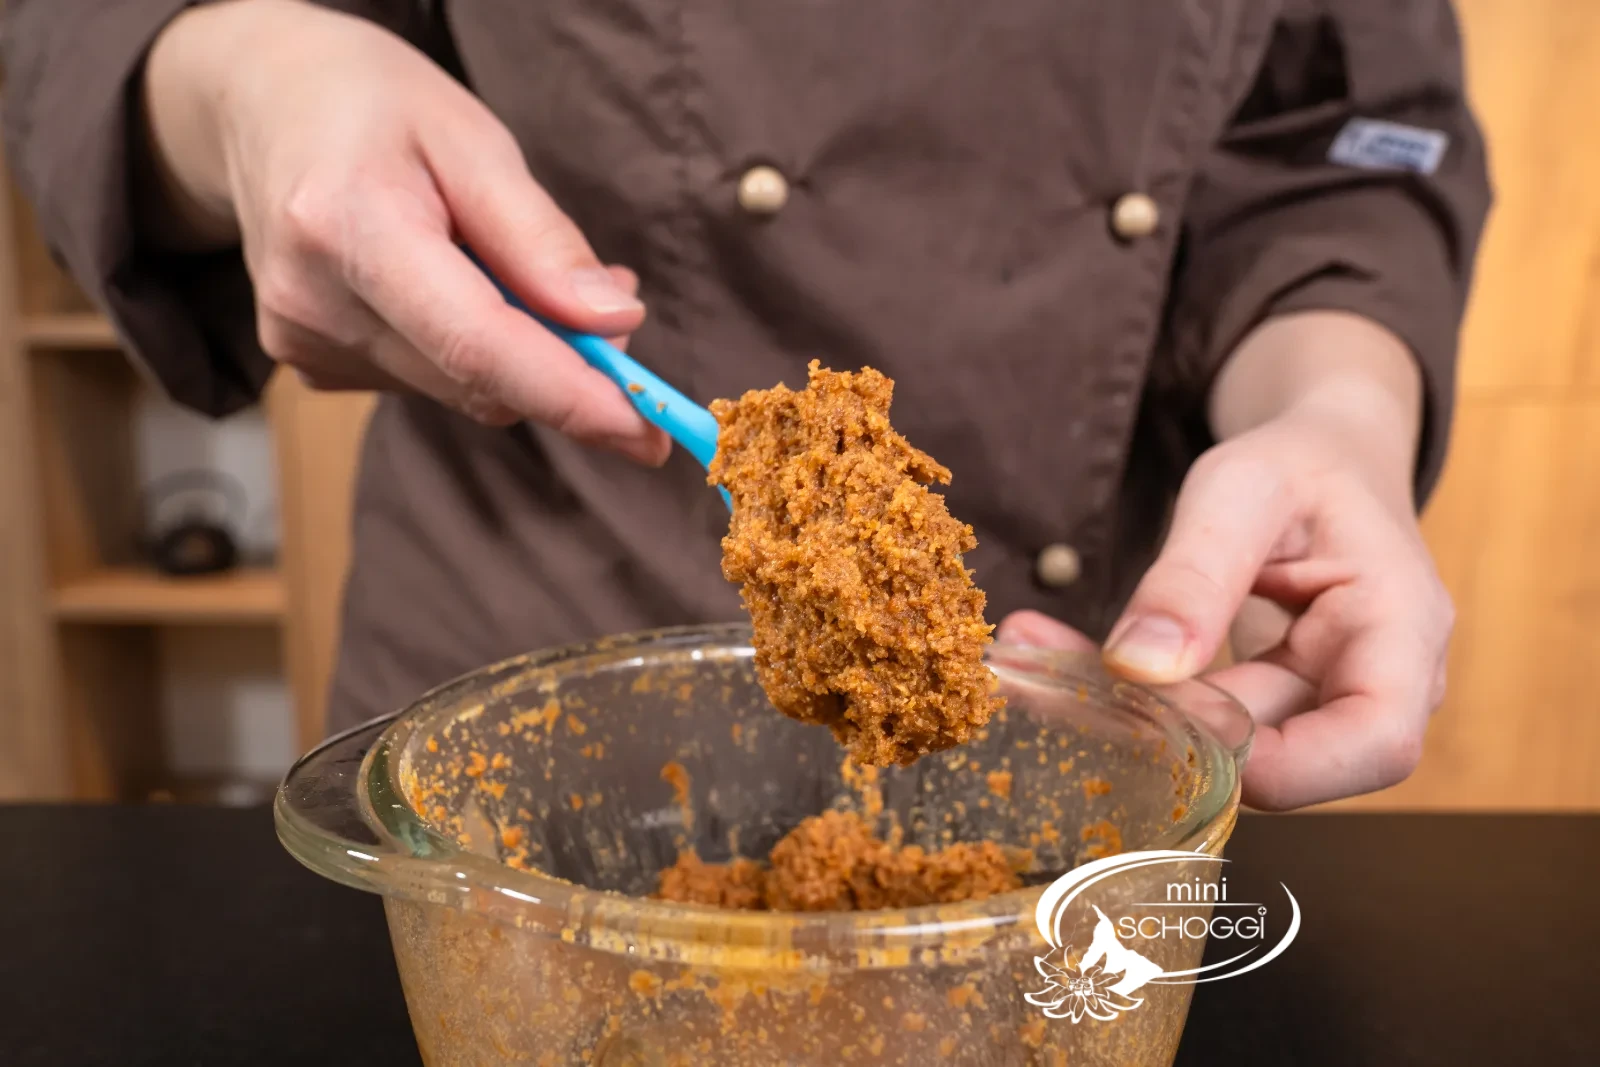
In the end you should get a creamy walnut paste. For the ganache you also need some of this walnut paste, so put the required amount (30 g walnut paste) straight into a bowl and put the rest into a piping bag.
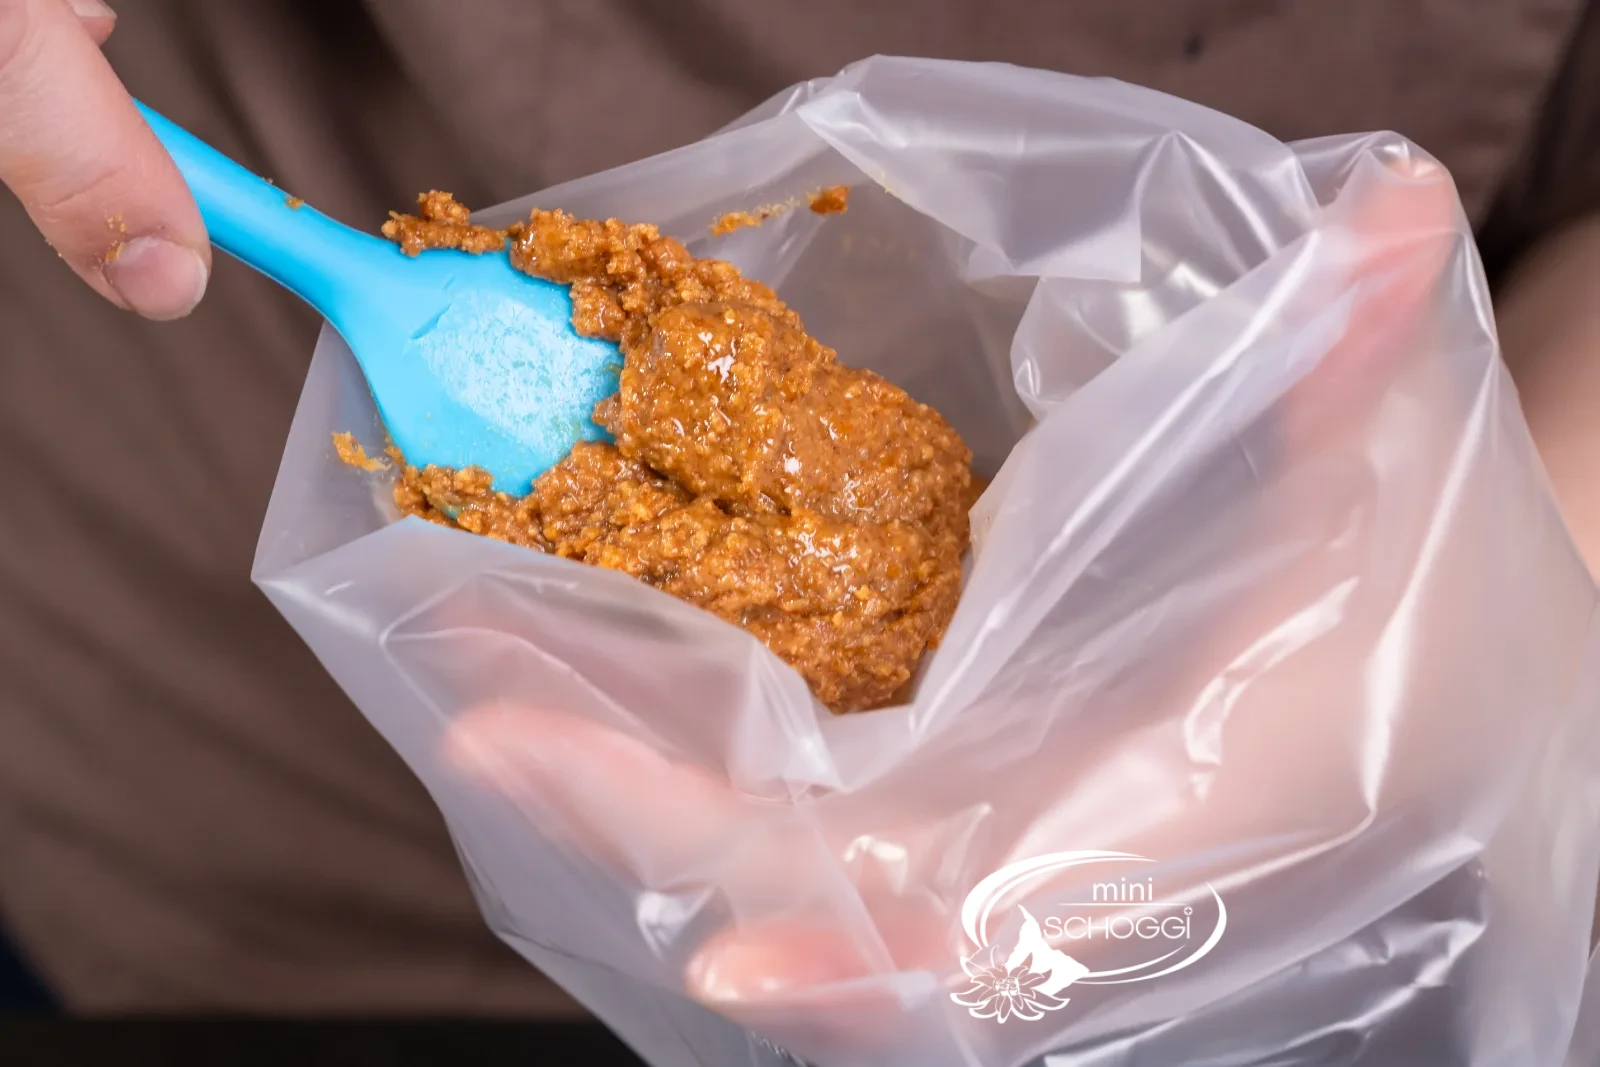
What you need for this

Disposable piping bag Transparent 20 pieces
Rubber scraper Black, small long
4
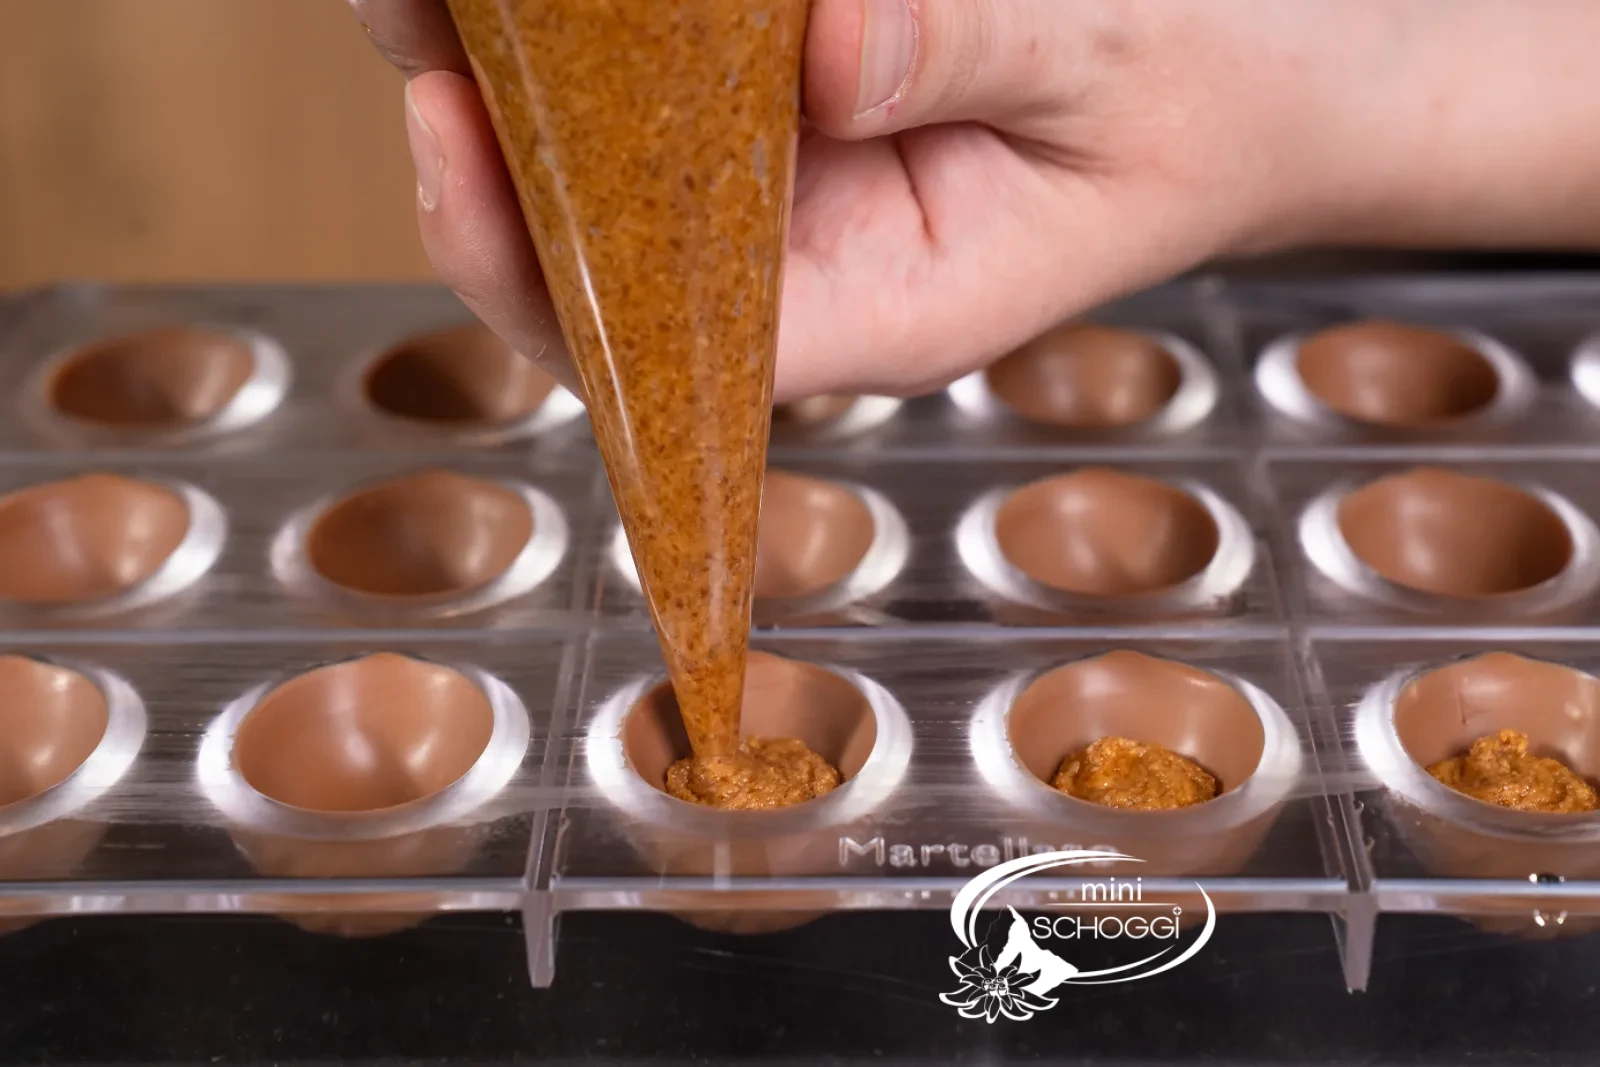
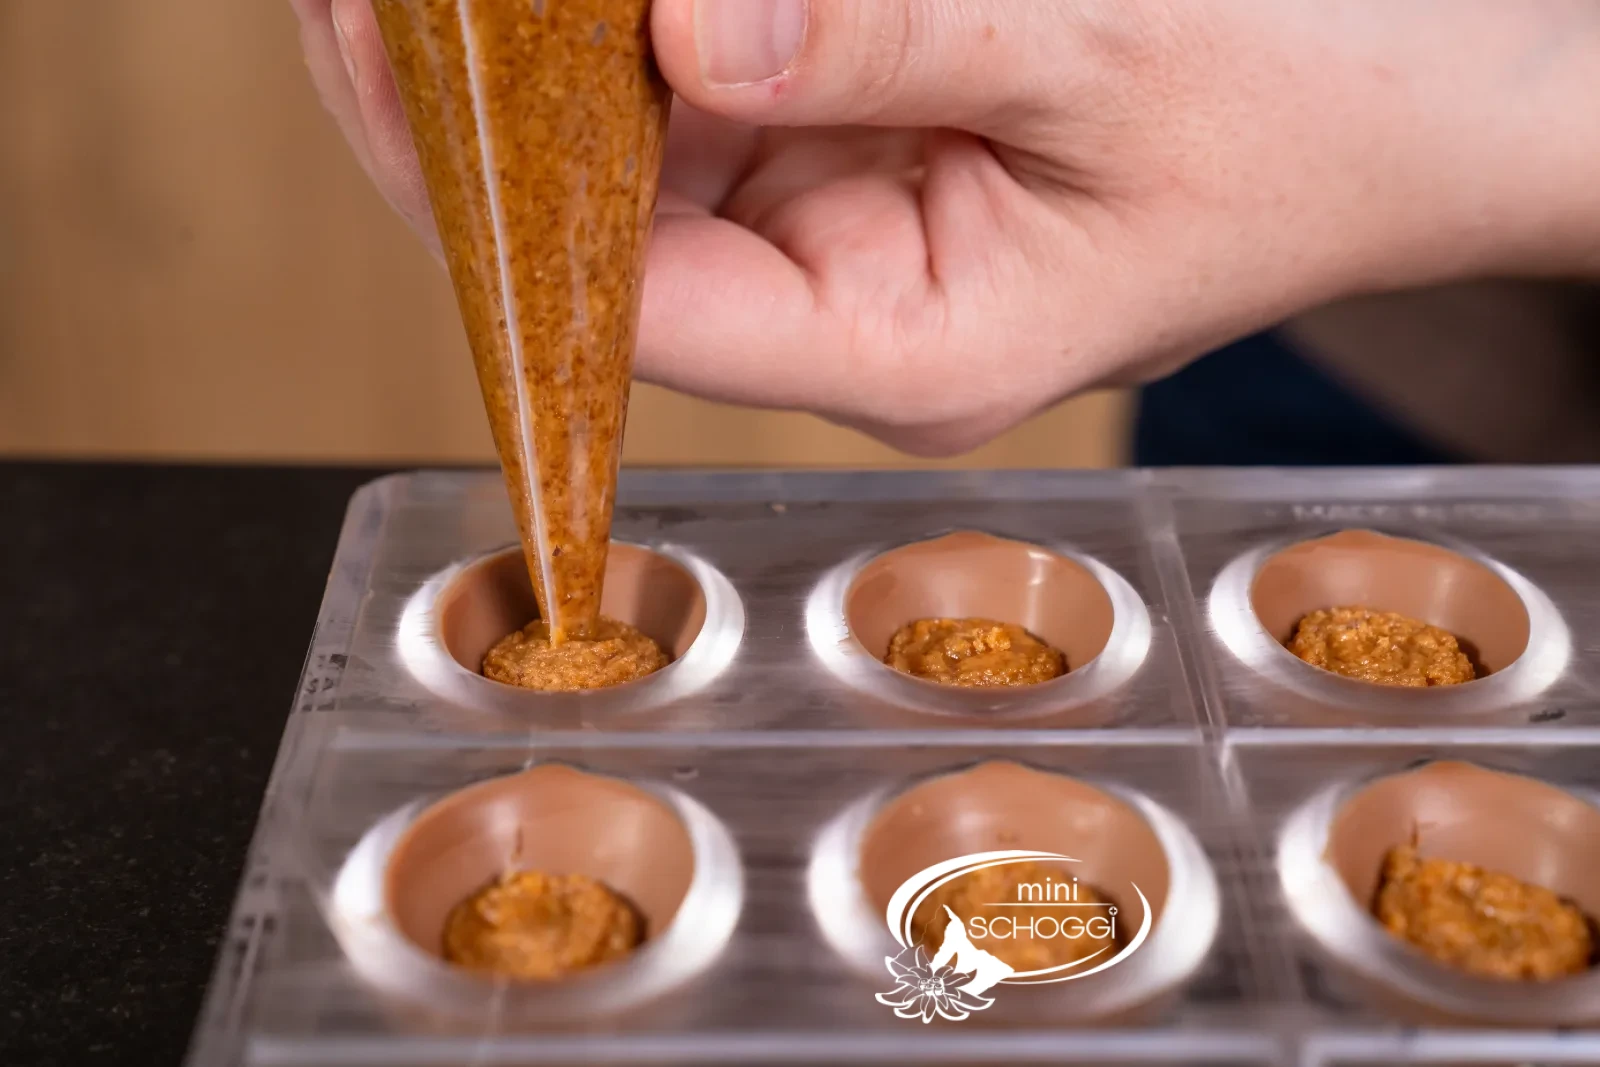
Half-fill the pralines with paste
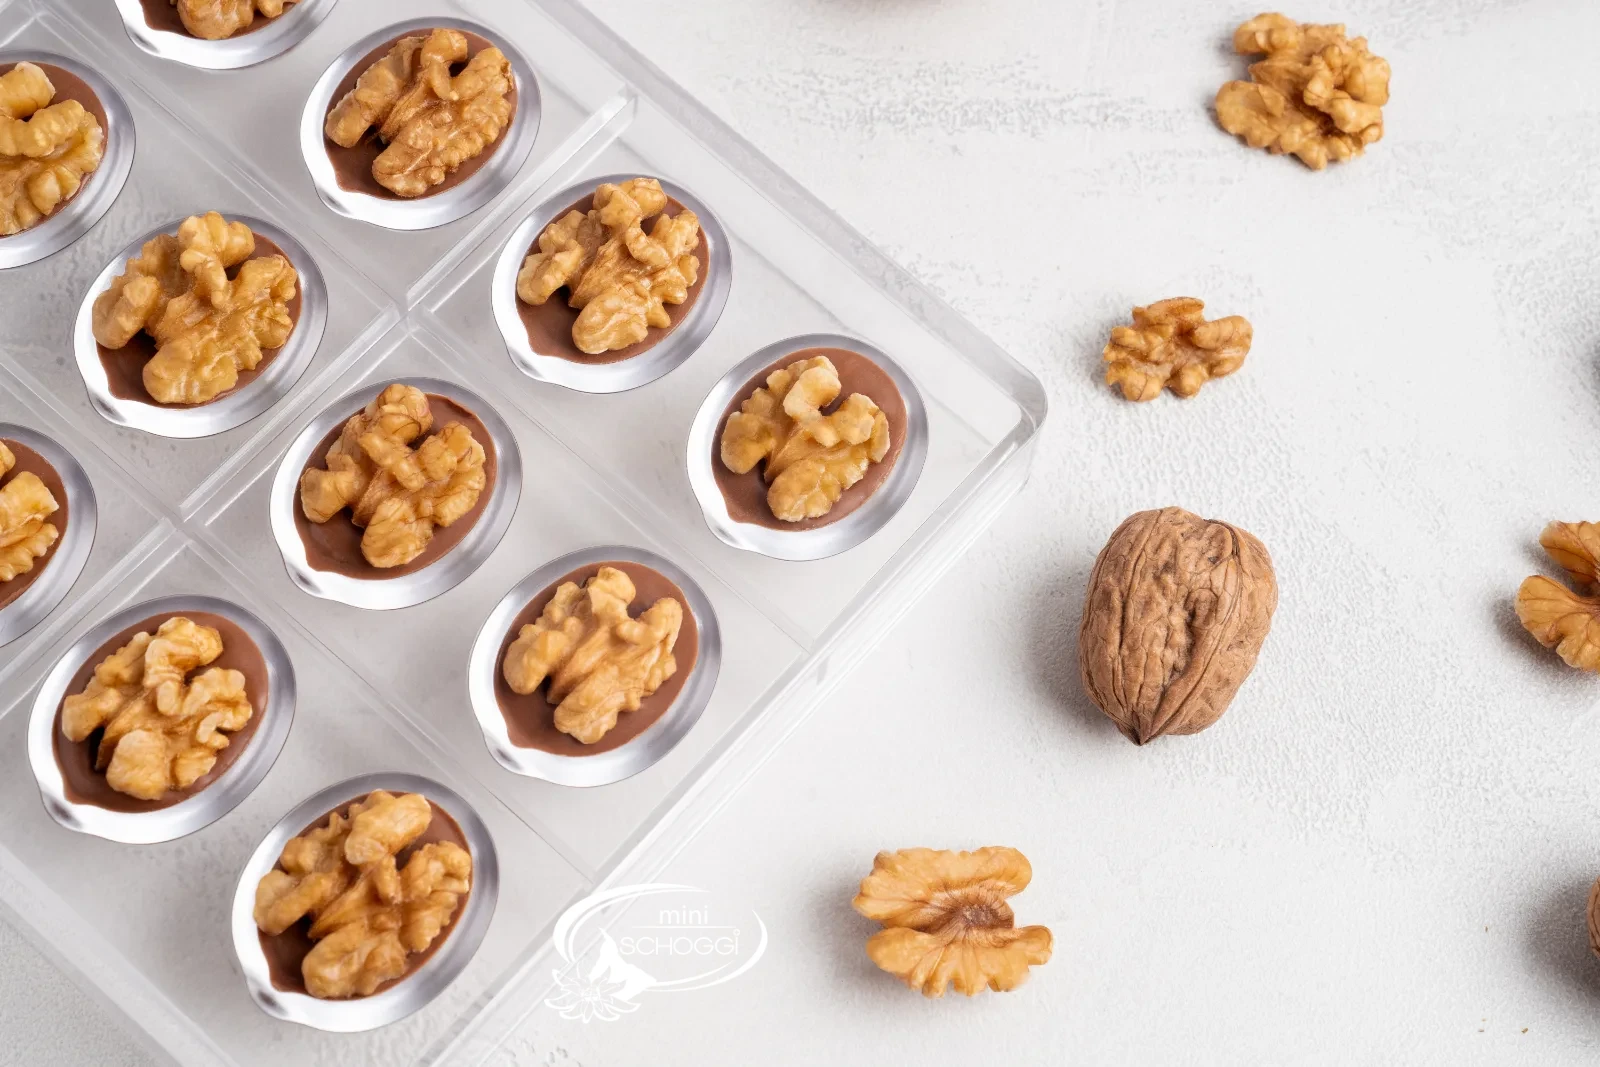
Take your praline mold out of the fridge and half-fill each individual walnut praline with approx. 5 g of walnut paste.
Ganache, sealing and decorating
1
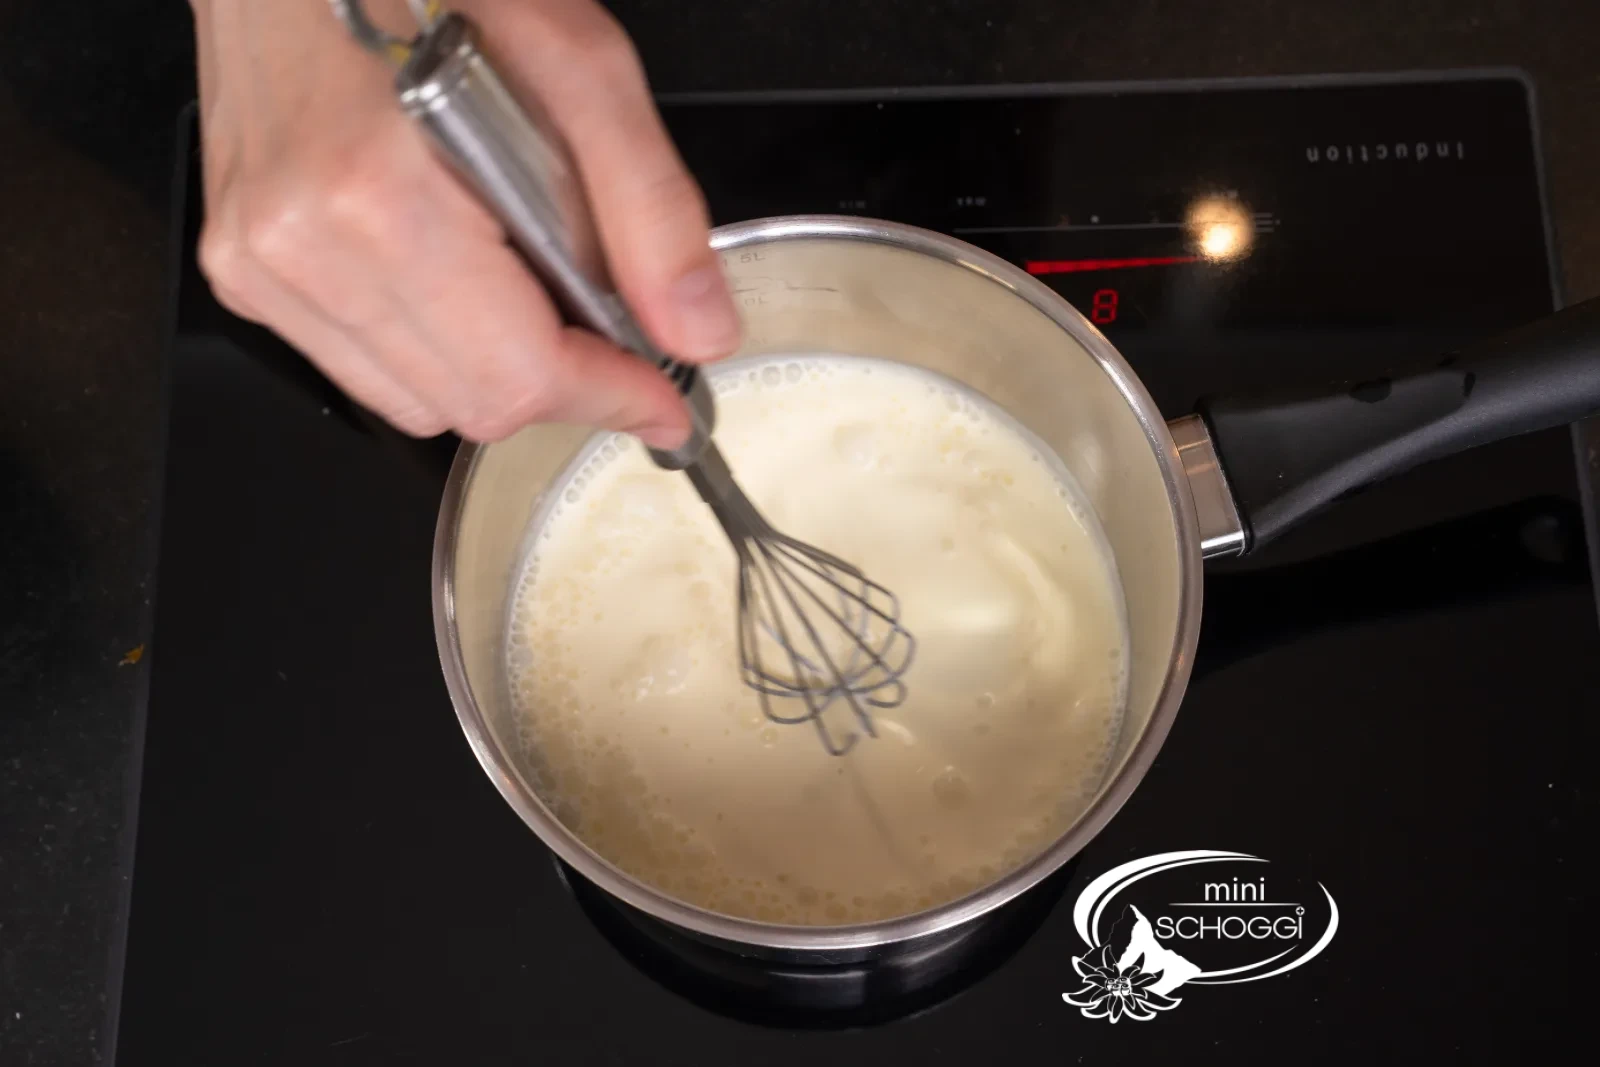
Cook the walnut ganache
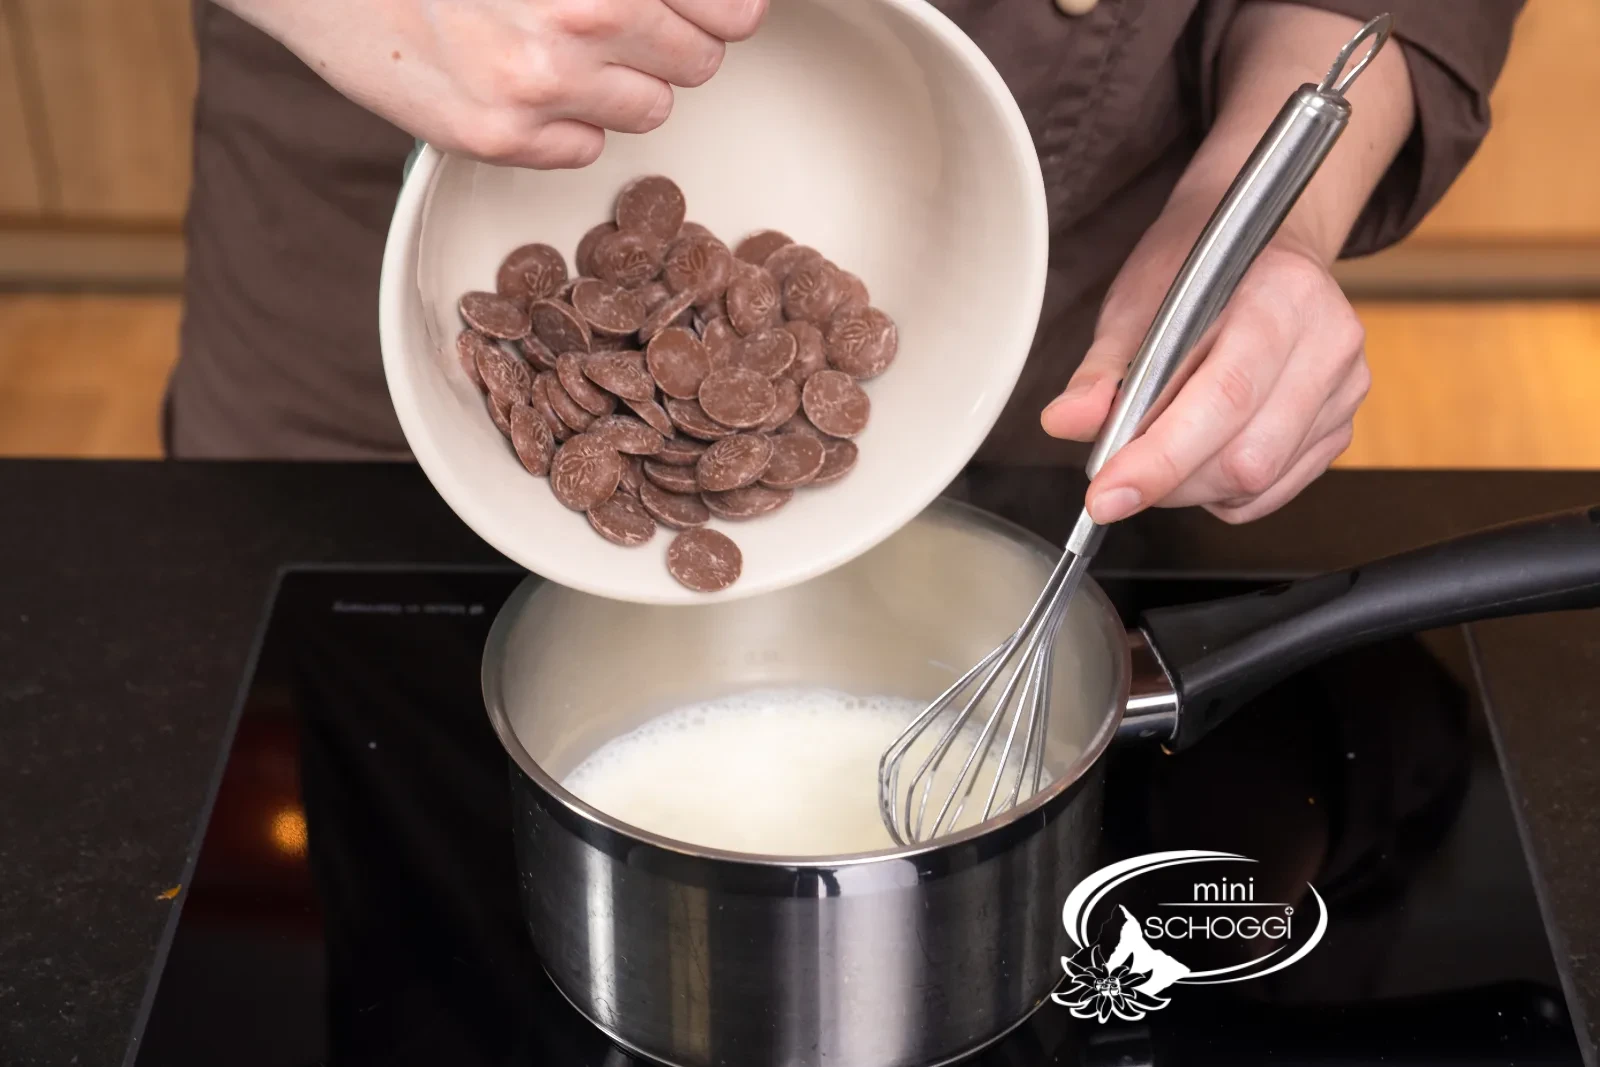
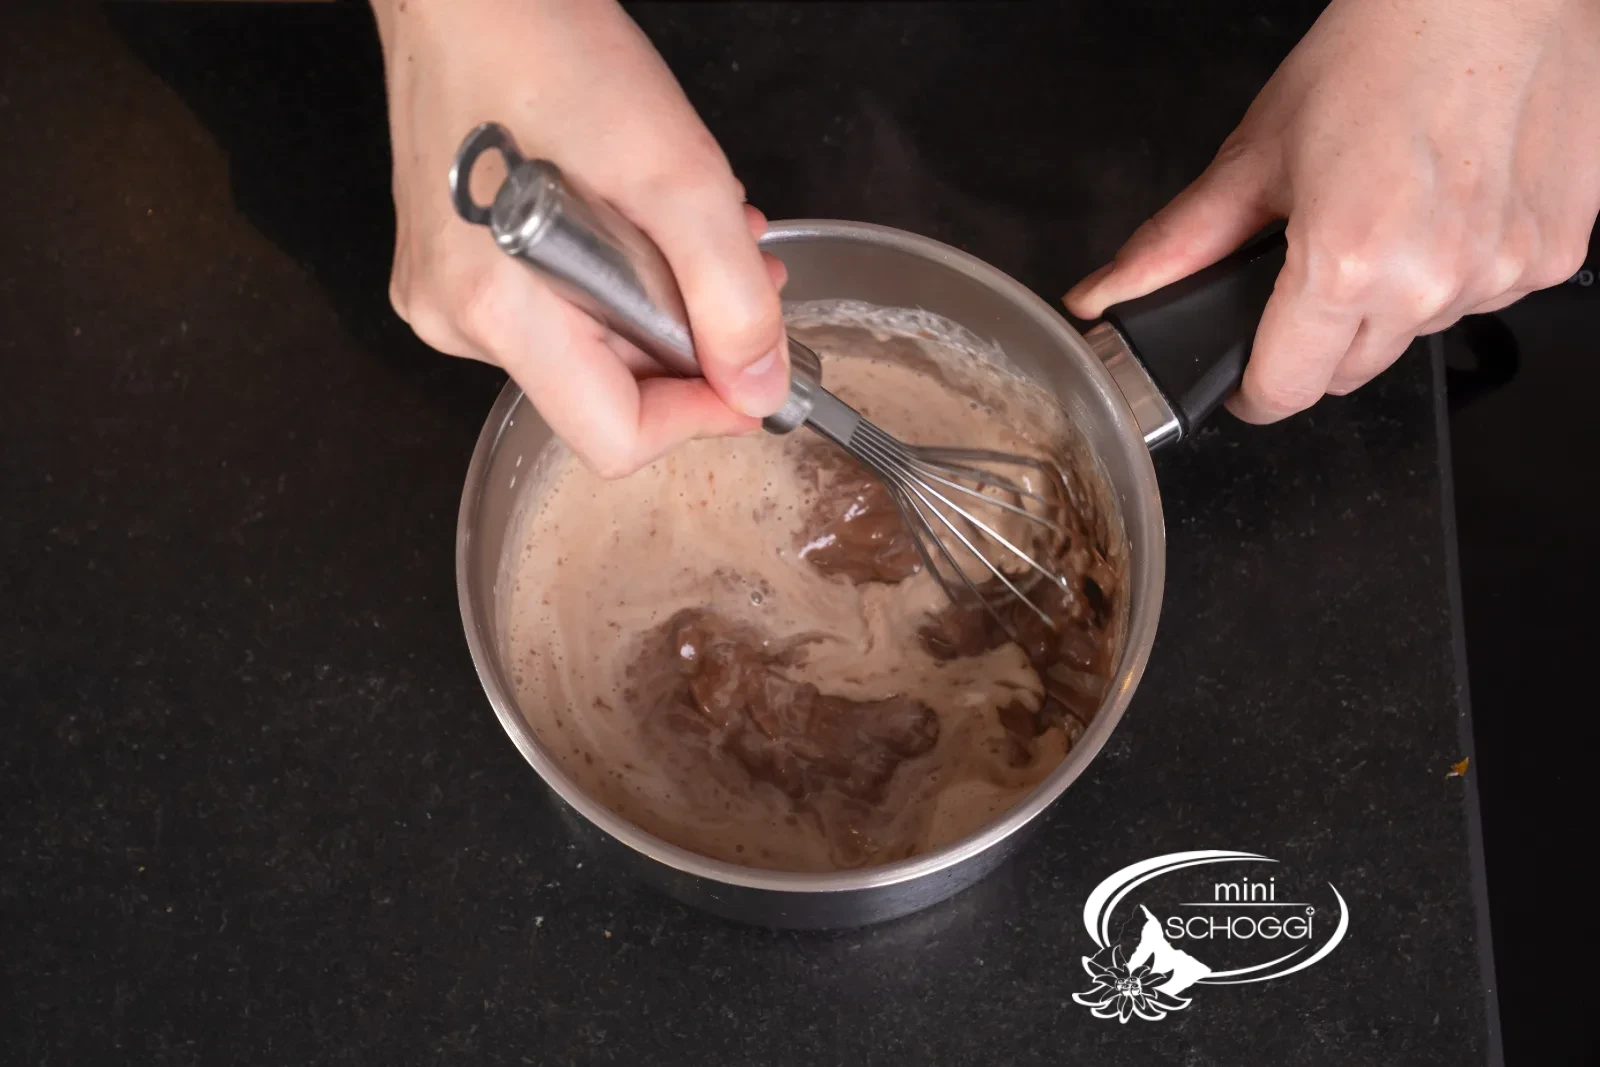
Then make the walnut ganache. For this, bring full cream to a boil with a little Sorbitol syrup and Glucose syrup. As soon as the cream begins to boil, take the pan off the stove and add the milk couverture pieces. Mix briefly into the hot cream and let it rest for a few seconds. Then stir everything together with a whisk until a nice ganache forms.
What you need for this


Felchlin Couverture Grand Cru Grenada 38 % 0.5 kg
Glucose syrup, 350g
Sorbitol syrup liquid, 130g
Flat whisk 25 cm
2
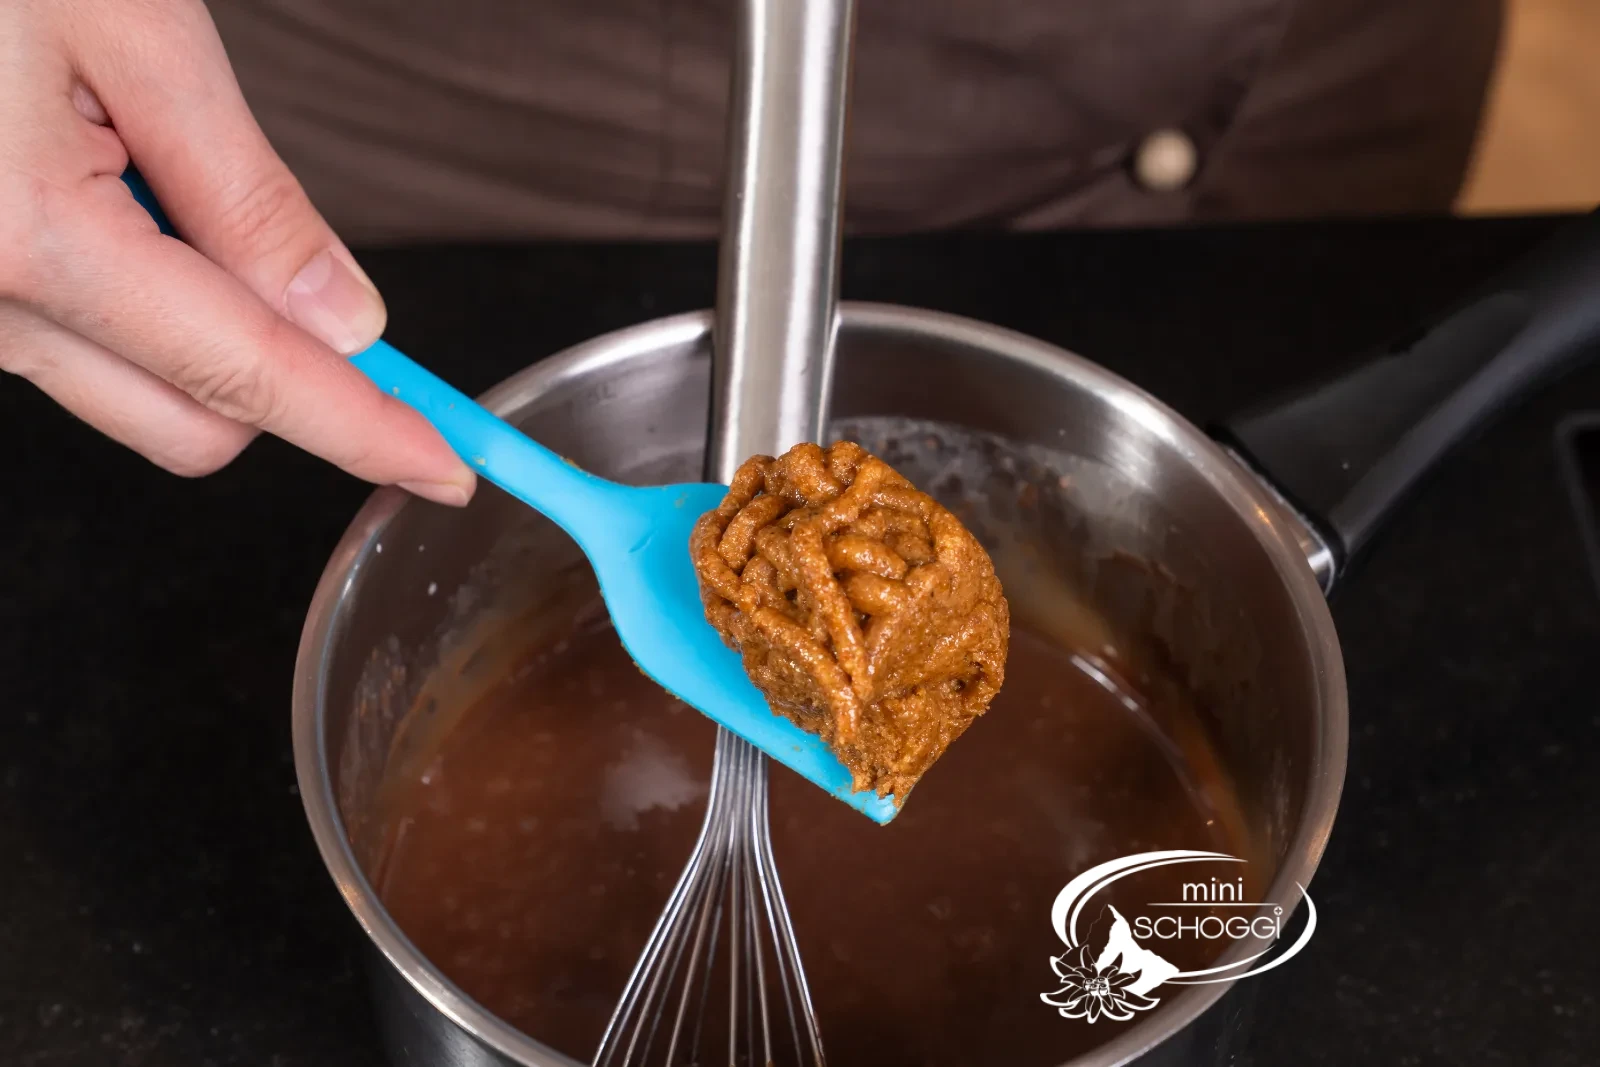
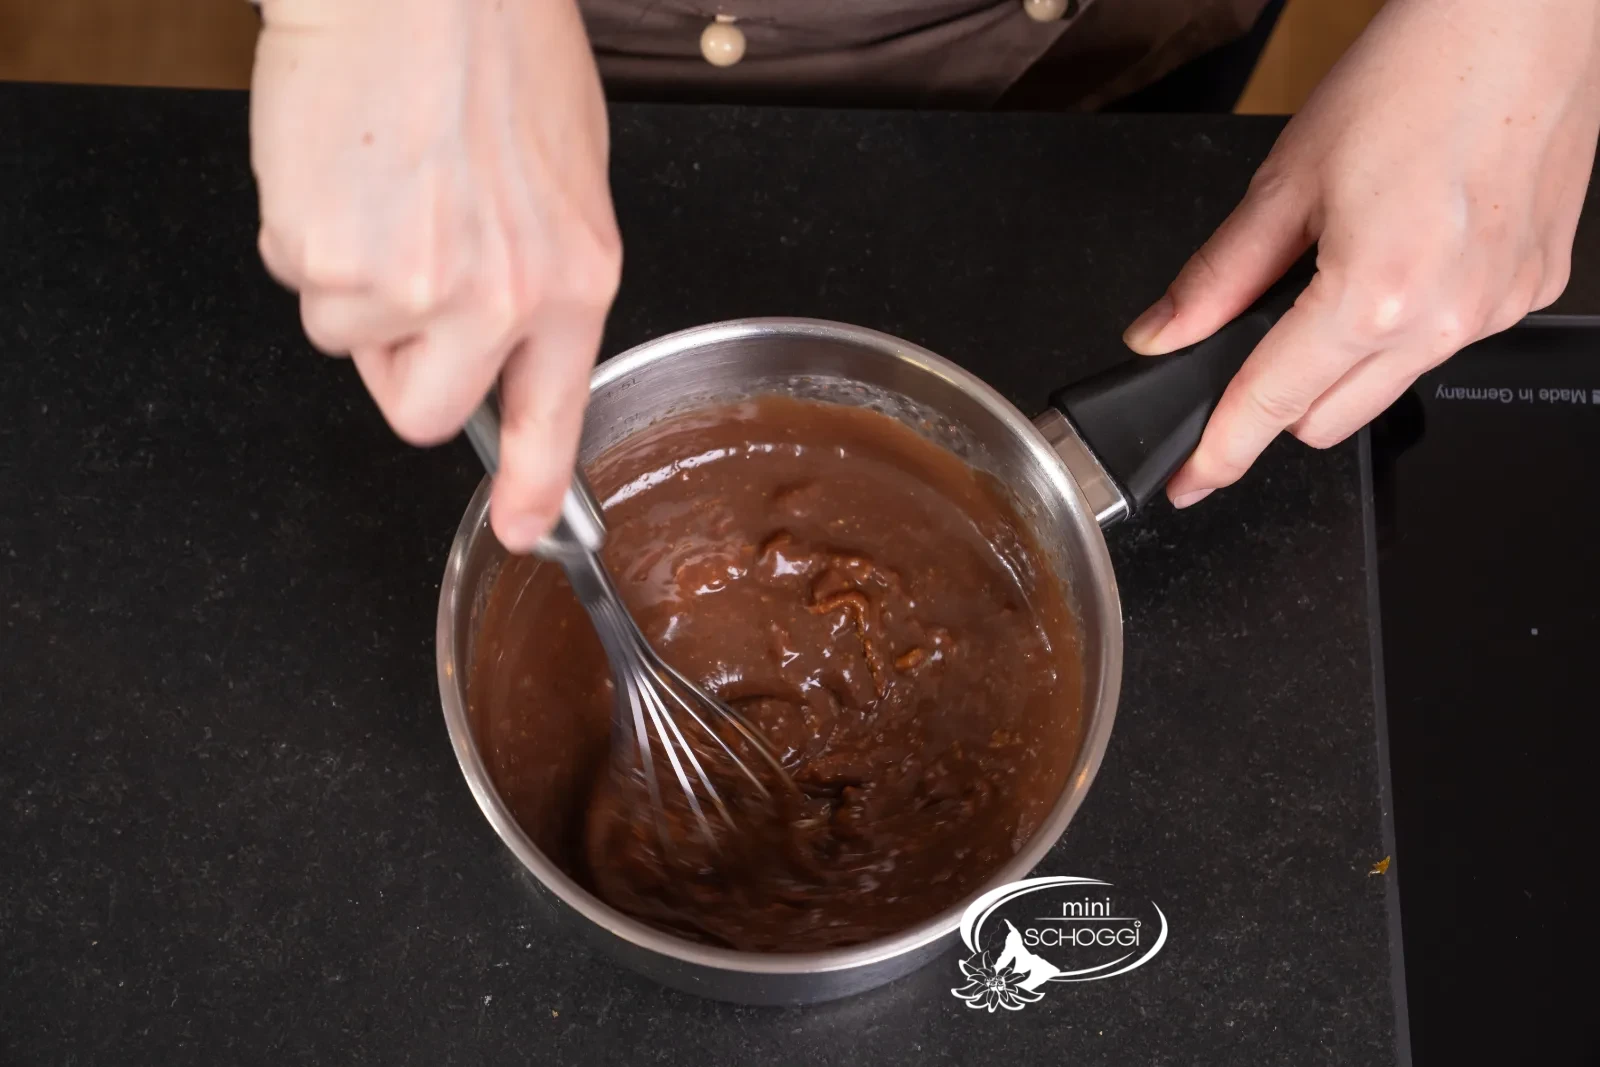
Stir in the walnut paste
Then add the 30 g of walnut paste and stir everything into a nice ganache.
3
Fill off the ganache and let it cool
Fill the finished walnut ganache into a piping bag and let the ganache cool at room temperature for approx. 15–20 minutes before filling the pralines with it.
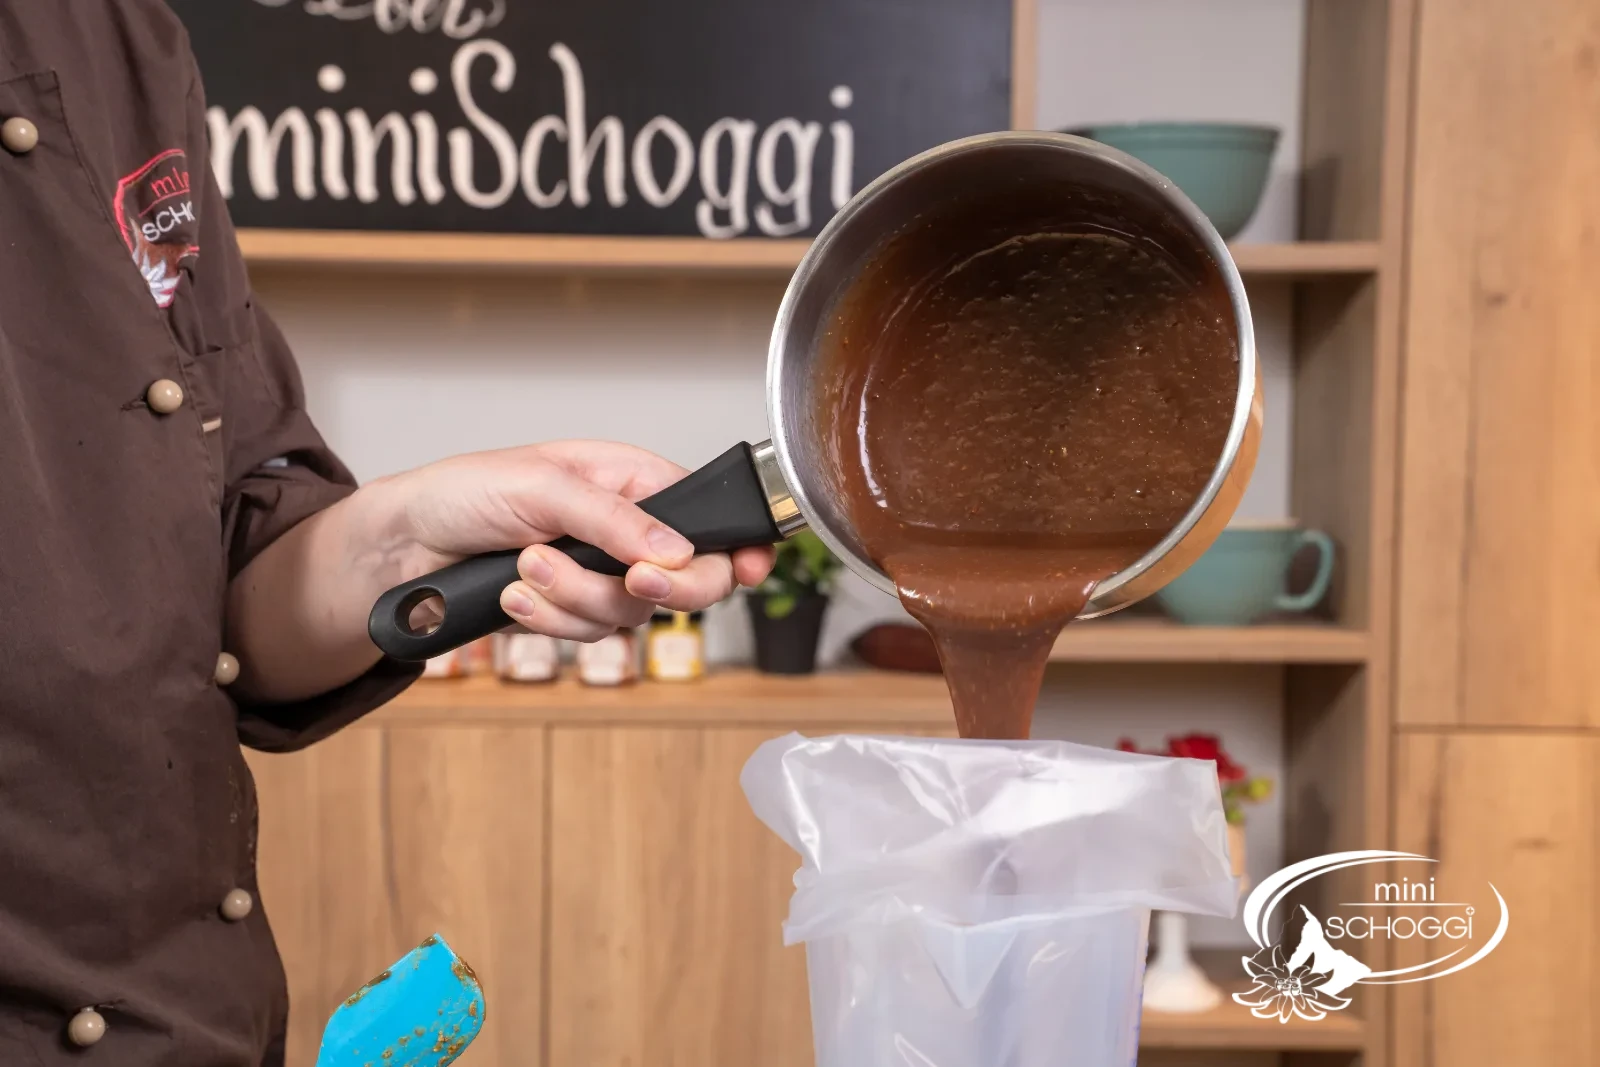
What you need for this
Disposable piping bag Transparent 20 pieces
4
Fill the pralines with ganache
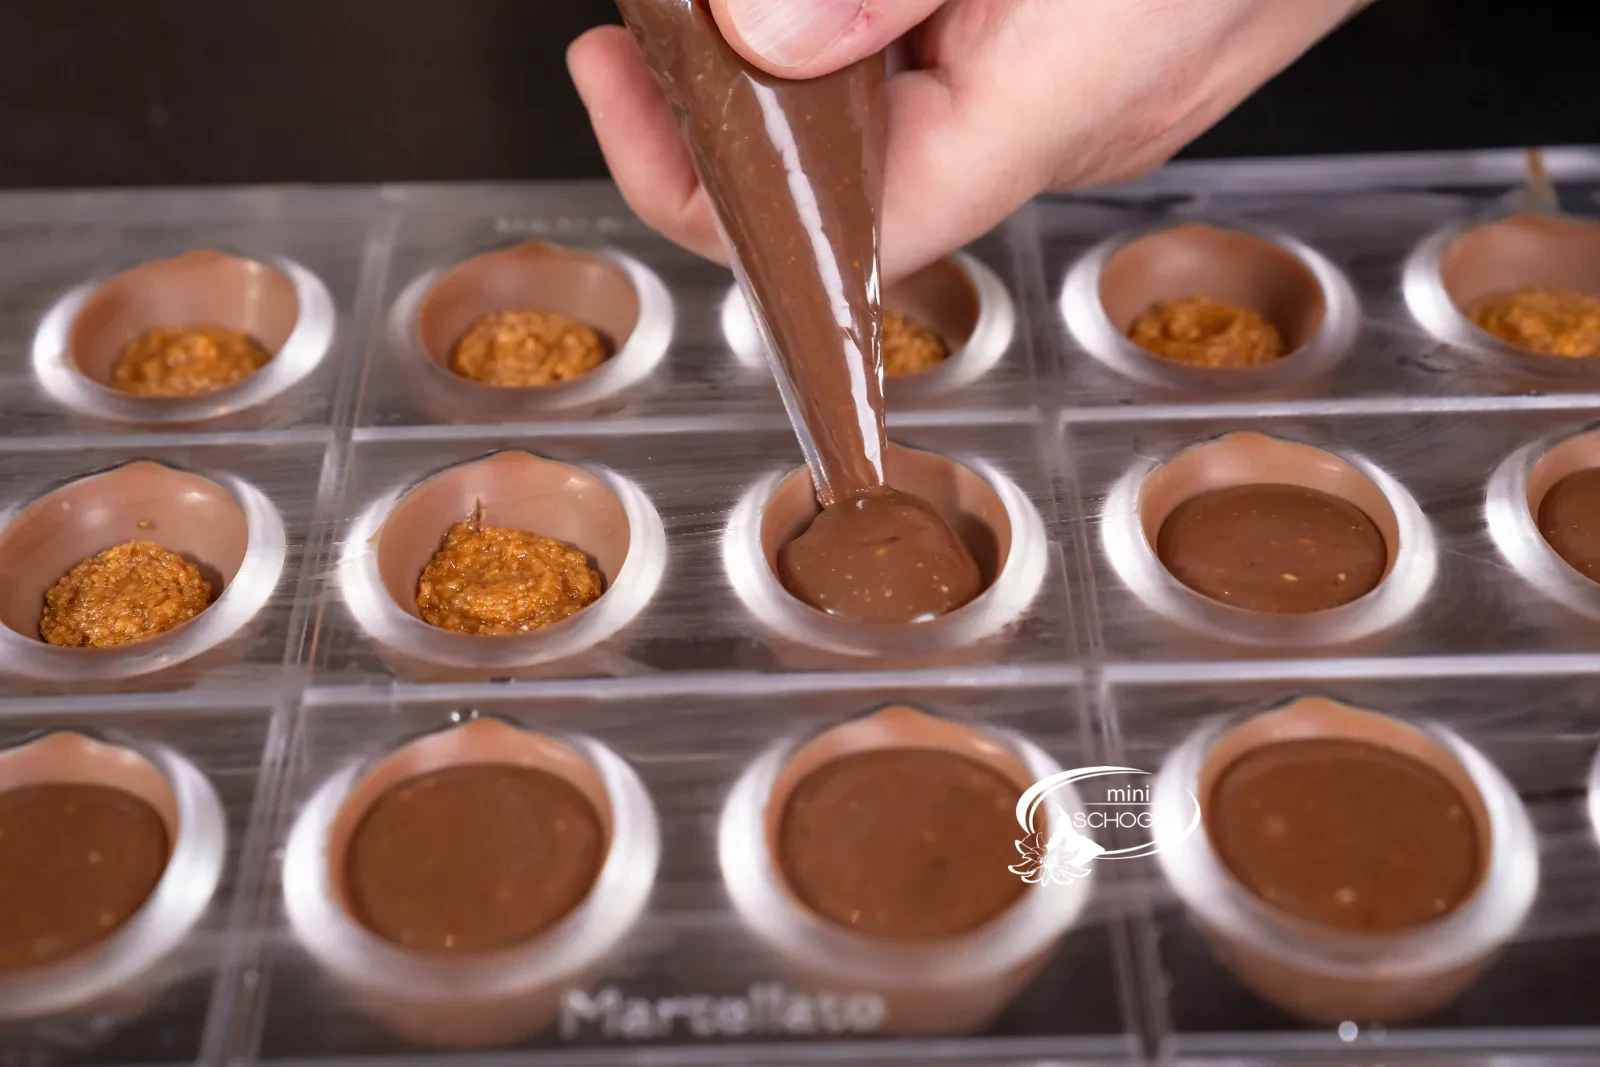
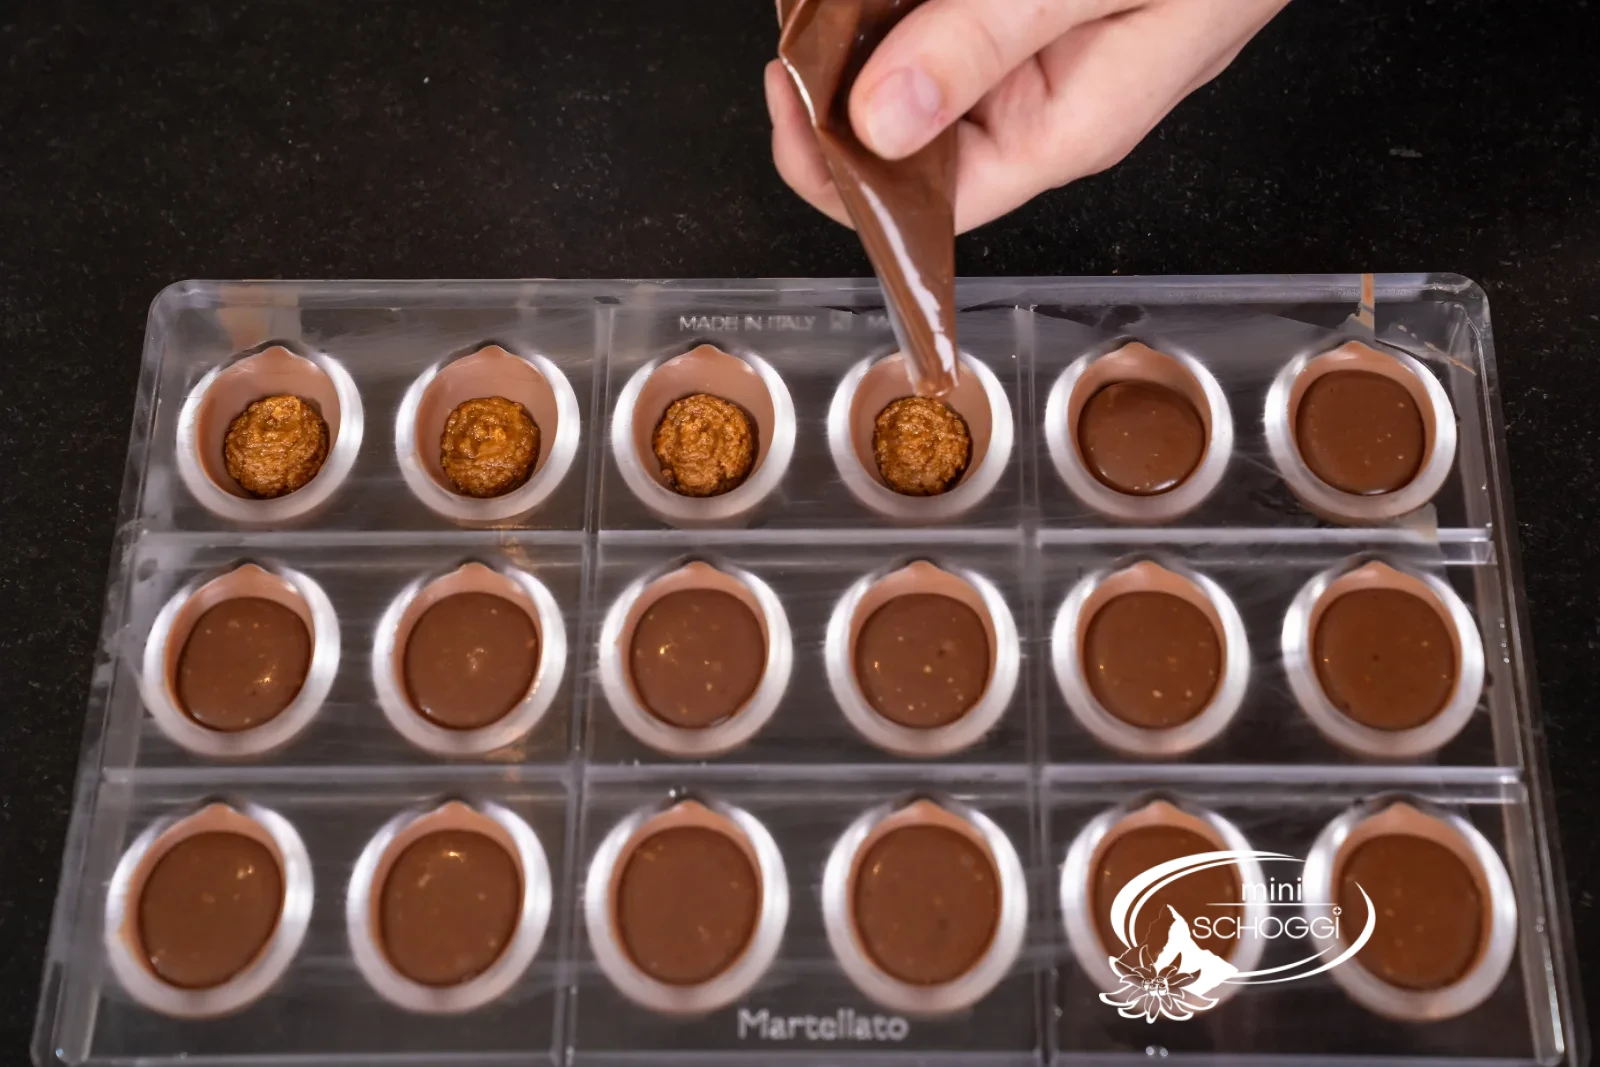
As soon as your ganache is no longer too warm (ideal working temperature 26 °C), you can fill your walnut pralines with the ganache up to 2 mm from the top edge. Put the finished filled walnut praline mold in the fridge for 30 minutes or leave it at room temperature for about two hours.
5
Sealing — at most 6 at a time
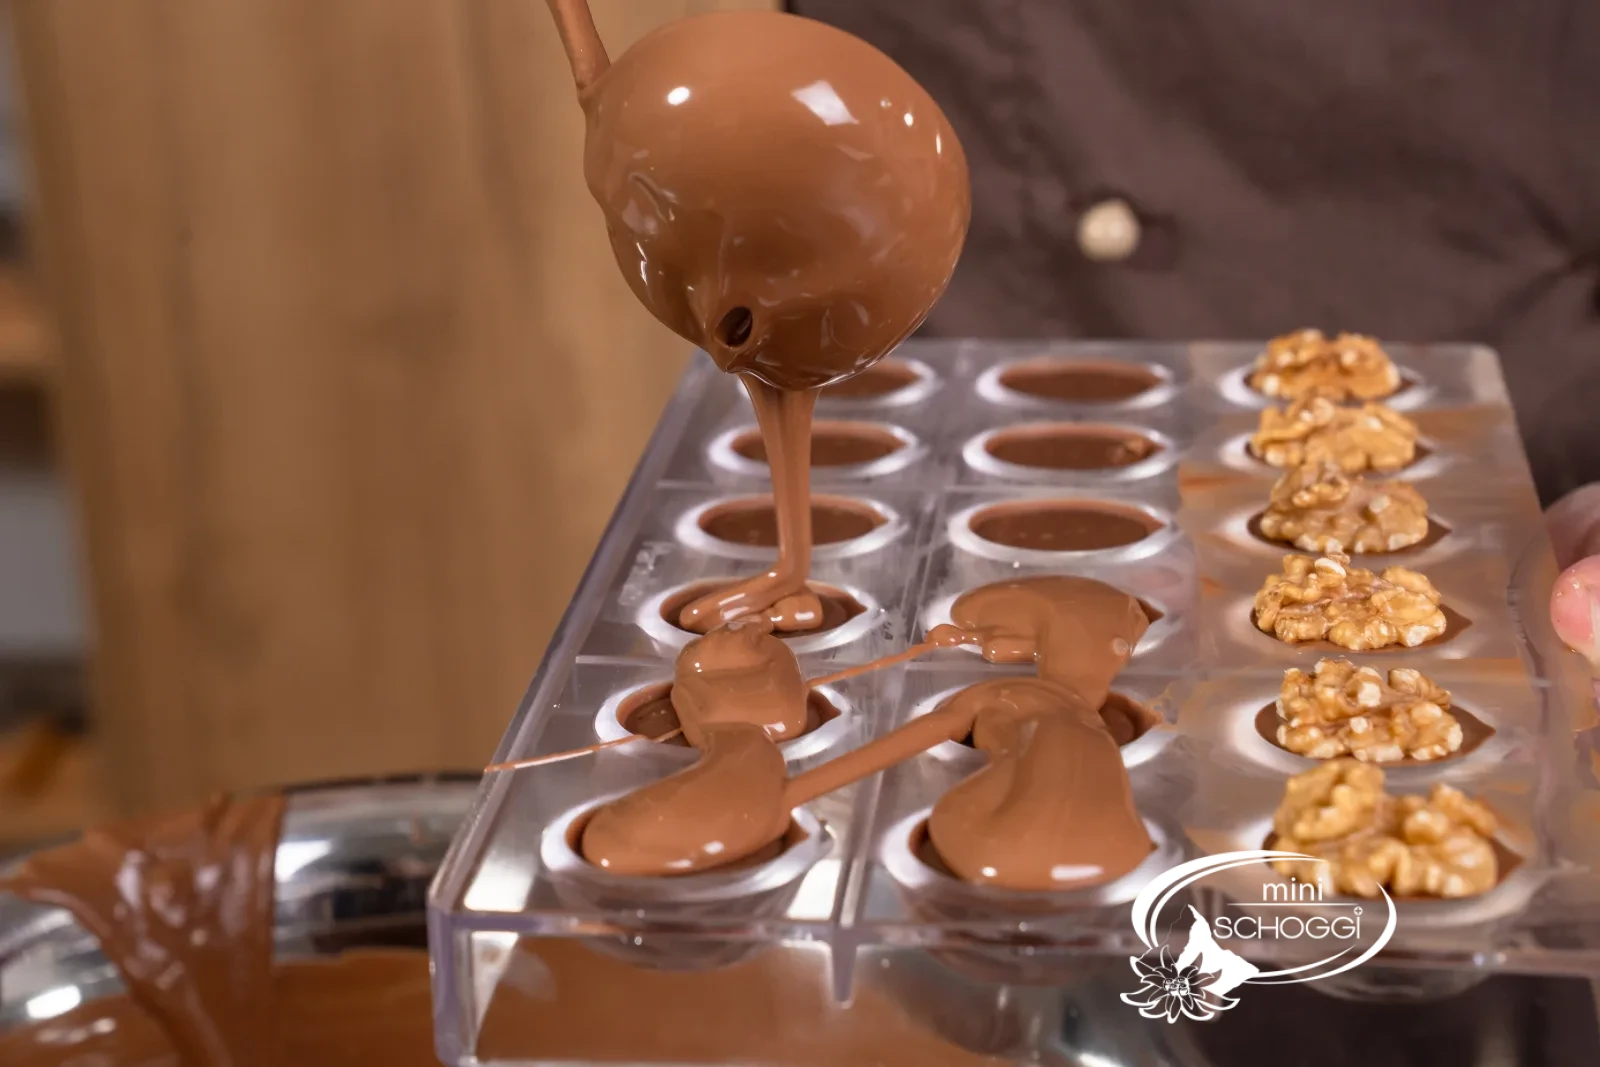
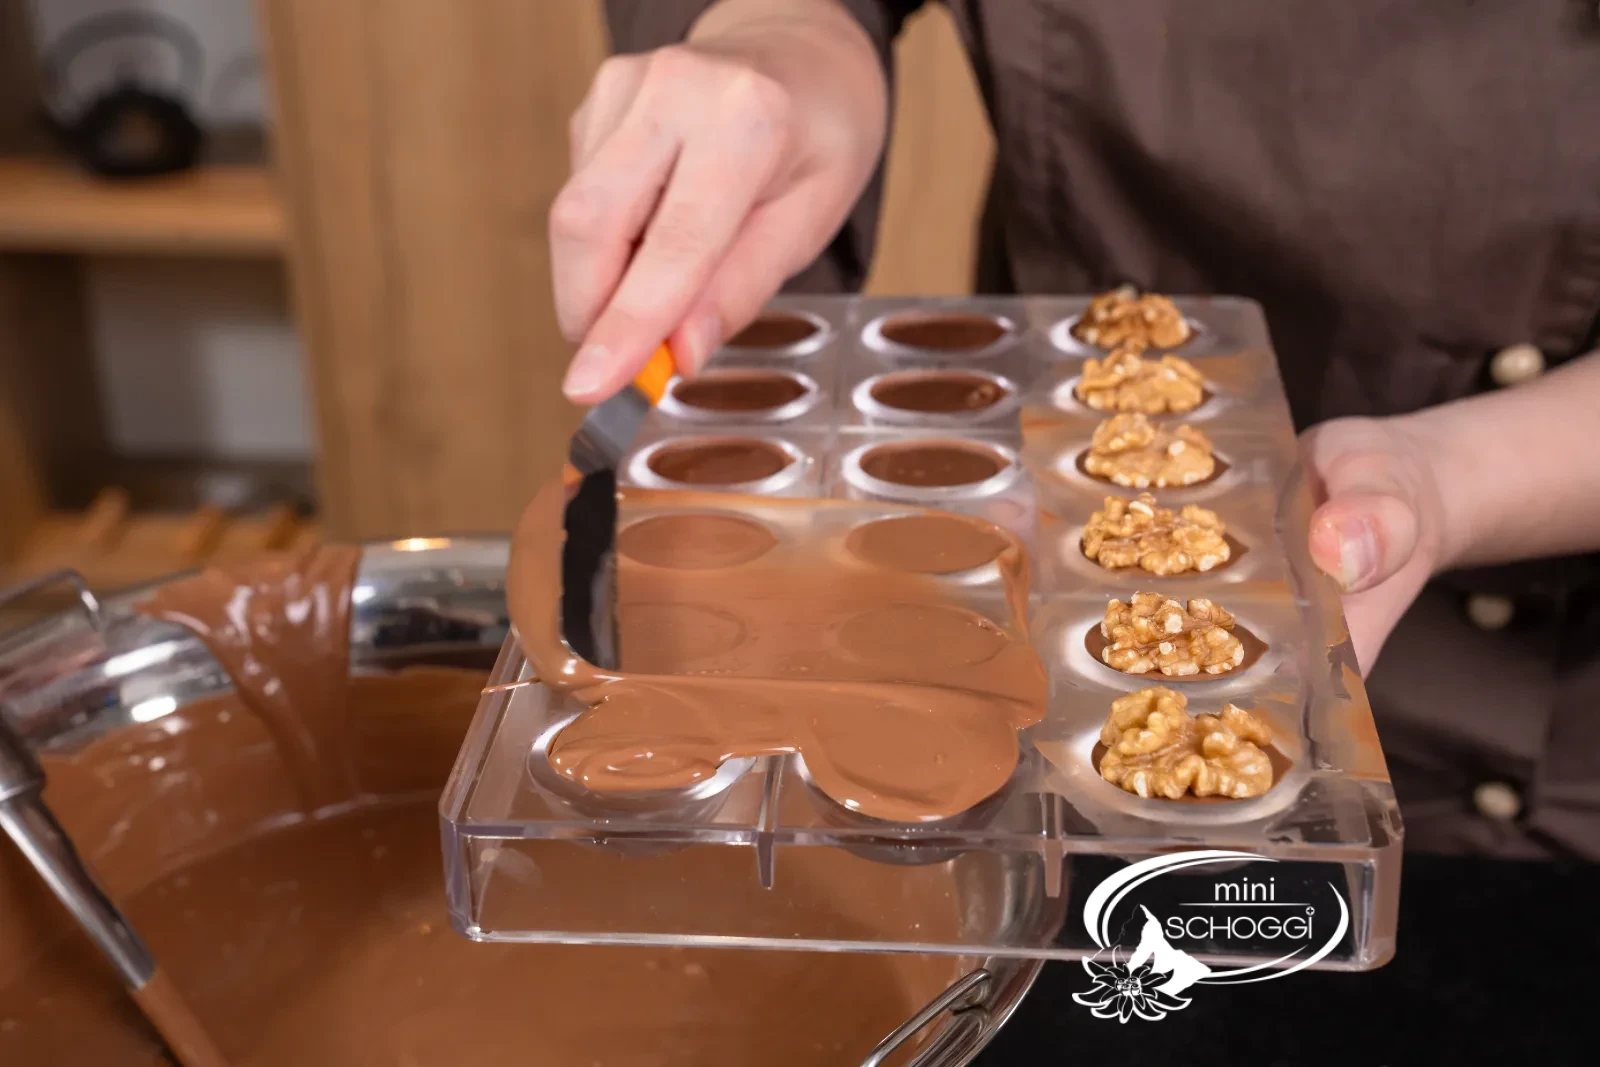
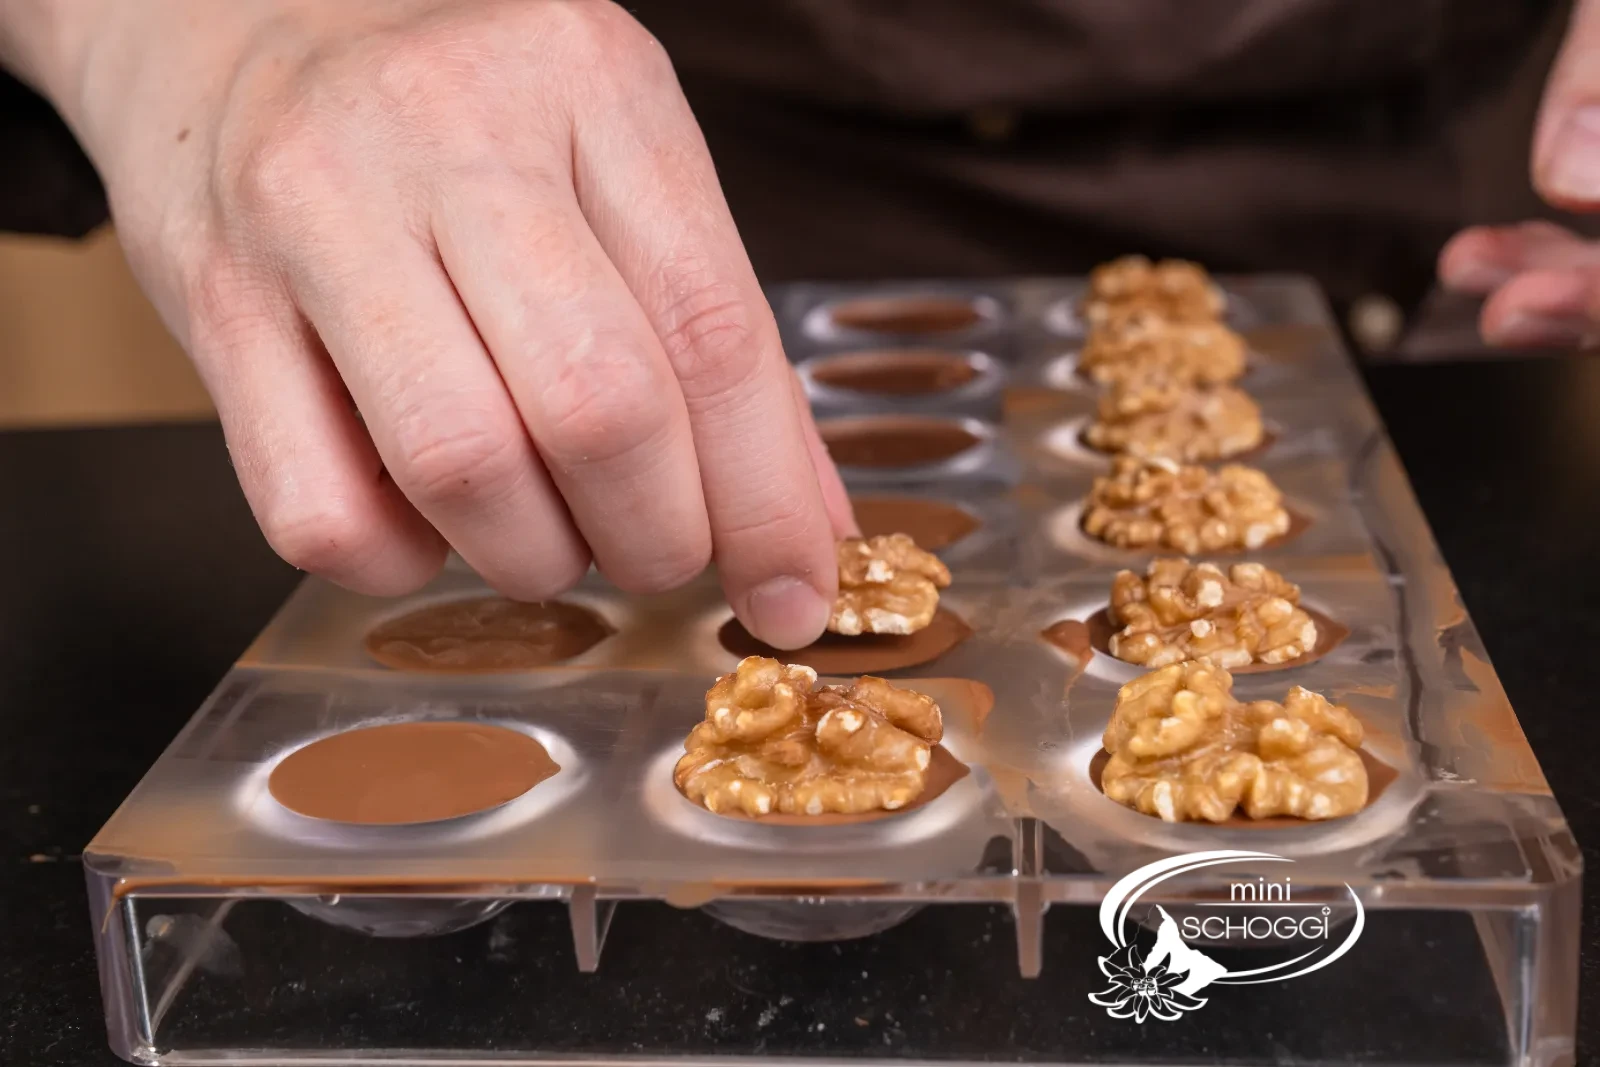
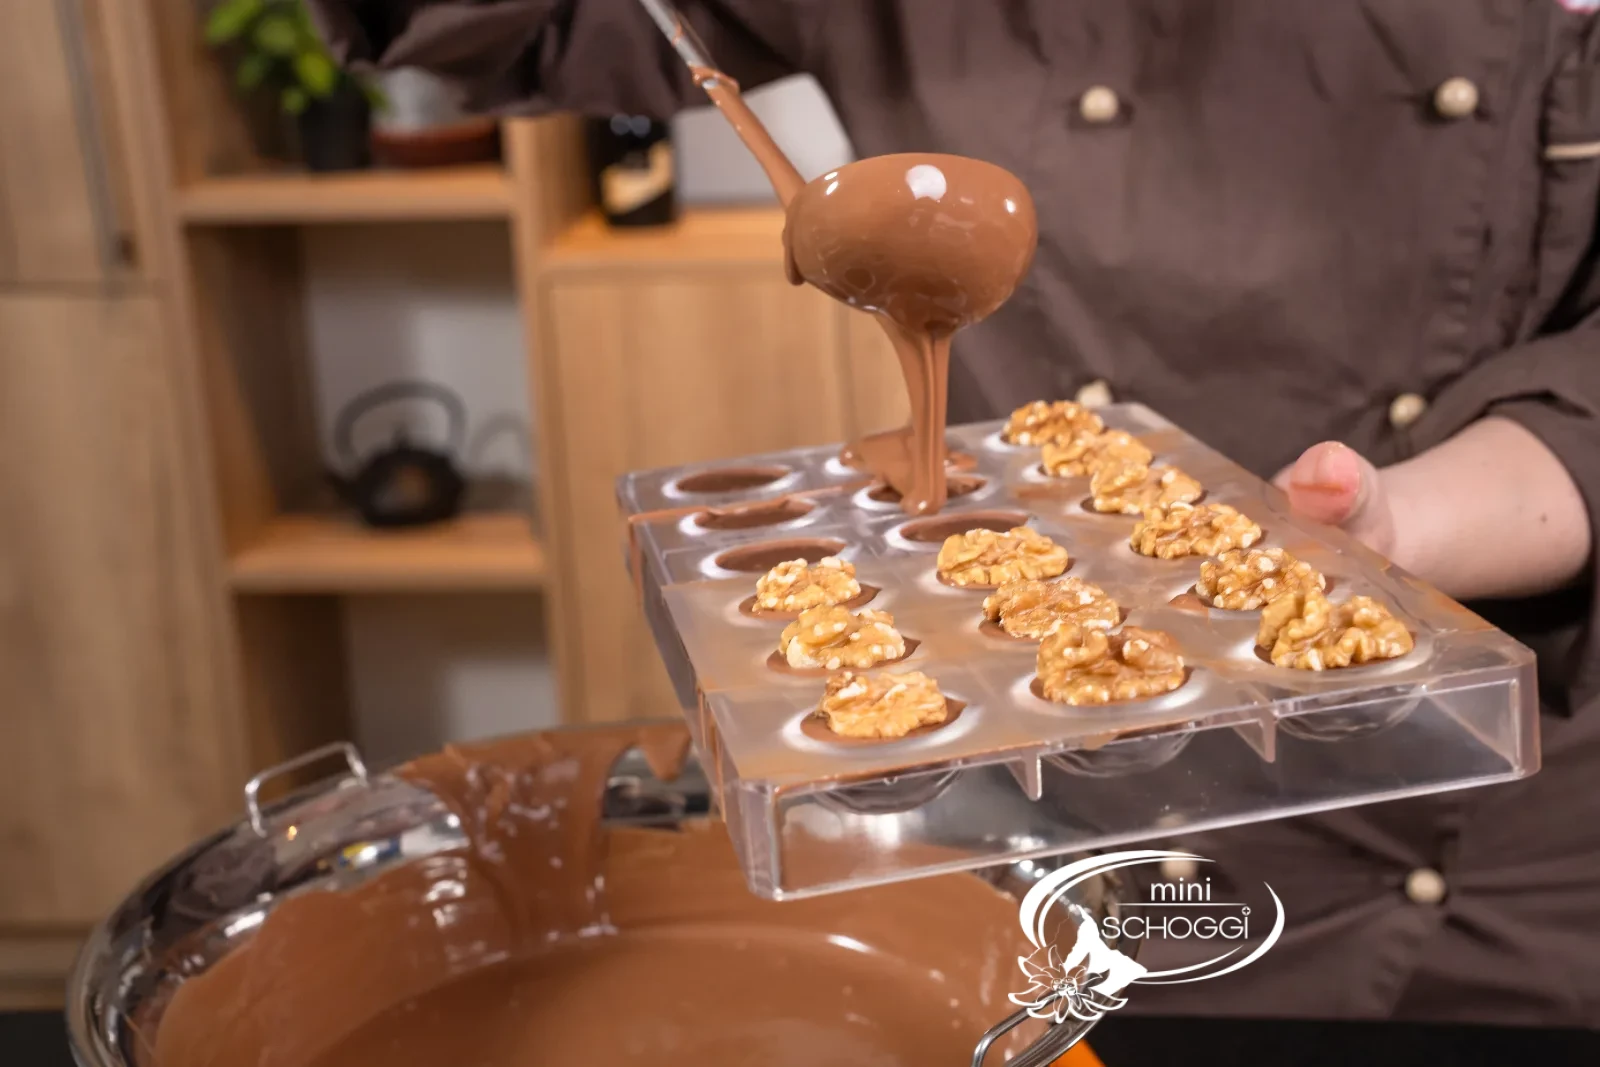
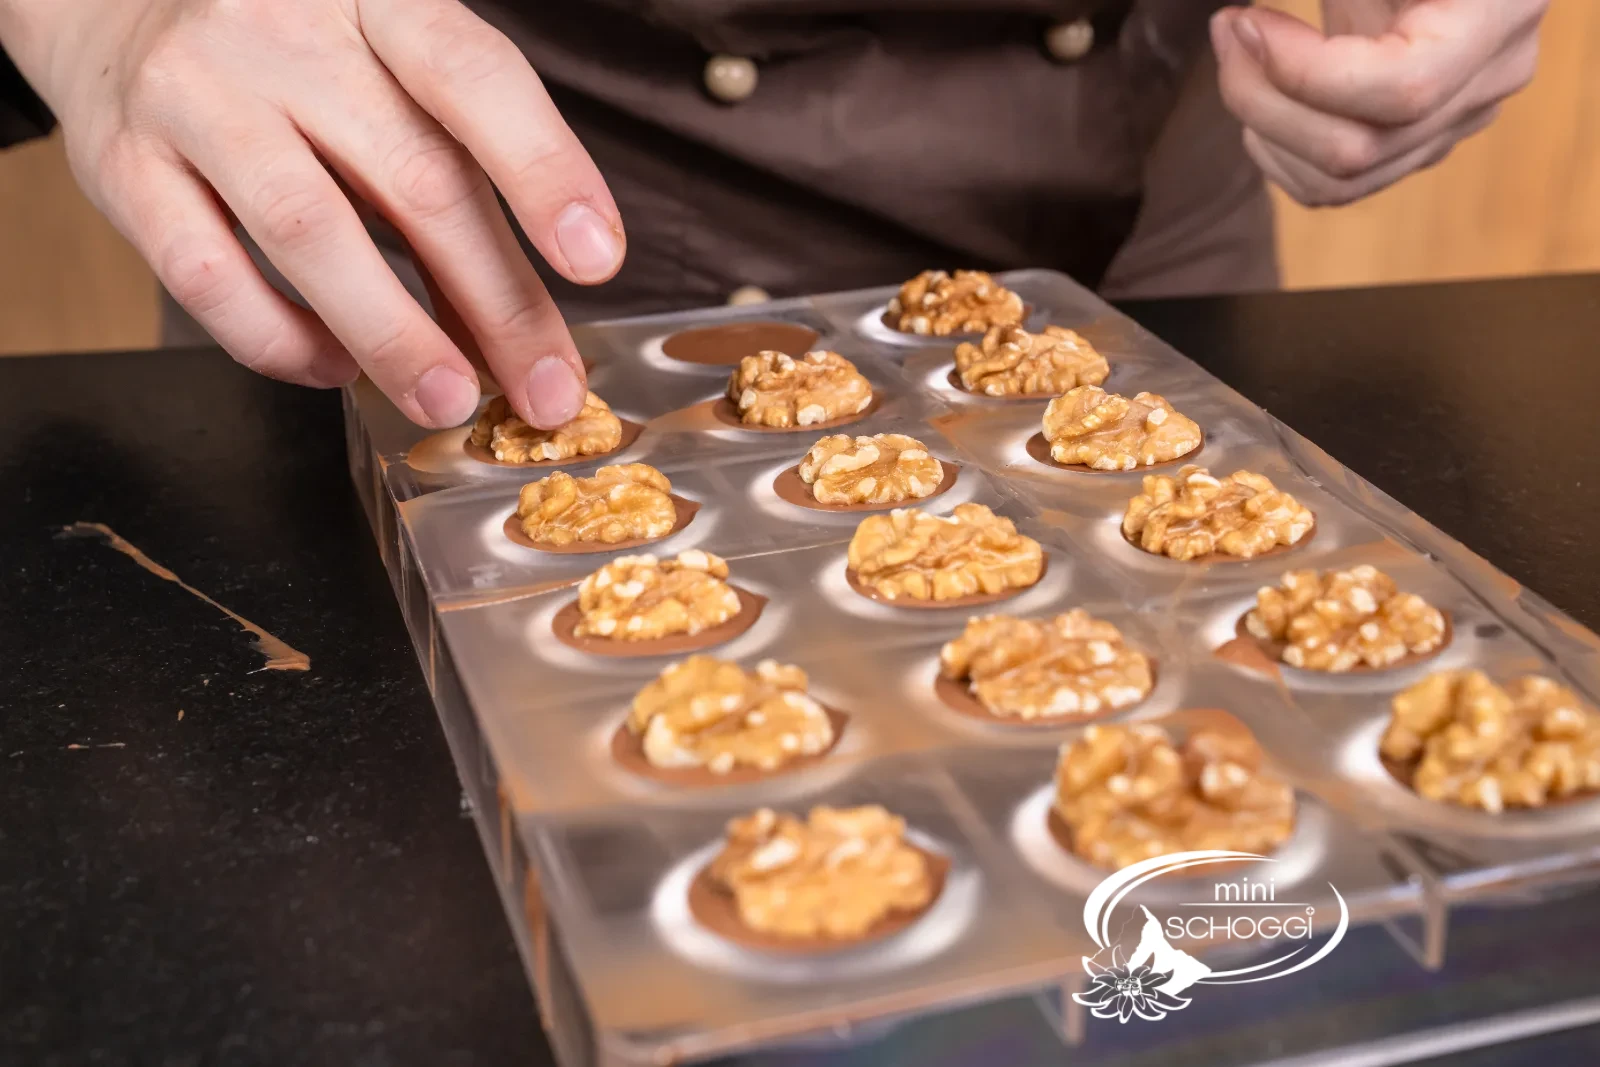
As soon as your ganache has set, you can now begin to seal your pralines with tempered milk couverture. Careful: don't seal them all at once, because then the chocolate sets too quickly and you won't have time to decorate all the pralines with half a walnut. Only seal a maximum of 6 pralines at a time. To do this, put a little tempered milk couverture onto the praline and scrape off the excess couverture with a spatula.
6
Place the walnut and unmold
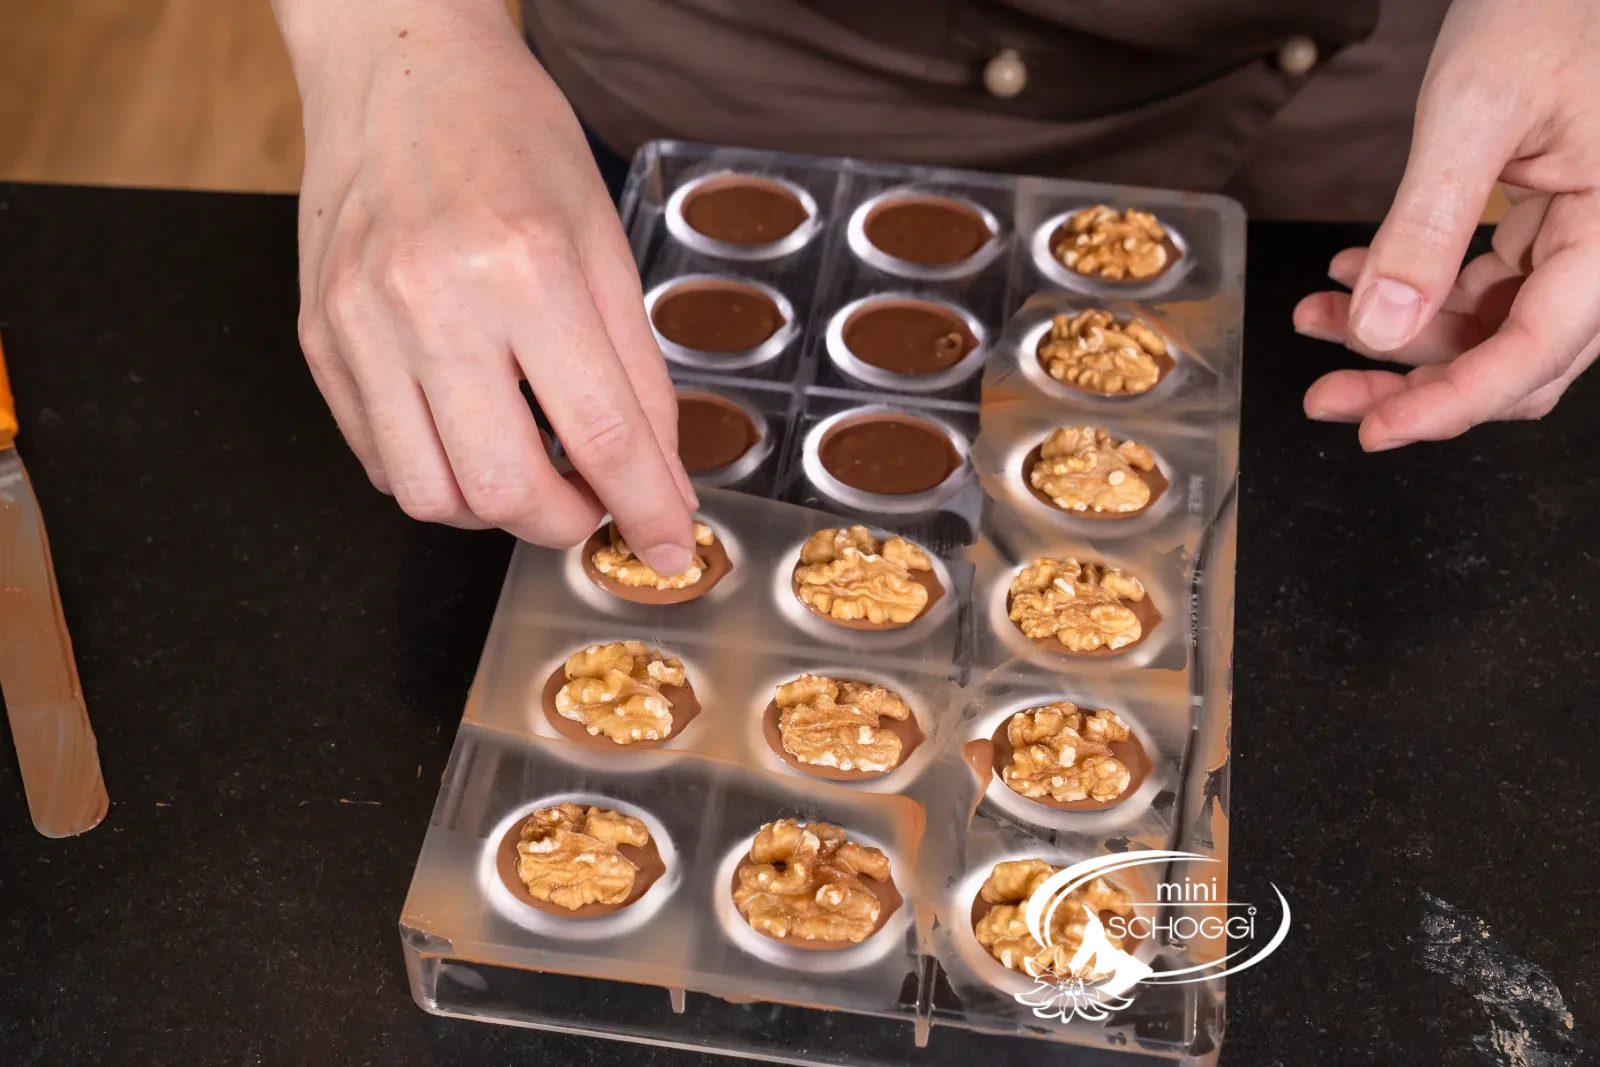
Then place a nice walnut half on each praline. Repeat this step until all the pralines are sealed and decorated with a walnut. Now the finished praline mold needs to go into the fridge once more for 20 minutes, after which you can unmold your walnut pralines.
I wish you lots of fun recreating this! I'd be delighted about a kind comment or a review. Warm regards, Rebecca
Compact · printable
Walnut pralines
Ingredients
Quantity:
Walnut paste
Walnut ganache
PRALINE SHELL AND DECORATION
Preparation
- Roast the nuts: Roast walnuts for 10 minutes at 170 °C fan, let cool for 20 minutes.
- Caramel: Caramelise 70 g of sugar gradually in the pan, pour onto baking paper and let cool.
- Shells: Brush the polished praline mold with tempered milk couverture, fill to the brim, tap, pour out, scrape off, chill for 5–10 minutes.
- Nut paste: Blend roasted nuts and broken caramel in a powerful blender into a creamy paste, set aside 30 g for the ganache.
- Filling: Half-fill the pralines with approx. 5 g of walnut paste each.
- Ganache: Bring cream to a boil with glucose syrup and sorbitol syrup, stir in couverture, add 30 g of nut paste, cool to 26 °C for 15–20 minutes.
- Filling up: Fill the pralines with ganache to 2 mm below the edge, chill for 30 minutes.
- Sealing: Seal at most 6 pralines at a time with couverture, place a walnut half on each, chill for 20 minutes, unmold.
Nutritional values per 100 g
510kcal
29.4 gFat
55.9 gCarbohydrates
5.4 gProtein
Storage & shelf life
The finished walnut pralines keep for 4 weeks at room temperature. Store them cool and dry, but not in the fridge – there, moisture condenses on the couverture and the shine is lost.
Everything for this recipe
Recommended from our baking room — exactly the sizes the recipe was tested with.
Ingredients
Felchlin Couverture Grand Cru Grenada 38 % 0.5 kg
Glucose syrup, 350g
Sorbitol syrup liquid, 130g
Equipment
Walnut praline mold 18 pralines
Disposable piping bag Transparent 20 pieces
Silicone brush, 20 cm
Metal horn
Spatula Medium
Chocolate hammer
Rubber scraper Black, small long
Flat whisk 25 cm
Delivery in 1–2 working days · Free shipping from CHF 100
To make sure they succeed
Polishing decides the shine
The better you polish out each cavity of the praline mold with cotton wool, the more shine the pralines have in the end. It's the step people like to skip – and the one you can see later.
Brushing against air holes
The thin layer you brush on first prevents air holes in the shell. Only afterwards is the mold filled to the brim.
Seal at most 6 pralines at a time
Always seal only up to six pralines and place the walnut halves on them immediately. Otherwise the couverture sets and the nut no longer holds.
Frequently asked questions
There are two reasons for this: the couverture was not properly tempered, or the chilling times were not observed. After placing the walnuts, put the mold in the fridge once more for about 20 minutes – then the pralines fall out by themselves. This also works retroactively while they're still in the mold.
Yes. Only tempered couverture contracts as it sets, shines, breaks with a snap and releases from the mold. Untempered chocolate stays matte, turns grey and sticks in the cavity.
The walnut mold has 18 cavities, and the recipe makes 36 pralines. With two molds you work in a single pass – which is much easier, because the paste and ganache don't have to wait. With one mold you either do two passes or halve the quantities.
Print recipe
Choose what should appear on the printout.
Related products
Metal horn
Price: CHF14.90
Rated out of 5 stars based on
review(s)
Vous devez être connecté à votre compte client
A metal horn is essential for creating your own hollow praline molds, for...
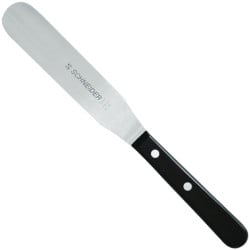
Spatula medium
Price: CHF21.50
Rated out of 5 stars based on
review(s)
Vous devez être connecté à votre compte client
In our courses, a very special tool is indispensable! Angle palette,...
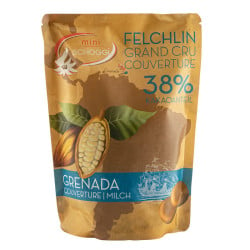
Felchlin Couverture Grand Cru Grenada 38 % 0.5 kg
Price: CHF18.90
Rated out of 5 stars based on
review(s)
Vous devez être connecté à votre compte client
Swiss biodiversity paired with the finest cocoa varieties in the world. That...
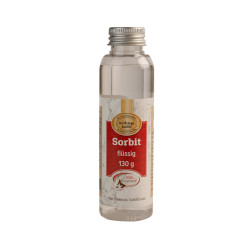
Sorbitol liquid, 130g
Price: CHF5.90
Rated out of 5 stars based on
review(s)
Vous devez être connecté à votre compte client
Sorbitol consists of corn and wheat starch and serves as a sugar substitute...
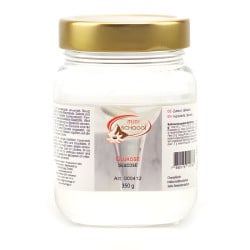
Glucose, 350g
Price: CHF8.90
Rated out of 5 stars based on
review(s)
Vous devez être connecté à votre compte client
Glucose is a sticky, viscous sugar mixture used in a wide variety of...
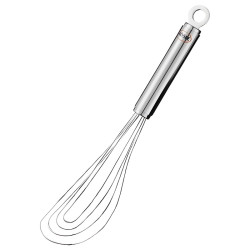
Whisk flat 25 cm
Price: CHF34.50
Rated out of 5 stars based on
review(s)
Vous devez être connecté à votre compte client
Every kitchen needs some basic equipment, and this includes a sturdy whisk....
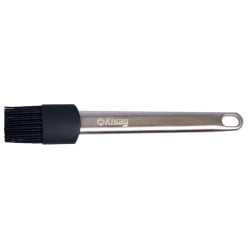
Silicone brush, 20 cm
Price: CHF16.90
Rated out of 5 stars based on
review(s)
Vous devez être connecté à votre compte client
This silicone brush should not be missing in any kitchen. It is heat...
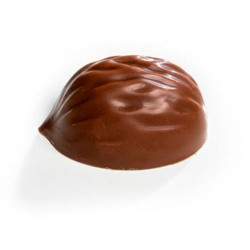
Praline mold tree nut 18 chocolates
Price: CHF34.90
Rated out of 5 stars based on
review(s)
Vous devez être connecté à votre compte client
Every day is perfect to gift someone with homemade chocolates. With this...

Disposable piping bag transparent 20 pieces
Price: CHF6.90
Rated out of 5 stars based on
review(s)
Vous devez être connecté à votre compte client
The disposable piping bag is versatile and ideal for filling various fillings...
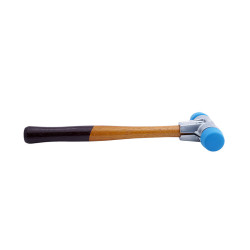
Chocolate hammer
Price: CHF55.00
Rated out of 5 stars based on
review(s)
Vous devez être connecté à votre compte client
Chocolate production at the highest level. Do you know how many steps a...
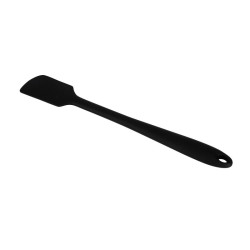
Rubber scraper Black, small long
Price: CHF6.90
Rated out of 5 stars based on
review(s)
Vous devez être connecté à votre compte client
The rubber scraper Top is made of silicone, which protects pots and bowls...
Bewertungen
Leave a comment
Comments
-
Baumnusspralinen
By: Markus On 2026-05-04Liebe Rebecca?
Dein Rezept ist perfekt gelungen.
Die Mengenangaben sind haargenau für 36 Stück. Sind von selbst ohne Druck rausgefallen.
Wunderschöner Glanz.?
LG MarkusReplied by: Rebecca Odermatt On 2026-05-05
-
Baumnuss- Pralinen
By: Martha Kilchmann On 2025-11-09Habe sie so nach Rezept gemacht, aber sie haben sich nicht von der Form gelöst.
Die Couvertuere ist in der schale geblieben sind alle kaputt. Was habe ich falsch gemacht.Replied by: Thomas Ramseier On 2025-11-09
Related posts
 Make your own chocolate Easter bunnies
You can easily make your own Easter bunnies at home! You can find out how to do it and what you need here. A sweet...
Read more
Make your own decorative Swiss roll
Make your own decor roulade - we'll explain exactly how in this blog, with lots of tips and tricks from our...
Read more
Cinnamon Star Biscuits Recipe
Make your own cinnamon stars with the help of our professionals, with lots of tips & tricks to bake the best...
Read more
Tempering couverture and chocolate correctly
Melt, seed, reheat: the seeding method step by step, with the temperatures for every type of couverture and the test...
Read more
Make your own chocolate pumpkin pralines
Make your own 3D chocolate pumpkin pralines - here you get detailed instructions with lots of tips and tricks...
Read more