
Grittibänz – the Swiss Classic
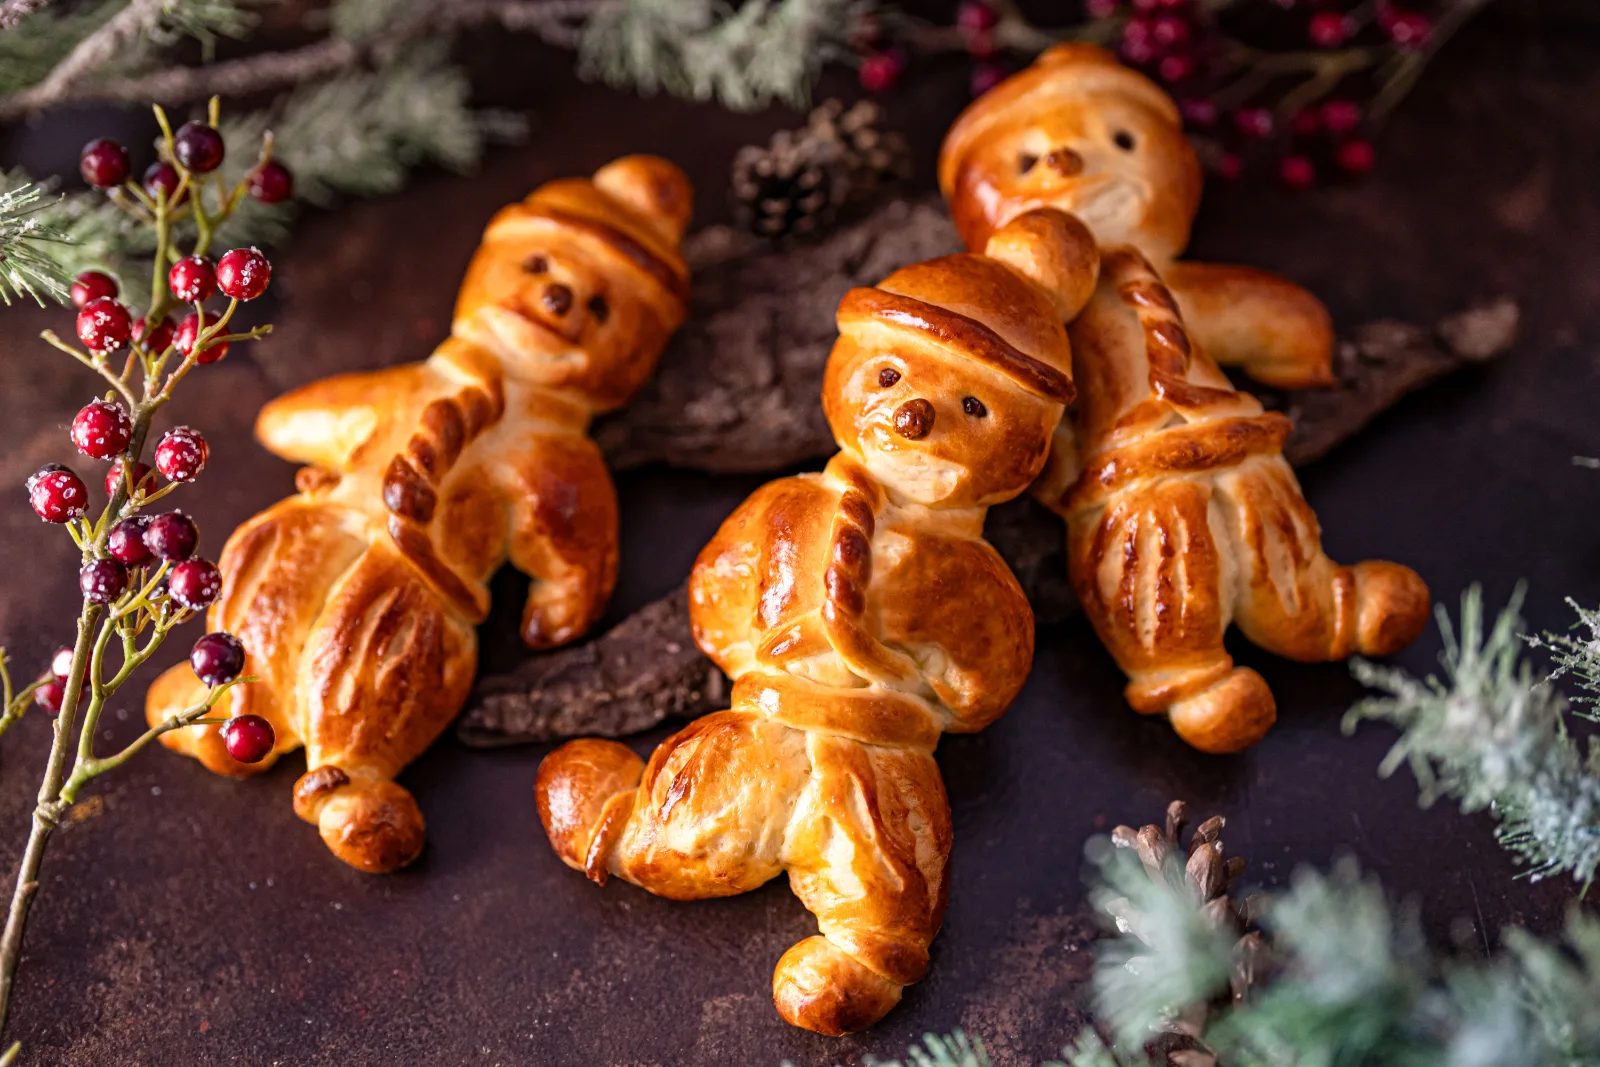
Shaping, decorating and baking golden dough figures
Quantity6 pieces
Active timeApprox. 45 min
Total timeApprox. 2 hrs
contains glutencontains milkcontains egg
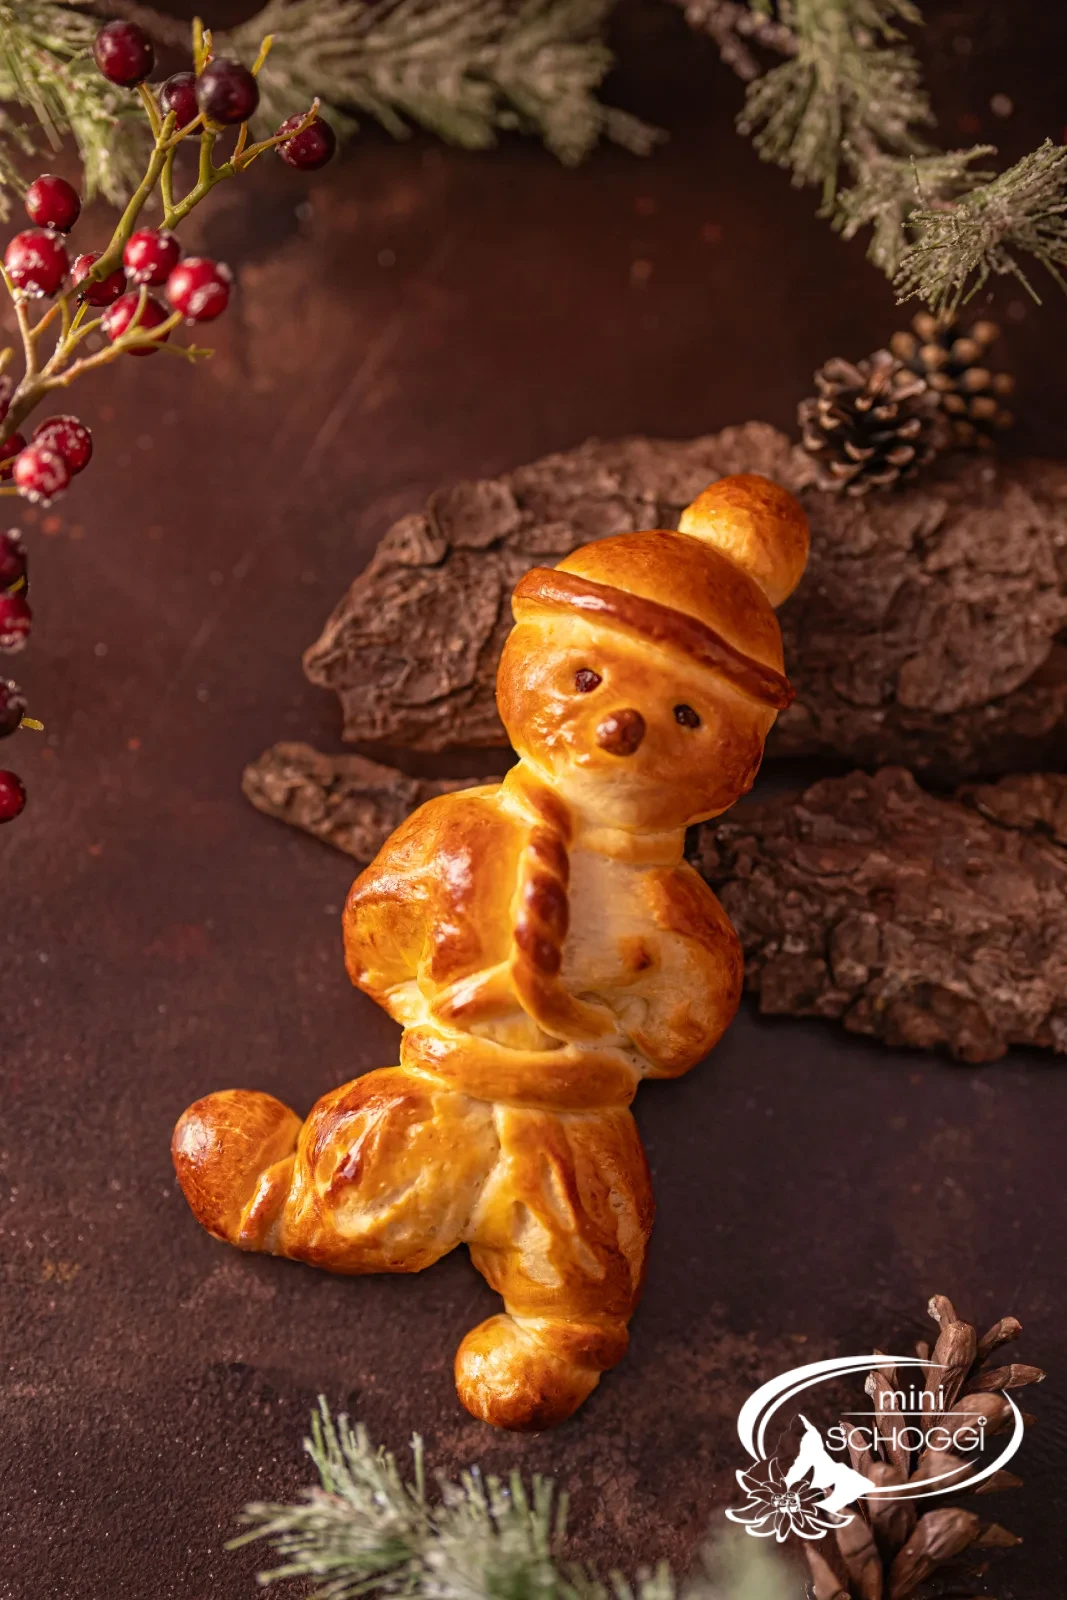
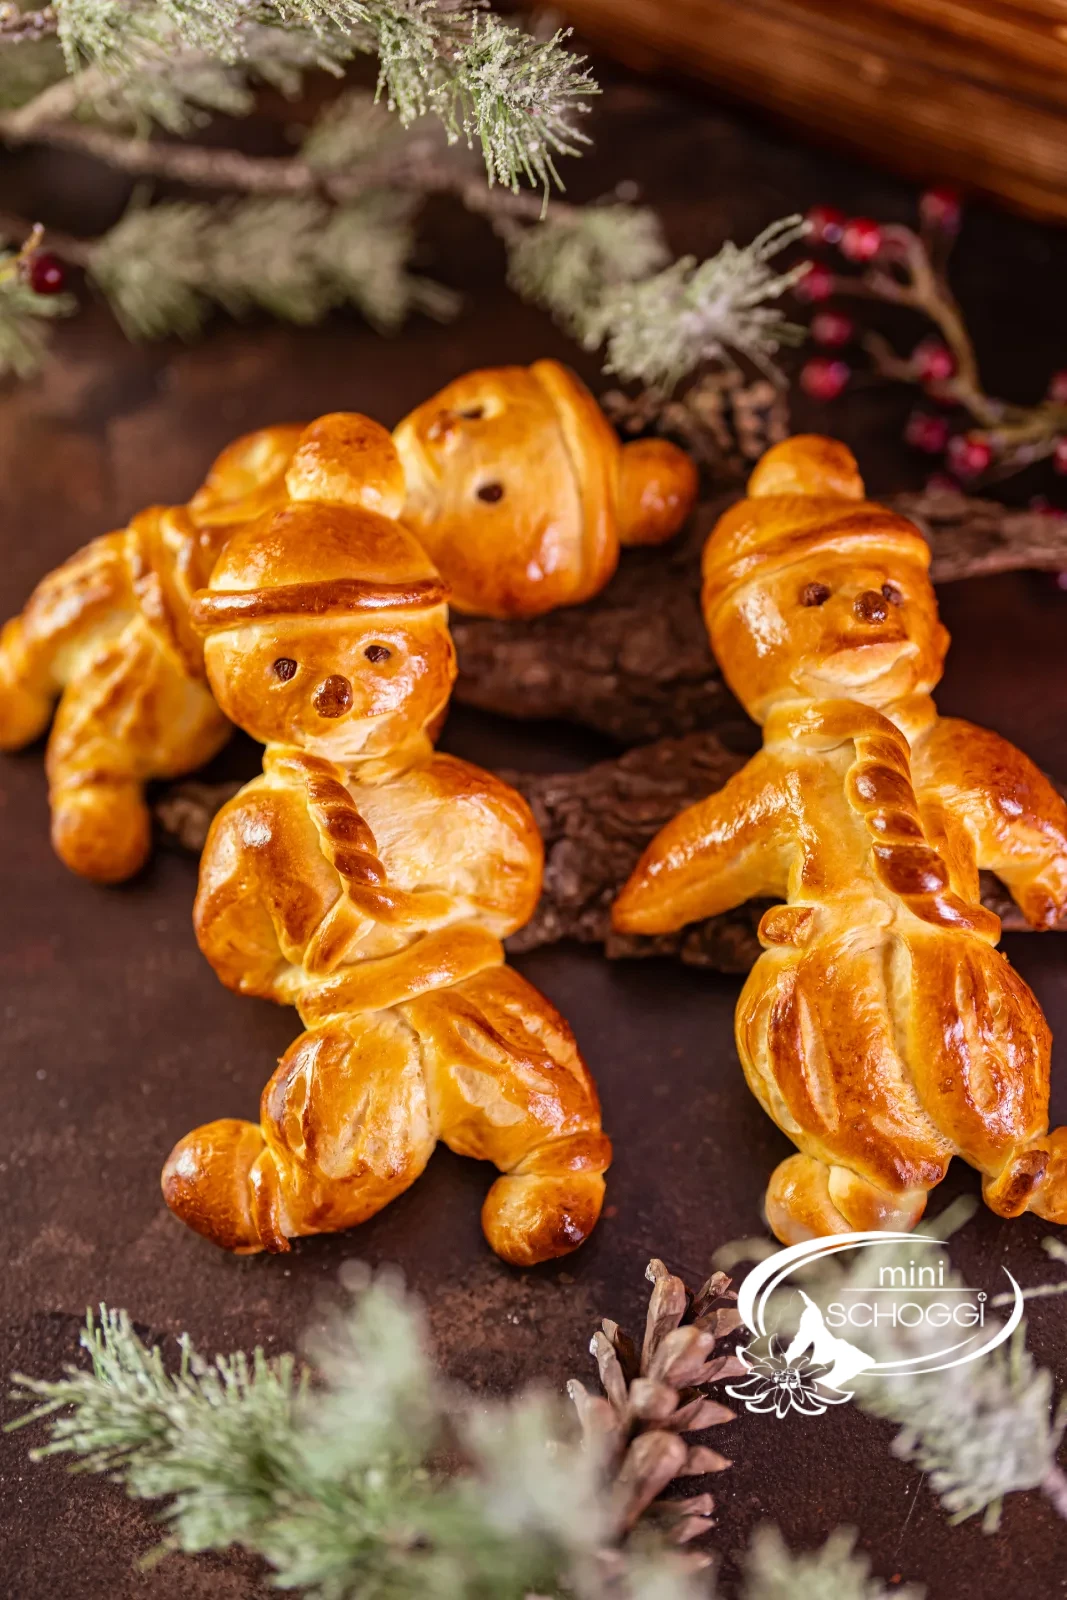
Grittibänz are delicious yeast dough figures traditionally baked during the pre-Christmas season. At its heart it is a simple yeast dough that also works for a plaited loaf. You can decorate the gritti bänz entirely to your own creativity: from the dough scraps you shape hands, shoes, hats, scarves or other accessories.
Before baking, the dough pieces can also be sprinkled with pearl sugar or brittle. We show you step by step how to make and shape your grittibänz.

Ingredients
Quantity:
YEAST DOUGH
500 gWhite flour
75 gButter, cold
10 gSalt
250 gWhole milk
5 gBaking malt
40 gGranulated sugar
35 gYeast, fresh
50 gWhole egg
FOR DECORATING AND GLAZING
1Egg (for glazing)
11 egg yolk (for glazing)
as neededPearl sugar (optional)
Step by step
If you are in a hurry: the compact recipe card further down sums everything up.
Yeast dough
1
Knead the dough and let it rise for 20 to 30 minutes
Put the White flour with the cold butter and salt into a large Bowl and rub the butter pieces between your hands until only small crumbs remain. Then add the yeast and the remaining ingredients and mix everything into a dough mass. Turn it out onto the work surface and knead the dough until it is nice and soft and smooth. Put it back into the Bowl, cover it with a Proofing cloth and let the dough rest for 20 to 30 minutes at room temperature.
This is what you need for it


Plastic dough cloths
Baking malt 500 g
White flour, 1 kg
Kitchen scale with bowl, digital 5 kg
Shaping
1
Portion the dough: 100 g body, 50 g head
Divide 900 g of the yeast dough into six pieces of 100 g each for the bodies and six pieces of 50 g each for the heads. The rest – about 65 g – is left for scarf, hat, nose and shoes.
This is what you need for it

Metal horn
Kitchen scale with bowl, digital 5 kg
2
Score the body and place the head on top
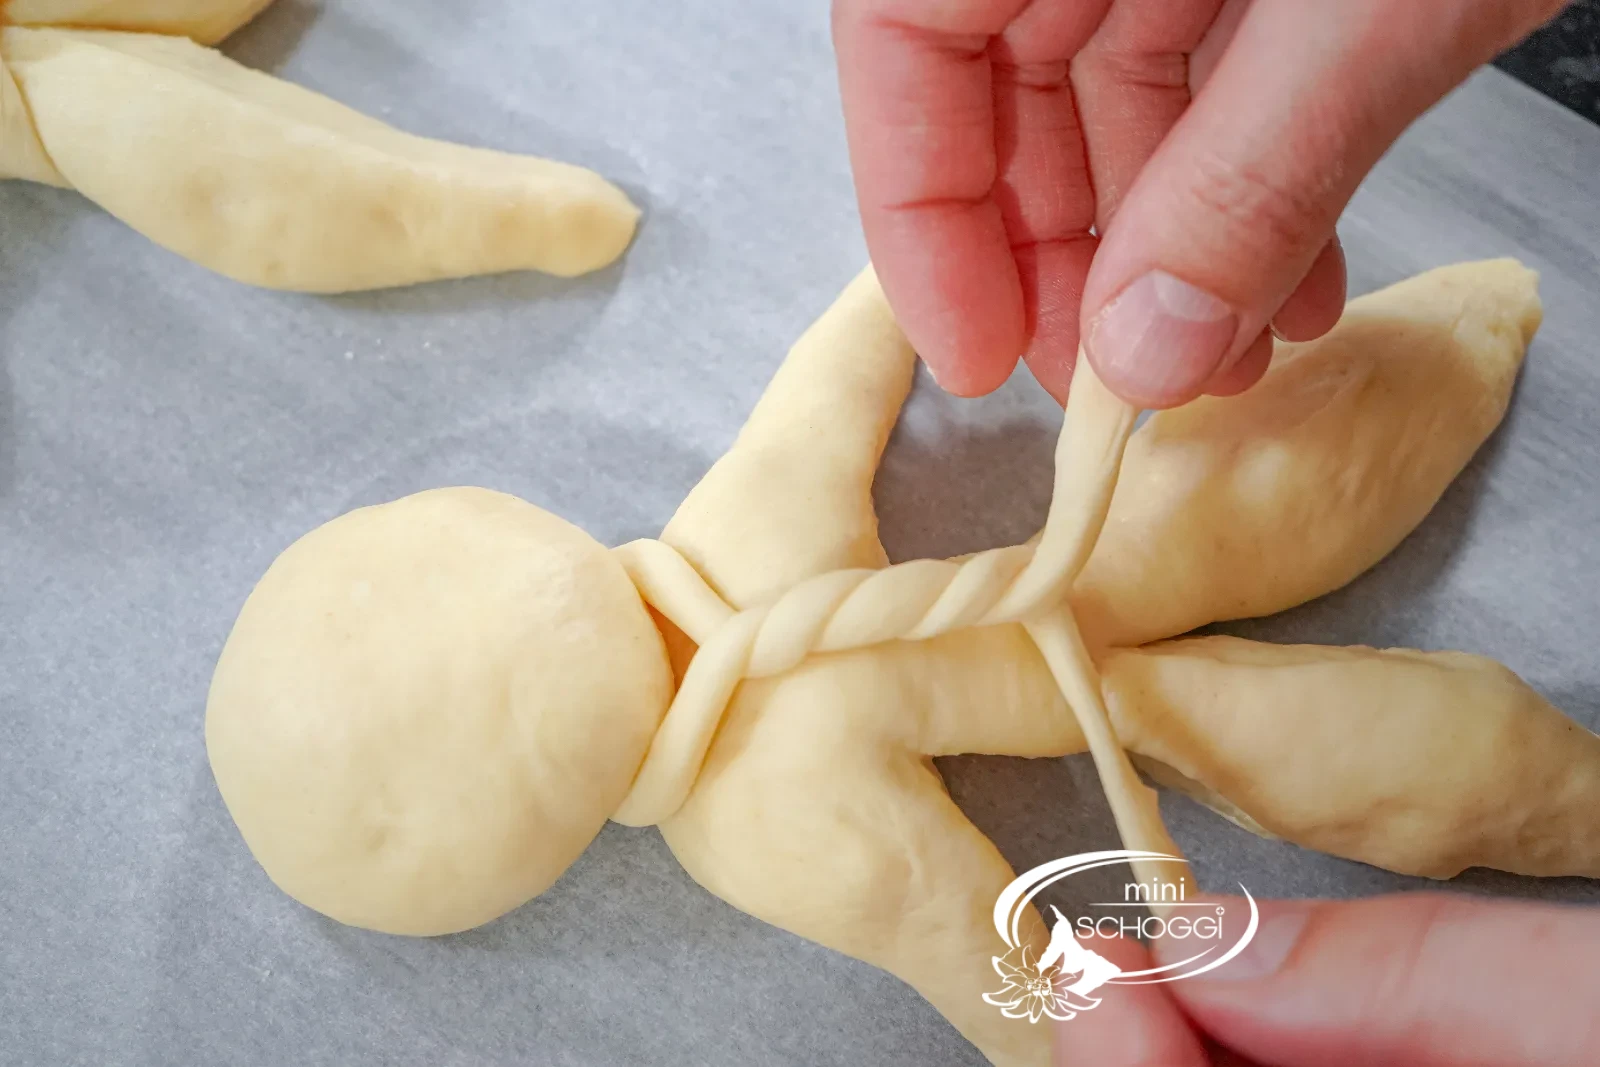
Shape the 100 g pieces into a teardrop shape about 10 cm long, and form the head pieces as round as possible. Score the body three times to form arms and legs. Then place the grittibänz on a baking-paper-lined tray and set the head slightly overlapping onto the body.
3
Scarf, hat and shoes from the dough scraps
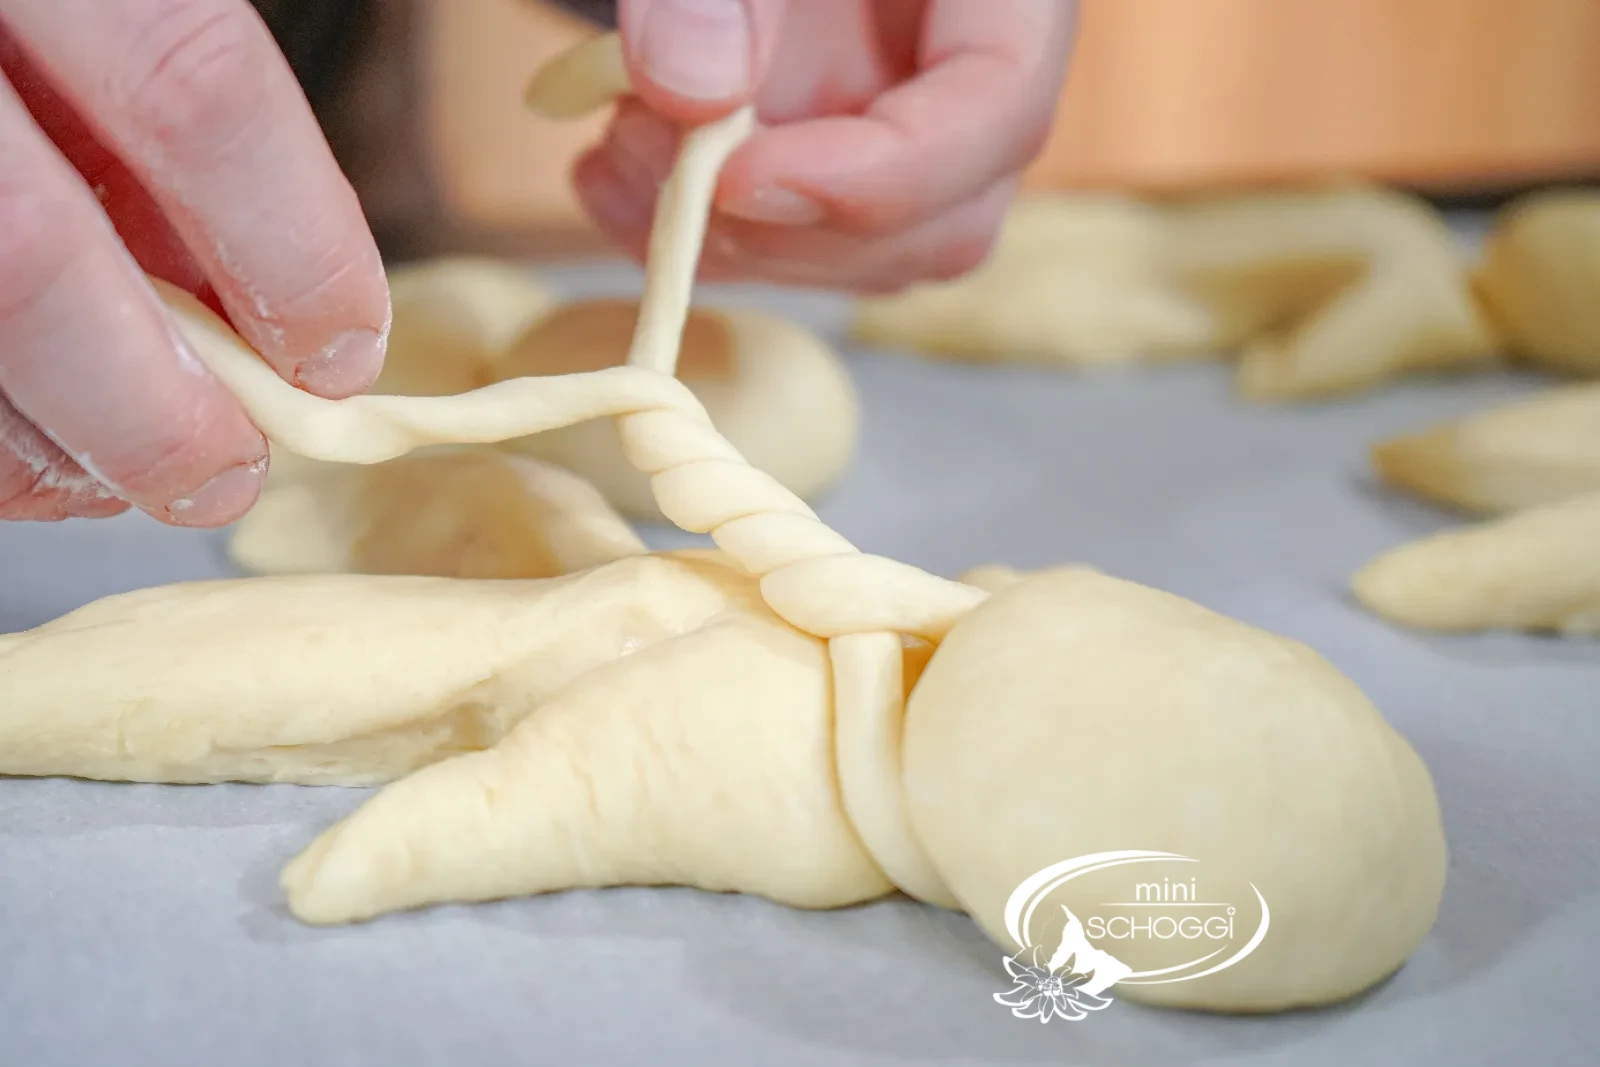
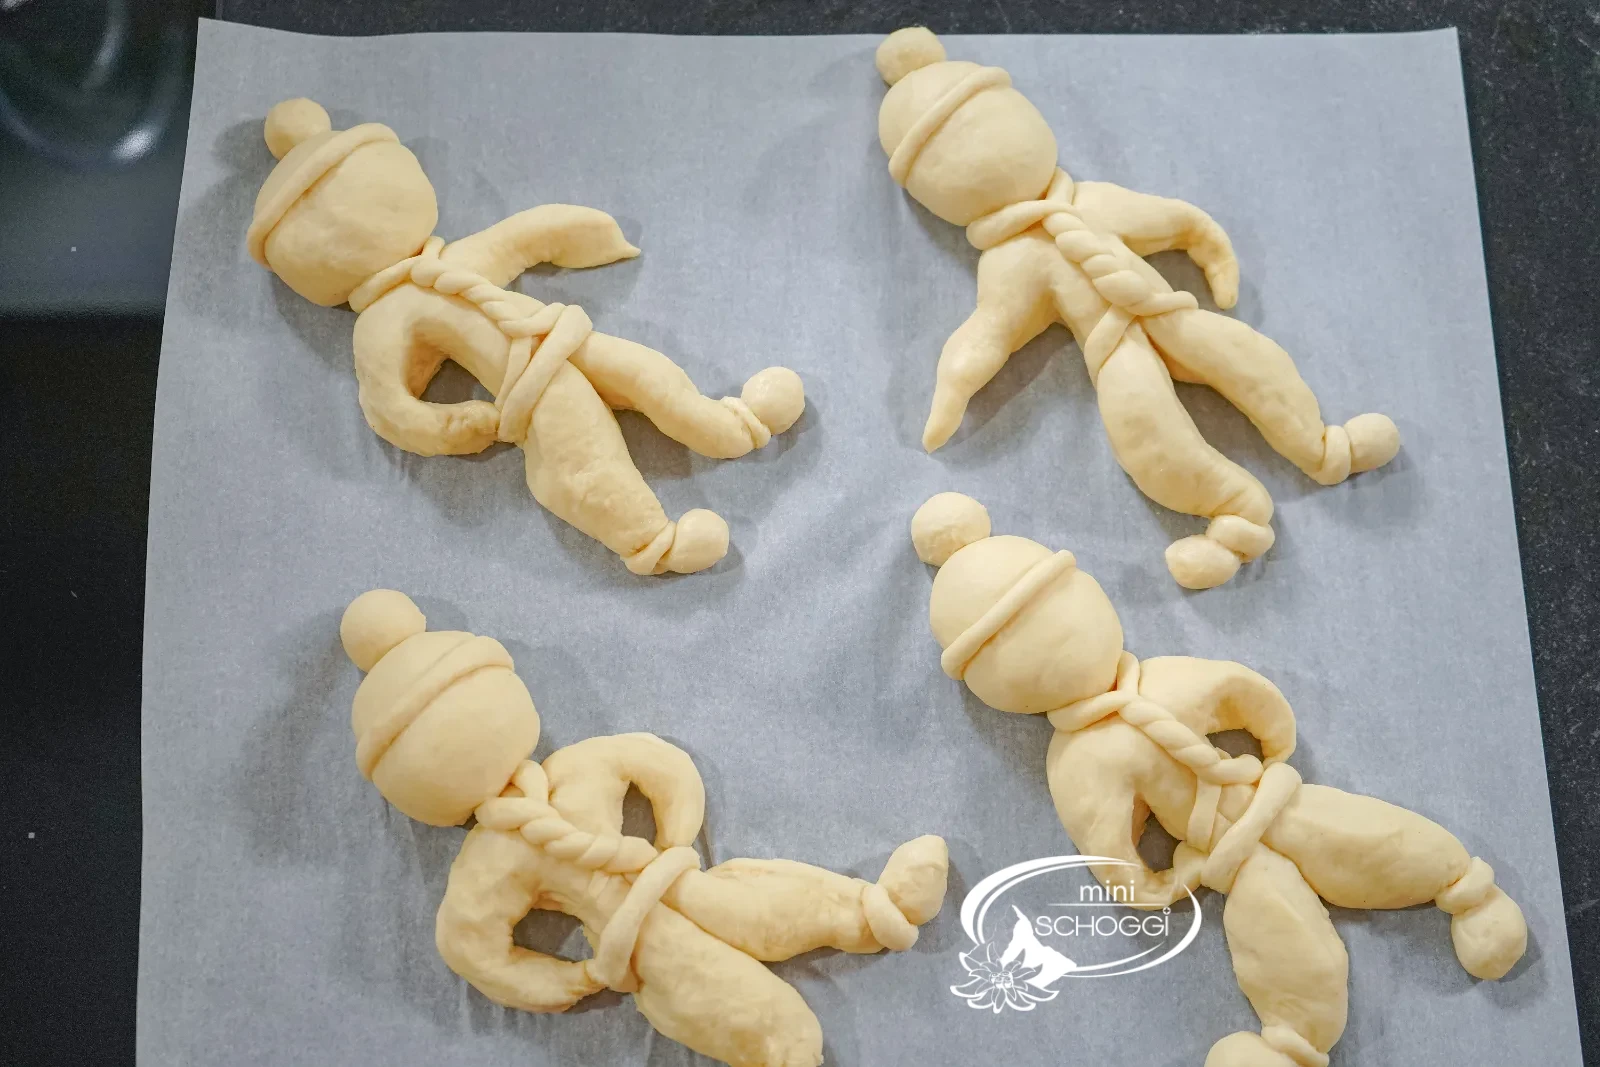
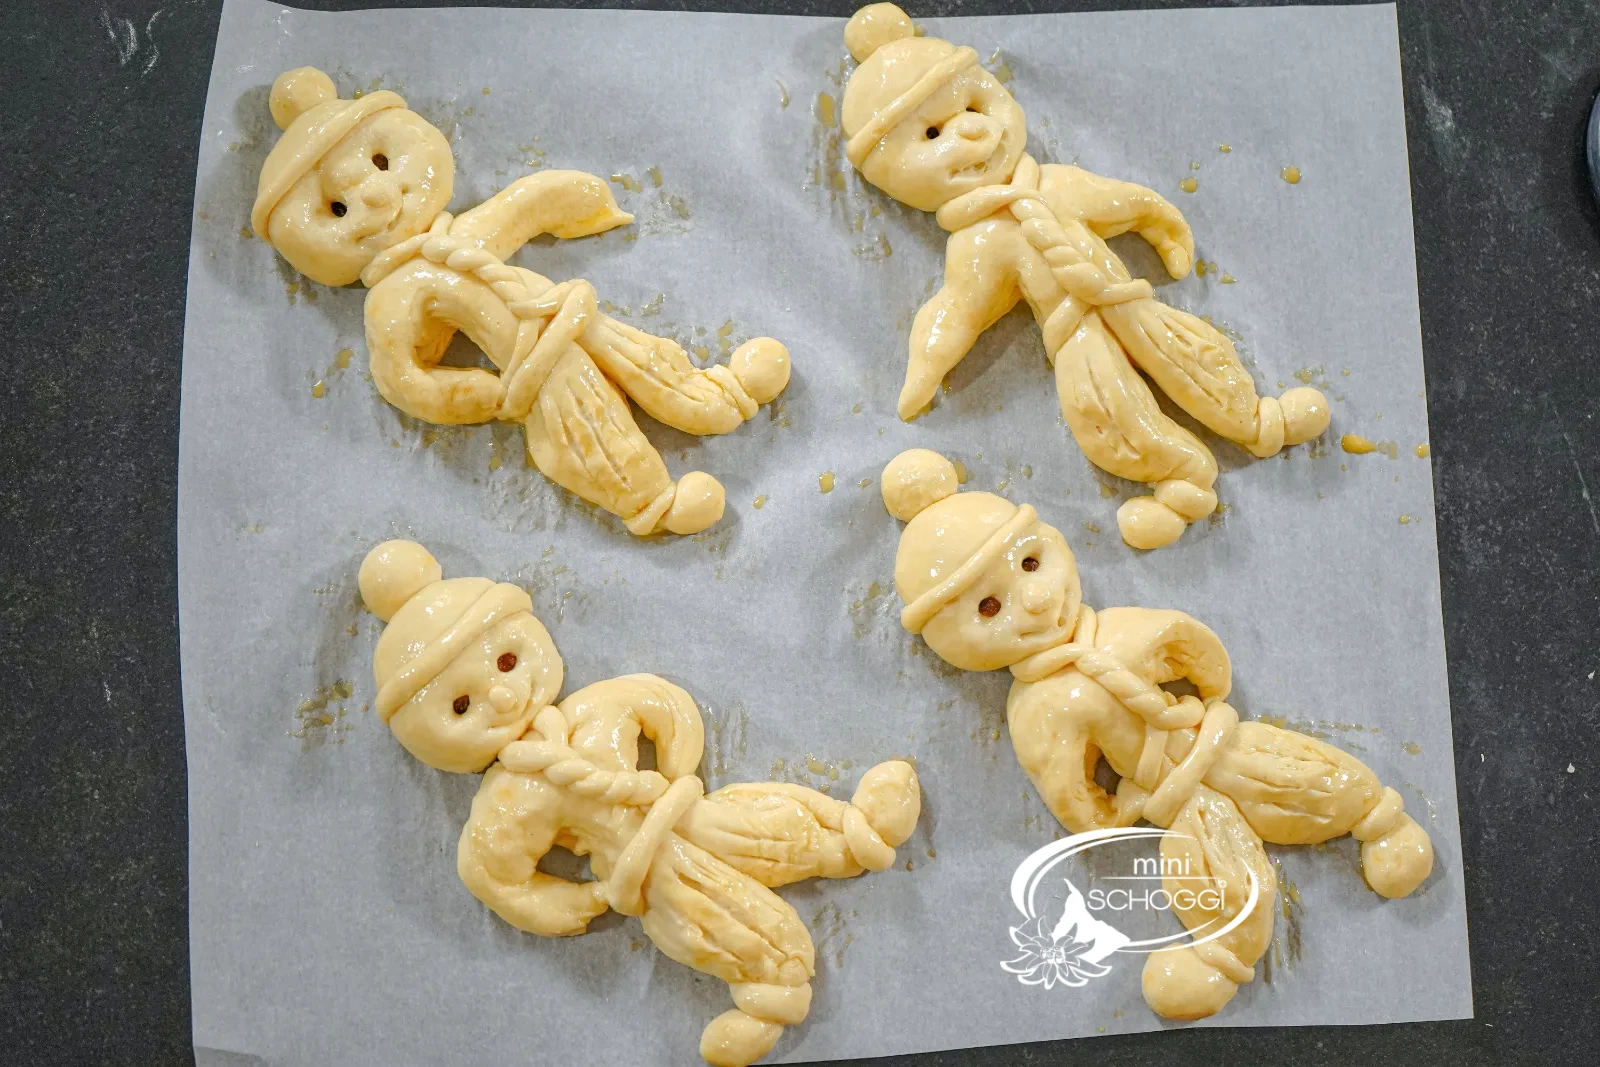
With the remaining dough you shape scarf, hat, nose and shoes. For the scarf, roll out a strand of dough thinly, lay it around the head, twist it and press it firmly against the side of the figure. For the hat, lay a thin strand around the head and place a small pompom on top; for the feet you proceed in a similar way. There are no limits to your creativity here.
This is what you need for it

Clay pipes grittibänz, 12 pieces
4
40 minutes final proof – and preheat the oven
Cover the finished grittibänz with a dough plastic and let them rise for about 40 minutes at room temperature. Towards the end of the resting time, preheat the oven to 180 °C fan.
This is what you need for it
Plastic dough cloths
Decorating and baking
1
Glaze with egg twice
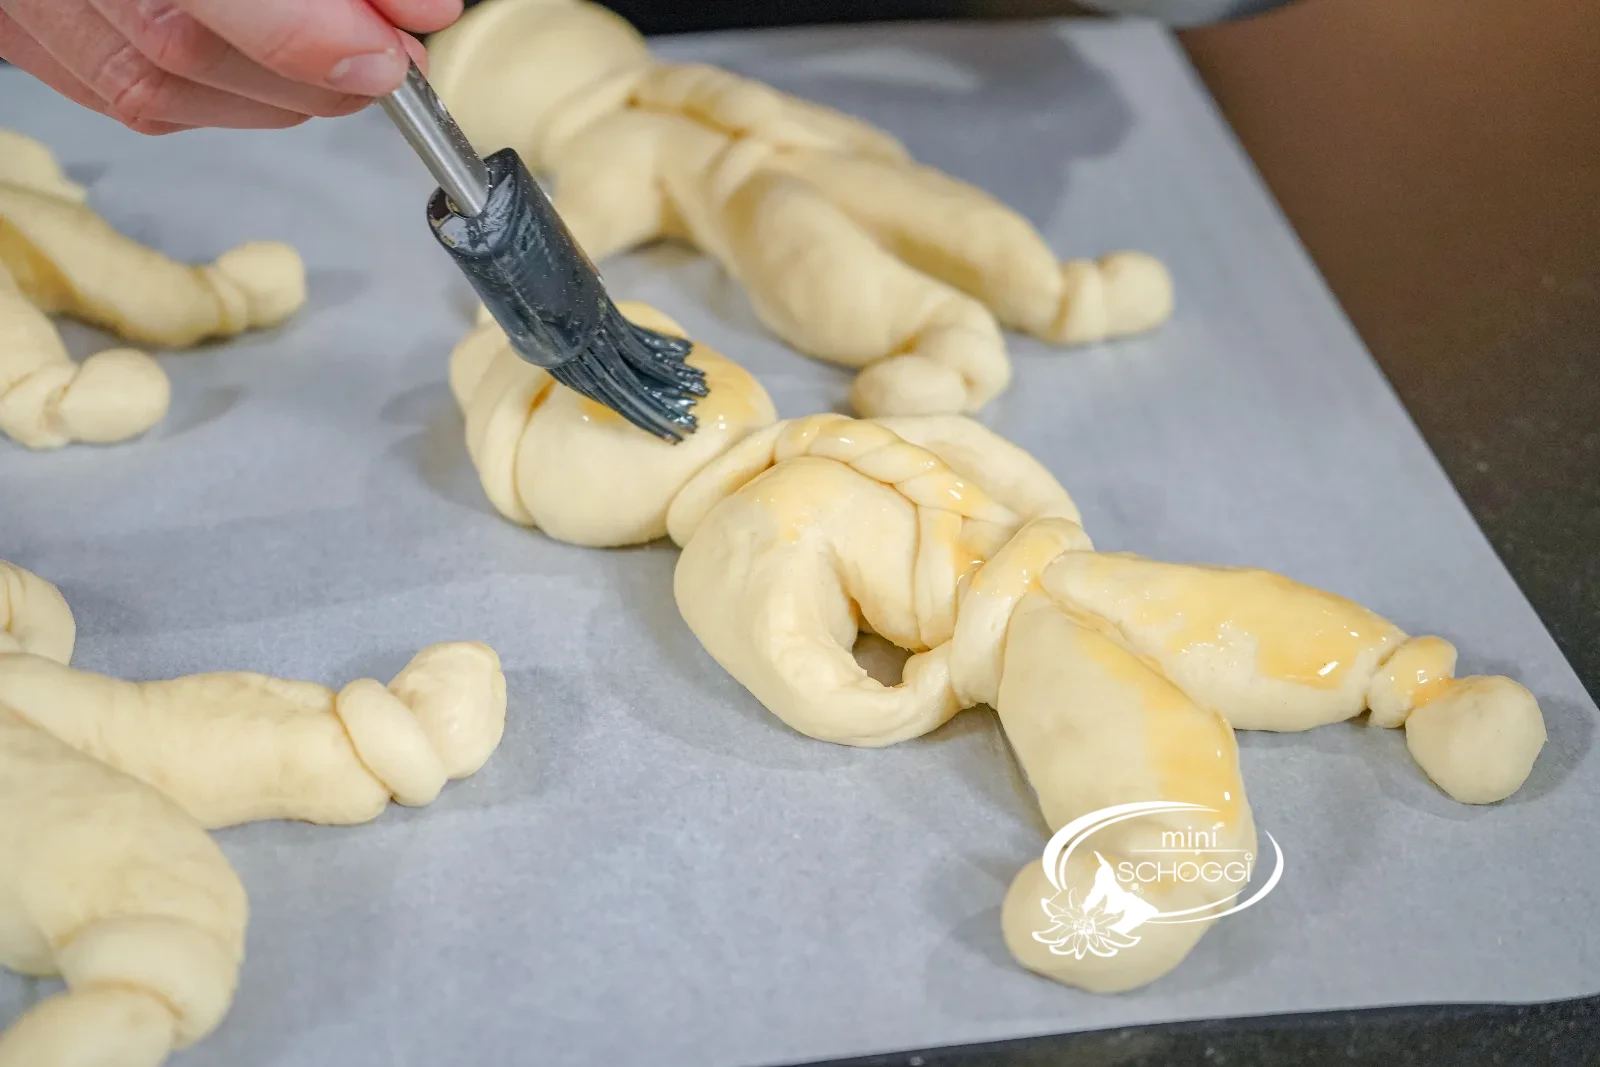
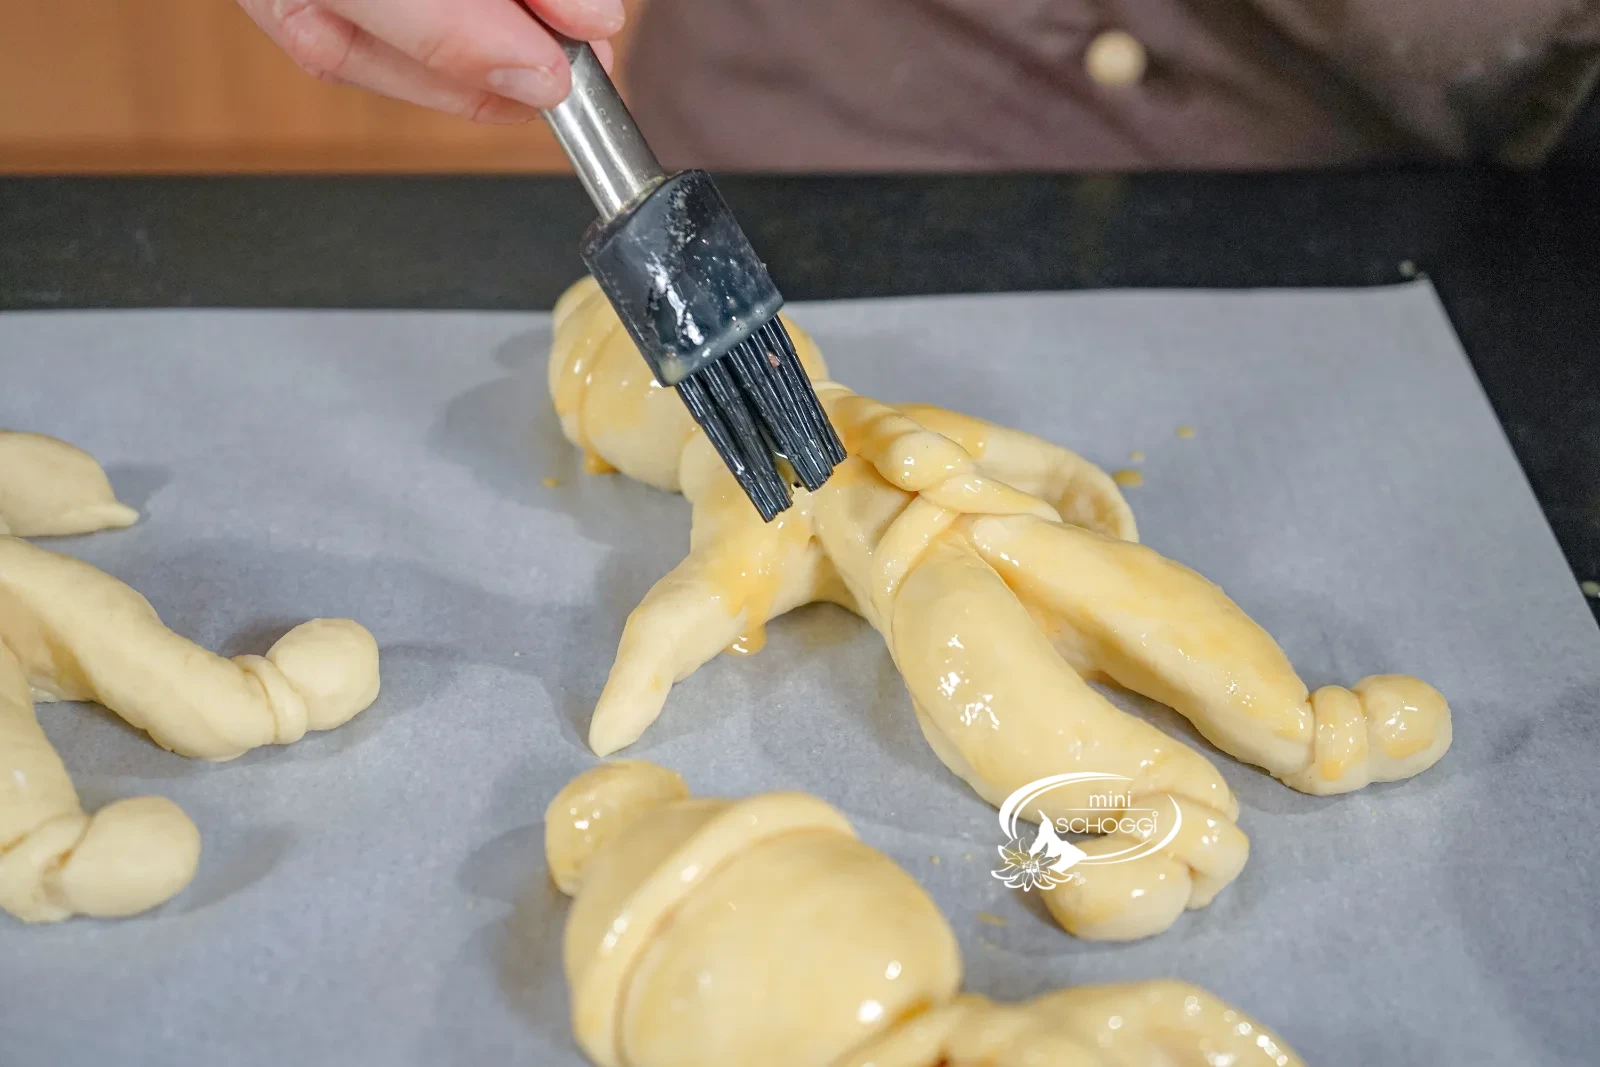
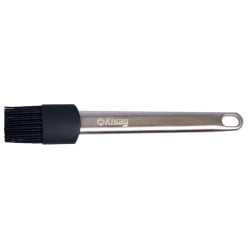
After the resting time, glaze the grittibänz twice with egg – for this, whisk a whole egg with an additional egg yolk. The double glazing gives the typical golden-brown, glossy surface.
This is what you need for it

Silicone brush, 20 cm
2
Press in the eyes, cut the mouth
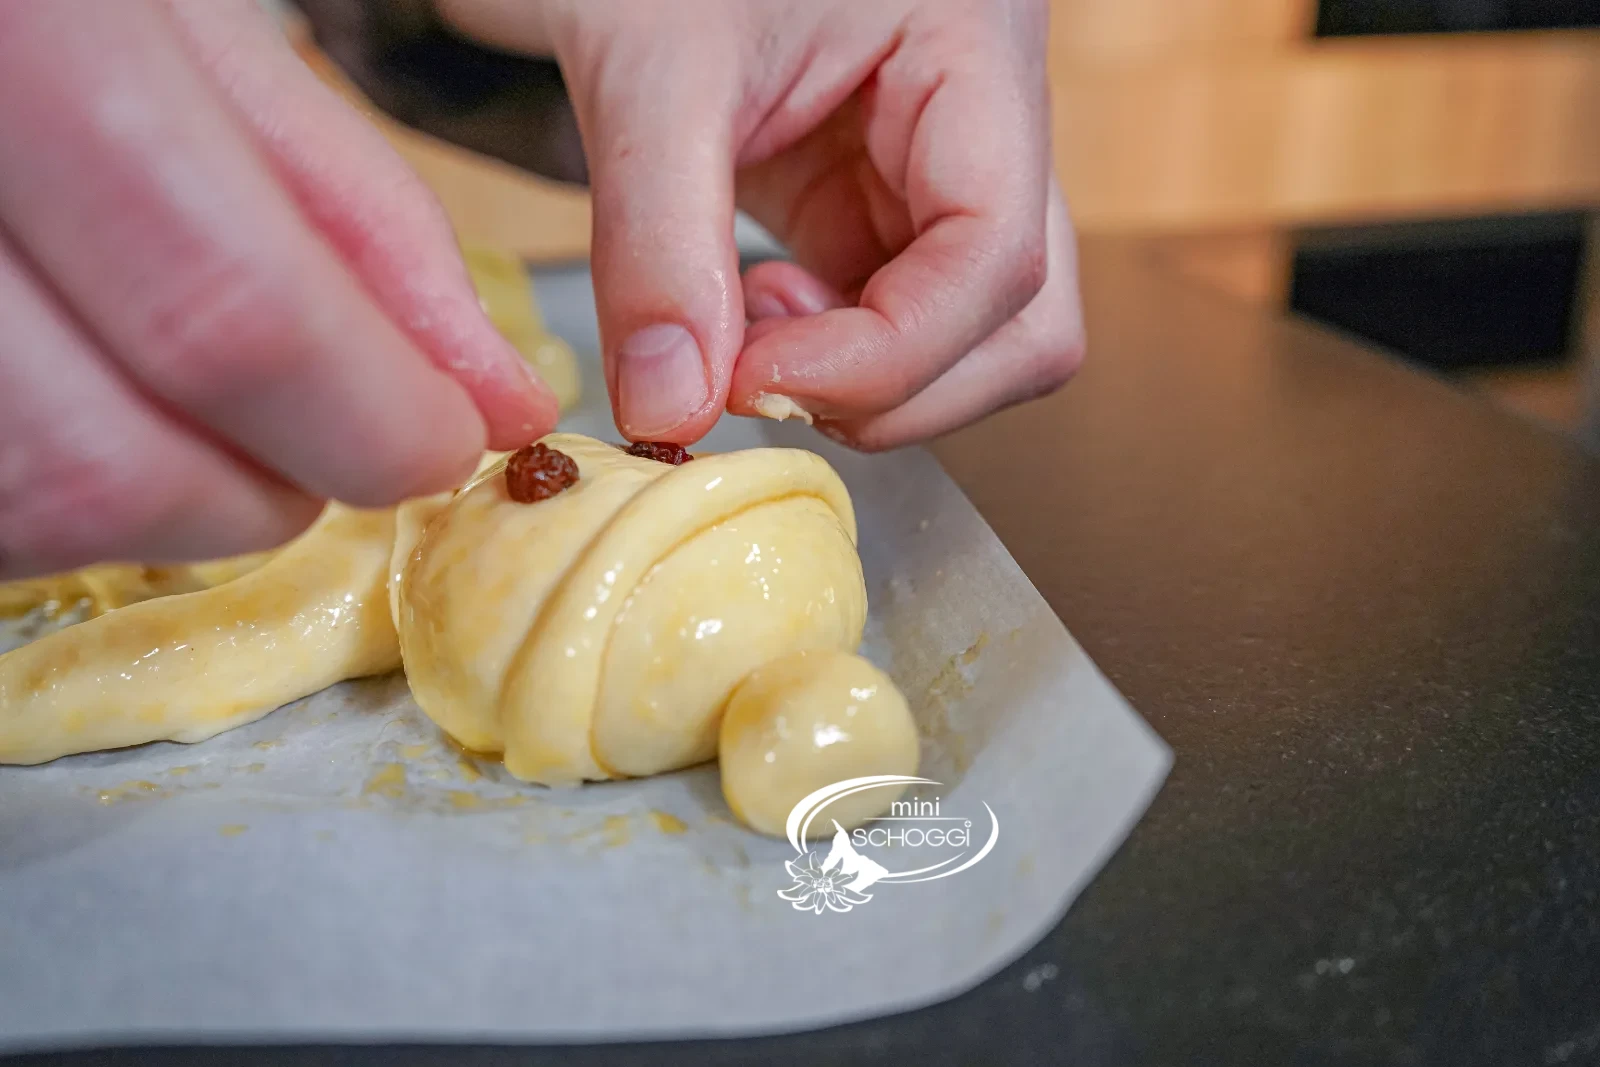
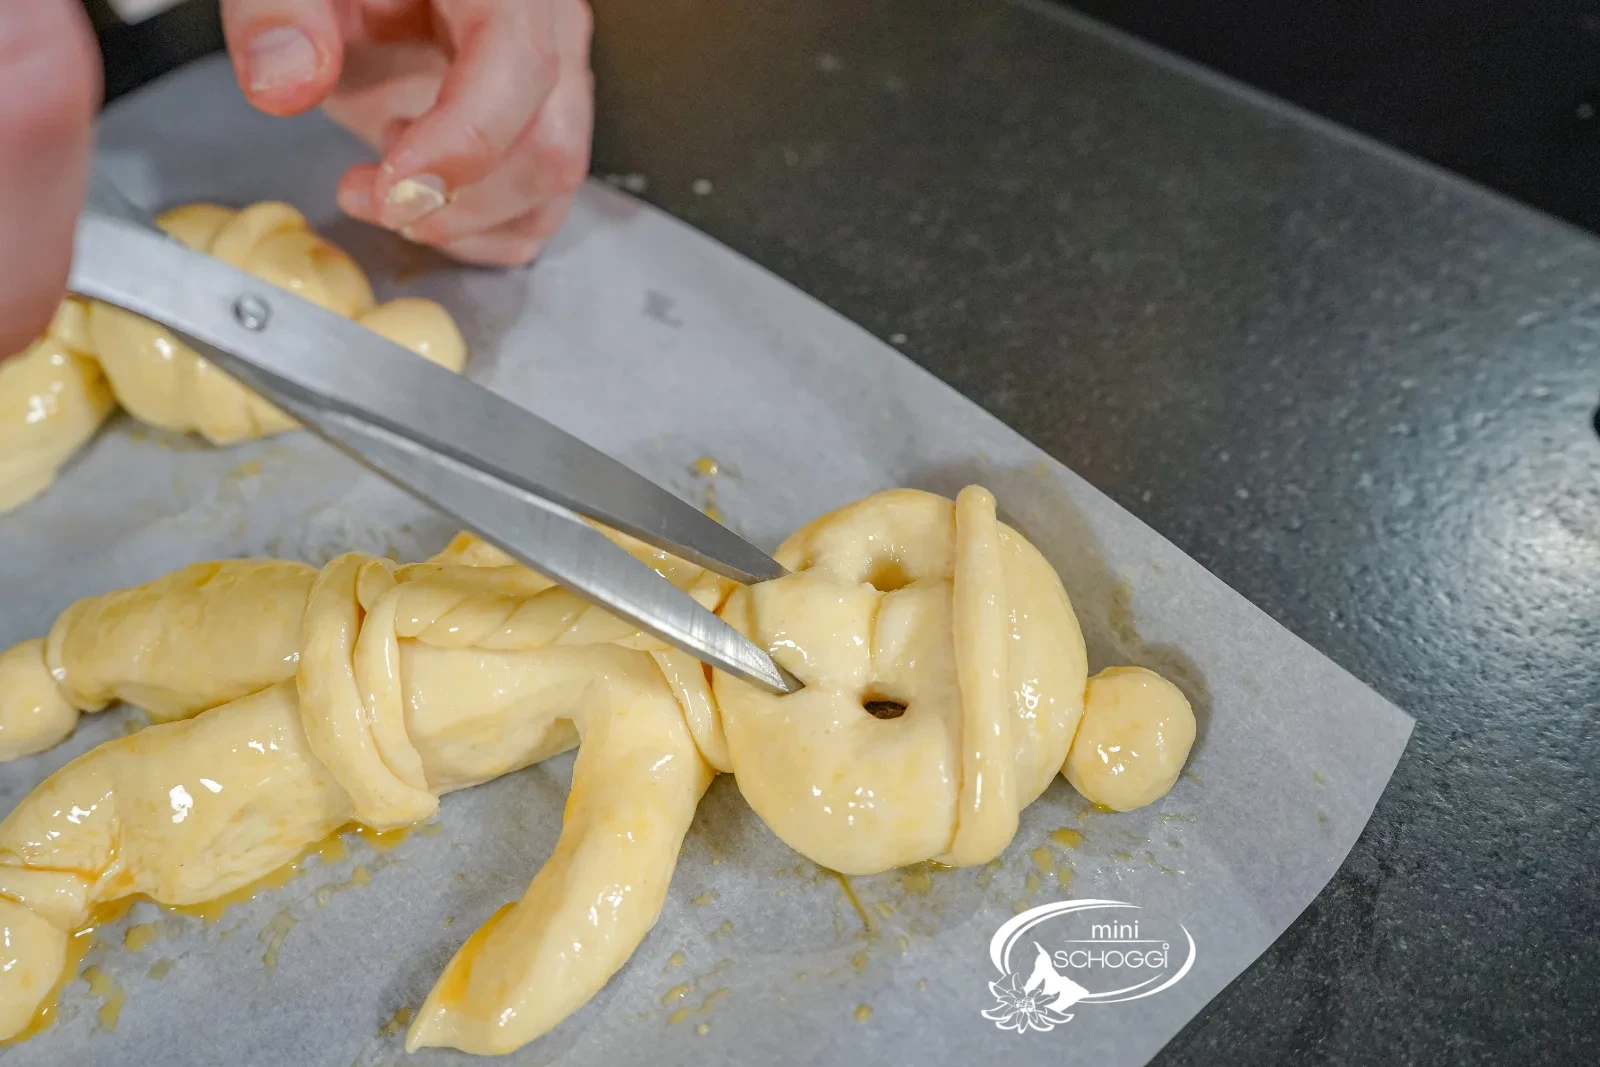
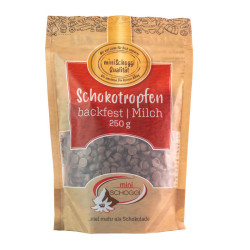
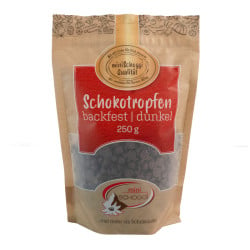
For the eyes, press two raisins – or baking-stable chocolate drops – deep into the dough and cut the mouth with sharp scissors. If you like, sprinkle the grittibänz additionally with a little pearl sugar.
This is what you need for it


Chocolate drops milk, baking-stable
Chocolate drops dark, baking-stable
Pearl sugar coarse, 250 g
Pearl sugar medium, 300 g
3
Bake golden for 12 to 15 minutes
Bake the dough figures golden for about 12 to 15 minutes in the oven preheated to 180 °C fan. Then let them cool on a Cake rack – they taste best lukewarm.
Compact · printable
Grittibänz
Ingredients
Quantity:
YEAST DOUGH
FOR DECORATING AND GLAZING
Preparation
- Dough: Rub butter with flour and salt, add remaining ingredients, knead until smooth.
- Bulk proof: Let rise covered for 20–30 min at room temperature.
- Portioning: 6 × 100 g body, 6 × 50 g head – the rest is for the decoration.
- Shaping: Body into teardrop shape, score three times, place the head on top, form scarf and hat.
- Final proof: Let rise covered for 40 min, preheat oven to 180 °C fan.
- Decorating: Glaze twice with egg, press in raisin eyes, cut the mouth.
- Baking: Bake golden for 12–15 min at 180 °C fan.
Nutritional values per 100 g
300kcal
8.7 gFat
47.3 gCarbohydrates
7.2 gProtein
Storage & shelf life
Store the finished dough figures airtight at room temperature. They taste best fresh, but you can keep them for up to three days – after that they simply become dry.
Day-old ones become soft again if you briefly spray them with a little water and put them in the oven for 3 to 4 minutes at 160 °C. Freezing works too: pack them once cooled and thaw in the oven when needed.
Everything for this recipe
Recommended from our bakery — exactly the sizes the recipe was tested with.
Ingredients
Chocolate drops milk, baking-stable
Chocolate drops dark, baking-stable
Morga malt extract, 250g
Baking malt 500 g
Pearl sugar coarse, 250 g
Pearl sugar medium, 300 g
White flour, 1 kg
Baking malt active, 500 g
Accessories
Metal horn
Silicone brush, 20 cm
Adjustable baking tray with perforation, metal 40x35cm
Plastic dough cloths
Kitchen scale with bowl, digital 5 kg
Clay pipes grittibänz, 12 pieces
Delivery in 1–2 working days · Free shipping from CHF 100
So they turn out perfectly
Weigh everything, including the dough scraps
The dough weighs a good 965 g. Of that, 600 g go into the bodies and 300 g into the heads – leaving around 65 g for scarf, hat, nose and shoes. That is not much. So really weigh the bodies and heads, otherwise at the end you will be short of dough for exactly the details that make the grittibänz.
Set the head on overlapping, not beside
The head must rest a little way onto the body, otherwise the connection tears during rising. Press it down lightly – but not flat, otherwise it loses its round shape while baking.
Glaze twice, letting it dry briefly in between
A single egg glaze gives colour, two give shine. Glaze the figures once, wait five minutes and glaze them a second time. Important: don't let it drip into the cuts, where the egg mixture will stick the arms back together.
Frequently asked questions
Baking malt brings enzymes that supply the yeast with sugar: the dough rises more reliably, the crust turns more golden-brown and the pastry stays fresh a day longer. At 5 g per 500 g of flour you don't taste it. If you don't have any, the recipe also works without it – the figures just stay a bit paler. How baking malt works exactly is explained in our article about it.
Yes. Knead it in the evening, cover it and put it in the fridge overnight – the cold fermentation even makes it more flavourful. The next morning, let it come to room temperature for half an hour and then shape as in the recipe. The final proof stays the same length.
Usually the final proof was too long: over-proofed dough pieces spread out in the oven. 40 minutes is enough – the dough piece should have visibly risen, but still spring back when lightly pressed. Arms and legs scored too deeply also tear open.
Print recipe
Choose what should appear on the printout.
Related products
Metal horn
Price: CHF14.90
Rated out of 5 stars based on
review(s)
Vous devez être connecté à votre compte client
A metal horn is essential for creating your own hollow praline molds, for...
Chocolate drops milk, bake proof
Price: CHF12.90
Rated out of 5 stars based on
review(s)
Vous devez être connecté à votre compte client
The application is as simple as it can be. Simply mix the chocolate drops...
Chocolate drops Dark, Bakeproof
Price: CHF12.90
Rated out of 5 stars based on
review(s)
Vous devez être connecté à votre compte client
The application is as simple as it can be. Simply mix the chocolate drops...
Silicone brush, 20 cm
Price: CHF16.90
Rated out of 5 stars based on
review(s)
Vous devez être connecté à votre compte client
This silicone brush should not be missing in any kitchen. It is heat...
Morga malt extract, 250g
Price: CHF9.50
Rated out of 5 stars based on
review(s)
Vous devez être connecté à votre compte client
The Morgan malt extract is obtained from pure barley. With the malt...
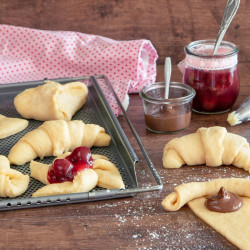
Adjustable baking tray with perforation metal 40x35cm
Price: CHF44.90
Rated out of 5 stars based on
review(s)
Vous devez être connecté à votre compte client
Mhmm... how that smells. Freshly baked bread with a delicious crispy crust....
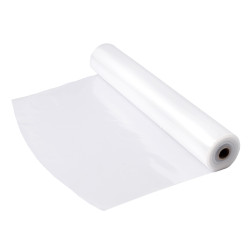
Plastic dough towels
Price: CHF19.90
Rated out of 5 stars based on
review(s)
Vous devez être connecté à votre compte client
Are you tired of constantly having to scrape your dough pieces off the...
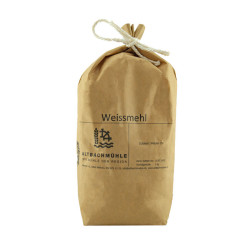
White flour, 1 kg
Price: CHF4.50
Rated out of 5 stars based on
review(s)
Vous devez être connecté à votre compte client
White flour is suitable for pastries of all kinds, from bread to cakes to...
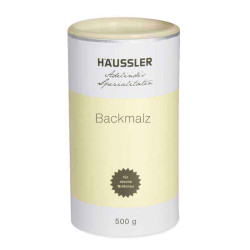
Baking malt 500 g
Price: CHF16.90
Rated out of 5 stars based on
review(s)
Vous devez être connecté à votre compte client
Baking malt gives breads and rolls a delicious aroma, a crispy crust, a...
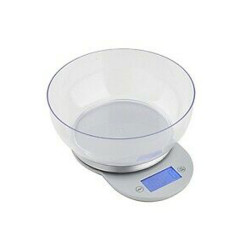
Kitchen Scale with Bowl Digital 5 kg
Price: CHF42.50
Rated out of 5 stars based on
review(s)
Vous devez être connecté à votre compte client
With this digital kitchen scale you can easily weigh up to 5 kg. This is...

Clay pipes Grittibänz, 12 pieces
Price: CHF16.90
Rated out of 5 stars based on
review(s)
Vous devez être connecté à votre compte client
Grittibänz, Grättimaa and Hanselmaa... There are many different names for the...
Coarse-grained hail sugar, 250 g
Price: CHF8.10
Rated out of 5 stars based on
review(s)
Vous devez être connecté à votre compte client
Hail sugar should not be missing in any kitchen. With the somewhat coarser...
Hail sugar medium grain, 300 g
Price: CHF7.90
Rated out of 5 stars based on
review(s)
Vous devez être connecté à votre compte client
Hail sugar should not be missing in any kitchen. With the somewhat coarser...
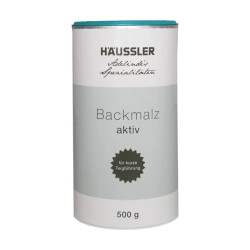
Baking malt active, 500 g
Price: CHF16.90
Rated out of 5 stars based on
review(s)
Vous devez être connecté à votre compte client
Active baking malt supports fermentation, increases the volume and...
Bewertungen
Leave a comment
Related posts
 Make your own chocolate Easter bunnies
You can easily make your own Easter bunnies at home! You can find out how to do it and what you need here. A sweet...
Read more
Make your own decorative Swiss roll
Make your own decor roulade - we'll explain exactly how in this blog, with lots of tips and tricks from our...
Read more
Cinnamon Star Biscuits Recipe
Make your own cinnamon stars with the help of our professionals, with lots of tips & tricks to bake the best...
Read more
How can I convert a cake recipe?
Converting a cake recipe, whether a sponge or a cake filling, is easy with our conversion table.
Read more
Chocolates with mulled wine jelly
A wonderfully wintry Christmas jelly, which is ideal as a praline or macaron filling.
Read more