
Lye Grissini – as crunchy as pretzels

The perfect snack with pretzel charm
QuantityApprox. 50 grissini
Active timeApprox. 30 minutes
Total timeApprox. 2 hrs 30 min. (perfectly crunchy the next day)
contains gluten
Crunchy lye grissini – the perfect snack with pretzel charm. If you love pretzels and are looking for a new snacking highlight, these lye grissini are just the thing for you! Wonderfully crunchy and with the typical, slightly salty lye flavour – they go perfectly with dips, cheese platters or simply plain for snacking.


Ingredients
Quantity:
Step by step
If you're in a hurry: the compact recipe card further down sums it all up.
Grissini dough
1
Mix the dough
Dissolve the fresh yeast in the water and then combine it with the flour, salt and olive oil in a bowl. If you have a dough mixer, you can also make the dough directly in the machine.
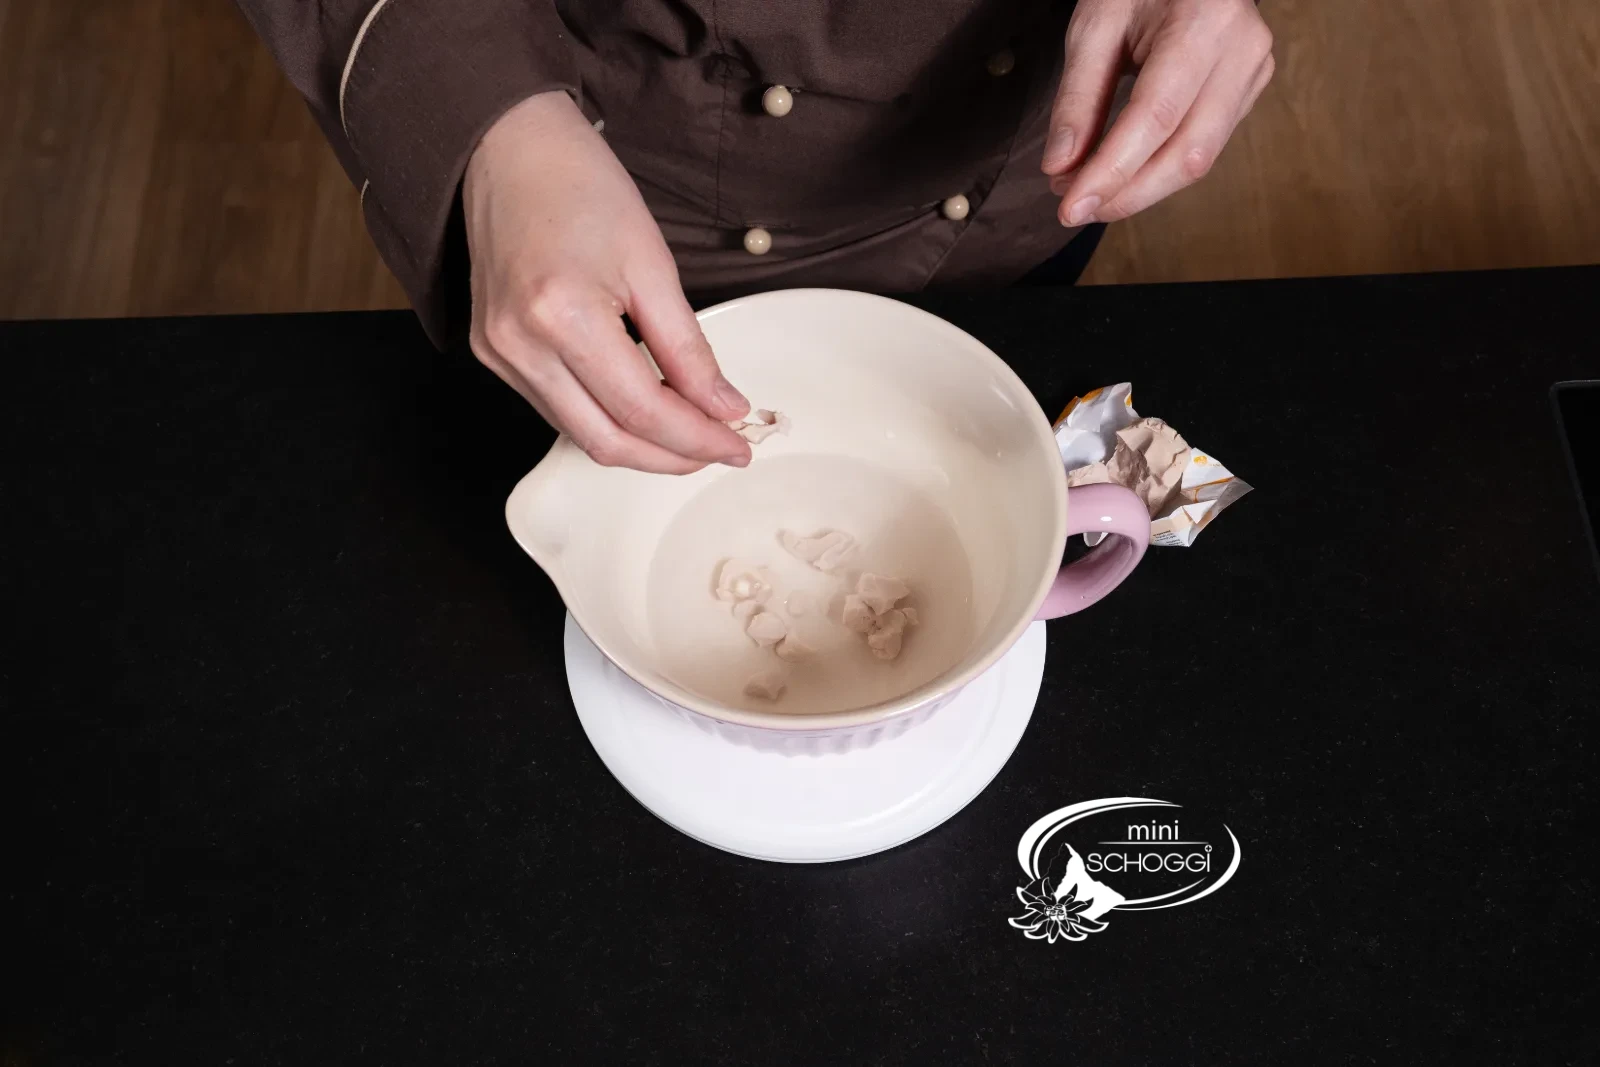
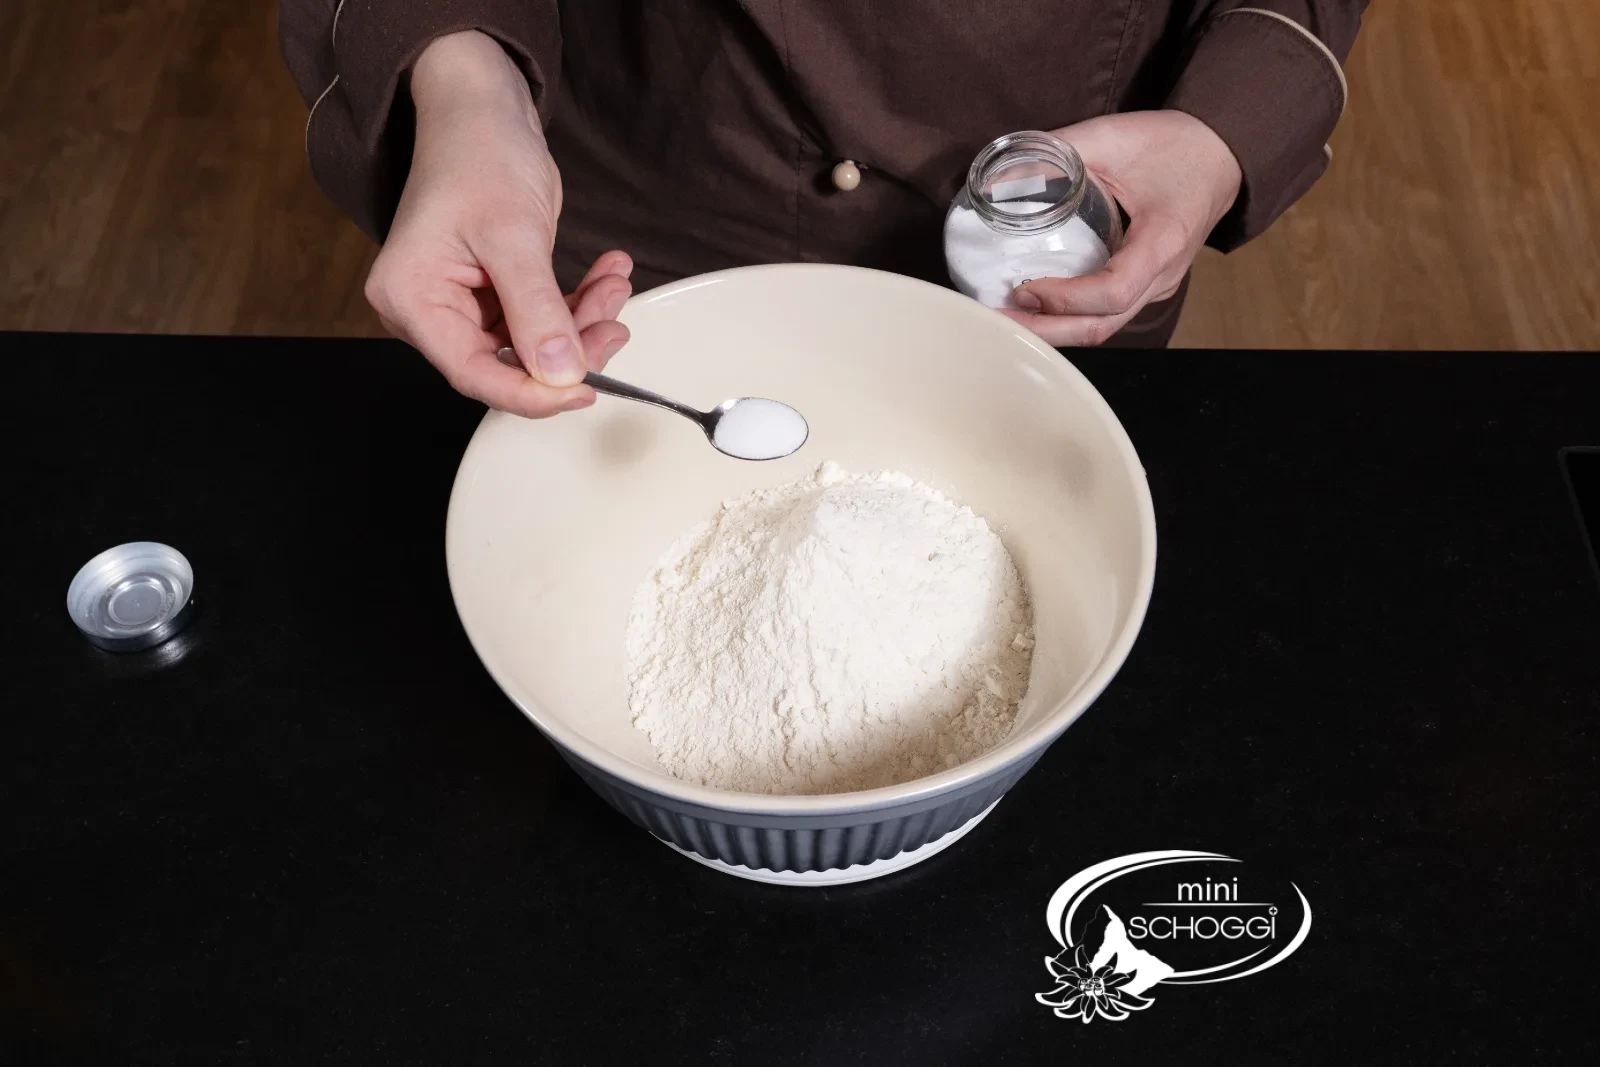
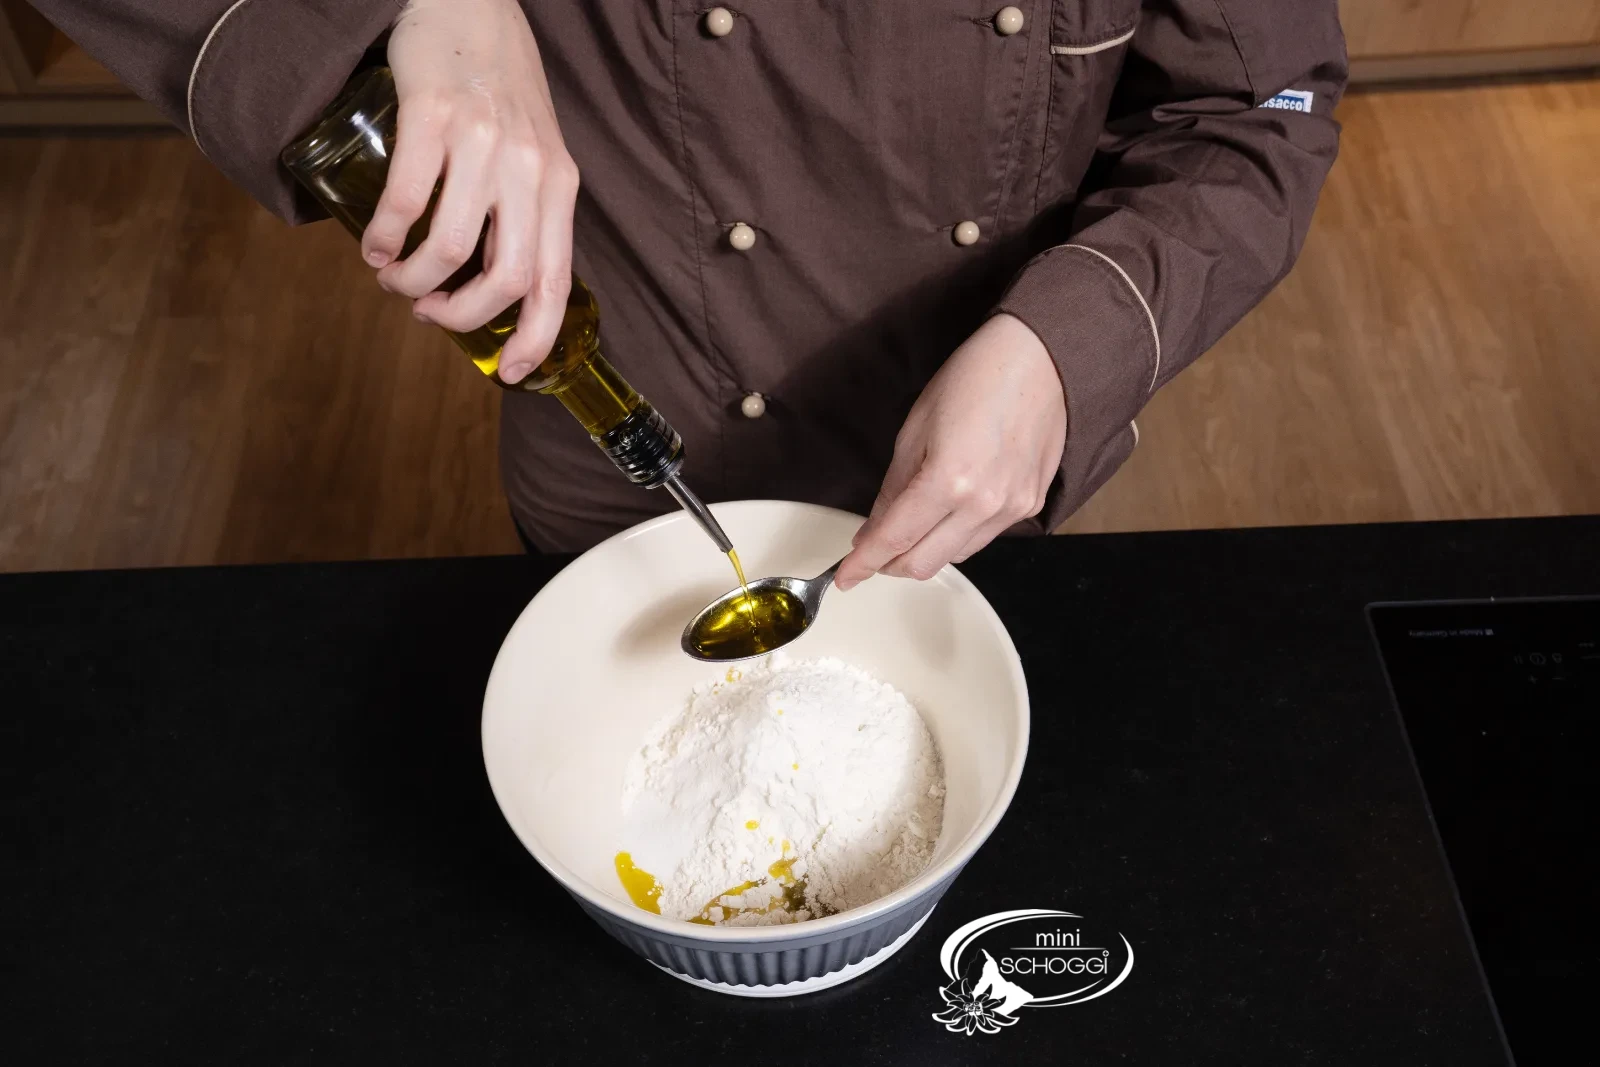
This is what you need for it

White flour, 1 kg
2
Mix and knead for 10 minutes
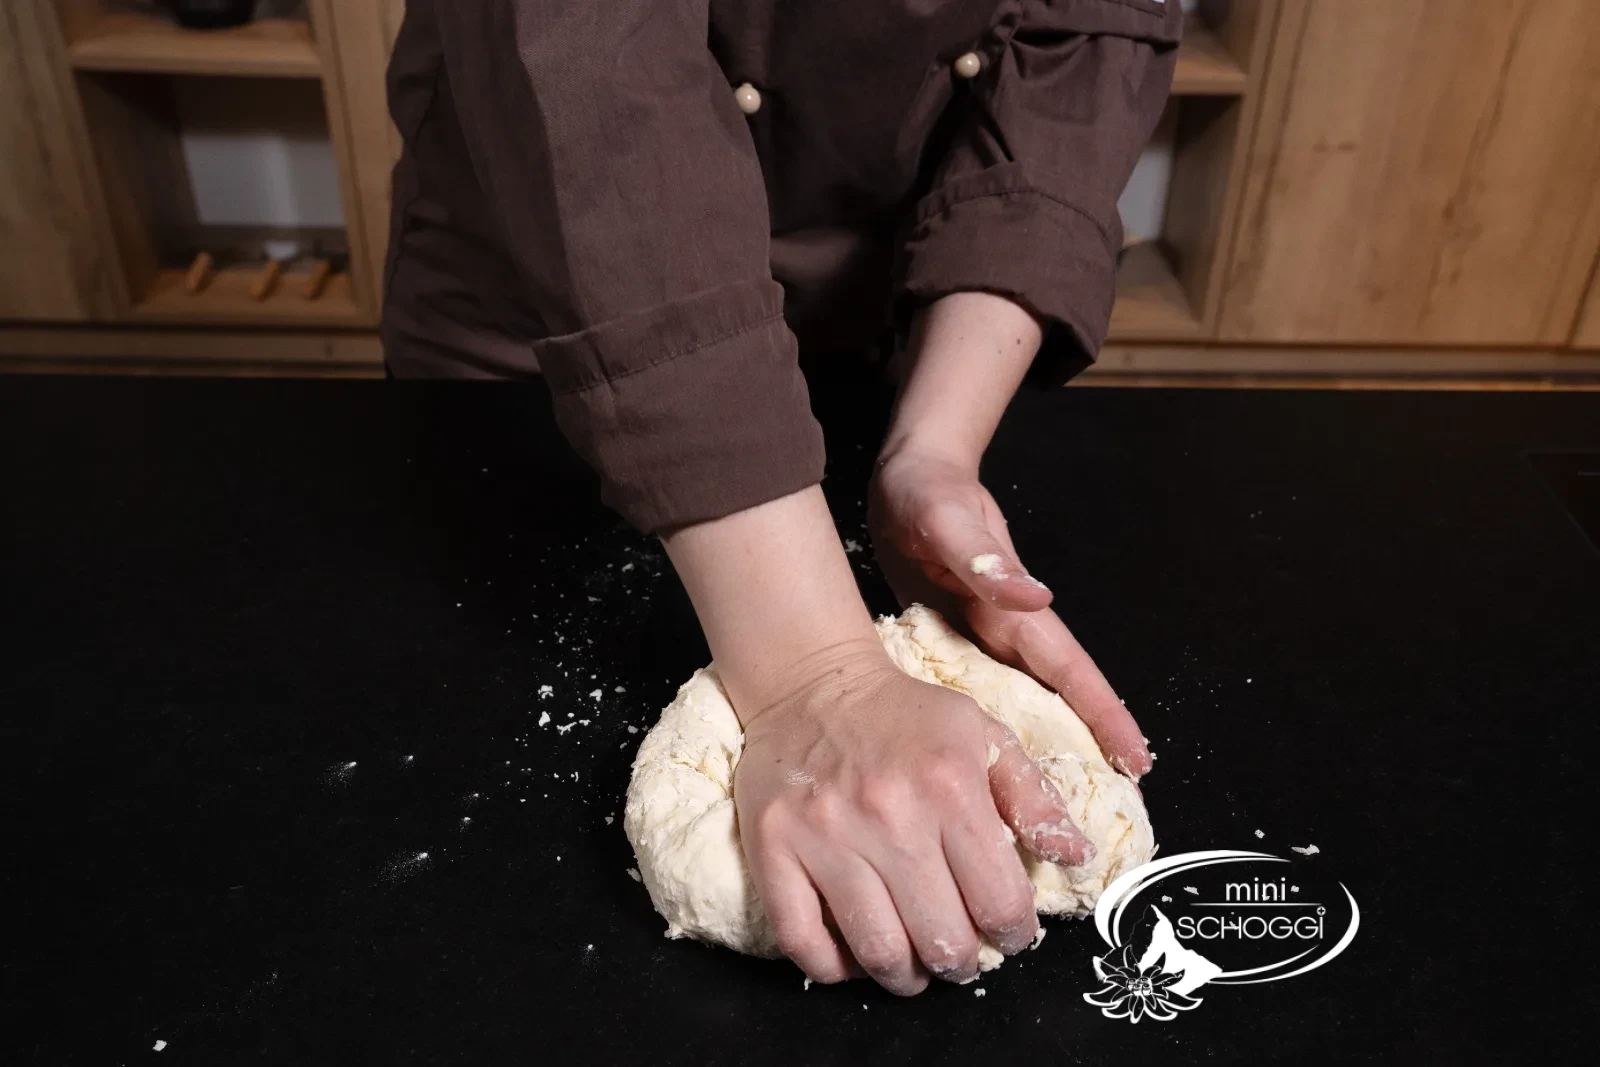
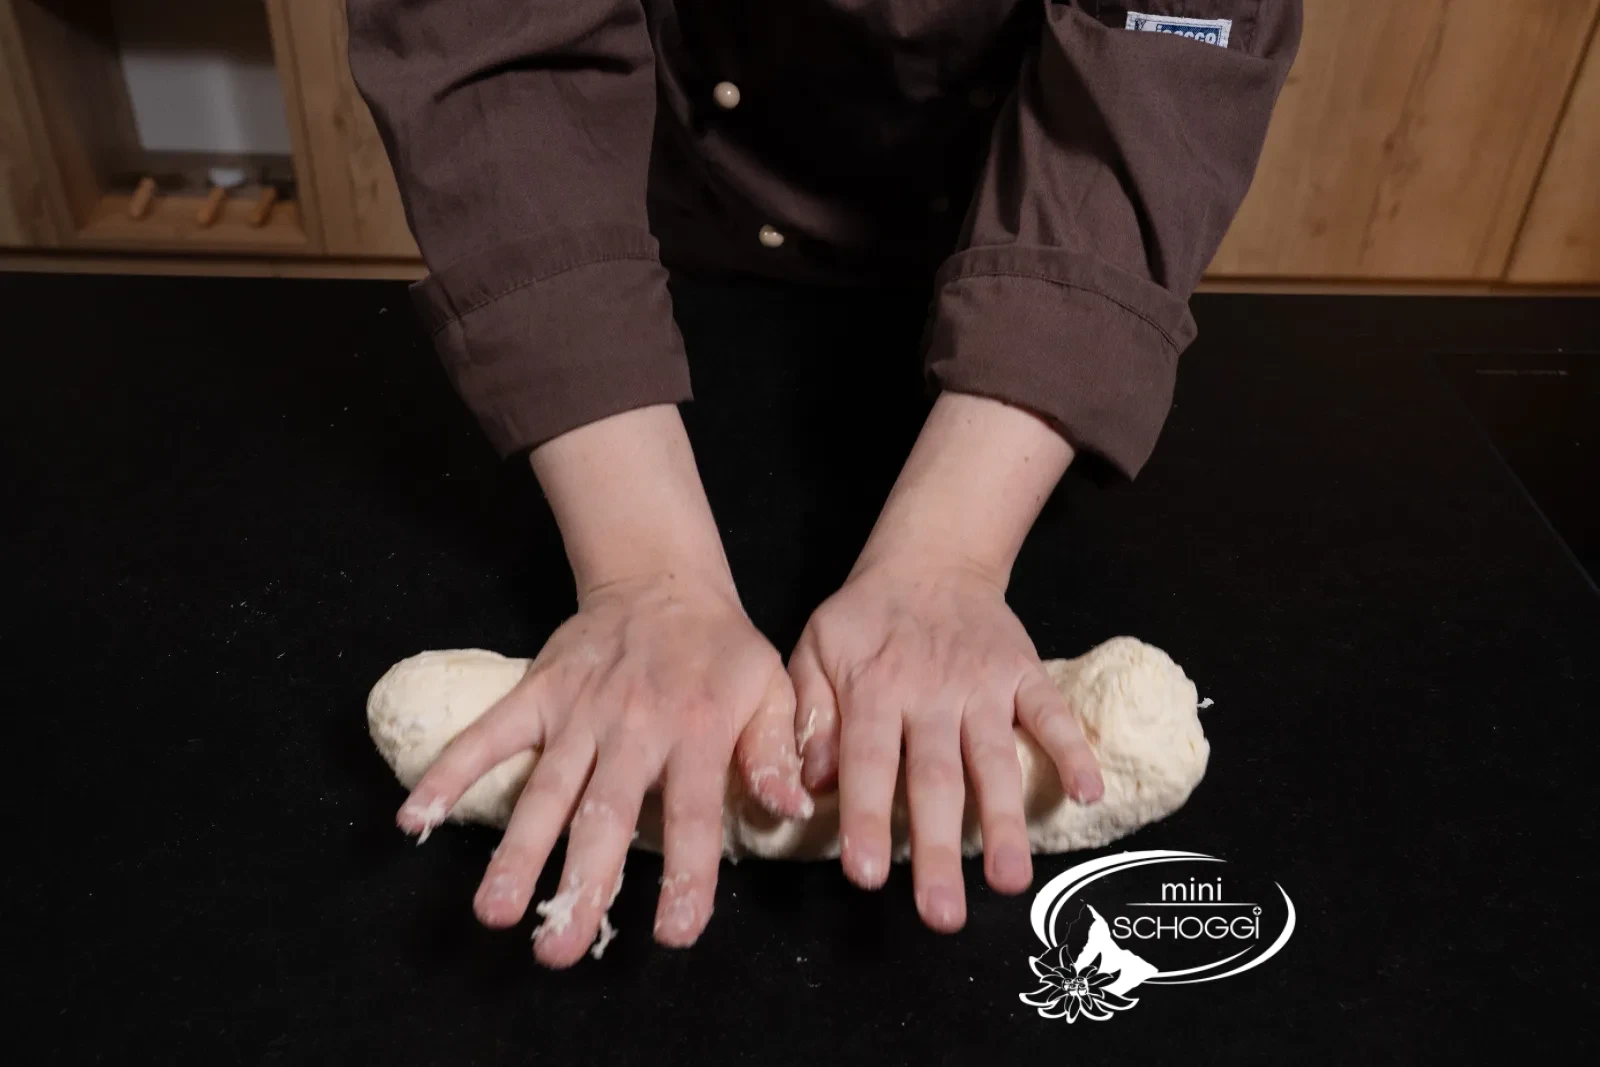
For processing by hand, you can very easily mix the ingredients with a Danish whisk. Then knead the dough thoroughly on the work surface for about 10 minutes.
3
Mix and knead for 10 minutes
For processing by hand, you can very easily mix the ingredients with a Danish whisk. Then knead the dough thoroughly on the work surface for about 10 minutes.
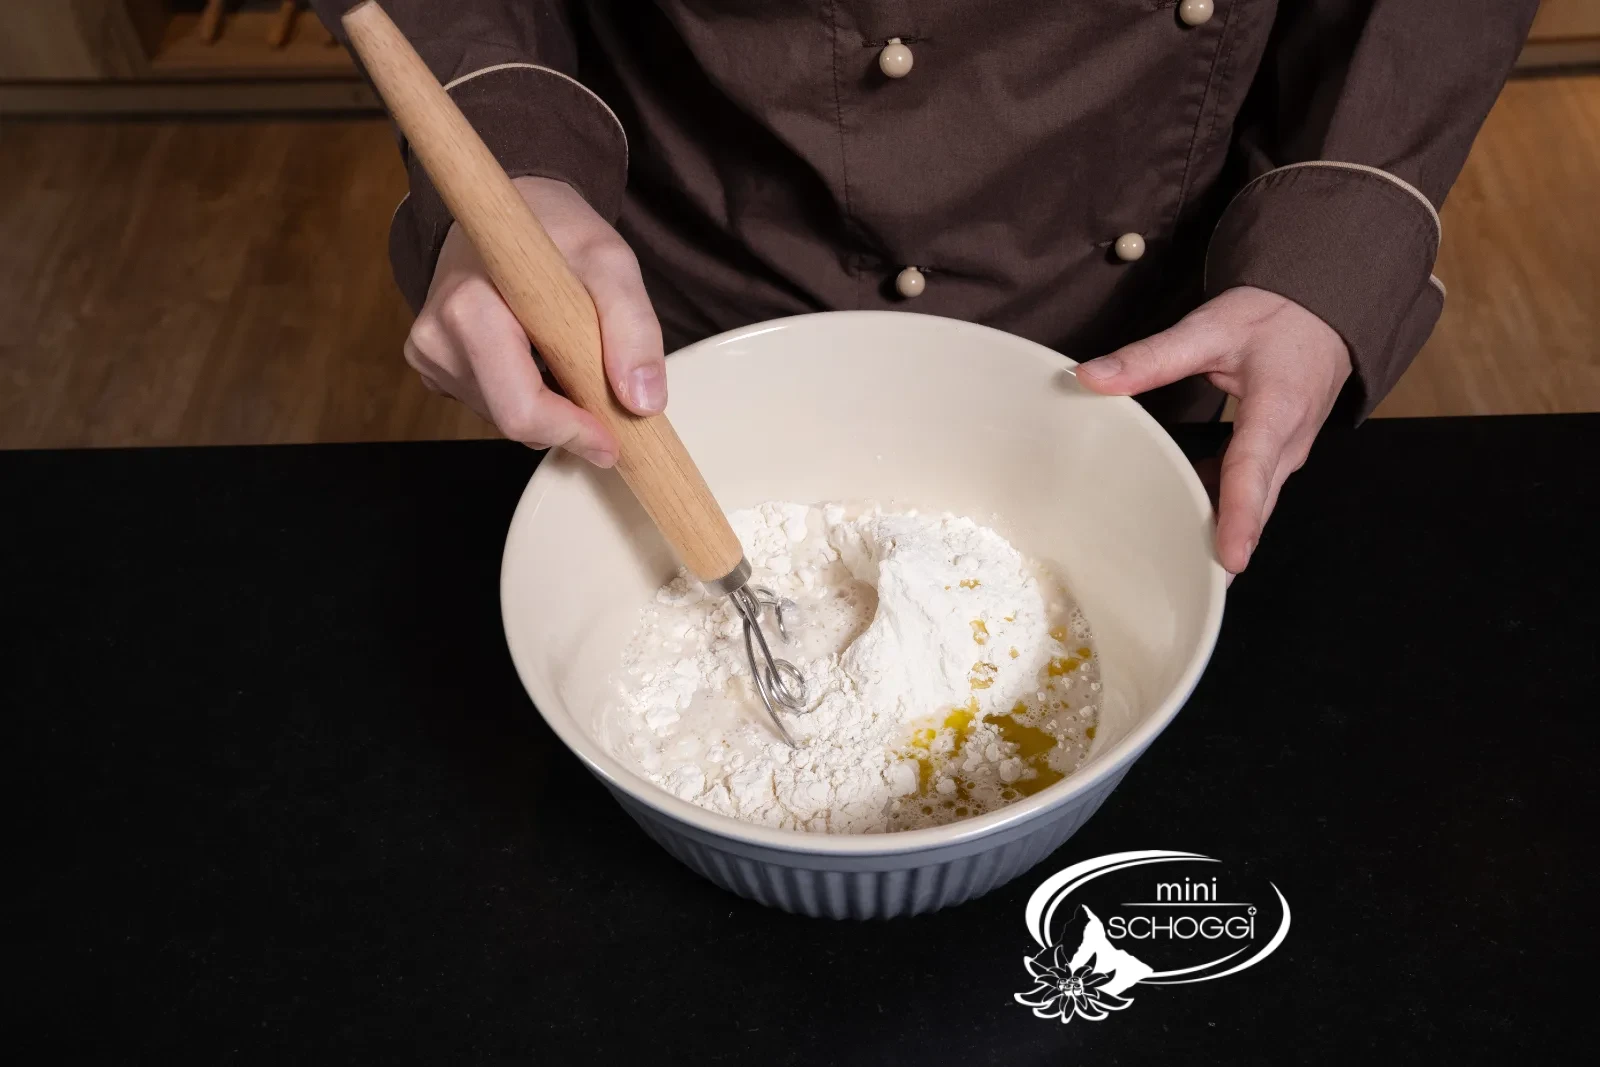
This is what you need for it

Danish dough whisk
4
Let rest for 30 minutes
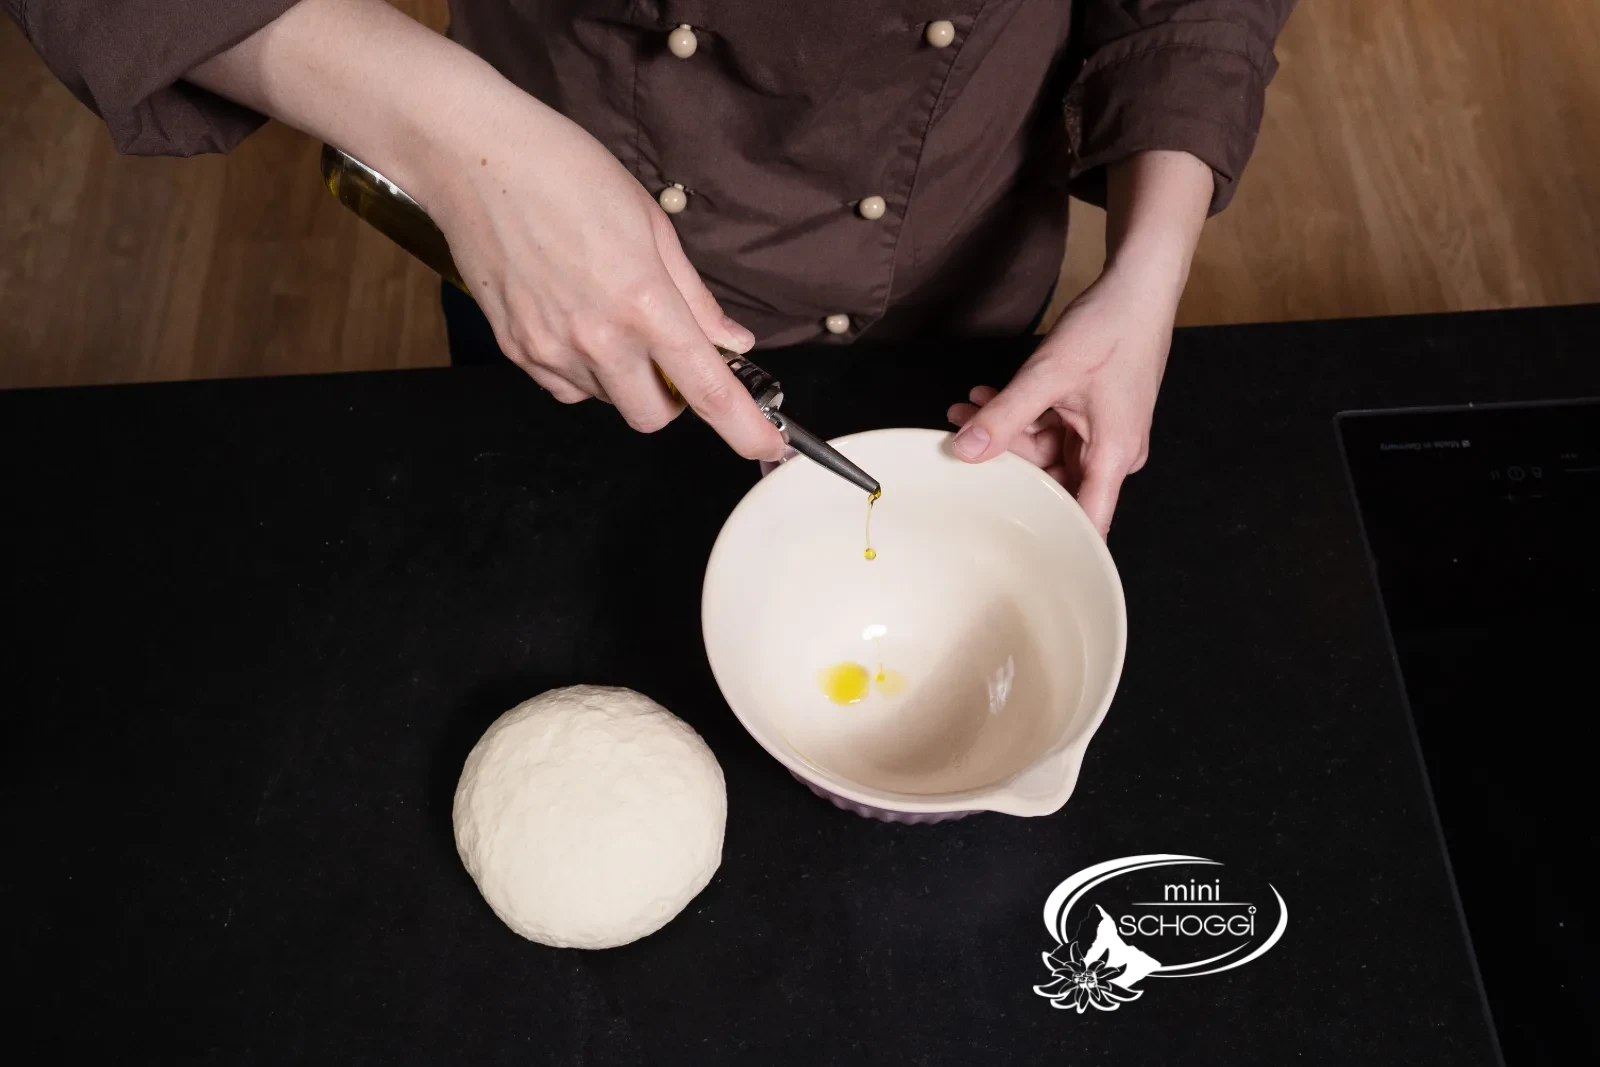
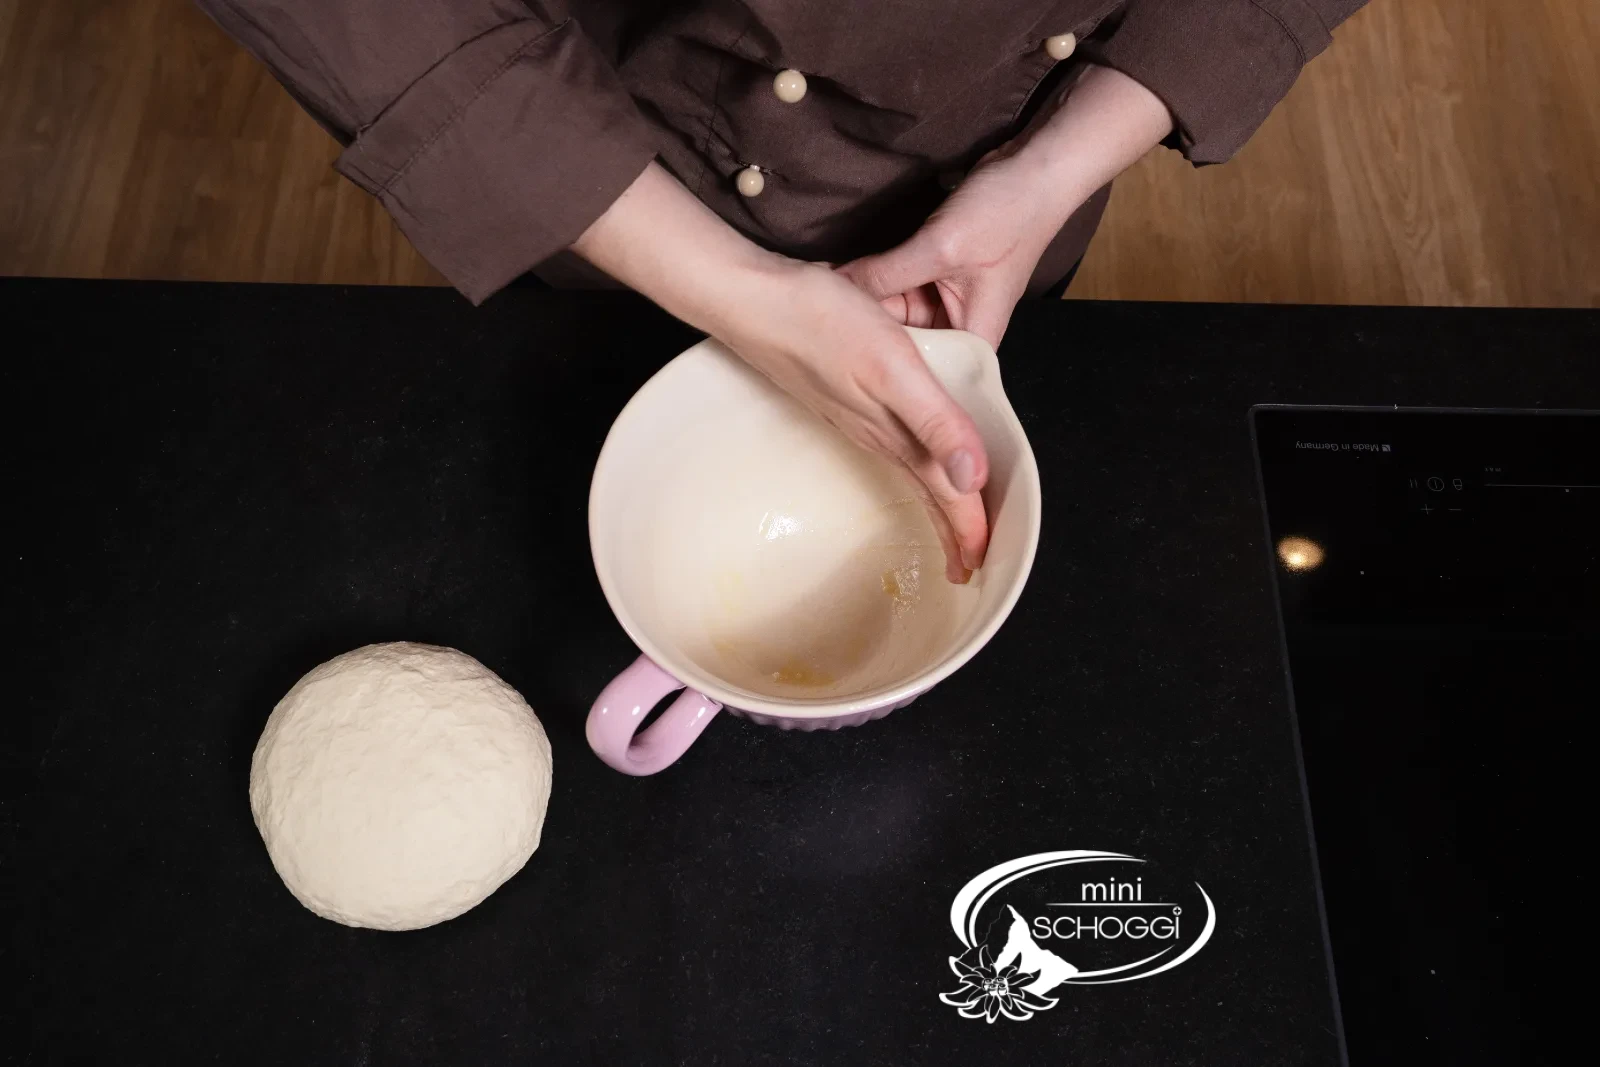
Now you can grease a bowl with a little olive oil. Carefully place the dough inside, cover the bowl with a plastic dough sheet and let it rest for 30 minutes.
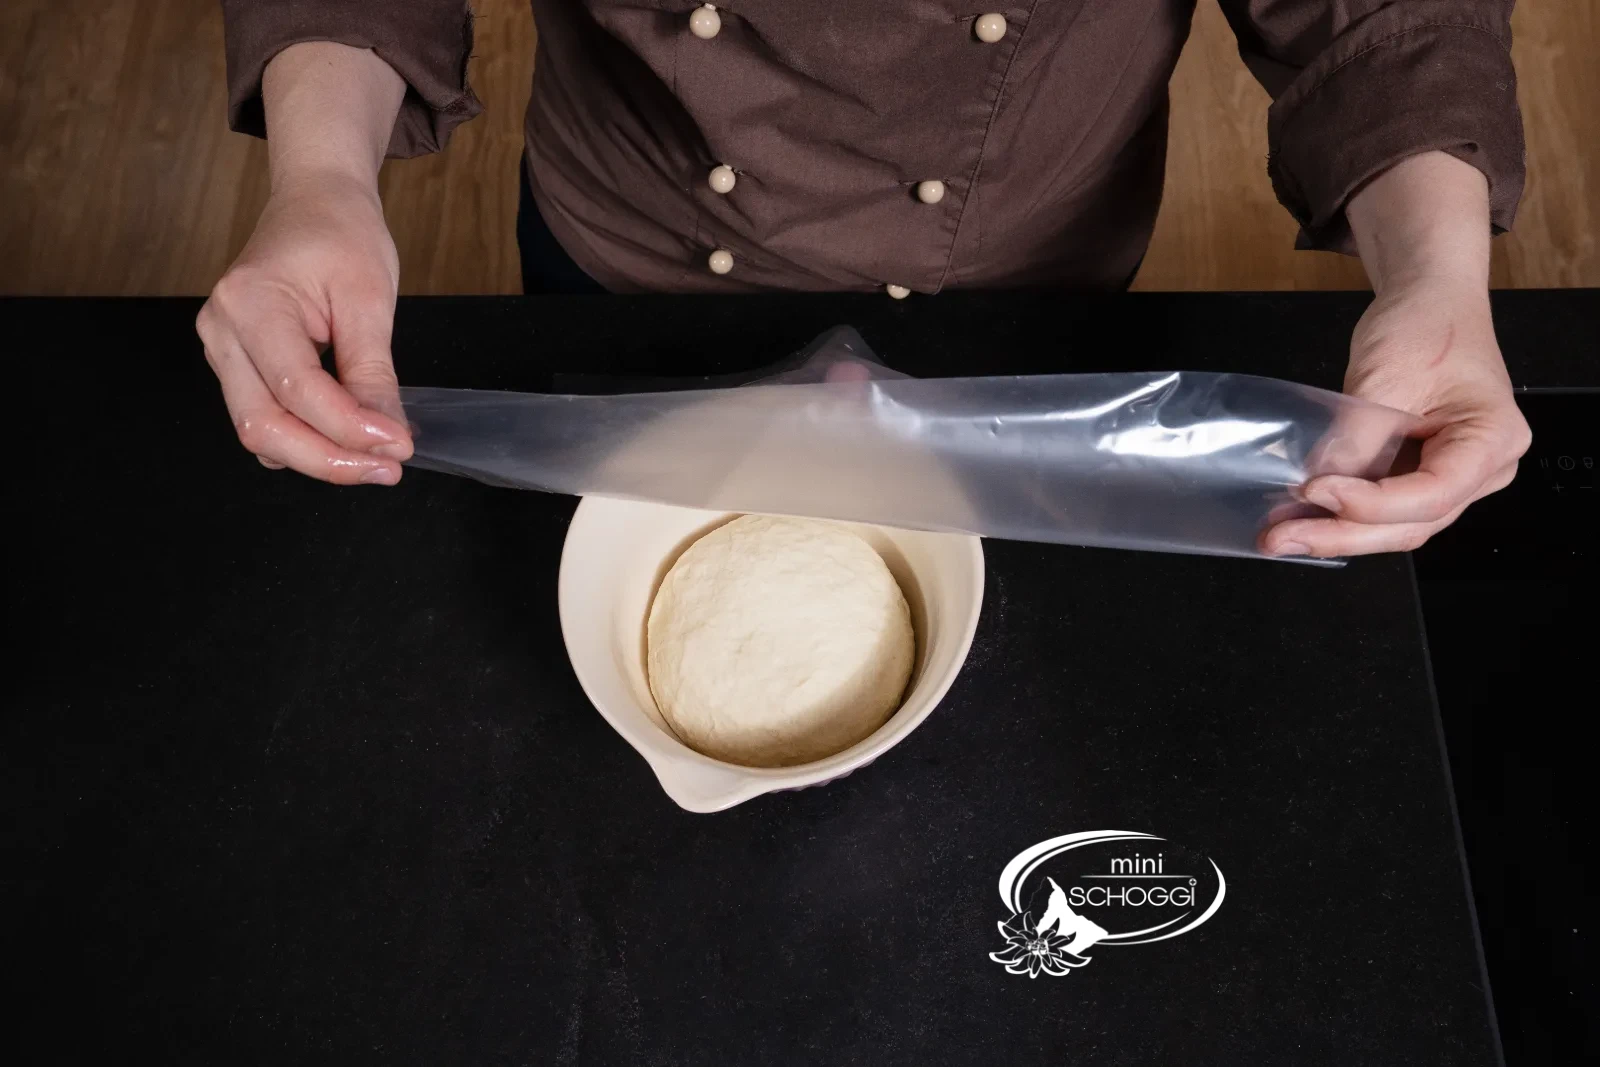
This is what you need for it

Plastic dough cloths
5
Weigh out 15-gram pieces and shape into 30-cm strands
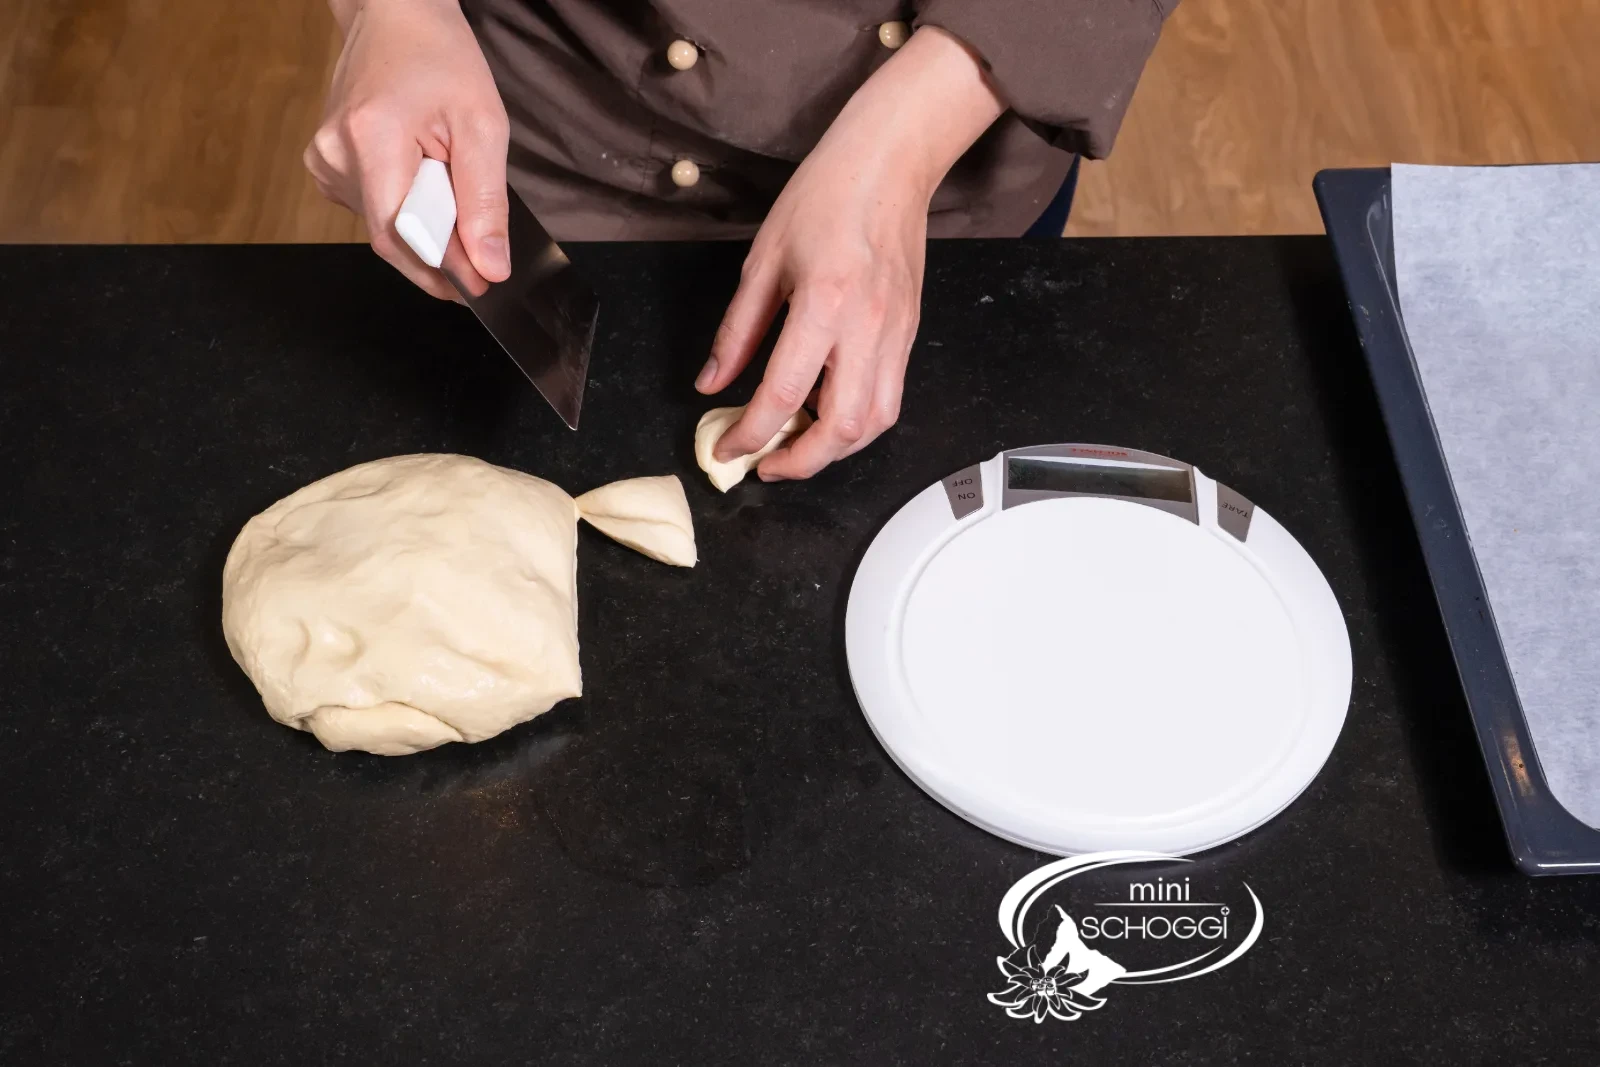
Then cut off dough pieces weighing 15 g.
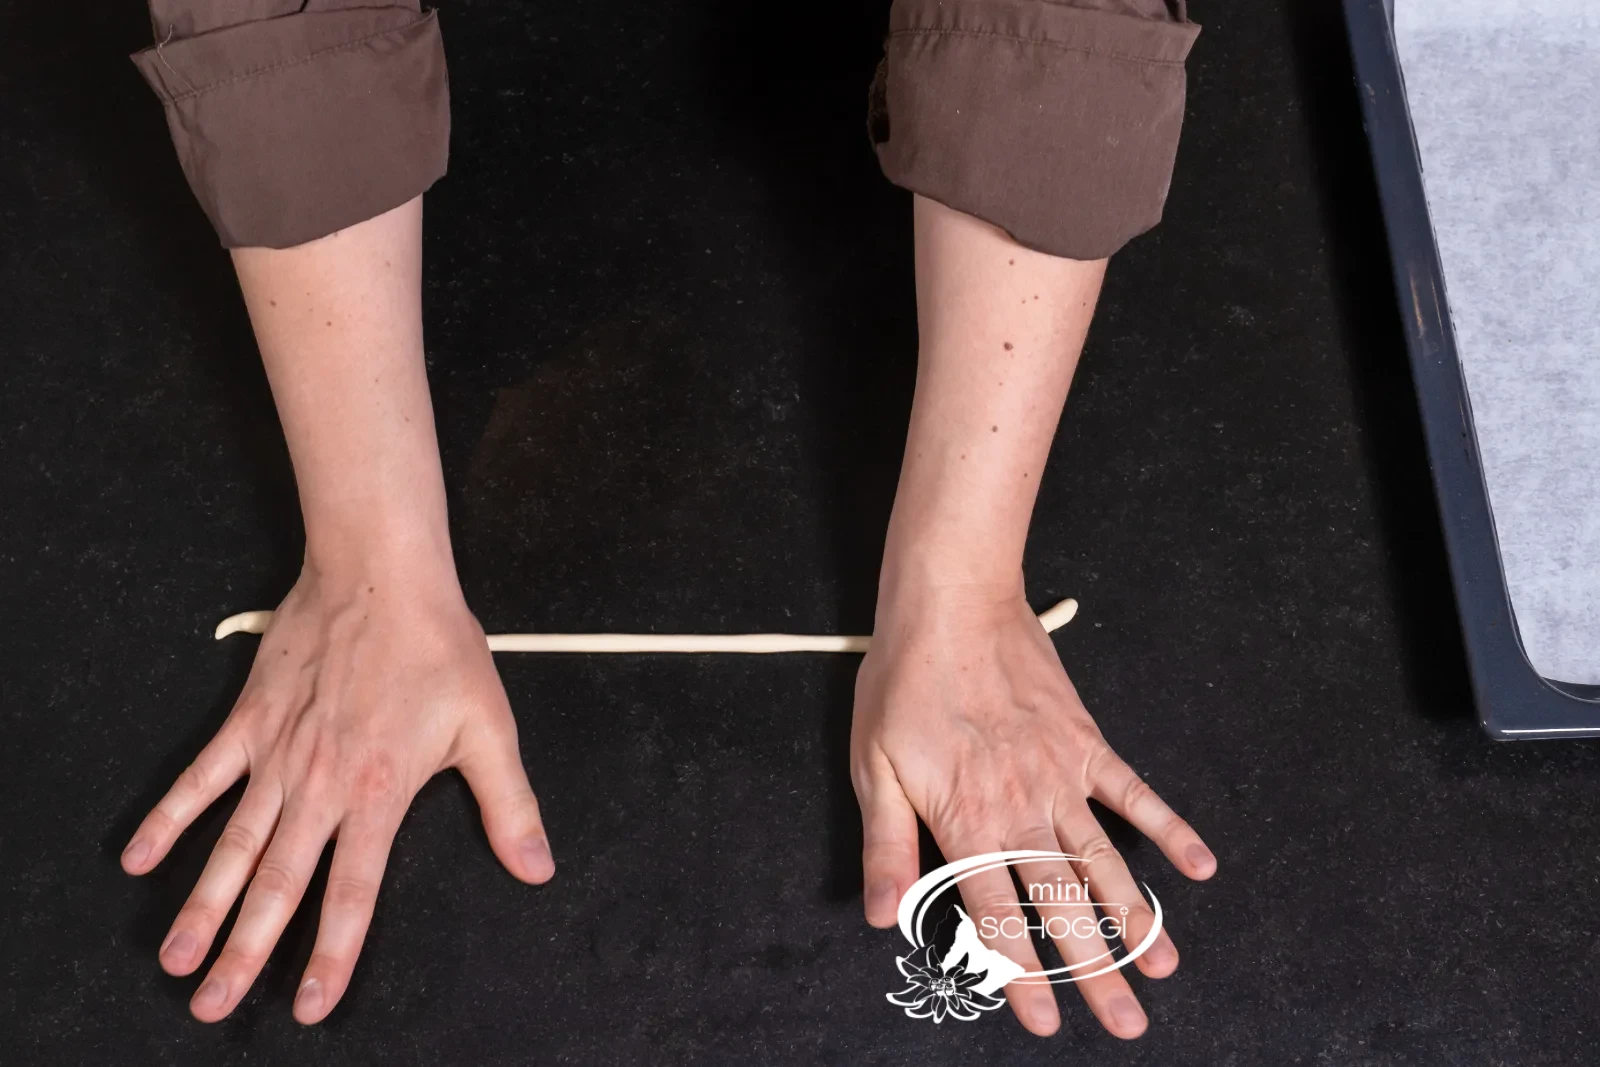
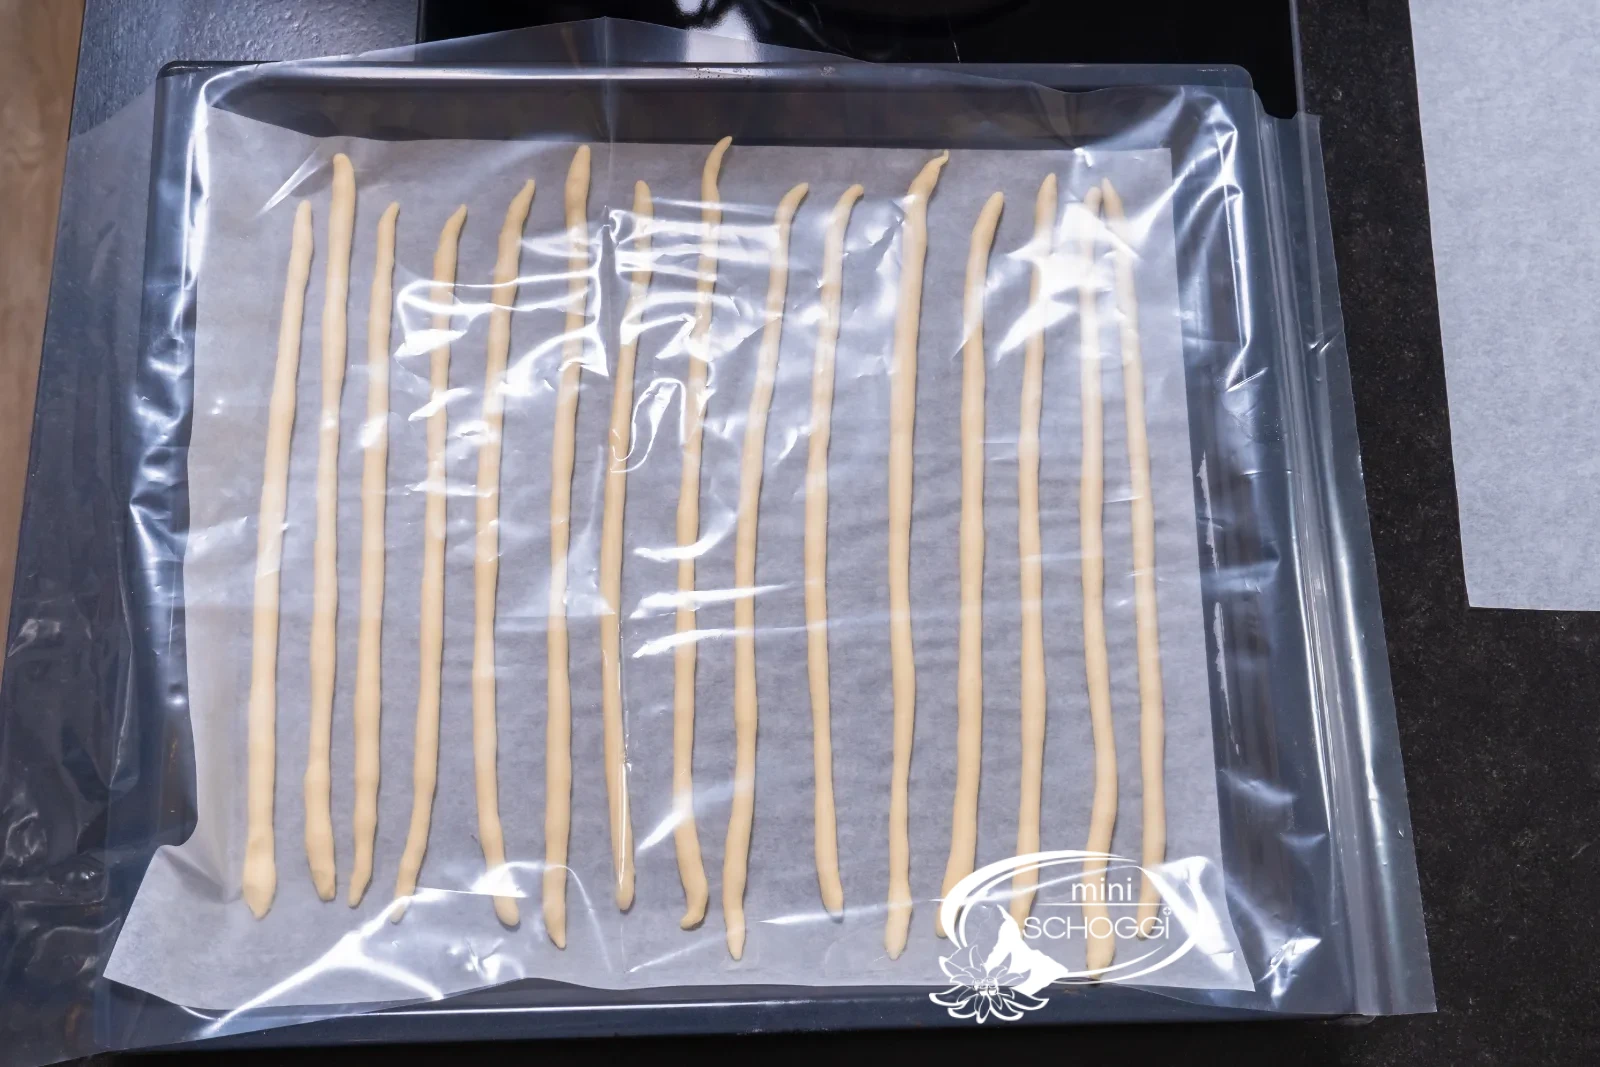
Now shape these into strands about 30 cm long. Apply enough pressure with your hands while shaping — this gives you nice, even strands. You can place the finished grissini on a baking tray lined with baking paper. Then cover them again with a plastic dough sheet and let them rest for another 30 minutes.
6
Chilling for the lye
After the 30 minutes, place the tray in the freezer for another 30 minutes or in the fridge for 1 hour. This makes the sticks firmer and easier to dip into the lye.
Now you can preheat the oven to 180 °C fan. While the grissini rest in the cold, you can prepare the lye.
Applying the lye — with respect for the lye
1
Safety first: gloves and safety goggles
When working with lye, the use of protective gloves and safety goggles is mandatory. Lye is caustic and can cause serious injuries. We don't want to scare you — but it is definitely good to have a certain respect for handling lye.
This is what you need for it


Caustic-resistant safety goggles
Caustic-resistant gloves size S
Caustic-resistant gloves size M
Caustic-resistant gloves size L
2
Prepare the lye
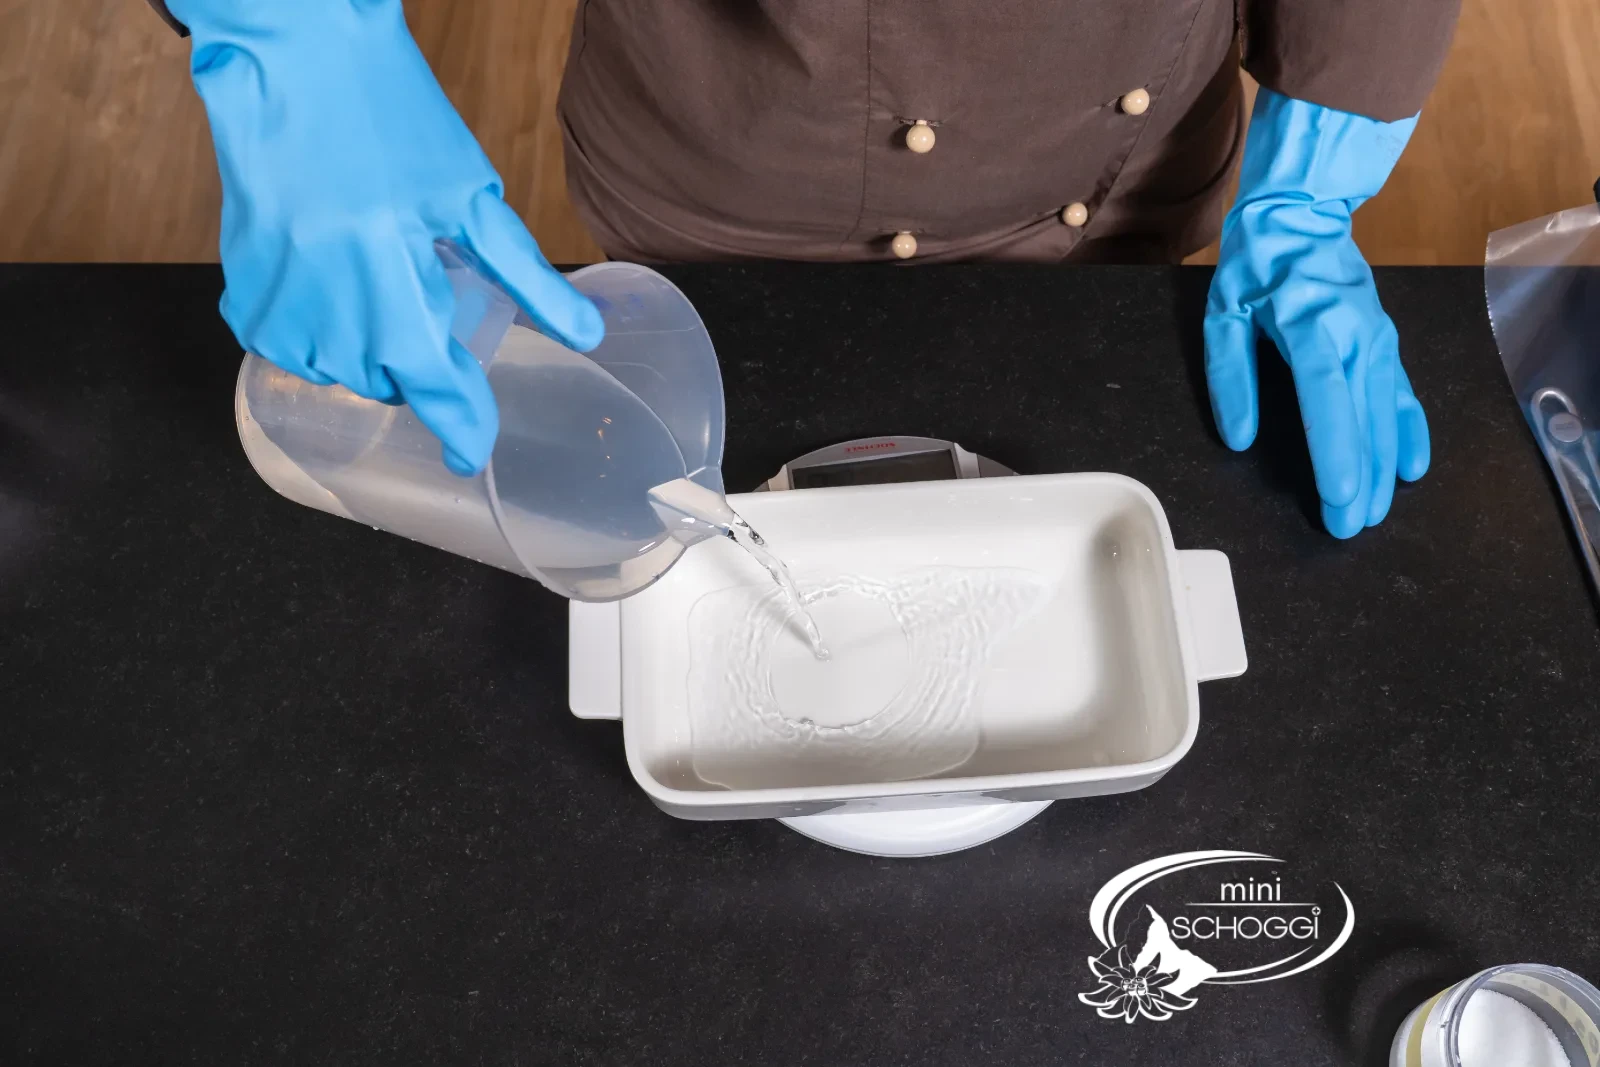
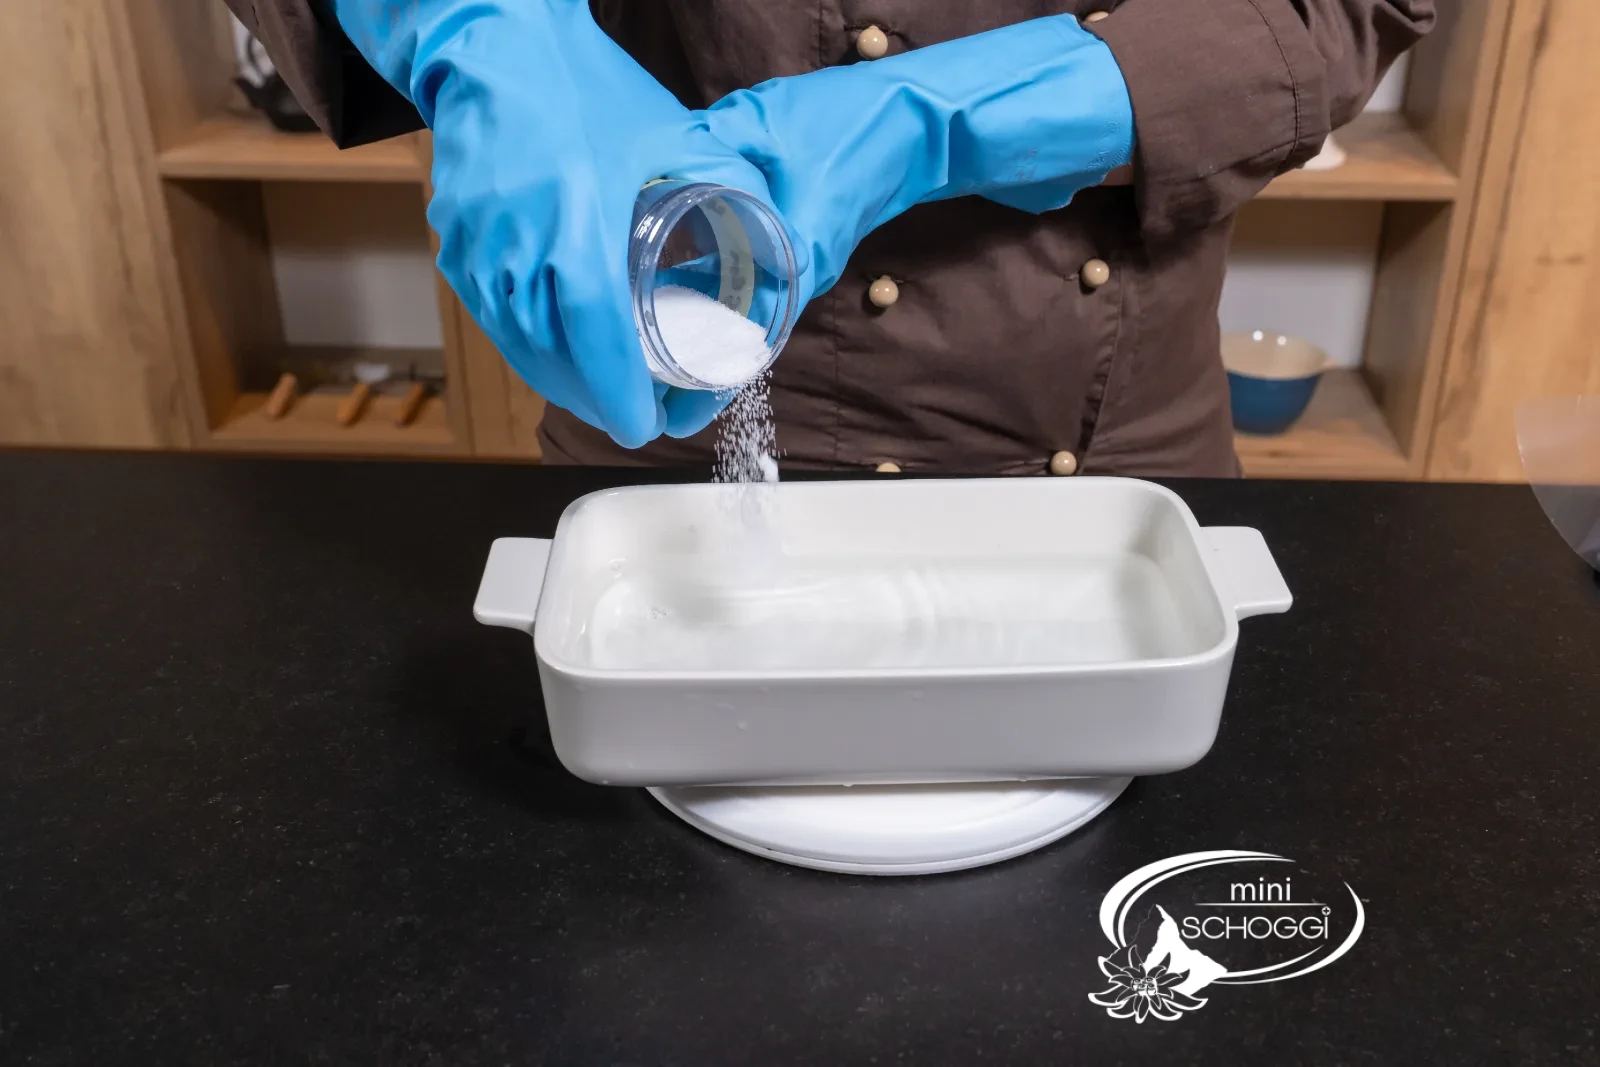
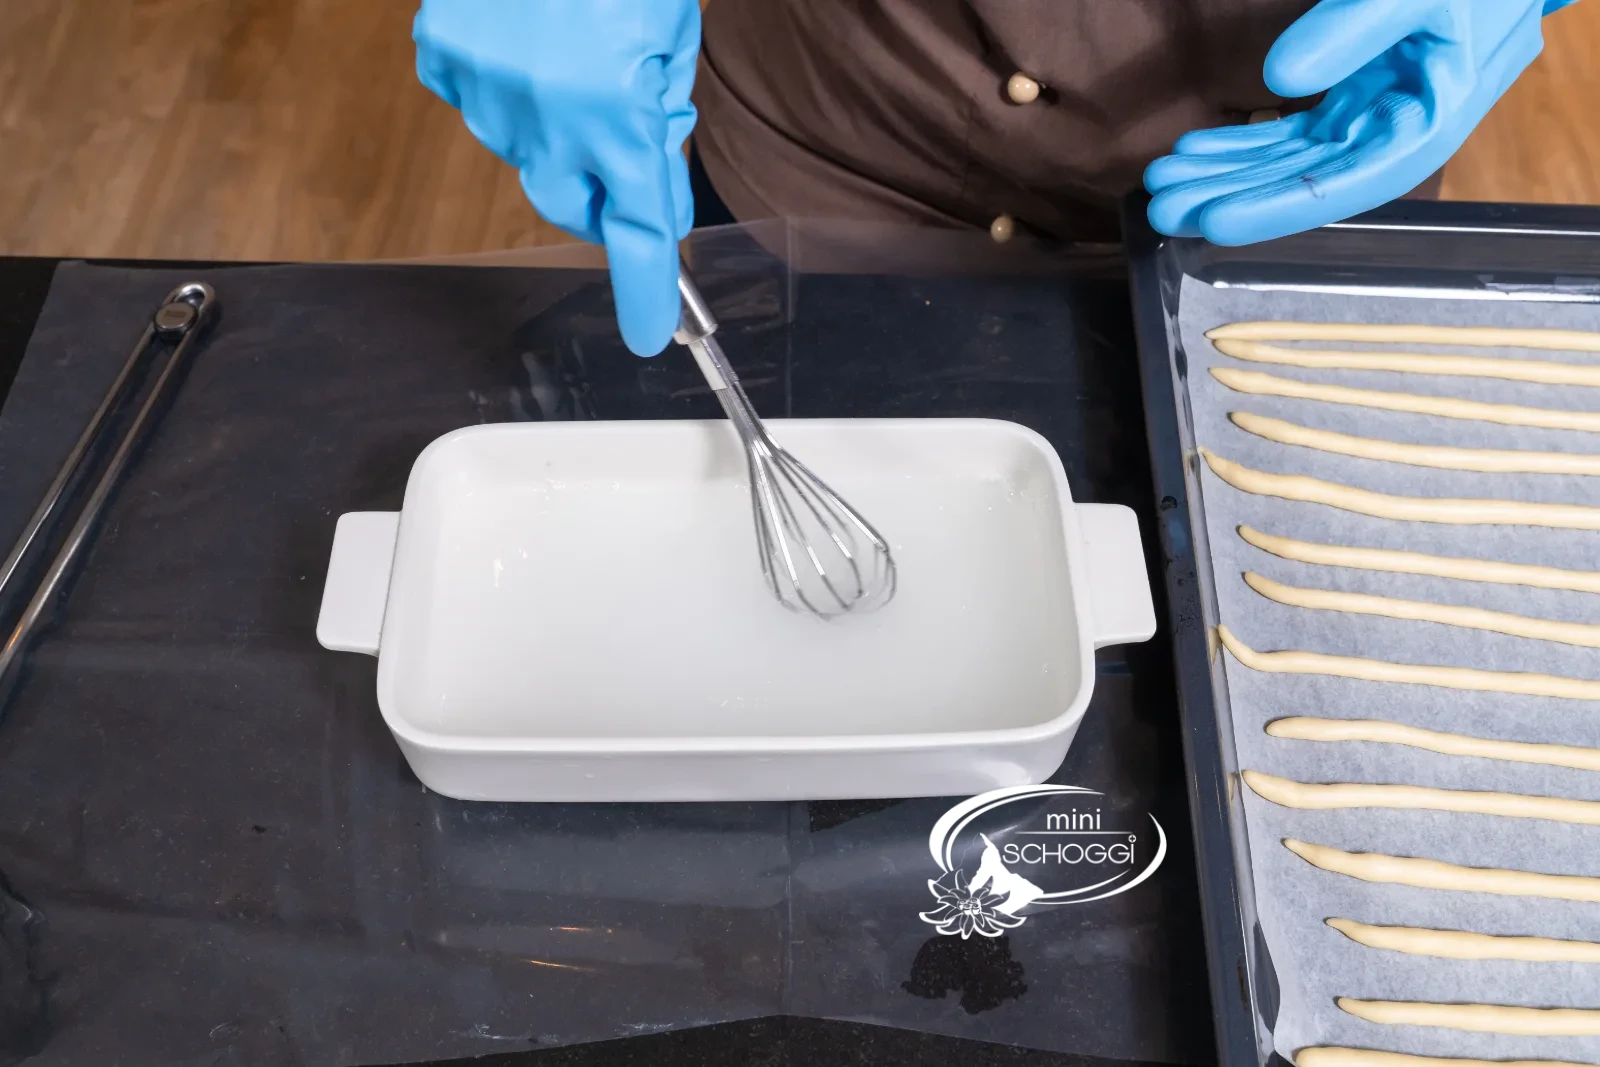
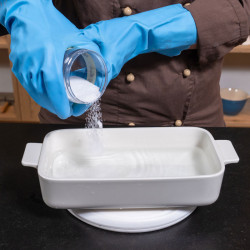
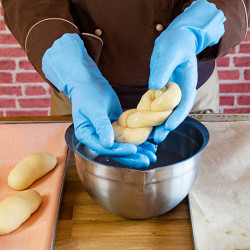
Dissolve the lye pearls (10 g) in cold water (250 ml). Important: never add the water to a bowl with the lye pearls — always the other way round. Carefully stir the lye with a whisk.
For applying the lye, use a rectangular container, for example a ceramic casserole dish, a Tupperware or a glass container — no aluminium or wooden utensils. In our range you'll also find ready-mixed liquid lye.
This is what you need for it


Lye pearls for lye pastry, 500 g
Ready-to-use lye for lye pastries, 1 litre
Whisk 25 cm
3
Dip and sprinkle the sticks
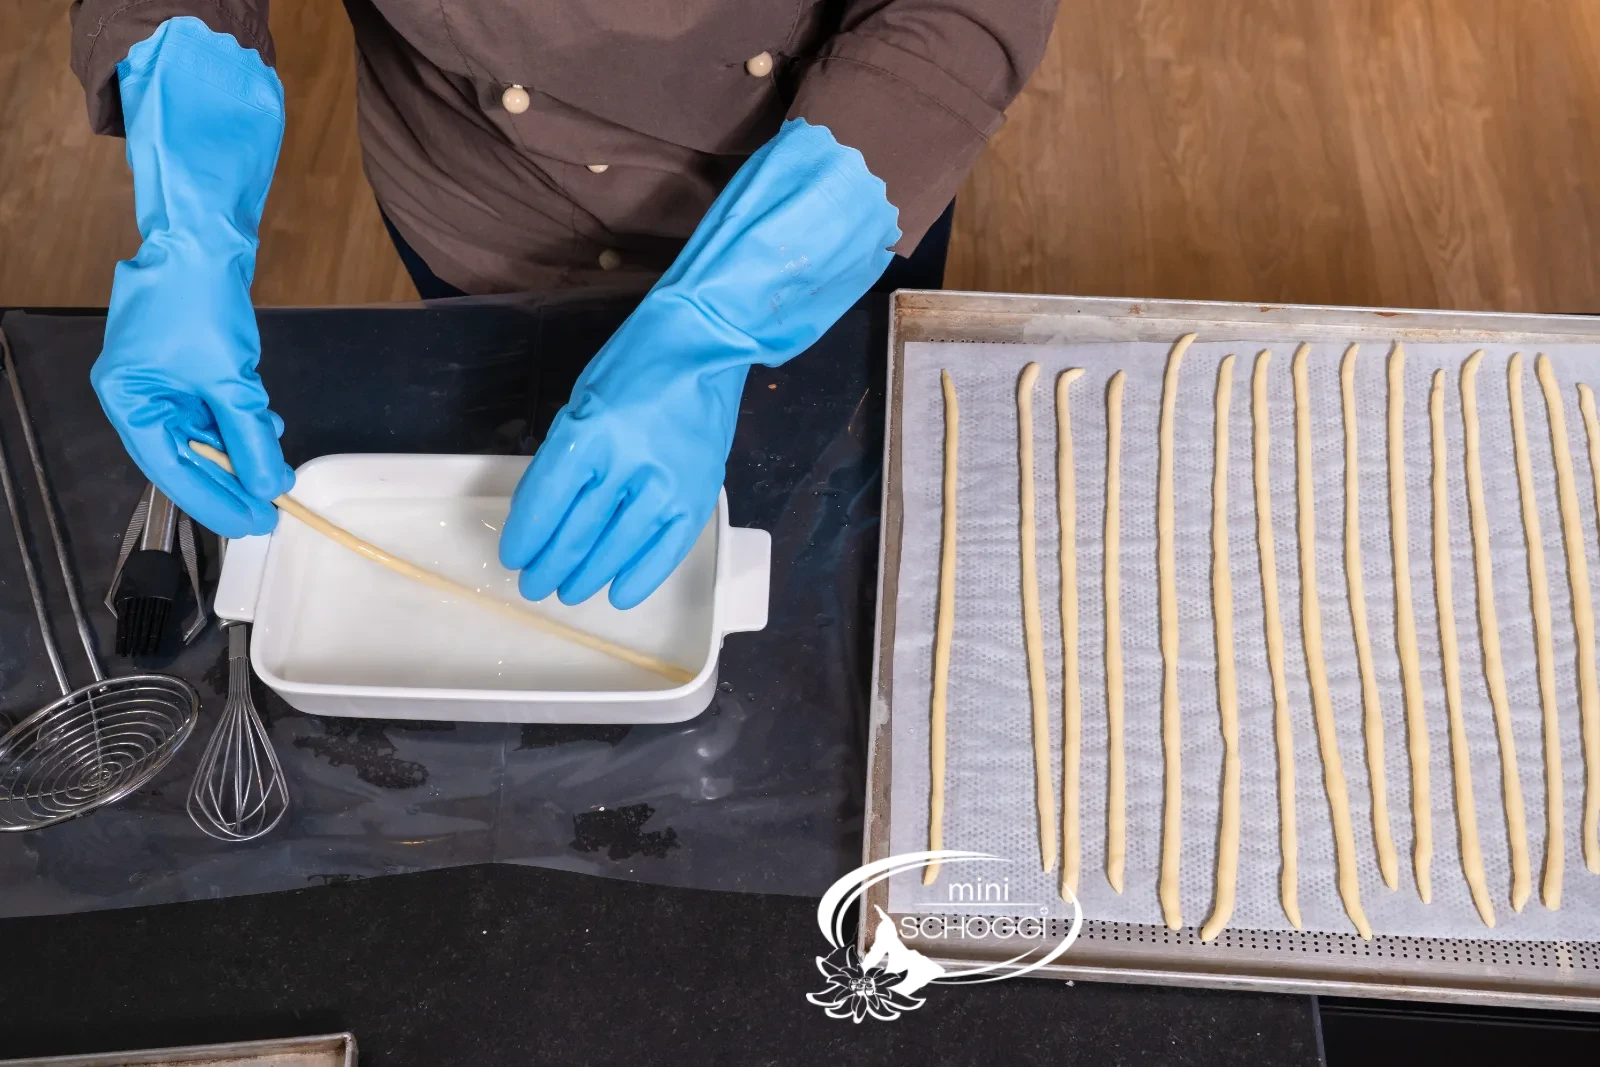
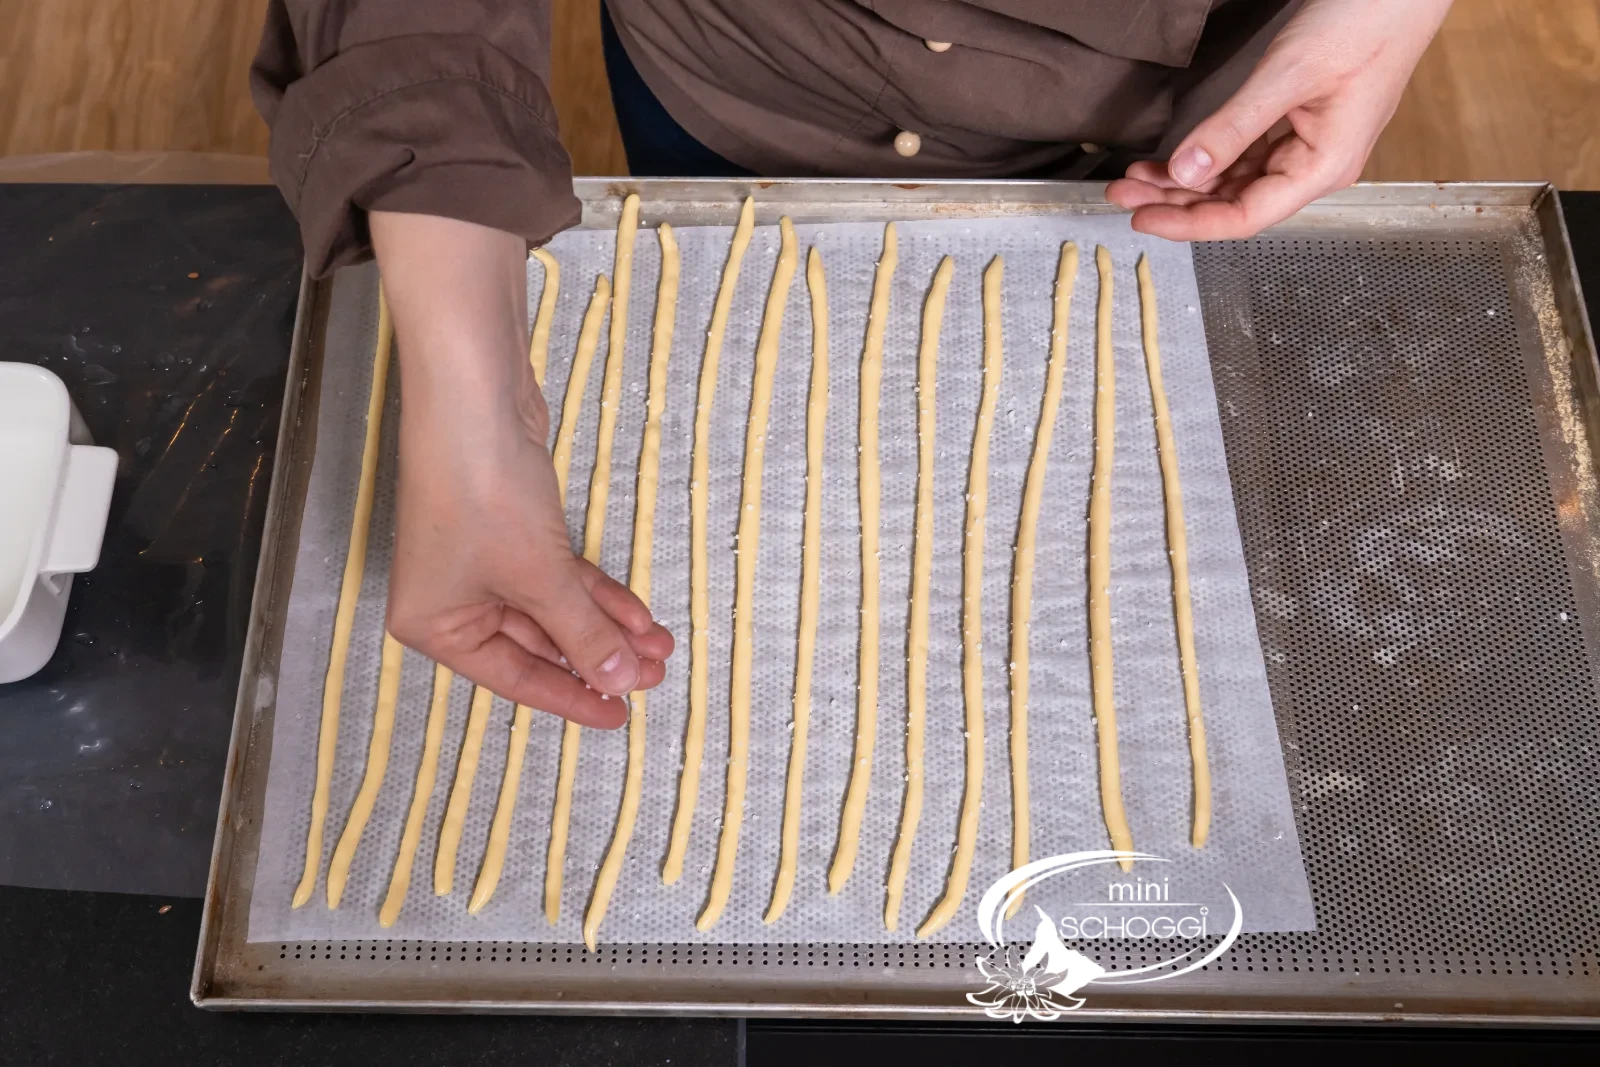
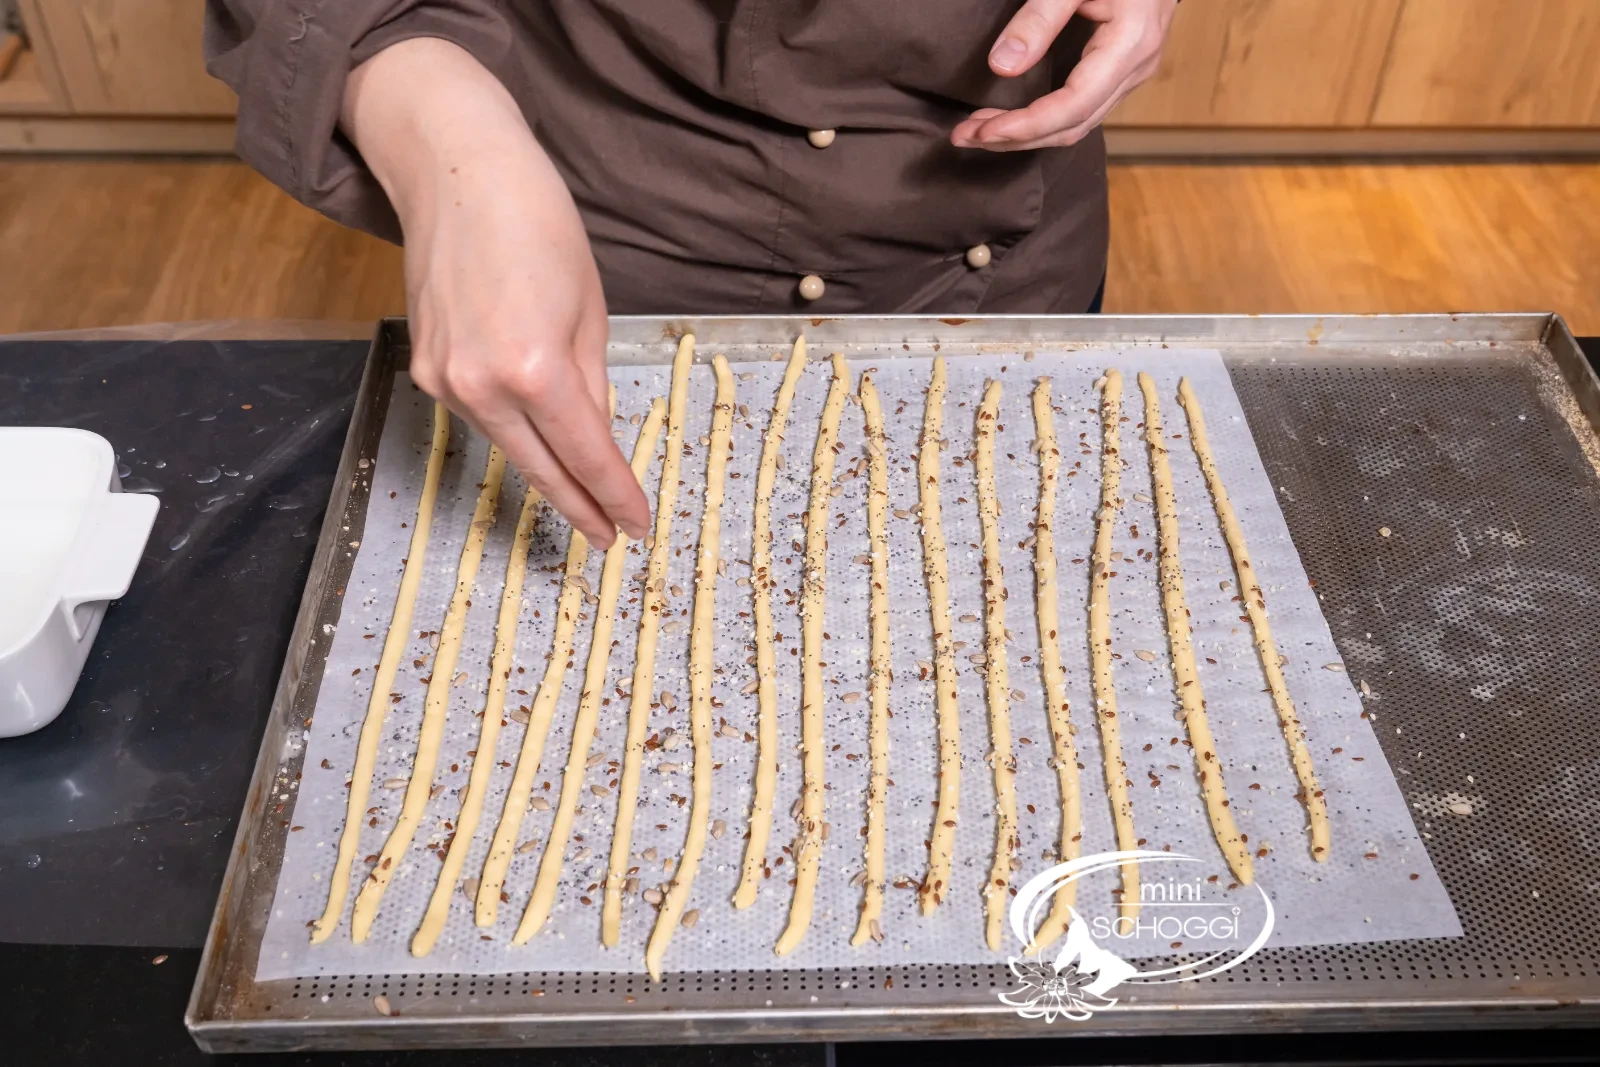
Now you can carefully dip the sticks into the lye and then place them on a tray lined with baking paper. Now you can sprinkle the grissini to taste with salt, cheese, sesame, herbs, seeds or kernels — there are no limits to your imagination.
This is what you need for it

Coarse pretzel salt, 250 g
Bake and let become crunchy
1
Bake for 15 minutes
Then you can bake the grissini for 15 minutes at 180 °C fan.
This is what you need for it

Perforated aluminium baking tray 45 x 35 cm
2
Leave uncovered for a day
After baking, the grissini are still a little soft. Leave them at room temperature and unwrapped for a day — the next day the grissini are perfectly crunchy and ideal for eating.
Compact · for printing
Lye grissini
Ingredients
Quantity:
GRISSINI DOUGH
LYE AND TOPPING
Preparation
- Dough: Dissolve yeast in the lukewarm water, combine with flour, salt and olive oil, knead for 10 minutes.
- Rest: Let rest covered in the oiled bowl for 30 minutes.
- Shape: Weigh out 15-g pieces, roll into 30-cm strands, rest covered for another 30 minutes, then 30 minutes in the freezer.
- Apply lye: Wearing gloves and safety goggles: 10 g lye pearls in 250 ml cold water, dip the sticks, sprinkle to taste.
- Bake: 15 minutes at 180 °C fan.
- Dry: Leave unwrapped for a day — only then are they perfectly crunchy.
Nutritional values per 100 g
364kcal
1 gFat
76 gCarbohydrates
10 gProtein
Storage & shelf life
Rebecca's greeting was here and can be omitted (the comment prompt comes from the layout).
Everything for this recipe
Recommended from our bakery — exactly the sizes the recipe was tested with.
Ingredients
White flour, 1 kg
Coarse pretzel salt, 250 g
Accessories
Adjustable perforated metal baking tray 40x35cm
Plastic dough cloths
Danish dough whisk
Caustic-resistant safety goggles
Caustic-resistant gloves size M
Lye pearls for lye pastry, 500 g
Ready-to-use lye for lye pastries, 1 litre
Metal horn
Perforated aluminium baking tray 45 x 35 cm
Whisk 25 cm
Delivery in 1–2 working days · Free shipping from CHF 100
Nice with it
Not needed for the recipe — but it goes well.
Caustic-resistant gloves size S
Caustic-resistant gloves size L
So they're guaranteed to succeed
What to serve them with?
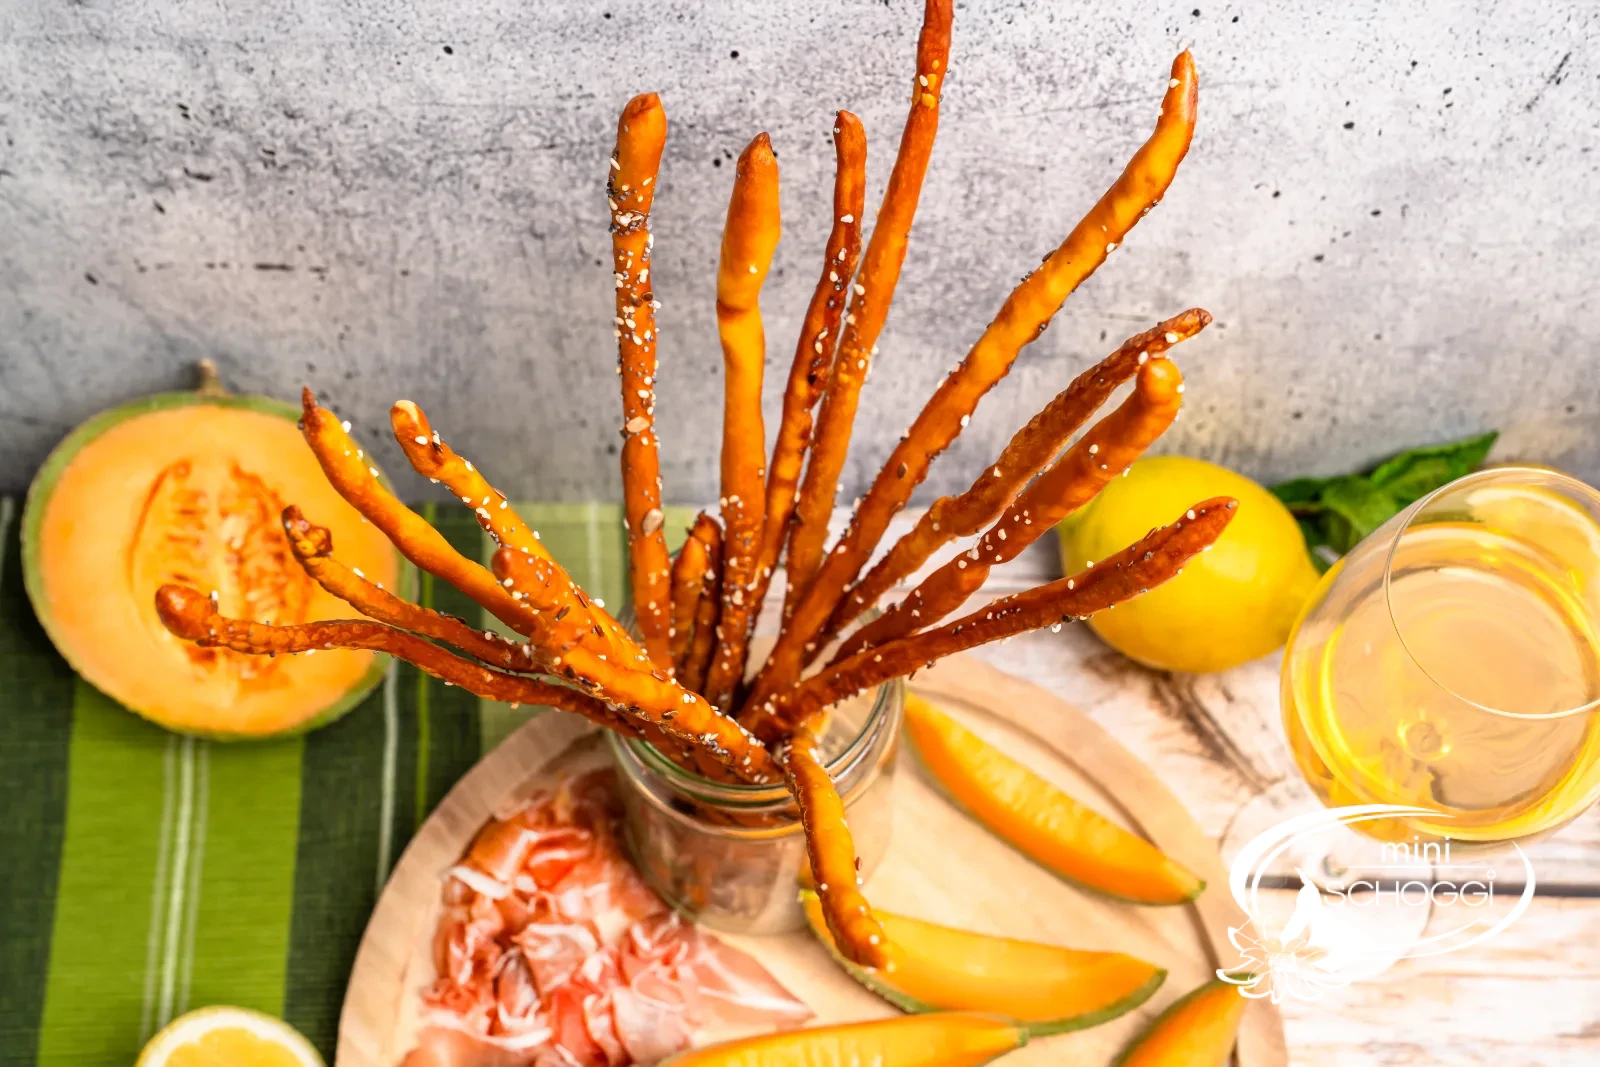
The grissini are especially delicious with a creamy Obazda, hummus or a spicy cream cheese dip. They also make quite an impression on an antipasti platter — for example wrapped in raw ham, as in our photos.
More flavour through the topping
If you like, sprinkle the grissini with coarse salt, sesame or grated cheese before baking – this gives them even more flavour and bite. (Then remember to include sesame and cheese in the allergens.)
The day after makes the crunch
Fresh from the oven, the grissini are still soft – that's how it should be. Only the day in the open air dries them to the perfect snacking crunch. Don't wrap them, don't put them back in the oven: just wait.
Frequently asked questions
That's how it should be! After 15 minutes in the oven they are browned on the outside but still moist inside. Leave them unwrapped for a day at room temperature – the remaining moisture escapes and they become crunchy through and through.
Yes – after kneading, put it covered in the fridge instead of 30 minutes at room temperature. The next day, portion and shape the cold dough directly; the cold strands are even particularly easy to coat with lye.
After the drying day, put them in a transparent bag or a cookie tin – there they keep for up to two weeks. Important: only pack them once they are really thoroughly dried, otherwise they become chewy again in the tin.
Print recipe
Choose what should appear on the printout.
Related products
Metal horn
Price: CHF14.90
Rated out of 5 stars based on
review(s)
bitte einloggen
A metal horn is essential for creating your own hollow praline molds, for...
Adjustable baking tray with perforation metal 40x35cm
Price: CHF44.90
Rated out of 5 stars based on
review(s)
bitte einloggen
Mhmm... how that smells. Freshly baked bread with a delicious crispy crust....
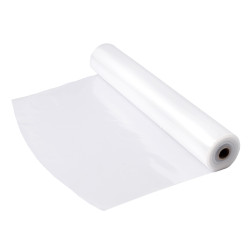
Plastic dough towels
Price: CHF19.90
Rated out of 5 stars based on
review(s)
bitte einloggen
Are you tired of constantly having to scrape your dough pieces off the...
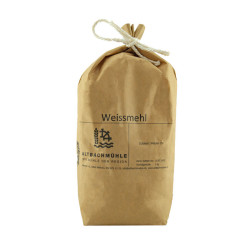
White flour, 1 kg
Price: CHF4.50
Rated out of 5 stars based on
review(s)
bitte einloggen
White flour is suitable for pastries of all kinds, from bread to cakes to...
Pretzel pearls for pretzel pastries, 500 g
Price: CHF22.50
Rated out of 5 stars based on
review(s)
bitte einloggen
To achieve the typical lye flavor and the beautiful brown crust, pretzels...

Whisk 25 cm
Price: CHF8.90
Rated out of 5 stars based on
review(s)
bitte einloggen
Every kitchen needs some basic equipment, and this includes a sturdy whisk....
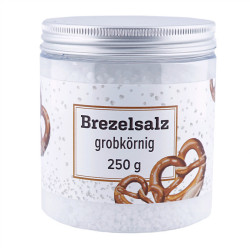
Pretzel salt coarse, 250 g
Price: CHF6.90
Rated out of 5 stars based on
review(s)
bitte einloggen
For a proper pretzel or a delicious pretzel stick you just need some...

Danish dough whisk
Price: CHF14.90
Rated out of 5 stars based on
review(s)
bitte einloggen
Danish dough whisk looks unusual, but is the perfect tool for mixing a wide...
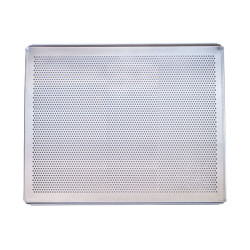
Baking tray with perforation aluminum 45 x 35 cm
Price: CHF31.90
Rated out of 5 stars based on
review(s)
bitte einloggen
Baking tray is baking tray? Wrong! There are huge differences in baking...
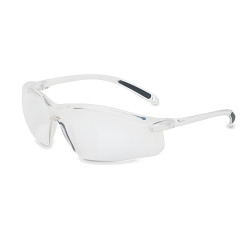
Caustic resistant safety goggles
Price: CHF9.50
Rated out of 5 stars based on
review(s)
bitte einloggen
To give pretzels and rolls their beautiful brown color and typical taste,...

Caustic resistant gloves size S
Price: CHF6.90
Rated out of 5 stars based on
review(s)
bitte einloggen
To give pretzels and rolls their beautiful brown color and typical...

Caustic resistant gloves size M
Price: CHF6.90
Rated out of 5 stars based on
review(s)
bitte einloggen
To give pretzels and rolls their beautiful brown color and typical...

Lye resistant gloves size L
Price: CHF6.90
Rated out of 5 stars based on
review(s)
bitte einloggen
To give pretzels and rolls their beautiful brown color and typical...
Ready-to-use lye for lye baked goods, 1 liter
Price: CHF9.90
Rated out of 5 stars based on
review(s)
bitte einloggen
For the typical lye flavor and the beautiful brown crust, pretzels and rolls...
Bewertungen
Leave a comment
Related posts
 Make your own chocolate Easter bunnies
You can easily make your own Easter bunnies at home! You can find out how to do it and what you need here. A sweet...
Read more
Cinnamon Star Biscuits Recipe
Make your own cinnamon stars with the help of our professionals, with lots of tips & tricks to bake the best...
Read more
Make your own chocolate pumpkin pralines
Make your own 3D chocolate pumpkin pralines - here you get detailed instructions with lots of tips and tricks...
Read more
Chocolates with mulled wine jelly
A wonderfully wintry Christmas jelly, which is ideal as a praline or macaron filling.
Read more
Chocolate Mousse Recipe
Fine chocolate mousse - With this recipe, you can make your own delicate, fluffy chocolate mousse in no time at all....
Read more