
Baci di Dama: how to shape the Piedmontese hazelnut kisses to exactly the same size
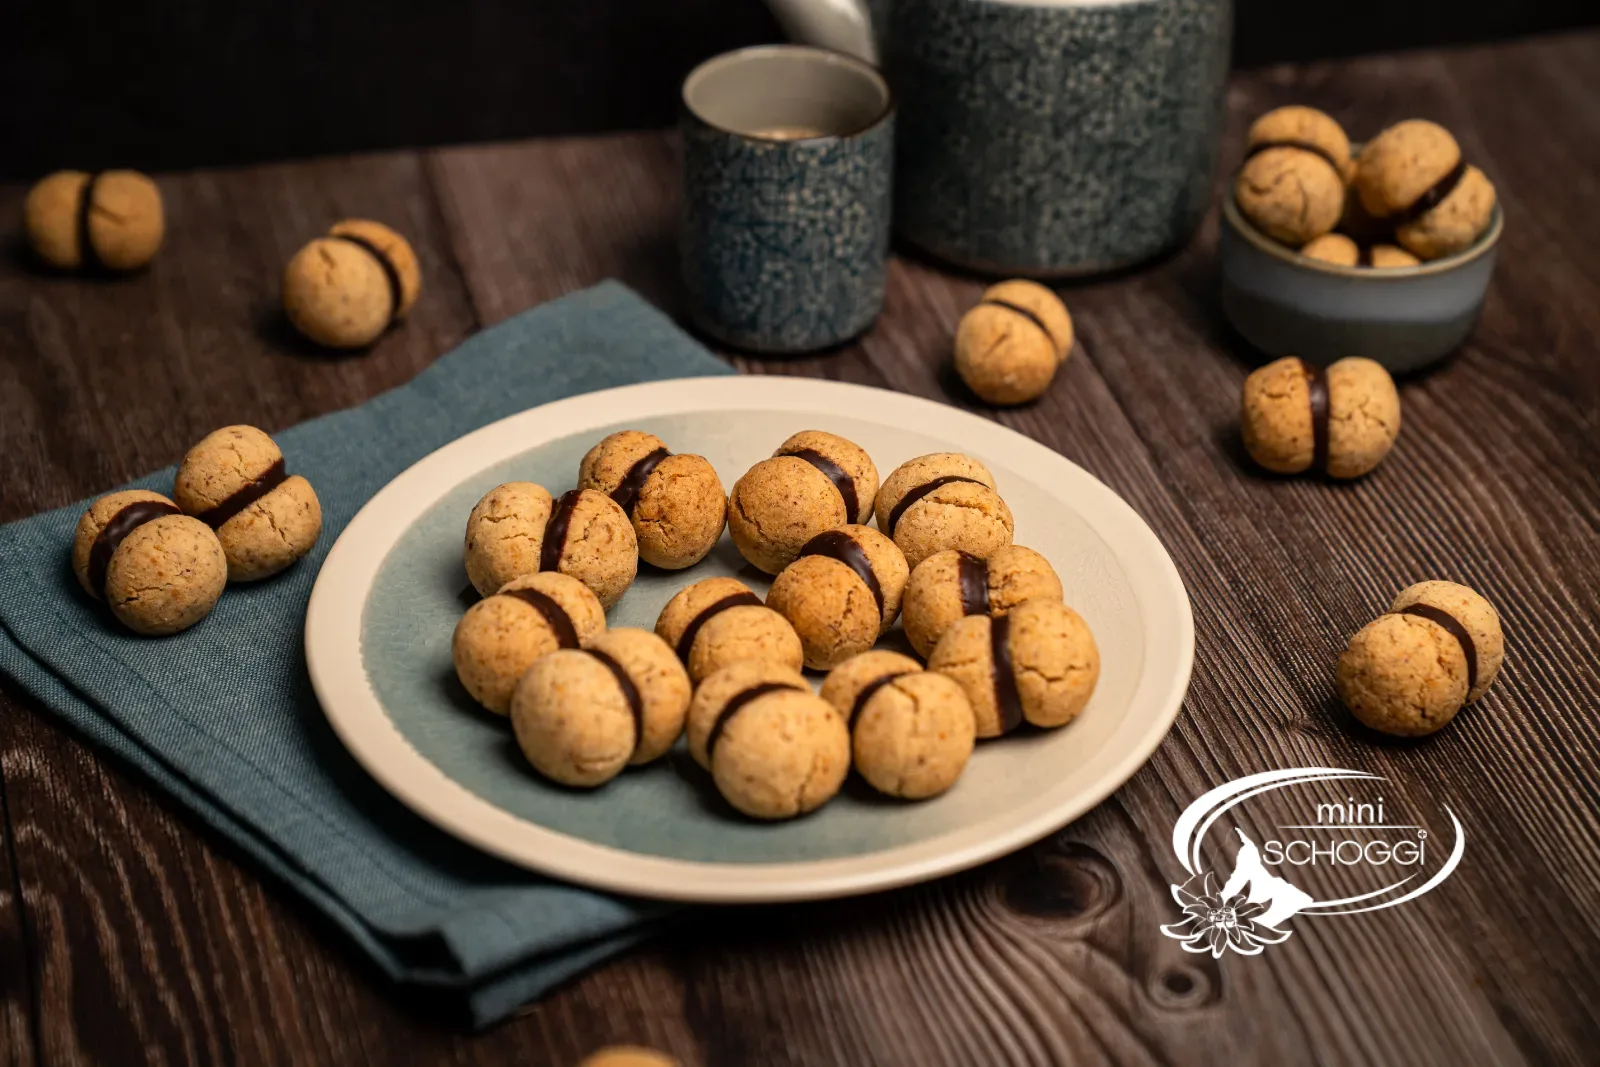
Crumbly hazelnut and almond rounds from Piedmont with a kiss of dark couverture
Yieldapprox. 40 Baci di Dama
Active timeapprox. 1 hr
Total timeapprox. 2 hrs (incl. cooling)
contains gluten (wheat)contains milk (butter)contains nuts (almondshazelnuts)egg-free
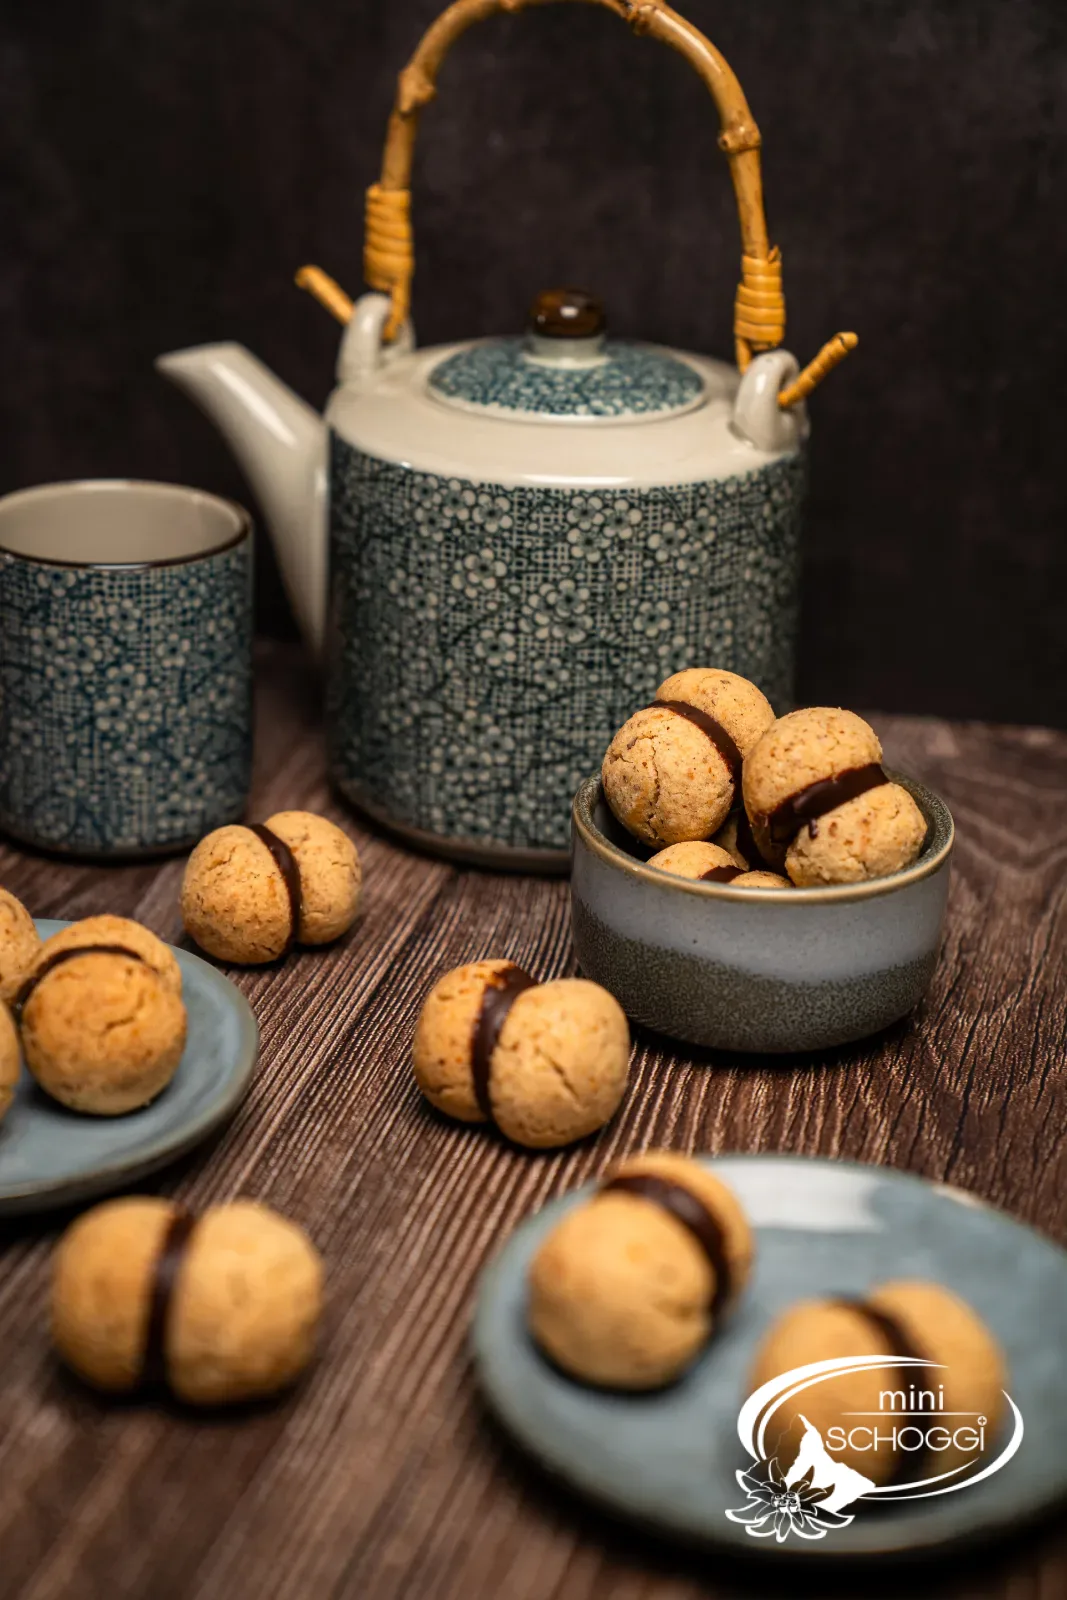
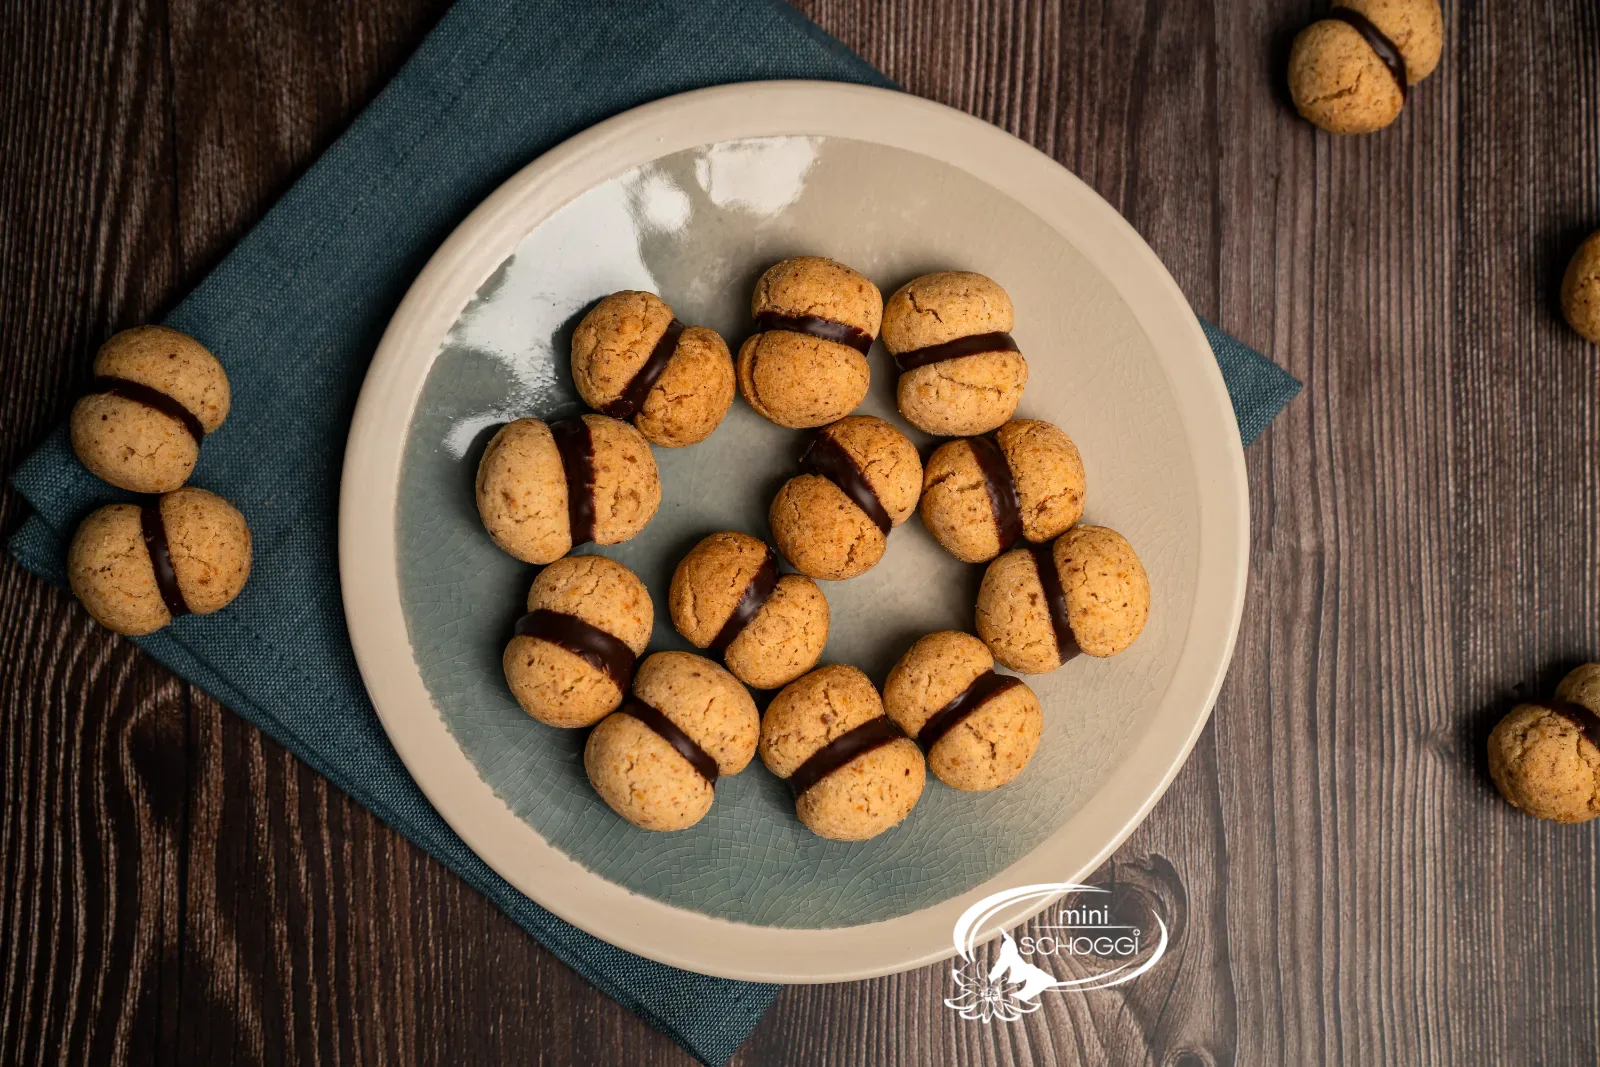
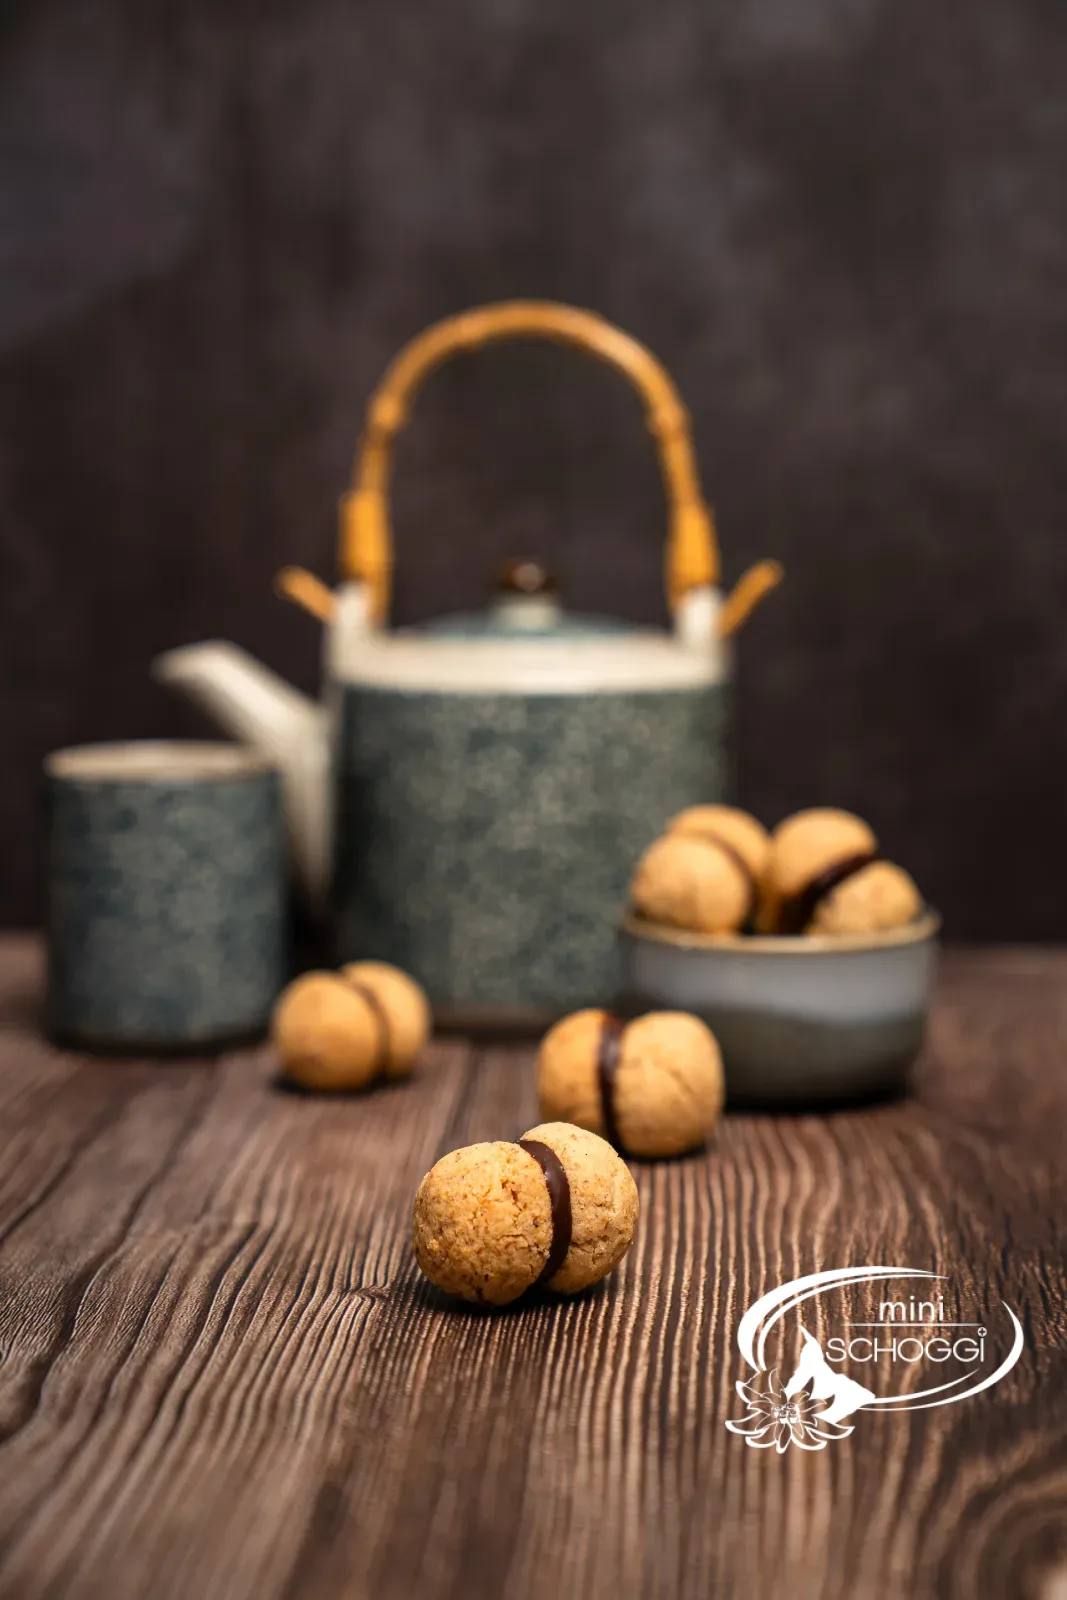
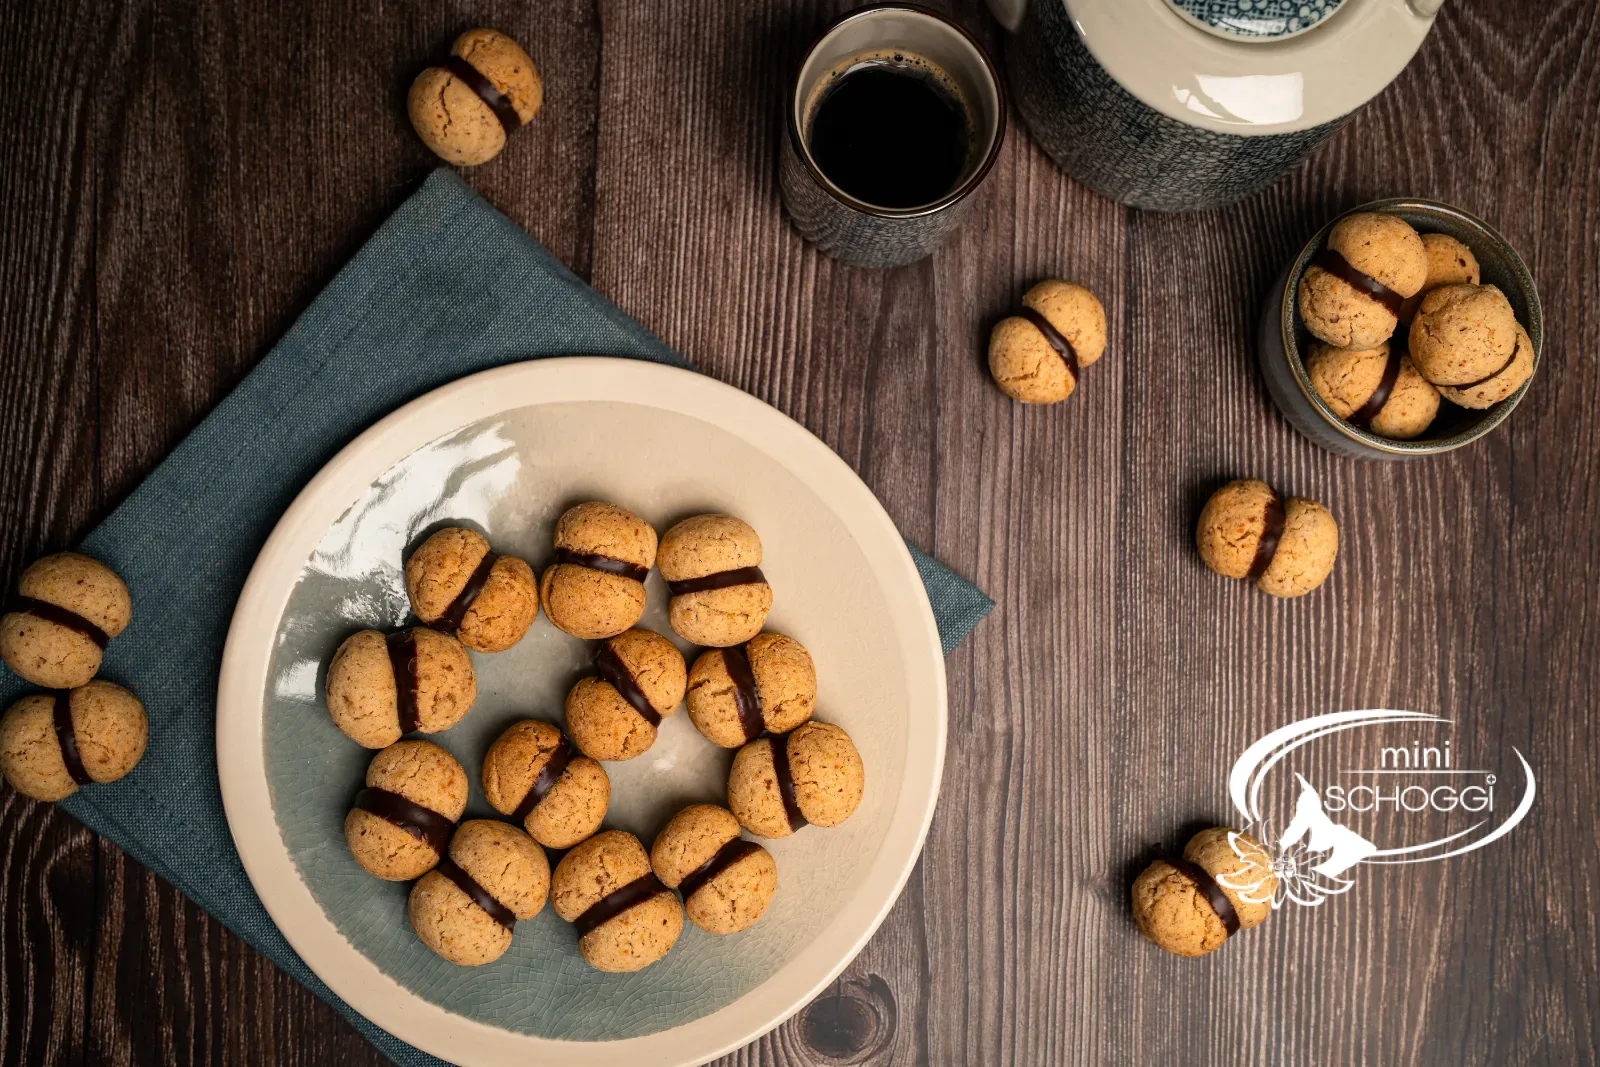
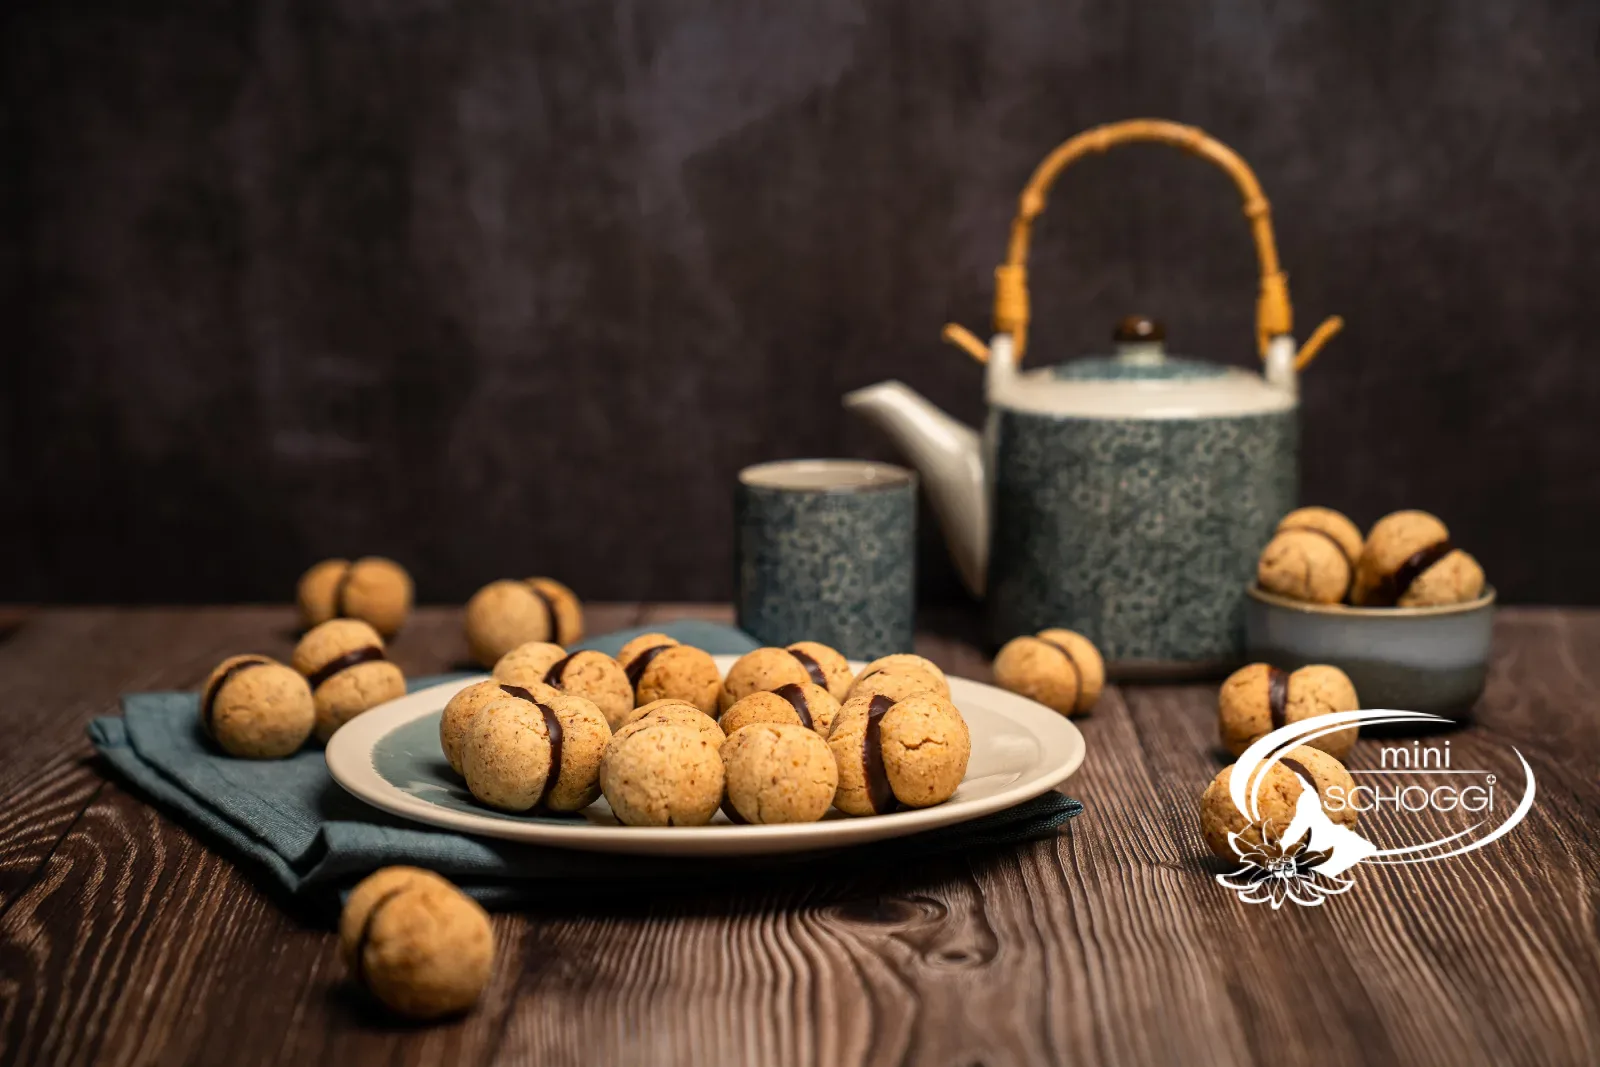
Baci di Dama, translated as «ladies' kisses», come from Piedmont, the home of hazelnuts. Two crumbly nut rounds are joined together with a fine strip of dark couverture. The dough is egg-free and relies on just a few good ingredients: flour, almonds, hazelnuts, sugar, butter and vanilla.
Uniformity is the key to a clean result. Instead of weighing each round individually, you press the dough into a block, cut it into cubes of 5 to 6 g and roll these into balls. That way, all the halves fit together perfectly in the end. For the chocolate kiss, use tempered couverture, and the seam will stay glossy and break cleanly.
This quantity yields around 40 Baci di Dama.
Ingredients
Quantity:
For the nut dough
140 gWhite flour
60 gHazelnuts, finely ground
95 gSugar
110 gButter, room temperature (plus 1 to 2 tsp if needed)
1 pinchSalt
For assembly
100 gDark couverture
Step by Step
If you're in a hurry: the compact recipe card further down sums everything up.
The nut dough
1
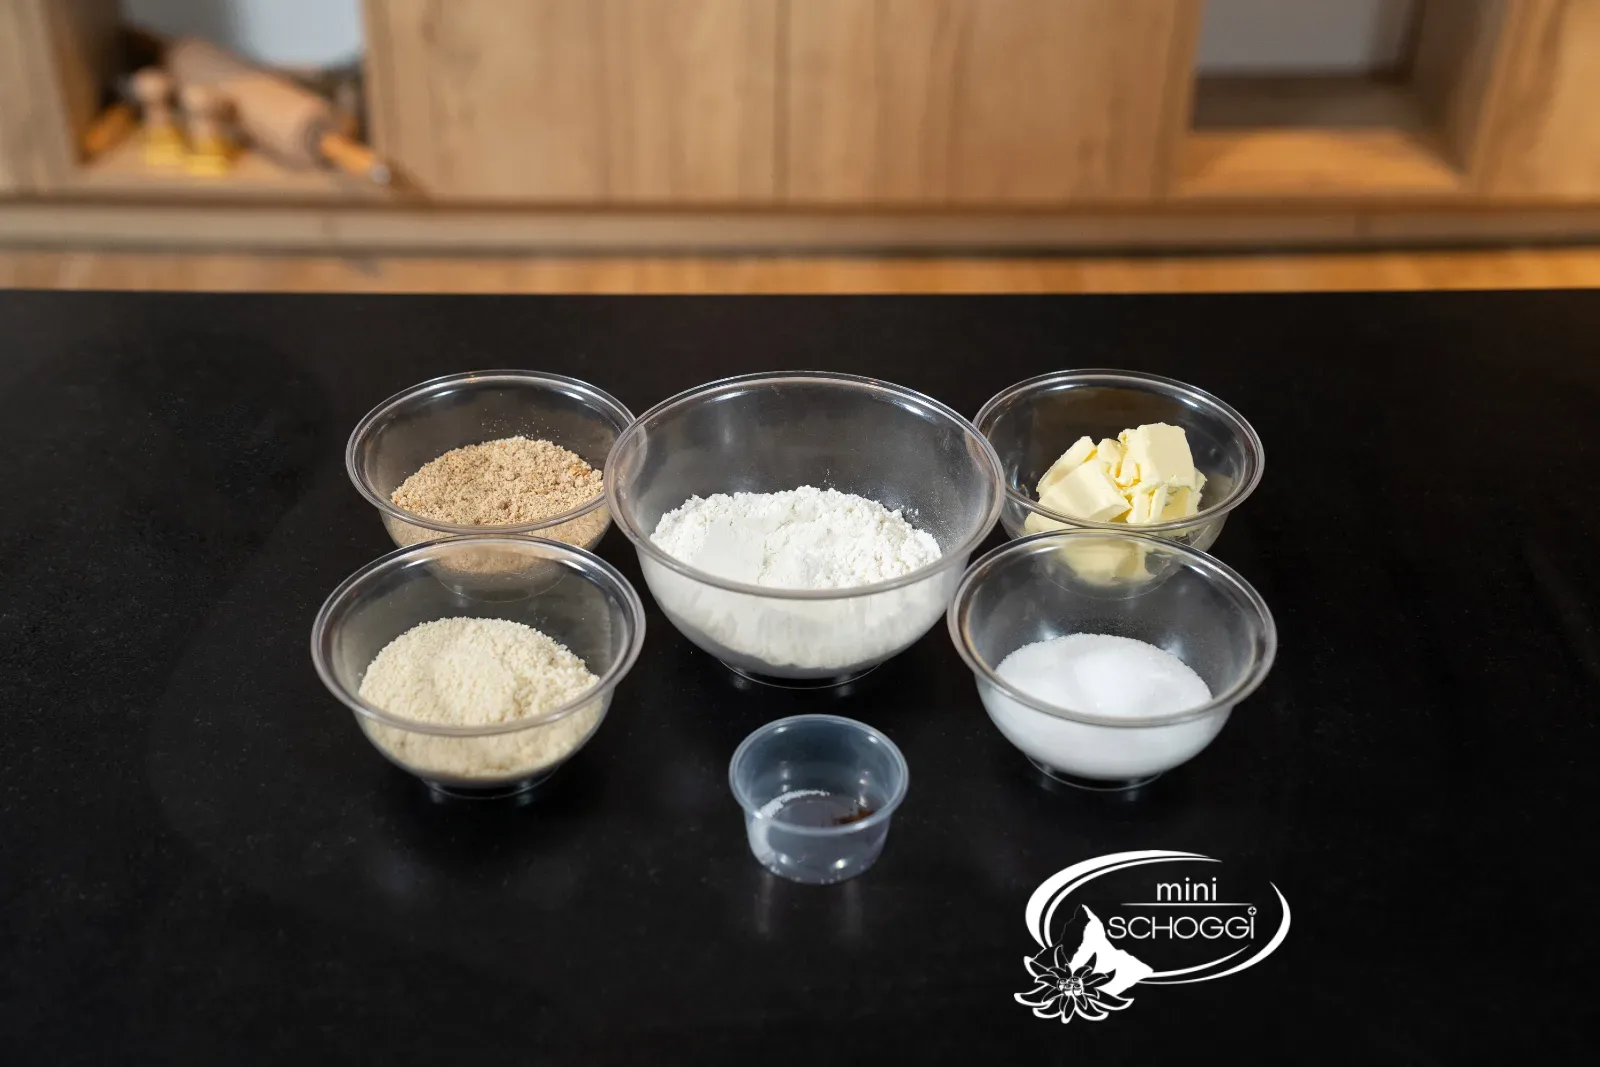
Weigh the ingredients and finely grind the nuts
Weigh out all the ingredients and set them aside. For the almonds, use white almonds, i.e. peeled ground almonds. If you have whole hazelnuts, grind them finely in a food processor together with one tablespoon of the weighed sugar. The sugar binds the oil that is released, so the nuts do not turn pasty. The finer the nuts, the more delicate the texture. Preheat the oven to 160 °C convection heat.
2
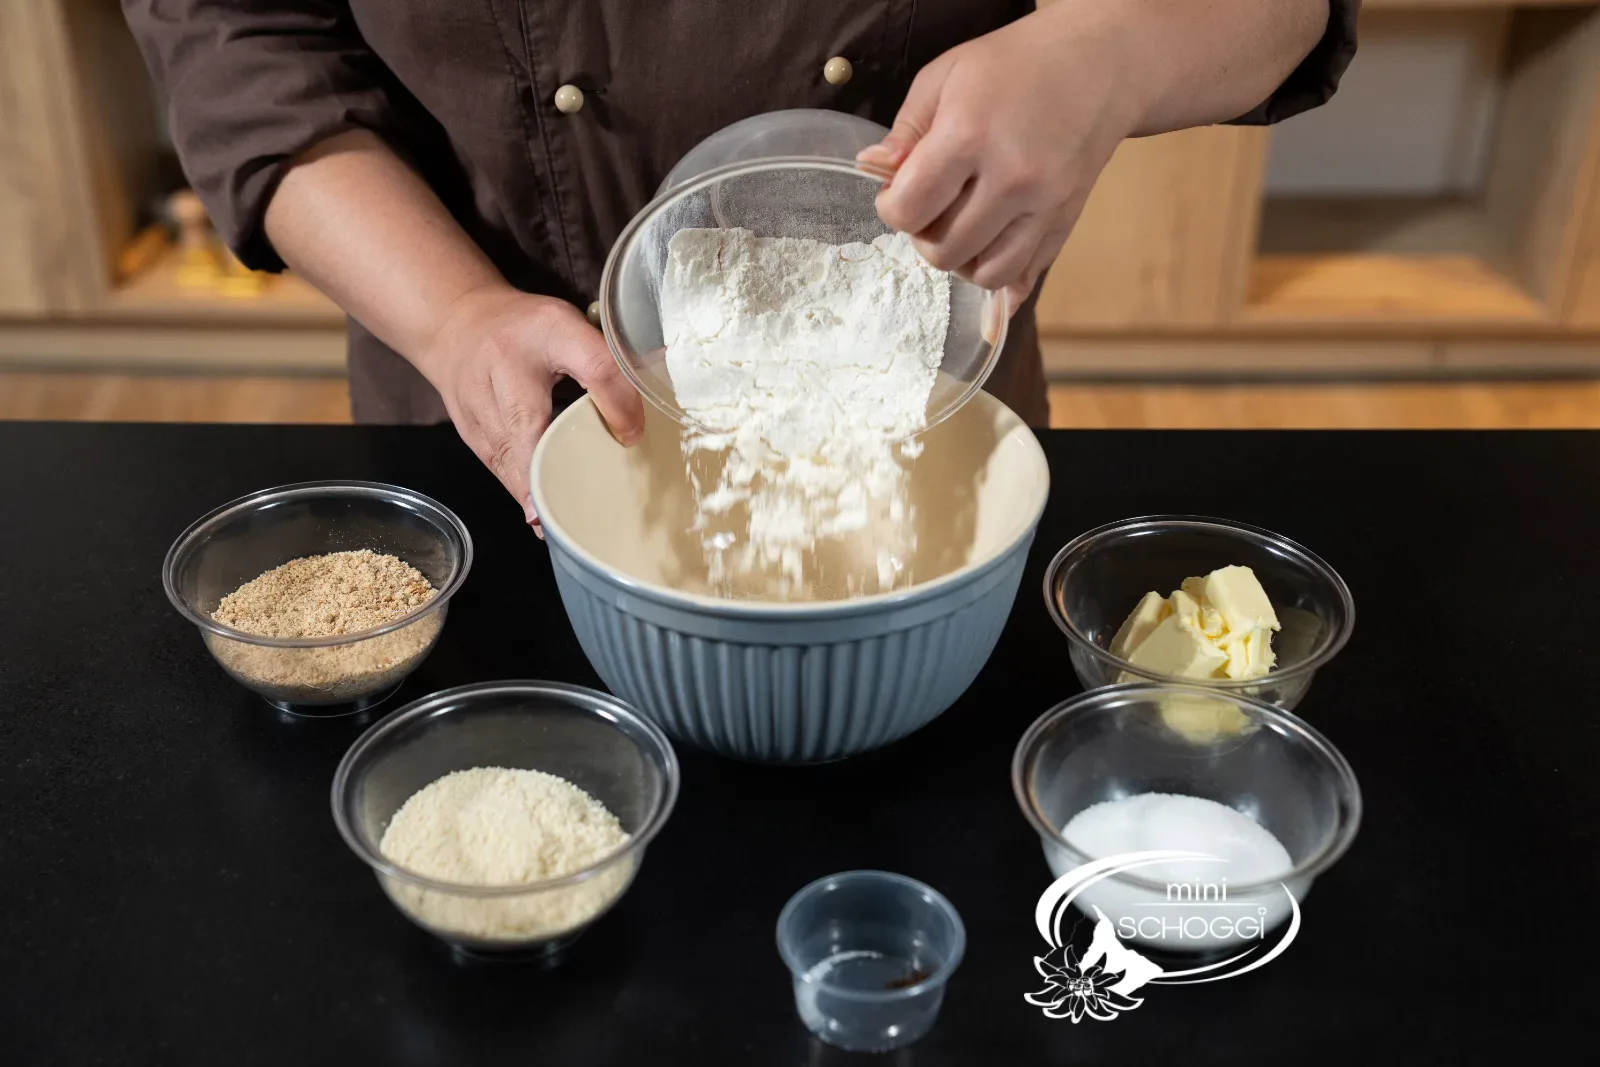
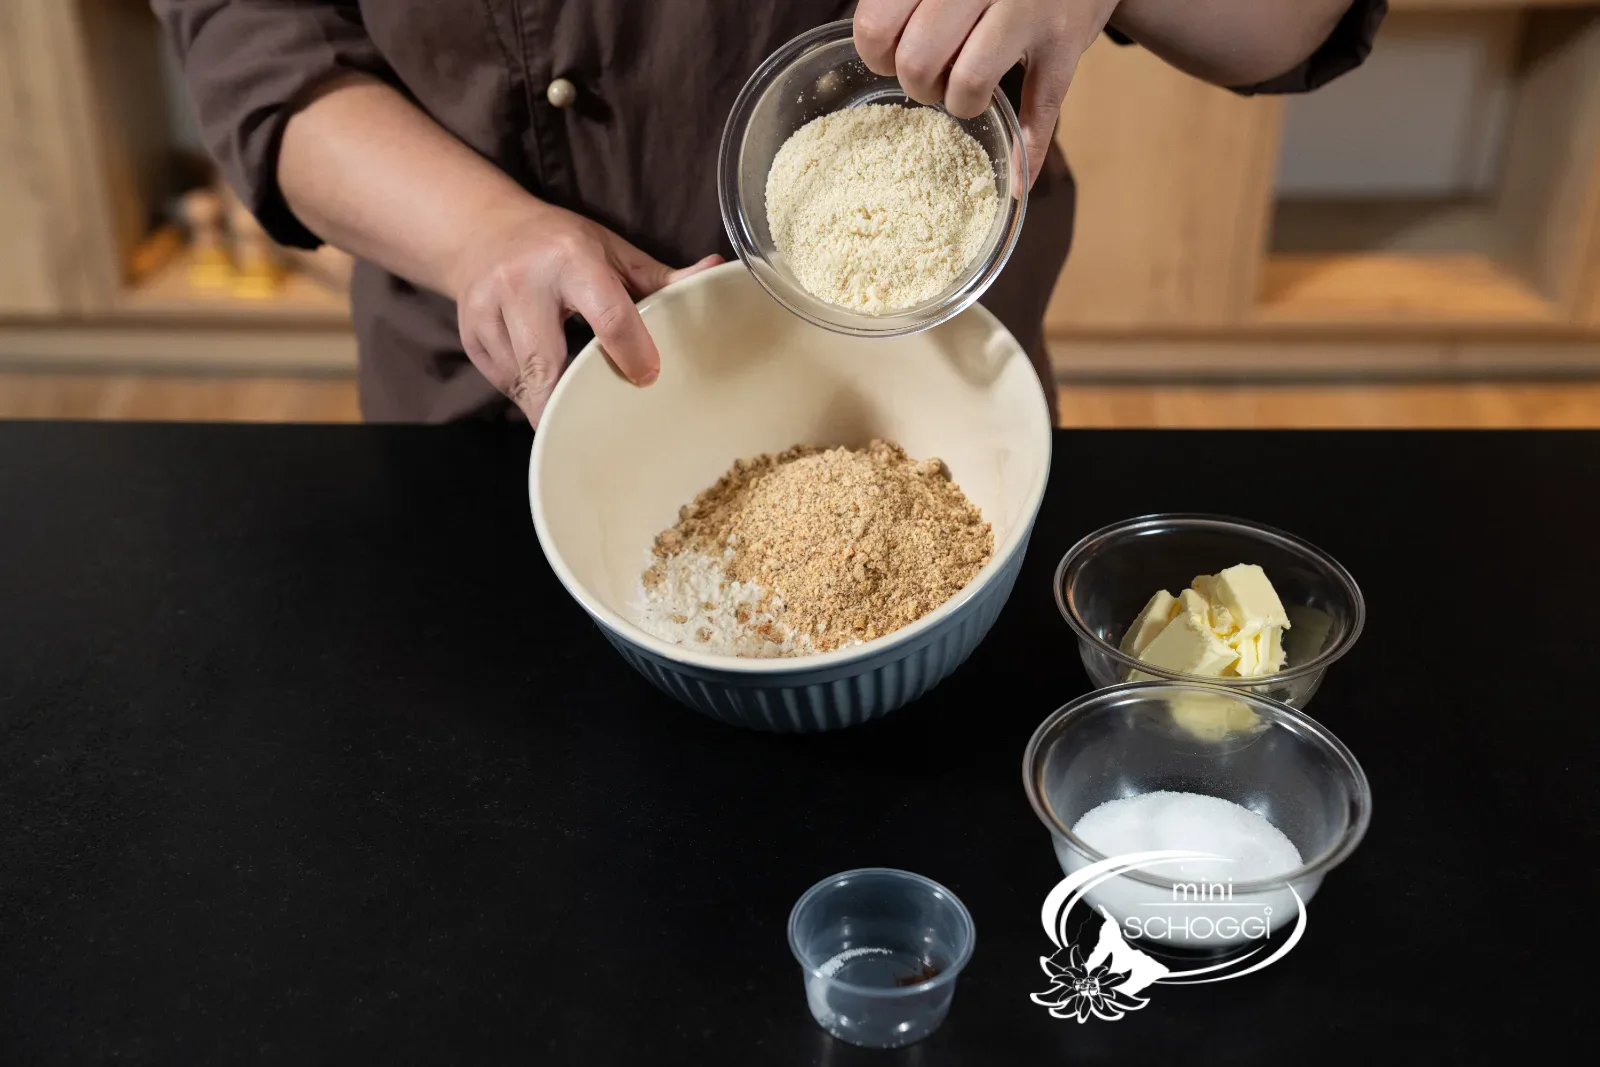
Mix the dry ingredients
Put the flour into a large bowl and add the ground almonds and hazelnuts, the remaining sugar, the salt and the vanilla sugar. Mix everything briefly so the ingredients are evenly distributed.
You will need these


White flour, 1 kg
Almond flour, 400g
Natural extract, 20 ml
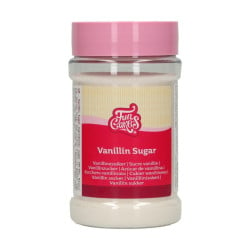
Vanillin sugar, 250 g
3
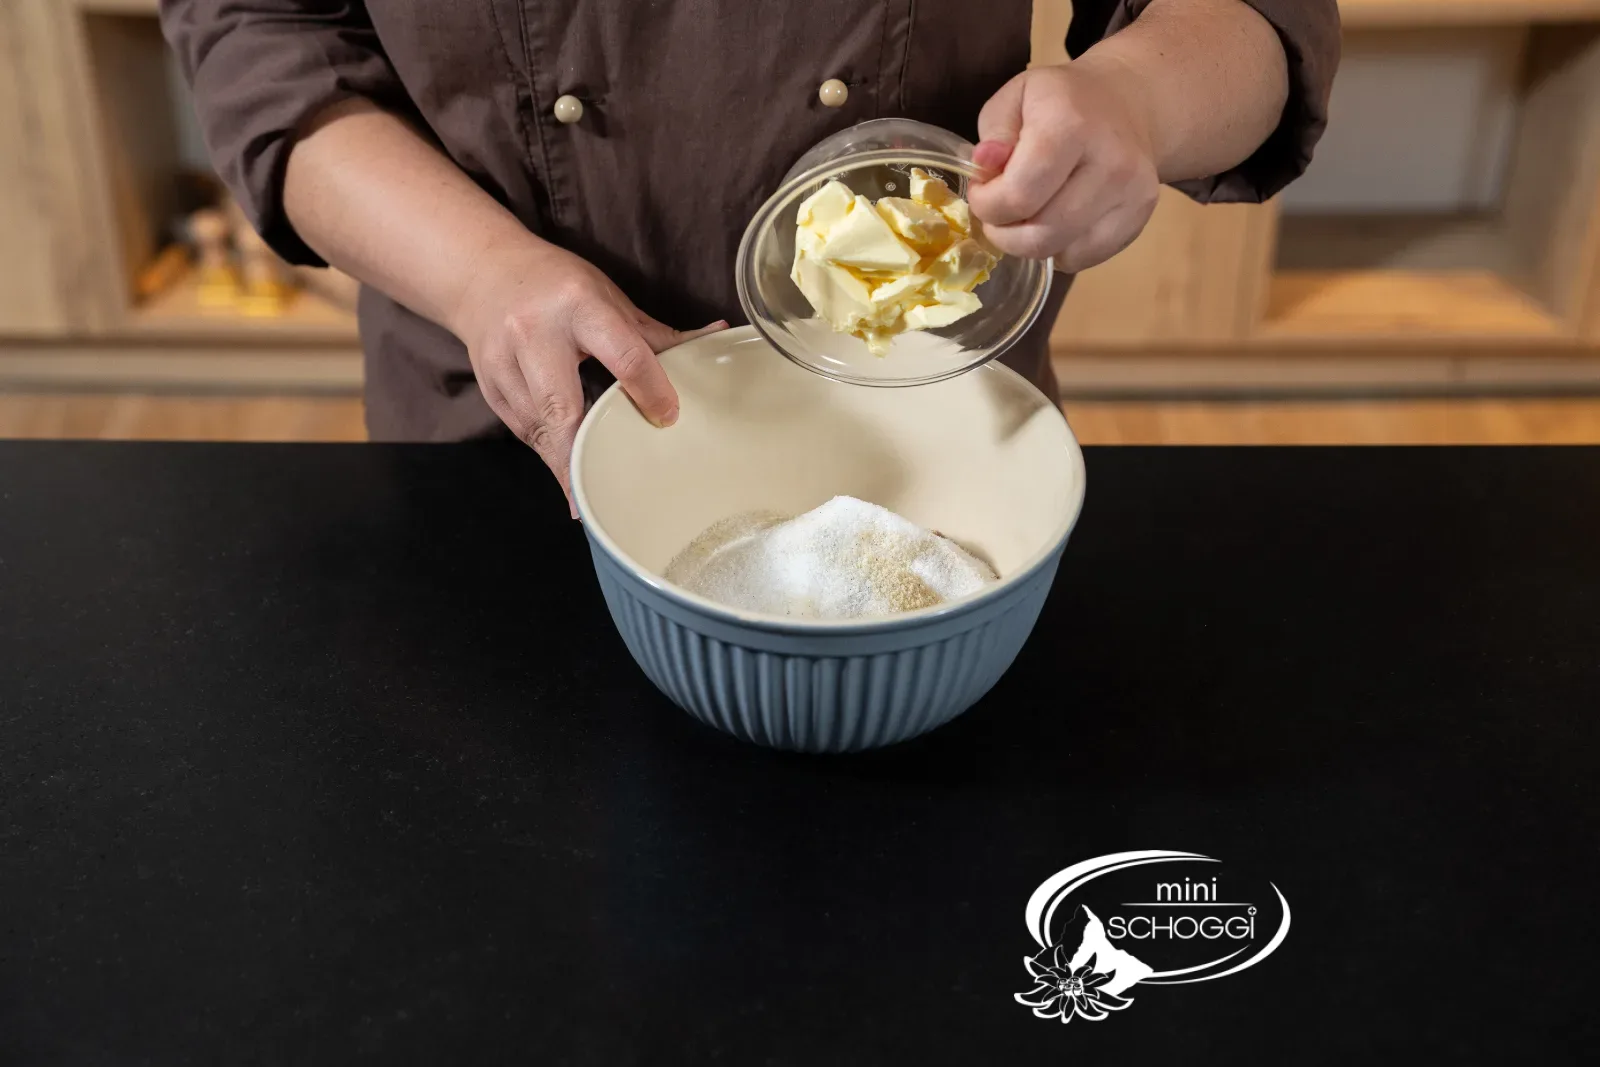
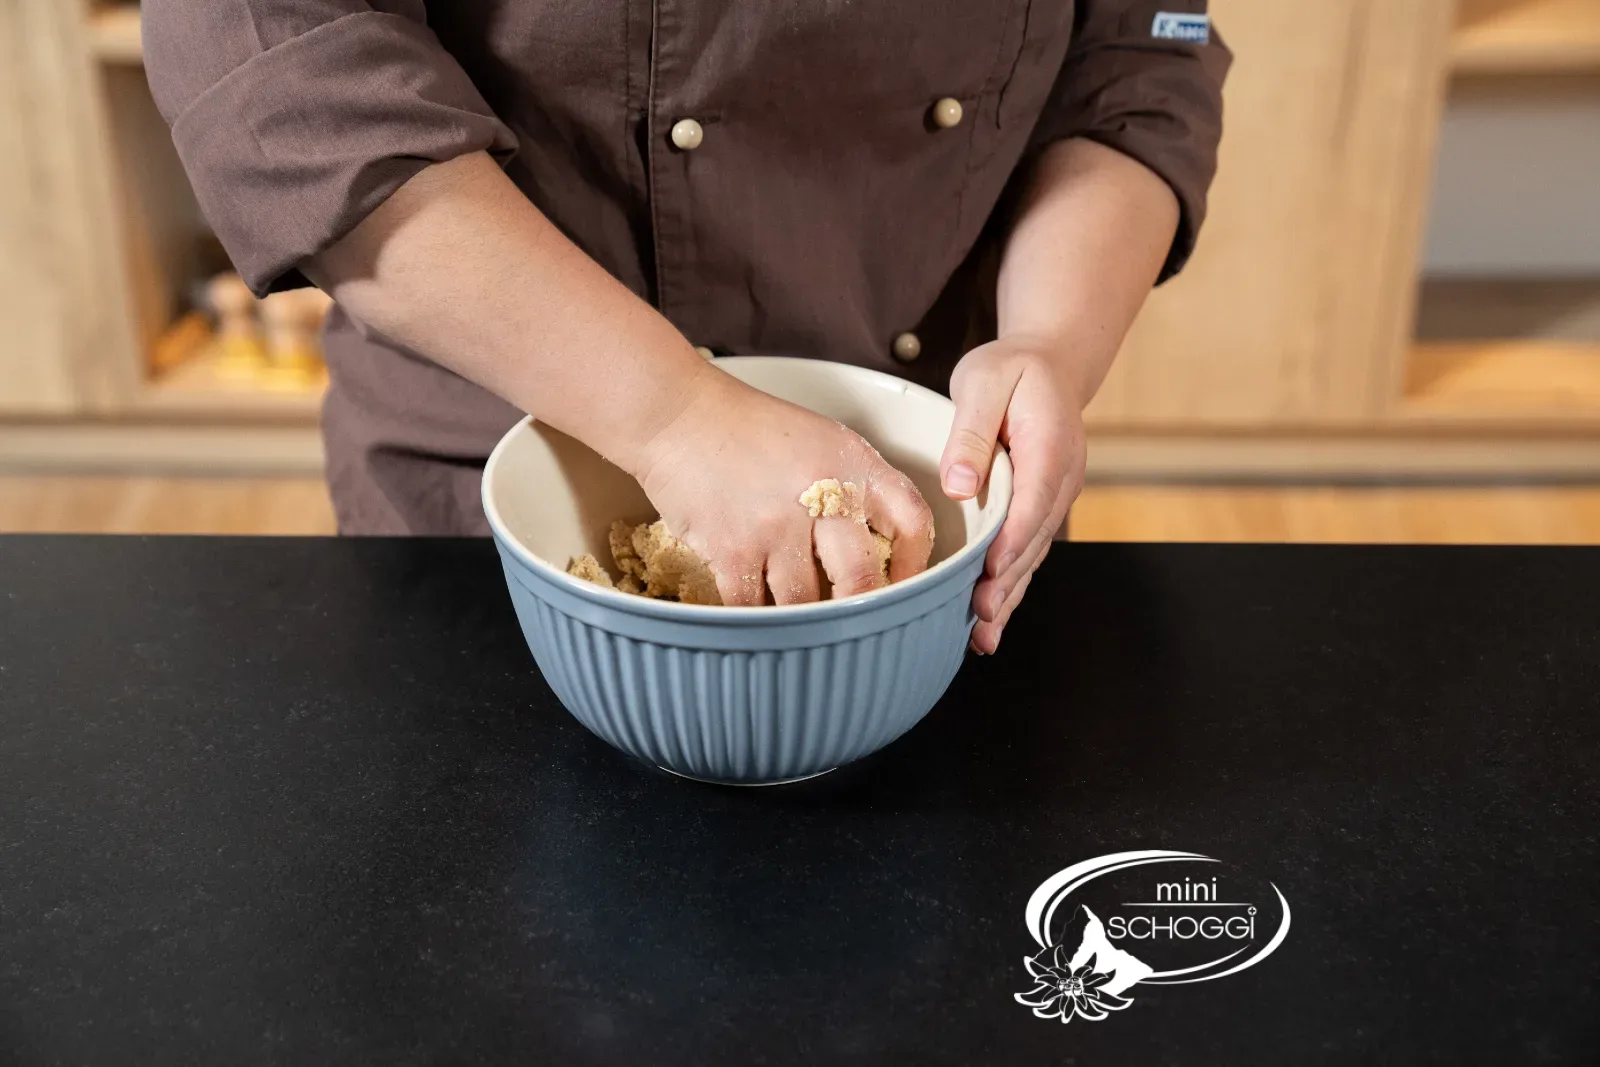
Work in the butter and knead
The butter should be at room temperature, i.e. soft but not liquid. Cut it into small cubes, add them to the dry ingredients and knead everything by hand until no pockets of flour remain. At first the mixture will be crumbly, but the warmth of your hands will bind it into a compact dough. If it still does not hold together after a few minutes, knead in 1 to 2 tsp soft butter (approx. 10 g). Do not add more, or the balls will spread out in the oven.
Form balls of equal size
1
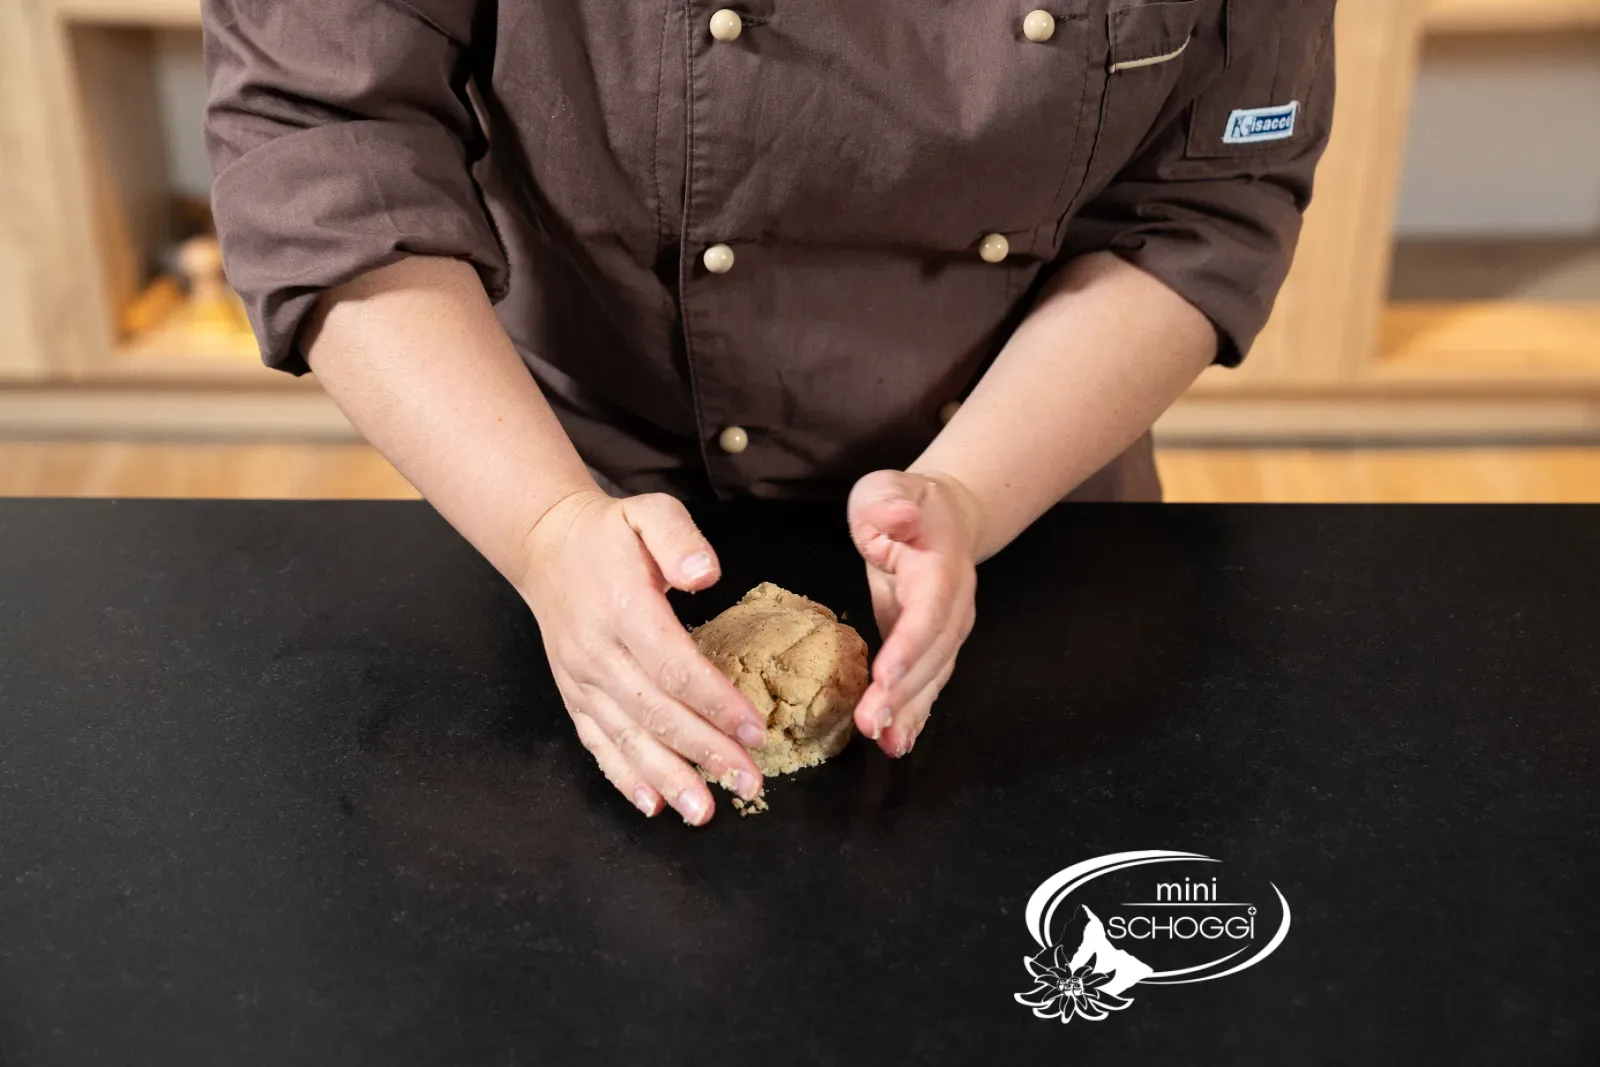
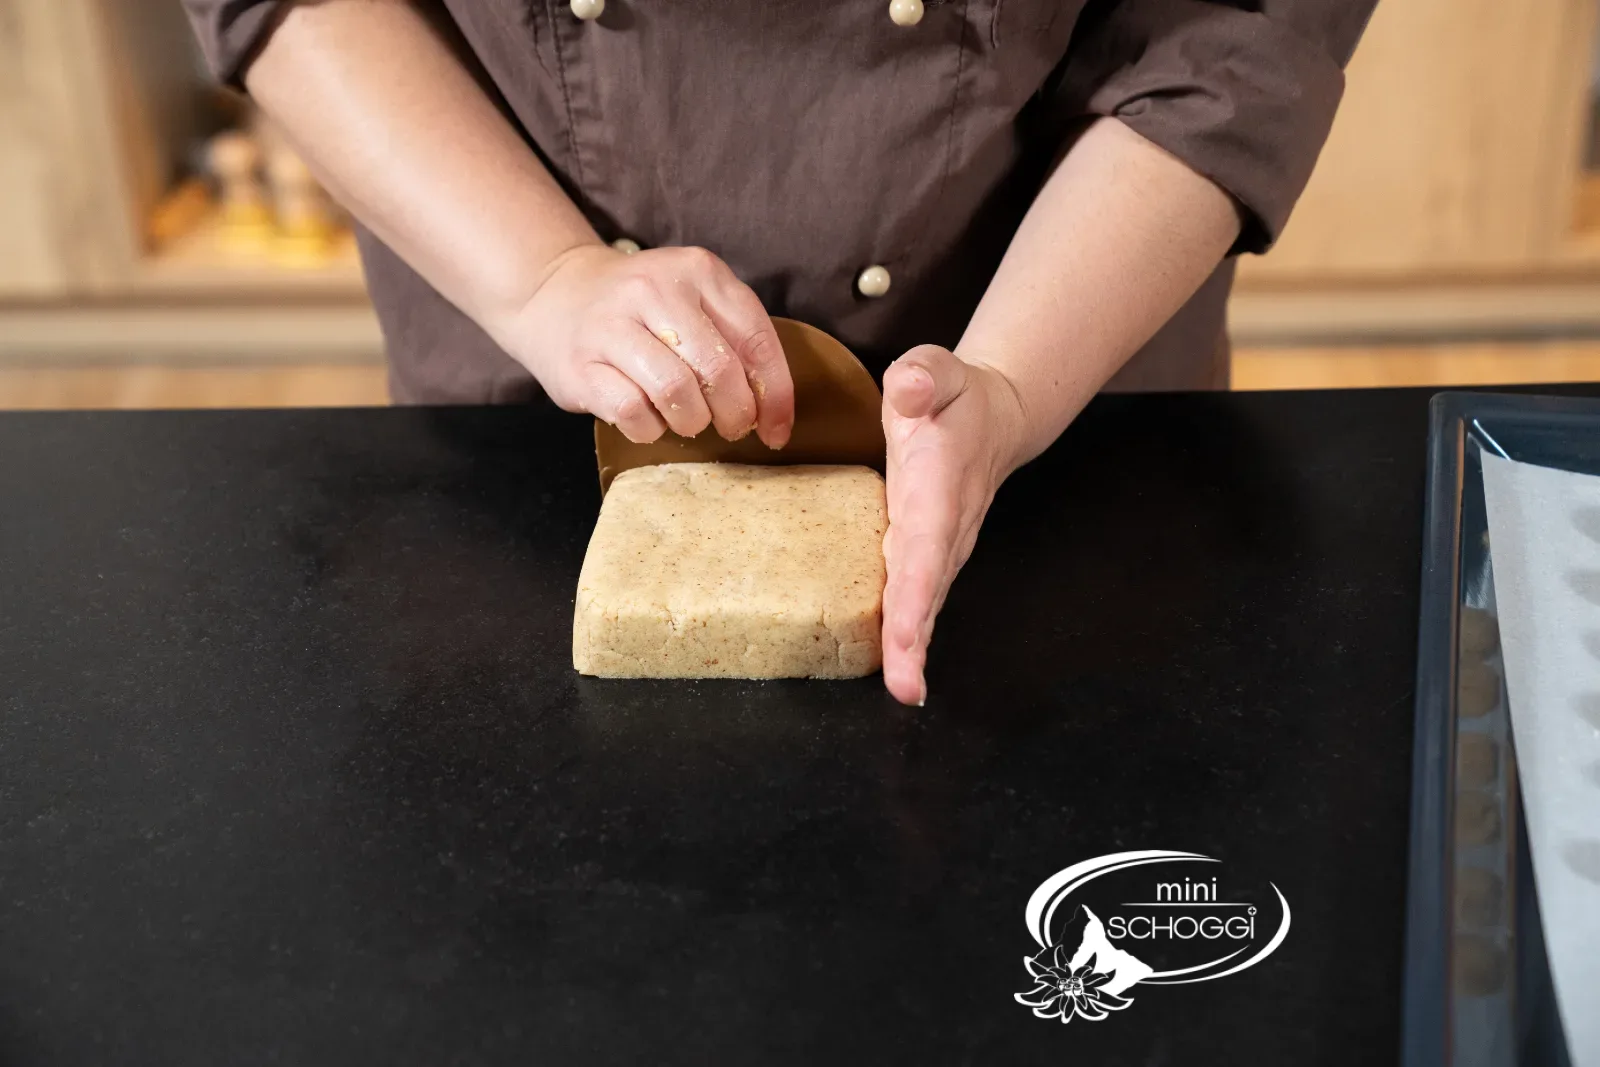
Shape a dough block
Press the dough on the work surface into a rectangular block about 1.5 cm thick. Use your flat hands to straighten the sides, so the block becomes even. If the dough is very soft and sticky, chill the block in the fridge for about 30 minutes. It will then cut much cleaner.
You will need


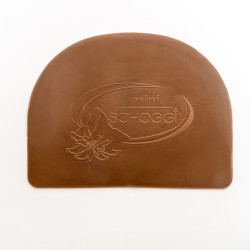
miniSchoggi Teighorn, 12 cm
Baking paper 42 x 33 cm, 25 pieces
2
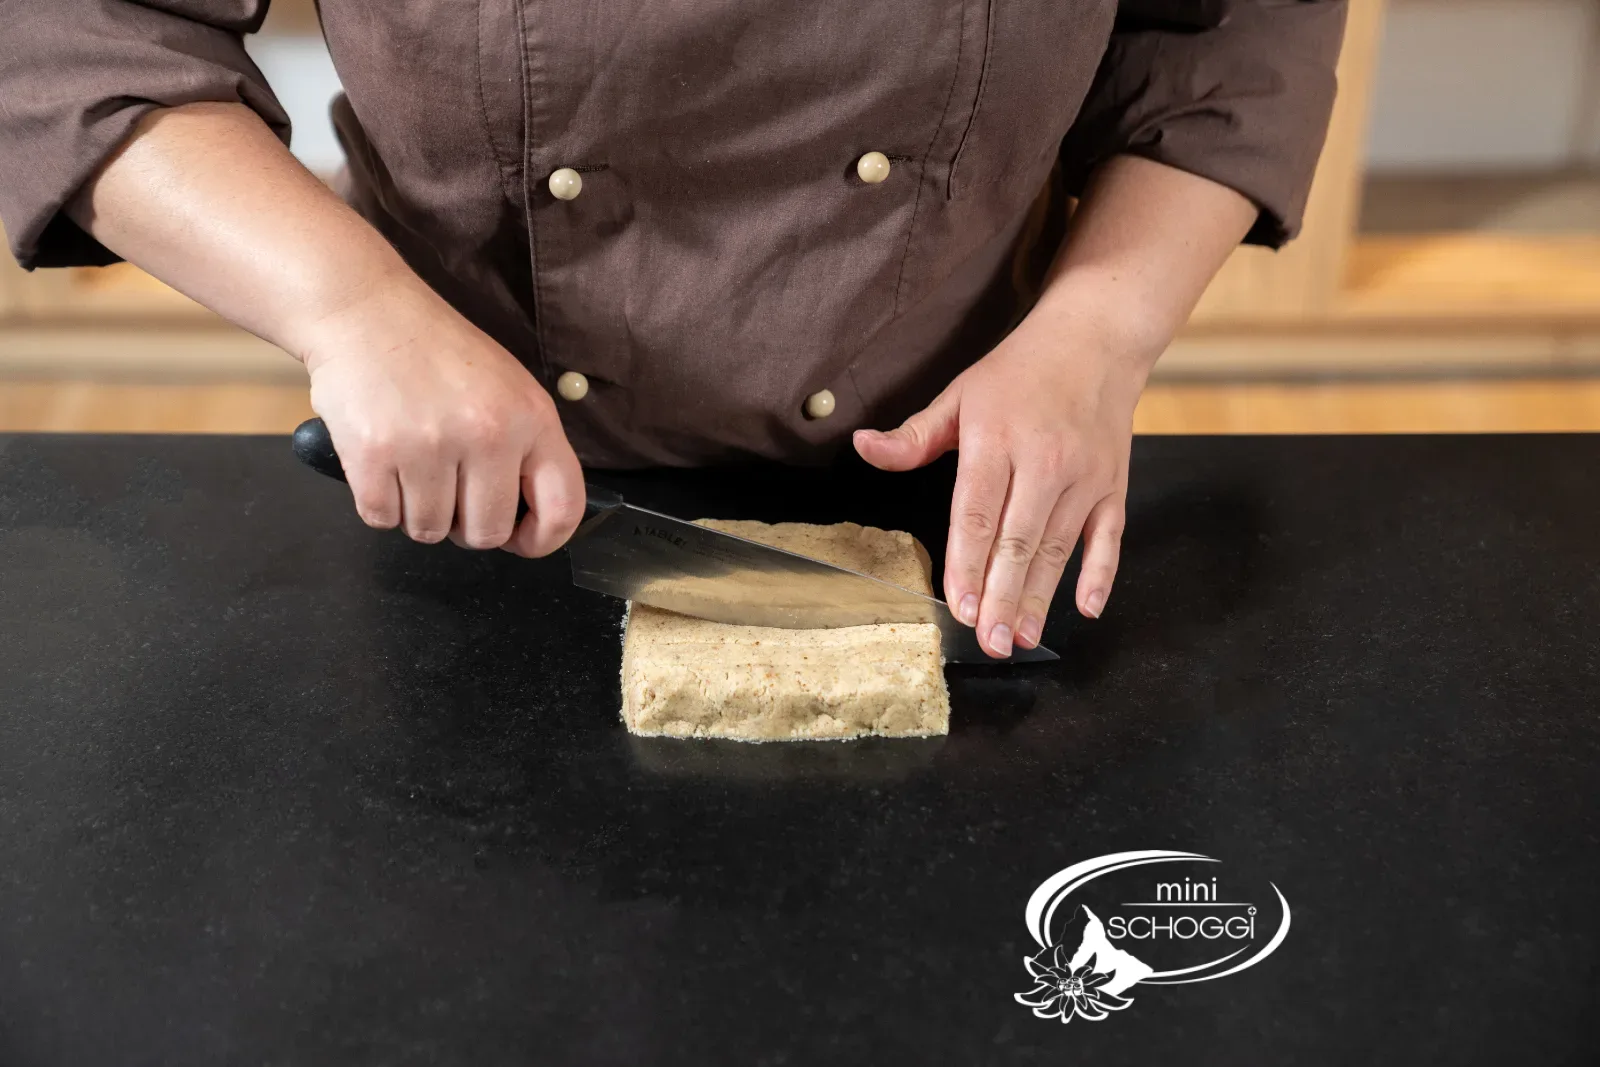
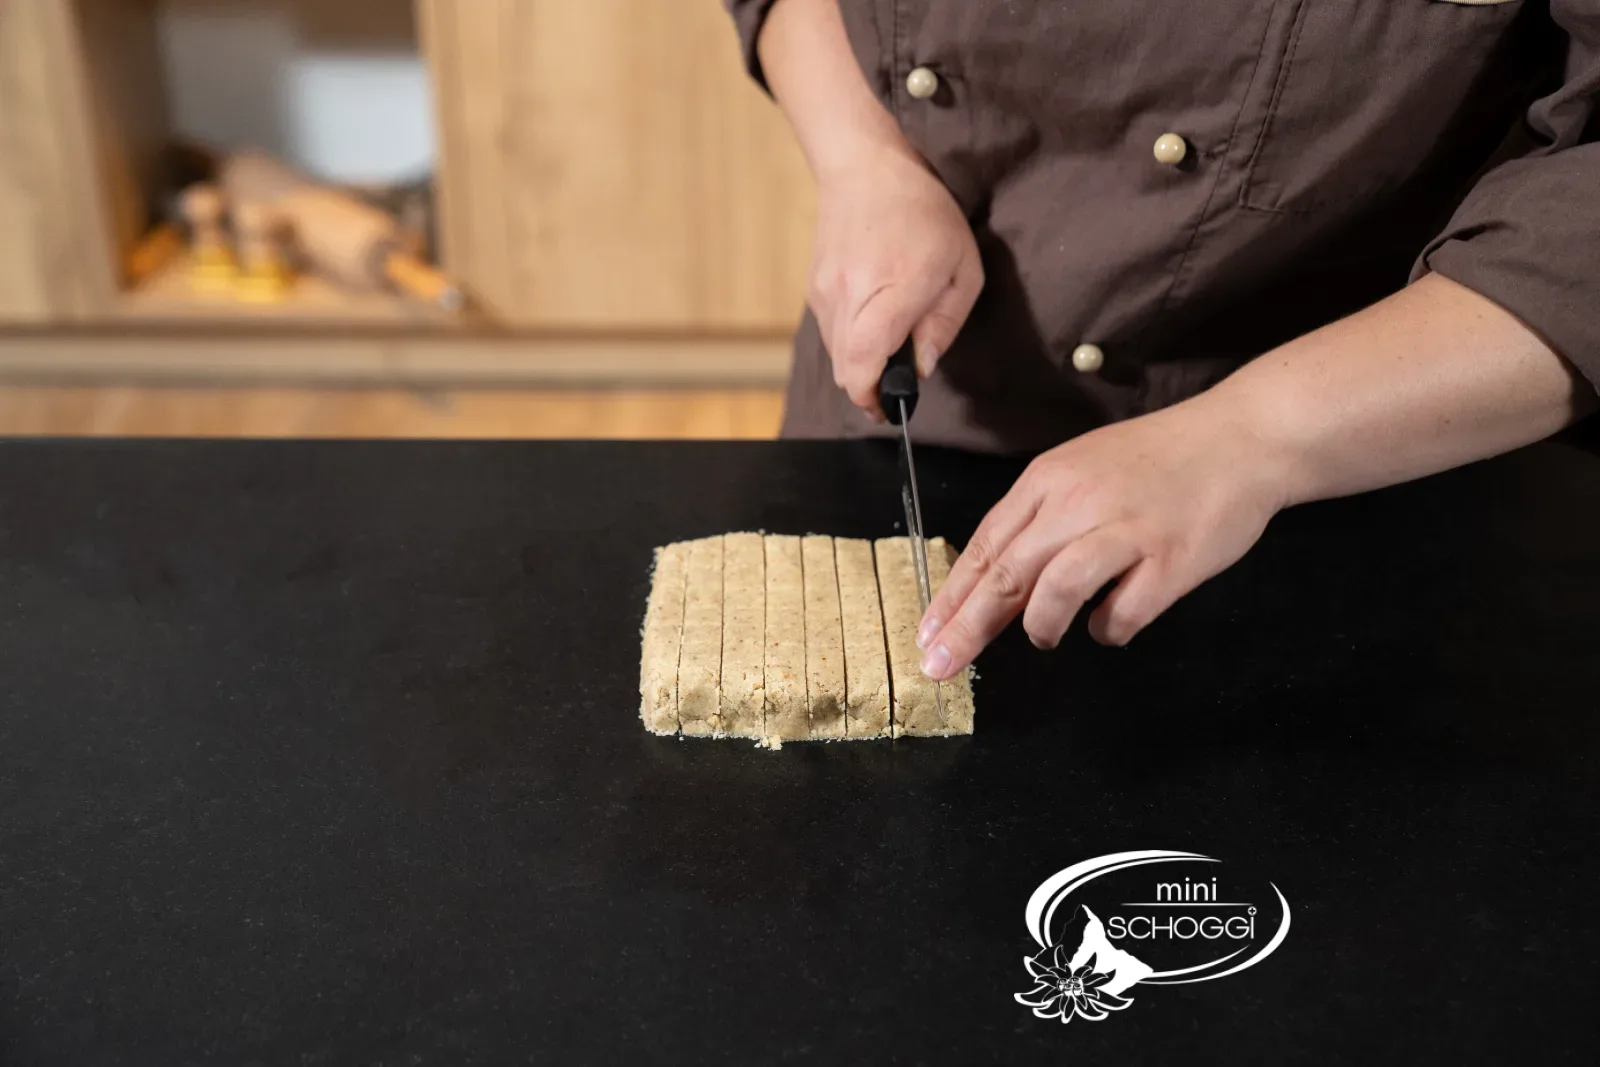
Cut into cubes of 5 to 6 g
First cut the block with a large knife into strips about 1.5 cm wide, then cut these into cubes. Each cube should weigh 5 to 6 g. Check the first two or three cubes on precision scales. If the weight is right, cut all the others the same size and save yourself from weighing each individual ball.
3
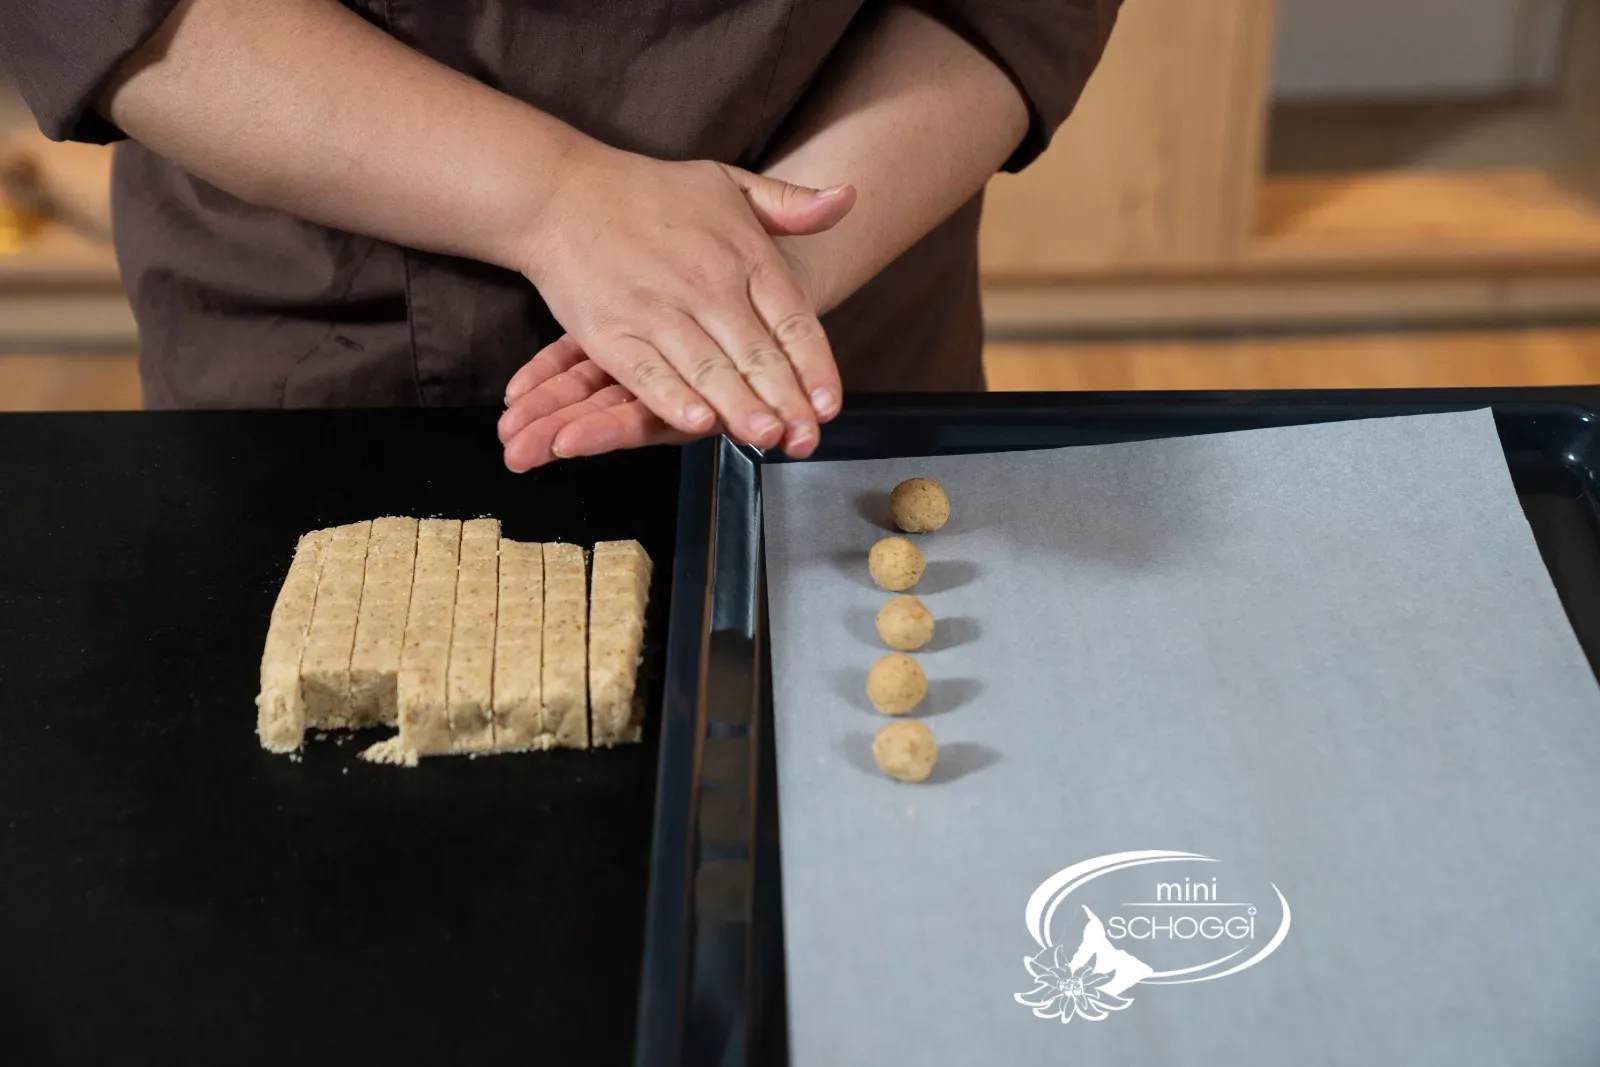
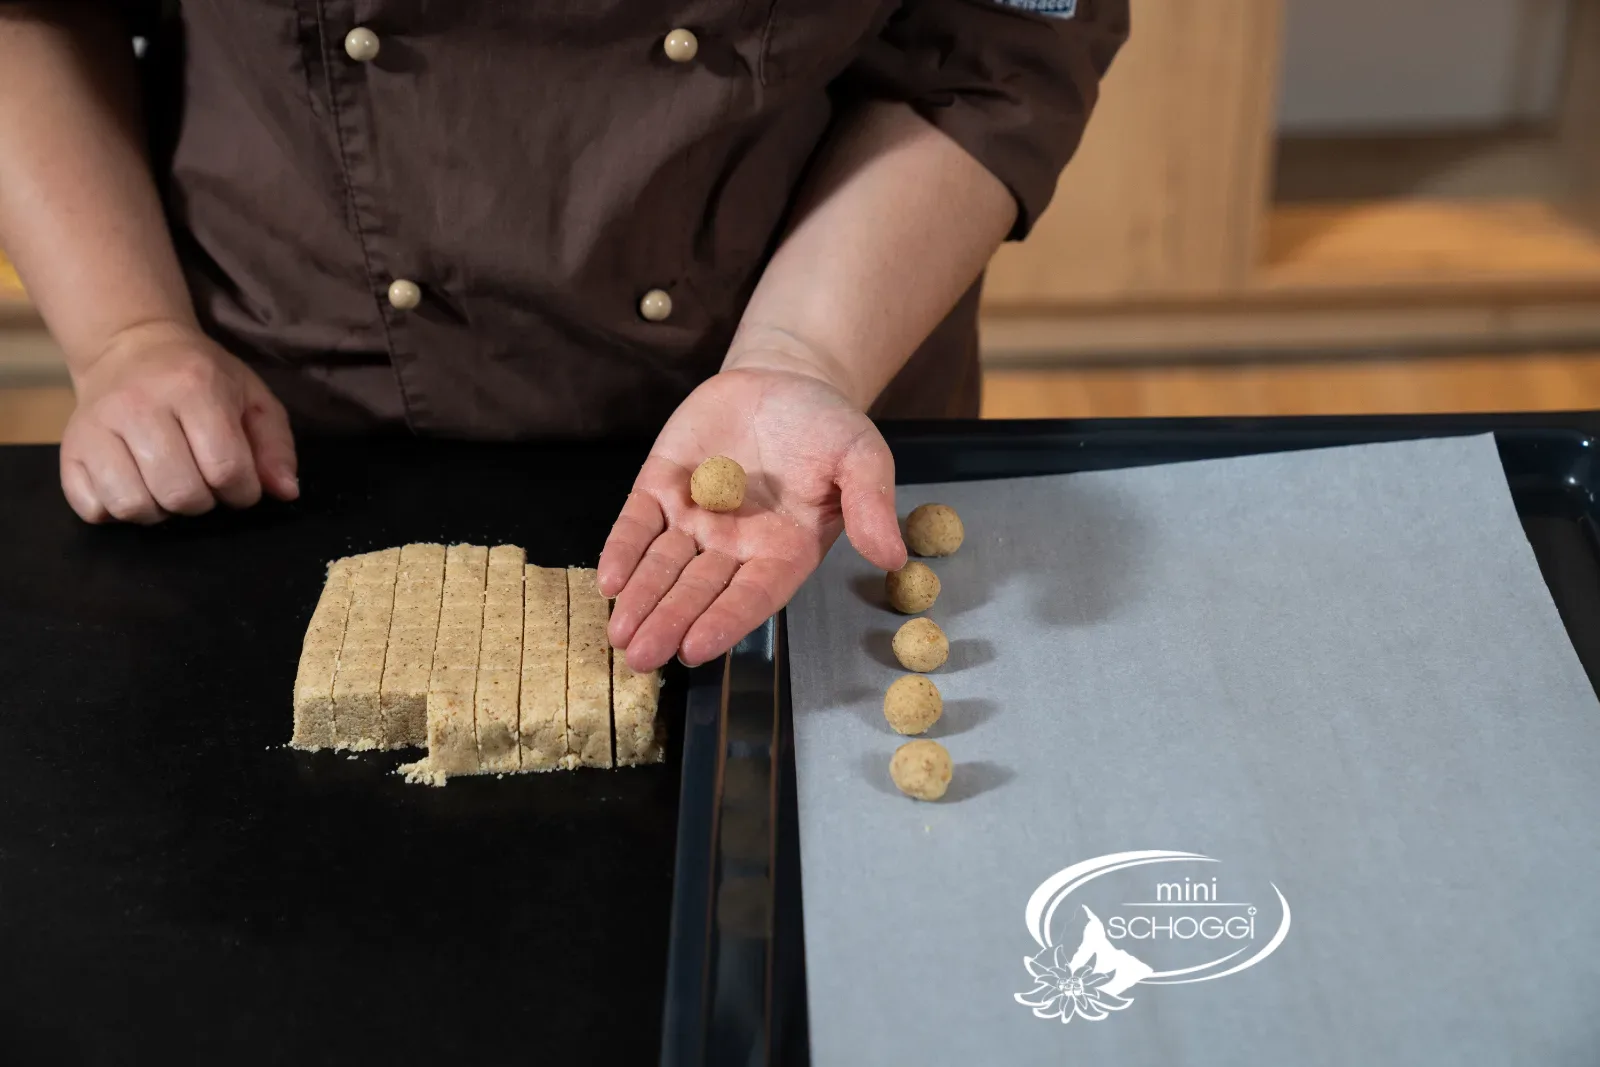
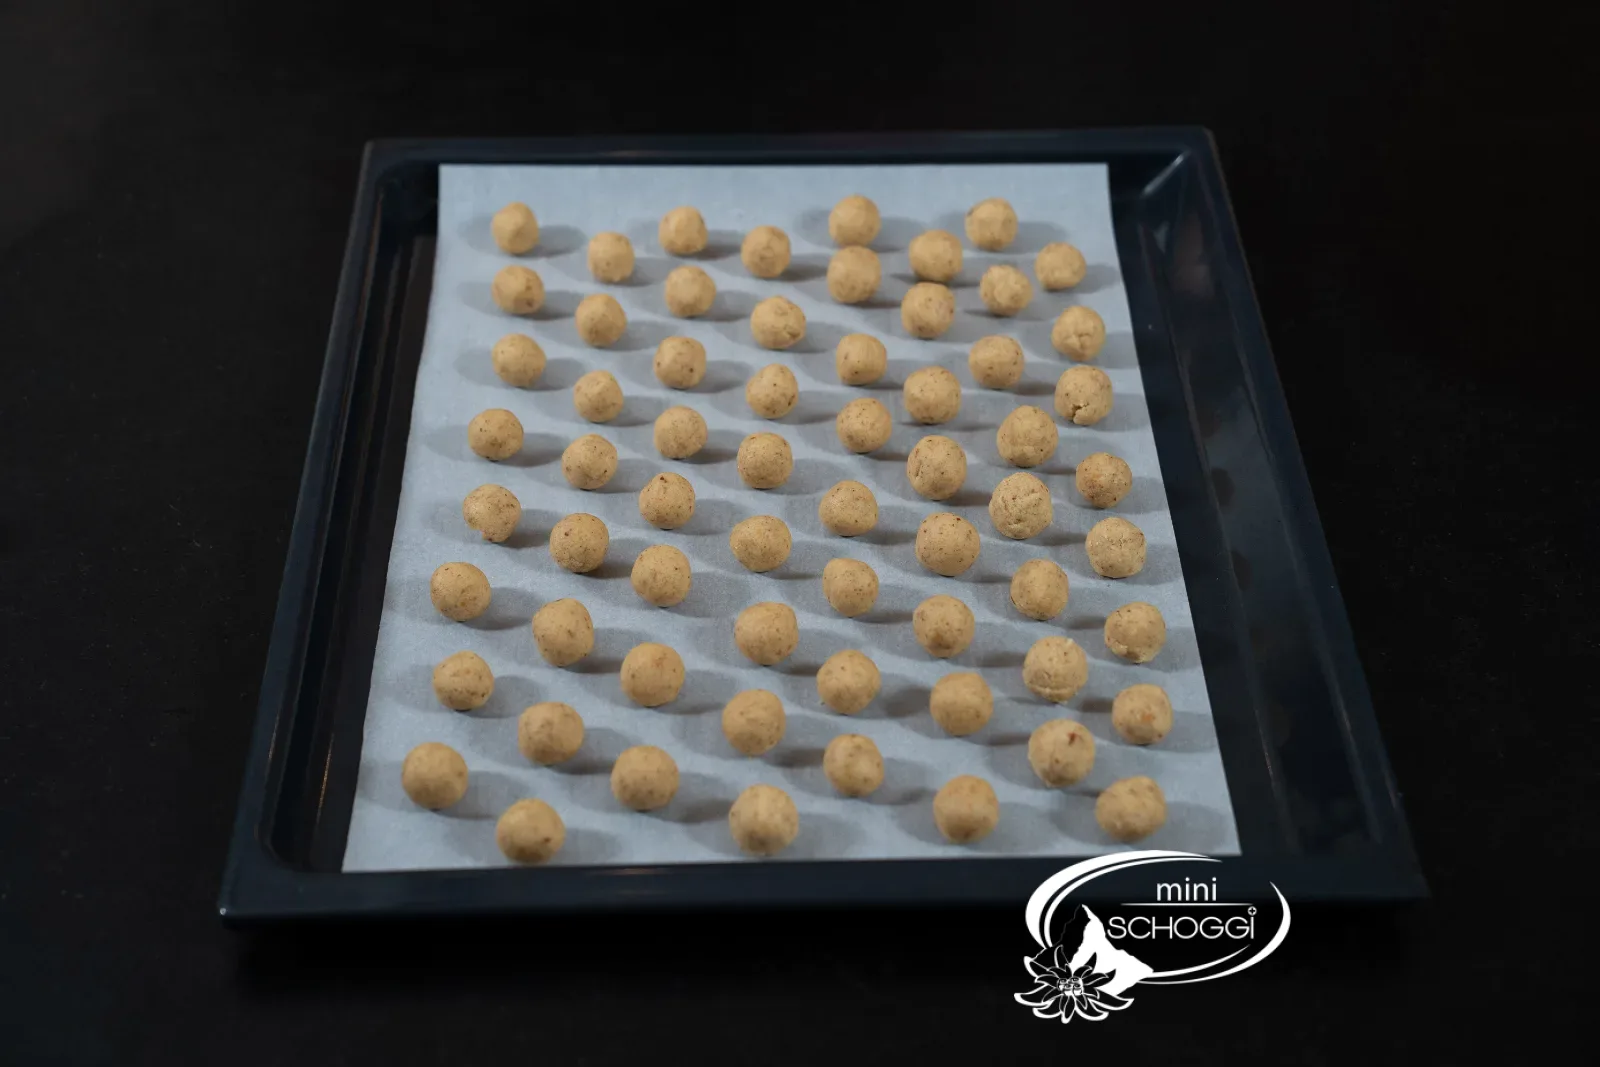
Roll the balls
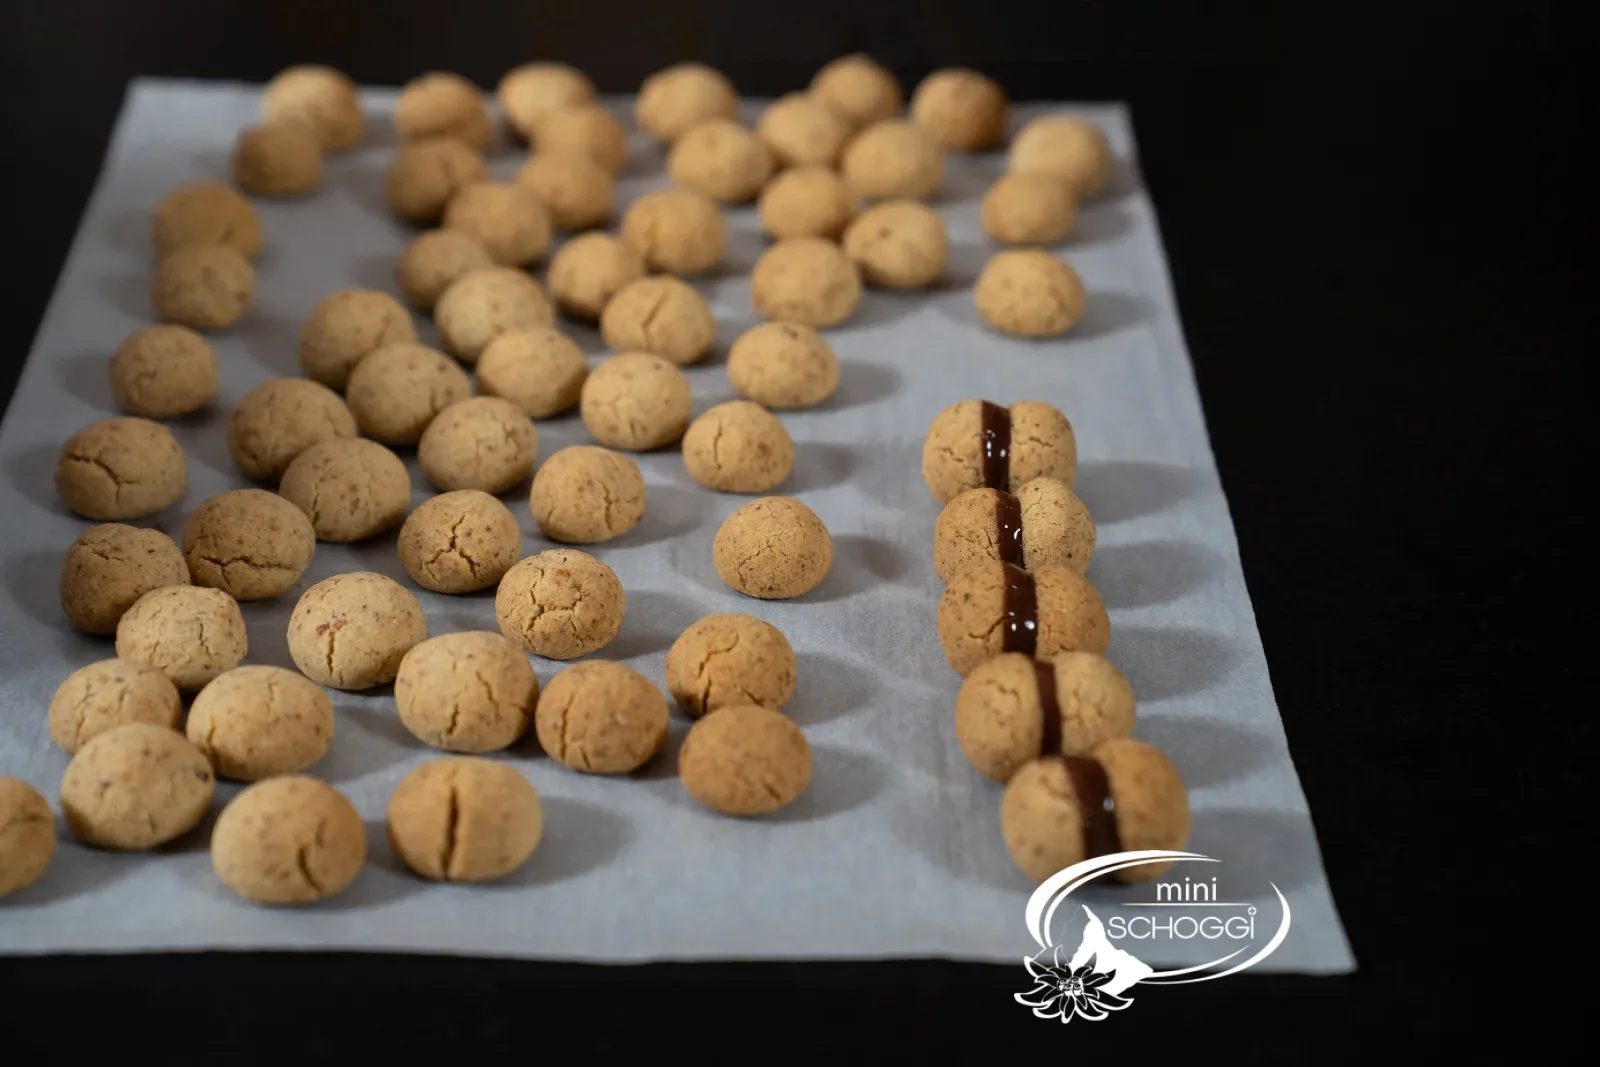
Roll each cube without pressing between your palms into a smooth ball. Gentle circular motions keep the surface free of cracks. Place the balls about 2 cm apart on a baking tray lined with baking paper. They hardly spread, so you can make good use of the tray.
Baking and assembling
1
Bake and let cool
Bake the balls at 160 °C convection for 12 to 15 minutes. They are ready when the bottoms are lightly golden while the tops stay pale. Straight out of the oven they are soft and fragile, so let them cool completely on the tray. As they cool they become firm and crumbly. A flat spot has now formed on the underside, which is where the couverture will go later.
2
Temper the couverture and form pairs
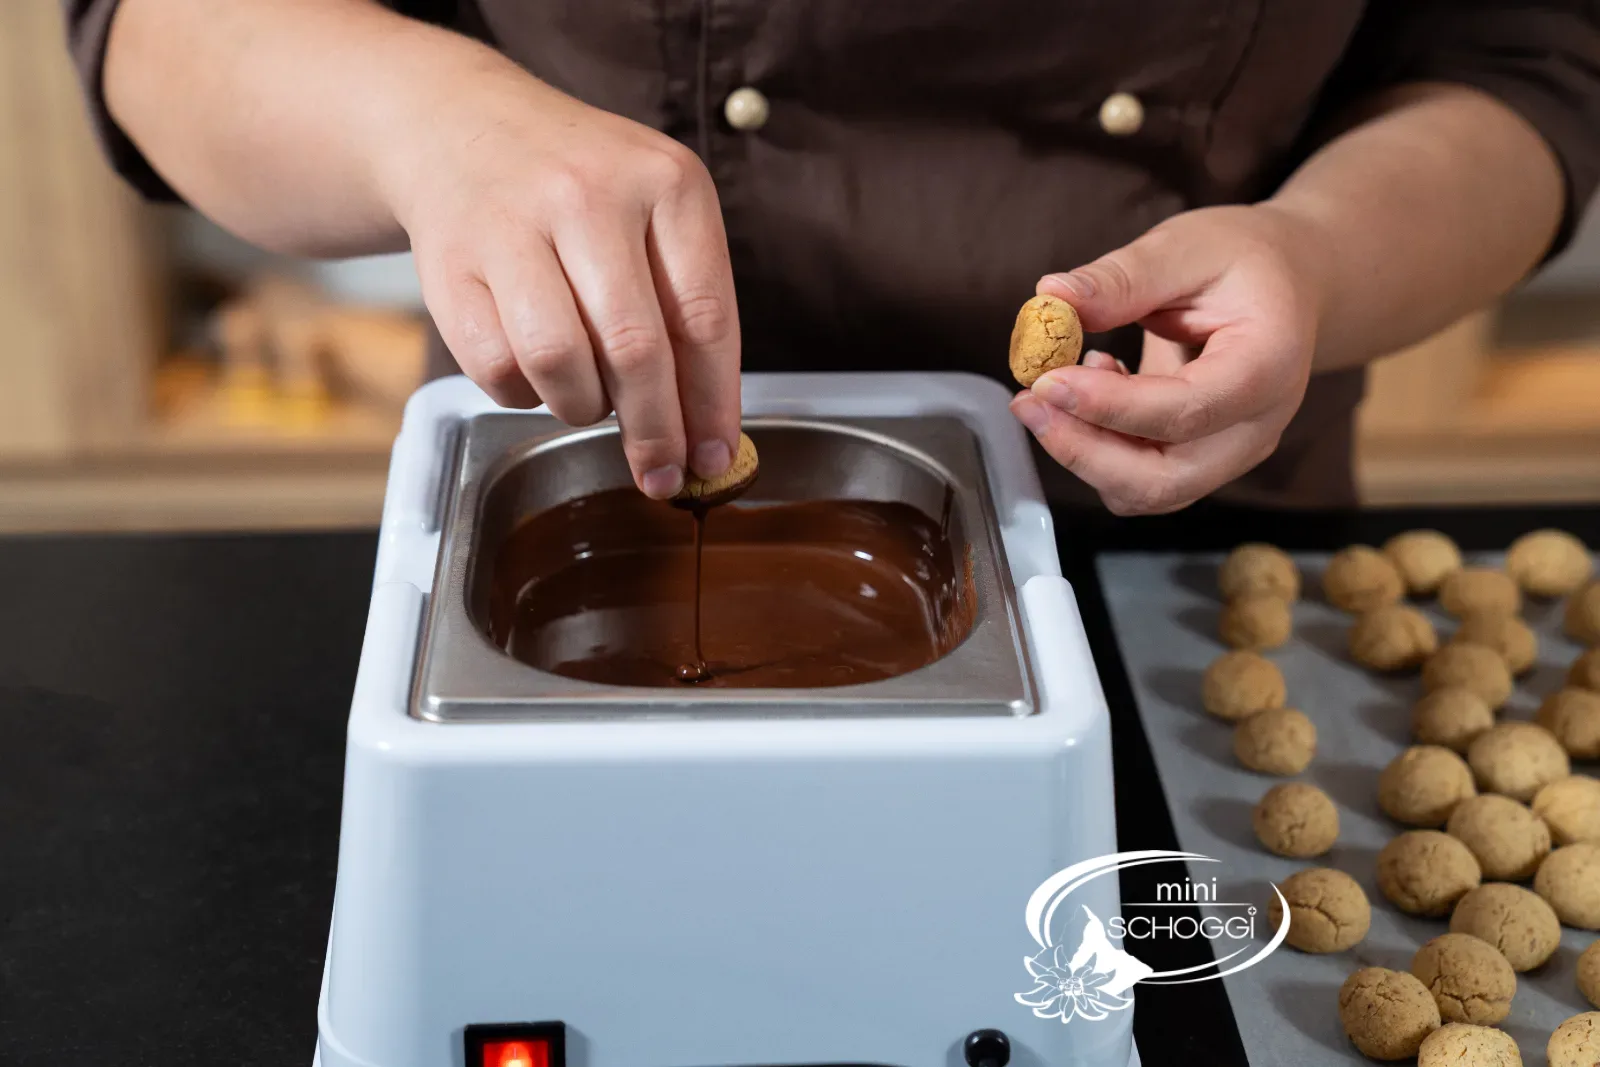
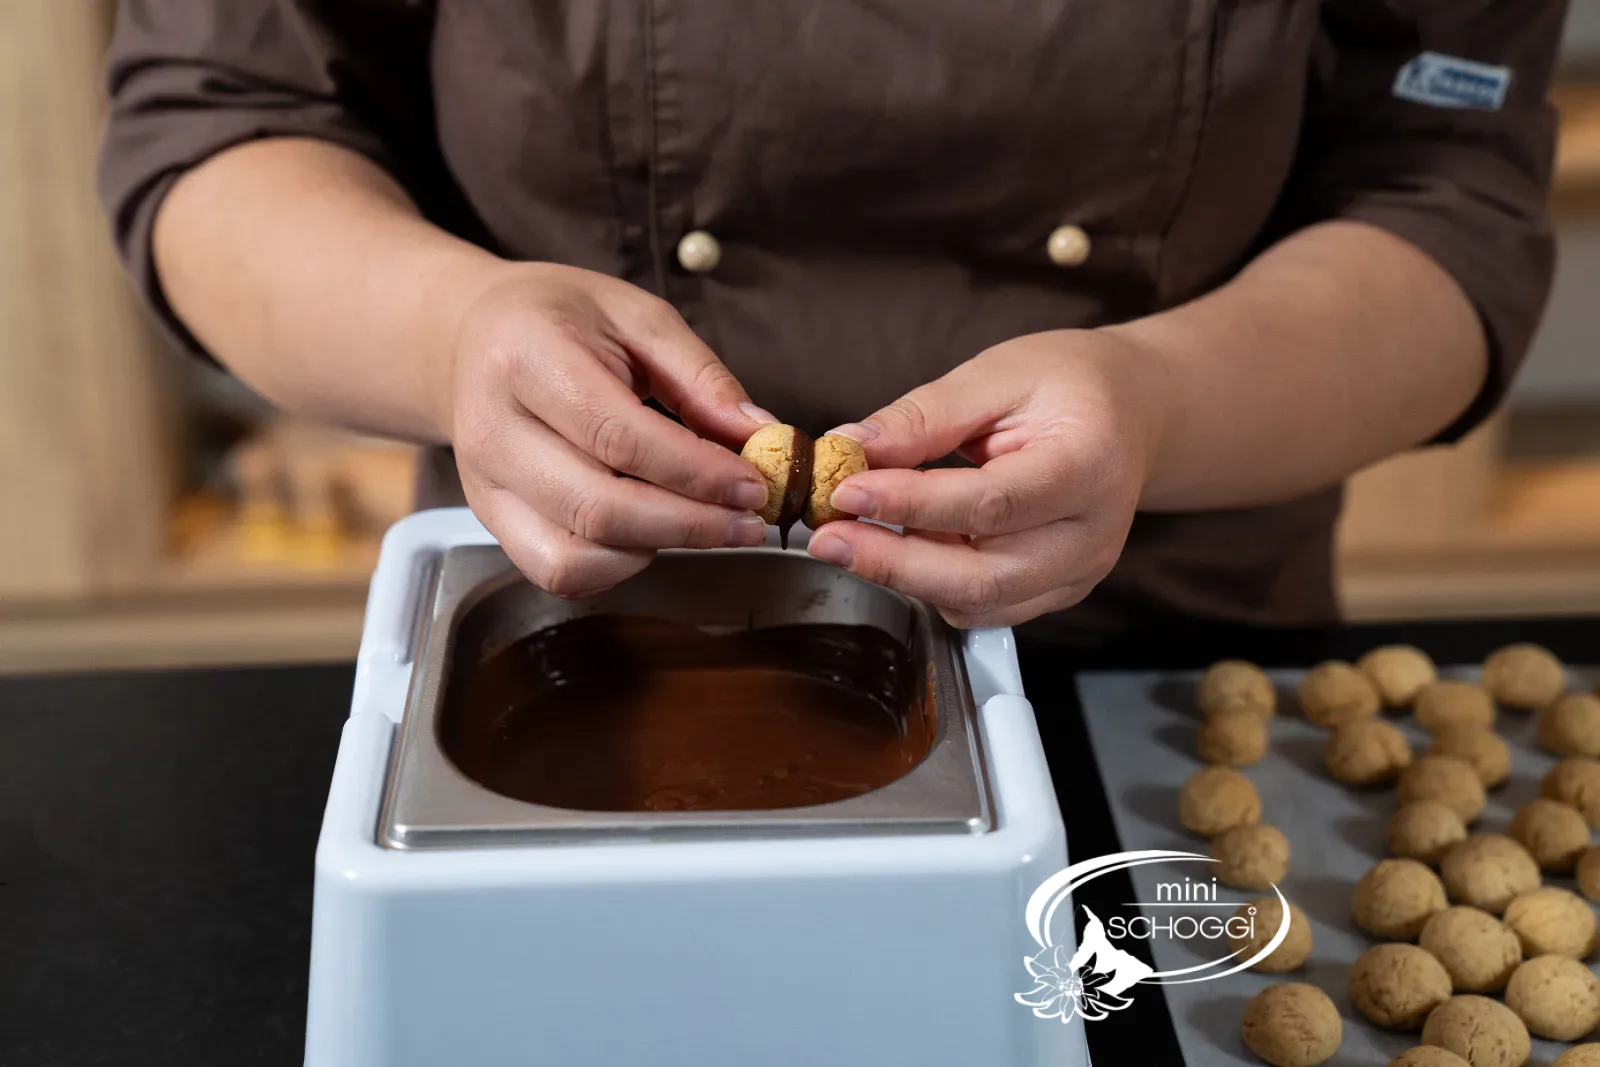
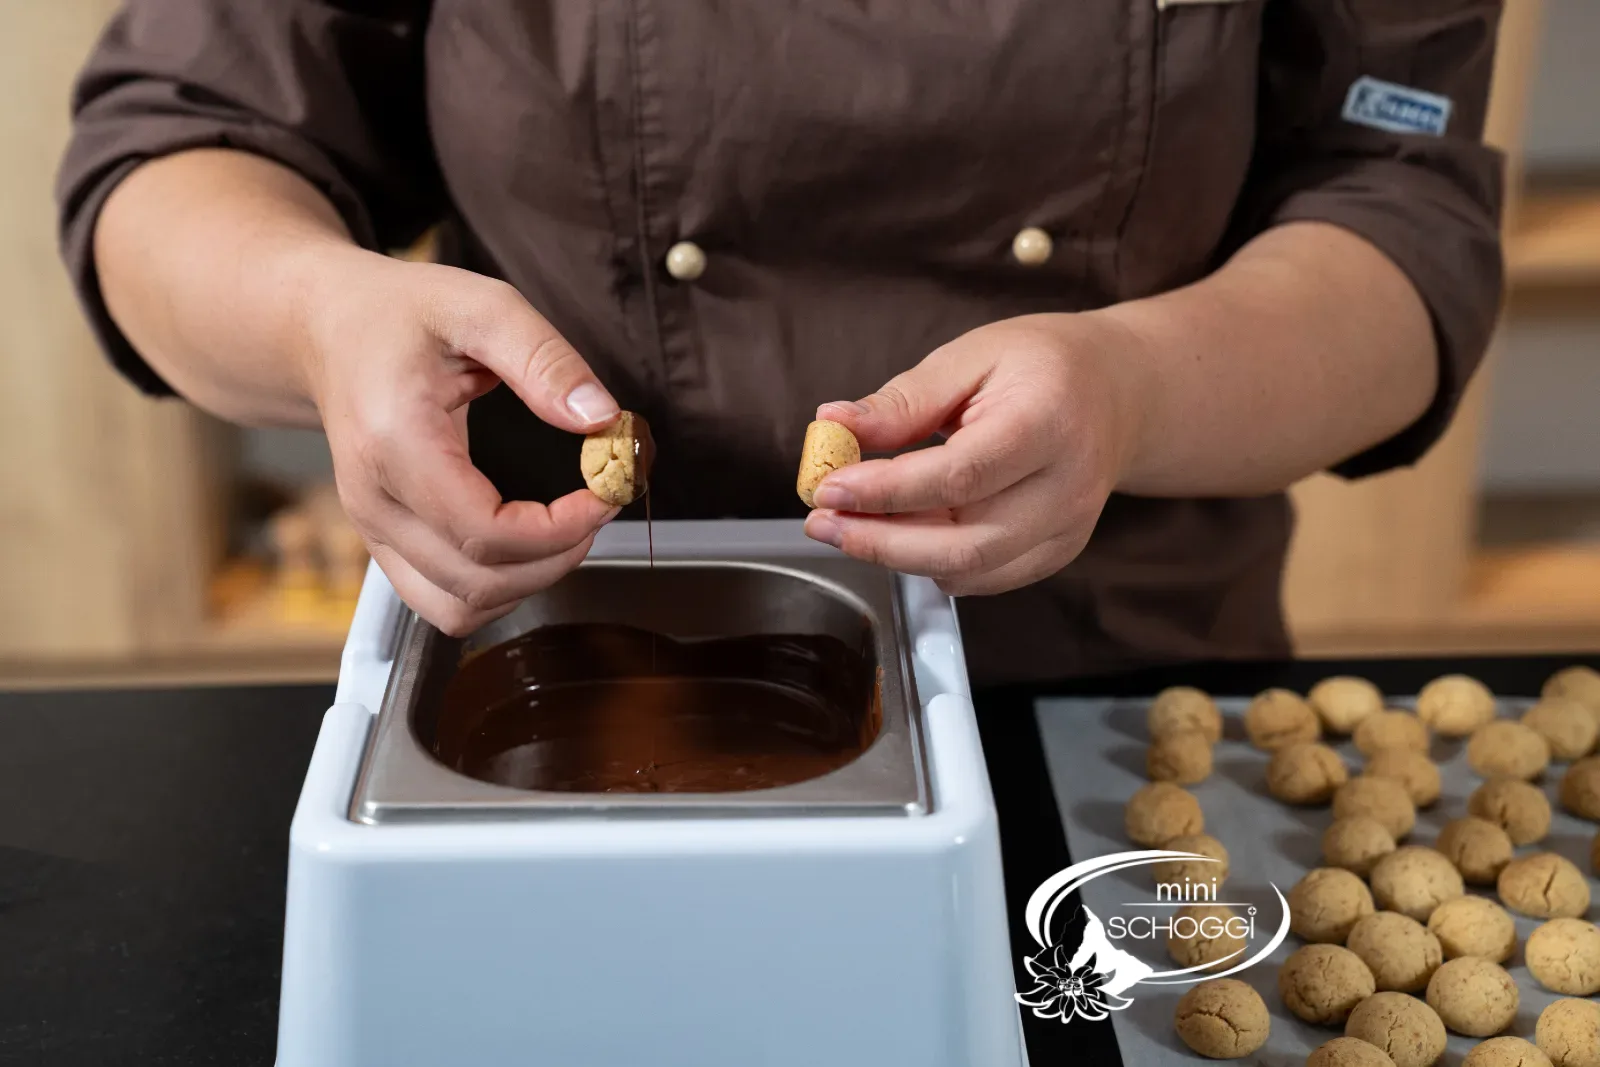
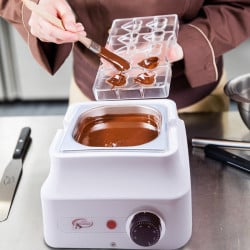
Temper the Dark couverture in a tempering device or by hand. We show you how in our guide to tempering. Sort the cooled halves by size and always place two matching ones side by side. Dip one half briefly with the flat side into the couverture, let it drip off and press it gently onto the flat side of the second half. Use only a little couverture, so that a fine seam remains in the middle.
You will need


Lindt Couverture Dunkel 0.5 kg
Felchlin Couverture Grand Cru Maracaibo 65 % 0.5 kg
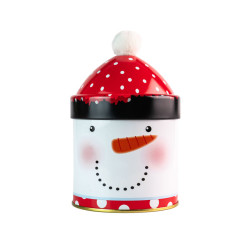
Cookie tin snowman with hat Ø 90 x 125 mm
miniSchoggi tempering device for couverture and chocolate
3
Let them set
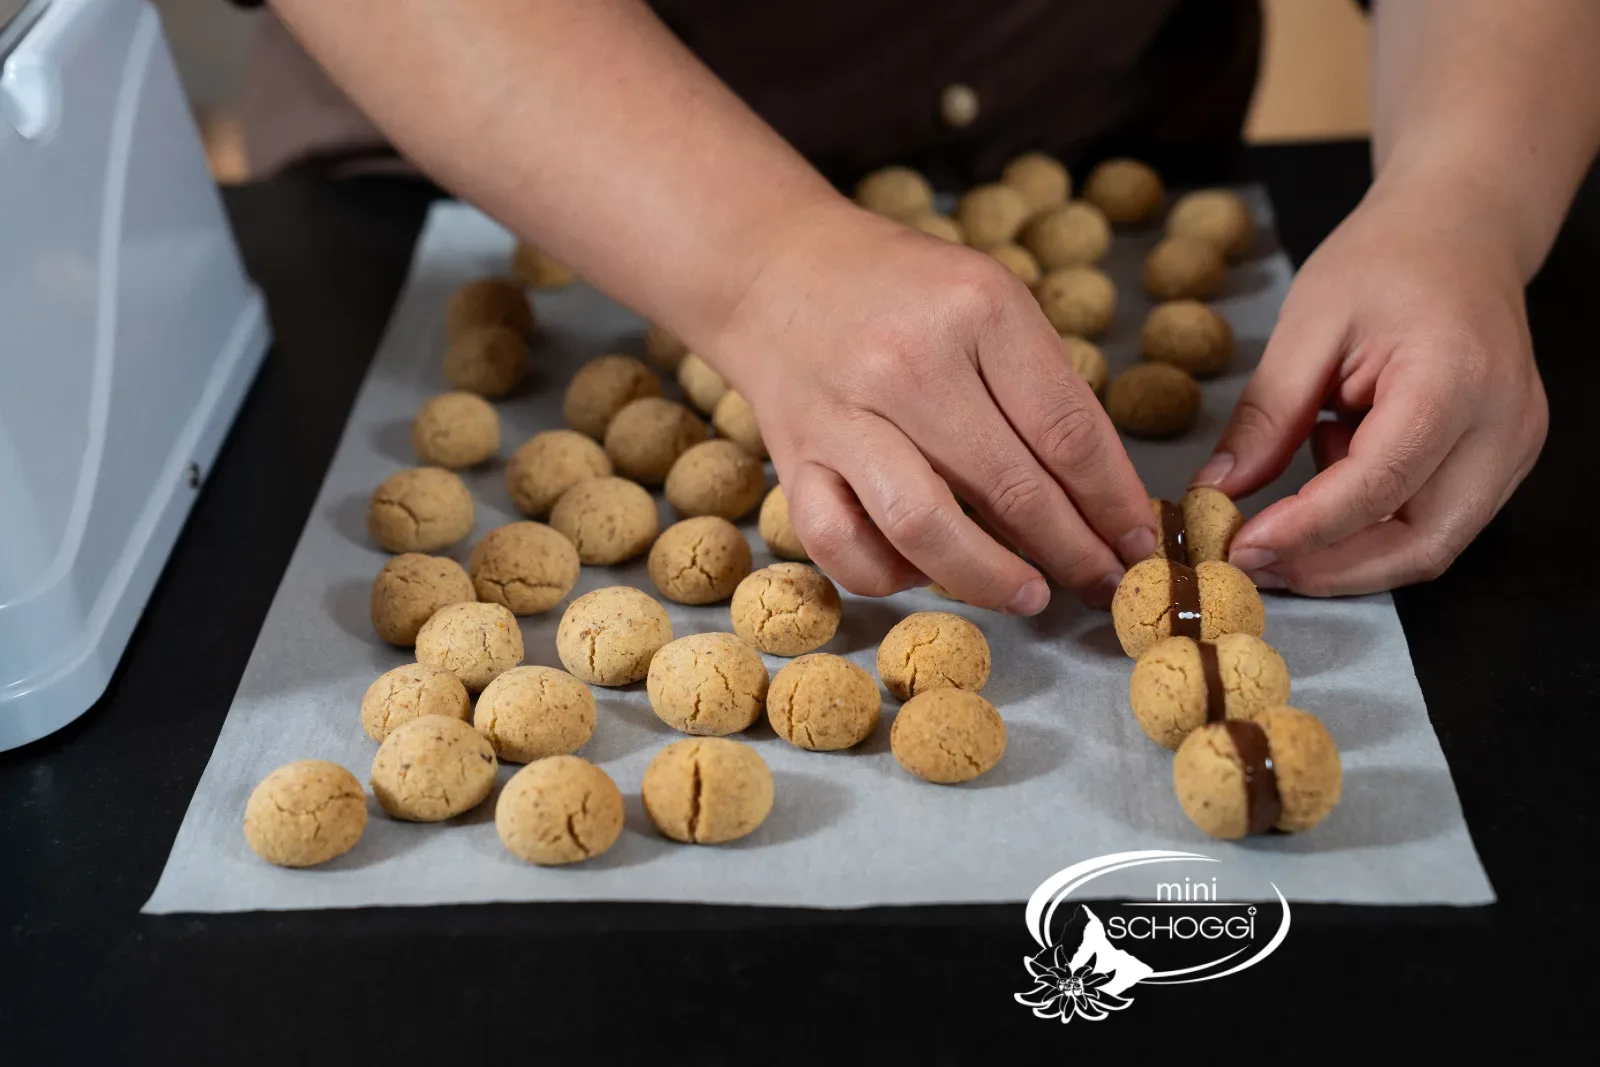
Place the finished Baci di Dama upright on baking paper and let the couverture set at room temperature for about 30 minutes. Only then are they stable enough for the tin.
Compact · to print
Baci di Dama
Ingredients
Quantity:
For the nut dough
For assembly
Preparation
- Dough: Mix the flour, nuts, sugar, salt and vanilla sugar, add the soft butter and knead by hand. Add 1 to 2 tsp more butter if needed.
- Shaping: Press into a block 1.5 cm thick, cut into cubes of 5 to 6 g and roll into balls.
- Baking: Bake for 12 to 15 min. at 160 °C fan-assisted, and let cool completely on the tray.
- Assembling: Temper the couverture, dip one half flat and press it onto a second, then let it set for approx. 30 min.
Nutritional values per 100 g
468kcal
27.4 gFat
49.2 gCarbohydrates
7.2 gProtein
Storage & shelf life
Only put the Baci di Dama into the tin once the couverture has completely set, and place baking paper between the layers. Kept tightly sealed at a cool room temperature, they last about two weeks. Do not place the tin somewhere warm, or the couverture will soften.
Everything for this recipe
Recommended by our bakery, in exactly the sizes this recipe was tested with.
Ingredients
Lindt Couverture Dunkel 0.5 kg
White flour, 1 kg
Almond flour, 400g
Felchlin Couverture Grand Cru Maracaibo 65 % 0.5 kg
Natural extract, 20 ml
Vanillin sugar, 250 g
Accessories
Digital precision scales 100 g
Plastic Bowl 2.5 l
Cookie tin snowman with hat Ø 90 x 125 mm
Rubber scraper small
miniSchoggi dough horn, 12 cm
miniSchoggi tempering device for couverture and chocolate
Baking paper 42 x 33 cm, 25 pieces
Delivery within 1 to 2 working days · Free shipping from CHF 100*
To make sure they turn out right
Even size is everything
The Baci only look professional if both halves are the same size. Strips of equal width, cubes of equal size and a quick check on the precision scales ensure that all pairs fit together exactly.
Sort first, then assemble
Lay out the cooled halves in pairs before you start with the couverture. Small with small, large with large. This way you work quickly while the couverture is at the right temperature.
Chill the balls before baking
If your kitchen is warm, put the tray with the shaped balls in the fridge for 15 to 20 minutes. The cold butter helps the Baci keep their round shape in the oven.
Frequently asked questions
First knead it for a few minutes longer, the warmth of your hands binds the dough. If it still crumbles, add 1 to 2 tsp of soft butter (about 10 g). Don't use more butter, or the balls will spread out in the oven.
Usually the dough was too warm or there was too much butter in it. Chill the shaped balls for 15 to 20 minutes before baking and they will keep their round shape.
Yes. Milk couverture makes the Baci sweeter, while dark couverture gives them a nuttier, typically Piedmontese flavour. If you prefer something more intense, use a dark couverture with a higher cocoa content.
Print recipe
Choose what should appear on the printout.
Related products
Lindt Couverture Dark 0.5 kg
Price: CHF 17.50
Rated out of 5 stars based on
review(s)
The finest ingredients, transparency and sustainability. This is what the...
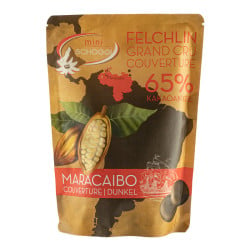
Felchlin Couverture Grand Cru Maracaibo 65 % 0.5 kg
Price: CHF 21.90
Rated out of 5 stars based on
review(s)
Swiss biodiversity paired with the finest cocoa varieties in the world. That...
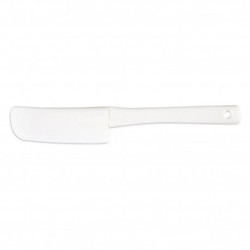
Rubber scraper small
Price: CHF 3.50
Rated out of 5 stars based on
review(s)
The scraper is made of silicone, which protects pots and bowls from...

Almond flour, 400g
Price: CHF 14.90
Rated out of 5 stars based on
review(s)
Only very finely ground almond flour produces beautifully smooth Macaron...
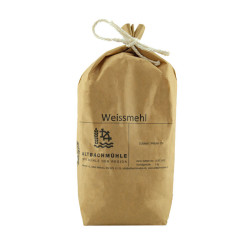
White flour, 1 kg
Price: CHF 4.50
Rated out of 5 stars based on
review(s)
White flour is suitable for pastries of all kinds, from bread to cakes to...
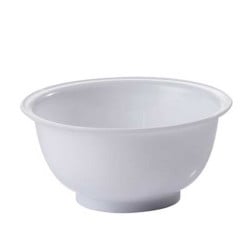
Plastic bowl 2.5 l
Price: CHF 6.00
Rated out of 5 stars based on
review(s)
A plastic bowl is one of the simplest but also absolutely most important...

Vanilla extract, 20 ml
Price: CHF 9.50
Rated out of 5 stars based on
review(s)
Extracts usually consist of a complex composition of purely natural flavoring...
miniSchoggi tempering device for couverture and chocolate
Price: CHF 99.00
Rated out of 5 stars based on
review(s)
With a tempering device, tempering couverture is very easy and nothing...

Digital precision scale 100 g
Price: CHF 34.50
Rated out of 5 stars based on
review(s)
With this digital kitchen scale you can easily weigh up to 100g. Since...
Vanillin sugar, 250 g
Price: CHF 7.90
Rated out of 5 stars based on
review(s)
Flavor sweet dishes, cakes and desserts with this vanillin sugar. This sugar...

Baking paper 42 x 33 cm, 25 pieces
Price: CHF 4.95
Rated out of 5 stars based on
review(s)
With these baking paper sheets your pastries rise evenly and are baked...
Cookie tin snowman with hat Ø 90 x 125 mm
Price: CHF 5.50
Rated out of 5 stars based on
review(s)
In the world of baking, the correct storage of pastries plays a crucial role....
miniSchoggi dough horn, 12 cm
Price: CHF 2.50
Rated out of 5 stars based on
review(s)
If you want the bread dough to come away completely from the kneading bowl...
Bewertungen
Leave a comment
Related posts
 Make your own chocolate Easter bunnies
You can easily make your own Easter bunnies at home! You can find out how to do it and what you need here. A sweet...
Read more
Make your own decorative Swiss roll
Make your own decor roulade - we'll explain exactly how in this blog, with lots of tips and tricks from our...
Read more
Cinnamon stars with almonds and egg white icing
Moist cinnamon stars made from almonds, sugar and cinnamon with snow-white egg white icing. No flour, with the icing...
Read more
How can I convert a cake recipe?
Converting a cake recipe, whether a sponge or a cake filling, is easy with our conversion table.
Read more
Chocolates with mulled wine jelly
A wonderfully wintry Christmas jelly, which is ideal as a praline or macaron filling.
Read more